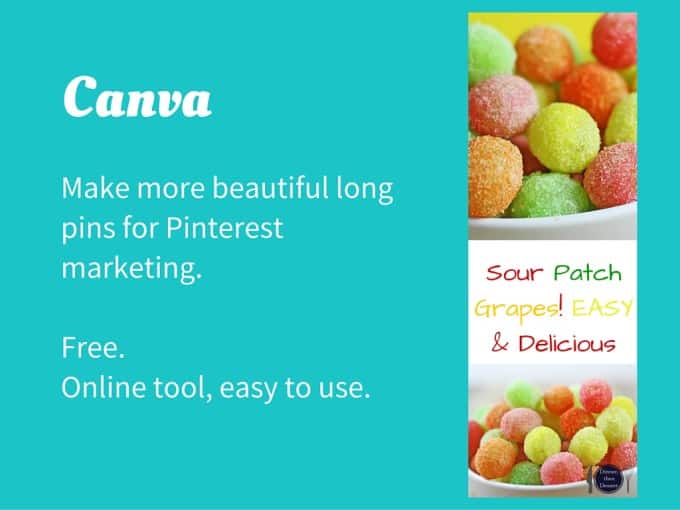
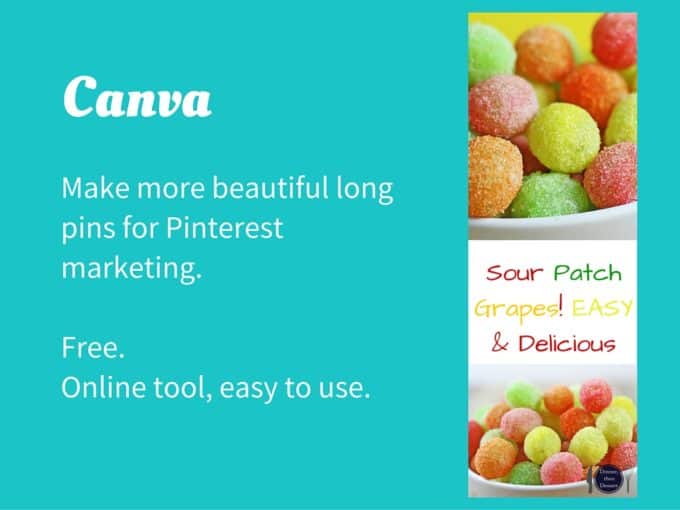
 Now that we have started discussing some ideas for your Pinterest marketing, I thought I would go into how I make those long pins you find on my recipe pages. If you have ever clicked on the Pinterest button at the beginning or end of a post:
then you have seen the red P in the top left. Clicking on that brings up a screen full of options to pin to your Pinterest page from.
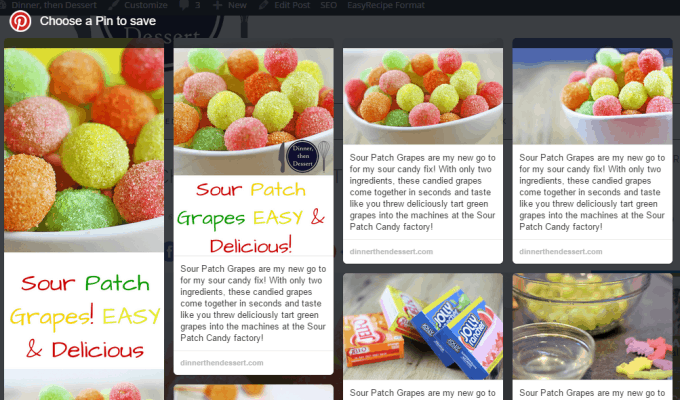
You will notice how I mentioned yesterday all of my non-long pins are horizontal. That is not something you should do. I am so used to shooting in landscape when I should be doing it in portrait. I am working on it and hoping to start making changes to recipes as they come out. Those small horizontal pictures are not going to stand out in Pinterest. The long ones however, have a much higher rate of re-pins. I don’t blame people, they are so much more eye catching and enticing. I find myself always gravitating towards the longer pins for my own personal inspiration pins too!
I make all of these long pins in Canva. The learning curve in Canva is pretty short. It is pretty self explanatory with a couple of pieces of info.
- I make my long pins in a custom pixel size because even though they have a ton of options, there isn’t one for long Pinterest pins yet.

- Use the “use custom dimensions” in the top corner and select 735 x 2102

- Now you’re in Canva editor
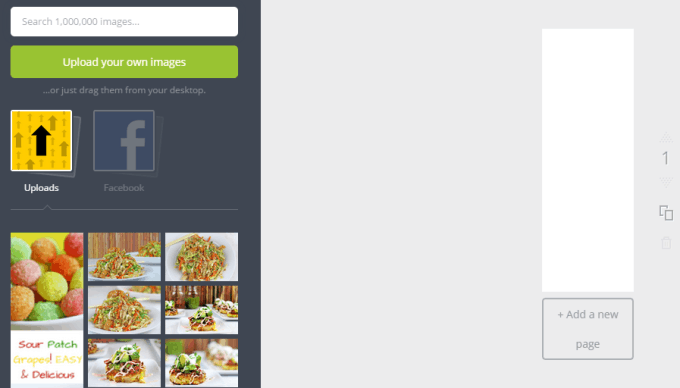
- That white tall rectangle is your long pin. You upload your own photos into the page and you can drag/drop them onto the image. You can add text, shapes, colors, overlays, etc. I would go into it but all of this is the artistic side which is unique to you. So instead I will link you to their tutorials page.
Once you are happy with your pin, download it for web and upload it into your media folder like any other photo.
Time to hide this pin! Why are we hiding it? It isn’t really great for the flow of your post, looks like a bit of a distraction and serves no real purpose for the person reading the post since it doesn’t help in making the dish. I’ve seen blogs that hide it and those that don’t and I personally prefer it hidden.
A great blogger’s resource called Food Bloggers Central wrote a tutorial on how to hide these pins which is super helpful and EASY. So let’s do it! As a side note, if you are a new food blogger, Nagi and Food Bloggers Central is an INVALUABLE resource. She is brilliant and generous and helpful and has been a huge part of my growth as a food blogger. Bottom line, she’s a cool lady and you will learn a ton from her. For free, btw.
We are going to insert it into the text editor of your post. Directly to the right of the “Add Media” button you will see two tabs, Visual and Text. You normally work in Visual which looks like a version of Microsoft word, you see formatting, images, etc. Text will show you coding.
To hide your photo, go into the Text editor and add the following code:
<div style=”display: none;”>
Then add the image directly after that coding. AFTER the image code add
</div>
Here is an example of the coding:

Now save your post and try pinning the page. You should see the long pin. Look at the post, you should NOT see it on your post page. This means the long pin is only visible when someone goes to pin your recipe.
I also use Canva for my post’s featured images and my Twitter header. Every morning when I update my social media profiles with the newest posts I add a new Twitter header for the day. Usually just the two photos in my long pin put side by side in the preset “Twitter Header” image size. Done in 30 seconds, updated in even less than that. I’ll eventually make a post about Twitter, but I’m still learning, so I want to know a bit more before talking about it with you guys. 🙂
To make photos in canva optimized for your blog (assuming you are using Foodie Pro) like the one at the top of all the Blogging Resources posts, use the Foodie Pro Featured Image size: 680 pixels wide for main content section
PS, in case this post has made you crave Sour Patch Grapes, head on over to the recipe and make some! They only take a few minutes! 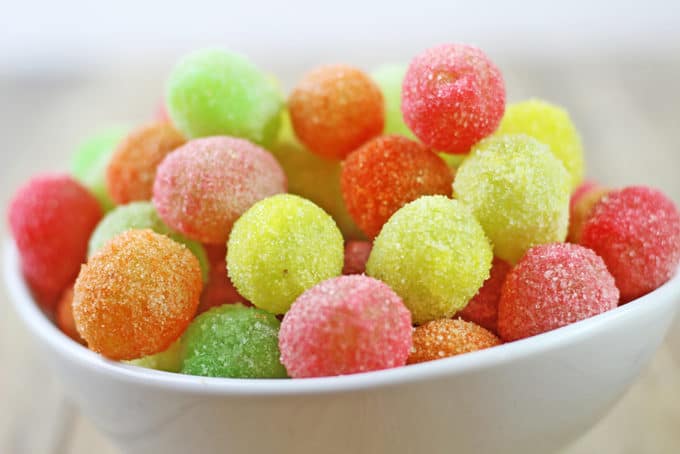
Hope that helps! Pop back in tomorrow for an In ‘n Out Double Double!




Thank you for sharing! So much helpful information and I love the way you narrate the topic!
Sabrina I know that this post is a couple of years old, but it’s fantastic and thank you! I’ve been making my long pins manually in Canva and this way is so much easier. Thanks so much, Laurel
Thanks for this great article and I tried hiding my first long pin today but this little work around didnt work. The code showed up on the home page instead and the longpin didnt pop up when I tried to pin it. I wonder what I am doig wrong? I literally copy and pasted the above codes before and after the image in text editor. Anyway I learned a lot from this article
I use this everyday and it works fine for me. I wonder if it’s a theme issue?? I’m glad you learned a lot either way.
Hi Sabrina, thanks for such helpful tips! It’s much appreciated for a new blogger like myself. I’ve followed your instructions and also referred to Nagi’s post but I don’t see a pin it button on my post or on Nagi’s example when I try it. Does this still work or has it changed, do you know? Thanks for your help!
P.S. Healthy sour patch grapes – what a neat idea! 🙂
You’ll still need a plug in for the button, this just simply hides the pin. Hope this helps!
People often ask me how to get more traffic this has to be one of my top tips to increase Pinterest traffic to your website or blog! Pinterest is truly an amazing platform, especially if your industry is visually driven like recipe blogging or fashion. We definitely eat with our eyes first so one of the keys to great traffic is to be seen! How do you up your odds of being seen on Pinterest? Create long pins for your posts!
Thank you, Sabrina, for all the tips! So useful for a newbie like myself. Also love Food Bloggers Central and all of Nagi’s resources. You’ve found a follower in me <3
Glad to share the knowledge!
I’m working on this but I have a question – there is white space around my images in Canva. How do I get rid of those? Thanks! The tutorials are no help.
If your images are too small for the space you’re filling pull on the edges to stretch them to fill the space. If you want to take a screenshot and email me I can take a peek. contact @ dinnerthendessert.com 🙂
Thank you for posting this! I’ve been wondering how bloggers get the nice long pins – now I know! I love Canva, so this will really help boost my blog. Thanks! – Alicia @ http://www.girlonahike.com
Tommorrow I’m going to pin a bunch of your stuff to our boards because I was at my wit’s end trying to figure out how to hide these long pins on the page. Thanks a million!
Haha thanks so much Mike!! Glad I was a help 🙂
I have a question, I am on wordpress and just tried this and I could see it in my preview… I don’t think it works on my blog, will hit publish with fingers crossed.
If you can see it either in your preview or in your editor it didn’t work. Can you email me the exact text of your coding or a screenshot so I can see it? The code is very exact, I have gotten used to it over the last month. [email protected]
I’ve literally read and used this post every time I create a recipe post, thank you so much for posting this! Honestly I really appreciate it! 🙂 Happy weekend!
Awesome! I am so glad it helped! I love Canva so much I actually got the paid version of it. 🙂
You are crazy helpful! This is awesome! I would have never figured Canva out or even thought of it. Thank you from the newbies of the blogoshphere.
I’m so glad to help! Seriously, I have a new list of blogging topics to write about as soon as my crazy January is over. Also, a week ago I got Canva for Work (10$/month) and now that the blog can support additional resources, it is an even bigger time saver!
How has that benefited you? I couldn’t really figure out how to use it so I cancelled it. Then again< I didn't put that much time into trying to figure it out lol
So for Canva for Work the thing I love about it most is probably the resizing tool. It lets me make one image then open the image in the other social media sizes. One or two quick fixes to stretch to fit the sizing and I am good to go. I also love it because it saves my “brand color” so when there is dead space in the image my navy blue populates in it and my font is chosen by default. I can also save in folders and my logo is in one place. Would I say it is a necessary purchase? No way, free Canva is 99% of everything they offer. With as crazy overwhelmed as I am and with the fact I use Canva every single day it just made sense for me to spend the 10$/month to save the 10 minutes a day with the shortcuts. Don’t buy it if you are narrowing down a list of services with budget as a priority. Once my blog started covering its costs I loosened the budget a bit to save time which hopefully gives me more time to grow the blog. 🙂