
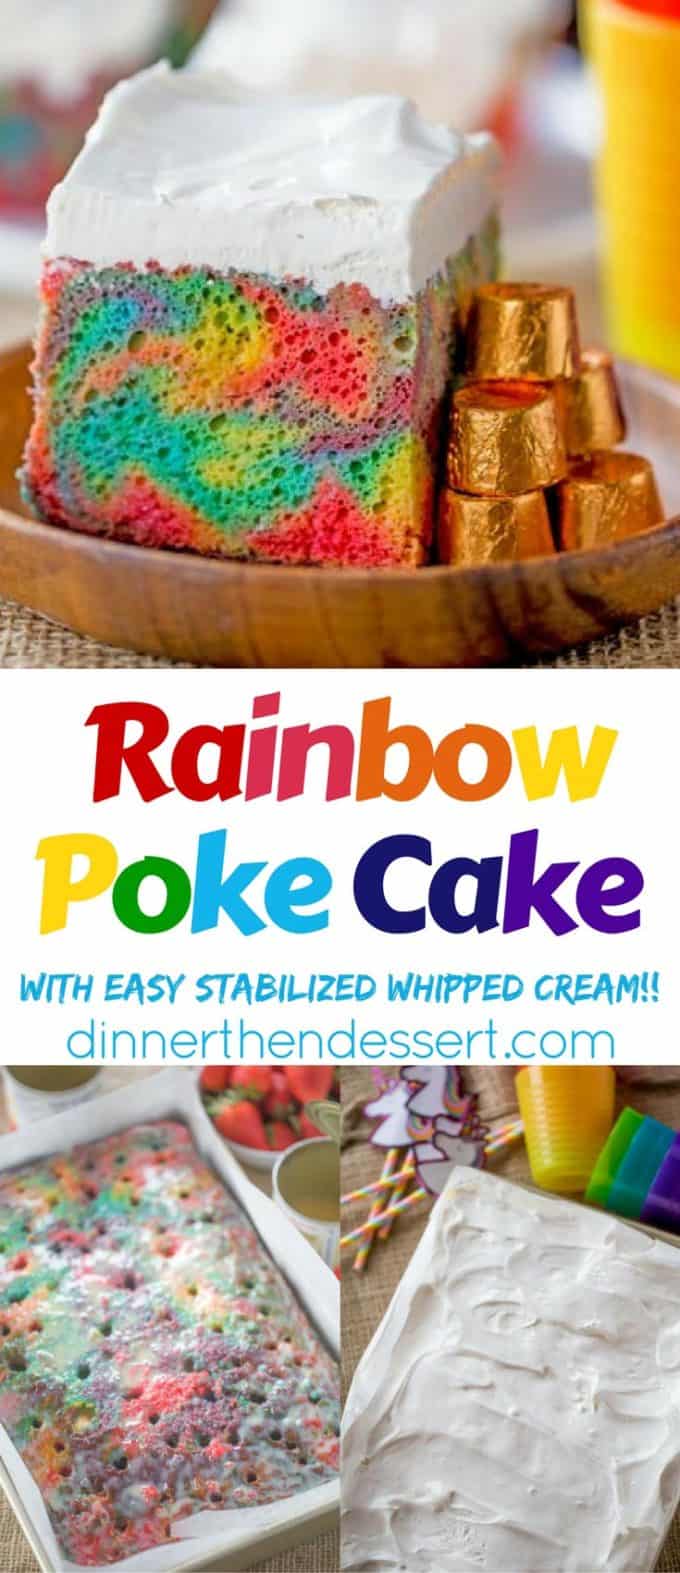
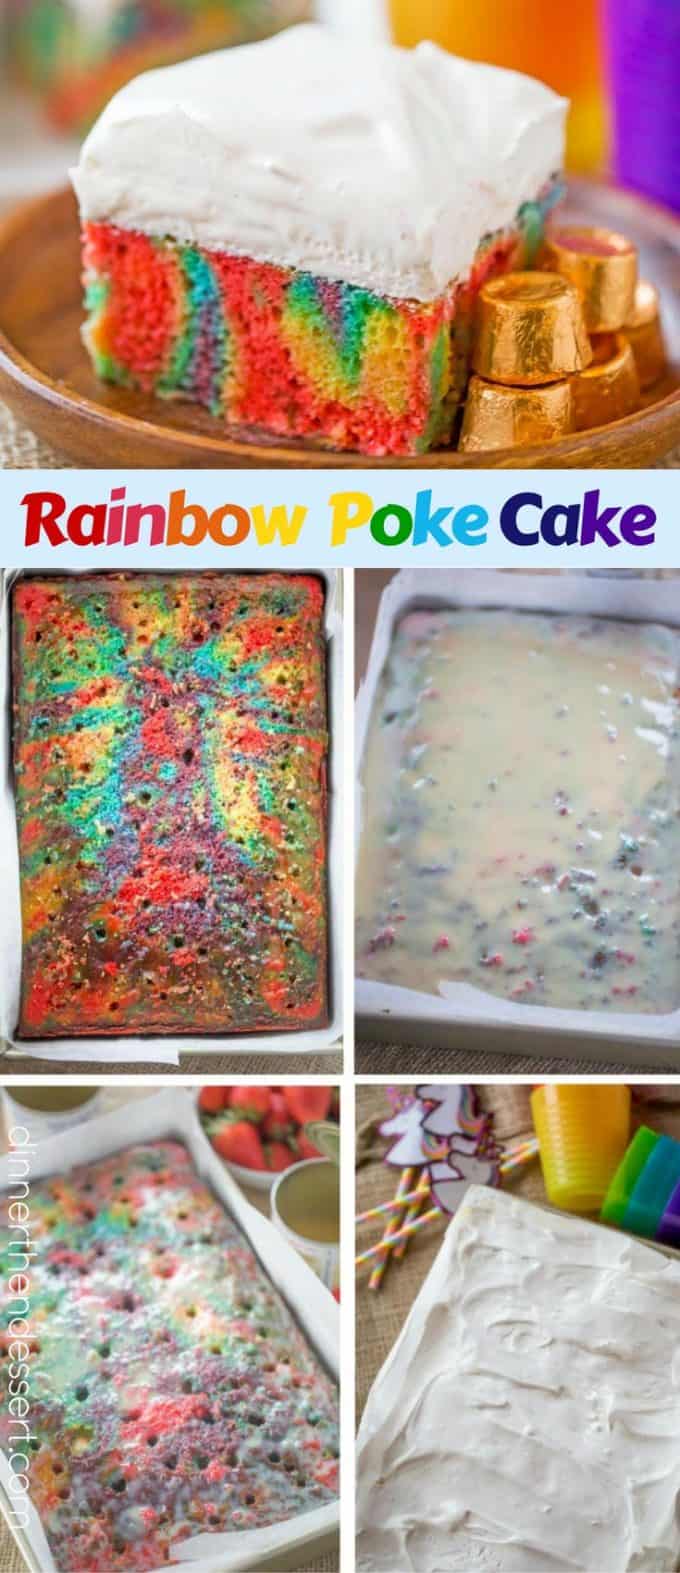
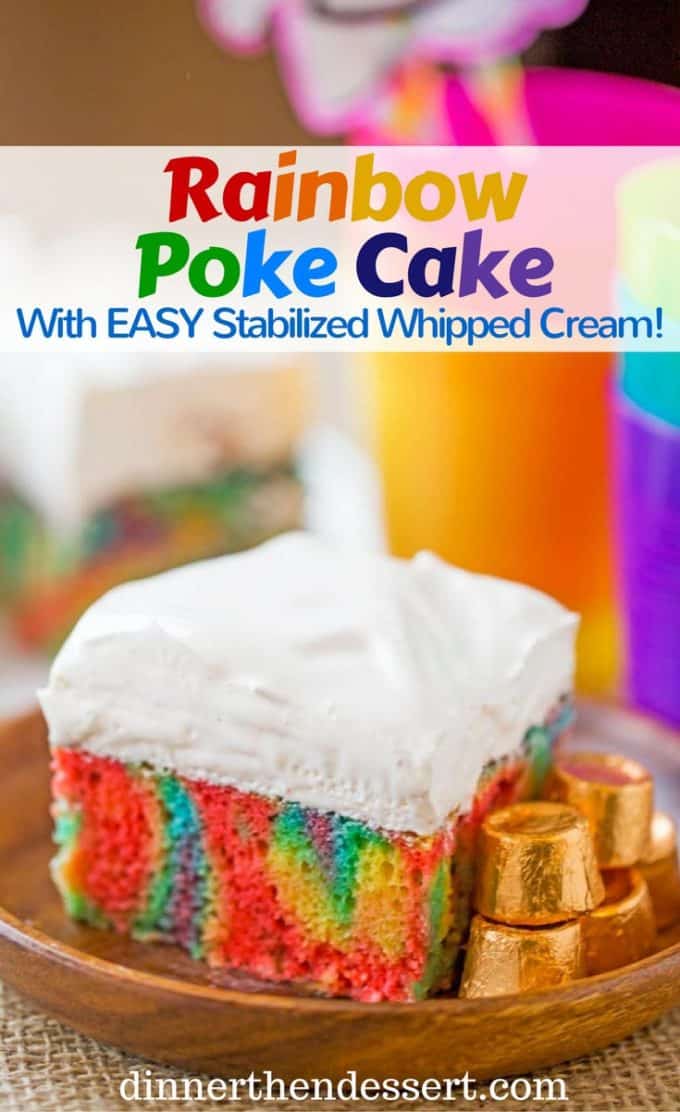
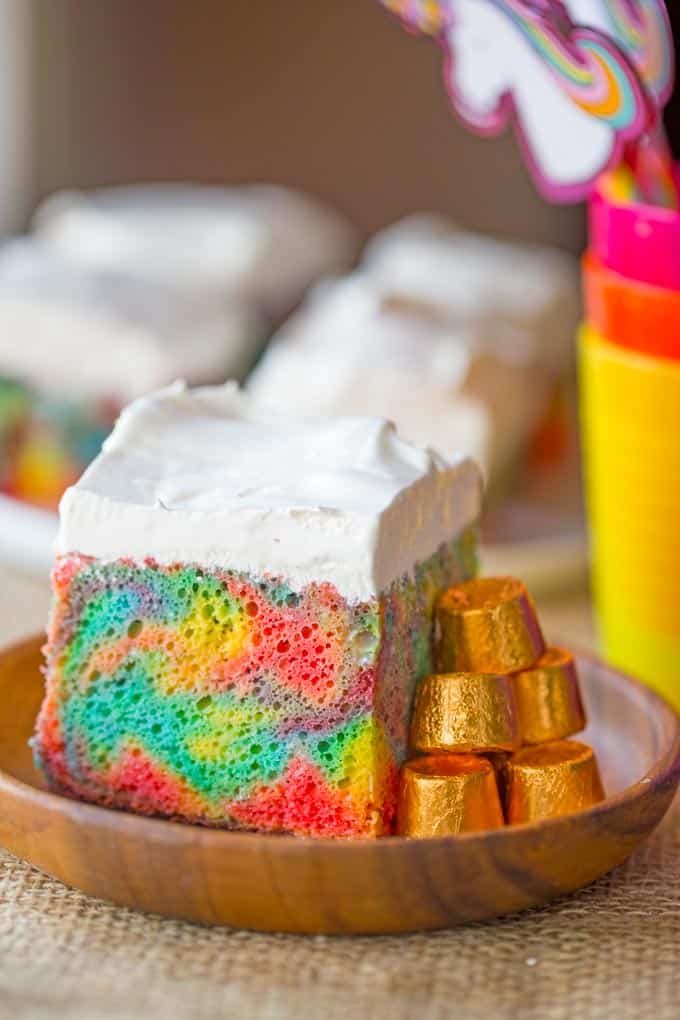
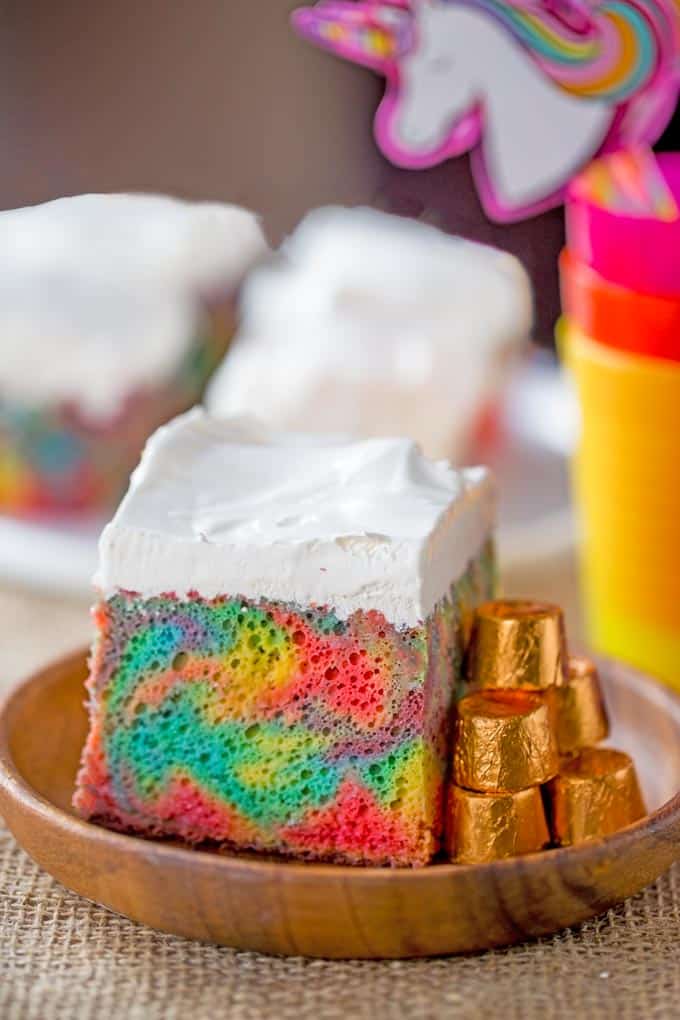
Rainbow Poke Cake with Whipped Cream is a soft, moist, fun, and eye-catching dessert perfect for parties and celebrations.
Cakes are the heart of so many celebrations, bringing people together with layers of sweetness, texture, and nostalgia. Try our delicious Easy Tuxedo Cake or our Guava Cake for your next celebration!
Sabrina’s Rainbow Poke Cake with Whipped Cream Recipe
Rainbow Poke Cake With Whipped Cream is just about the happiest sheet cake you’ll ever make in your life. And with a deliciously fluffy whipped cream topping and super moist cake (I’m looking at you, delicious sweetened condensed milk), you’re going to be the hit of your St. Patrick’s Day party.
Recipe Card
Ingredients
Rainbow Poke Cake
- 1 cup butter , softened
- 2 1/3 cups sugar
- 5 egg whites
- 1 tablespoon vanilla
- 3 cups flour
- 4 teaspoons baking powder
- 1/2 teaspoon salt
- 1 1/2 cups milk , warmed for 30 sec in microwave to bring to room temp
- Rainbow colors of Gel food coloring
- 1 can sweetened condensed milk
Stabilized Whipped Cream Frosting
- 2 teaspoons unflavored Knox gelatin
- 2 tablespoons water , cold
- 2 cups heavy cream
- 1 cup powdered sugar
- 1 teaspoon clear vanilla extract
Instructions
To make the cake:
- Preheat the oven to 350 degrees.
- In your stand mixer cream the butter and sugar together until much lighter in color, like a easter-y spring yellow (2-3 minutes)
- Add in the egg whites and vanilla until totally combined
- In separate bowl, add salt and baking powder to the flour
- Add in the dry ingredients and the milk alternating 1 cup of flour and ½ cup of milk at a time
- Add one cup of the batter to 6 different bowls. Color each bowl with your gel food coloring in red, orange, yellow, green, blue and purple.
- Mix until the colors are fully combined.
- Your choice here: Spoon or ziploc bags. Either add the batter to 6 sandwich size ziploc bags and pipe just enough to make a thin layer of each color OR with a small spoon, spoon a layer.
- Start with purple, then blue, then green, then yellow, then orange and finally red.
- Bake for 30-35 minutes or until the middle of the cake is fully baked and let cool on a rack.
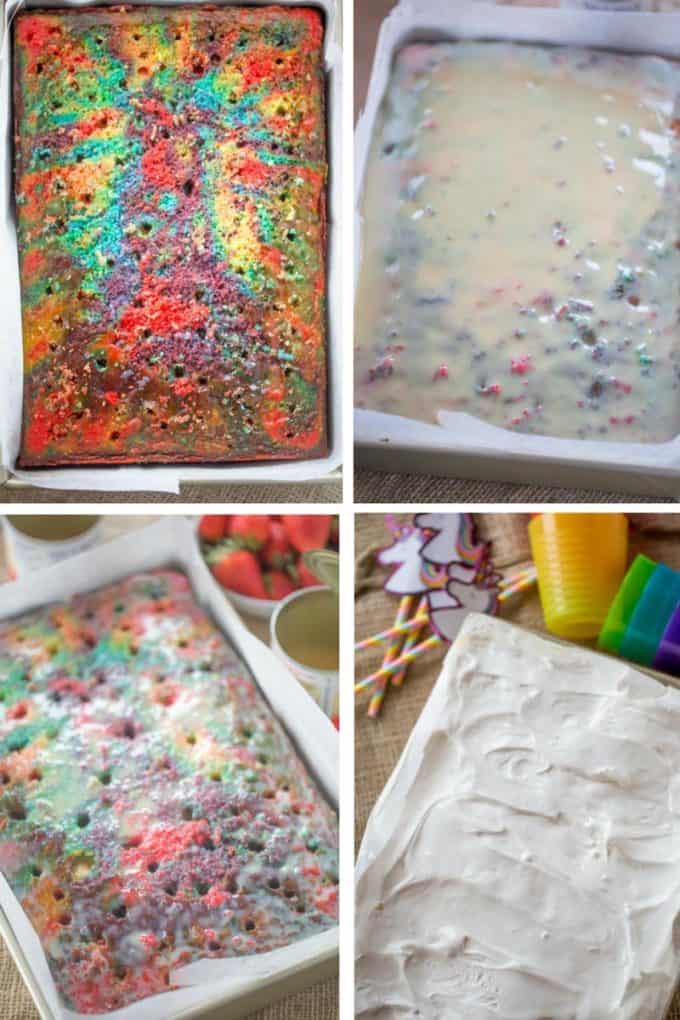
- Poke holes on the top of the cake, I do about 25 of them.
- Pour the condensed milk over the holes.
To make the frosting:
- Add the gelatin to your cold water in a small bowl and mix. Let it sit, to bloom, for five minutes.
- In your stand mixer add the heavy cream, powdered sugar and clear vanilla.
- After the gelatin has set, put it in your microwave for 5-10 seconds to melt the gelatin.
- With your paddle attachment(I LOVE LOVE LOVE this one with a built in scrapefor a minute to start building the peaks of the whipped cream and giving the gelatin time to cool a bit.
- Add in the gelatin and continue beating until you have soft-stiff peaks (where the tip of the peak will still fall but it otherwise holds the same shape).
- Pour onto your cake and spread.
- Your frosting should be SUPER light and fluffy, just like a delicious bright white vanilla cloud if you used clear vanilla.
Nutrition
Want to save this recipe? Create a free account to easily save your favorite recipes
Table of contents
About this Recipe
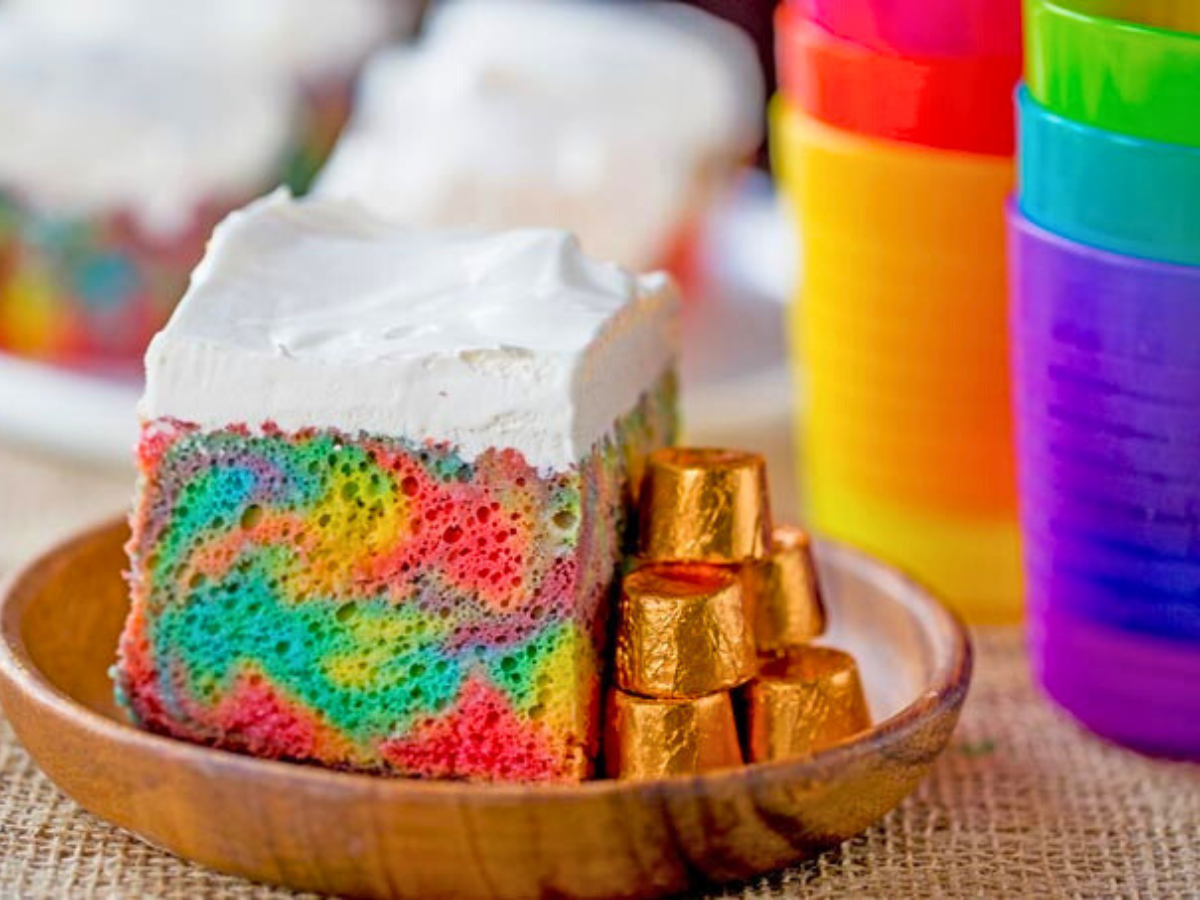
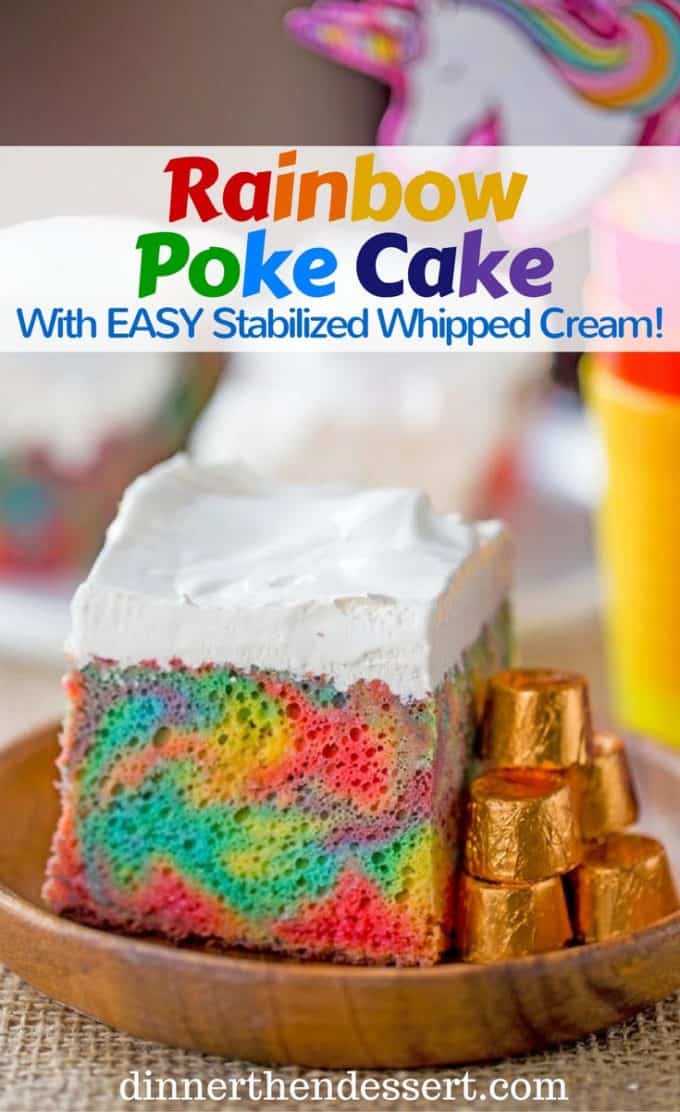
This cake combines all the delightful parts of the epic 6-layer rainbow cake we have all seen on Pinterest with the delightfully lazy demeanor of a sheet cake. Yes, the colors are going to be a bit mixed up a bit, there is really no way to prevent the layers from baking into each other, but the results are still gorgeous! You will also enjoy the whipped cream on the super moist cake with condensed milk soaked in it.
Baking Tips & Tricks
- Don’t bother weighing out the batter to ensure it is evenly dispersed. Use a 1 cup measure, and any little bit left over can be extra of your favorite color. This isn’t a cake, so if one layer is a bit more prominent in some, no big deal. 🙂
- Ziploc bags! I pipe them into the cake pan with ziploc bags to make life SO much easier than spooning and spreading each layer.
- Clear vanilla keeps your stabilized whipped cream bright white.
- Don’t overbake, you don’t want the top of the cake to turn brown.
- Use Gel food colors; this helps ensure really bright, playful colors.
Related Recipes
More Delicious Cakes
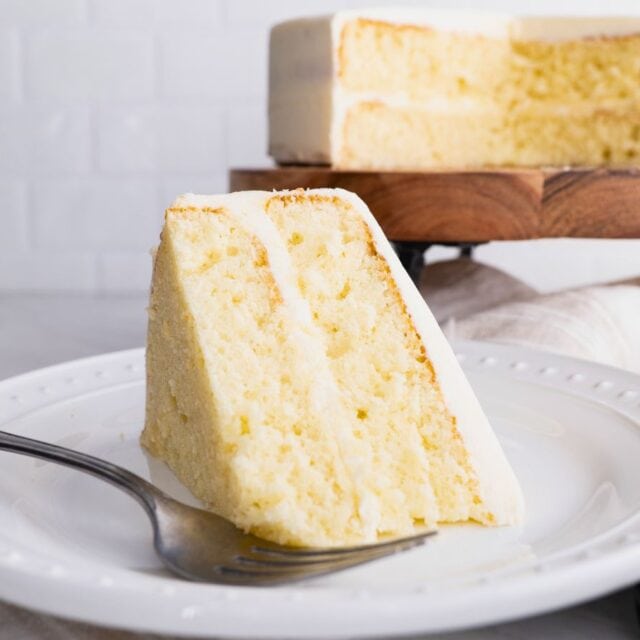

These photos were in a previous version of this post


I want to serve this cake tomorrow. Should I pour the condensed milk tomorrow? Does the cake need to be refrigerated? Do you recommend making the stabilized whipped cream the day of serving. I made your rainbow cupcake recipe with different colors and it was a big hit. I thought I would try this rainbow sheet cake!
So sorry I’m just now seeing this. If you want to make this ahead of time, just leave the cake in the refrigerator and I suggest waiting to add the whipped cream topping the next day before serving. I hope this was a success.
“Either add the batter to 6 sandwich size ziploc bags and pipe just enough to make a thin layer of each color OR with a small spoon, spoon just under a tablespoon of batter into each cup”. Is this recipe for cupcakes? I’m wanting to use a 9 x 13 cake pan for Easter. Should I just spread out a thin layer of each color, one on top of another? I don’t’ understand the comment about adding less than a tablespoon into each cup. Please explain. Thank you!
Sorry, I got confused as I have a rainbow cupcake recipe as well. Disregard.
I want to make a 9″ x 13″ cake for Easter. In Line # 8 of your instructions, you mention putting just under a tablespoon of batter into each cup (?) Are you talking about making cupcakes instead of a cake pan? If so, would I need to pour 6 separate layers in a regular 9 x 13 cake pan? Sorry, but I’m a little confused about how to proceed after mixing up the six different colors. Thank you!
So sorry for the confusion. I have a recipe for rainbow cupcakes too and I think that bit got added into this one by accident. For the layers, you can either use the ziplock bag tip or spoon it over as a layer. You’ll end up with 6 layers in the pan. I hope you enjoy it!
I want to make this for Easter. What size pan should I use? Thanks!
This would be perfect for Easter!! I used a 9×13 rectangle bake pan. Enjoy!
How long will this cake last? I was planning on making it the night before the party. Also will I be able to plate the cake or will it need to be left in the pan?
I completely understand wanting to have everything prepared before but with this cake, I would suggest making the cake before but adding the whipped cream topping the day of. As long as the room isn’t too hot, the cake can be plated just fine. It’s so pretty sliced and ready to enjoy!
I can think of at least a dozen kids who would love to have this cake for their birthdays. Fun idea!
Thank you!
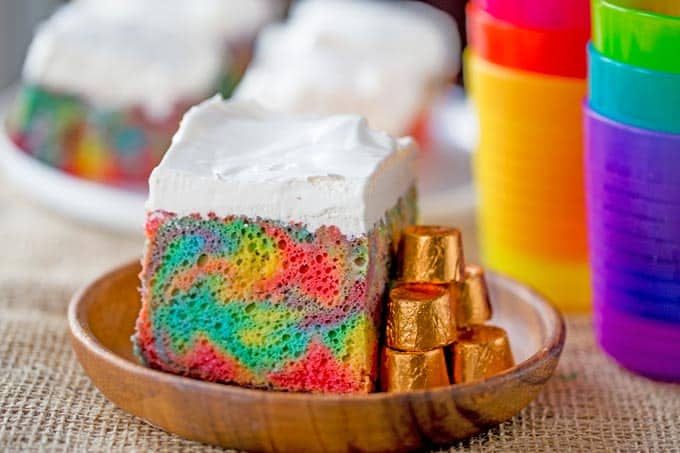
This Rainbow Poke Cake with Whipped Cream is so pretty! The texture of this cake looks perfect!
Thanks Catalina!
This cake looks delicious and I see the instructions, but there is no list of ingredients! m I missing something here?
Thank you for catching that, so sorry. My recipe plug in has been so glitchy. I fixed it and the ingredient list shows now.
This is like a kid’s dream cake!!
A lot of big kids too 😉
Of course my kids love it to someone good??
This is such a fun sheet cake! I know it would be perfect for a kids birthday party too 🙂
Thank you Amanda!
What a gorgeous cake! My girls would love to help me make this!
First: awesome cake! So fun and like you said, perfect for St. Patrick’s Day (or any fun event)! Second: I’m so glad to learn how to make this whipped cream stabilized! I had no idea, and how easy! Thanks!!
You’re welcome!
I made this and it came out really dense. Is it supposed to be or did I overmix it?
Either way it’s deeeeelicious!!!
Over-mixing can lead to it being dense. I’m glad it was delicious still!