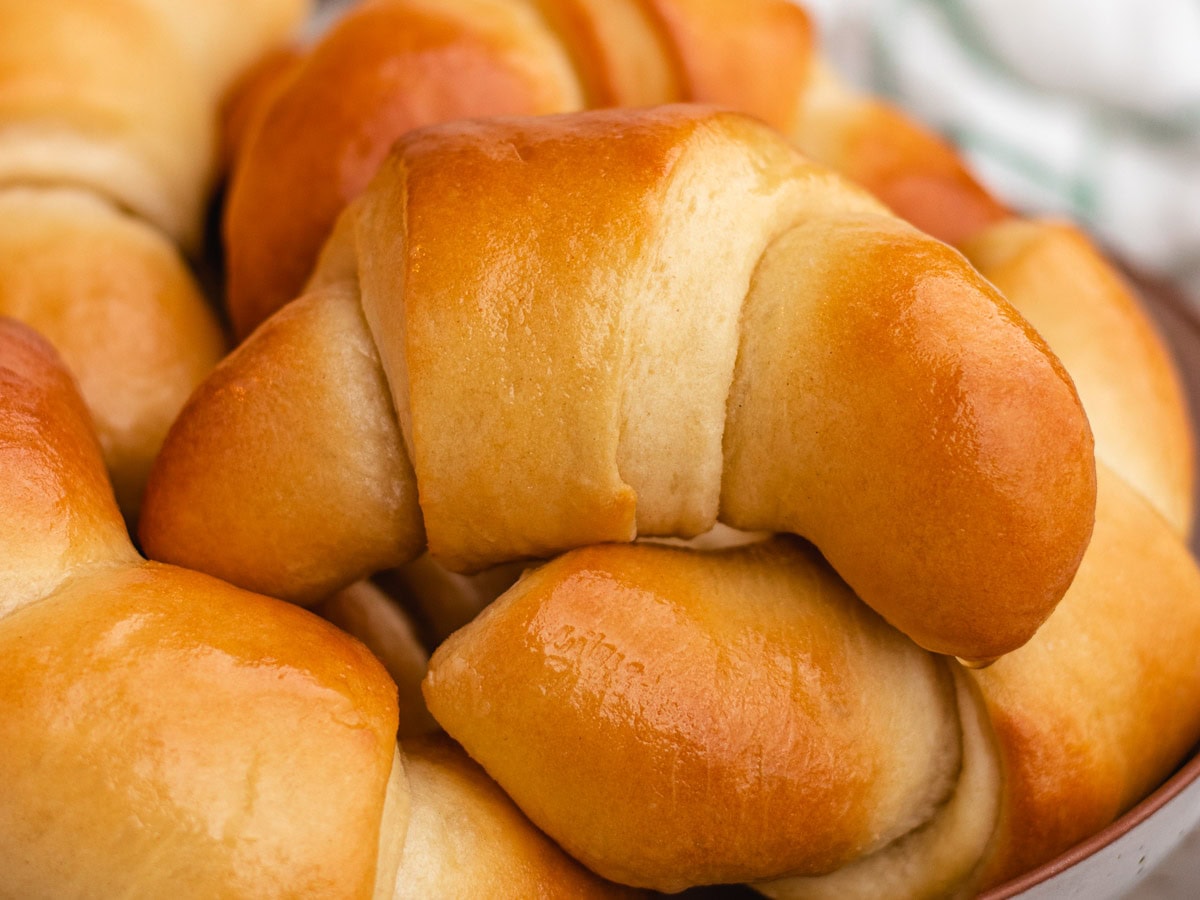
Homemade Crescent Rolls are light, flaky, and airy with a buttery flavor. They’re the perfect addition to a family dinner or holiday meal.
A homemade roll recipe is a perfect way to take your meal to the next level. Make these flaky crescent rolls or my Classic Dinner Rolls for the ideal finishing touch to any Dinner.
Sabrina’s Homemade Crescent Rolls Recipe
Although you can easily buy ready-made Crescent Roll dough, I much prefer the results of this recipe. While it is a little bit more time-consuming to make these from scratch, it is definitely worth it. The finished rolls are more fluffy, buttery, and flaky than you can get from the canned version. Another great thing about them is that they can go with any meal and they are surprisingly easy to make. Even beginning bakers shouldn’t have a problem making the perfect flaky crescent rolls with my easy to follow recipe!

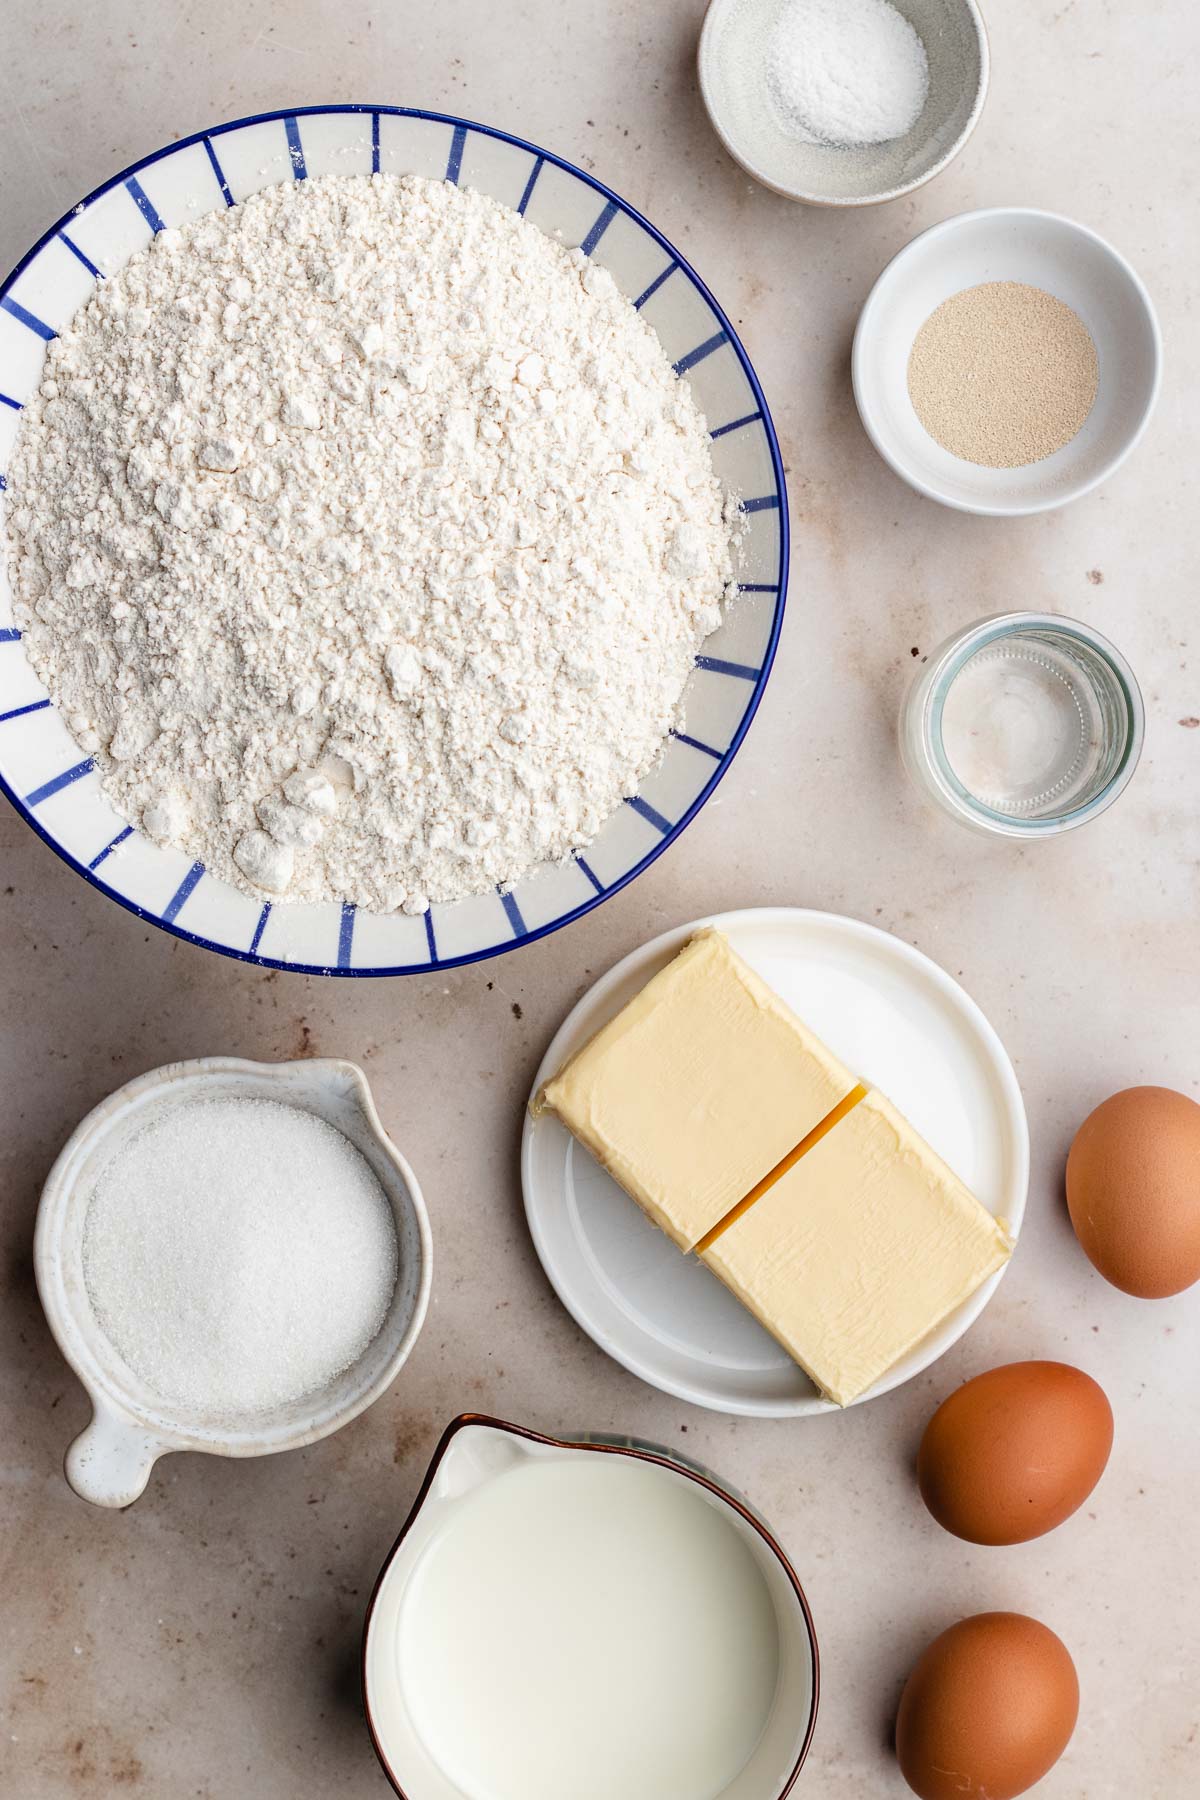
Ingredients
- 1 packet active dry yeast , (¼ ounce)
- 1/4 cup warm water , (110-115 degrees)
- 1/2 cup sugar , divided
- 3/4 cup warm whole milk , (110-115 degrees)
- 3 large eggs
- 1 cup unsalted butter , softened (divided)
- 1 teaspoon salt
- 5 cups flour
Instructions
- To your stand mixer add yeast, warm water and 1 tablespoon sugar; stir and let sit for 5 minutes.
- Add in the milk, eggs, ½ cup butter, salt and remaining sugar and combine on low speed until smooth.
- Add in 5 cups flour in 1 cup increments on low speed until combined.
- Switch to dough hook and let go on medium speed for 6-8 minutes until elastic and smooth.
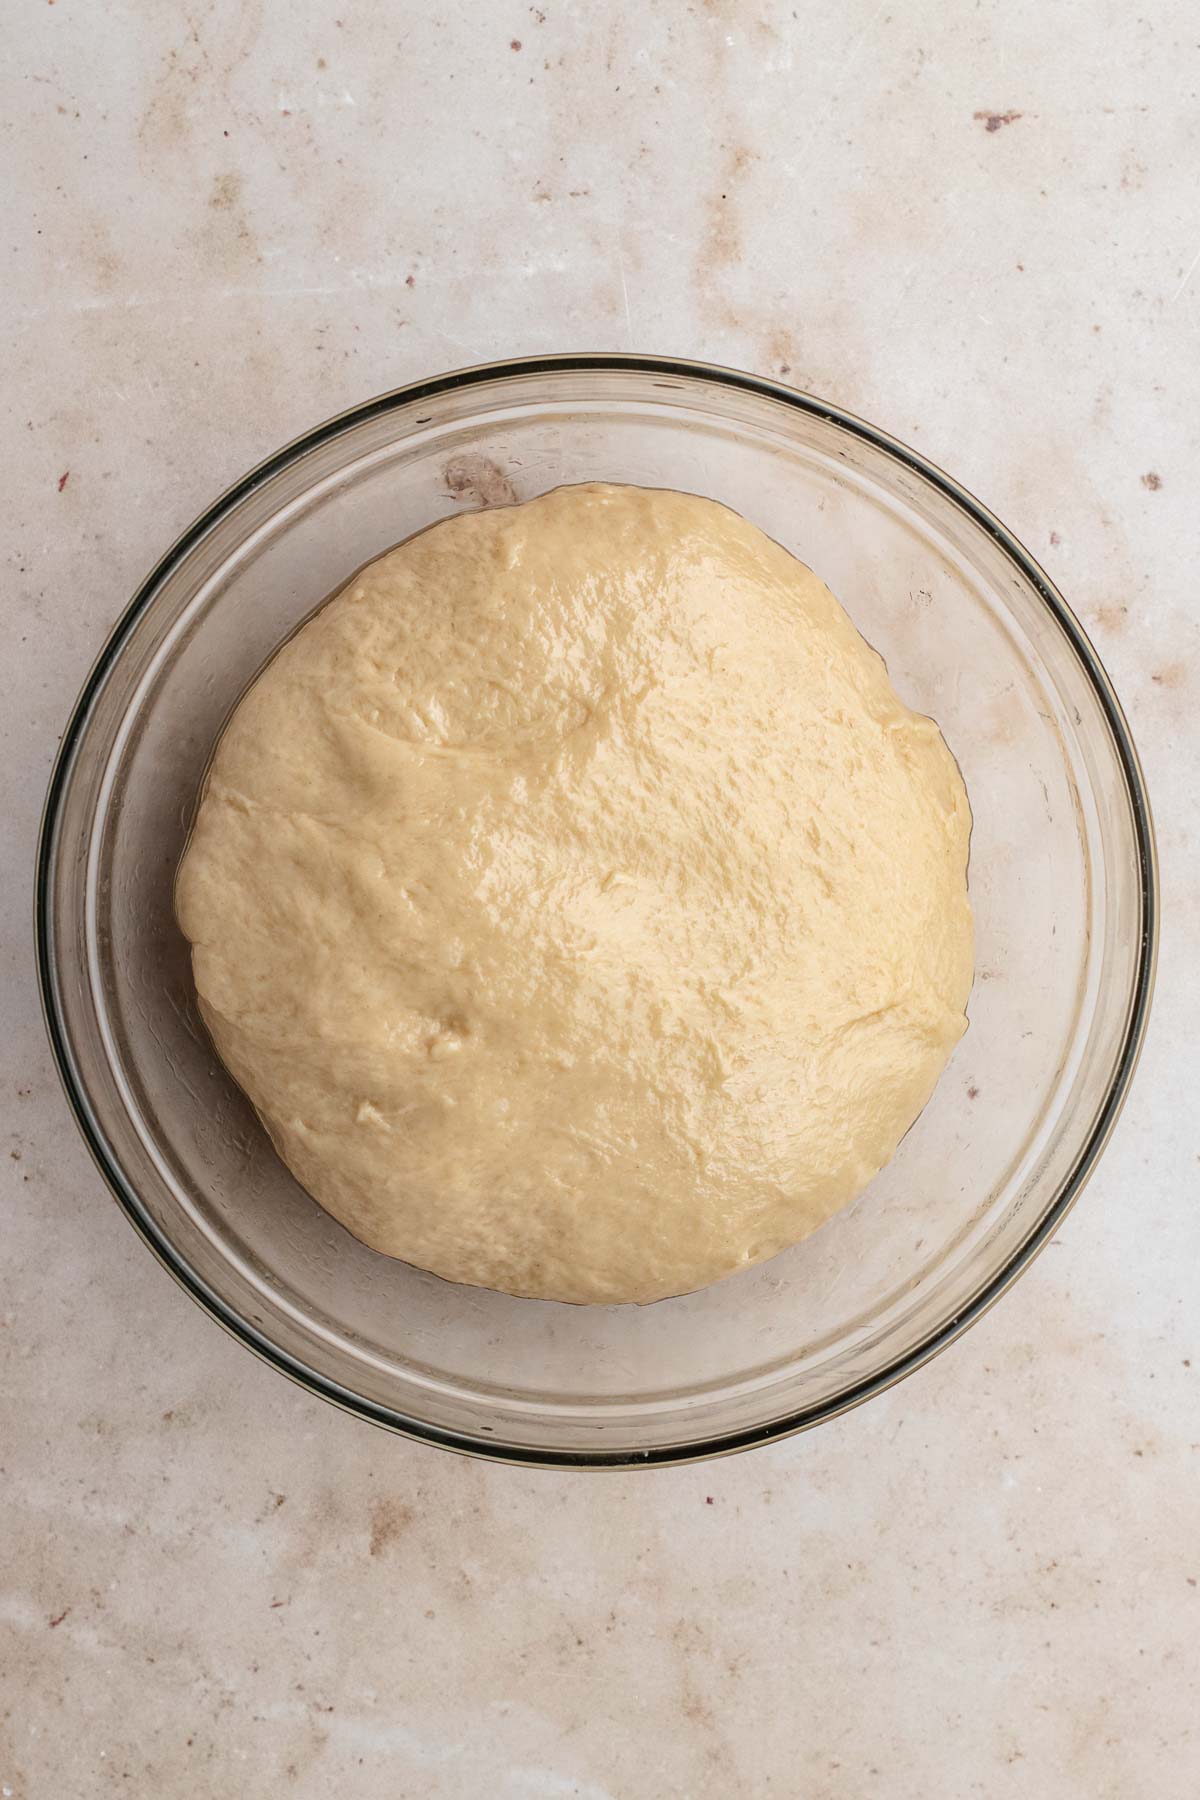
- Remove the dough to a large greased bowl, then flip to coat both sides in grease.
- Cover with plastic wrap and let rise for 90 minutes in a warm place.
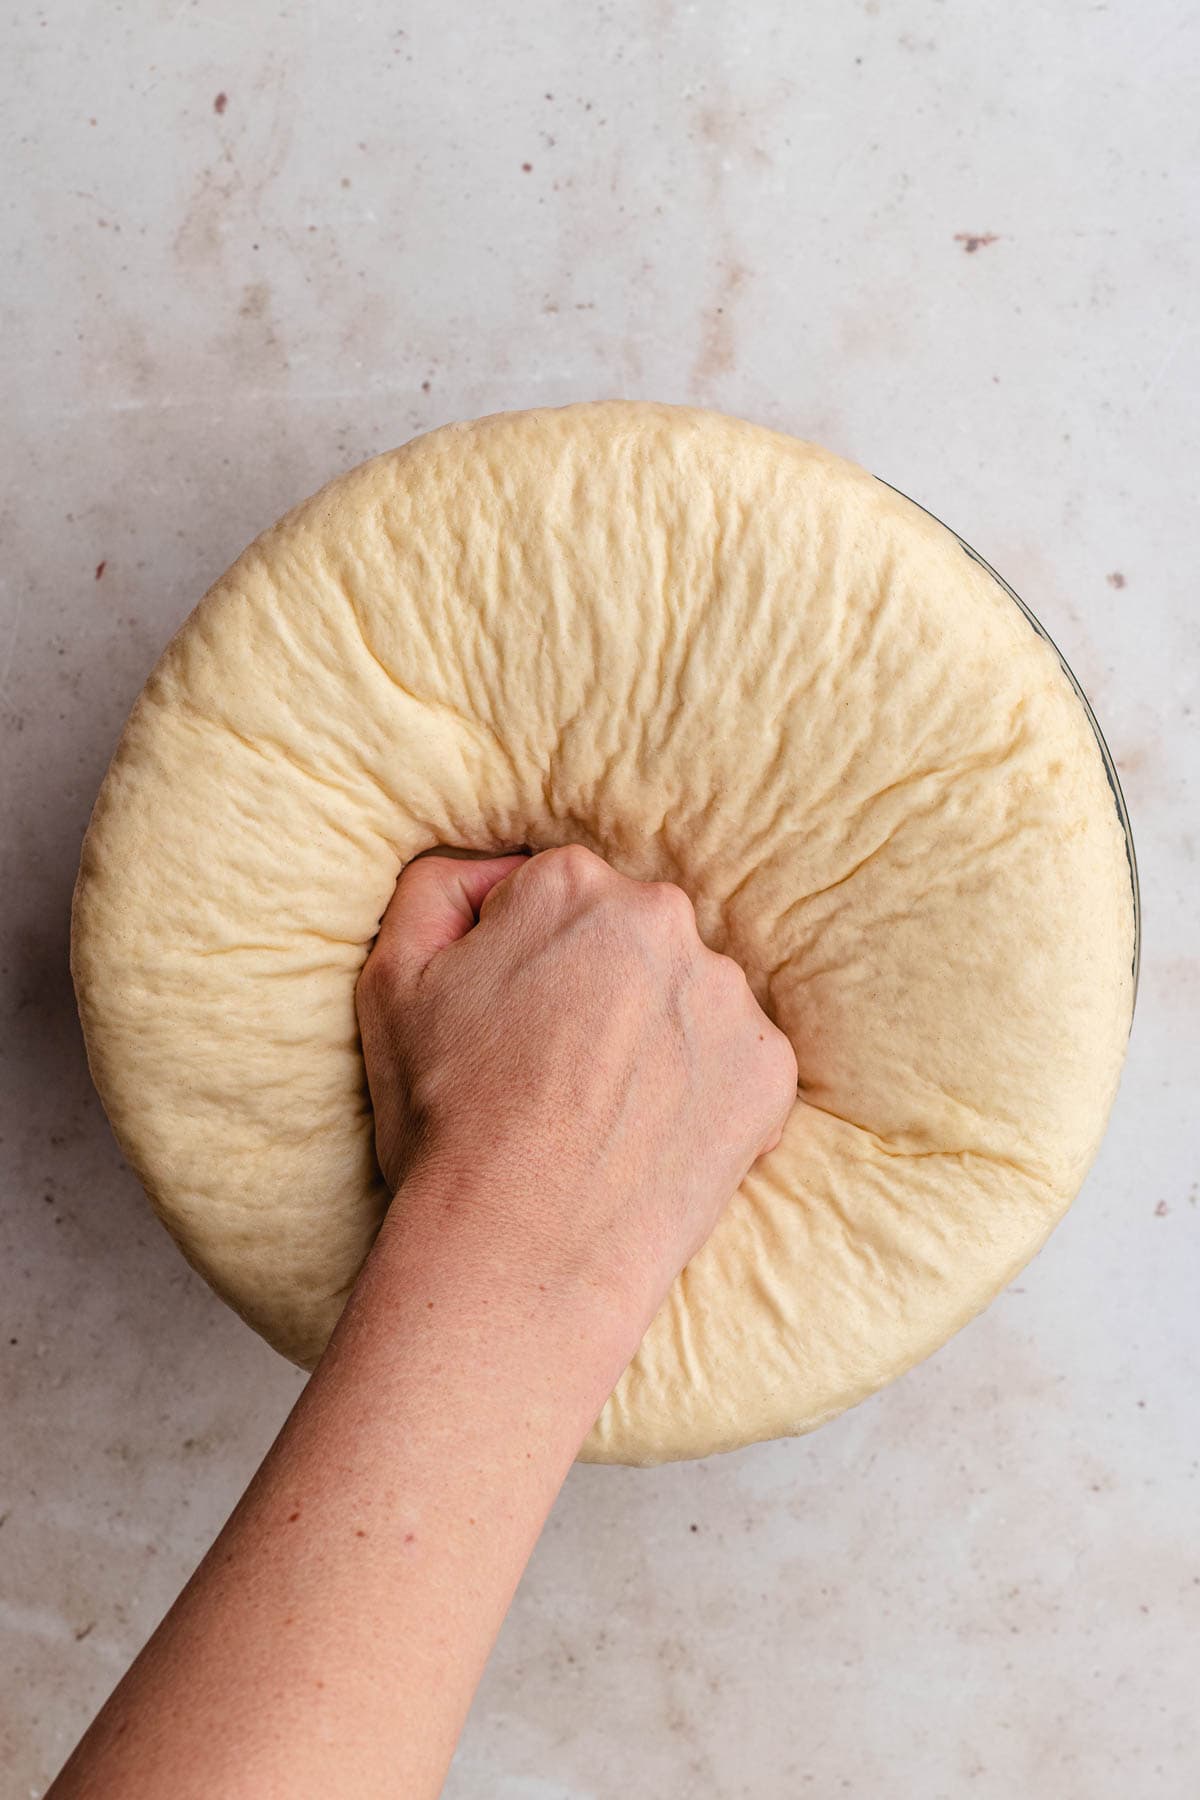
- Punch down dough.
- Remove the dough from the bowl onto a large floured surface.
- Cut the dough into three pieces.
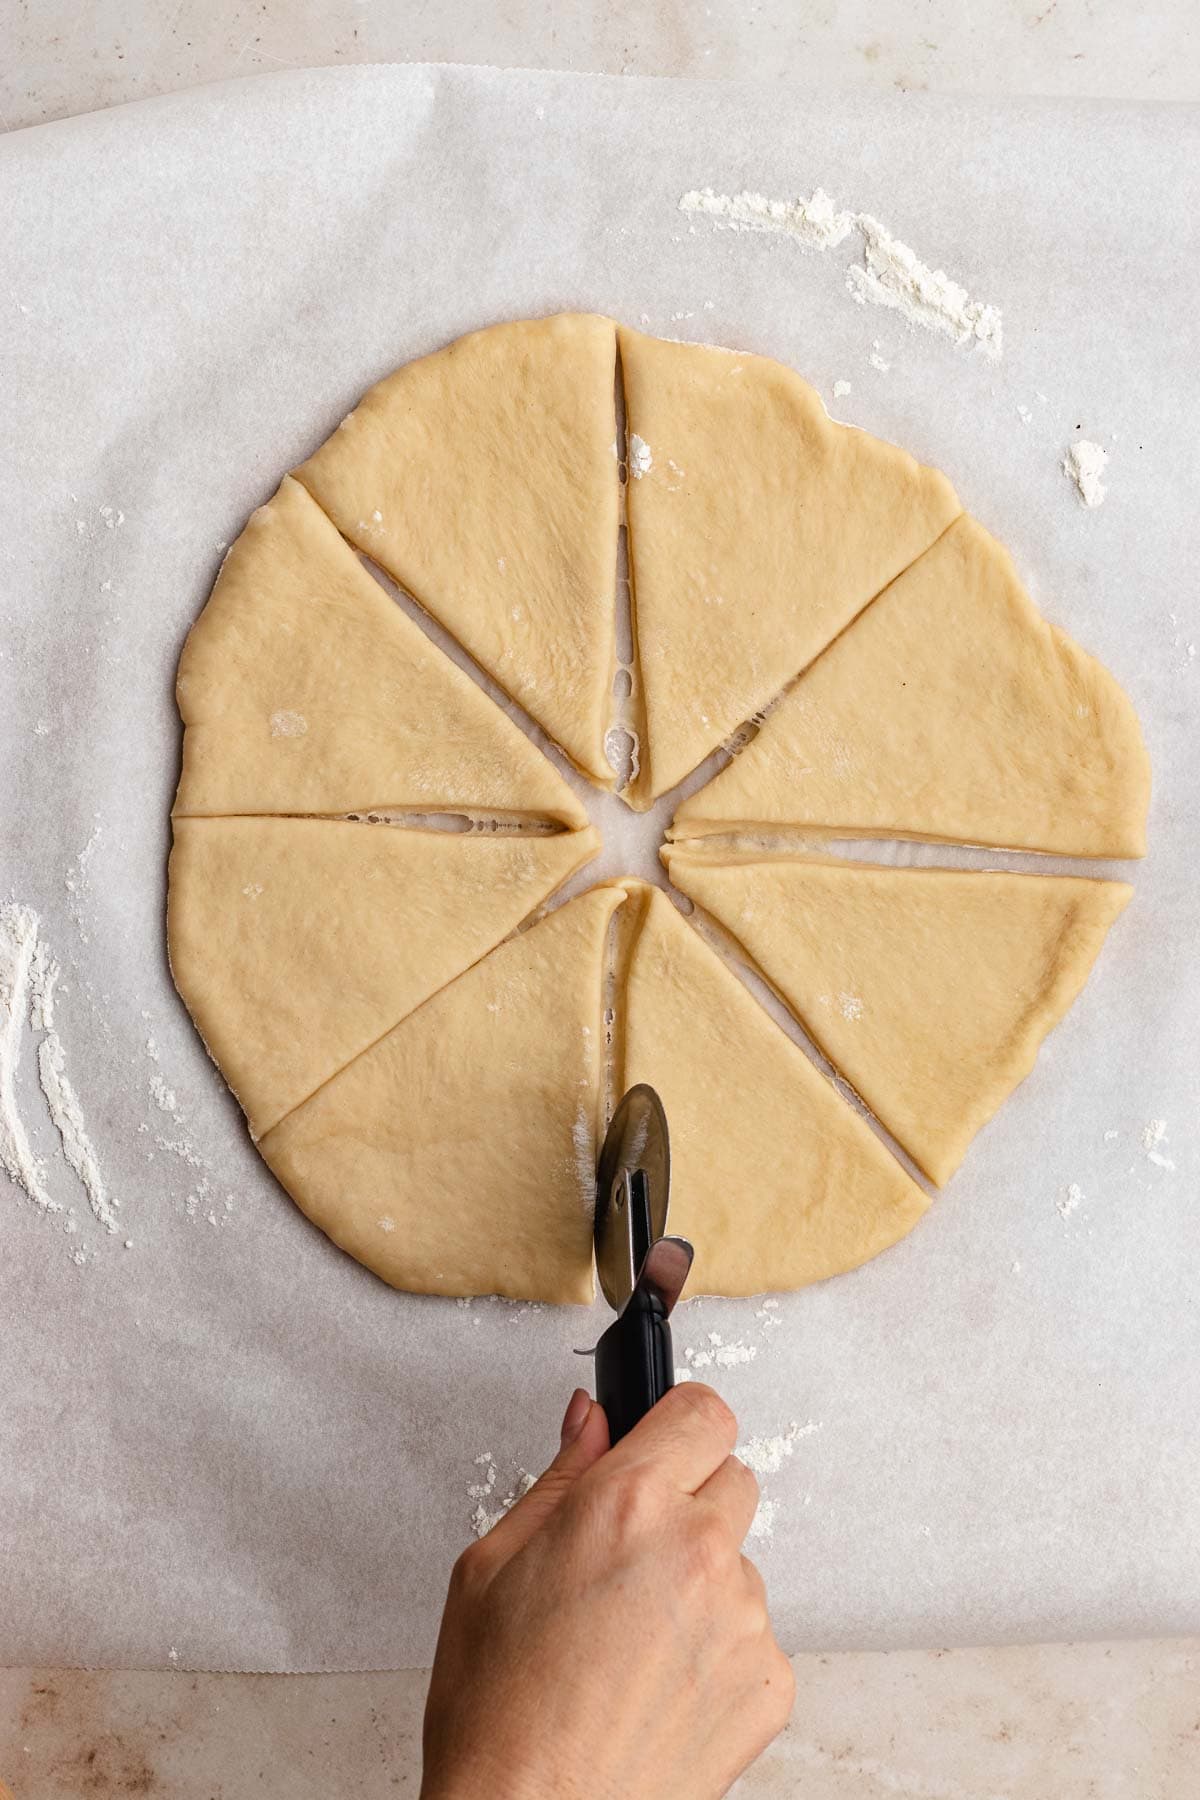
- Roll out each piece with a floured rolling pin into a 10 inch circle about 1/4″ thick.
- Melt the remaining ½ cup butter.
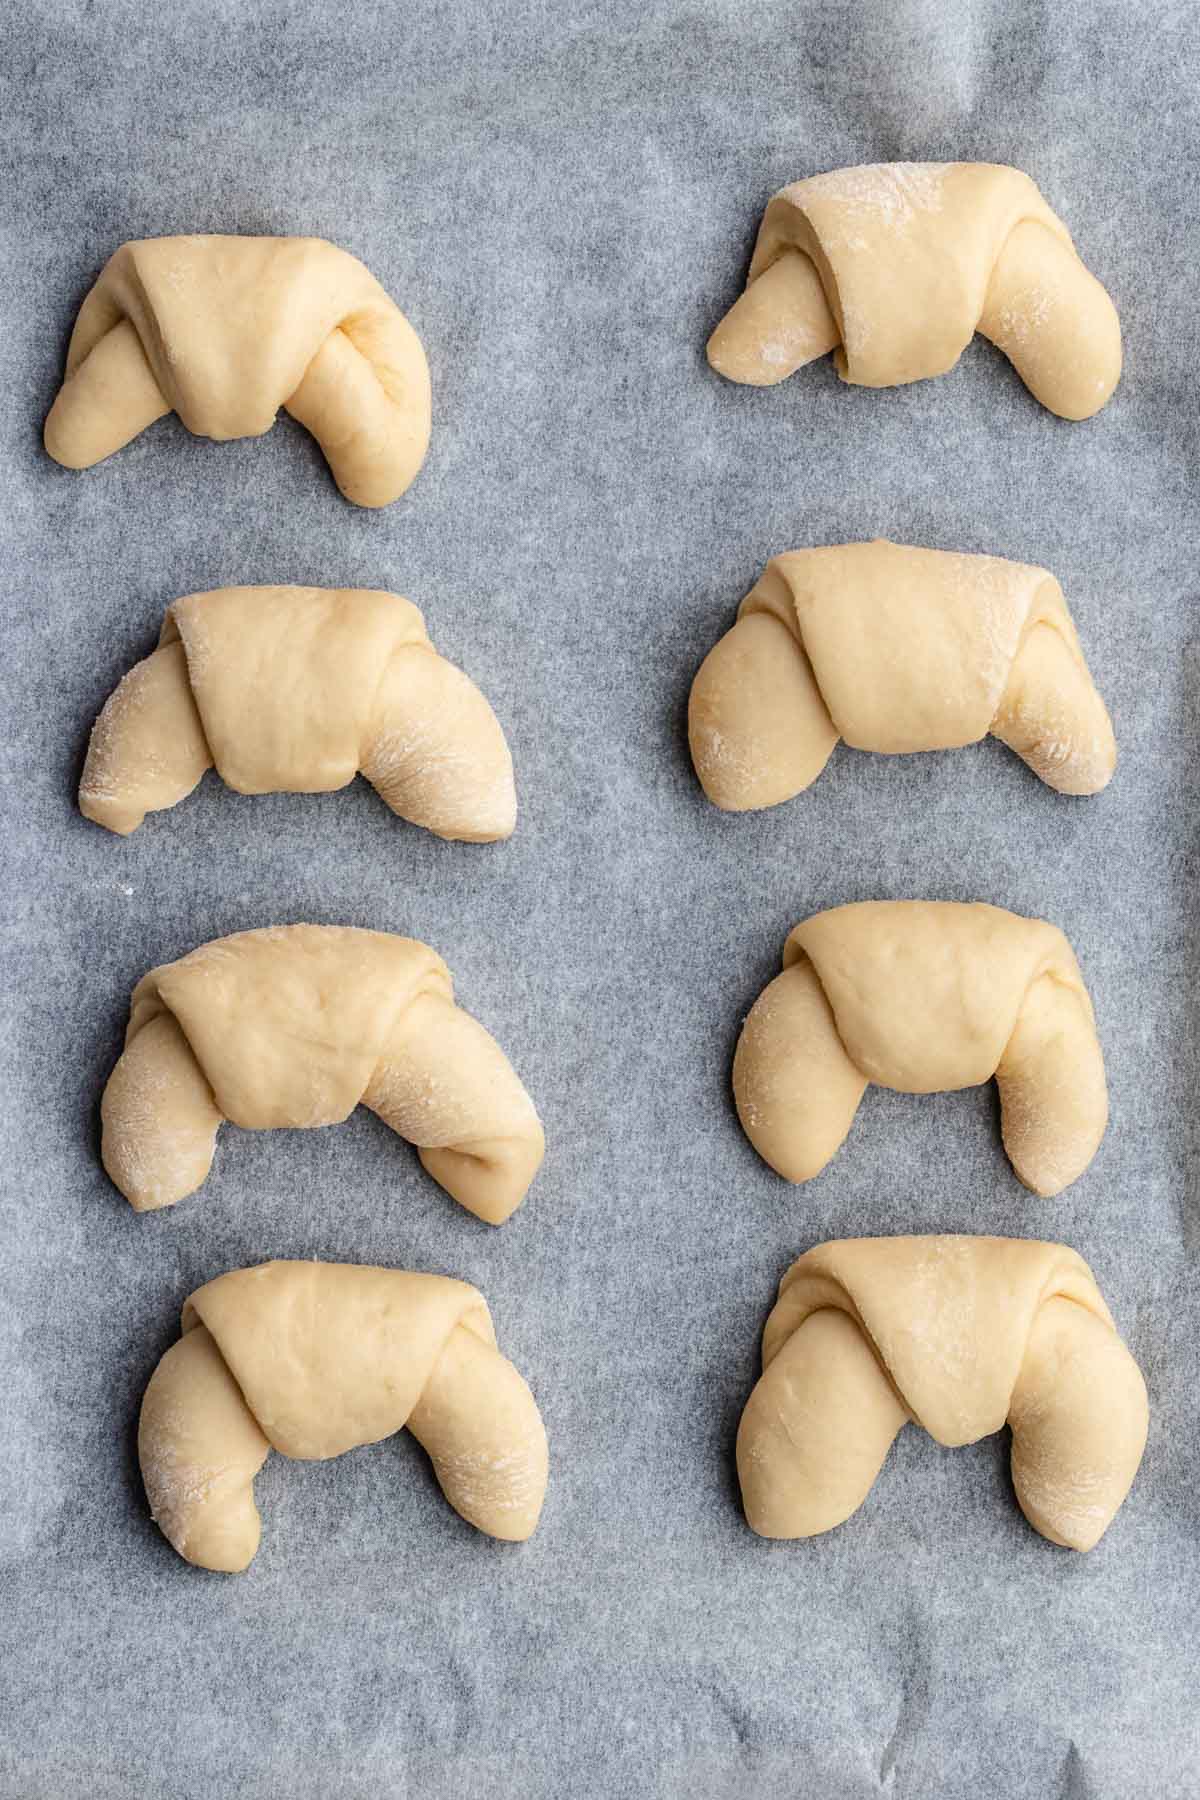
- Using a pizza cutter, cut into 8 wedges, brush with butter and roll each wedge into a croissant shape, starting from the widest side in.
- Place each piece onto a baking sheet lined with parchment paper two inches apart.
- Form the rolls into a slightly curved inward shape, like a crescent moon by pulling down and together the edges just a bit.
- Cover gently with plastic wrap and let rise for 30 minutes.
- Repeat two more times with the remaining dough (doing each batch one at a time will give each batch time to bake while the next batch is rising).
- Preheat the oven to 375 degrees.
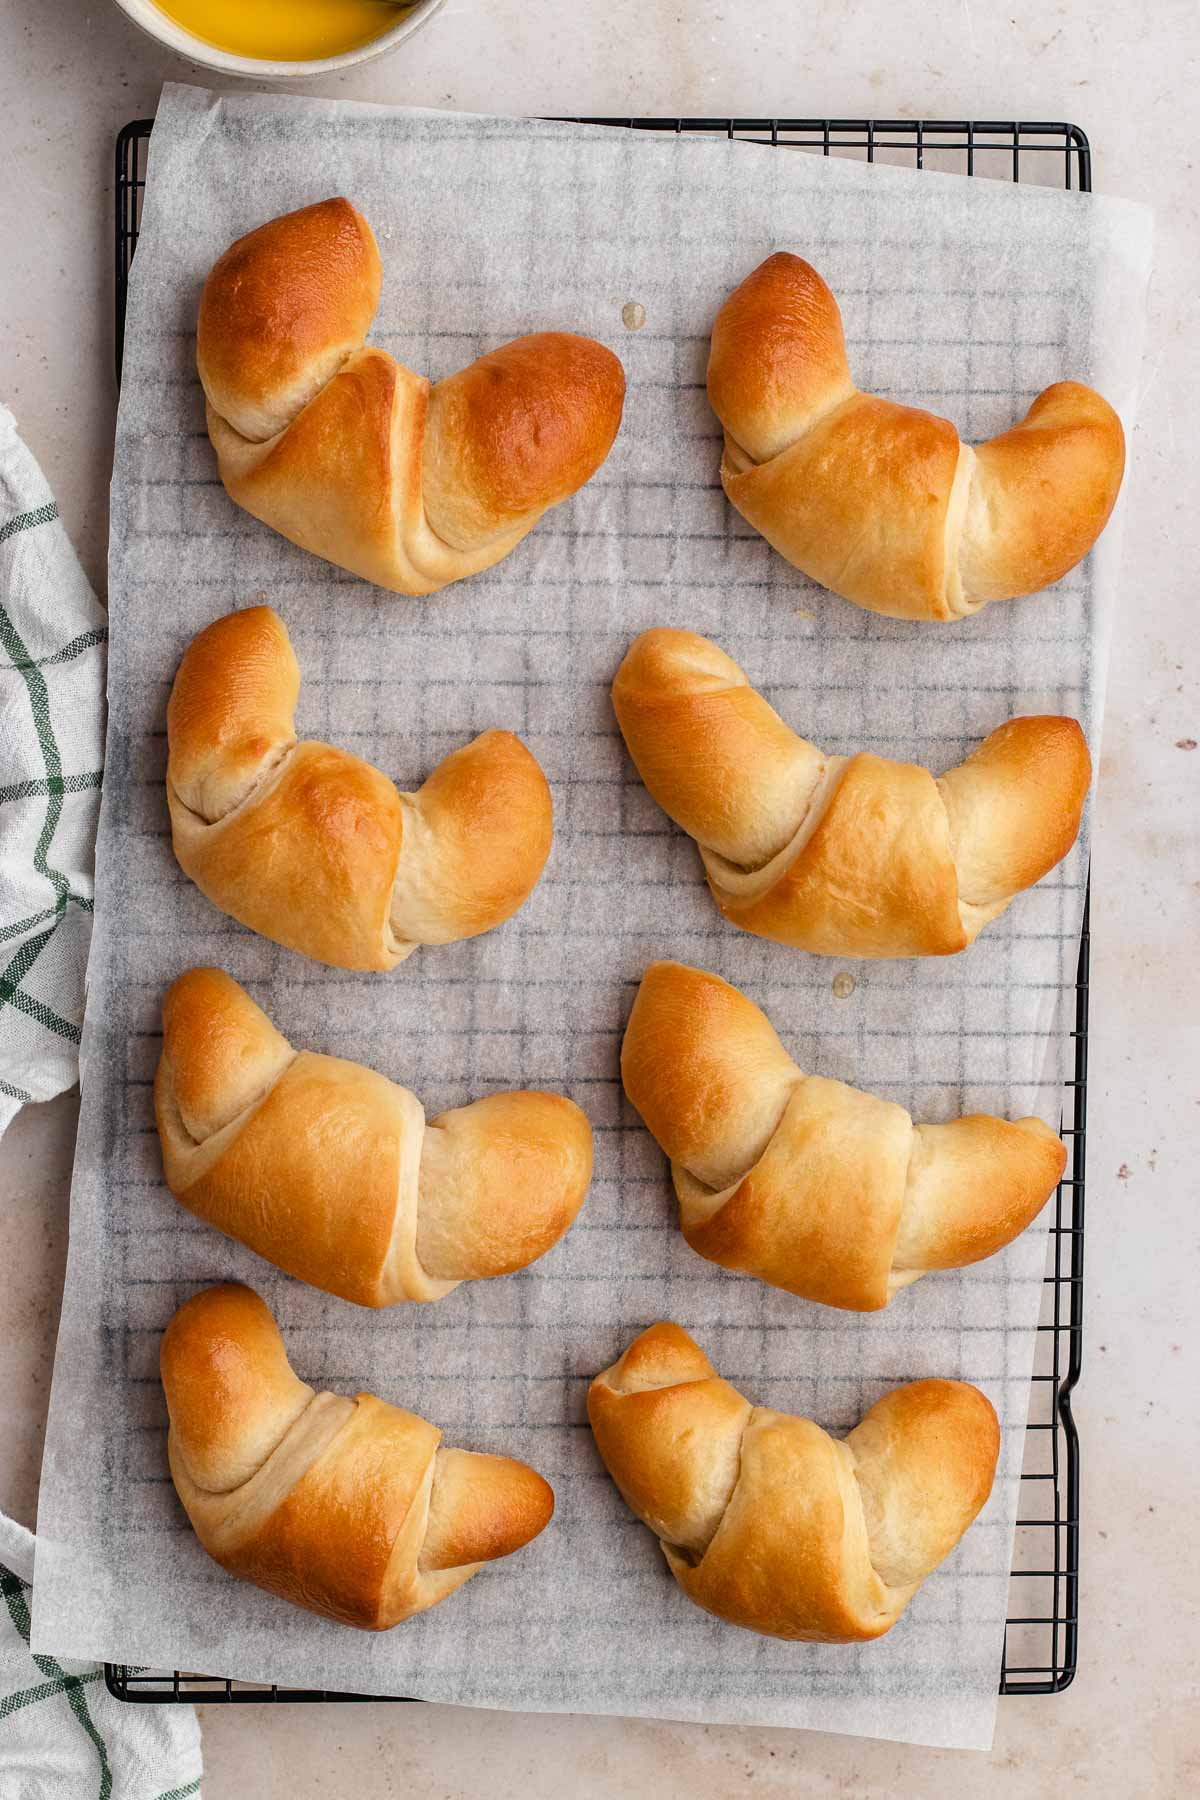
- Bake one sheet at a time for 10-12 minutes, or until golden brown.
- Brush with additional melted butter just before serving.
Notes
Nutrition
Want to save this recipe? Create a free account to easily save your favorite recipes
Can I make these ahead of time?
Yes. This is an excellent recipe to prep the night before to make a day of holiday cooking that much easier. For make-ahead Crescent Rolls, follow the regular recipe instructions up until the baking time. Once you have the dough in crescent shapes ready to pop in the oven, cover the baking sheet in plastic wrap and put them in the fridge. The unbaked rolls will keep well in the refrigerator for up to 24 hours. Then you can bake them about 15 minutes before you plan to serve dinner, so they’re fresh and warm for your meal.
Variations
- Cheese-filled: If you want a gooey, cheesy center add mozzarella, cheddar, Pepper Jack, Swiss, or American cheese to the wide end of the dough triangle before rolling it. Then you can roll the dough over the filling and bake for a melted cheese center when you take a bite.
- Meaty fillings: You could also add ham, bacon, or sausage to the center of the rolls along with the cheese. Be sure to cook the meat separately beforehand since it won’t cook through during the baking time.
- Sweet fillings: To make breakfast or dessert, add your favorite sweet fillings. Jam, chocolate, fresh fruit slices, cinnamon sugar, and candied almonds would all taste delicious.
Storing and Reheating
- Store: To keep leftover rolls, put them in a ziplock bag or another airtight container. Then you can store them in the fridge for 3-5 days.
- Freeze: To keep them longer, you can freeze Crescent Rolls for up to 6 months. I like to bake a double batch and freeze the extra one to reheat as a quick last minute side.
- Reheat: To reheat the frozen rolls, don’t bother to thaw them. Instead, place them directly on your baking sheet and pop them in a 350-degree oven to thaw and heat through. It should take about 10 minutes to reheat them. But keep your eye on them to make sure you don’t burn the outside while reheating.