
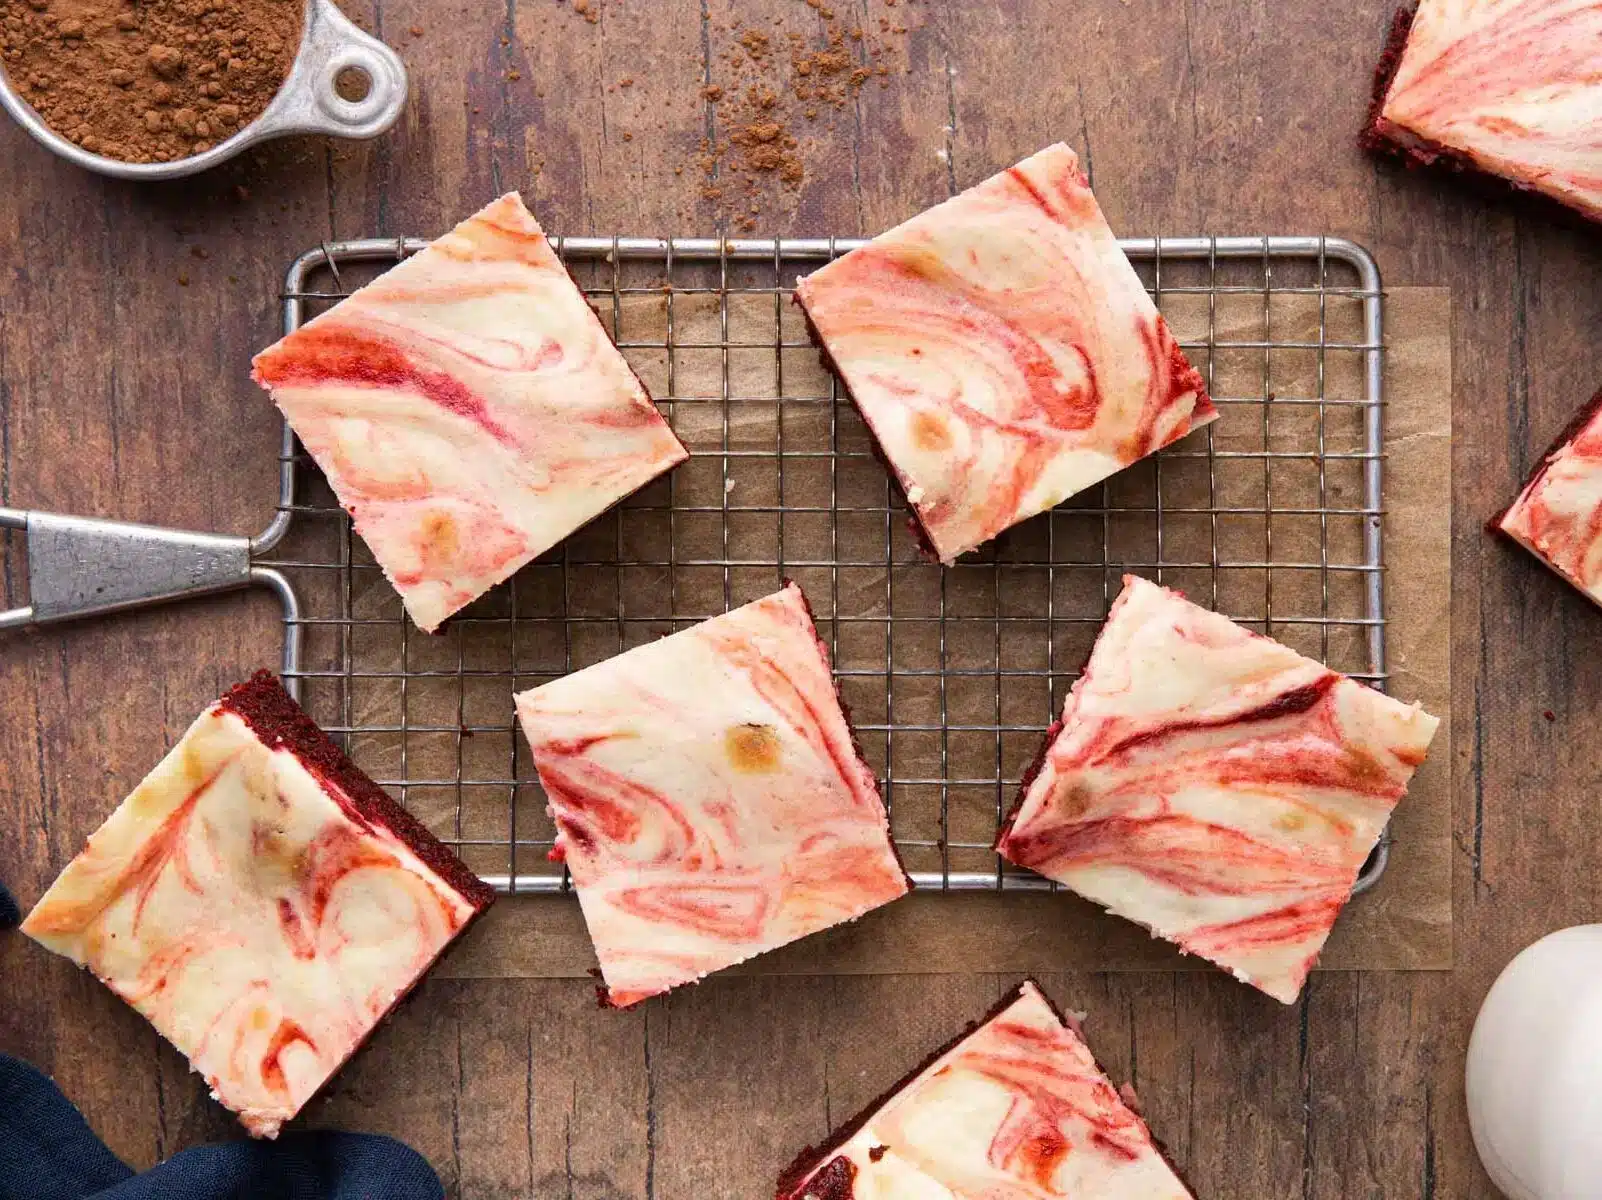
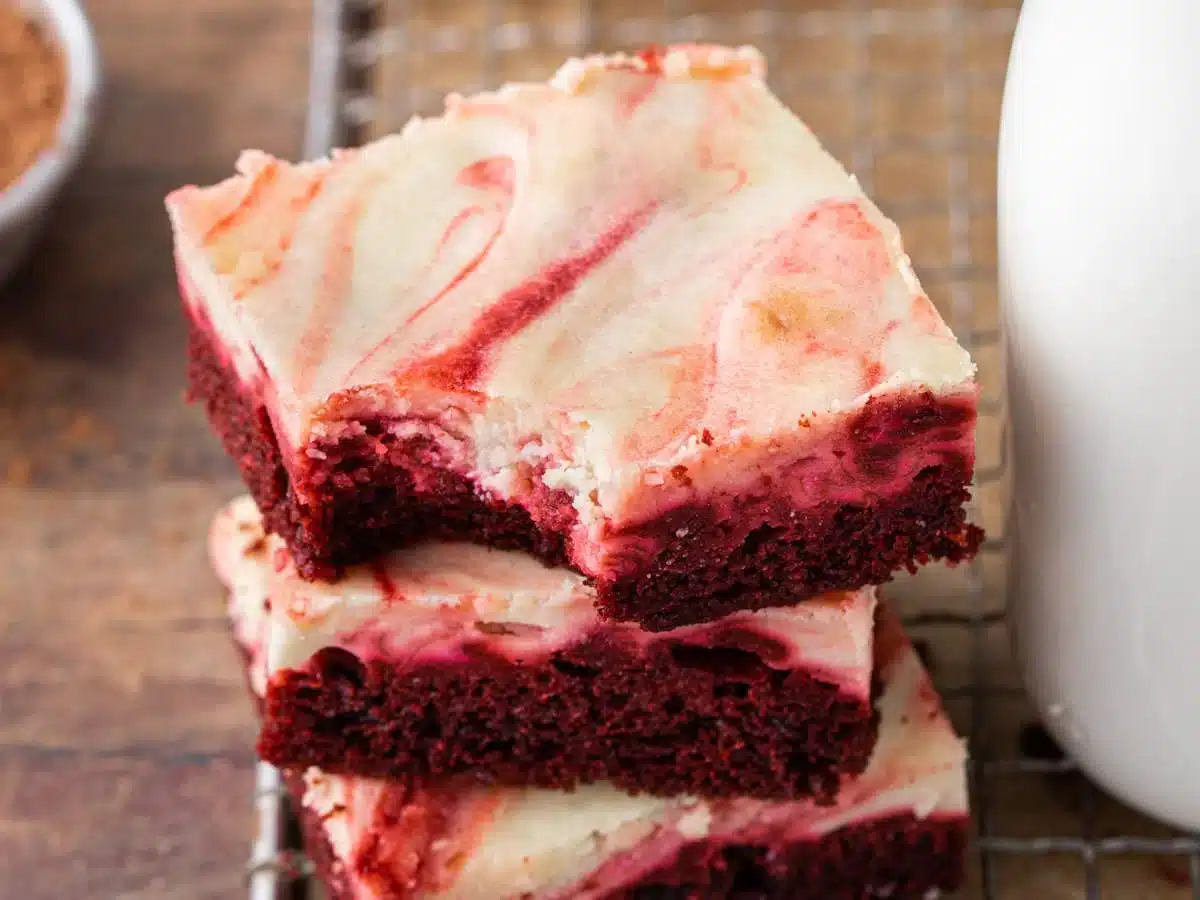
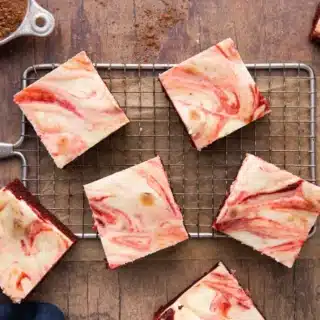
Red Velvet Brownies are the perfect fun fusion of two classic desserts made into one! They are great for Valentine’s Day or for a date night!
Can’t decide between Red Velvet Cake and Chocolate Brownies? Now you can have both with this easy, fun fusion of two classic desserts and after that try my S’mores Brownies for another exceptionally delicious Brownie mashup!
Why You’ll Love These Brownies?
- They have all the delicious flavors of your two favorite desserts combined into one!
- Come together in just over an hour and are made with basic kitchen staples.
Sabrina’s Red Velvet Brownies Recipe
Red velvet desserts are a decadent treat for all the senses. They are stunning to look at, they fill your kitchen with sweet aromas, they are so moist they melt in your mouth, and the buttery vanilla chocolate flavor can’t be beat. These Red Velvet Brownies are the perfect dessert when you are craving chocolate but want a brownie that will wow. Make these to enjoy after a romantic evening or special occasion.
Recipe Card


Ingredients
Red Velvet Brownie Layer:
- 1 1/4 cups flour
- 1/4 cup unsweetened cocoa powder
- 1/2 teaspoon baking soda
- 1/4 teaspoon salt
- 1/2 cup unsalted butter , softened
- 1 cup sugar
- 2 large eggs
- 1/2 cup sour cream
- 1/4 cup buttermilk
- 1/2 ounce red food color
- 1 teaspoon vanilla extract
Cream Cheese Swirl:
- 16 ounces cream cheese , softened
- 2 large eggs
- 2 teaspoons vanilla extract
- 1/2 cup sugar
Instructions
Red Velvet Brownies:
- Preheat oven to 350 degrees and spray a 9×13 baking pan with baking spray.
- Sift the flour, cocoa powder and baking soda into a large bowl.
- In a stand mixer, whisk together the butter and sugar until light and fluffy, then add in the eggs one at a time.
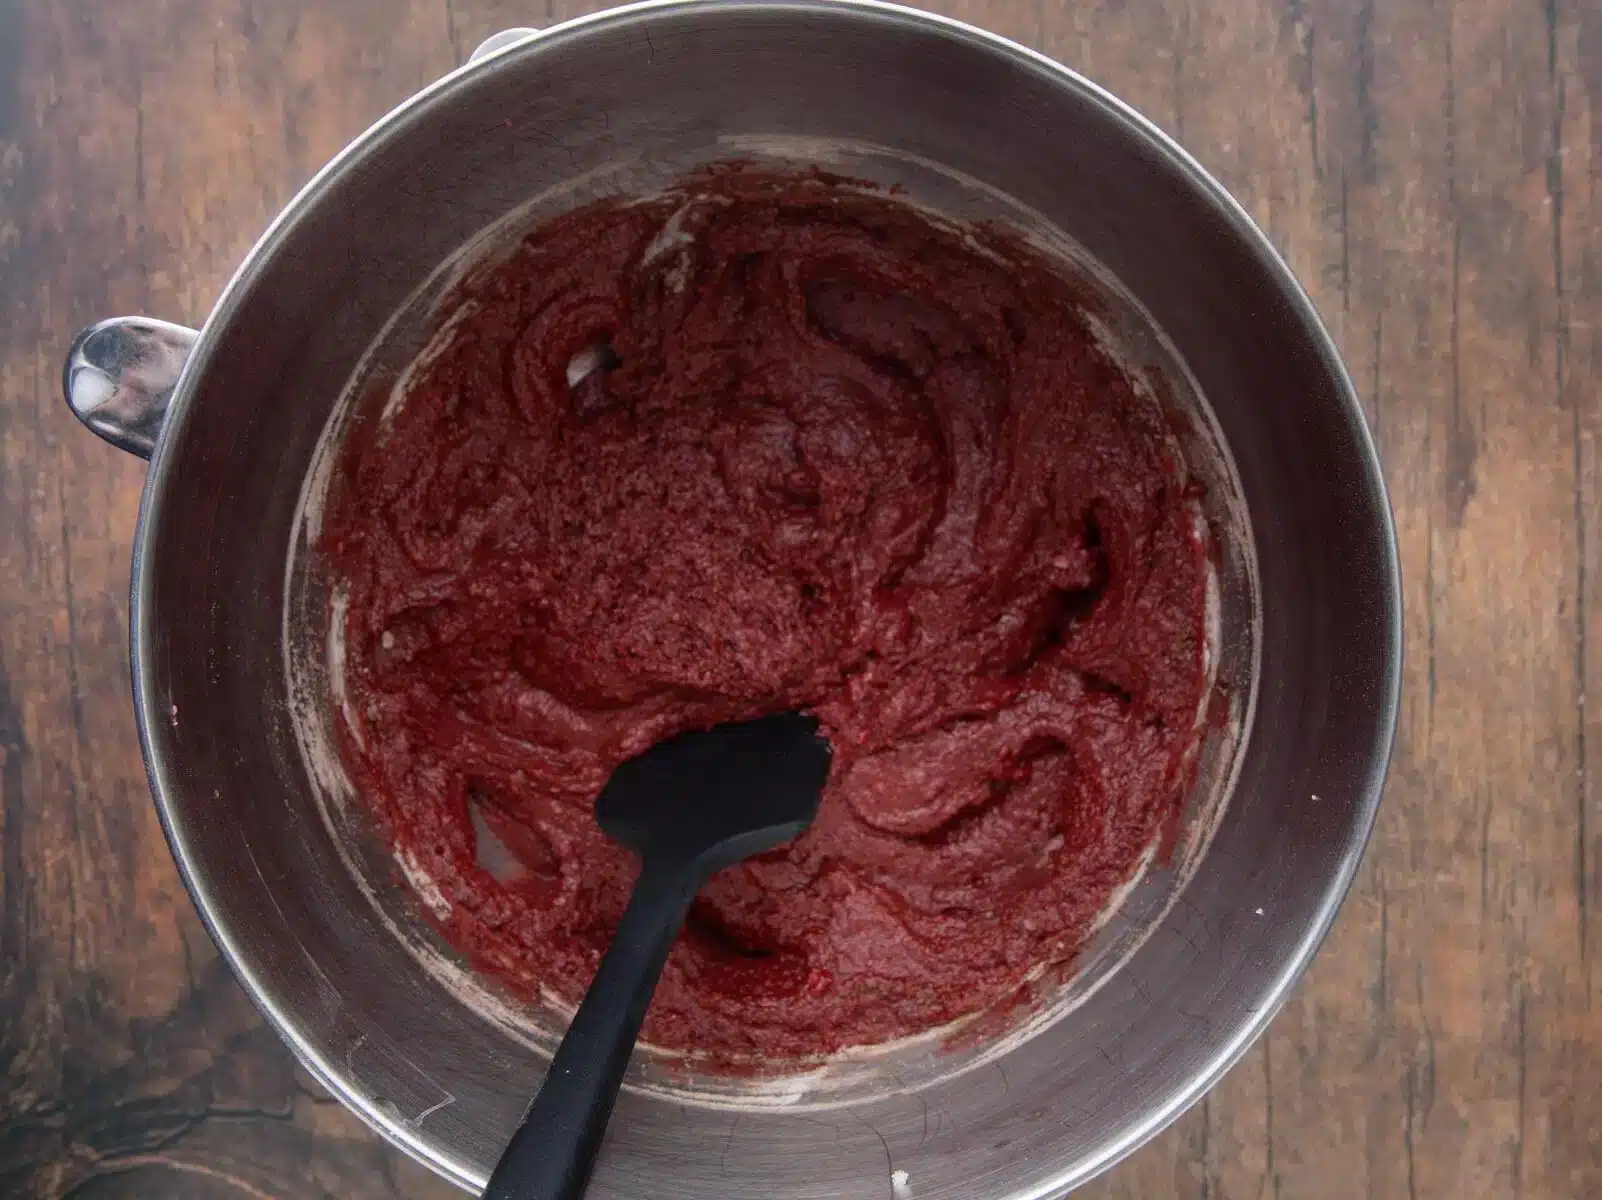
- Whisk in the sour cream, milk, red food coloring and vanilla. Then add in the flour until just combined with no dry streaks.
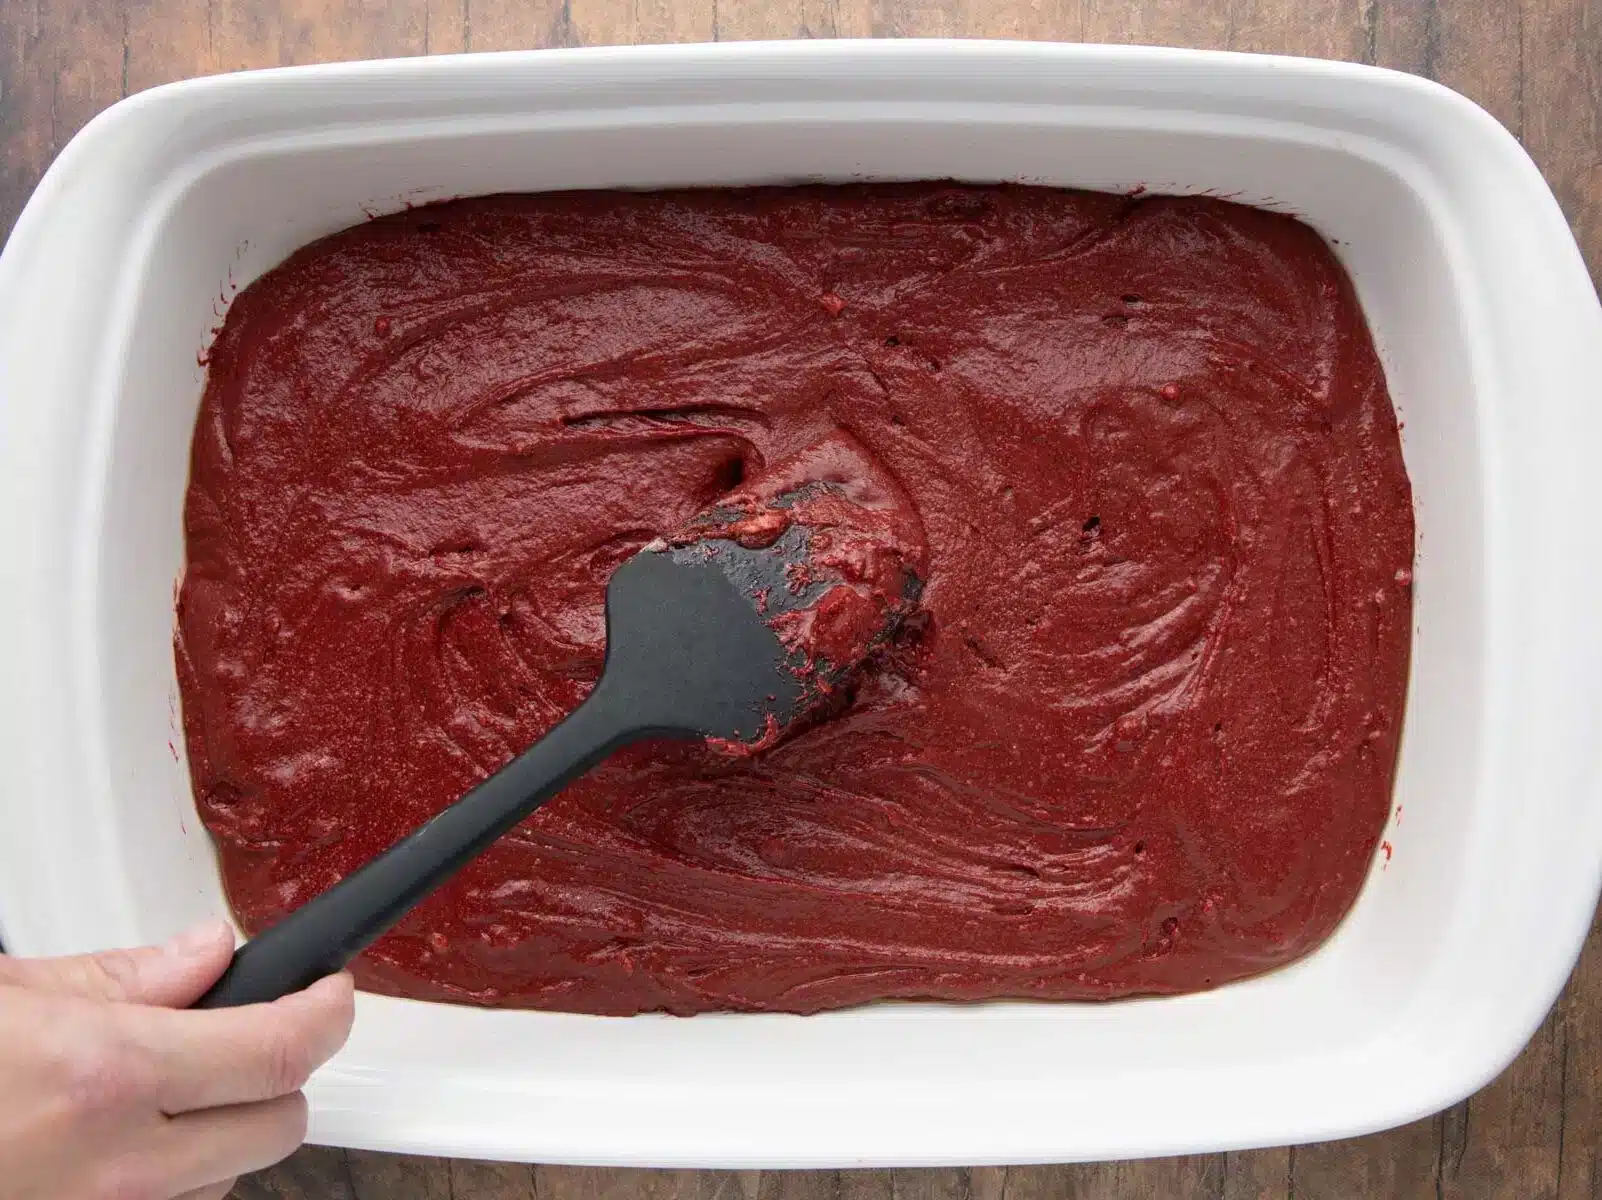
- Pour into baking pan, spread evenly.
Cream Cheese Swirl:
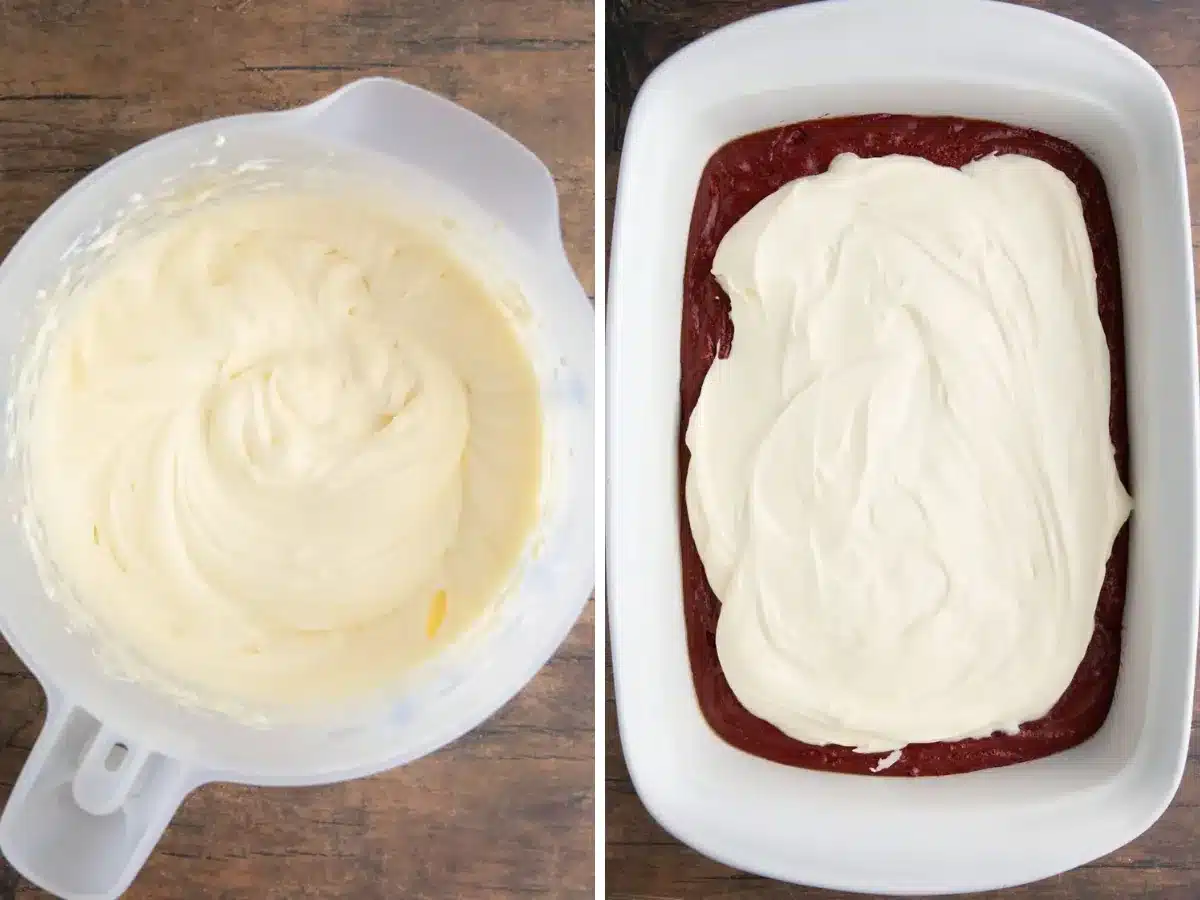
- Whisk together the cream cheese, eggs, vanilla and sugar until smooth.
- Spoon the cream cheese mixture over the top gently.
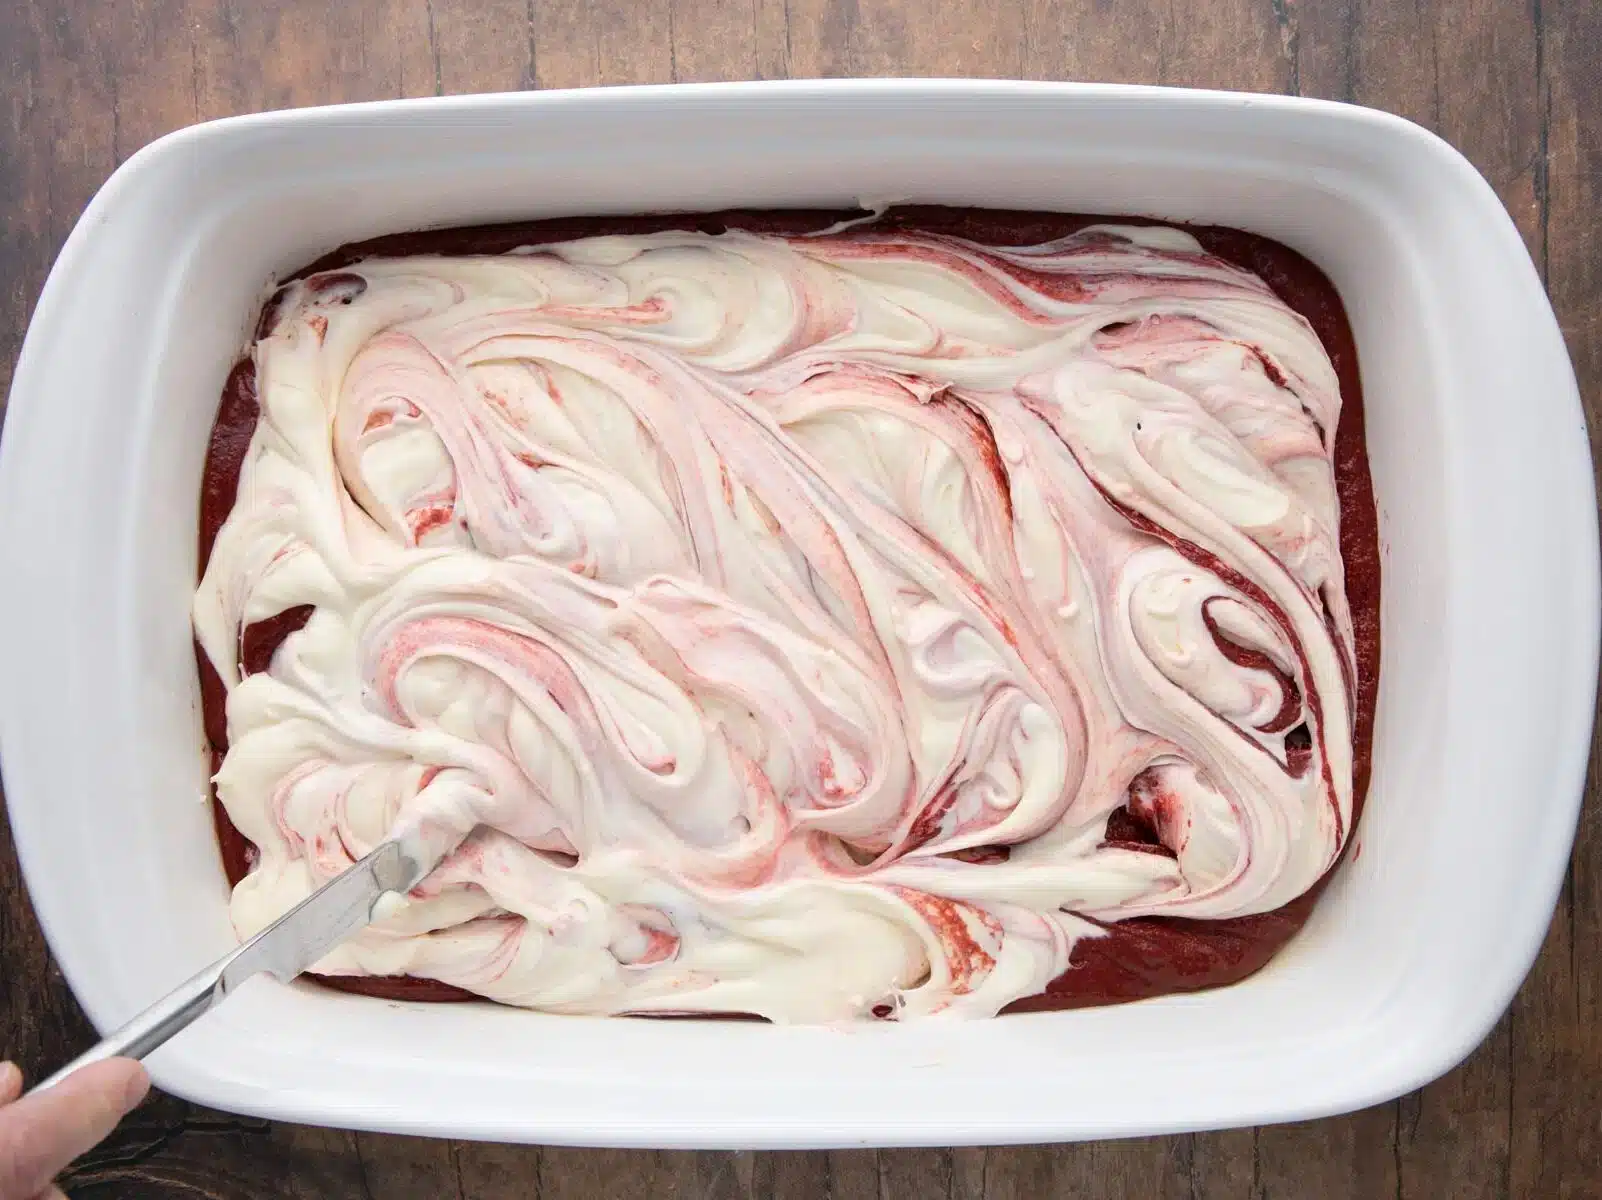
- Swirl gently with a butter knife.
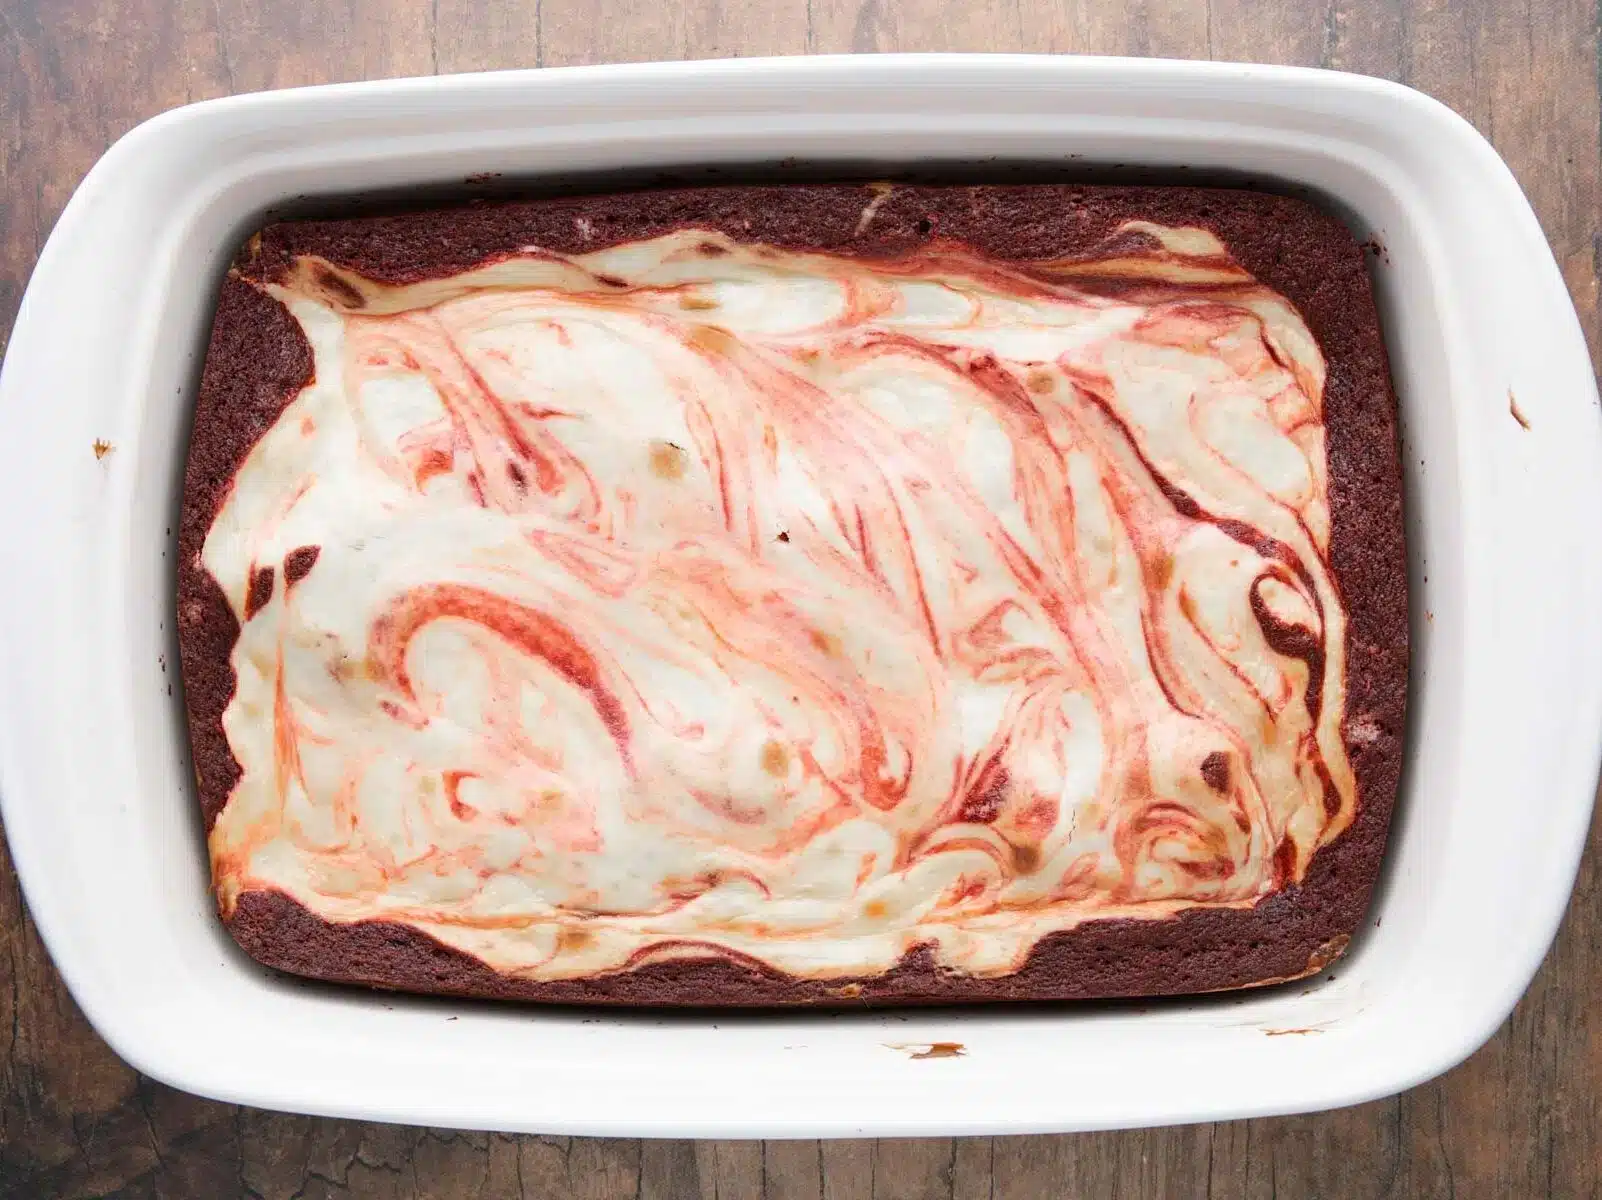
- Bake for 40-45 minutes until a toothpick comes out clean.
- Cool on a wire rack.
Nutrition

Want to save this recipe? Create a free account to easily save your favorite recipes
Chef’s Note
If you like a thicker, more fudgy brownie, bake these brownies in an 8×8 inch pan and increase the baking time by 5-10 minutes. Or you can even bake them in 2 muffin tins for 25-30 minutes. Whatever baking vessel you choose, they are sure to turn out absolutely delicious and beautiful!
Table of contents
About this Recipe
The Red Velvet Brownie layer uses all the ingredients you need for regular homemade brownies plus a couple extras. To give them the signature red velvet flavor, you add sour cream, buttermilk, and of course red food coloring. Gel food coloring give a deeper saturated color, but you can use regular food coloring too. This recipe has a cheesecake swirl instead of the traditional cream cheese frosting that you put on Red Velvet Cupcakes. You still get the tangy flavor, but just a bit less sugary than a frosted brownie. They are still plenty sweet though!
Ingredients
- Cocoa Powder: This recipe uses less unsweetened cocoa powder than regular chocolate brownies. There is enough to give them a mild chocolate flavor without overpowering the buttery vanilla flavors.
- Sour Cream & Buttermilk: Using both sour cream and buttermilk eliminates the need for white vinegar. The sour cream makes your brownies extra moist but they still have that melt in your mouth, tangy red velvet flavor.
- Red Color: Decades ago you wouldn’t need red food coloring, thanks to the science behind original cocoa powder and baking soda mixing. Nowadays, you will need to add food coloring. For brighter Red Velvet Brownies, use gel food coloring.
- Cream Cheese: There should be a rule that you can’t have Red Velvet anything without cream cheese! Instead of a cream cheese frosting, these brownies have a sweet creamy swirl so the flavor is baked in every bite.
Can this be made ahead of time?
Yes, these brownies are perfect to be made ahead of time. They will last for up to a week in the fridge. Well, they wouldn’t last a week in my fridge, but make sure to put layers of parchment between them so they don’t stick together if they are going to stick around for a few days.
Recipe Tips & Tricks
- Prep: If you don’t have baking spray, use regular non-stick spray and lightly dust your pan with flour.
- Brownie Batter: Carefully add in the flour until just combined with no dry streaks. Don’t over mix it.
- Bake: Bake your brownies for 40-45 minutes on the middle rack, or until a toothpick comes out clean. Pop your brownie pan in the fridge for 15 minutes before cutting with a large sharp knife for clean lines and perfectly square brownies.
Serving Ideas
If you are one of those red velvet lovers who can’t get enough of sweet cream cheese flavor, top these Red Velvet Brownies with Cream Cheese Frosting. You could also drizzle them with melted white chocolate or dust with powdered sugar for an easy yet gorgeous extra sweet touch.
How to Store
- Serve: Because of the cream cheese layer, you want to refrigerate these brownies after no more than 2 hours at room temperature.
- Store: Place brownies in an airtight container, using parchment paper layers so they don’t stick together. They will stay good for up to 1 week in the fridge.
- Freeze: Once the brownies have completely cooled, wrap each brownie in plastic wrap and place in a freezer safe bag. You could also just use a freezer safe container with lid but the plastic wrap prevents freezer burn.
Variations
- Chocolate Chips: Chocolate lovers can add chocolate chips for maximum chocolatey flavor! Fold a ½ cup semisweet chocolate chips or white chocolate chips into the brownie batter before pouring into the pan.
- Gluten Free Brownies: The easiest way to make these brownies gluten-free is to swap out the all purpose flour with a one-to-one gluten free flour substitute. These blends mean you don’t have to become a chemist to make Gluten Free Red Velvet Brownies.
- Blue Velvet Brownies: Did you know that you don’t just have to use red food coloring in Red Velvet recipes? Try other fun colors like blue, green, and purple. Darker colors are going to show up better, and using gel food coloring will give you an even more vibrant velvet color.
Related Recipes
More Red Velvet Recipes
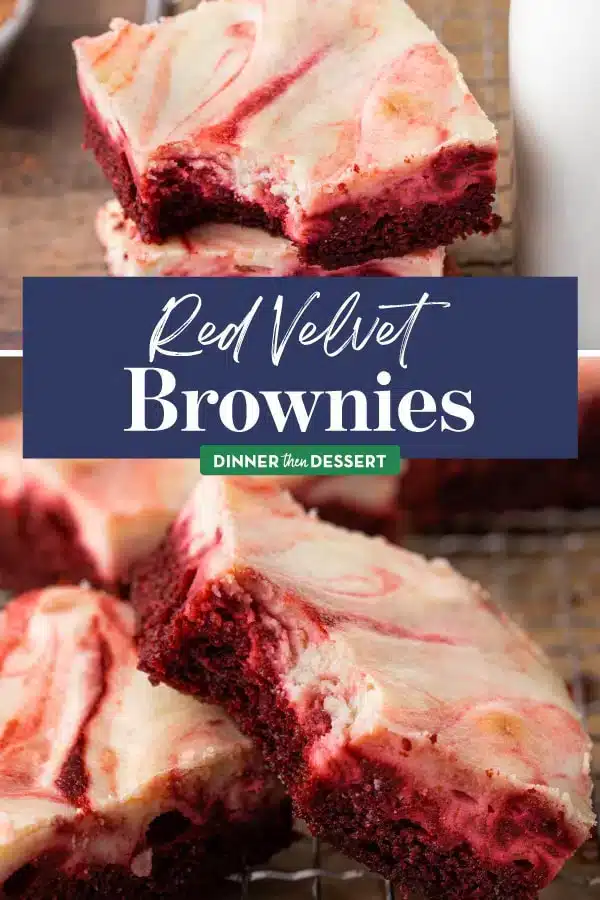







These red velvet brownies are the ultimate rich, fudgy indulgence! That gorgeous deep crimson color makes them such a stunner on a dessert platter, and the sweet cream cheese swirl balances the rich cocoa flavor perfectly.
They are so delicious and so pretty, I’m glad you enjoyed them. Thank you for the 5 stars!