
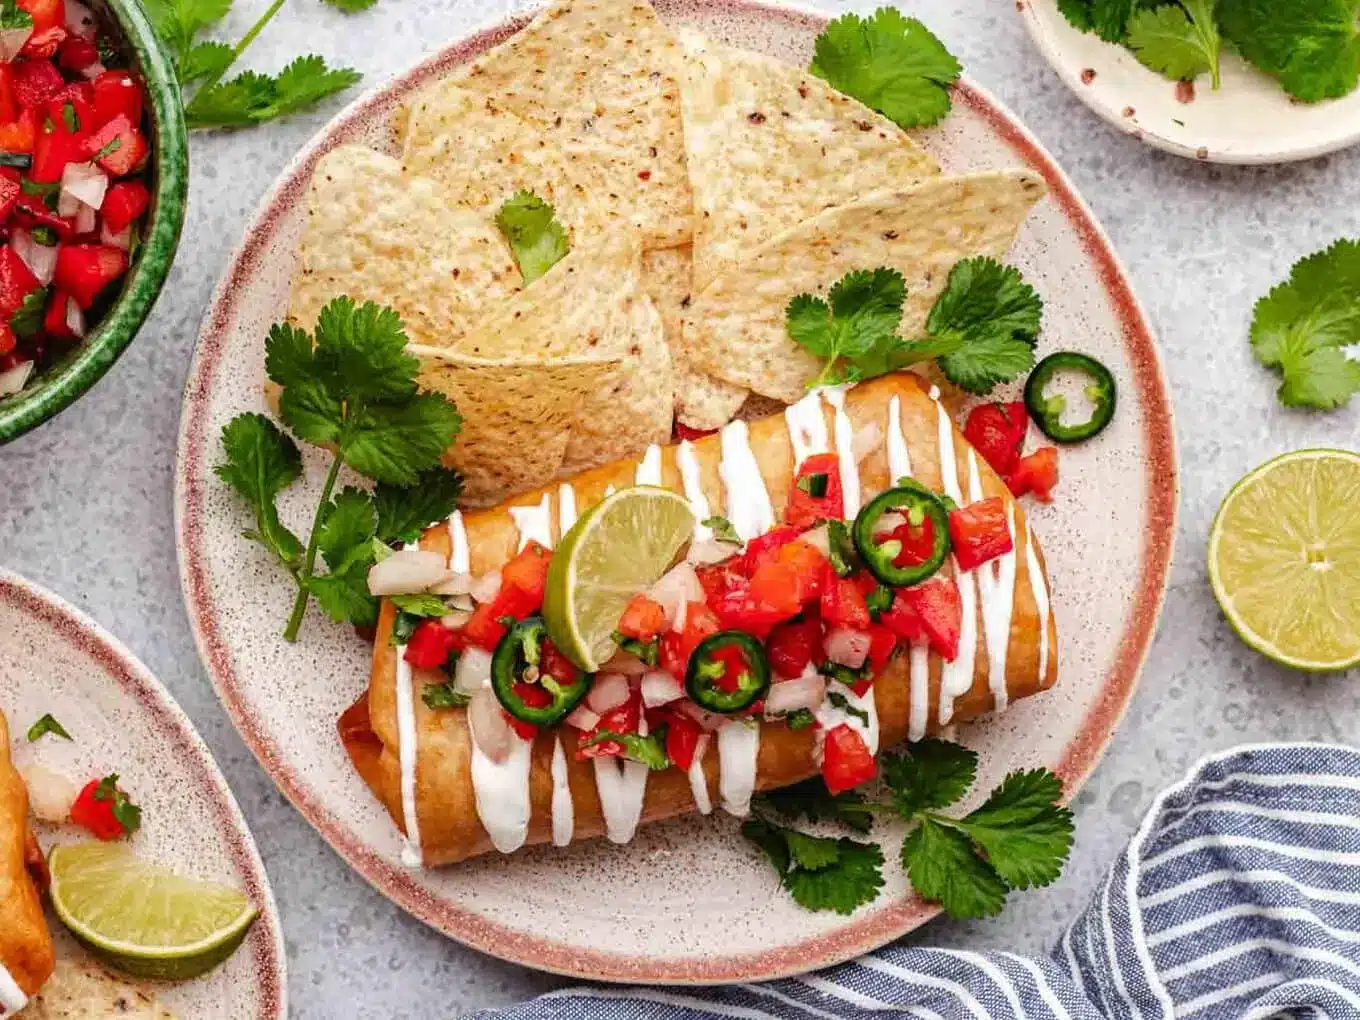
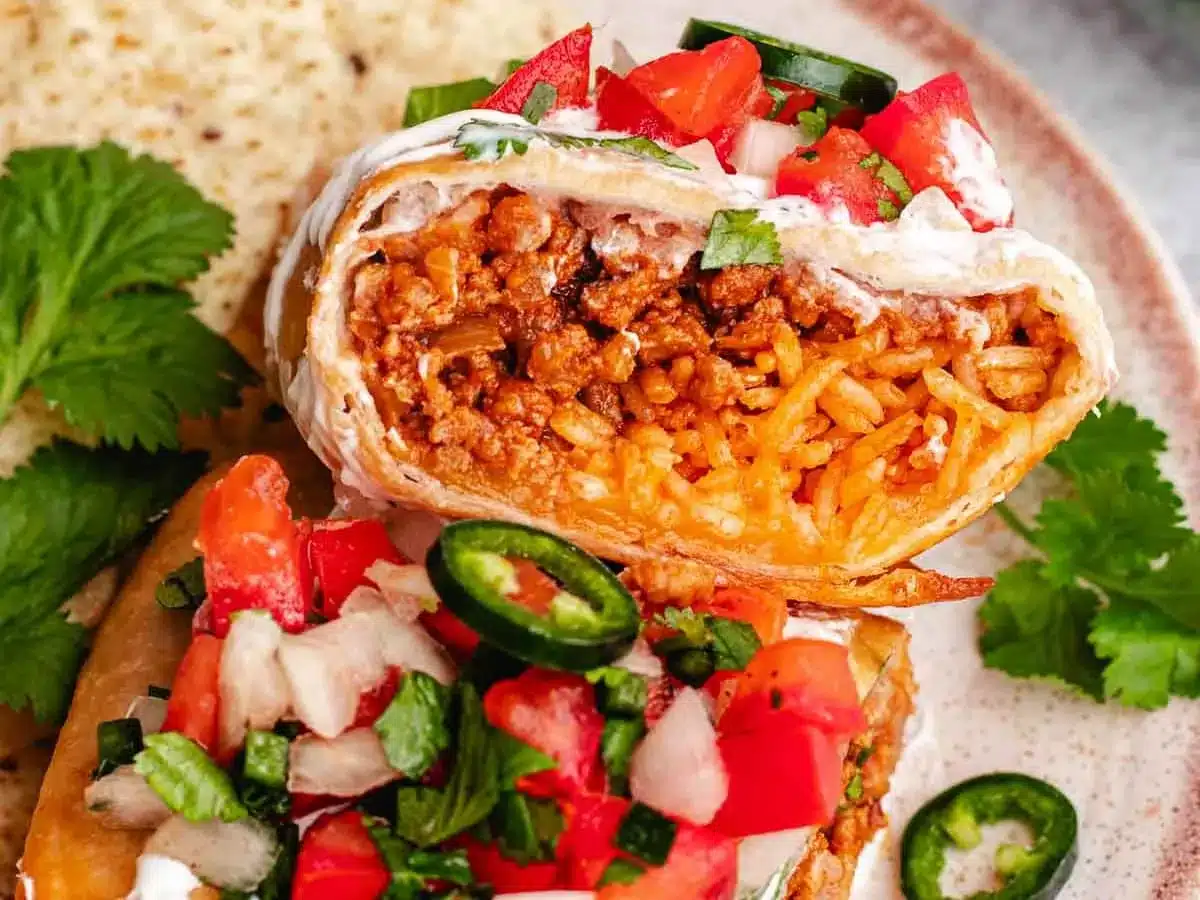
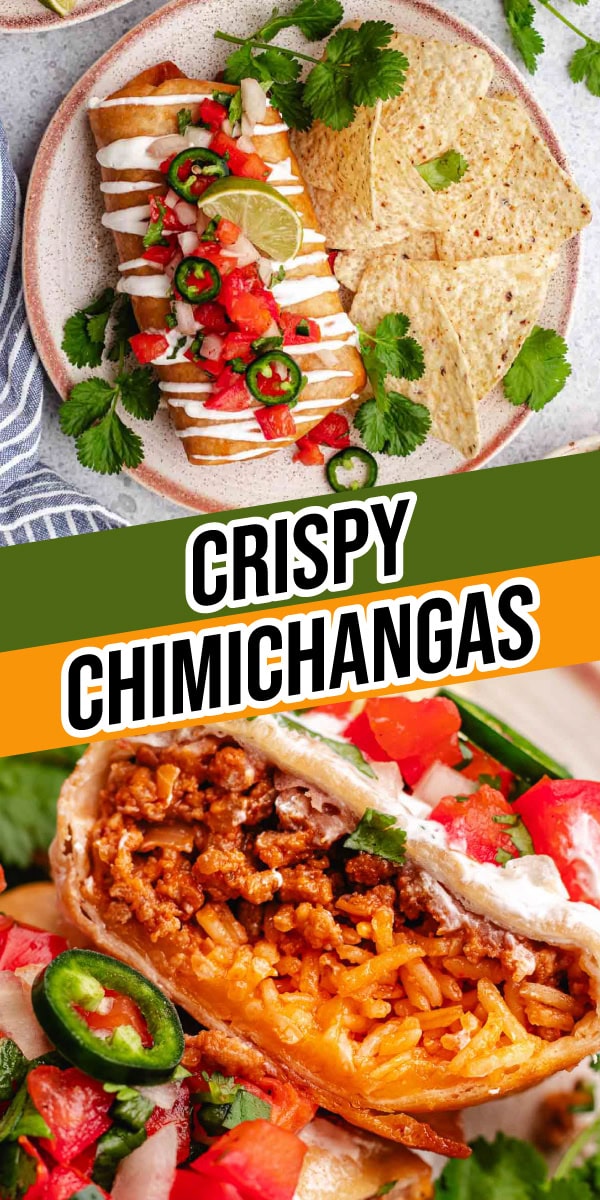
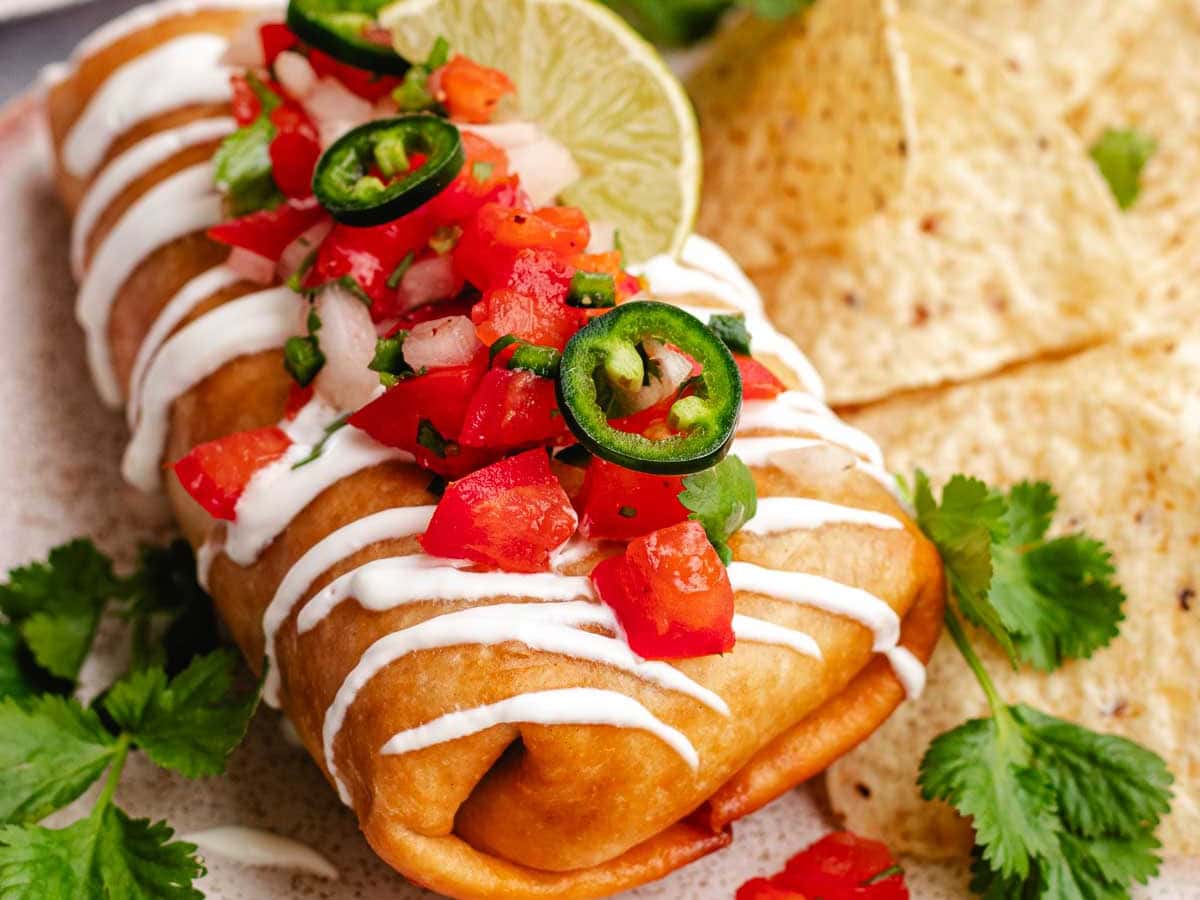
Crispy Beef Chimichangas are a quick fix for a Mexican craving. Customize with any fresh toppings to make it your own. Don’t forget a side!
This crunchy take on a classic Beef Burrito is a great Mexican Recipe to try. Be sure to give the California Burrito a try this week, too!
Why You’ll Love These Chimichangas?
- A fried version of a classic burrito for added crunch the whole family will love.
- Super customizable with a variety of toppings to fit your family’s preferences.
Sabrina’s Crispy Beef Chimichangas Recipe
Taco Tuesday is wonderful, but sometimes I like to mix it up! Mexican food always hits the spot in my household. With endless options for toppings, fillings, and sides… these are easy to quickly customize to everyone’s sought-after taste. What are you waiting for? Let’s get cooking!
Recipe Card



Ingredients
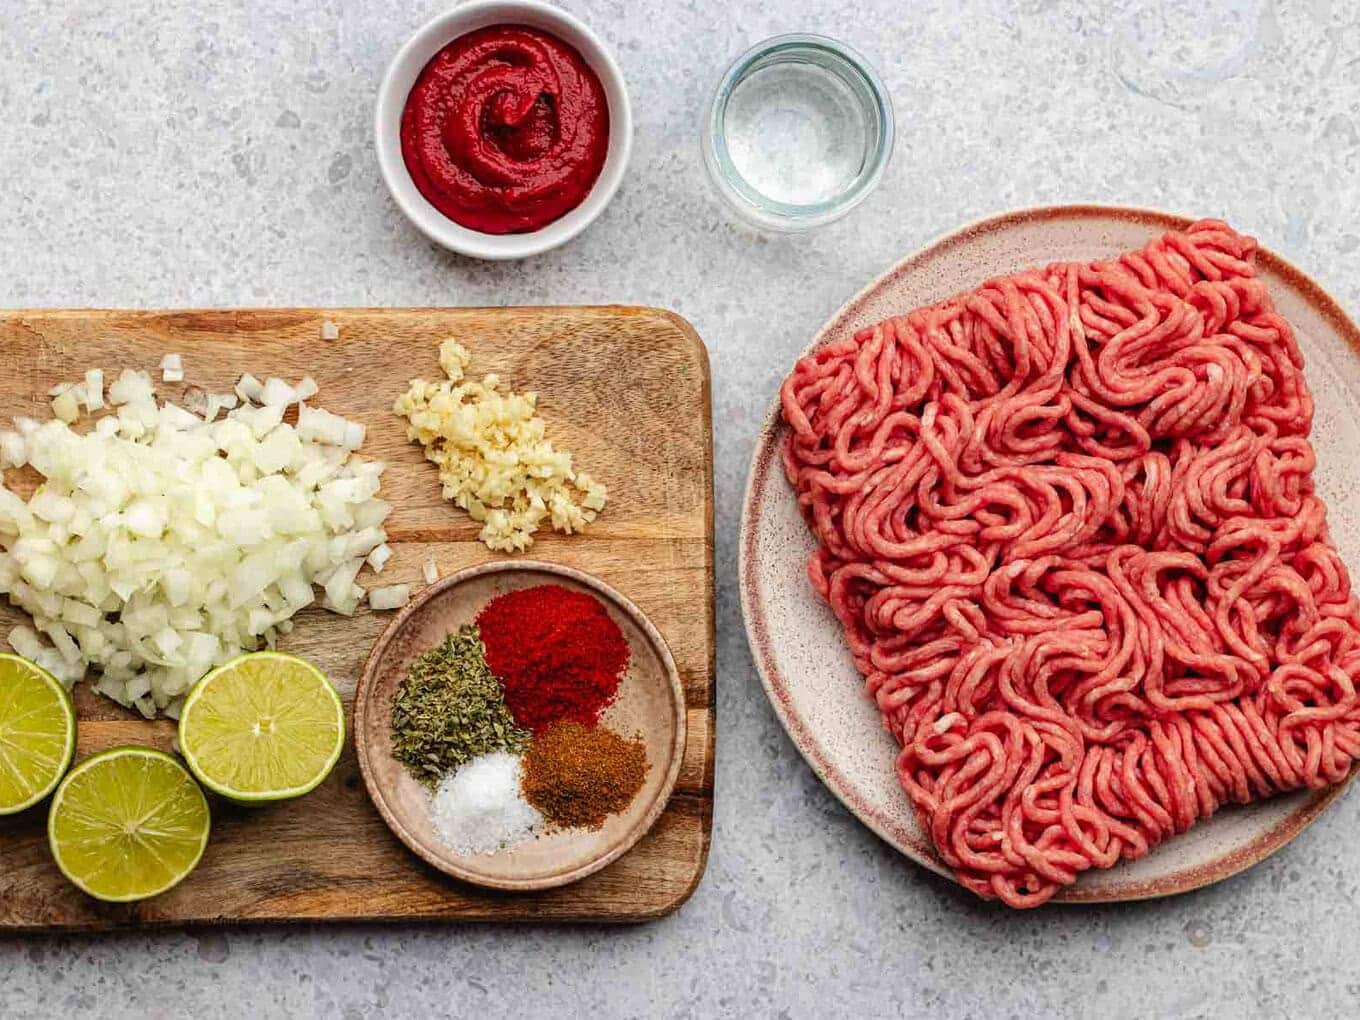
- 1 pound ground beef
- 1/2 cup chopped onion
- 3 cloves garlic , minced
- 3 Tablespoons tomato paste
- 1/2 Tablespoon ground cumin
- 1 teaspoon chili powder
- 1 teaspoon dried oregano
- 1/2 teaspoon salt
- 2 Tablespoons fresh lime juice
- 1/4 cup water
- 2 cups Mexican rice , Recipe
- 2 cups Refried beans , Recipe
- 2 cups shredded cheddar cheese
- 8 large , 10-inch flour tortillas
Toppings:
- 1 cup sour cream
- 1 cup pico de gallo
- 1 tablespoon cilantro , minced for garnish
Instructions
Beef Filling:
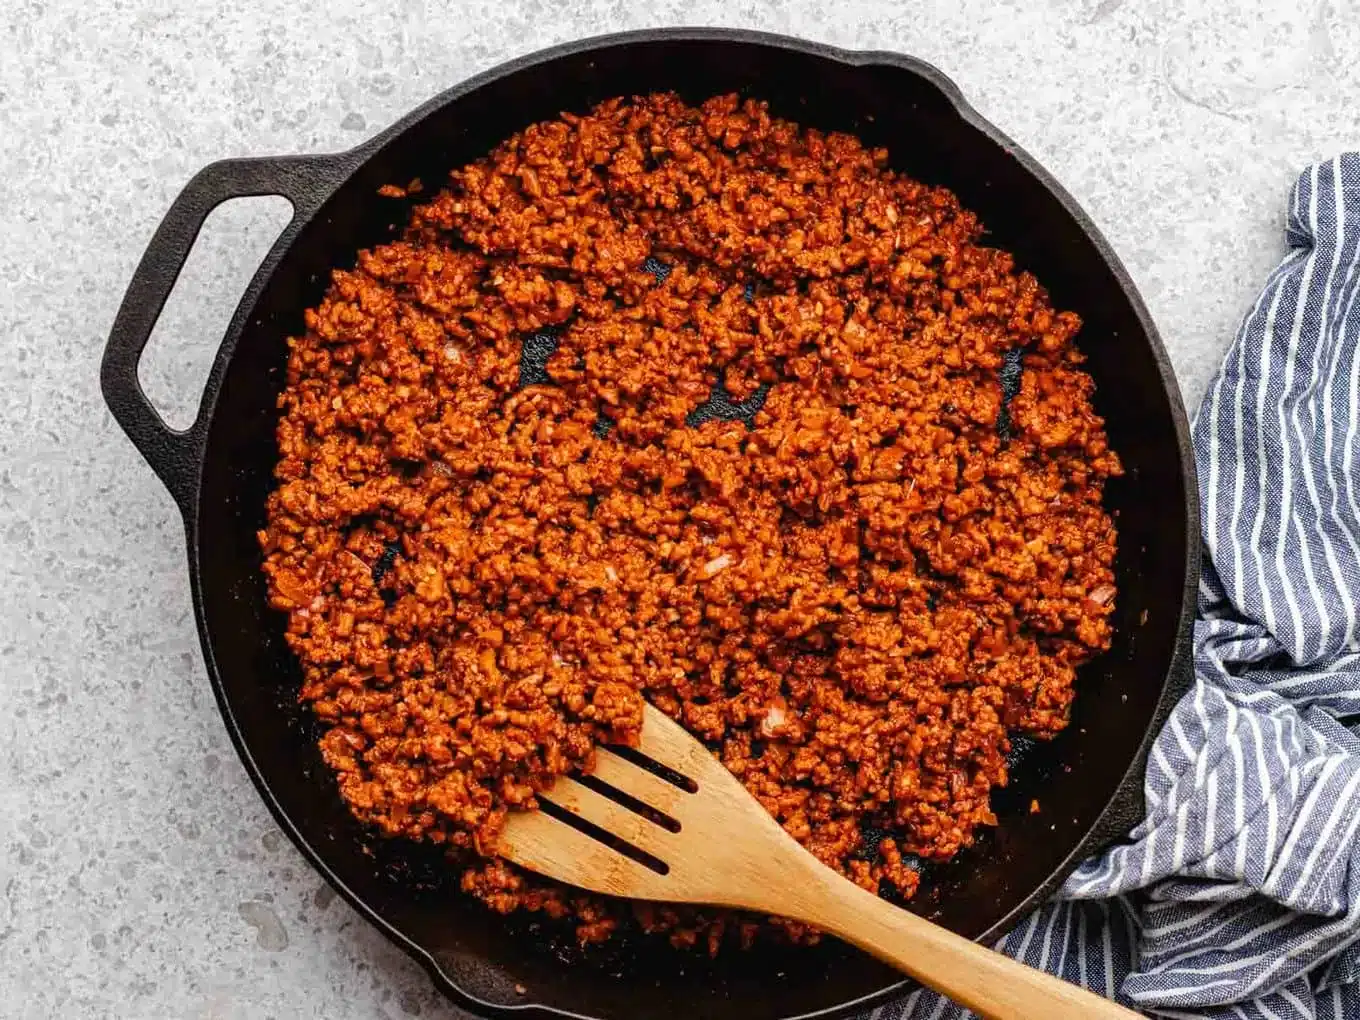
- In a large skillet, over medium-high heat, add ground beef, onion and garlic to skillet.
- Cook and crumble beef and cook until no longer pink then drain the grease, about 8-10 minutes.
- Add tomato paste, cumin, chili powder, oregano, salt, lime juice and water to beef.
- Cook and stir until mixture comes to a slight boil.
- Reduce heat to low and cook for 5 to 8 minutes or until thoroughly heated.
- Remove from heat and set aside as you assemble your chimichangas.
Assembly:
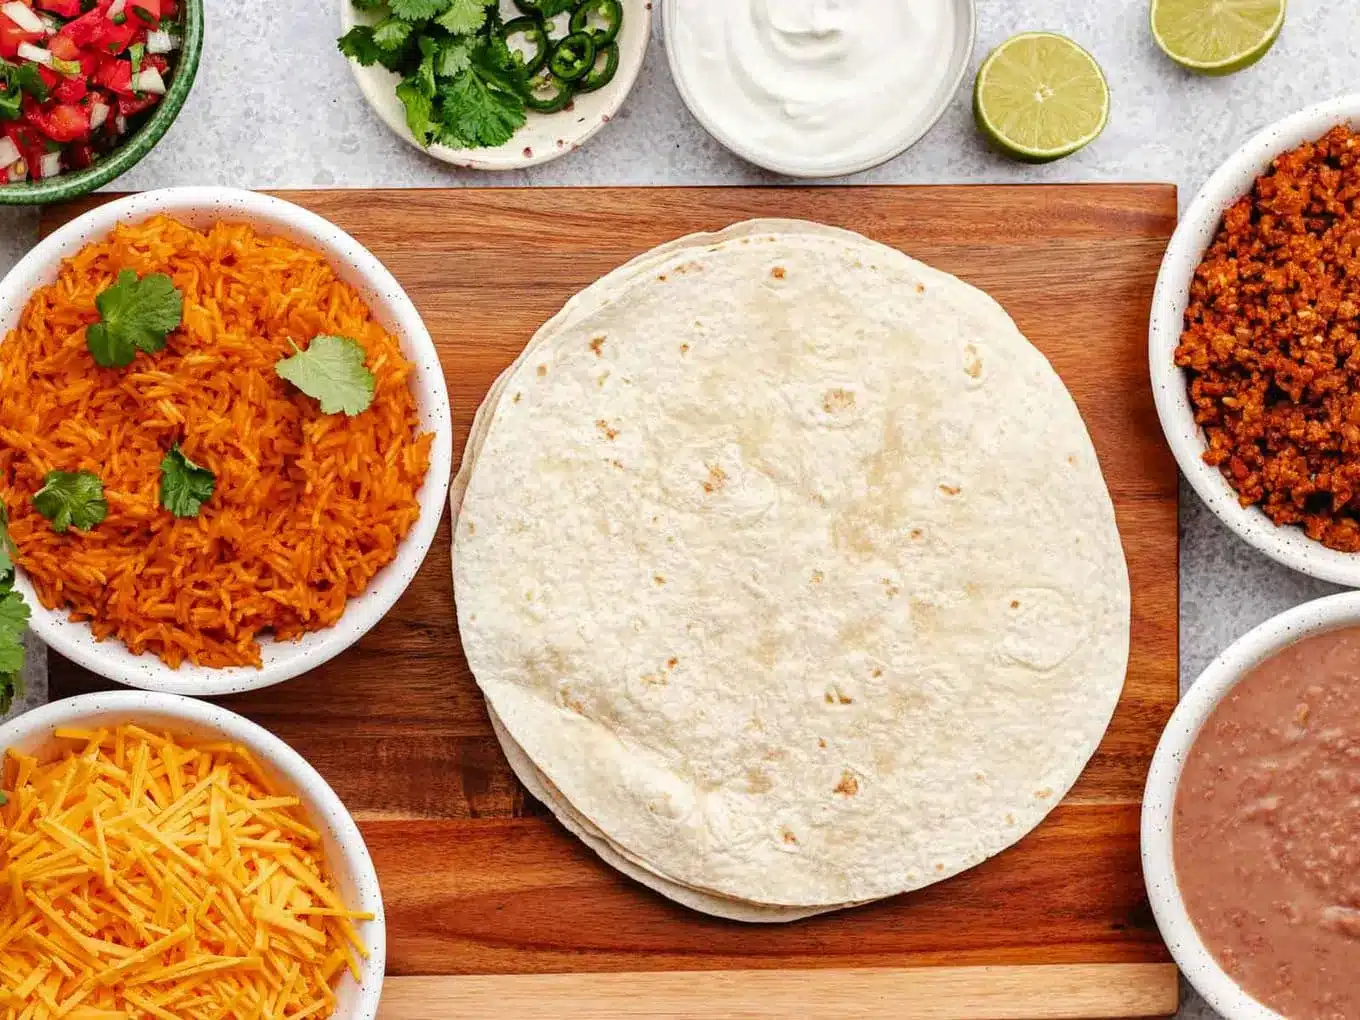
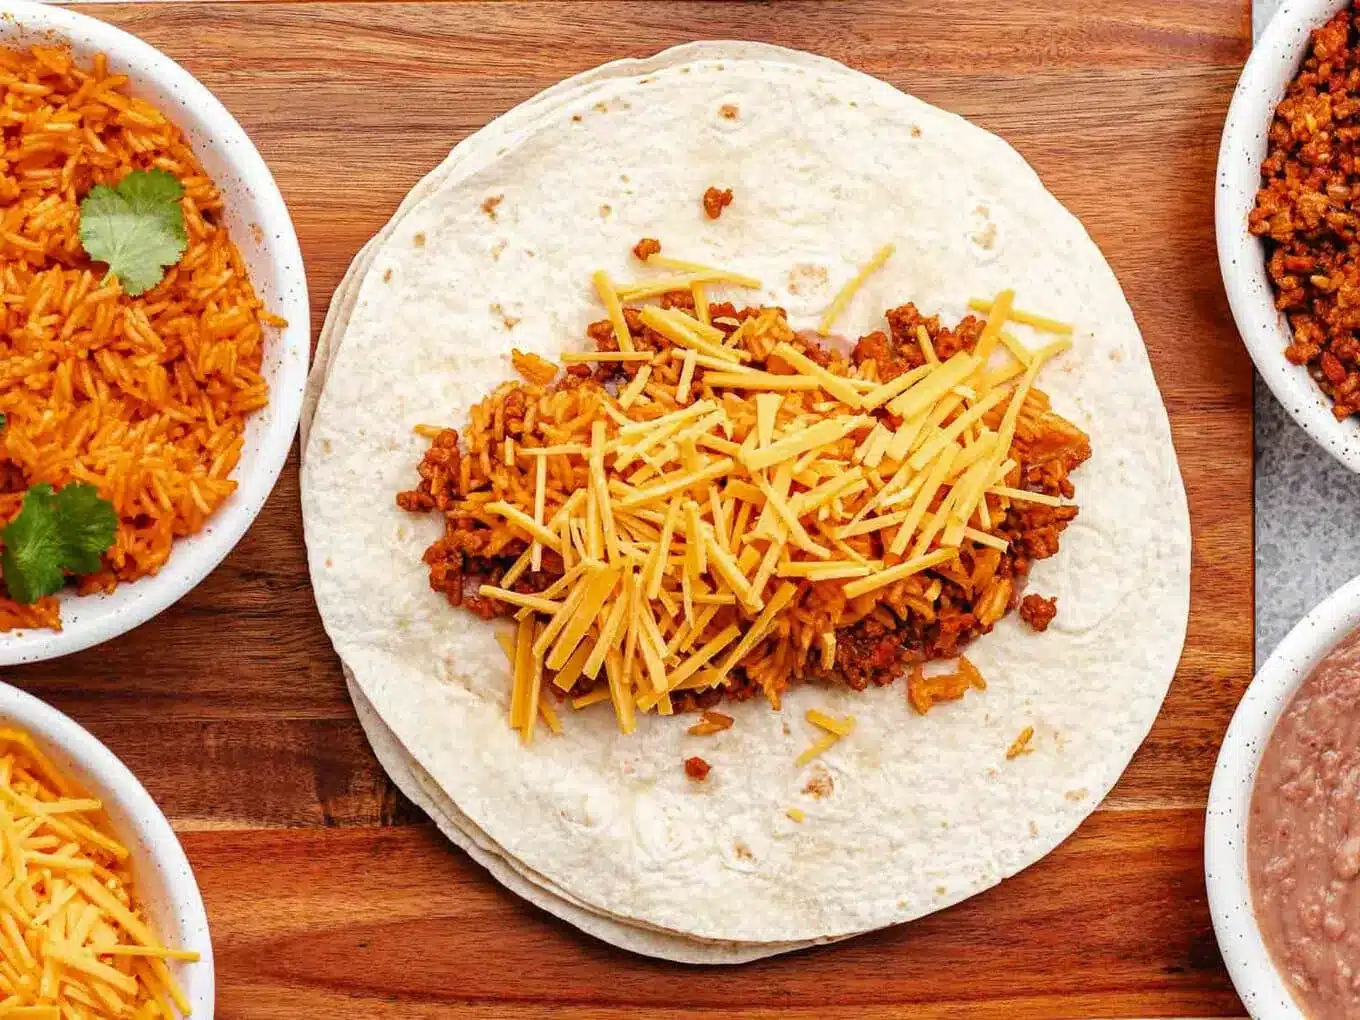
- Lay tortillas out on a flat surface and divide the beans, cheese, beef and rice among the 8 tortillas. Fold each burrito-style and secure with toothpicks.
- Add 3 inches of oil to a large dutch oven to 350 degrees.
- Carefully lower one chimichanga into the oil and fry for 1-2 minutes on each side until golden brown.
- Repeat with the remaining Chimichangas, cooking one at a time.
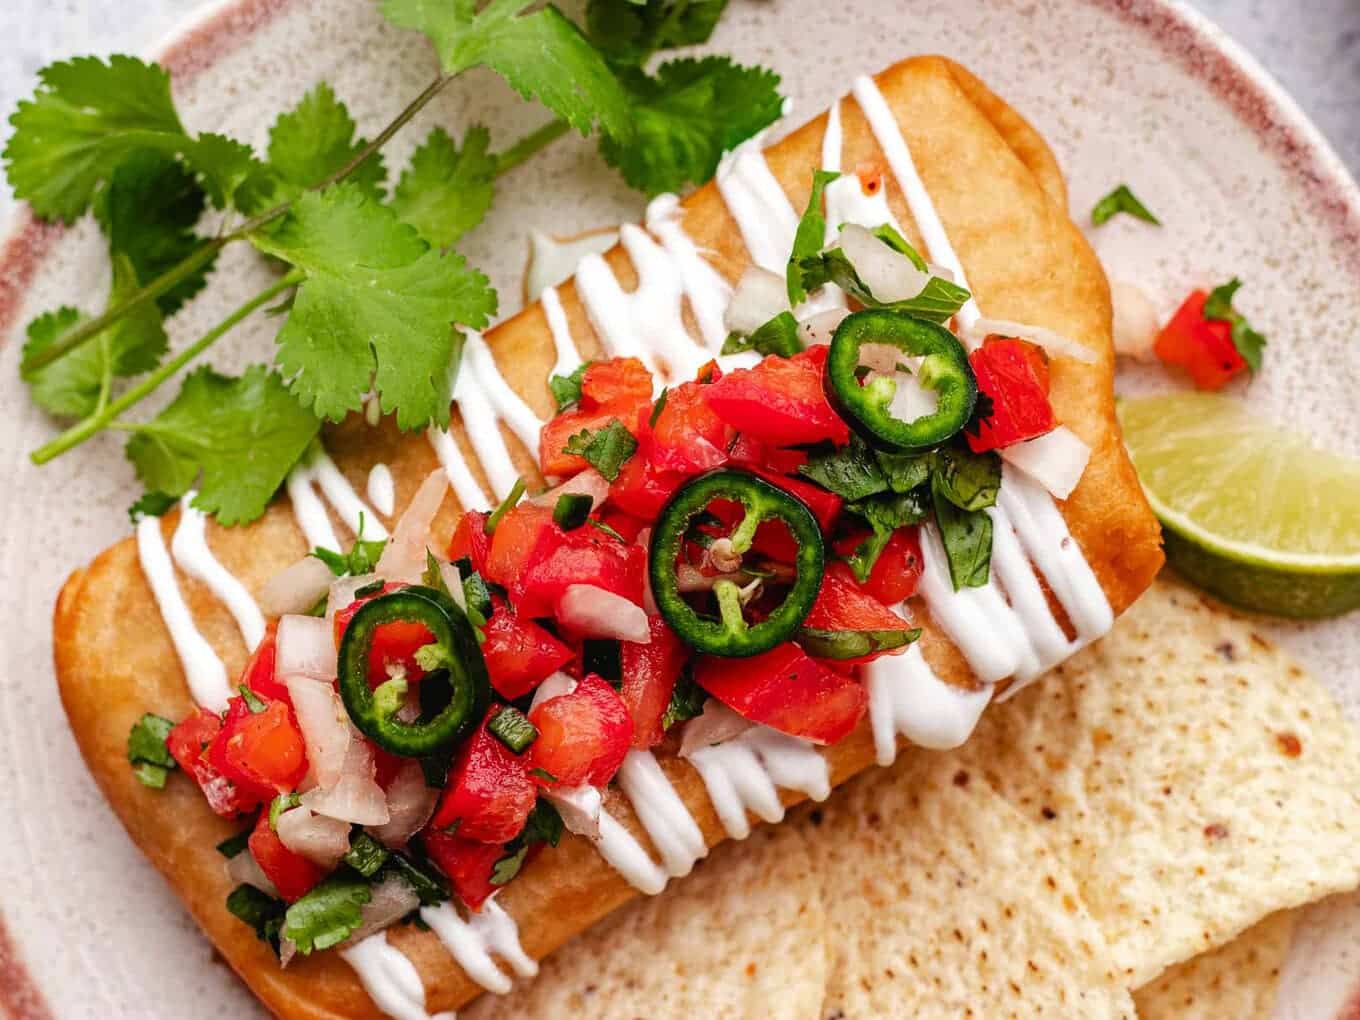
- Remove the toothpicks, serve with tortilla chips and top the chimichangas with sour cream and pico de gallo.
Nutrition

Want to save this recipe? Create a free account to easily save your favorite recipes
Sabrina’s Tip
I only cook 1 chimichanga at a time so they cook quickly and aren’t greasy. Adding more to the pan lowers the oil temperature which causes longer cooking times. More cooking time means more oil is absorbed which causes greasy shells. It takes just a few extra minutes to cook them one at a time, but it’s worth it!
Table of contents
About this Recipe
Homemade Chimichangas are the perfect dish for a family meal that everyone will love! Follow my simple recipe instructions to prepare mouthwatering, lightly spicy beef filling. Then, add the mixture to the tortillas along with cooked beans, rice, and melty cheese. Finally they get deep fried in oil for that signature crunchy tortilla. Every bite is crispy, flavorful perfection!
Ingredients
- 1 pound Ground Beef: Use ground beef for an easy and delicious meat filling to go in your Chimichanga recipe. You can use lean ground beef or regular ground beef, according to your preference. Lean ground beef just won’t be quite as flavorful.
- 3 tablespoons Tomato Paste: Add tomato paste to the ground beef mixture along with seasonings and water. The liquid mixture turns into a rich sauce that coats the meat.
- Seasonings: Flavor the ground beef with ½ Tablespoon ground cumin, 1 teaspoon chili powder, 1 teaspoon dried oregano, and ½ teaspoon salt to give a rich, warm, spicy flavor.
- 2 tablespoons Lime Juice: The tangy flavor of fresh lime juice contrasts with the spicy and savory ingredients in the recipe. On top of that, the acidity of lime juice helps tenderize and saturate the beef with flavor.
- 2 cups Mexican Rice: Mexican rice is seasoned with cumin, garlic, chili powder, and tomato sauce to make the white rice taste perfect with the meat filling.
- 2 cups Refried Beans: Layer in refried beans along with the rice and meat. The beans make the fried burritos more filling, and add flavor and moisture. The addition of other fillings also helps the 1 pound of ground beef stretch to fill 8 large tortillas.
- 2 cups Shredded Cheddar Cheese: Sprinkle shredded cheddar over the warm filling ingredients so that it melts into the perfect, delicious, cheesy topping.
- 8 large 10-inch Flour Tortillas: Use large, burrito-sized tortillas so that they can hold all the filling ingredients without bursting open. White flour tortillas work perfectly for this recipe and will crisp up nicely when you fry them.
Can this be made ahead of time?
Yes. If you want to meal prep this recipe, you can cook the beef mixture ahead of time. Then, place the beef and other filling ingredients in airtight containers in the fridge to keep fresh for 3-4 days. Assemble and serve the Chimichanga recipe with fresh tortillas. Alternatively, you can assemble the burritos, wrap them in aluminum foil, and freeze them for later. Then, let the Chimichangas thaw and fry them to serve.
Recipe Tips & Tricks
- Best Folding Technique: To ensure your burritos don’t fall apart while frying or serving, add the filling ingredients to the center and be careful not to overstuff. Fold the top and bottom of the tortilla partially over the filling. Then, roll the tortillas burrito style so that the ends are tucked in and the filling won’t fall out. Add a toothpick for extra security.
- Keep Chimichangas Crispy: To ensure that your homemade Chimichangas don’t become soggy, drain the beef mixture to remove excess grease, and lay the rice down first so that the beans and meat aren’t in as much contact with the tortilla.
Serving Ideas
- Fillings: You’re sure to love this flavorful take on a classic with ground beef, Mexican Rice, and Refried Beans.
- Toppings: Serve fresh Chimichangas with colorful and flavorful toppings. They’ll taste and look amazing with sour cream, Fresh Pico de Gallo, diced onions, chiles, or tomatoes.
- Sides: Serve your Chimichangas with your favorite Mexican or Tex-Mex side dishes. Mango Salsa, Guacamole, nachos, and Mexican Corn Salad make great additions to this meal. Serve with chips and salsa on the side for a Mexican restaurant-style dinner!
How to Store
- Store: To keep leftovers fresh, wait for them to cool, then wrap individually in aluminum foil and place them in an airtight container. They can stay good in the fridge for up to 3 days.
- Reheat: To reheat leftovers preheat your oven temperature to 350 degrees and place them on a baking sheet. Reheat in the oven for 5-10 minutes or until warmed through.
- Freeze: You can also keep them frozen. Wrap them tightly in aluminum foil and place them in a freezer bag to freeze for up to 3 months.
Alternative Cooking Techniques
Oven Baked Method
- To prepare crispy Chimichangas in the oven, start by cooking the beef mixture on the stovetop and assembling the tortillas as usual.
- Preheat your oven to 400 degrees and place them in a single layer on a rimmed baking pan.
- Brush the tortillas with a little oil.
- Then, place in the oven until the tortillas are golden brown.
Air Fryer Method
- For the air fryer cooking method, preheat the fryer to 400 degrees and prepare the beef Chimichangas as usual.
- Spray the tortillas with a light layer of cooking oil.
- Then, place them in a single layer in the air fryer basket (you’ll need to work in batches for this method).
- Air fry for 4-6 minutes, then flip them and fry for another 2-4 minutes.
Variations
- Chicken Chimichangas: Instead of making the Chimichanga filling with beef, you can use ground chicken or cooked shredded chicken. Add the tomato sauce and seasonings to flavor the chicken before adding it to the tortillas with the other fillings.
- Filling ingredients: Change up the Burrito filling based on your preferences; you can swap out the refried beans for black or pinto beans. You can also add different kinds of cheese like Monterey jack, pepper jack, or queso fresco.
- Vegetables: Try adding your favorite vegetables like sliced bell pepper, corn, or roasted mushrooms to this delicious recipe.
Related Recipes
Flavorful Mexican Dinners
Photos used in previous post:







How much heat do these have? Mild, Medium or Hot?
To me, these are very mild, however if you have a sensitivity to spicy, you can omit the chili powder. If you don’t, feel free to add more chili powder to your personal preference.
These were excellent! I prepped these in advance, then air fried them for a quick and easy dinner that my family really enjoyed. Thank you!
You’re welcome Sandra! Glad you enjoyed the chimichanges!