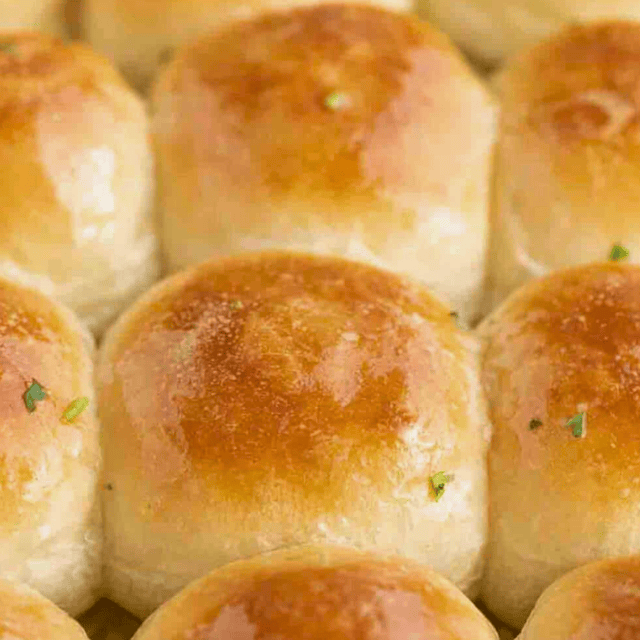
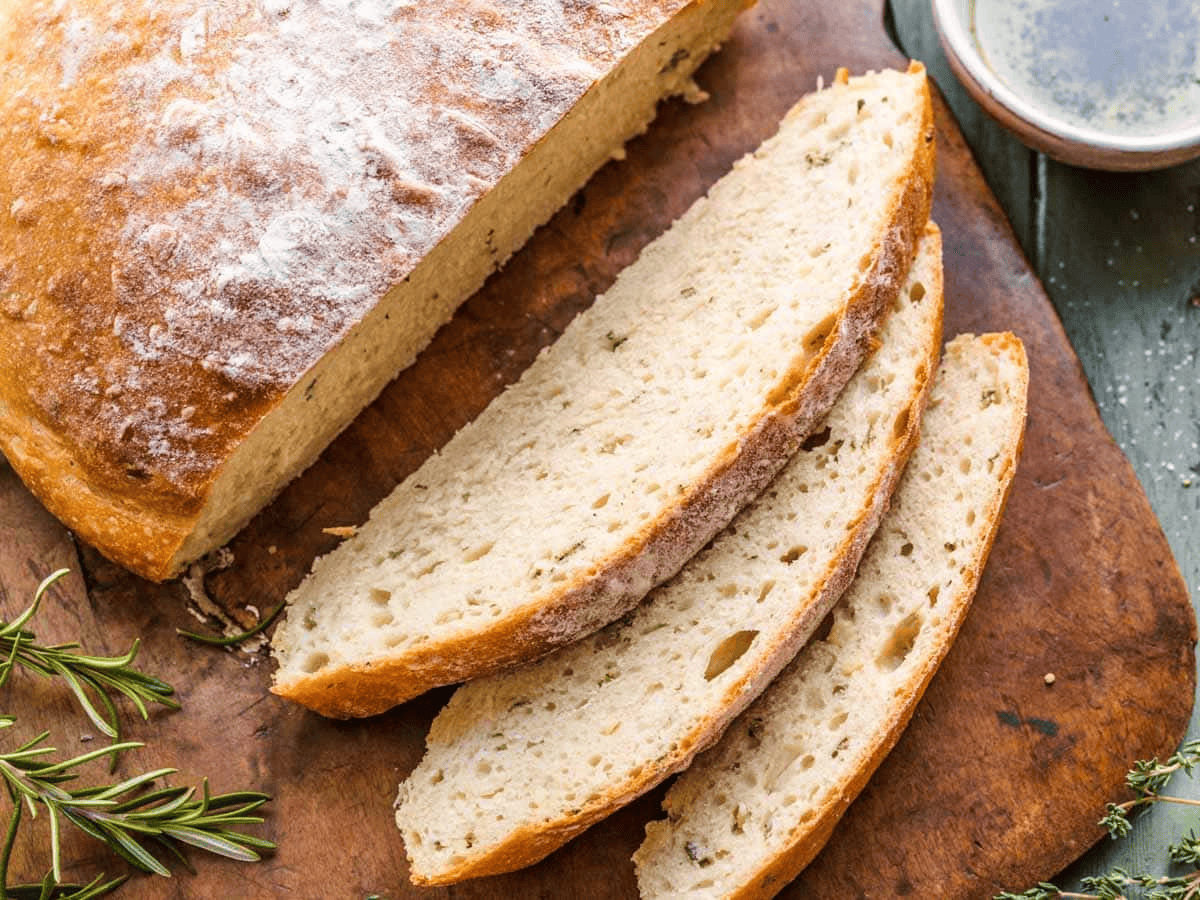
Crusty Garlic Herb Bread is an easy no-knead yeast bread recipe made with pantry staples, olive oil, and fresh rosemary, thyme, and garlic.
A slice of warm, freshly baked Homemade Bread makes the perfect side to comforting dishes like soups. stews, pasta and hearty Pot Roast. This delicious recipe is a rustic bread recipe similar to our Crusty French Bread Rolls but with lots of fresh garlic and herb flavor!
Sabrina’s Crusty Garlic Herb Bread Recipe
You won’t believe how easy it is to make fresh baked bread at home! There’s just a little bit of hands-on time to mix the bread dough but there’s no kneading and you can mix it by a hand. The total time to make delicious fresh bread is about 3 hours but most of that time is waiting for the dough rise.
Recipe Card
Ingredients
- 1 teaspoon active dry yeast
- 1 1/2 cups warm water , 110-115 degrees
- 2 3/4 cups flour
- 2 tablespoons sugar
- 4 cloves garlic , minced
- 2 teaspoons fresh thyme , minced
- 1 teaspoon fresh rosemary , minced
- 2 tablespoons olive oil
- 1 1/2 teaspoons salt
Instructions
- In a large mixing bowl add the yeast and warm water, stirring well. Let sit for 5 minutes, until foamy.
- Add in the flour, sugar, garlic, thyme, rosemary, olive oil and salt, stirring well until shaggy and combined.
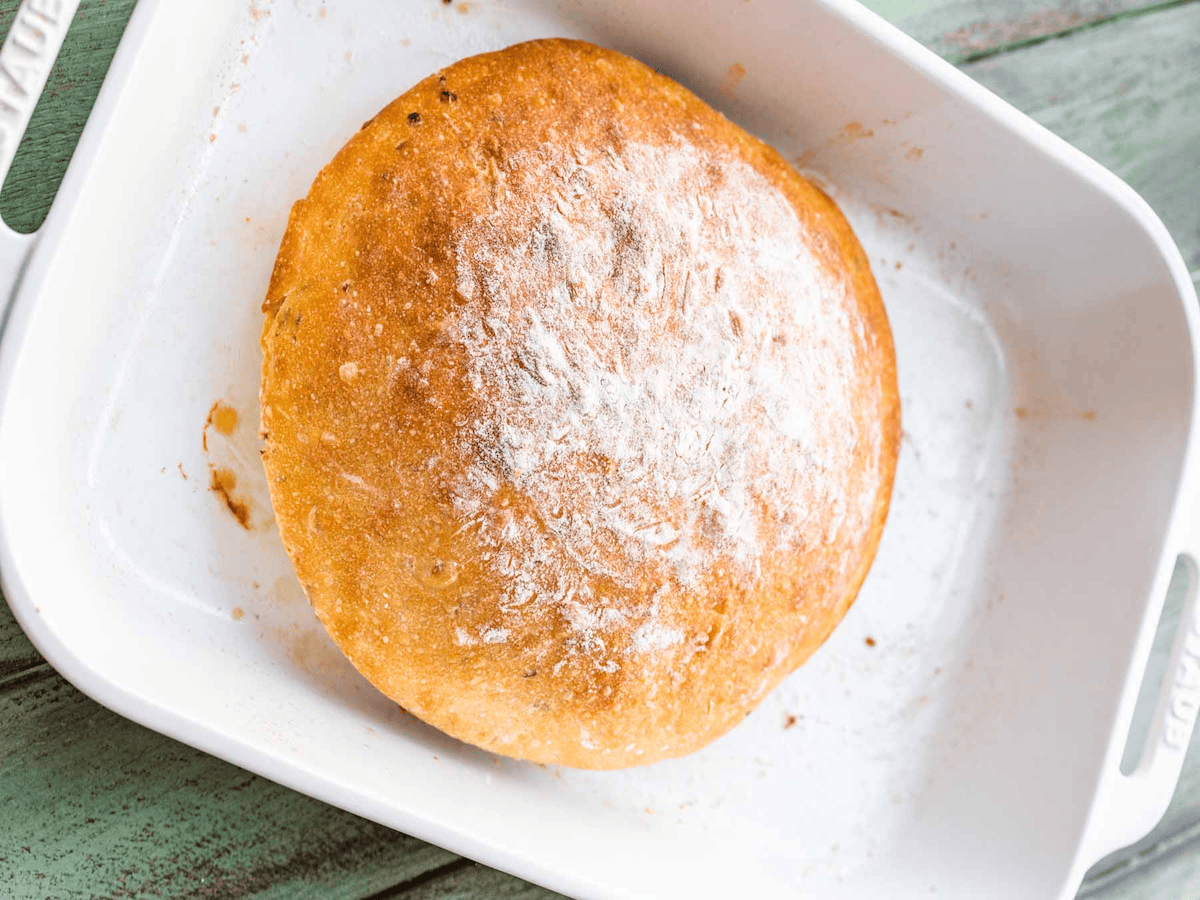
- Grease an 9×13 baking pan and add in the dough.
- Cover, let rise in warm place for 1 hour.
- Punch down the dough, then reshape into a ball and cover again.
- Let rise for 1 hour.
- Preheat oven to 425 degrees.
- Add a pan of water to the bottom rack.
- Sprinkle the top with flour, bake for 20 minutes.
- Reduce heat to 350 degrees and bake for 20 minutes.
Nutrition
Want to save this recipe? Create a free account to easily save your favorite recipes
Table of contents
About This Recipe
This easy bread recipe starts with a standard yeast, warm water and sugar mixture. Next you need regular flour, although if you have bread flour that will work too, and some olive oil. What really makes it special is the combination of fresh herbs and lots of fresh chopped garlic. Adding the garlic and herbs right to the dough makes it the most flavorful, amazing garlic bread ever!
Ingredients
- Yeast Mixture: To make the bread dough rise, you need a mixture of yeast and water. We used 1 teaspoon of active dry yeast. Mix the yeast with warm water (110-115 degrees) to help reactivate it.
- Flour: The recipe will turn out slightly more fluffy and chewy if you use bread flour. However, regular all-purpose flour will also work fine. Bread flour has a higher protein content which is what creates the gluten and gives the texture in baked goods like bread.
- Olive Oil: Add 2 tablespoons of virgin olive oil into the bread dough. The oil helps combine the dough and adds a lighter flavor than butter would. Also, unlike butter, oil doesn’t get solid at room temperature so the bread stays soft and tender for longer.
- Garlic: The 4 cloves of fresh minced garlic gives this amazing homemade bread plenty of pungent, delicious garlic flavor. You could switch it up a bit and use half roasted garlic and half fresh garlic for layers of garlicky goodness.
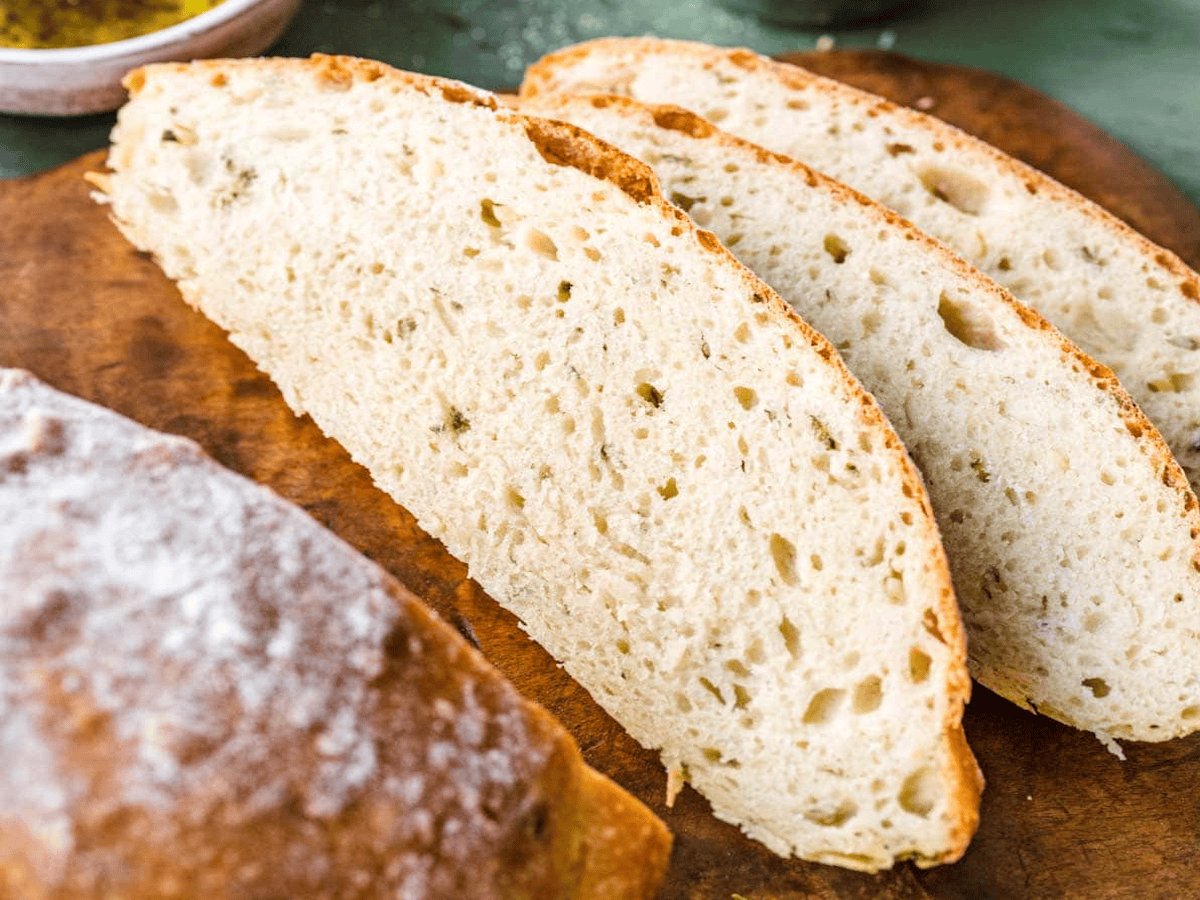
- Herbs: What really sets this garlic bread apart is that the fresh herbs are baked right into the dough instead of being added as a topping. We used fresh thyme and rosemary, but feel free to use your favorite herbs like chives, parsley, or oregano. Instead of an Italian flavor, try herbs like dill or cilantro.
Can This be Made Ahead of Time?
Yes, you can make the dough up to the first rising time then let it chill, covered, in the fridge overnight. When you are ready to bake it, bring it to room temperature for 20 minutes then bake as usual.
Tips and Tricks
- Cool before Cutting: Leave the bread out to cool for a few minutes before you slice it. If you try to cut it too soon, the inside won’t be firm enough and it will deflate. Aim for about 8-10 minutes, trust us it will still be plenty hot inside even after you wait.
- Properly Activate the Yeast: It’s very important to activate the yeast in this recipe since there aren’t other leavening ingredients to help it rise and you aren’t kneading the dough. Make sure the water temperature is no more than 115 degrees and is just slighty more than lukewarm to the touch. If your water is too hot, it will kill the yeast and the bread won’t rise.
What to Pair With
Fresh baked bread is a delicious addition to any dinner table. The garlic and herb flavors are inspired by Italian cuisine, so it’s perfect for serving with Italian dinners. The next time you make our Millian Dollar Spaghetti, or Ultimate Meat Lasagna, be sure to have this crusty garlic bread to round out the meal.
How to Store
Store: To keep the loaf of bread fresh, you can wrap the loaf in foil or put it in a ziplock bag to keep it at room temperature for 3-4 days.
Freeze: To keep the bread for a longer period of time, wrap it in plastic wrap followed by aluminum foil to freeze for up to 3 months.
Ideas to Serve
- Appetizer: Bake the Thyme and Rosemary Garlic Bread as usual. While the bread is baking whisk together ½ cup softened unsalted butter, 3 cloves minced garlic, ½ teaspoon kosher salt, and 2 tablespoons minced parsley. When the loaf has time to cool, slice it lengthwise. Brush the butter mixture over the cut-side of the bread halves, then toast in the oven. Cut the toasted garlic bread into serving-sized pieces and serve with warm marinara sauce for dipping.
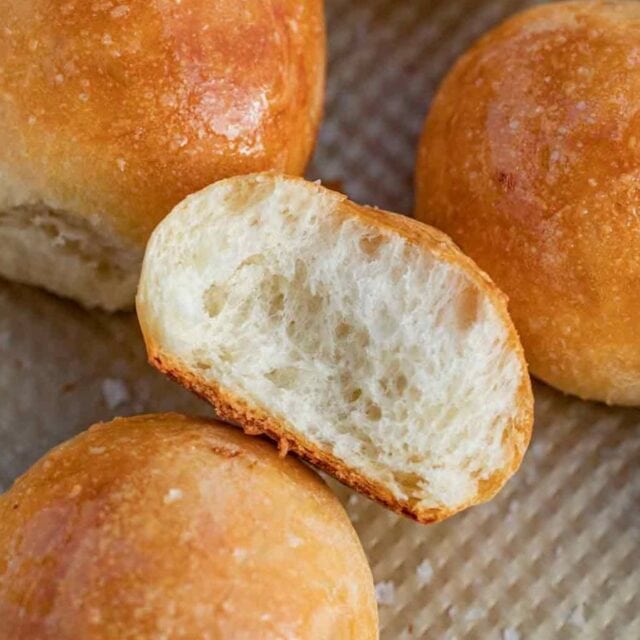
- Bread Bowls: After the dough rises, divide the ball into 2 even pieces and roll those pieces into individual balls. Bake for 10 minutes, lower the temperature then bake another 10-15 minutes. Let the bread bowls cool down for at least 20 minutes. Cut off a small section at the top for a lid, and scoop out some of the inside bread. Ladle soup into the bowl and serve with the extra bread on the side.
FAQ’s
Crusty Garlic and Herb Bread is super easy to make and you don’t need a stand mixer or any other equipment. Just combine the ingredients in a large mixing bowl, then let them rise without any kneading.
This crusty bread recipe needs two rising times. Both of them are one hour long. It’s a fairly short rising time, but it’s essential to give the dough that entire two hours to rise and develop its flavor.
Variations
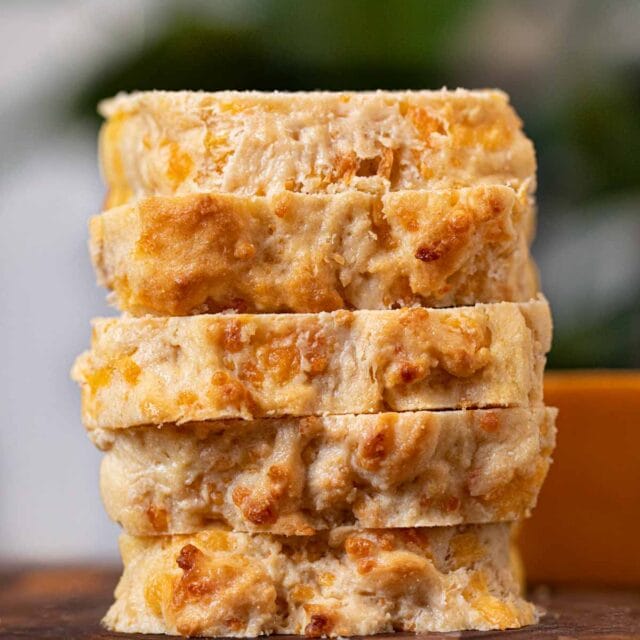
- Cheesy Bread: To make this recipe into delicious cheesy bread, all you have to do is mix shredded cheese into the dough. To stick to Italian flavors, use some mozzarella cheese or asiago cheese. Cheesy Garlic Herb Bread would also taste good with cheddar, pepper jack, or Monterey jack cheese mixed in.
- Butter Herb Topping: To garnish the bread, brush the top with melted butter while the loaf is still warm. Sprinkle coarse salt, Parmesan, and fresh Italian herbs like parsley or oregano then serve as usual.
Related Recipes
More Delicious Bread Recipes