
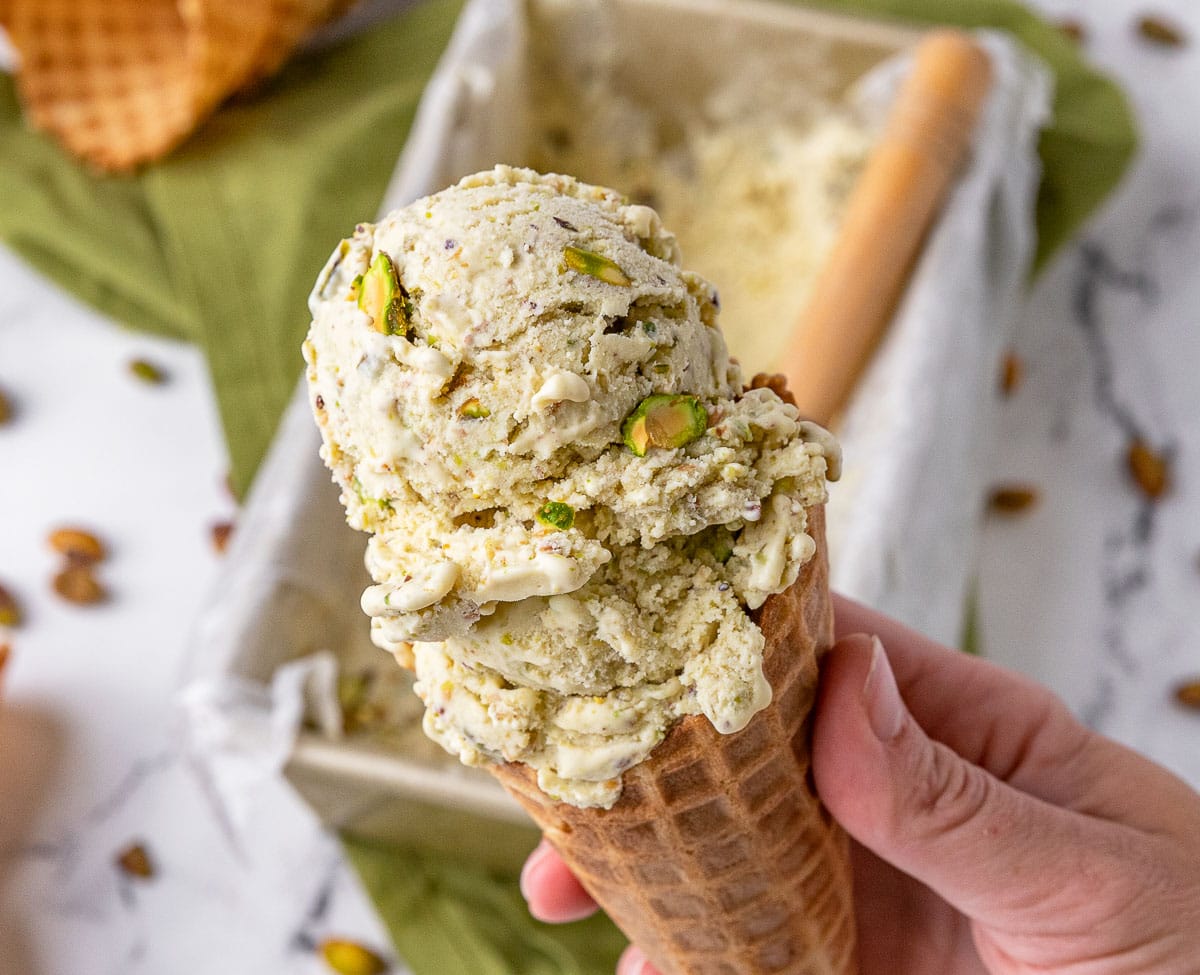
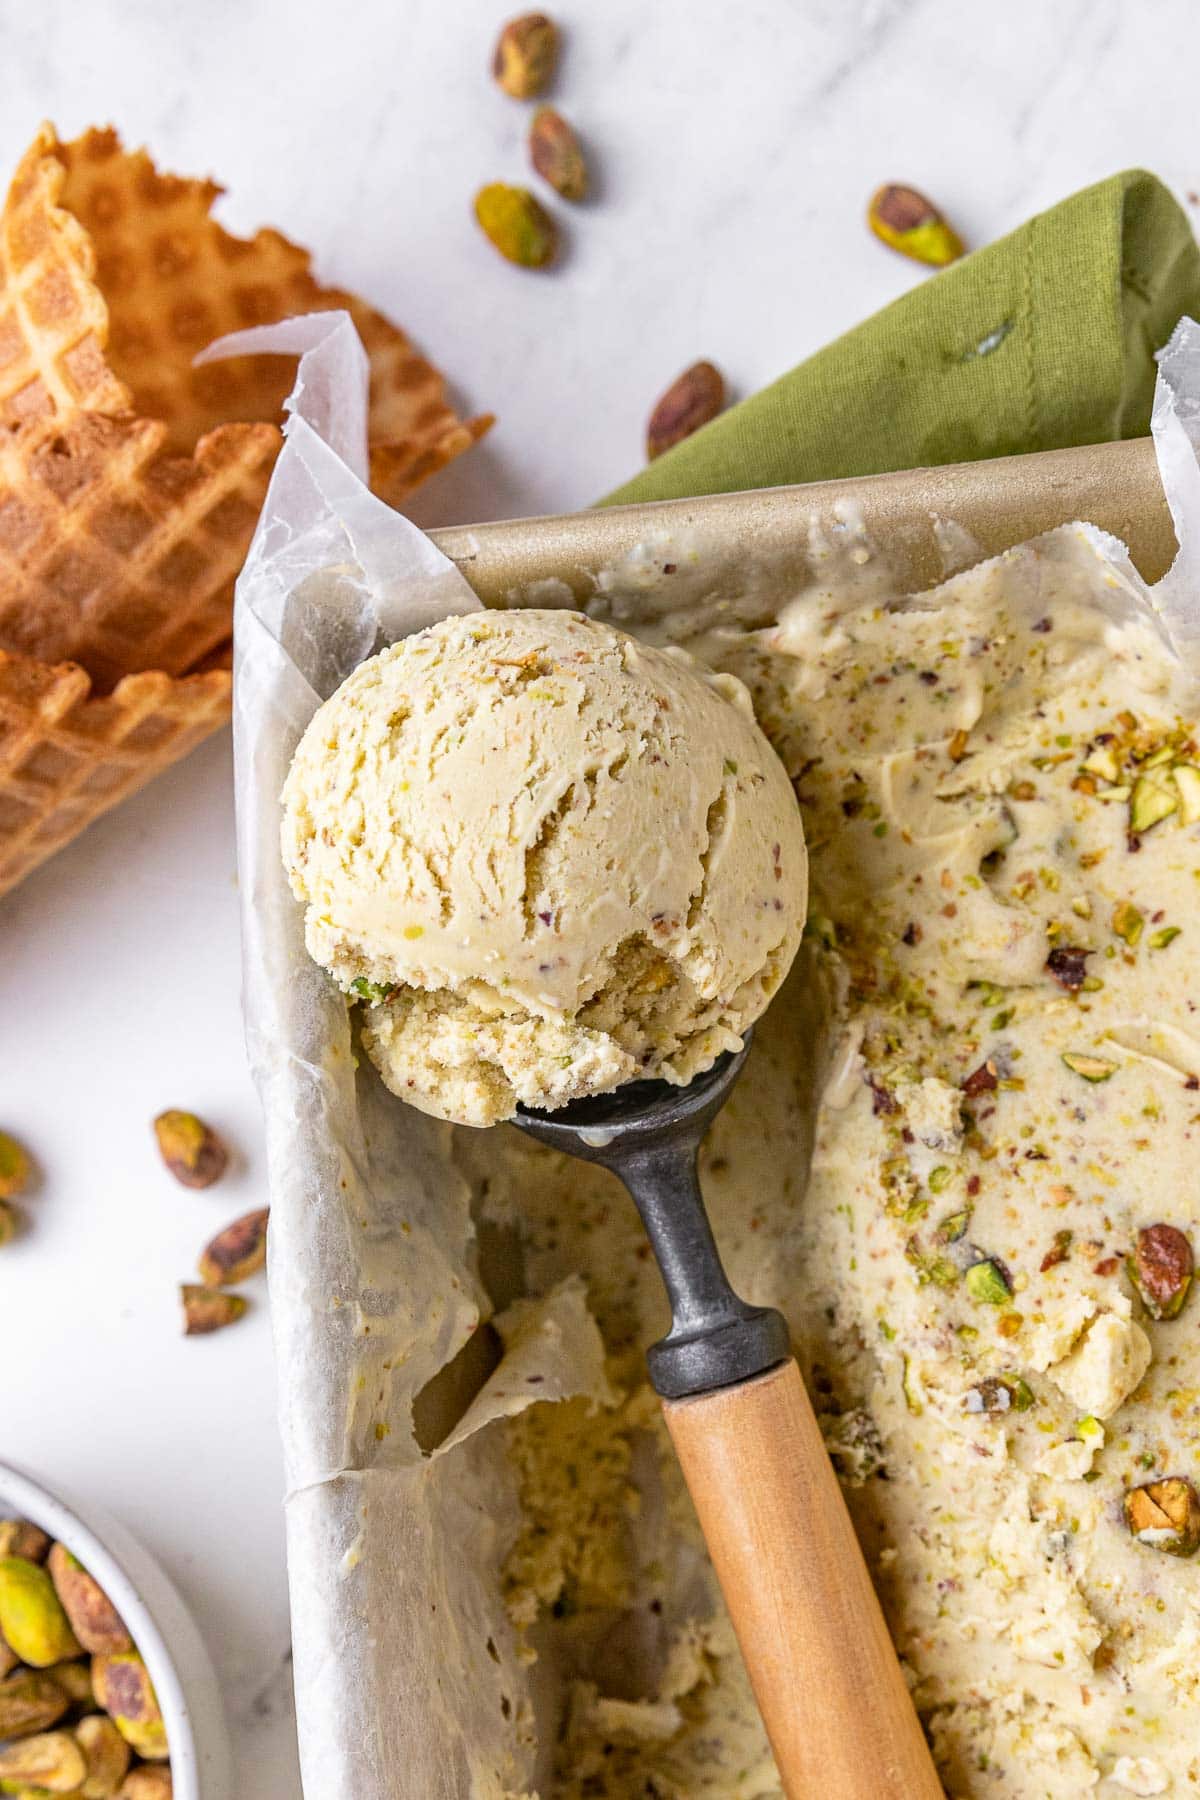
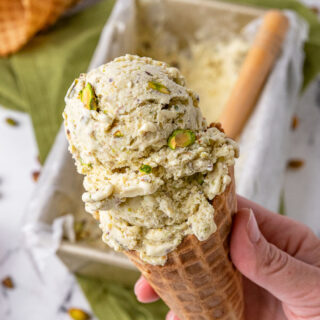
Pistachio Ice Cream is a rich custard style ice cream recipe. Creamy, nutty, and flavorful made with real pistachios and no food coloring!
If your favorite ice cream flavors are old-fashioned classics like Vanilla Ice Cream and Chocolate Ice Cream, try the nutty flavors of this nostalgic creamy treat next.

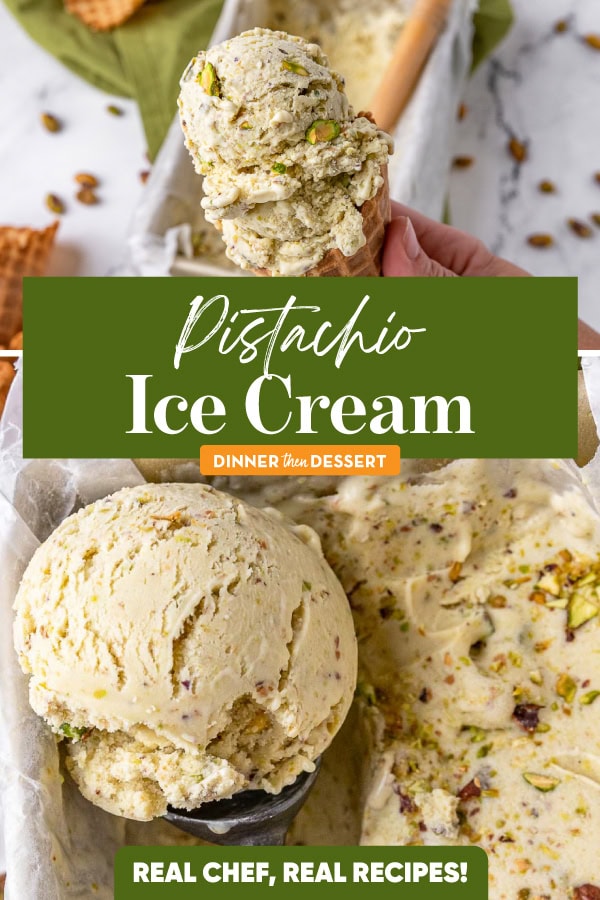
Sabrina’s Pistachio Ice Cream Recipe
When it comes to ice cream, there is truly nothing better than rich and creamy custard-style ice cream. This old fashioned style gives a smooth, thick and buttery taste that is unlike any thing you’ll get in a tub from the store. Pistachio is one of those delicious ice cream flavors that, in my opinion, is best when it is made with all natural, quality ingredients. In this recipe, you only use roasted pistachios and no green food coloring so the natural color is much lighter than what you’ll see in the grocery store.
Ingredients
- 1 cup dry roasted pistachios , finely chopped
- 3/4 cup sugar , divided
- 2 cups whole milk
- 4 large egg yolks
- 1 teaspoon vanilla extract
- 1 cup heavy cream
To Finish:
- 1/4 cup dry roasted pistachios , chopped
Instructions
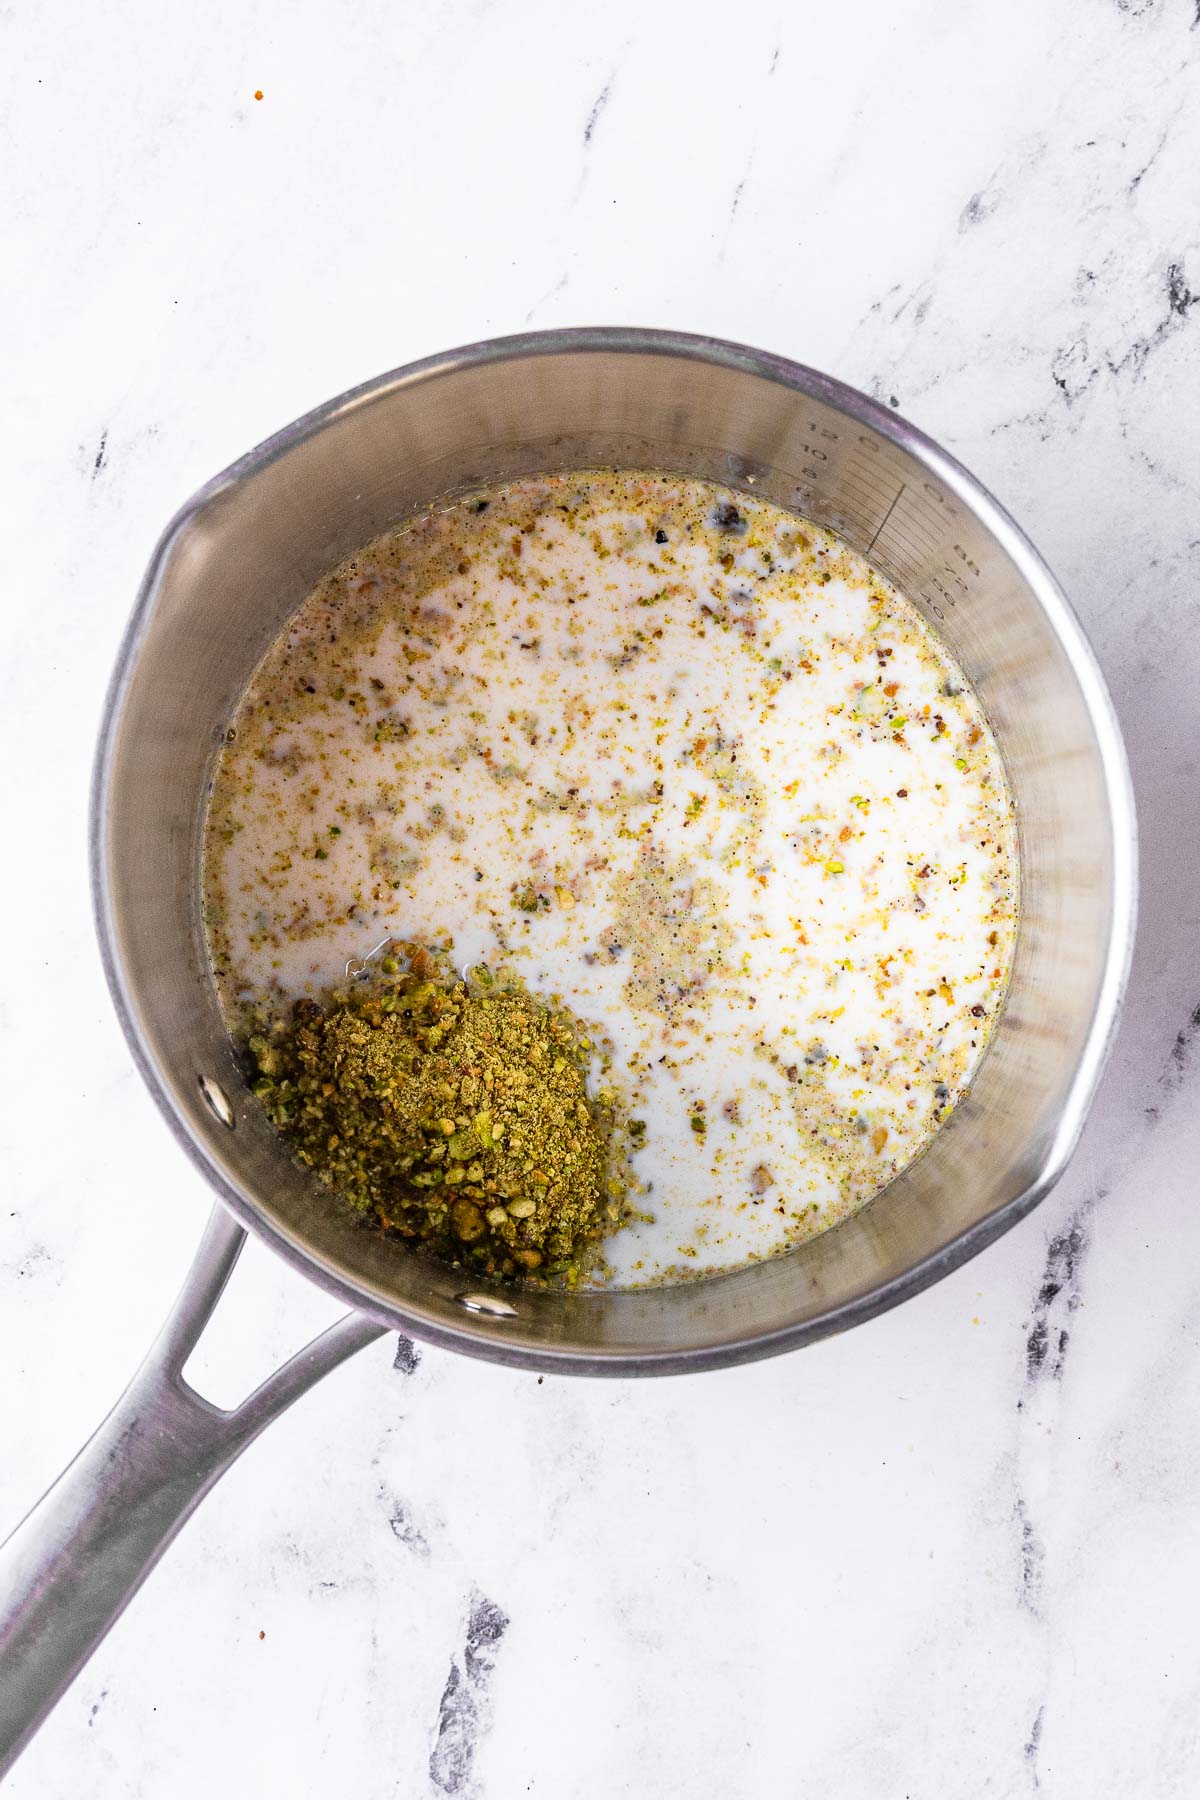
- Add pistachios, ½ cup sugar, and the milk to a simmer on medium low heat, do not boil.
- Turn off the heat.
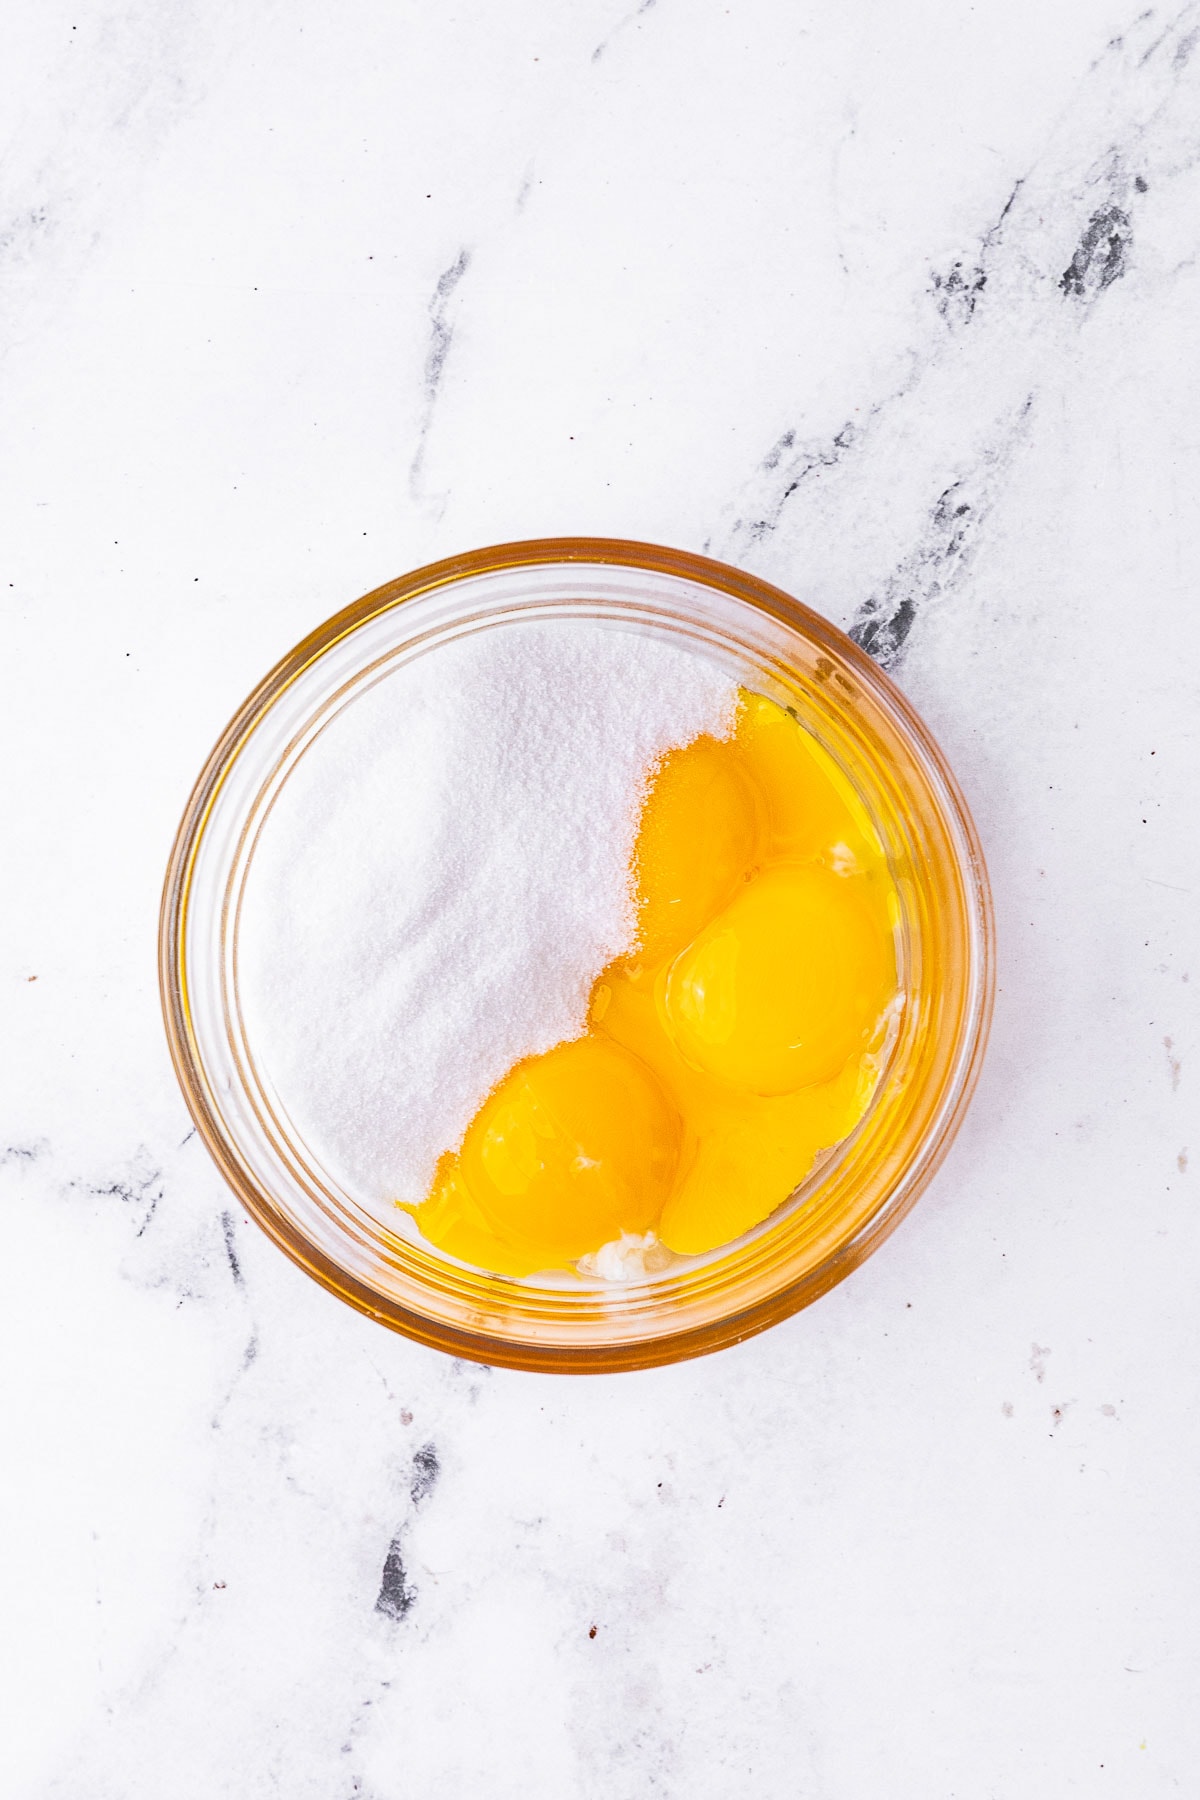
- Whisk together egg yolks and ¼ cup sugar in a medium bowl.
- Remove ½ cup of the custard and in a very thin slow stream, whisk the mixture into the egg yolks without stopping, do not let the eggs curdle.
- Add in another ½ cup again, in a very thin slow stream until whisked together.
- Note: If you add custard too quickly your eggs will curdle, if this happens, start over, you don't want curdled eggs in the ice cream.
- Carefully whisk the egg and custard mixture back into the saucepan in a slow thin stream while whisking quickly until well combined.
- Turn the heat back on to medium low and bring back to a simmer.
- Reduce to low heat, cook, stirring non-stop, until it thickens enough to coat the back of a spoon.
- Strain out the pistachio chunks.
- Refrigerate custard, covered, until chilled, at least 2 hours.
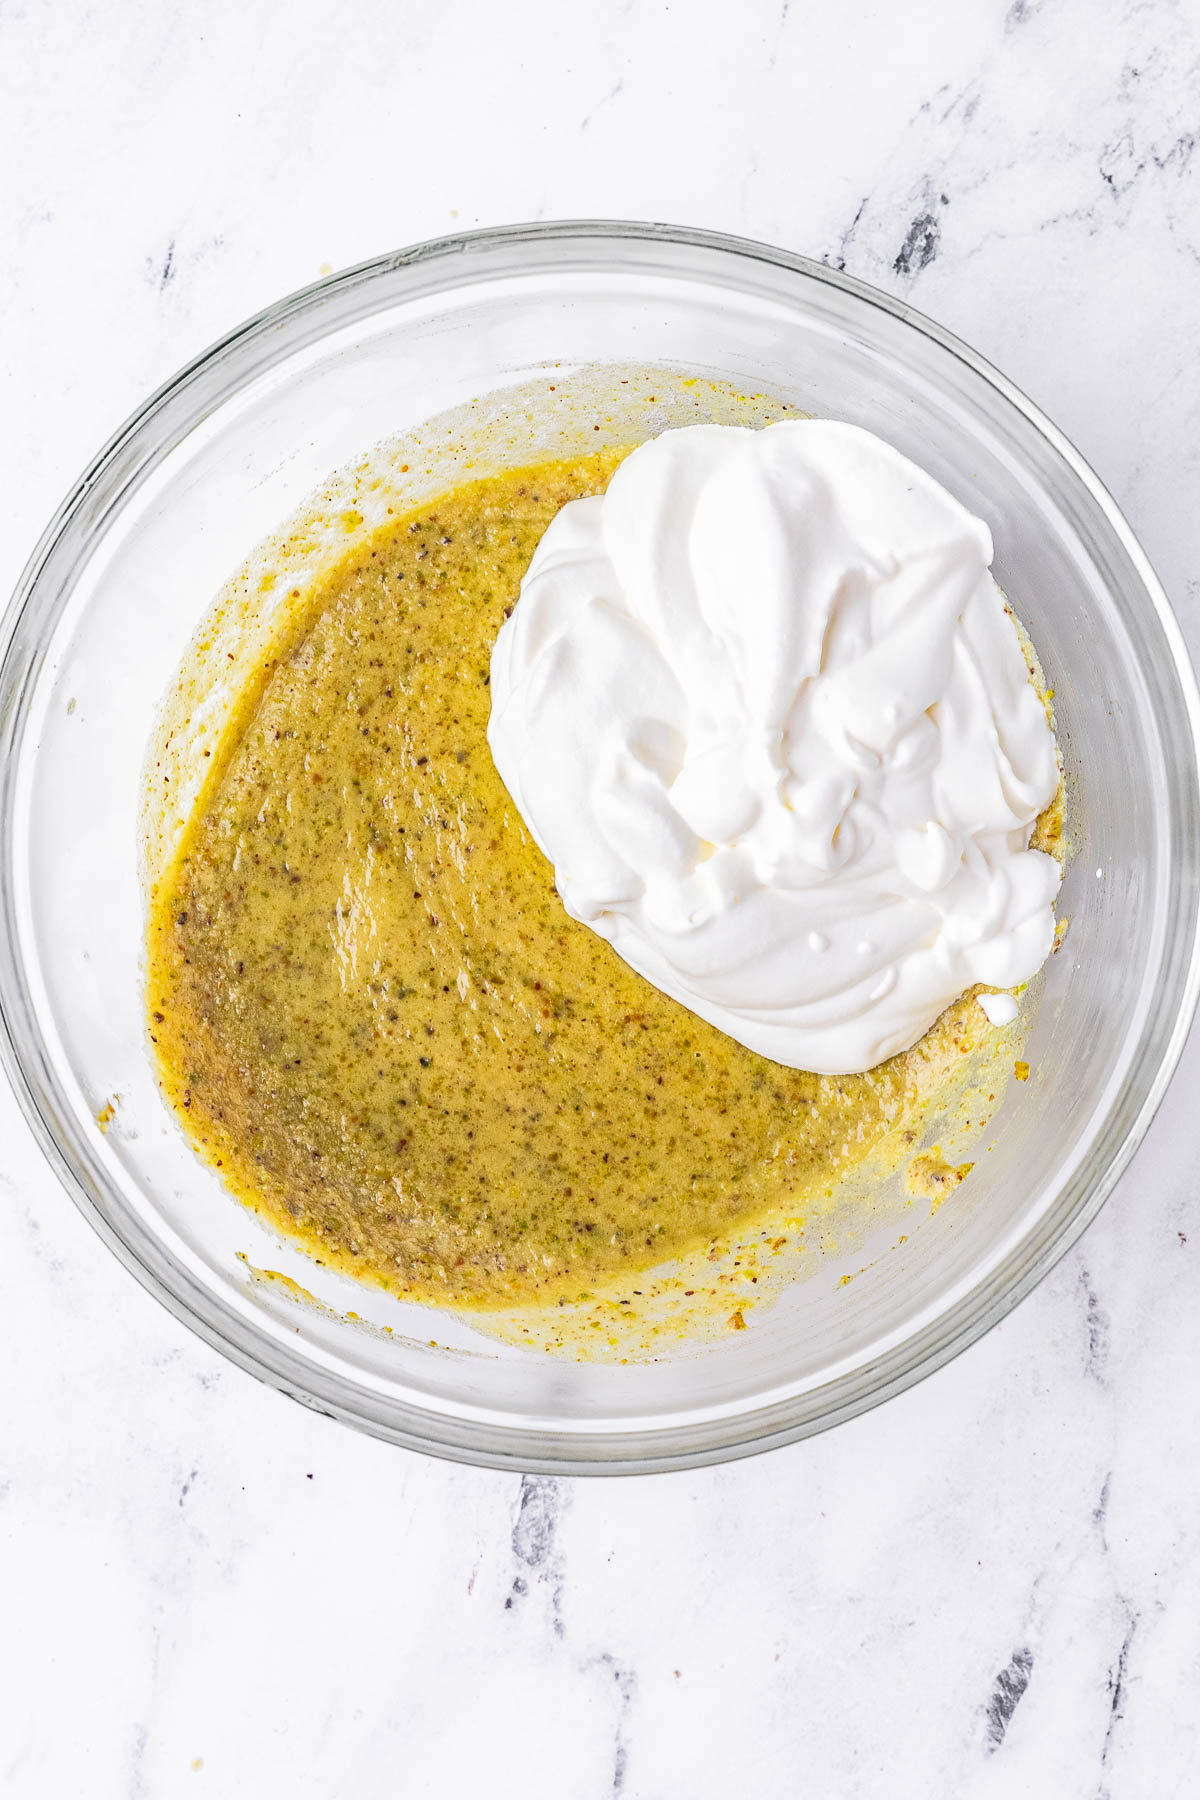
- Add heavy cream and vanilla to a stand mixer or a bowl with a hand mixer and whip to soft peaks.
- Add whipped cream to the custard and stir gently until combined.
- Add to your ice cream maker and churn until firm.
- Add in the ¼ cup chopped pistachios and let churn until mixed in.
- Move to a container, cover, and freeze until firm, about 4 hours.
Nutrition
Want to save this recipe? Create a free account to easily save your favorite recipes
Table of contents
Tips for Homemade Ice Cream
- Everything should be very cold at pretty much every step, besides of course making the hot milk mixture. Chill your container in the freezer while you are preparing the ice cream mixture and completely chill the custard before adding the whipped cream and mix-ins.
- Tempering the eggs is a slow process but crucial because egg yolks will scramble in the hot pan if you don’t do it properly. To temper properly, add a ½ cup of the warm milk mixture in a thin stream to the yolks while whisking, then another ½ cup in a slow, thin stream, so that it heats up slowly without cooking.
How to Store
- Serve: Transfer churned ice cream to an airtight container to freeze for at least 3 hours before serving. A metal bread pan or metal bowl is best for storage
- Freeze: Store ice cream in the back of the freezer where it is coldest. This ice cream is best within the first month of making but will last for up to 3 months.
Variations
- Best Mix-ins: Pistachio goes really well with vanilla, caramel, or cinnamon flavored add-ins. Try vanilla wafer cookies, graham crackers, pretzels, Golden Oreos, cinnamon baking chips, soft caramels, or toffee bits. A good way to keep softer mix-ins like cookie pieces or pretzels crunchy in ice cream is to coat them in chocolate before you chop them up.
- Salted Caramel Ribbon: Add an indulgent ribbon of caramel to this Pistachio Nut Ice Cream! Warm Salted Caramel Sauce until it is able to drizzle but isn’t hot. As you transfer the ice cream into your storage container, alternate drizzling the caramel sauce and adding a layer of ice cream, gently smoothing each time. When you scoop it, there will be caramel ribbons throughout!
- Chocolate Chips: Pistachio Chip Ice Cream would be delicious! Use ¼ mini chocolate chips, chocolate chunks, white chocolate chips, or vanilla chips.

Can I make this with my Kitchen-Aid Ice-cream maker?
Yes.