
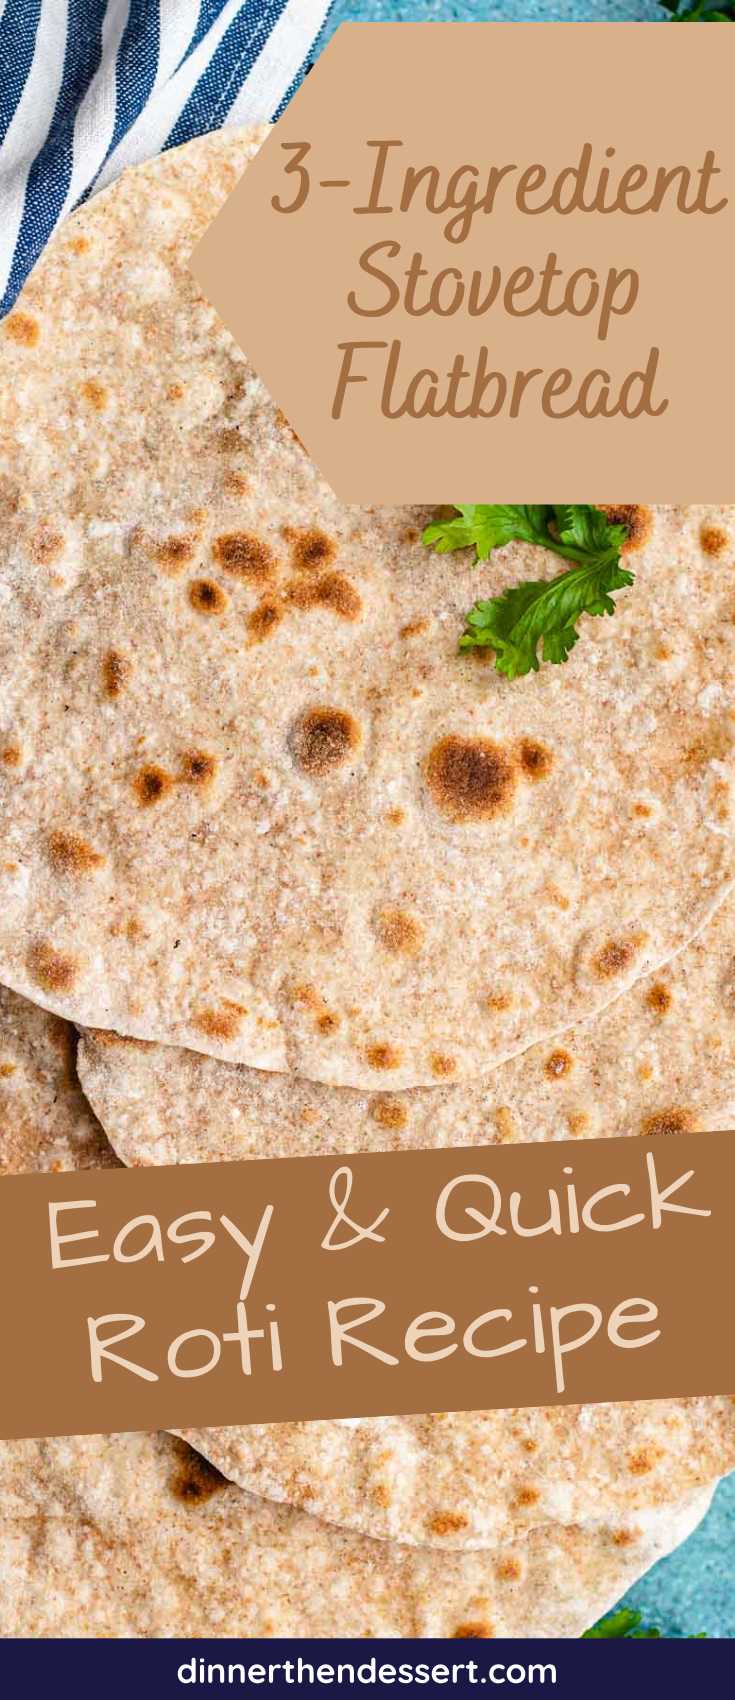
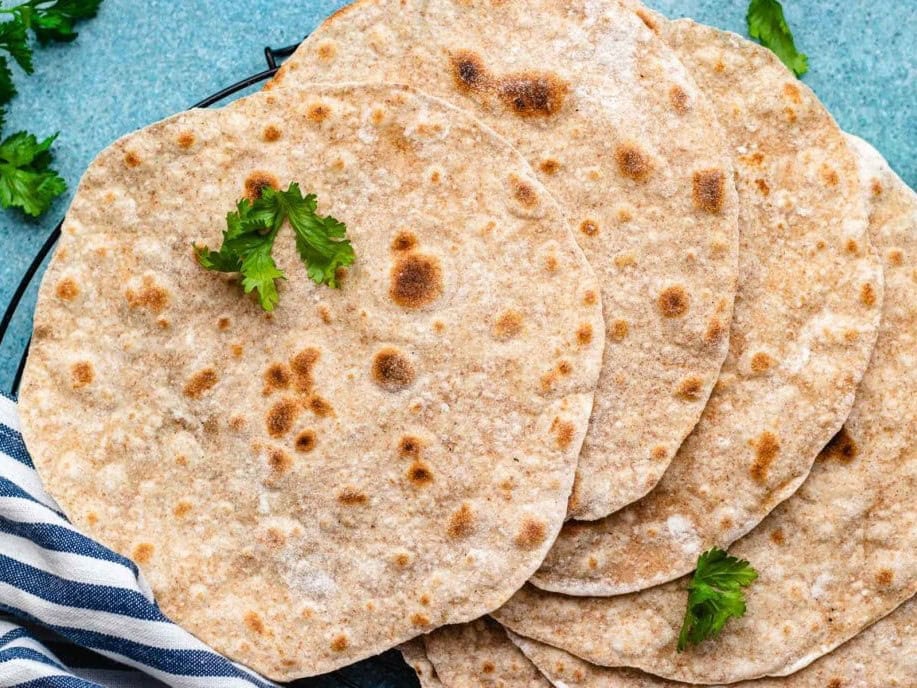
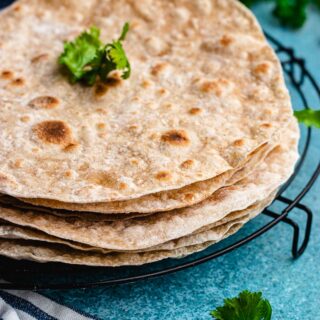
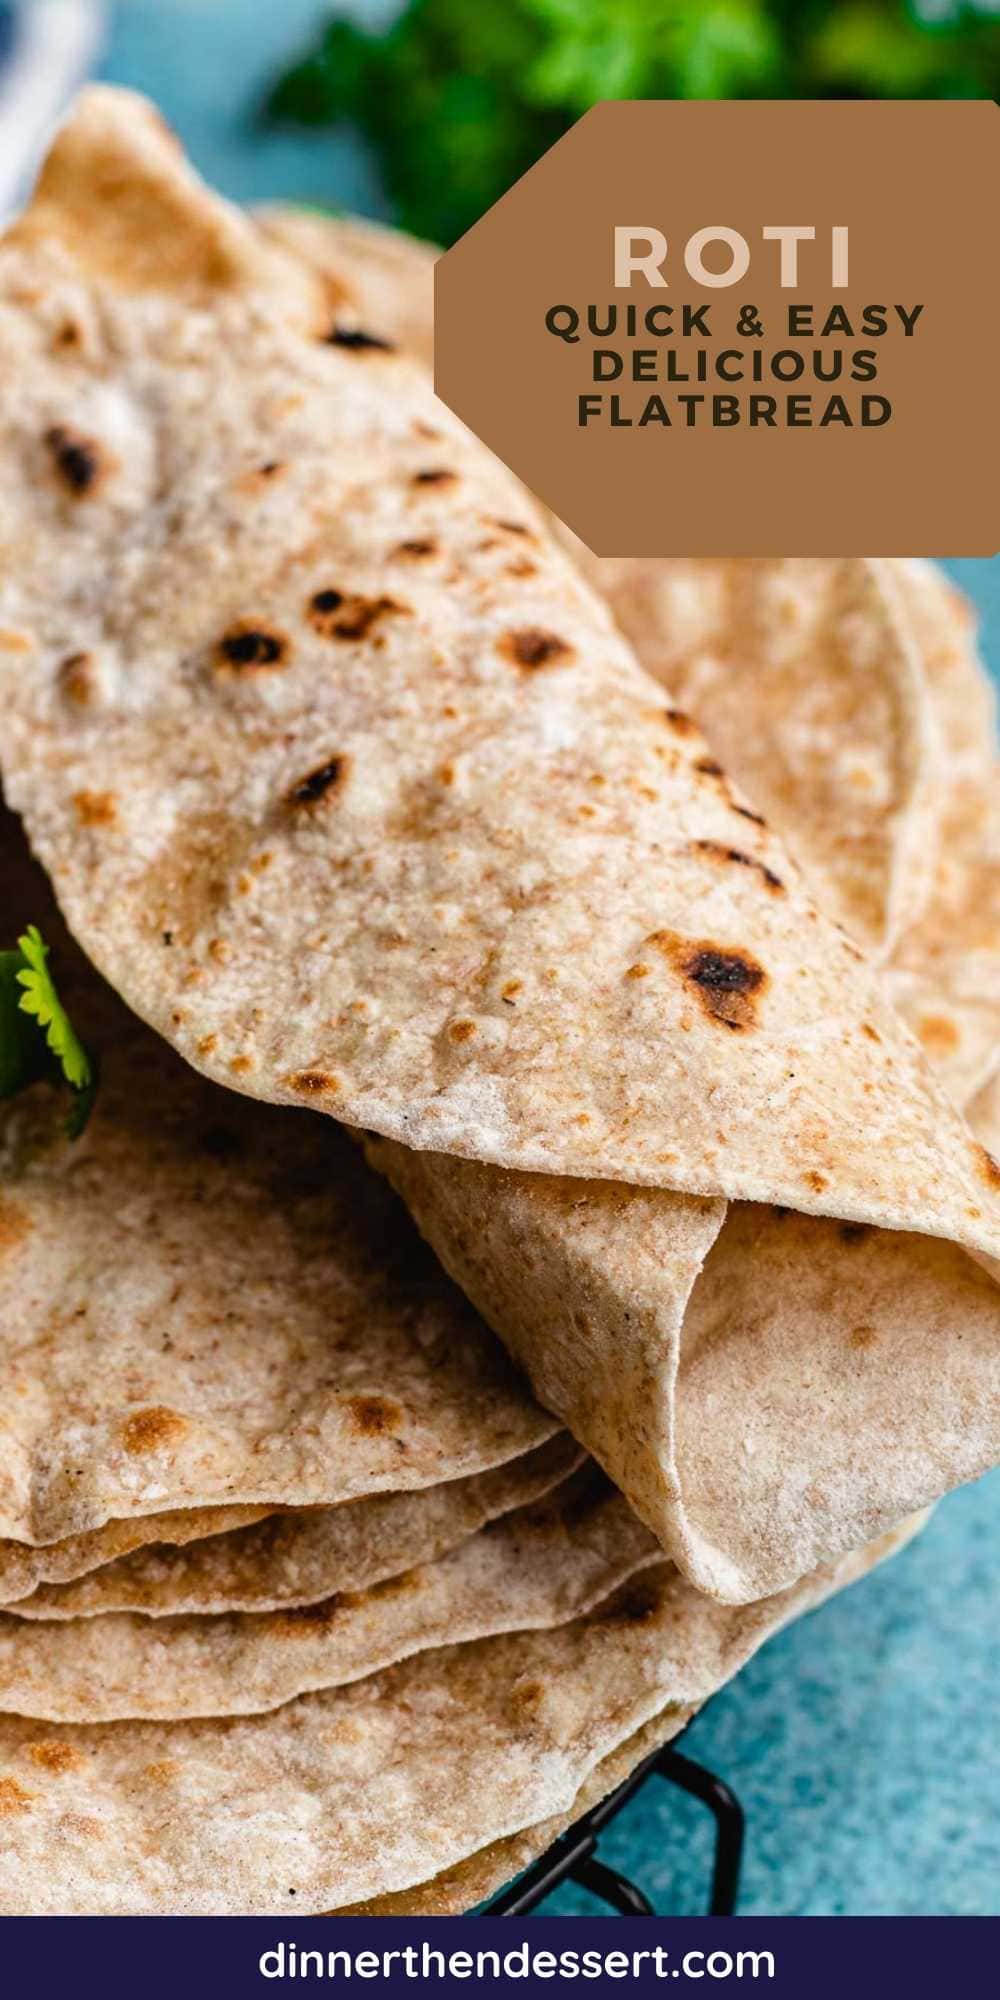
Roti is a 3-ingredient Indian flatbread that you can cook on the stovetop. Perfect for serving with curries, stews, and other dinner dishes.
Like Naan, this is a traditional flatbread recipe perfect for serving with classic Indian dinners like Chicken Tikka Masala and Lamb Curry. However, with just a couple of ingredients, this Indian bread is even easier to make.


Sabrina’s Roti
Roti is so quick and simple that you won’t believe it. It only takes a few minutes to combine the warm water, flour, and salt to make the Roti dough. Then after kneading to make the dough soft and giving it some time to rest, you’ll just cook each piece of dough on a hot skillet for just 30 seconds on each side. Just like that, you’ll have the perfect Roti recipe.
Recipe Card
Ingredients
- 1 2/3 cups atta flour , 200g (⅞ cup)
- 1 teaspoon kosher salt
- 2/3 cups boiling water
Instructions
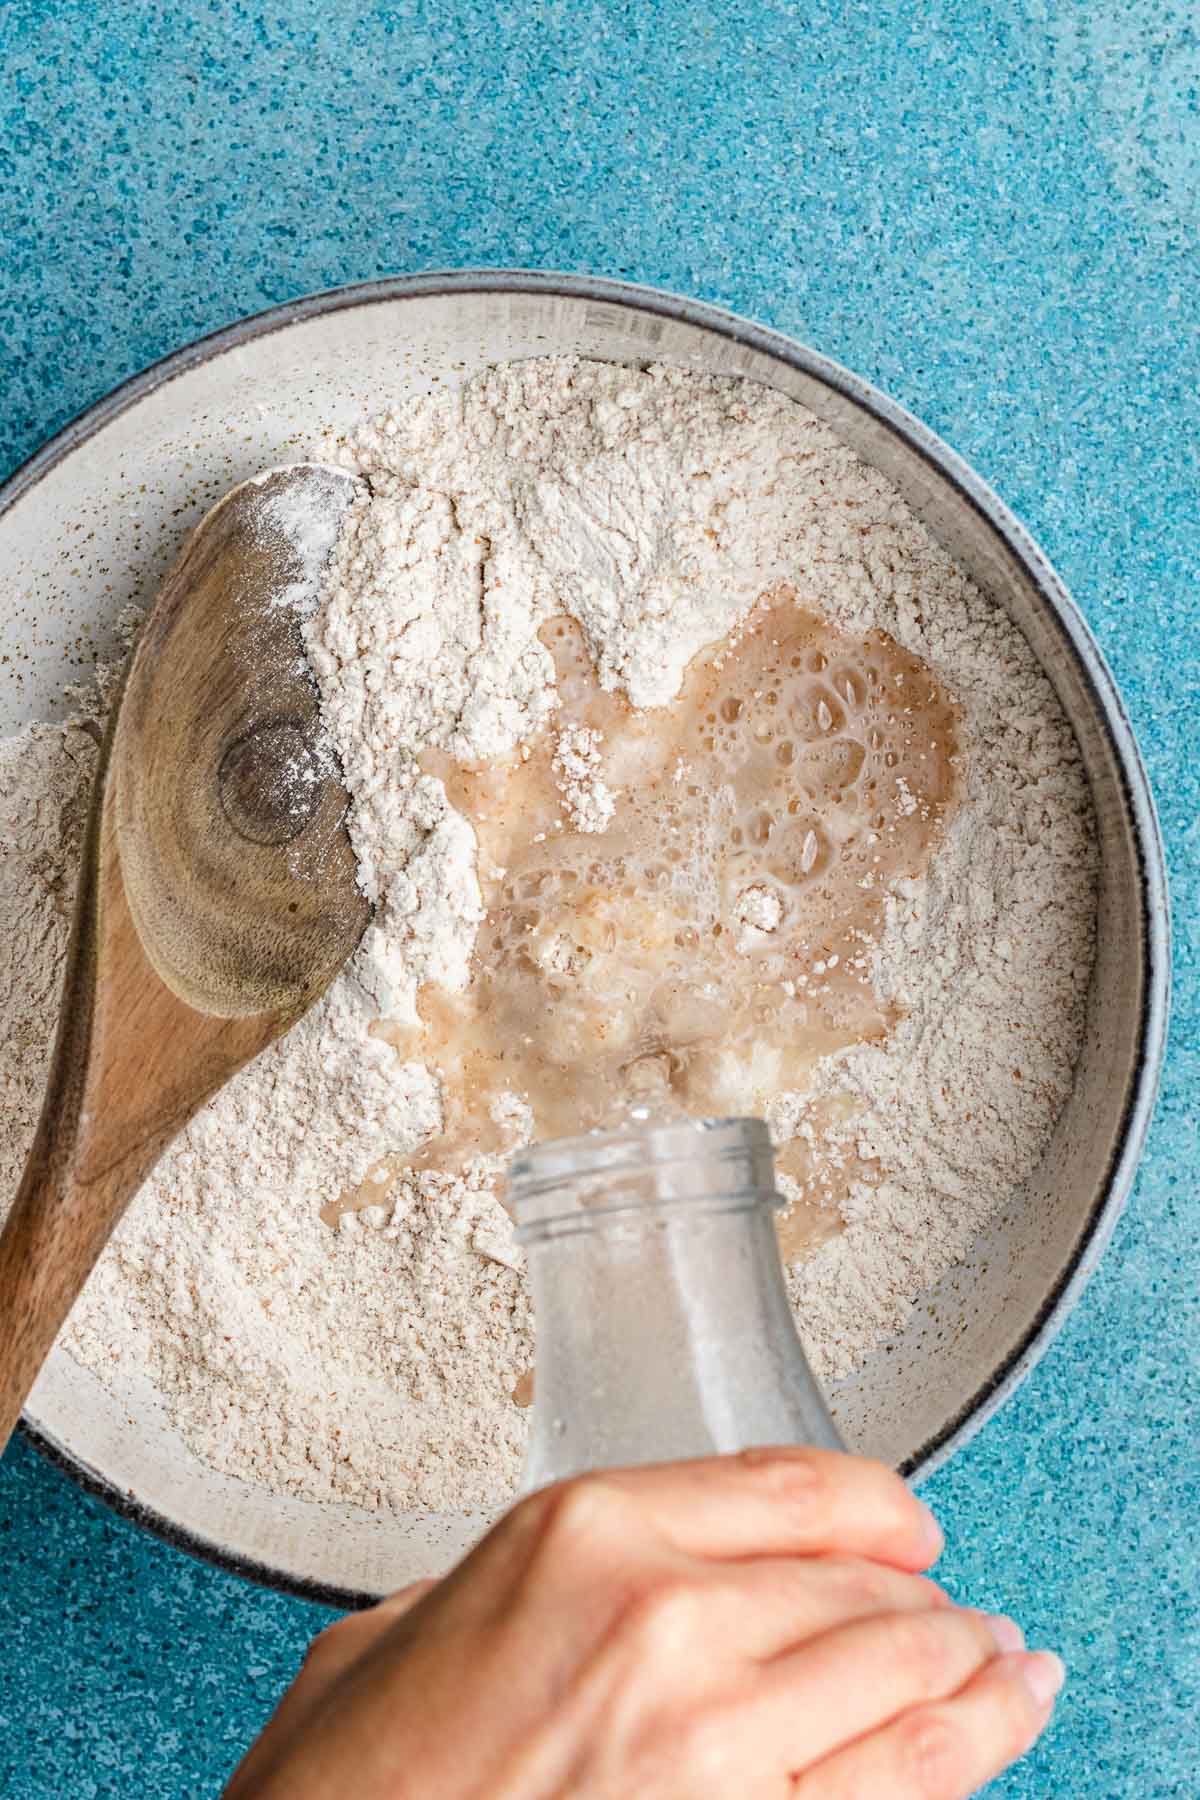
- In a large bowl whisk together atta flour and salt.
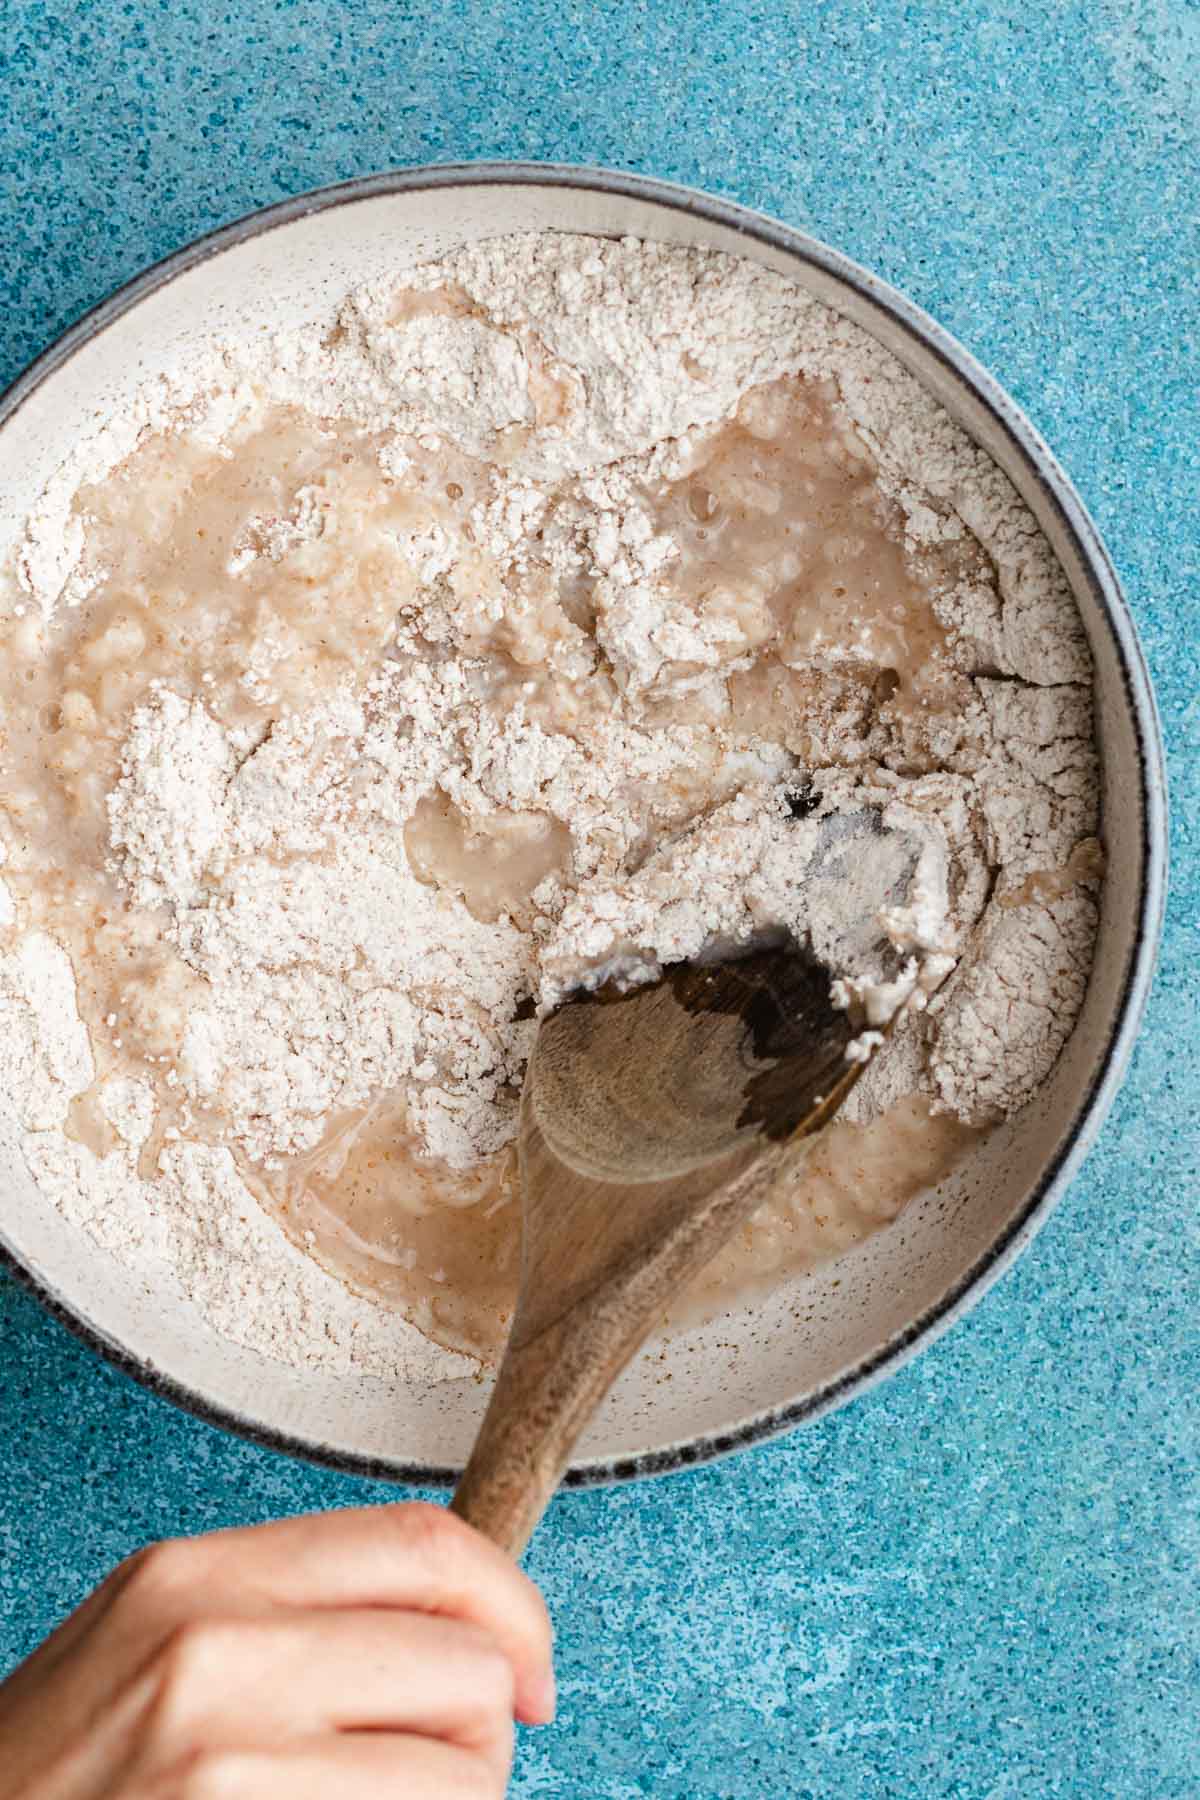
- Add in boiling water and stir to combine with a wooden spoon.
- On a surface dusted with more atta flour, knead the mixture for 3-4 minutes into a ball.
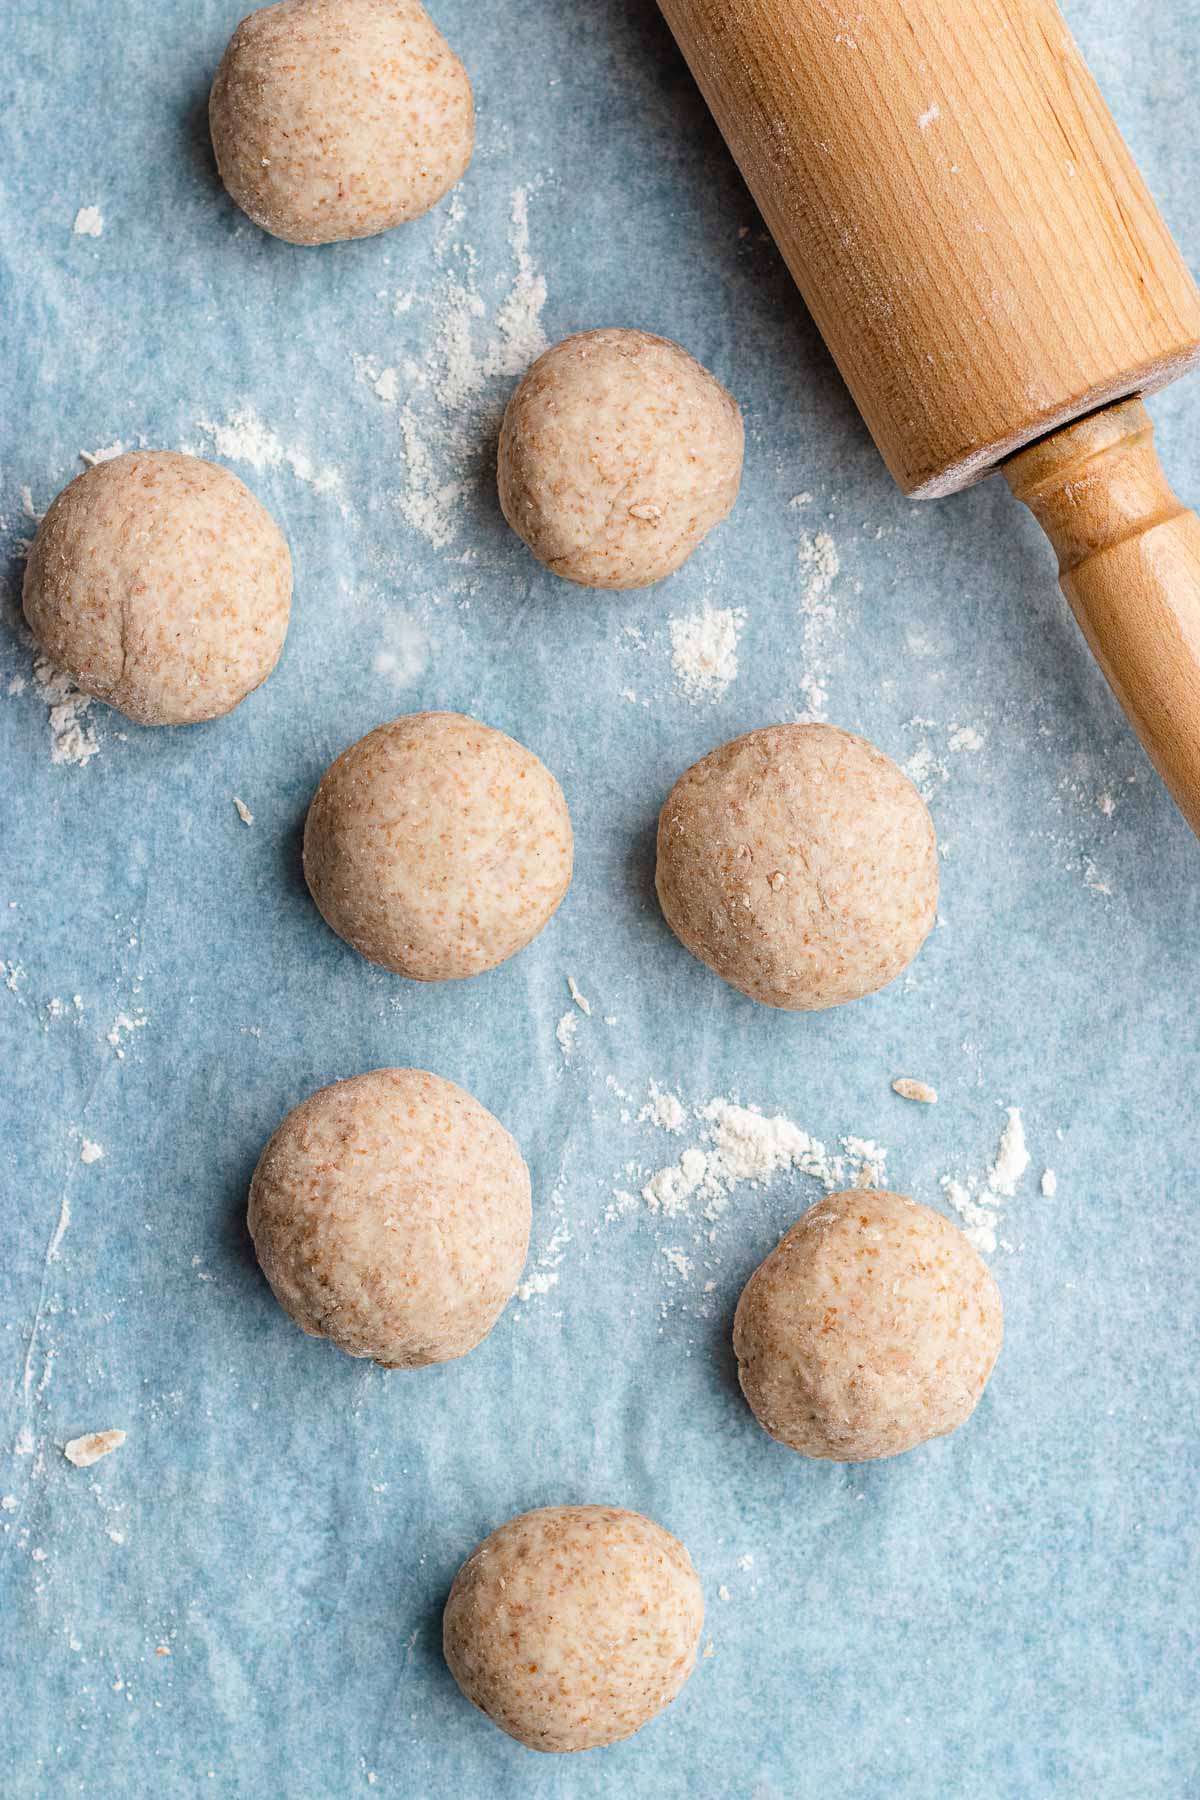
- Cut the dough into 8 pieces and roll them into balls.
- Cover with a clean kitchen towel and let sit for 10 minutes.
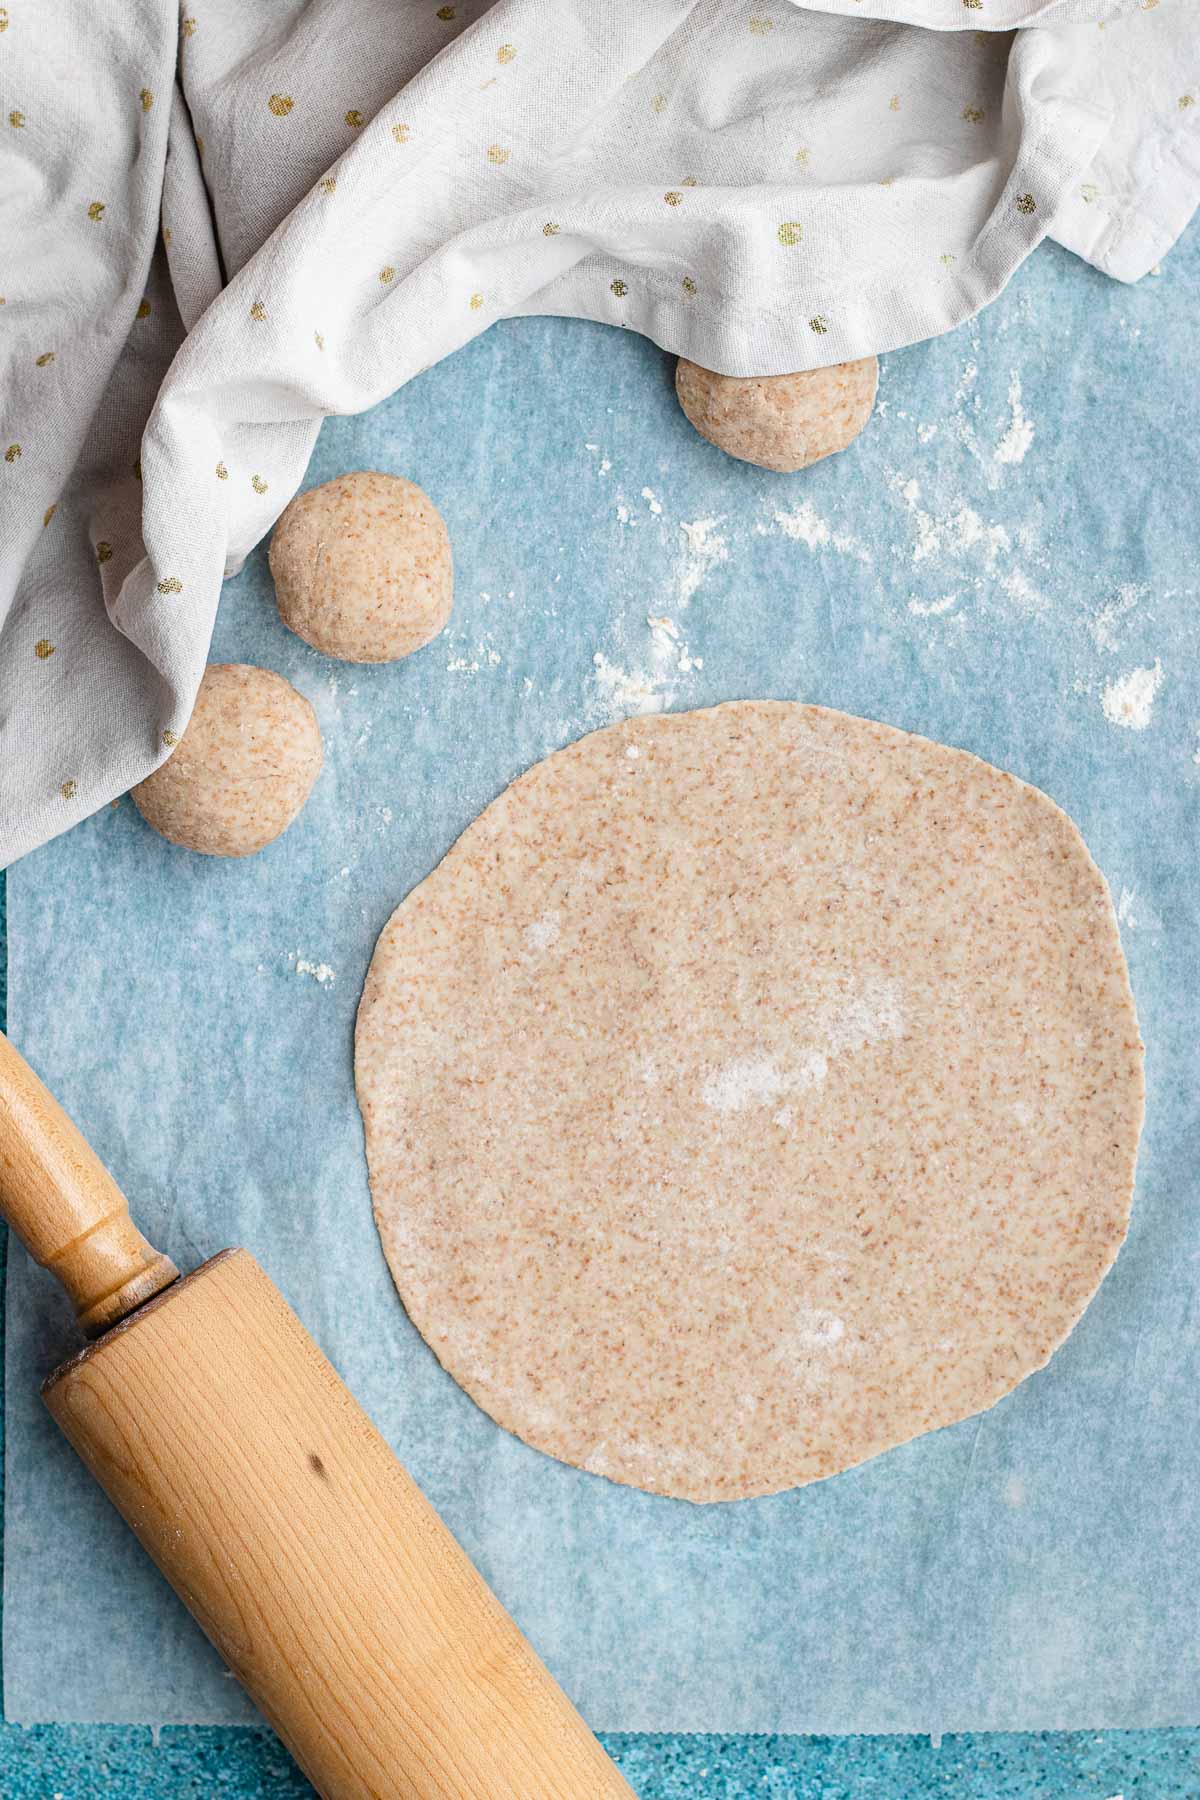
- With a rolling pin dusted in atta flour, roll each ball of dough into an 8 inch circle, fairly thin.
To Cook:
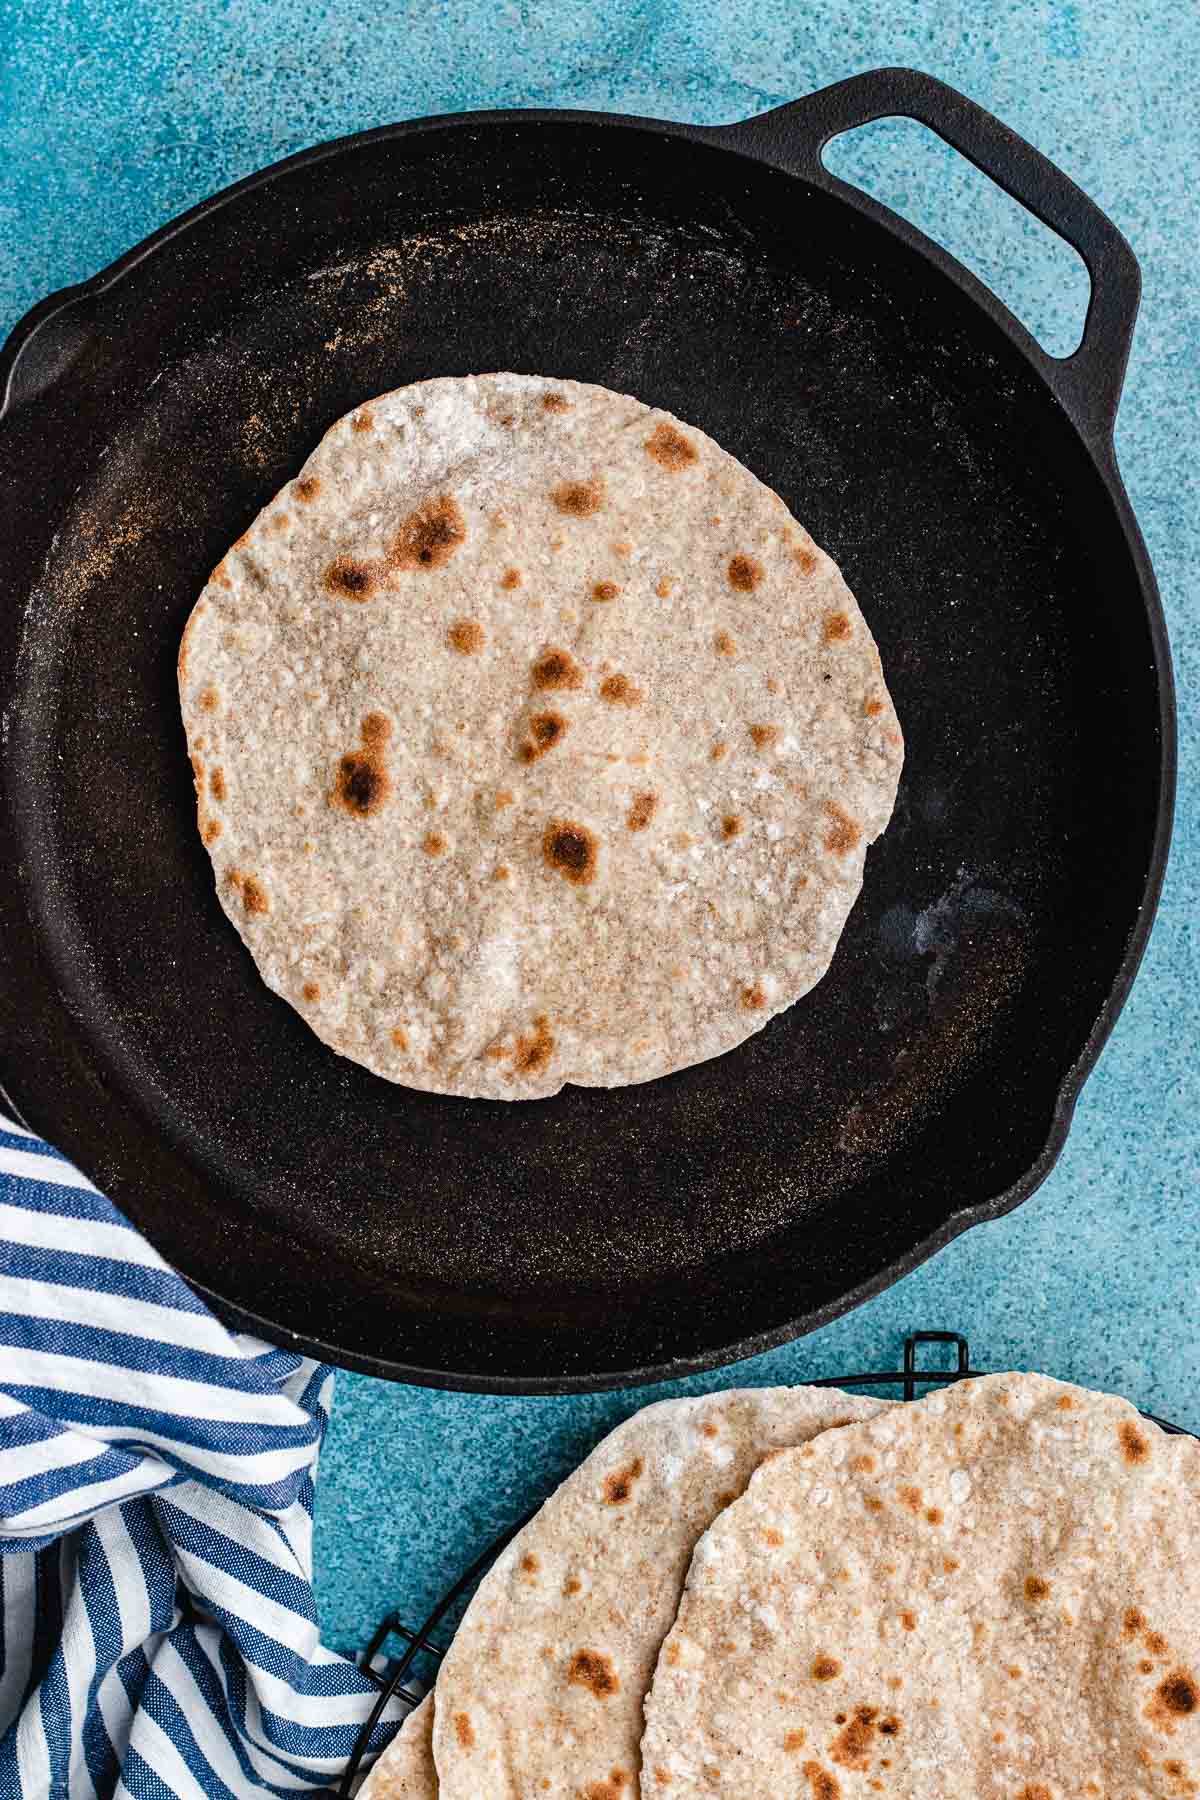
- Heat a large pan on medium high heat with no fat, shake off any excess atta flour before cooking the roti.
- Add the dough to the pan and cook for 30 seconds on each side, the roti should rise like a large bubble.
Notes
- Click on the yield amount to slide and change the number of servings and the recipe will automatically update!
- Click on times in the instructions to start a kitchen timer while cooking.
- To convert measurements to grams, click on the Metric option next to Ingredients in the recipe card.
Nutrition
Want to save this recipe? Create a free account to easily save your favorite recipes
Table of Contents
About this Recipe
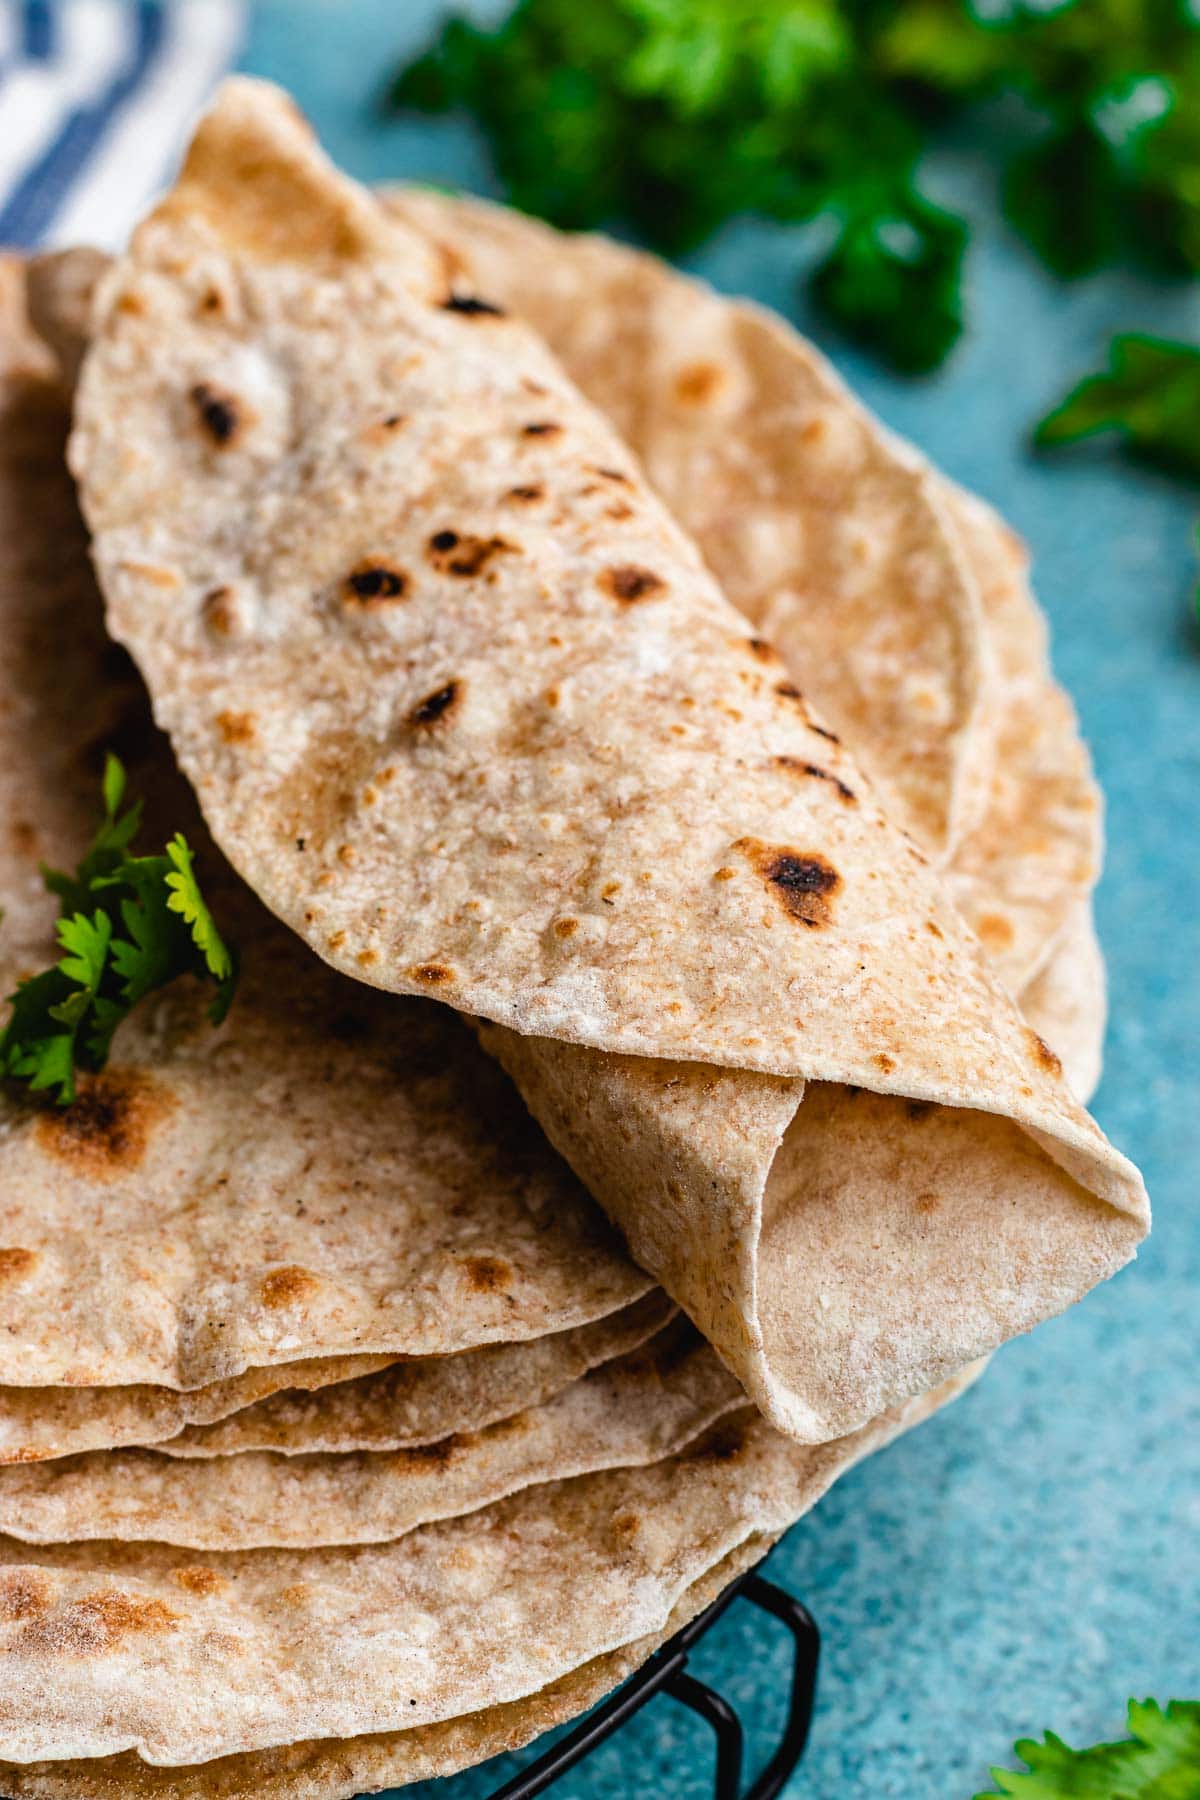
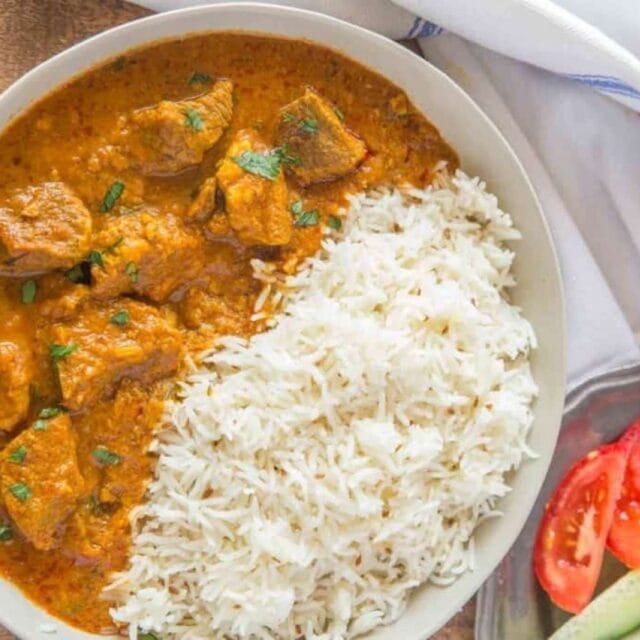
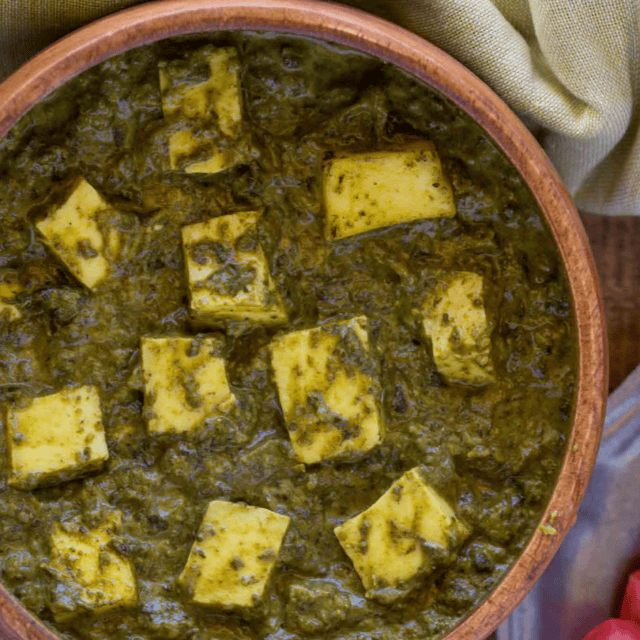
After the cooking time, you can serve hot Roti right away with comforting Indian food. The flatbread makes dinner recipes more filling, and its mild, lightly sweetened wheat flavor is an excellent base to go with spicier dishes. This soft flatbread is especially great to serve when you have a curry, stew-like, or saucy dish because you can use the bread to dip into the flavorful mixture. Try making homemade flatbread the next time you’re having Vegetable Korma, Aloo Gobi, and Indian Chicken Korma.
Ingredients
- Flour: You need 1 2/3 cups of flour for this recipe, as well as a little extra flour to dust the counter and your rolling pin. Instead of using regular bread flour or all-purpose flour, this flatbread uses wheat atta flour. This type of whole wheat flour is common in Indian cuisine. It’s made from whole wheat but processed differently than typical wheat flour. Using atta flour results in a slightly sweeter Roti recipe. You can find atta flour in many local grocery stores or get it at your local Indian grocery.
- Water: Bring the water to a boil before adding it to the flour mixture. Using warm water is essential to this recipe for a few reasons. Firstly, the hot water denatures wheat proteins so that there’s less gluten in the mixture. This results in soft flatbraed that isn’t too chewy. The boiling water also starts to cook the flour, which makes the starch absorb more water for a simple and soft dough.
- Salt: Some Indian flatbread recipes only use water and dry flour. However, adding a dash of kosher salt is an easy way to bring a little bit of flavor to the recipe.
Can this be made ahead of time?
Yes, you can prep the dough or cook the entire recipe in advance. After cooking traditional flatbread, it can keep well in the fridge for up to 3 days. Then you can reheat it in the microwave or on the stovetop before serving.
If you want to prep the dough in advance, start by combining the atta flour, salt, and water, then knead the mixture into a dough ball as usual. Cover the bowl and refrigerate the dough for up to a day. When you’re ready to cook the recipe, let the dough come to room temperature, then divide it into smaller pieces, roll out the dough, and cook it.
How to Store
- Serve: To keep the flatbread warm while serving, line a tortilla case with aluminum foil and place the flatbread inside. The foil will trap the heat to keep the recipe warm while you finish cooking all the pieces of flatbread. You shouldn’t leave the flatbreadsitting out at room temperature for more than 2 hours, or it can start to get stale.
- Store: To keep leftovers fresh, let the recipe cool completely. Then layer paper towels between each piece of bread and wrap them in aluminum foil or place the recipe in a ziplock bag. Kept sealed in the fridge, the recipe can keep well for 2-3 days. Cover the flatbread in a damp paper towel and microwave in 30-second increments to reheat.
- Freeze: You could also freeze Roti for up to 3 months. Stack the piece with wax paper between each round. Then place the stack in a freezer bag or another airtight container to keep them fresh. Let the frozen flatbread thaw before reheating.
Frequently Asked Questions
Chapati and Roti are simple Indian flatbreads. Because of their similarities, they may often be mistaken for each other or referred to interchangeably. However, there are some key differences between the recipes. Chapati is cooked in fat or oil on both sides, whereas Roti doesn’t use oil. Chapati is also cooked a second time on the griddle to crisp up the outside. So, if you add oil to the pan and cook this recipe a second time, it can become chapati.
There are so many ways to enjoy delicious Indian flatbread. It’s perfect for dipping into curries and other saucy dishes where you can use the bread to sop up the extra liquid. You can also tear off pieces of flatbread to dip in daal, chutney, or raita. The simple flavor of this flatbread makes it a great base to serve with a variety of dishes.
No, although they’re both flatbreads typically served with curry, Naan and Roti are not the same. While Roti is made with just flour and water, Naan has dairy ingredients such as butter, sour cream, or yogurt. Naan recipes also include a leavening agent. So, Naan turns out more thick and chewy than this recipe.
Variations
- Akki Roti: Akki Roti, also known as pathiri comes from the Western coast of India. Unlike traditional roti, it’s made with rice flour and includes additional ingredients like grated vegetables. For a classic Akki roti mixture, you can combine 2 cups of rice flour, 1 finely diced onion, 2 tablespoons dill leaves, 2 tablespoons coriander, 1-inch grated fresh ginger, 2 tablespoons finely chopped curry leaves, 2 finely chopped chilies, 1 teaspoon cumin, 1 teaspoon salt, and ¾ cup water. Add more water as needed to make the recipe into a smooth dough, then cook the Akki roti.
- Thalipeeth: Instead of using one type of flour, thalipeeth roti uses a blend of sorghum, atta, bara, gram, and rice flour.
- Seasonings: Roti is an excellent flatbread that you can make with just flour and water. However, if you want to add a little more flavor, you can always incorporate some spices into the recipe. Try adding a dash of cumin, cayenne pepper, nutmeg, ground ginger, smoked paprika, onion powder, or garlic powder to the mixture.
Related Recipes
Curry Recipes


I really appreciate the tip about using atta flour specifically. I usually try to substitute with regular whole wheat flour, but the flavor and sweetness of the atta really make this taste authentic.
I’m so glad you found that helpful and enjoyed the finished product. Thank you for the 5 stars!