Homemade Yeast Donuts recipe and complete guide for how to make perfect donuts in your own kitchen. You’ll love eating them fresh – try today!
Making homemade donuts might seem intimidating but with our easy-to-follow steps, anyone can make our delicious yeast donut recipe for Breakfast! Just like my Copycat Krispy Kreme Glazed Donuts and Bavarian Cream Donuts, these fried donuts are delicious.
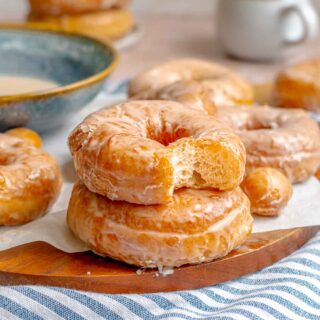
Sabrina’s Yeast Donuts Recipe
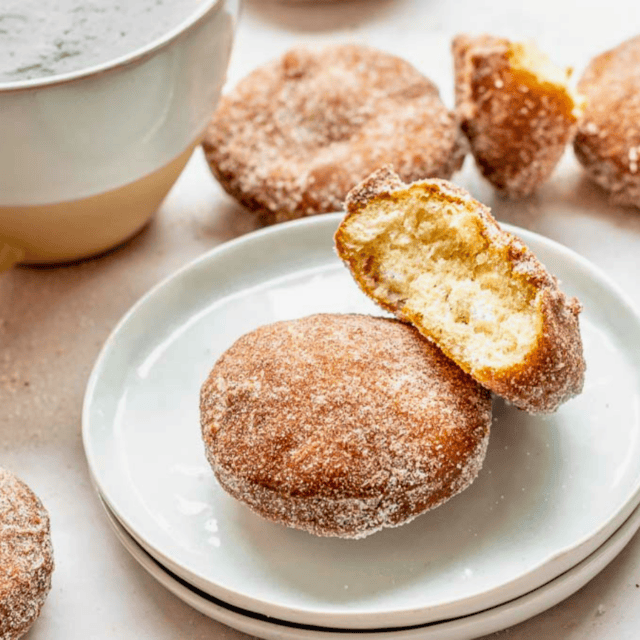
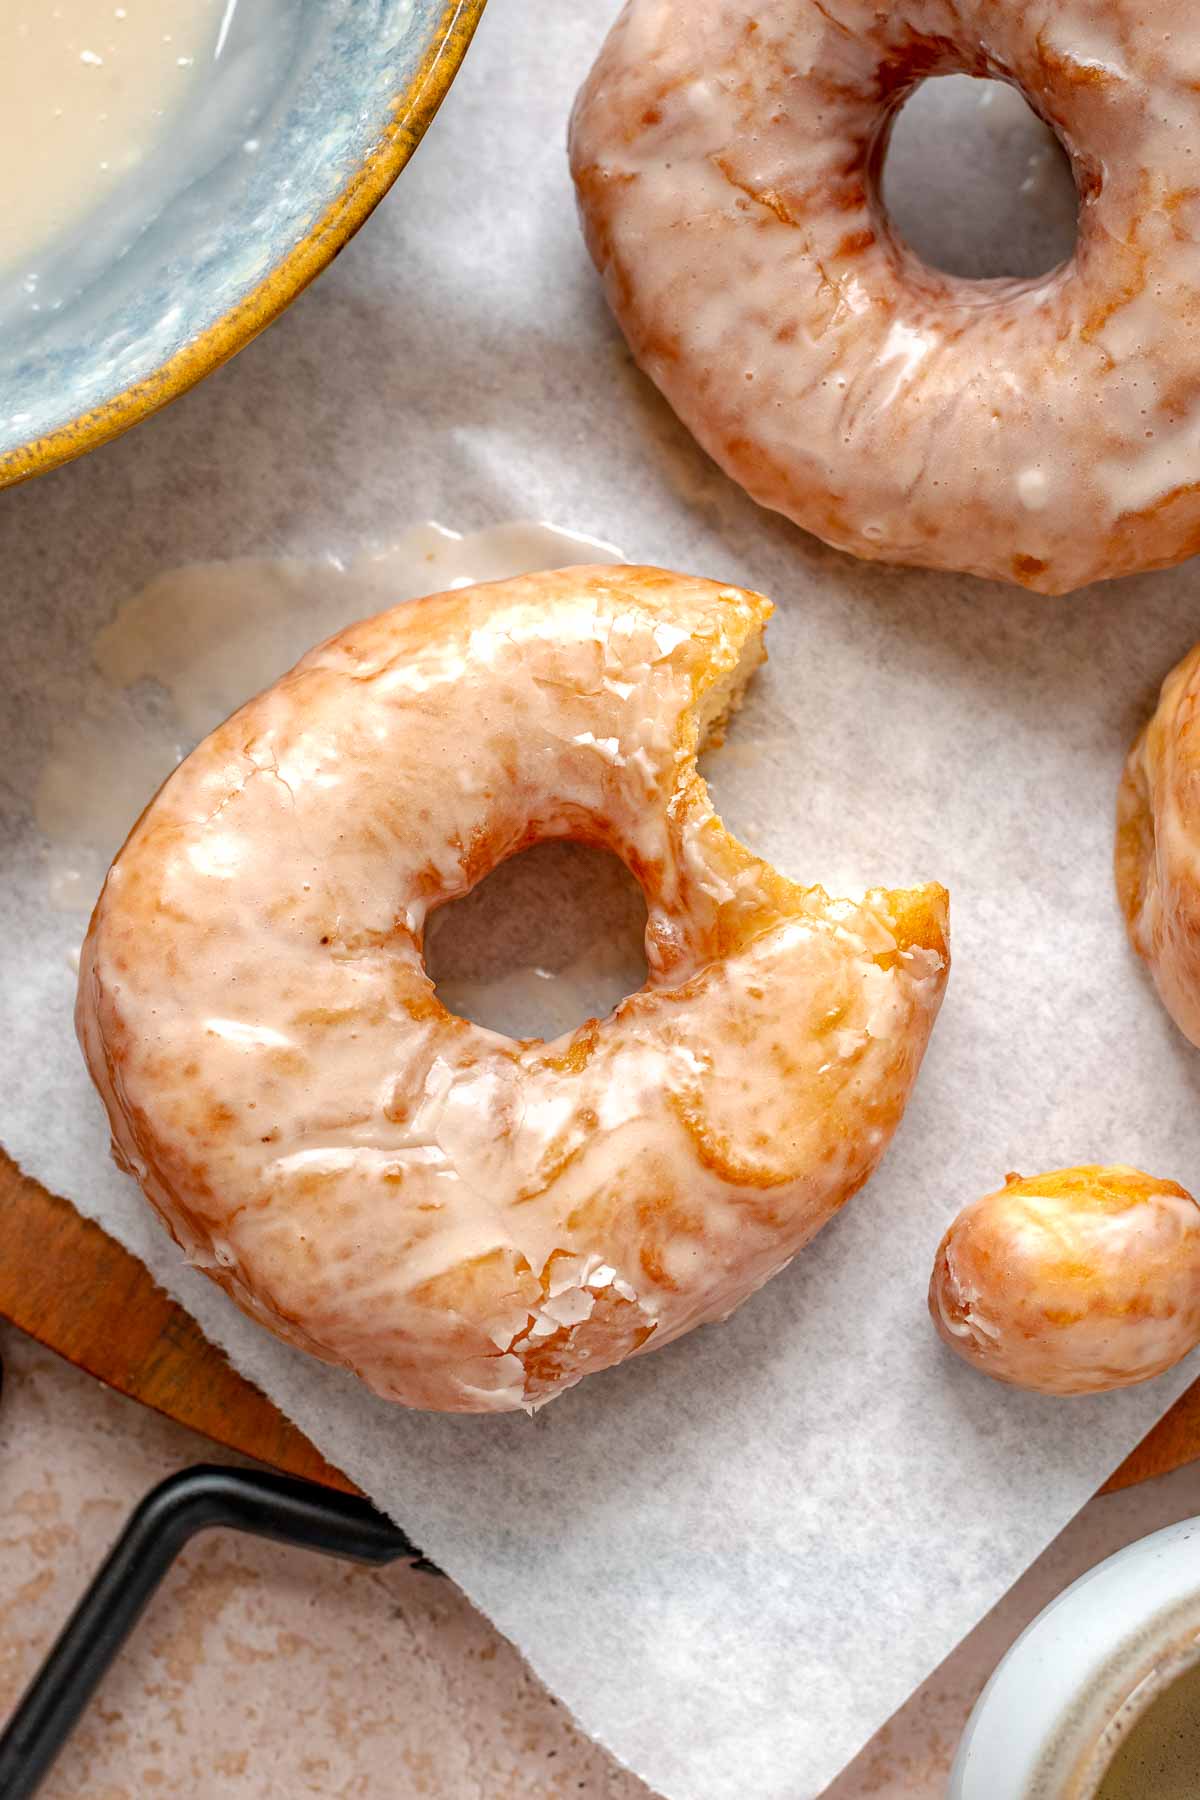
While they do take a little work and time, these yeast-raised donuts with a sweet vanilla glaze are worth the effort. So let’s gather those ingredients and get ready to make some fresh, warm donuts that will rival any donut shop!
Ingredients
Yeast Donuts:
- 2 packets instant yeast , (0.25 ounces)
- 1/3 cup warm water , 100-110 degrees
- 1 teaspoon sugar
- 1 1/2 cups whole milk
- 1/3 cup vegetable shortening
- 5 cups flour , spoon and level this
- 2 large eggs
- 1/4 cup sugar
- 1 teaspoon salt
- vegetable oil , for frying
Donut Glaze:
- 3 cups powdered sugar
- 1/3 cup whole milk
- 2 teaspoons vanilla extract
Instructions
Yeast Donuts:
- Add yeast, warm water, and sugar to a stand mixer bowl, stir well and let sit for five minutes.
- Add milk and vegetable shortening to a microwave safe bowl and microwave for 30-45 seconds on 50% power, until shortening has just melted.
- Add the milk mixture to your stand mixer and mix on the lowest speed setting.
- Add in 2 cups of flour, eggs, sugar, and salt and combine on low speed.
- Add in the remaining flour ½ cup at a time until just combined.
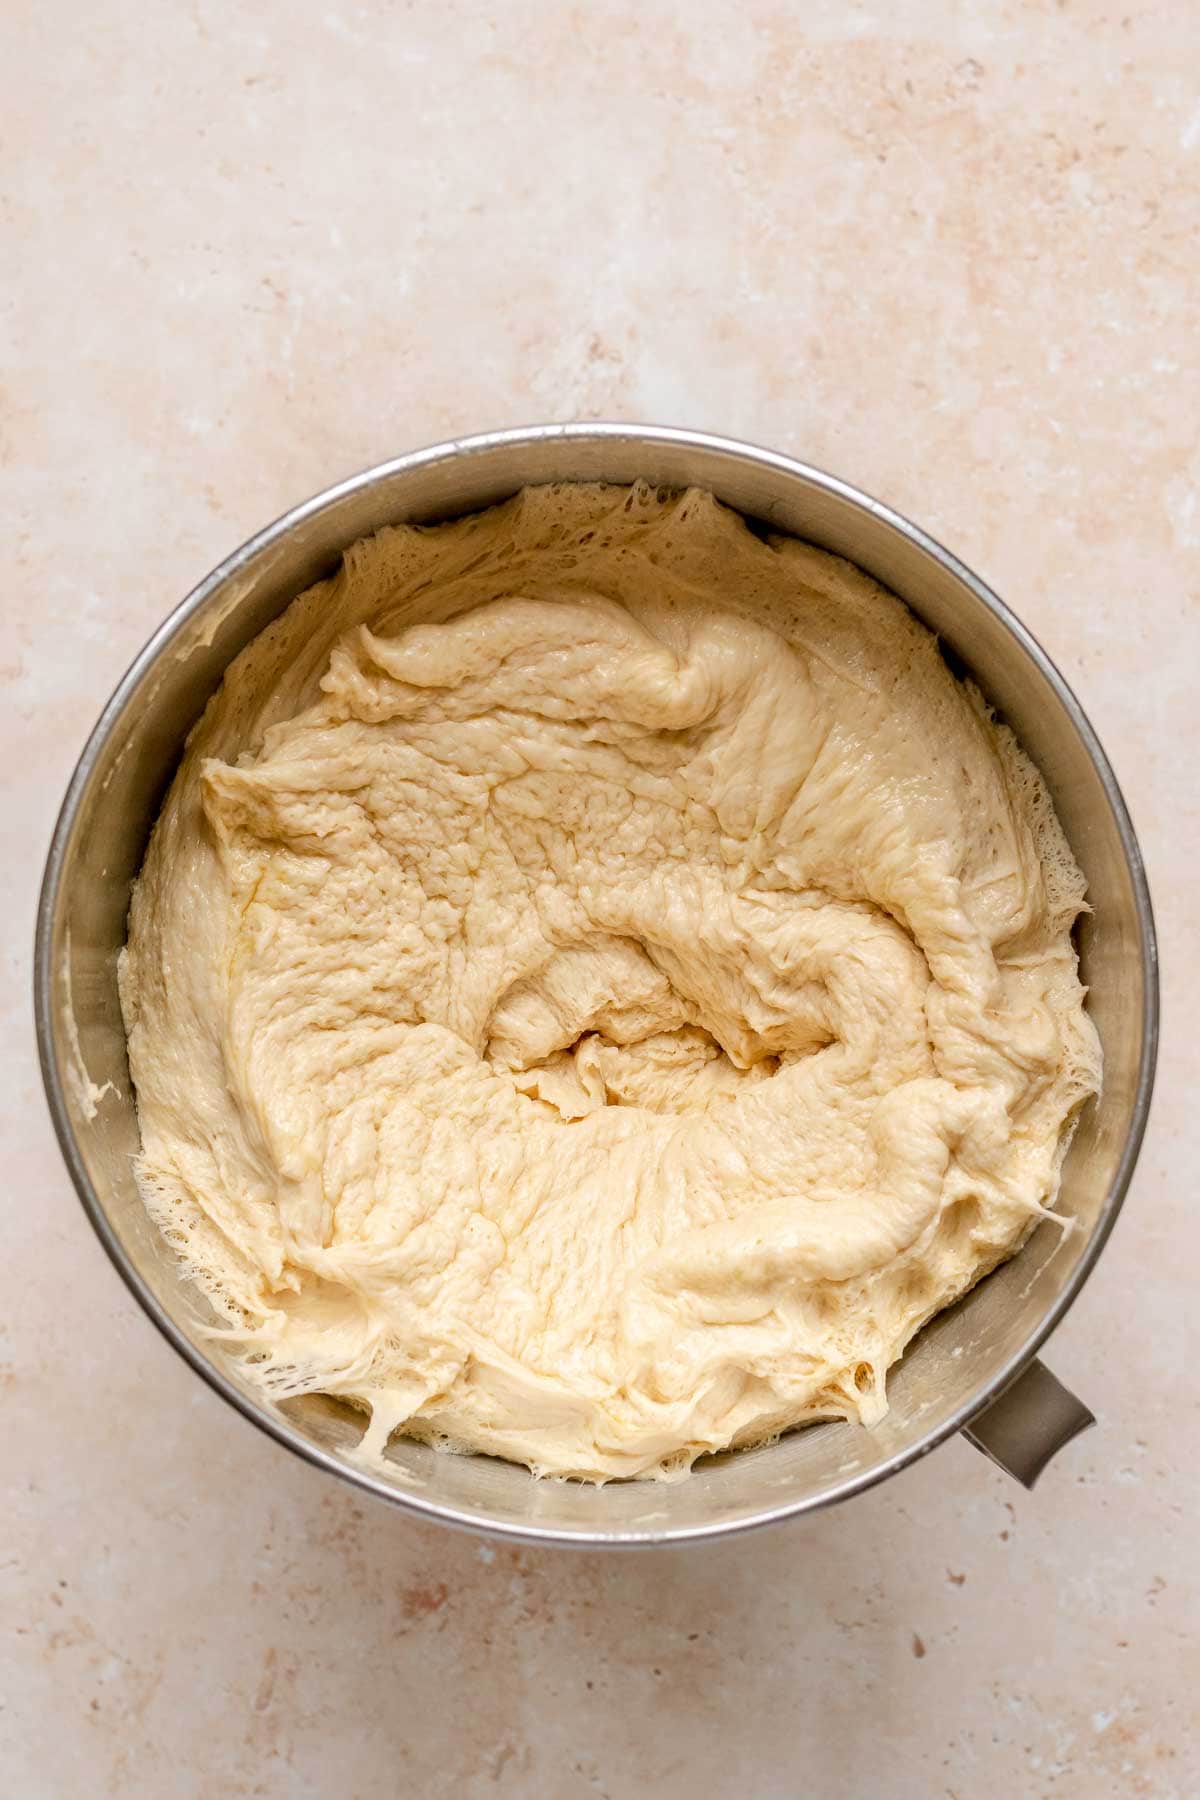
- Change to a dough hook, then knead for 6-8 minutes until it pulls away from the bowl.
- Remove the dough and add to a large greased bowl, then turn to coat so both sides of dough are greased.
- Cover with a clean kitchen towel and let rise for 1 hour.
- Punch down dough and remove onto a floured surface.
- Roll dough to roughly just under 1/2-inch thick.
- Cut out donuts with a 3-inch donut cutter.
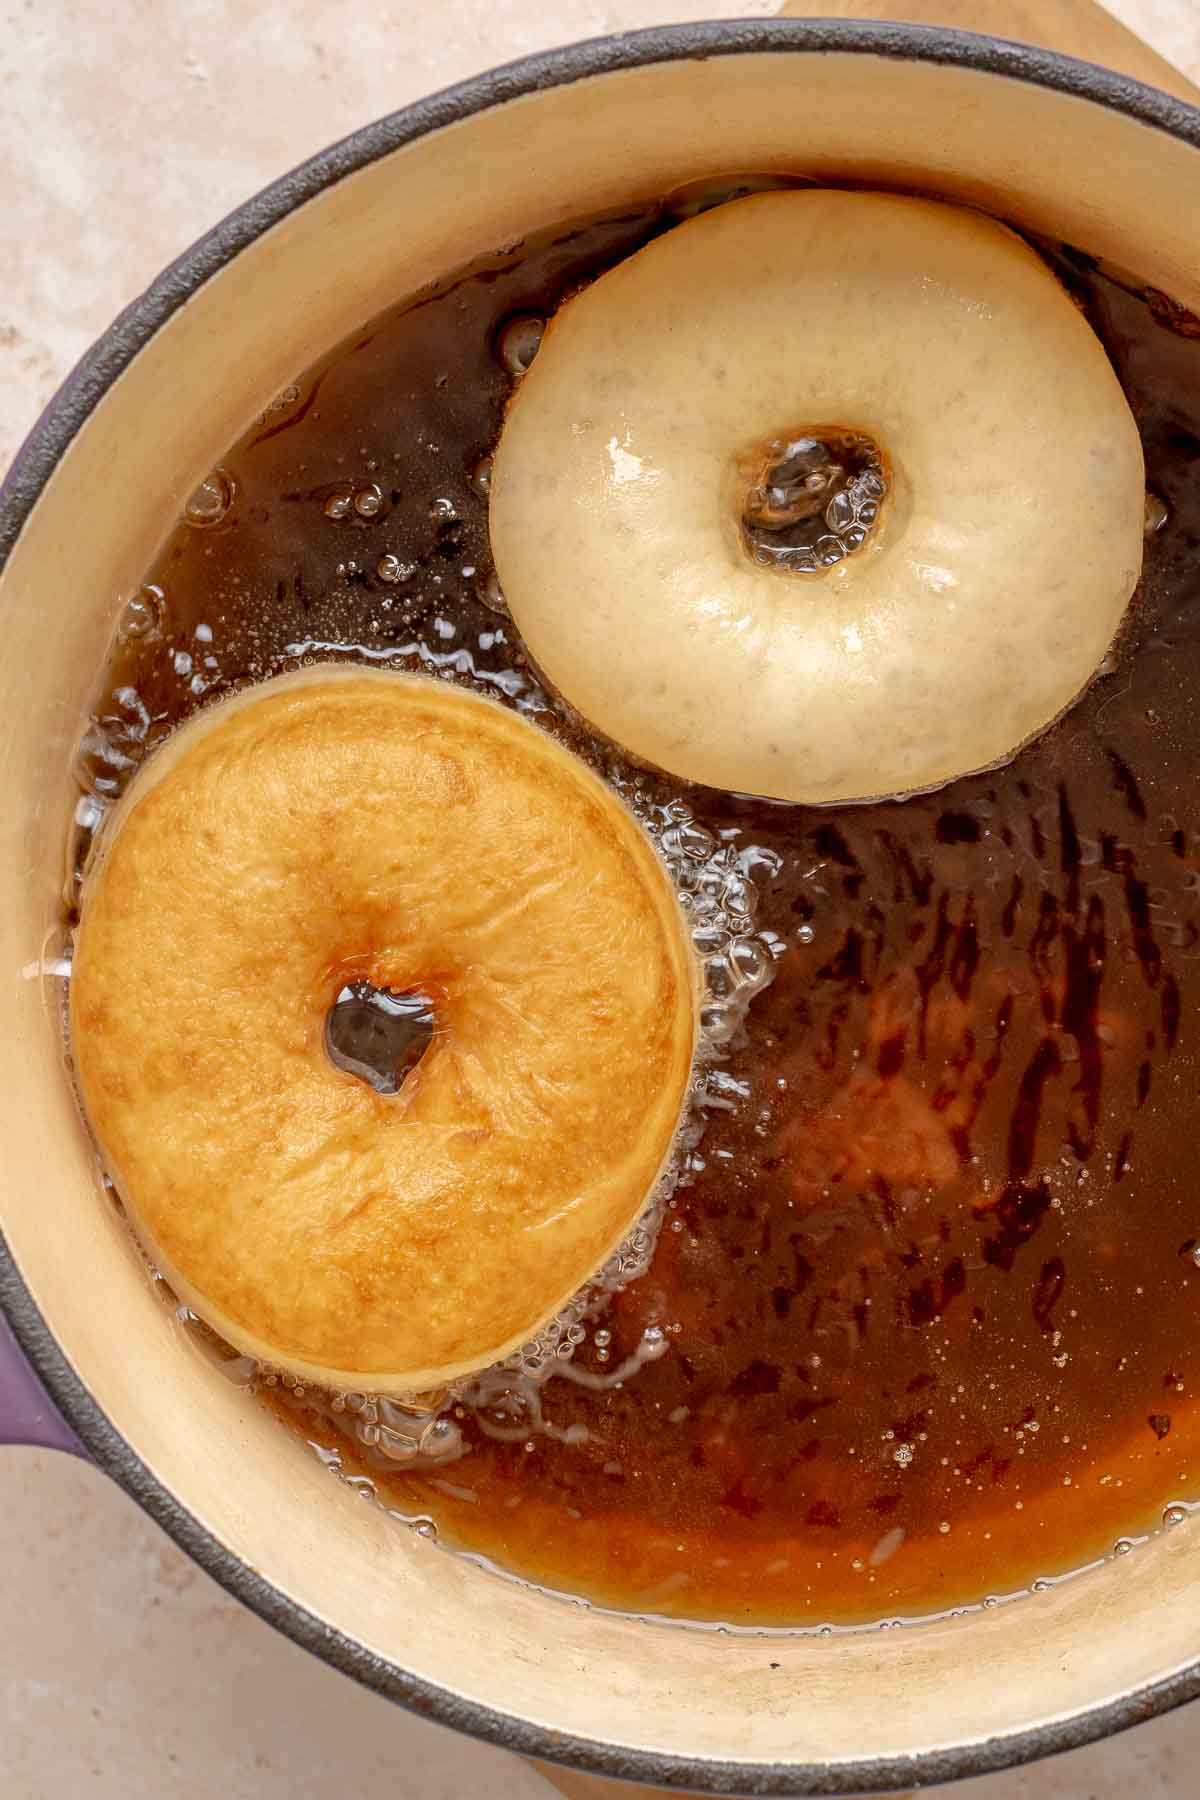
- Heat 2 inches of vegetable oil to 375 degrees.
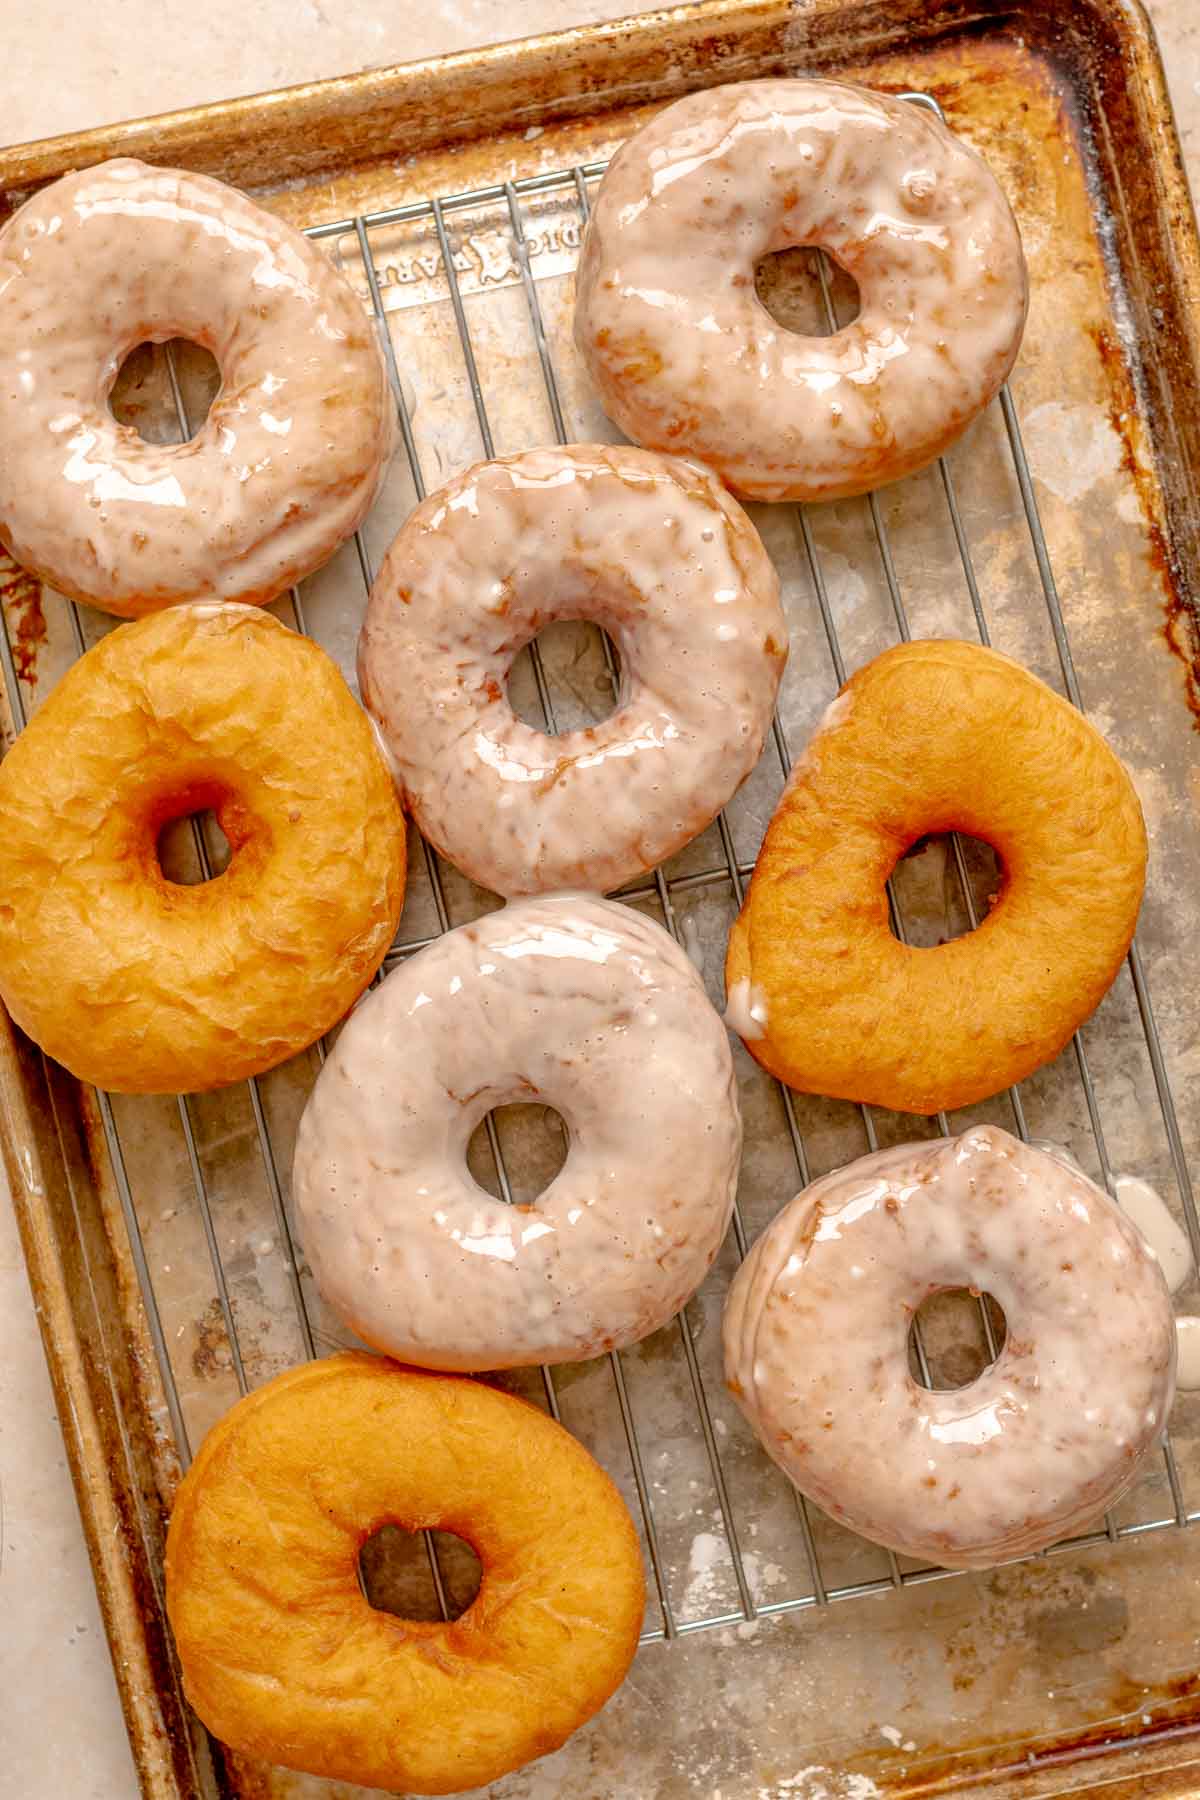
- Without crowding the pot, fry donuts and donut holes in batches. Fry for 2-3 minutes until golden brown on both sides.
- Remove with slotted spatula onto a baking sheet.
- Note: Fry the remaining edges and enjoy as a treat for the cook!
- Let donuts cool for 10 minutes before glazing them.
Donut Glaze:
- Mix powdered sugar, milk, and vanilla extract until smooth.
To Finish:
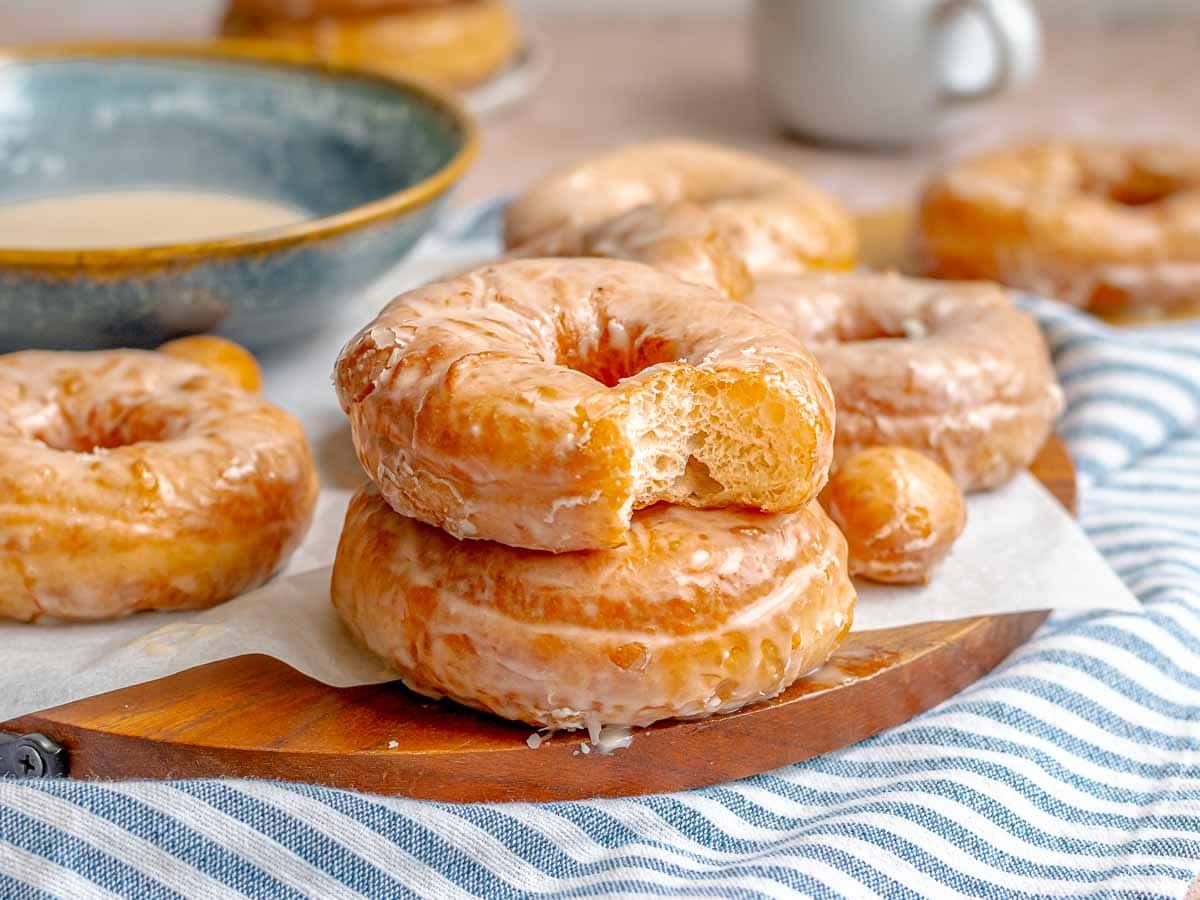
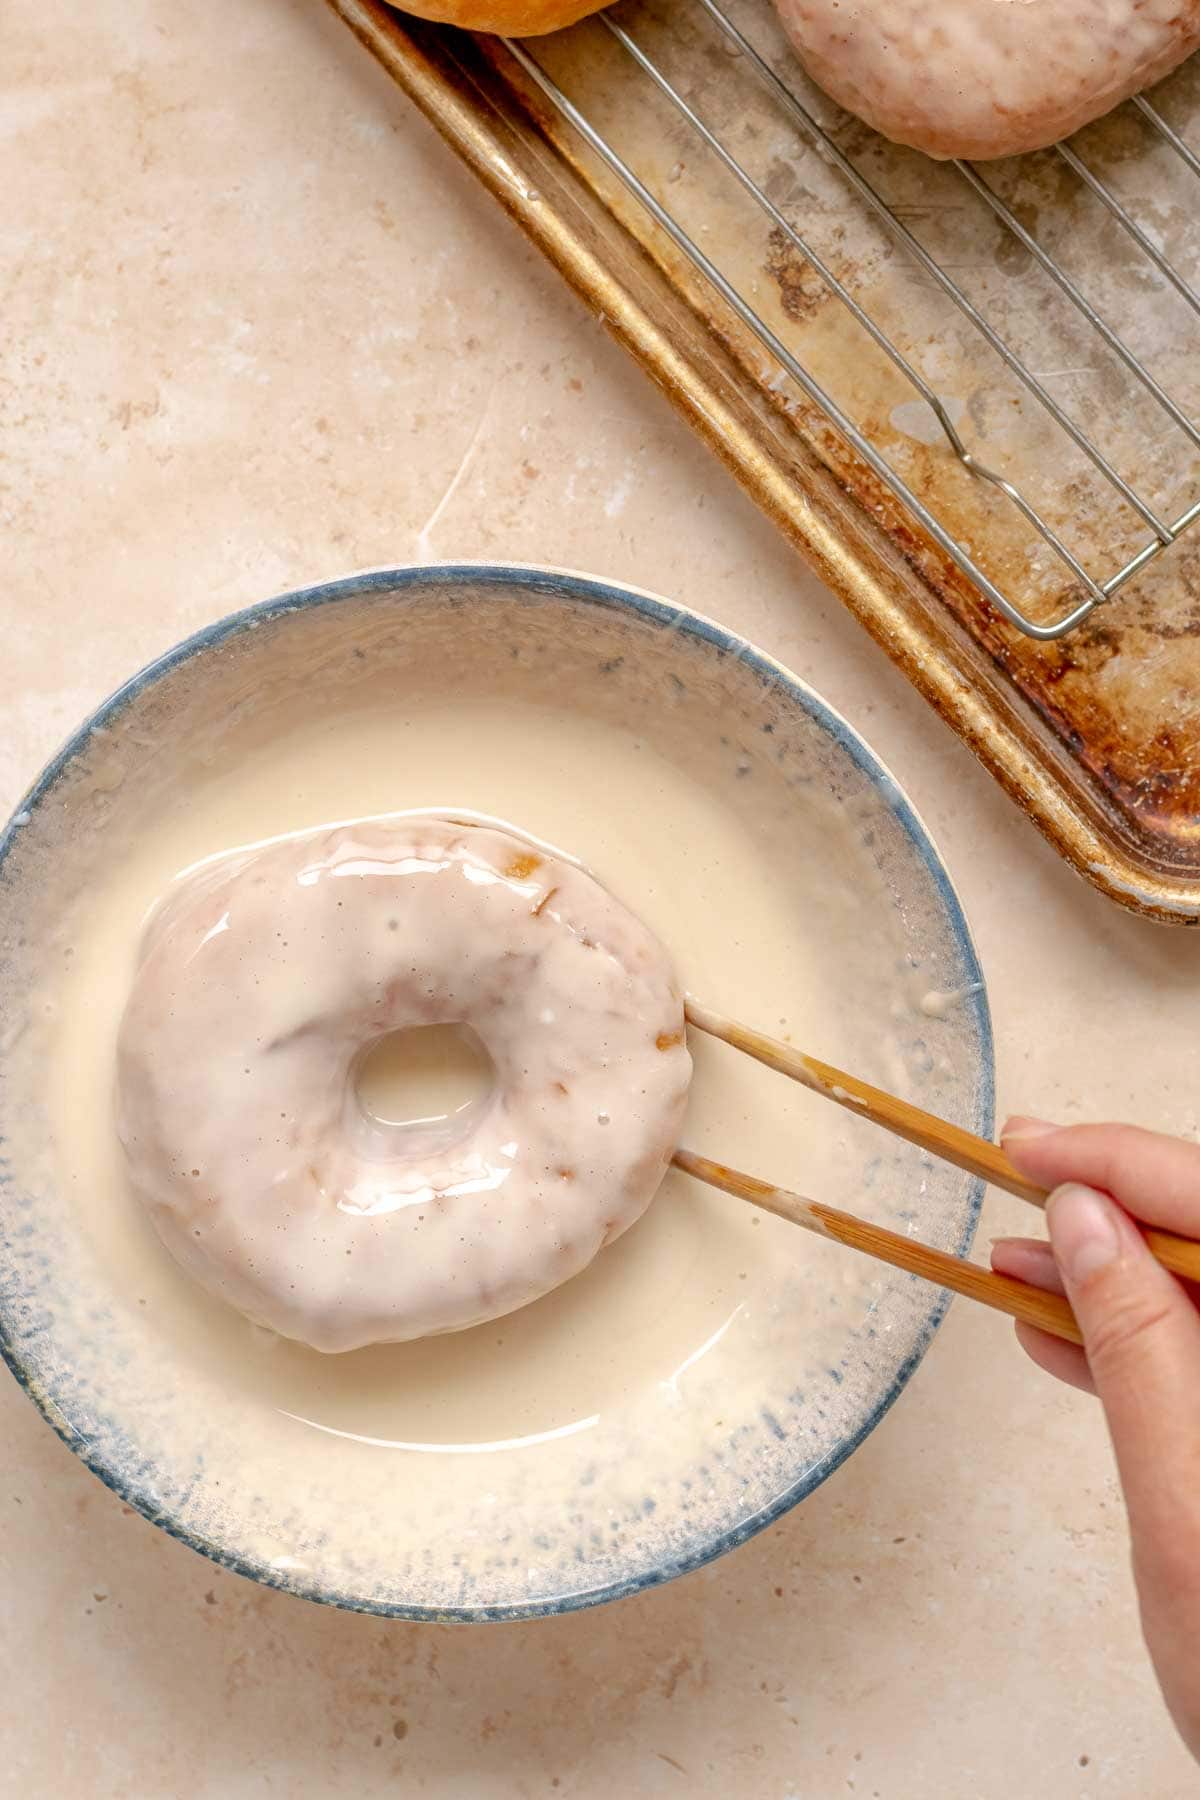
- Dip the top of the donuts in glaze upside down, turn them over with a fork to coat both sides then lift with the fork in the center of the donut and let excess amounts drip off.
- Let harden on a cooling rack on your baking sheet for 20 minutes before serving.
Nutrition
Want to save this recipe? Create a free account to easily save your favorite recipes
Table of Contents
Chef’s Note
The dough needs an hour to rise properly so make sure to set aside that time when you plan to make these donuts. You’ll also want to run through this guide to make sure you have the basics covered like fresh active yeast on hand, your deep frying station ready, and a place to let the runny glaze set up.
Can this be made ahead of time?
Yes! You can prepare the dough the night before and let it rise slowly overnight in the refrigerator. In the morning, simply shape the doughnuts and fry them as usual.
Tips & Tricks
Don’t Use Paper Towels
Letting your fried donuts drain on paper towels will make them greasy and soggy! Instead use a short wire rack on a baking sheet so the oil drips off and doesn’t pool around the hot donut.
Keep an Eye on Temperatures
- First, you don’t want your water hot or it will kill the yeast from the start. When you melt the shortening with the milk, don’t let it get too hot, it should be about the same temp of the water, or again it will kill off the yeast.
- If your room temperature is too hot or cold, it could affect the rising time for your dough. If it’s cold in your kitchen, you can proof the dough in a barely warm oven.
- Finally, you want to keep the temperature of the oil around 375 degrees. Do this by frying in batches so your oil doesn’t cool. If your donuts are taking too long to cook, remove them and let the oil get back to the proper temp.
How to Store
Store: Donuts are always best when they are freshly made but you can keep these donuts at room temperature for up to 2 days.
Freeze: Technically these donuts can be frozen but it’s not recommended. They won’t have the same texture when they are thawed.
FAQ
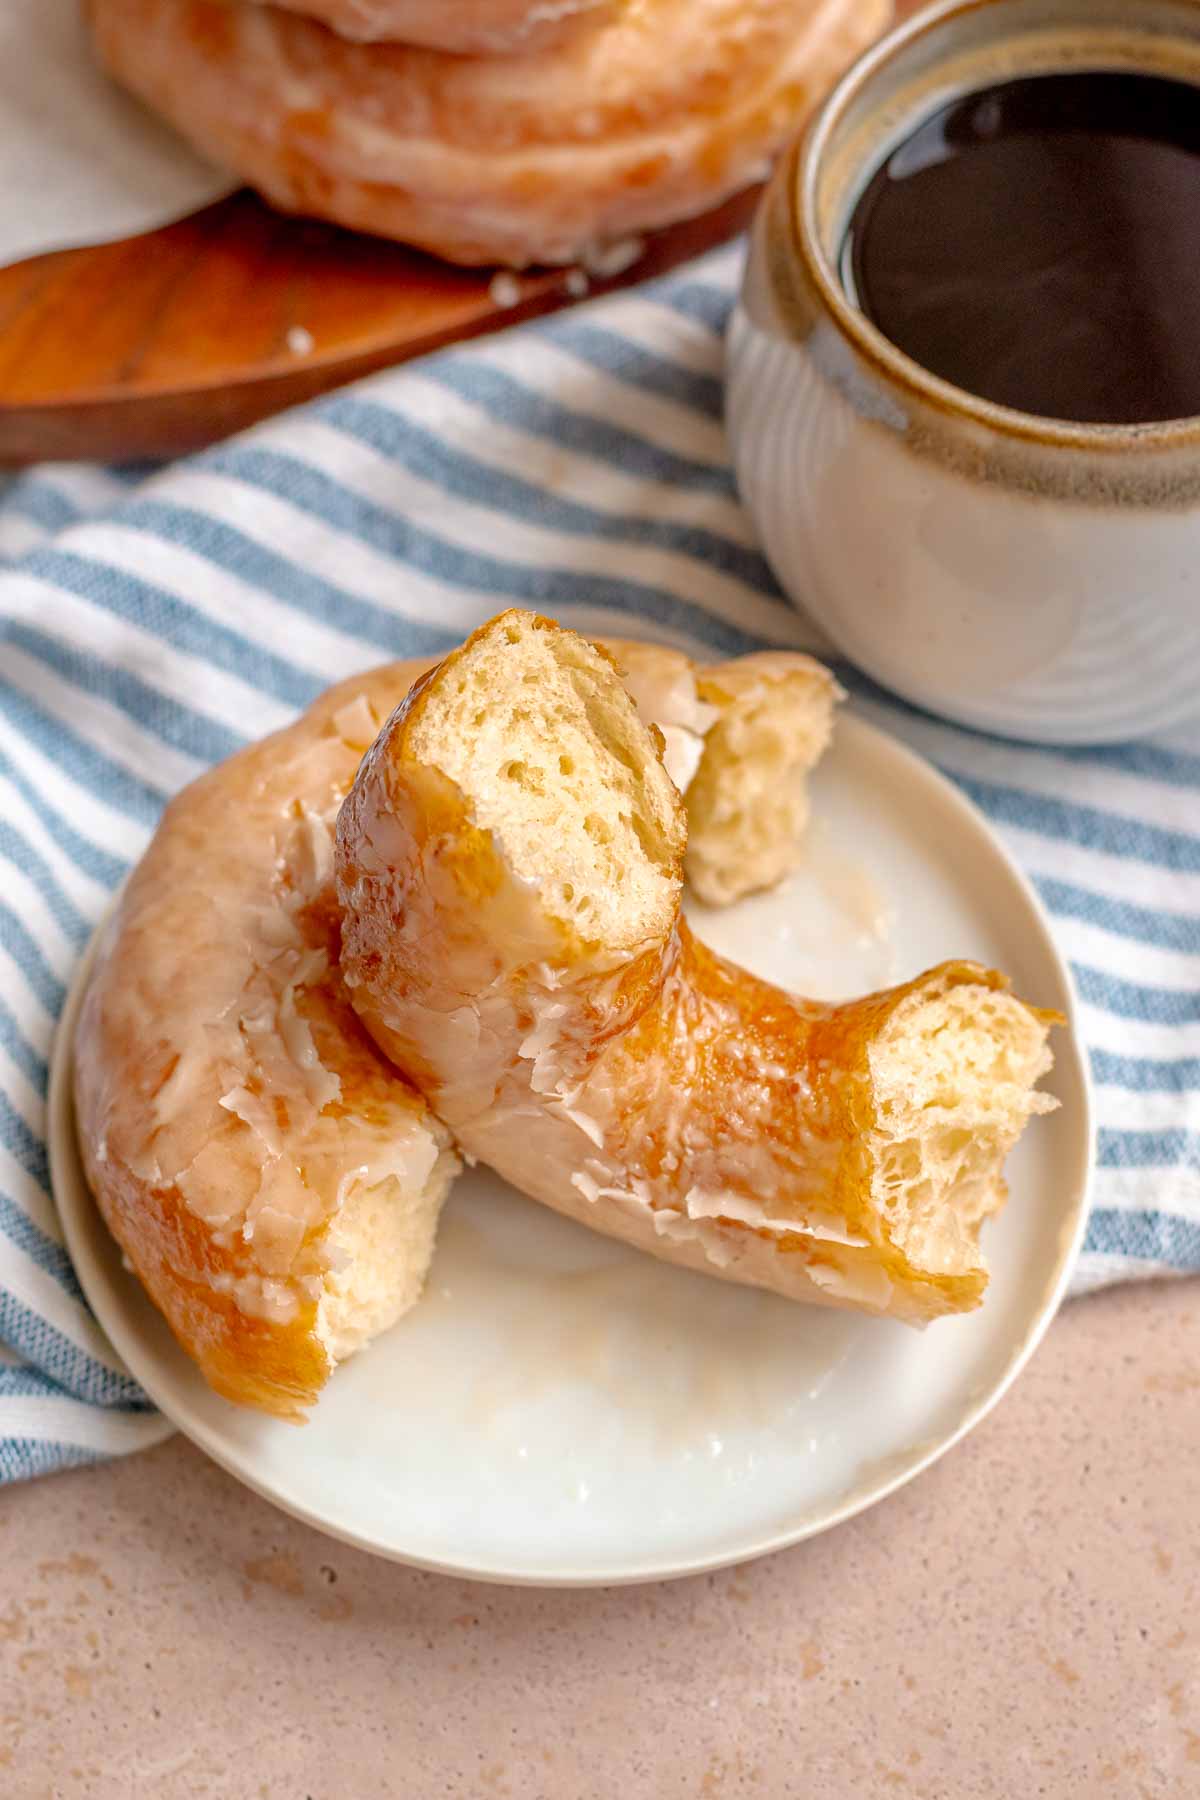
Yes and no. The actual donut itself is more rich than it is sweet, similar to brioche bread or cinnamon rolls, but it’s the glaze that makes the donut sweet. Having a rich yeast bread flavor helps balance the sweetness of the glaze.
Donuts are done cooking when they are puffed up and golden brown on both sides and floating just at the top of the oil.
Related Recipes
More Delicious Donut Recipes