
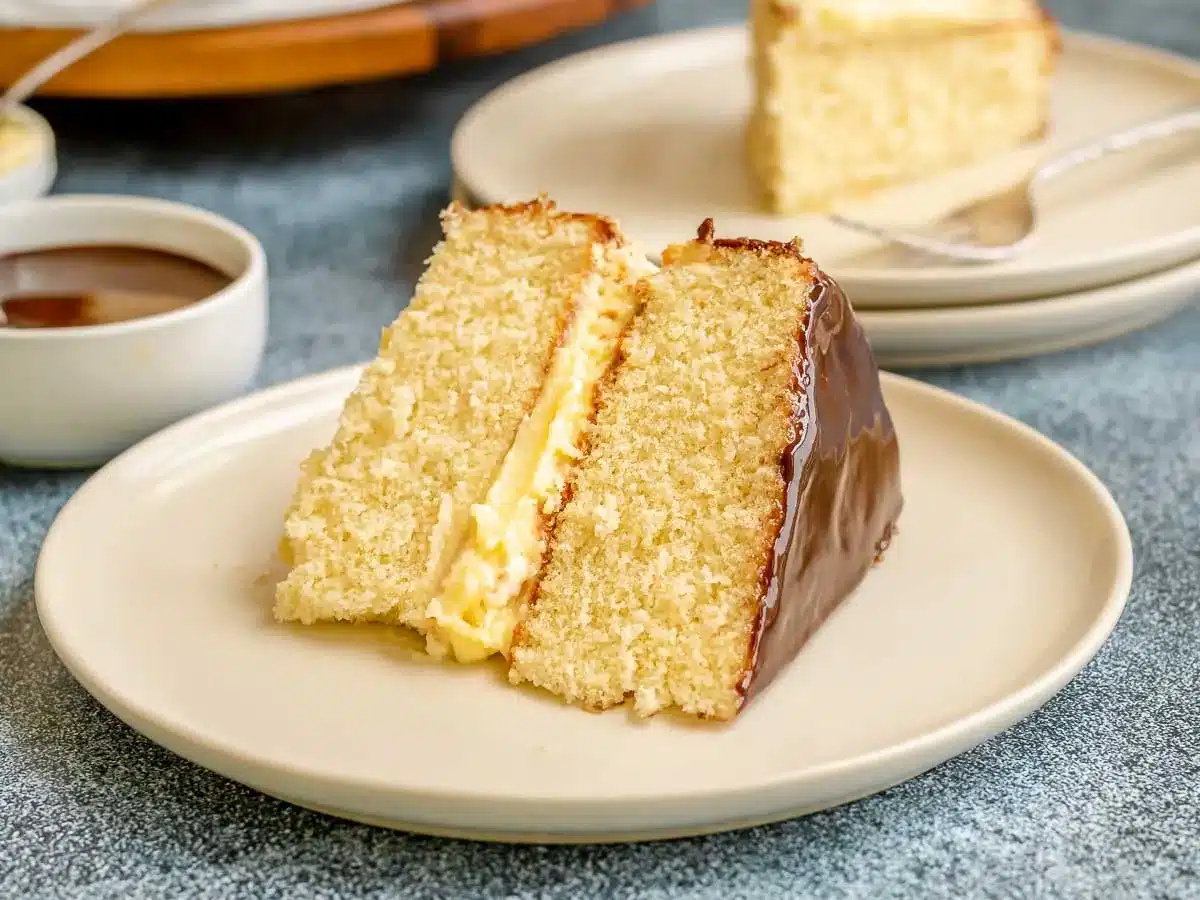
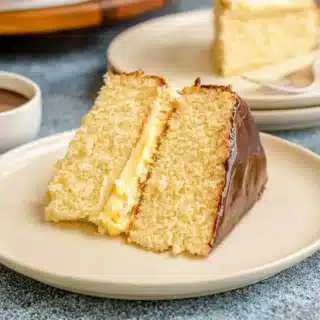
Boston Cream Pie is a classic indulgent dessert with layers of soft fluffy cake, a rich creamy center, topped with a delicious glaze.
This creamy, sweet Cake may take a bit more work than your average Layer Cake but every indulgent bite is absolutely worth it.
Why You’ll Love This Boston Cream Pie?
- Soft buttery sponge cake, vanilla custard, and a rich chocolate glaze come together to create three delicious layers of flavor.
- An impressive dessert to make for special occasions, whether a birthday, anniversary, or holiday gathering.
Sabrina’s Boston Cream Pie Recipe
Boston Cream Pie is an iconic American dessert with two luscious cake layers, a silky custard filling, and rich glaze. Despite the name it’s actually a cake, but its unique combination of flavors and textures set it apart. If you’re new to baking, or haven’t tackled something quite as technical, this recipe is detailed and easy to follow. Plus I have some important Tips and Tricks listed below to help you. If going all out, make an Old Fashioned, serve Herb Crusted Pork Loin as your main, and then serve this cake as dessert.
Recipe Card


Ingredients
Cake:
- 4 large eggs
- 2 cups sugar
- 1/3 cup vegetable oil
- 2 1/4 cups flour
- 1 teaspoons salt
- 2 teaspoons baking powder
- 1 cup whole milk
- 4 tablespoons unsalted butter
- 2 teaspoons vanilla extract
Custard Filling:
- 3 large egg yolks
- 1/2 cup sugar
- 2 1/2 cups whole milk
- 1/3 cup cornstarch
- 2 teaspoons vanilla extract
- 1/4 teaspoon salt
Chocolate Ganache Glaze:
- 1/4 cup heavy cream
- 1/3 cup semi-sweet chocolate chips
Instructions
Cake:
- Preheat oven to 325 degrees and spray two 9" cake pans with baking spray.
- In a stand mixer add the eggs and sugar together on medium speed, then raise to high speed and beat for 3 full minutes.
- Lower the speed to low, add in the vegetable oil until just combined.
- Sift together flour, salt, baking powder then add it to the stand mixer on the lowest speed setting until just combined.
- Add milk and butter to a microwave safe bowl and cover with a wet paper towel.
- Microwave at 50% power in 30 second increments until the milk is warm to the touch and the butter is melted.
- Add in the vanilla extract and stir.
- On the lowest speed setting in a very thin stream add the milk mixture to your batter until just combined.
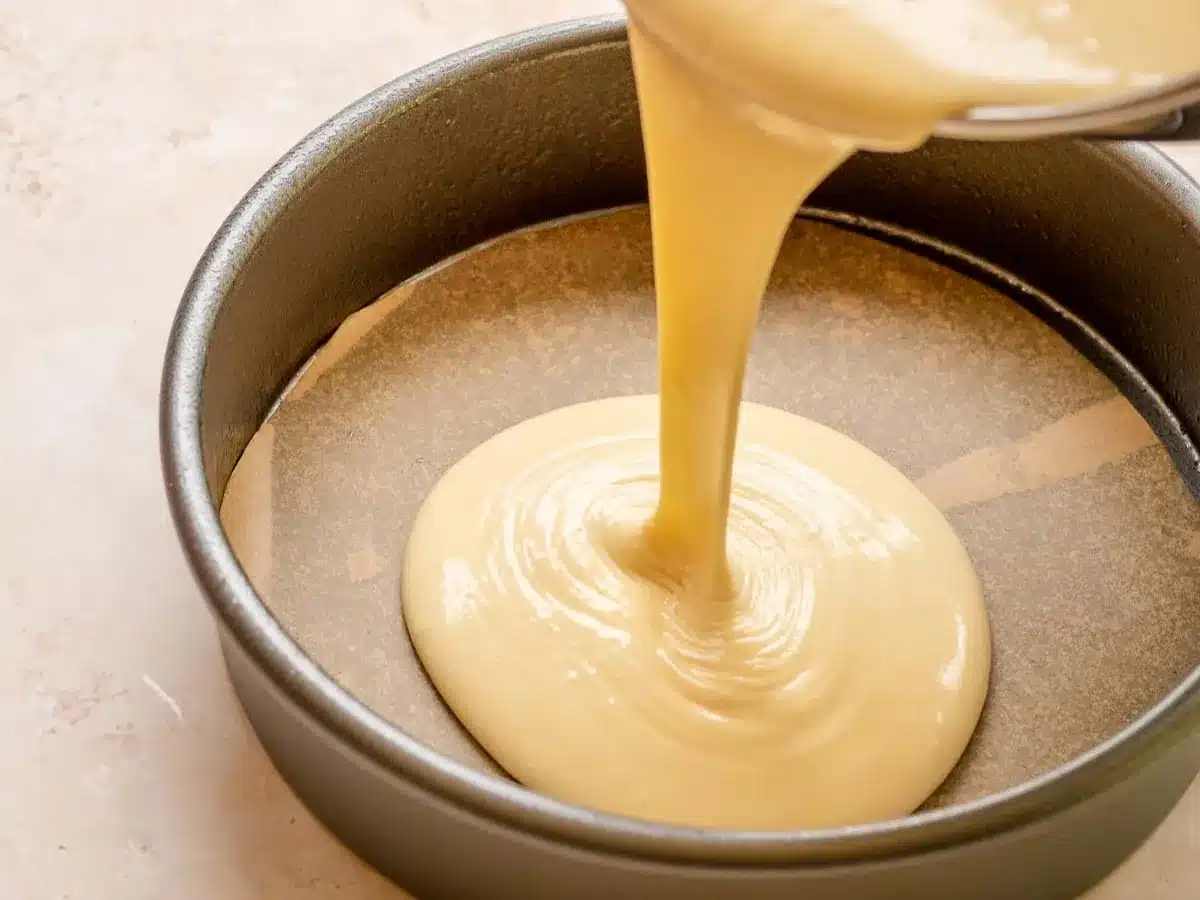
- Pour half the batter into each of the cake pans and bake for 30-35 minutes until the cake springs back when lightly touched or a toothpick comes out clean.
- Cool completely.
Custard Filling:
- Add egg yolks and sugar to your stand mixer on high speed for 5 minutes until the eggs are a pale yellow and make ribbons.
- Add milk and cornstarch to a small saucepan, whisk well and heat on medium until it barely comes to a simmer. Note: do not boil your milk.
- Whisk in vanilla extract, and salt, and let milk mixture cool for 5 minutes.
- On high speed add the cooled milk mixture very slowly to the egg yolk and sugar mixture in the stand mixer and combine.
- Remove from your stand mixer, clean and dry it.
- Add the mixture back to your saucepan on medium low heat and cook, stirring often, until thickened into a custard, about 2 minutes. (the custard will get thick)
- Bring the custard to a low boil over medium heat (this may happen very quickly), stirring constantly with a whisk, and cook for 2 minutes; the mixture will thicken significantly.
- Remove the filling from the heat and add to a heat safe bowl.
- Rub a piece of cling wrap with your butter wrapper then place it directly onto the custard.
- Refrigerate until cool, at least 2 hours.
Chocolate Ganache:
- Add heavy cream and chocolate chips to a heat safe bowl and microwave at 50% power for 1 minute.
- Let sit 2 minutes then stir nonstop until silky and smooth.
To Finish:
- Trim and dome from the top of the cakes.
- Add the first layer (trimmed side up if trimming was necessary) to a cake stand.
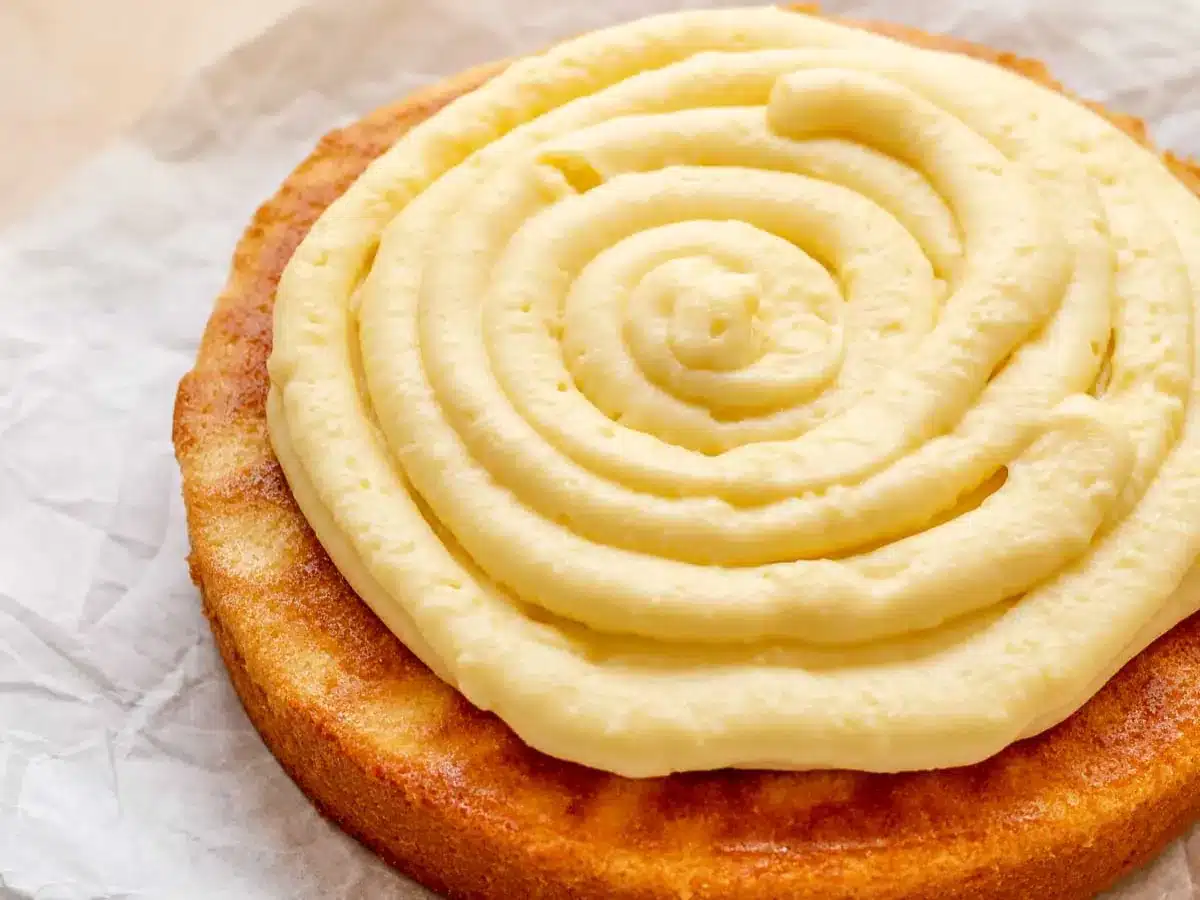
- Pipe the custard onto the layer and top with the second layer (trimmed side down) and press gently.
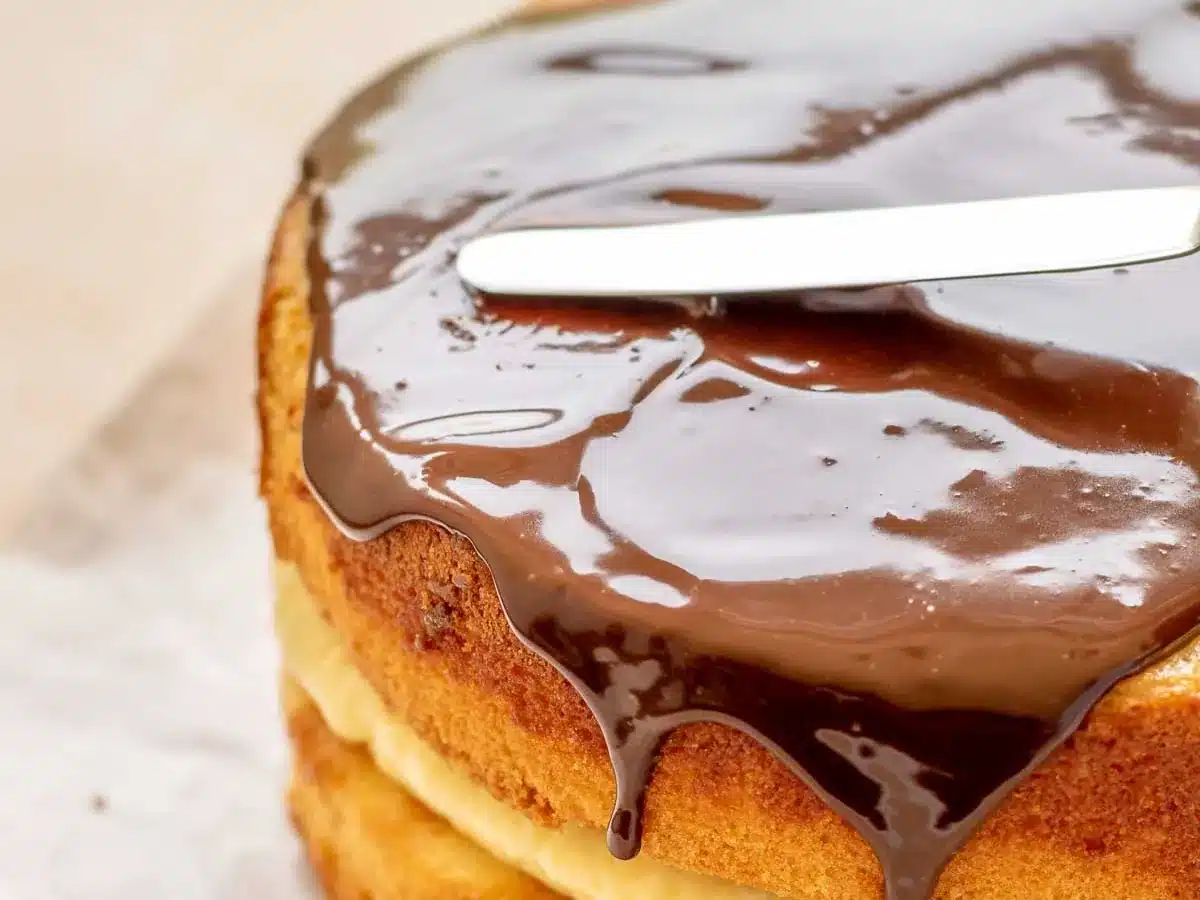
- Gently pour your chocolate ganache over the center of the cake, and with an offset spatula spread it just to the edge of the cake until it starts to come down the sides of the cake. (Try to not have it drip to the bottom).
Nutrition

Want to save this recipe? Create a free account to easily save your favorite recipes
Chef’s Note
The proof is in the pudding, well custard in this case, so don’t rush the filling. Once you’ve returned it to the saucepan, keep whisking as it thickens so it stays smooth and doesn’t scorch on the bottom. Give it the 2 full hours to chill before assembling since a firm, completely cooled custard will hold up much better between the layers.
Table of contents
Can this be made ahead of time?
Make the cake layers and custard filling in advance and store in the refrigerator separately for up to 2 days. Make the chocolate glaze fresh on the day you want to serve. Or freeze the layers for up to 2 months. Let cool completely, then wrap tightly in two layers of plastic wrap, and freeze flat in the back of the freezer.
How to Store
- Serve: Because of the custard filling, don’t leave it out for more than 2 hours at room temperature.
- Store: Cover leftovers with plastic wrap, or place in an airtight cake container in the refrigerator for up to 5 days.
- Freeze: Don’t freeze this once assembled because both the ganache and custard filling will not thaw well.
Tips and Tricks
Make your Boston Cream Pie deliciously memorable with these tips.
- Don’t over mix the batter: Once the dry ingredients are added, mix until just combined.
- Warm the milk and butter before adding: The warm milk helps the melted butter incorporate smoothly into the batter. Pour in a thin stream on low speed rather than adding all at once.
- Assemble with completely cooled layers: Warm cake can soften the chilled custard and make the layers slide. If either layer has a rounded top, trim it flat before assembling so the filling sits evenly.
Related Recipes