
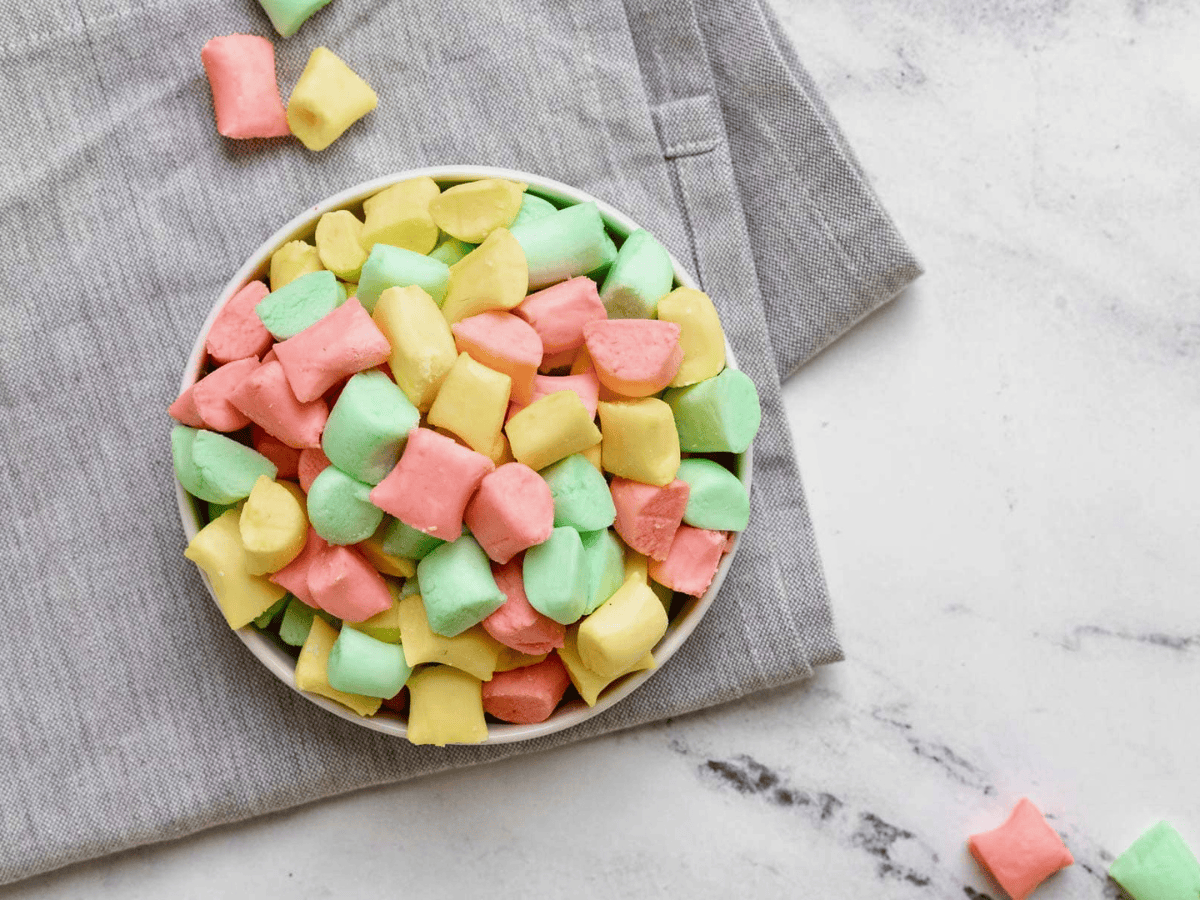
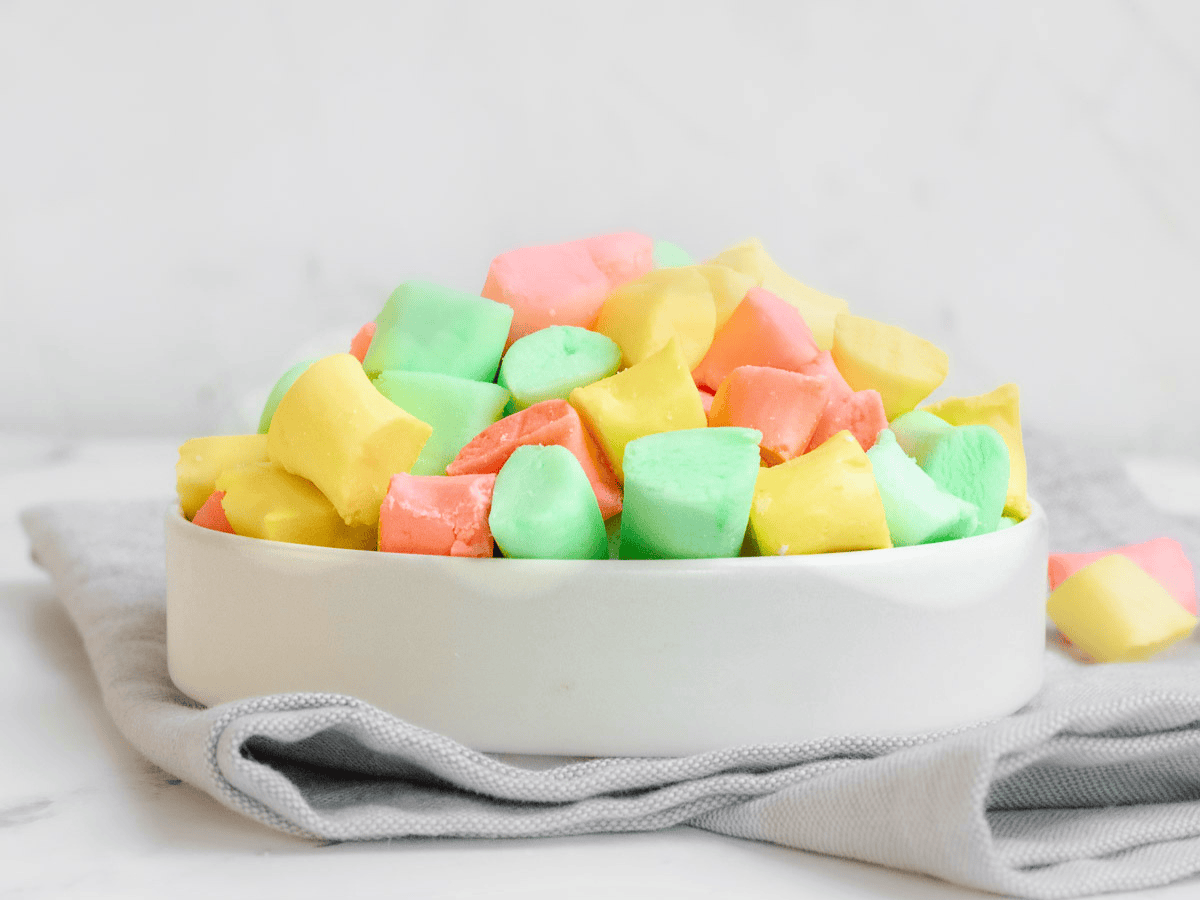
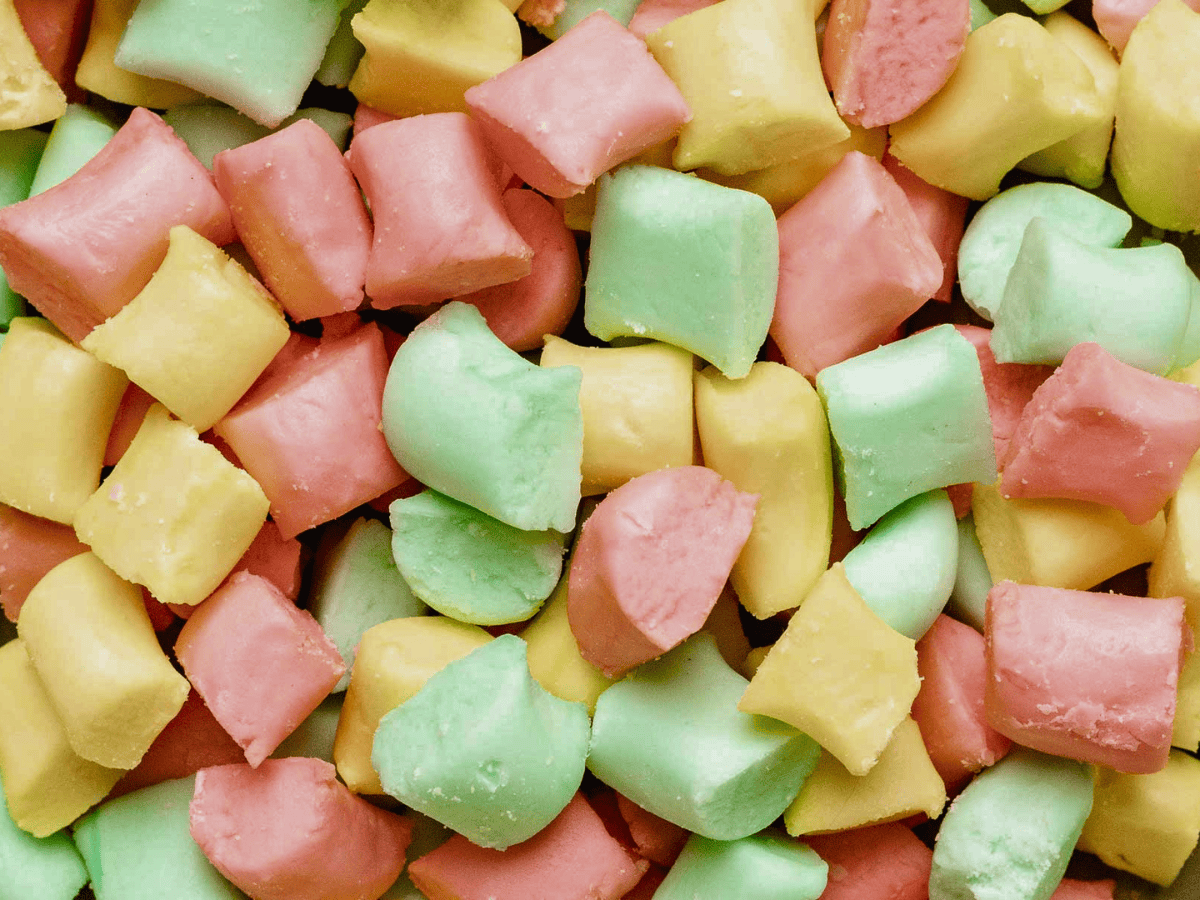
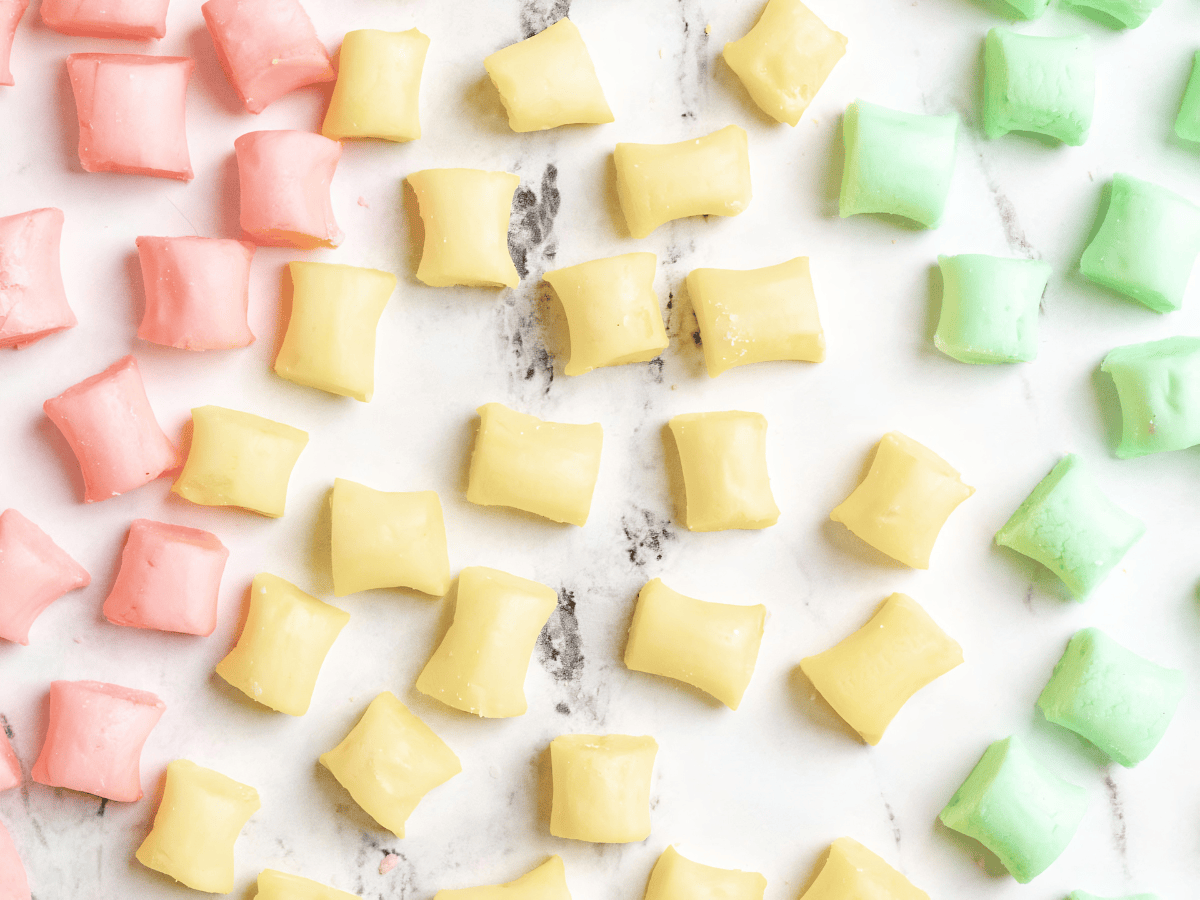
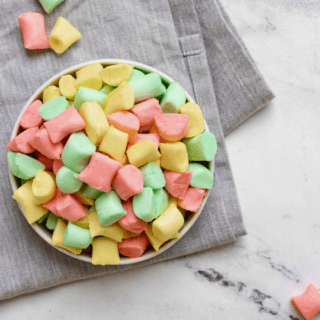
Butter Mints are the perfect creamy, sweet treats with a smooth texture and bright, cheerful colors. Ideal for gifts and parties! Try soon!
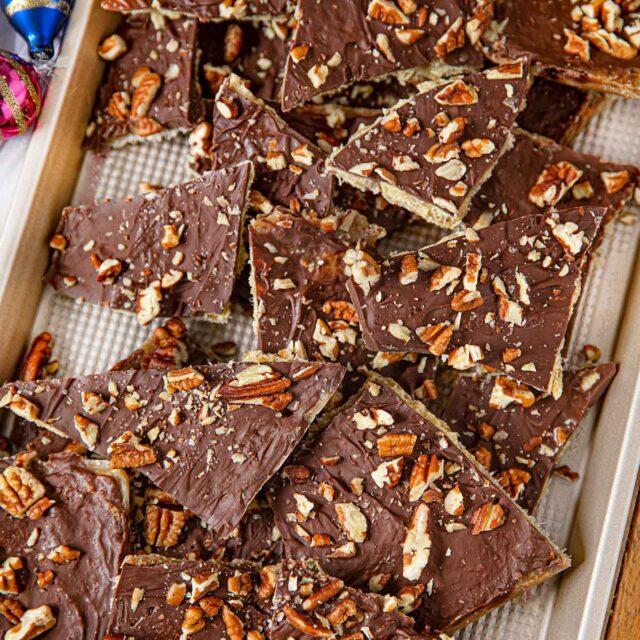
There are so many Candy Recipes that are wonderfully easy to make at home! You can whip together your own Chocolate Fudge or even Marshmallows from your own kitchen.

Sabrina’s Butter Mint Recipe
Just like my Cream Cheese Mints, these Butter Mints are simple to make, colorful, and easy to store! They are a nostalgic treat perfect to share and enjoy around the holidays! Use your favorite color combinations to celebrate the holidays or any special occasion.
Recipe Card
Ingredients
- 1/2 cup unsalted butter , room temperature
- 4 cups powdered sugar
- 1 tablespoon water
- 2 teaspoons vanilla extract
- 1/2 teaspoon peppermint extract
- food coloring of your choice
Instructions
- Add the butter to your stand mixer and beat on medium speed until light and fluffy, about 30 seconds.
- Add in powdered sugar, water, vanilla extract, peppermint extract, and food coloring (start with 5 drops, then add as you want the color to intensify).
- Mix on lowest speed setting until powdered sugar is absorbed, then increase speed to medium for 1-2 minutes.
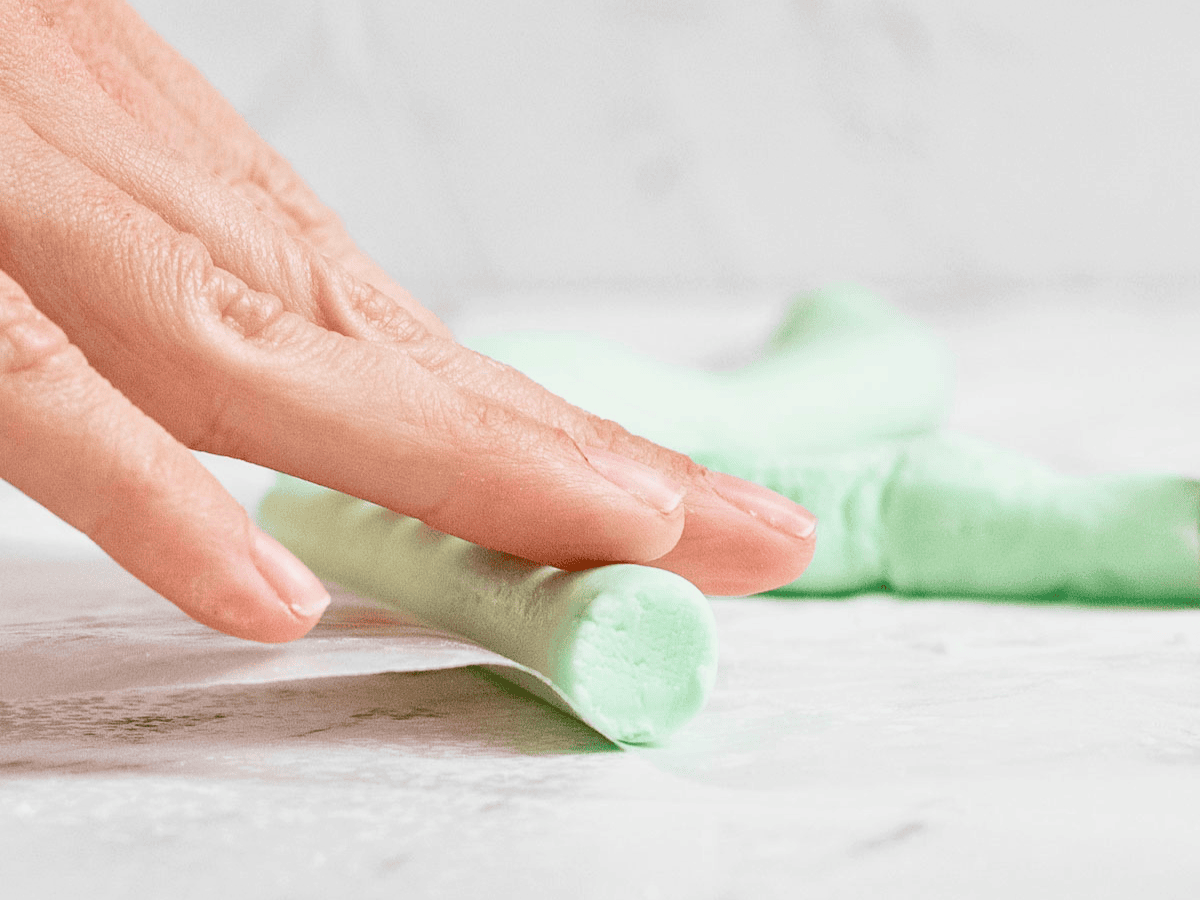
- On a surface with powdered sugar, roll dough ½ inch thick.
- Cut into ½ inch squares or punch out small circles and let dry overnight.
Nutrition
Want to save this recipe? Create a free account to easily save your favorite recipes
Sabrina’s Tips
Depending on the time of year and the weather, making homemade candy can be tricky. You want the butter to be softened to room temperature; if your kitchen is especially warm, the butter may become too soft. Keep the butter in a cool place while softening, so that it doesn’t start to melt while you’re working. If your powdered sugar mixture is still too soft, place it in the refrigerator for a few minutes and try mixing again until you reach a dough-like consistency.
Table of contents
About this Recipe
The softened butter makes the mint dough nice and creamy. Even after the Homemade Butter Mints harden, they absolutely melt in your mouth! That buttery melt-in-your-mouth feel is probably something you’re used to with after-dinner mints at restaurants, but this recipe makes it even better because you can enjoy them fresh.
Ingredients
- ½ cup of Unsalted Butter: We always suggest using unsalted butter for dessert recipes, so that you can control the amount of salt, if any, that is added to your dessert recipes. Use a good quality unsalted butter, and take it out of the refrigerator a few hours prior to starting your Butter Mints so that it is softened enough to easily incorporate with the other ingredients.
- 4 cups of Powdered Sugar: It’s a good idea to sift your powdered sugar before using it in any recipe to avoid having clumps or lumps. This is especially helpful for these mints to maintain their smooth, creamy texture.
- Extracts: Vanilla and peppermint extracts are both used to add balanced flavor to the sweet, buttery mints. The vanilla flavor adds a warm touch that helps cut some of the sweetness from the sugar. You don’t need a lot of peppermint extract to have a fresh, minty flavor that shines through without overpowering.
- Food Coloring: You can use any food coloring that you prefer. Start with just a few drops and increase gradually until you reach the shade you would like.
How to Store
- Serve: After letting the mints harden overnight, you can leave them out at room temperature for up to 1 week.
- Store: Kept in an airtight container, homemade mints will keep well in the fridge for 3 weeks.
- Freeze: You can also store it in the freezer for 1-2 months. Store them in an airtight container to make sure no excess moisture gets in.
Ideas to Serve
- You will love putting out a bowl of these mints at holiday parties or sending them out as packaged gifts along with other festive desserts. If you’re serving them as a holiday treat, use red or green food coloring to make them even more festive. Of course, one of the best things about this recipe is that you can use different food coloring to serve them any time of year and for any occasion. It is common to use pastel coloring and put them out during the spring.
- The other perk of making your own Butter Mints is that you can serve them for so many events. They make excellent wedding mints or baby shower favors.
- They are also a lovely touch at dinner parties. That way, if you serve any spicy dishes, your guests can have an easy, cute palate cleanser.
Frequent Questions
Butter Mints are a soft mint candy made from butter, powdered sugar, water, vanilla, and mint extracts, and colored with food coloring. They are an old-fashioned treat that dates back to the late 1800s. They are known for their sweet, buttery flavor and melt-in-your-mouth texture.
It’s best to make your Butter Mints the day before you plan to package and gift them. This way, they have enough time to dry, and are still fresh when they are received. Use a plastic or cellophane gift bag, or an airtight box, so that they stay fresh as long as possible. You may want to let the recipient know that they can be enjoyed at room temperature up to 1 week, or refrigerated up to 3 weeks, for them to enjoy.
Variations
- Food coloring: There are multiple colors you can use in the Butter Mint recipe to make the perfect colors of mints for any occasion. You can make a portion of the dough green and use red food coloring for the other to make Christmas mints. Pink or red can make adorable Valentine’s mints. You can use multiple pastel gel food colorings for bright spring mints. It should only take a couple of drops of food coloring to get a beautiful color.
- Shapes: Use small cookie cutters to create fun shapes like hearts, stars, or scalloped circles. You can also use cutters to create mints that go with an event or holiday theme, like mini Christmas trees or bunny shapes for Easter.
- Peppermint oil: If you have peppermint oil, you can use it in place of the peppermint extract in the recipe. Peppermint oil is stronger, so instead of using ½ teaspoon pure peppermint extract, use ⅛ teaspoon peppermint oil.
- Candy canes: For an intense holiday twist, add crushed candy canes to the recipe. Mix the crushed candy canes into the dough before flattening it out and letting it harden.
Related Recipes
More Delicious Homemade Treats

These photos were in a previous version of this post


Must confess: I didn’t know how to bake or make candies like these at home until now! My mom loves these, and she could not believe they were homemade. They are so creamy and just the right amount of sweet. Thank you for sharing!