
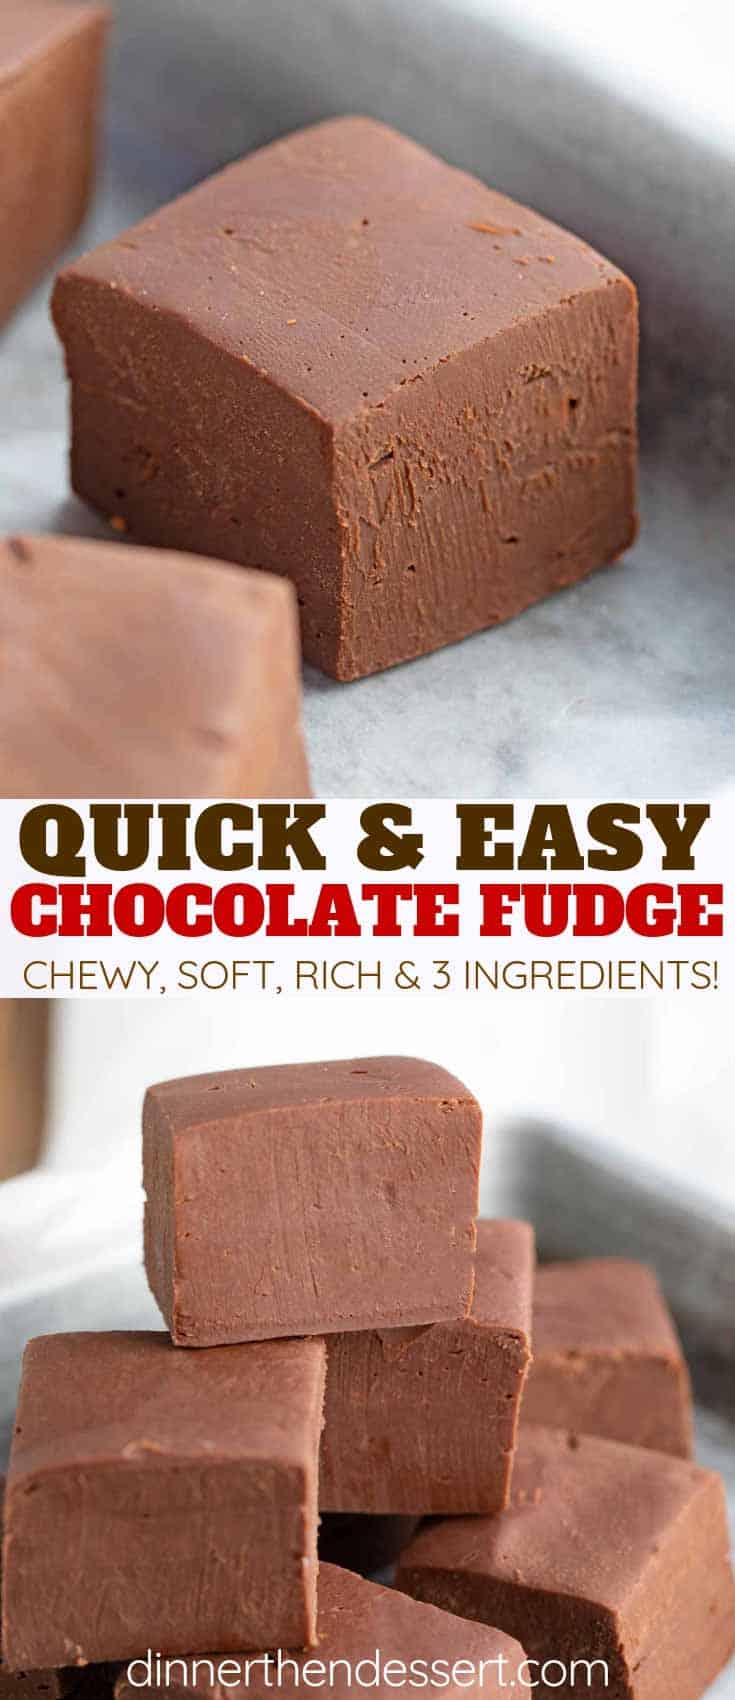
Chocolate Fudge is a rich and indulgent take on an old-fashioned recipe, is no-bake, and only takes 3 ingredients that you already have in your pantry!
Chocolate holidays are the best and we’re making the perfect chocolate dessert menu including Chocolate Truffles, Oreo Truffles, Buckeye Balls, and Chocolate Covered Caramels!
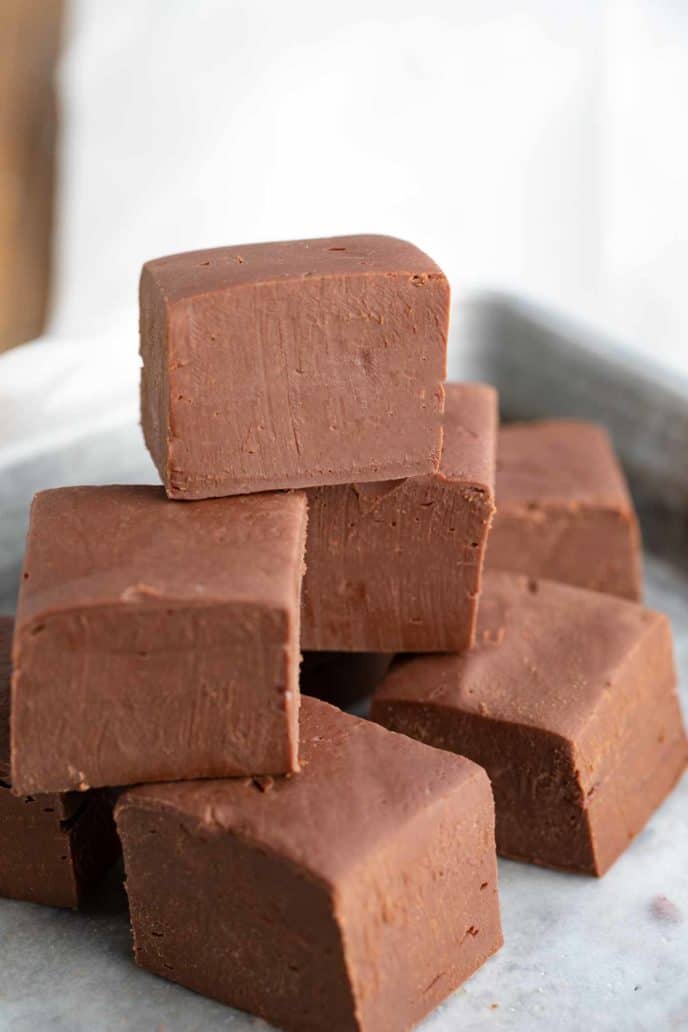
 CHOCOLATE FUDGE
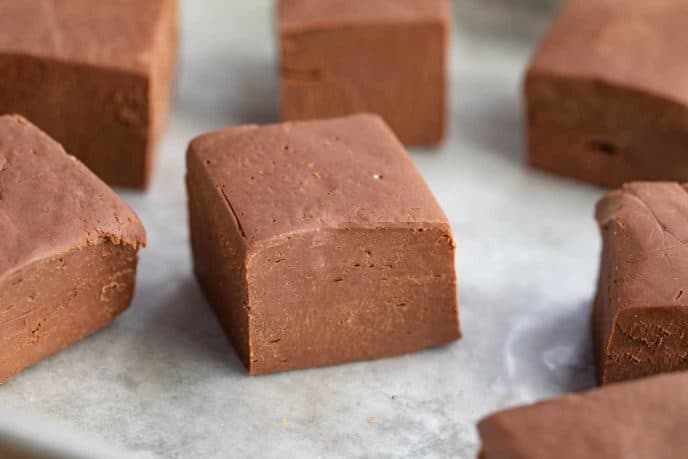
Chocolate Fudge is one of my all-time favorite dessert recipes, because it only takes 3 ingredients and it’s really quick and easy to throw together. All you need is chocolate chips, sweetened condensed milk, and butter.
Plus you can melt everything in the microwave because this is no-bake! Just pour it into a prepared pan, refrigerate, and before you know it you’ll have an indulgent chocolate dessert ready to go. This is also a great recipe to make with the kids, because it’s easy and sweet!
There are a lot of different ways you can make this fudge recipe, depending on what occasion you have coming up. You can add marshmallows, peanut butter, toffee, vanilla extract, or even other candy.
HOW LONG SHOULD IT TAKE FOR FUDGE TO SET?
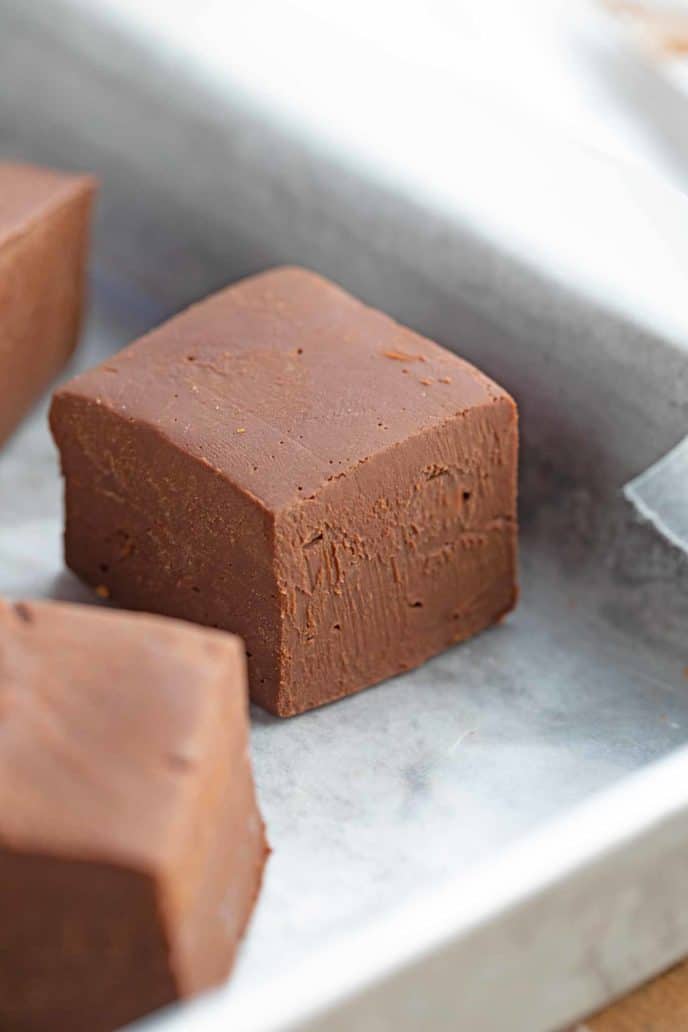
Fudge takes a few hours to set, so make sure you make it ahead of time if you want to serve it later that night. In the refrigerator, this fudge recipe will set in about 3-4 hours.
HOW DO YOU FIX CRUMBLY FUDGE?
This fudge is pretty easy to make, but if you’re getting a grainy crumbly texture it’s possible that you took the chocolate chips too far in the microwave and it burned. At this point you can try stirring in more sweetened condensed milk, but honestly once the chocolate is burned, the flavor won’t be the same. If this happens, I usually just start over.
HOW DO YOU STORE CHOCOLATE FUDGE
Fudge can be stored at room temperature for about a week, or in the refrigerator for about 2 weeks. Make sure you seal it in an airtight container to prevent the fudge from drying out, and use parchment paper between each layer to keep it from sticking together.
HOW TO MAKE PEANUT BUTTER CHOCOLATE FUDGE
You can turn this chocolate fudge recipe into peanut butter fudge by replacing the chocolate with white chocolate, omitting the unsalted butter (except for greasing the dish), and adding ½ cup of peanut butter.
Melt the chocolate in the microwave with the peanut butter, then follow the recipe as usual. You can drizzle with melted chocolate, or make a second batch of fudge with chocolate and layer with the peanut butter fudge.
Create a free account to Save Recipes
CAN I FREEZE CHOCOLATE FUDGE?
Fudge is great for making ahead of time and freezing. You can freeze the whole thing, or cut into pieces and freeze individual portions. Wrap the fudge in plastic wrap, then in tinfoil to prevent moisture from getting to it. Fudge will last in the freezer for a few months. Defrost at room temperature.
MORE CHOCOLATE DESSERTS
- Valentine’s Day Chocolate Oreos
- Chocolate Lava Cake
- Easy Chocolate Cake
- Rich Chocolate Frosting
- Chocolate Chip Cookies
- Chocolate Truffles
TIPS FOR MAKING CHOCOLATE FUDGE
- Drizzle the top of the fudge with melted peanut butter or melted white chocolate chips for decoration. Or try my salted caramel sauce or melted caramel candies with flaky sea salt.
- Add marshmallows into the fudge before it sets to add some marshmallow bites. Or try cutting up my homemade marshmallows. You can also melt the marshmallows, and drizzle on top of the fudge for flavor.
- You can add nuts either in the fudge or decoratively on top. Try chopped pecans, almonds, macadamia, or walnuts.
- Top with sweetened coconut flakes or dried fruit for some fudge recipe variations.
- Sometimes I line my prepared pan with parchment paper, which makes the fudge easy to lift out and cut into squares later.
- I don’t recommend putting fudge in the freezer to make it set. You’ll end up with a frozen block that doesn’t have the right texture when defrosted.
- You can add a teaspoon of vanilla extract to give the fudge more flavor. Or try almond or peppermint extract with crushed candies on top for a holiday version!
- You can use chocolate chips or chocolate melting disks for this recipe.
- If you don’t want to make this fudge recipe in the microwave, you can melt everything in a double boiler on the stovetop over medium-low heat, making sure to stir frequently.
- I don’t recommend substituting the sweetened condensed milk for any other ingredient. The sweetened condensed milk has a specific texture, and without it the texture of this fudge recipe and the set might not work right.
Ingredients
- 1/2 cup unsalted butter
- 4 cups milk chocolate chips about 2 bags
- 2 can sweetened condensed milk 14 ounce cans
Instructions
- Wipe down a piece of foil with the wrapper of the stick of butter, then line a deep 8x8 pan (if you don't have a deep one use 9x13) with it.
- Add the butter to a large microwave safe bowl and melt gently then mix well with the remaining ingredients.
- Melt in the microwave until smooth in 30 second increments (2 minutes total) then pour into the greased aluminum lined pan and refrigerate until set, about 3-4 hours.
Notes
Nutrition
Want to save this recipe? Create a free account to easily save your favorite recipes


the Easy Chocolate Fudge tasted great, but to soft it had to be kept if refrigerator to stay firm. I followed the recipe exactly.
I’m not sure? The amount of time you cook fudge directly affects its firmness. Too little time and the water won’t evaporate, causing the fudge to be soft. Conversely, cook it too long and fudge won’t contain enough water, making it hard with a dry, crumbly texture.
Oh why did you post this fudge recipe … can’t wait for a reply, gotta go make fudge. LOL – this is SO good.
Made this last Christmas and now making it for Thanksgiving..it is evil. It’s hard not to just eat half in one sitting. Love your blog..have got so many yummy recipes here…thank you!!!
Could I use cocoa powder for this?
No, you need to use actual chocolate for this recipe.
Would semisweet chocolate chips work with this recipe?
Sure 🙂
This turned out incredible and was so easy to do. My fudge is a bit “melty” on the fingers when eating it. Is there anyway to remedy this? I love everything about it but just wish it wouldn’t melt in my fingers.
I’m so glad you’re enjoying it. If it’s melty as in “too soft”, try mixing it longer before pouring it into the pan. That might help it stiffen a bit more. Hope this helps!
This easy chocolate fudge is a go to in our house! It’s so easy to make and always tastes amazing!
So glad you all love it so much!
I absolutely love fudge! This recipe is easy and so delicious! I love that you added how to make peanut butter fudge. I will be making that next for sure!
Thanks, chocolate and peanut butter is just a perfect match!
The best fudge ever! So rich and silky smooth!
Thanks, Anna!
LOVE me some chocolate fudge 🙂
It’s so good!
Such a delicious recipe! Thanks for the tip on fixing crumbly fudge, it totally worked!
Yay!! So glad I could help!