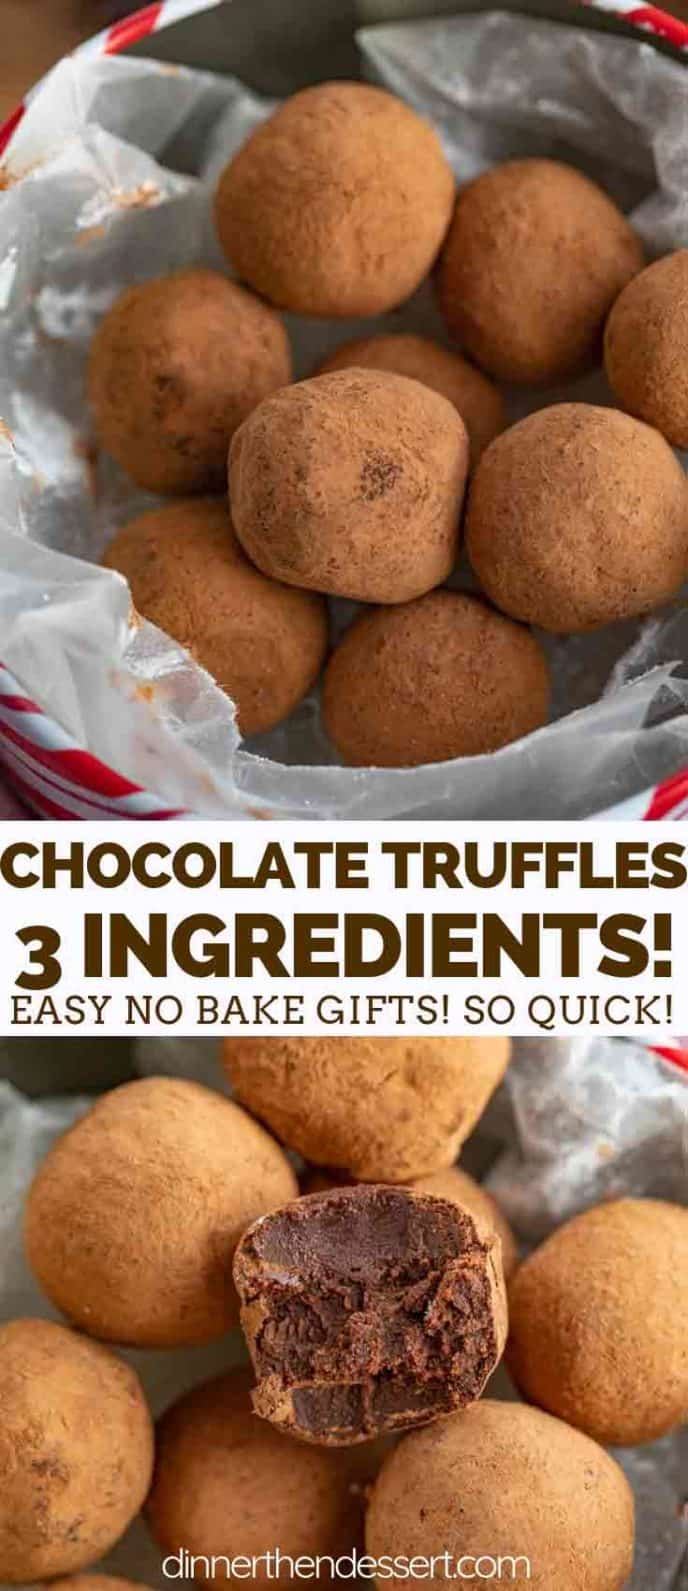
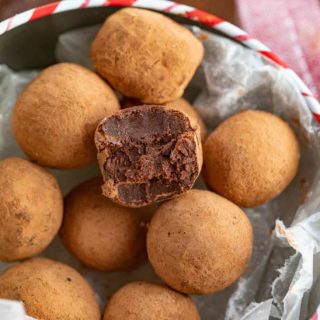
Chocolate Truffles made with only 3 ingredients and rolled in cocoa powder or powdered sugar are a creamy, indulgent dessert and incredibly EASY to make!
Valentines Day is closer than you think and we’re already thinking ahead with these Oreo Balls (Oreo Truffles), Chocolate Covered Strawberries, and Buckeye Balls so you can make your loved one your own box of assorted chocolates!
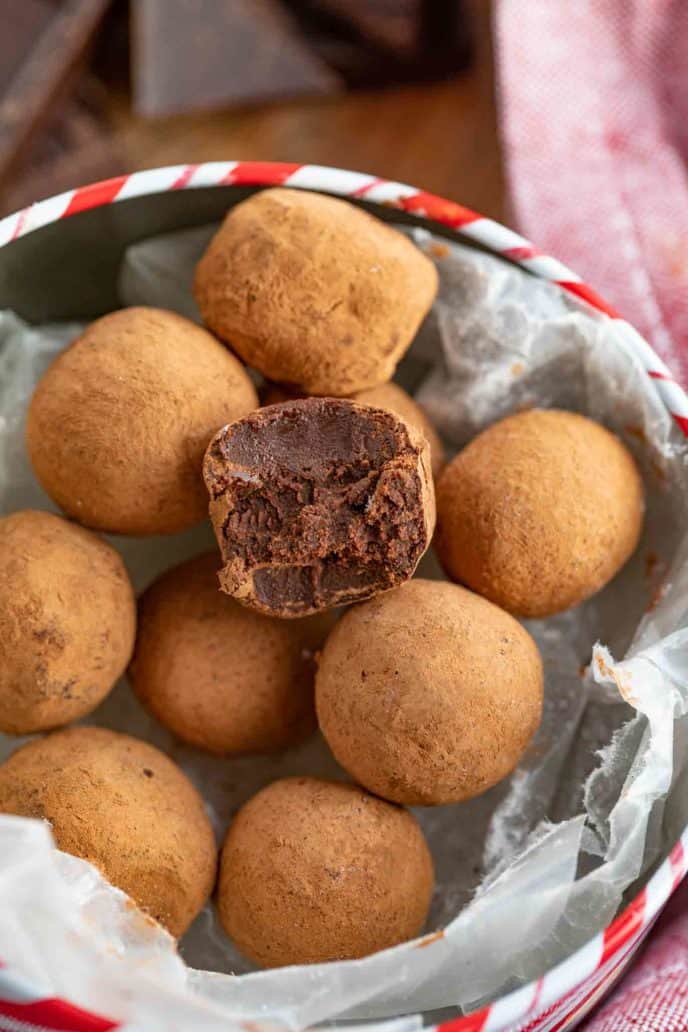 CHOCOLATE TRUFFLES
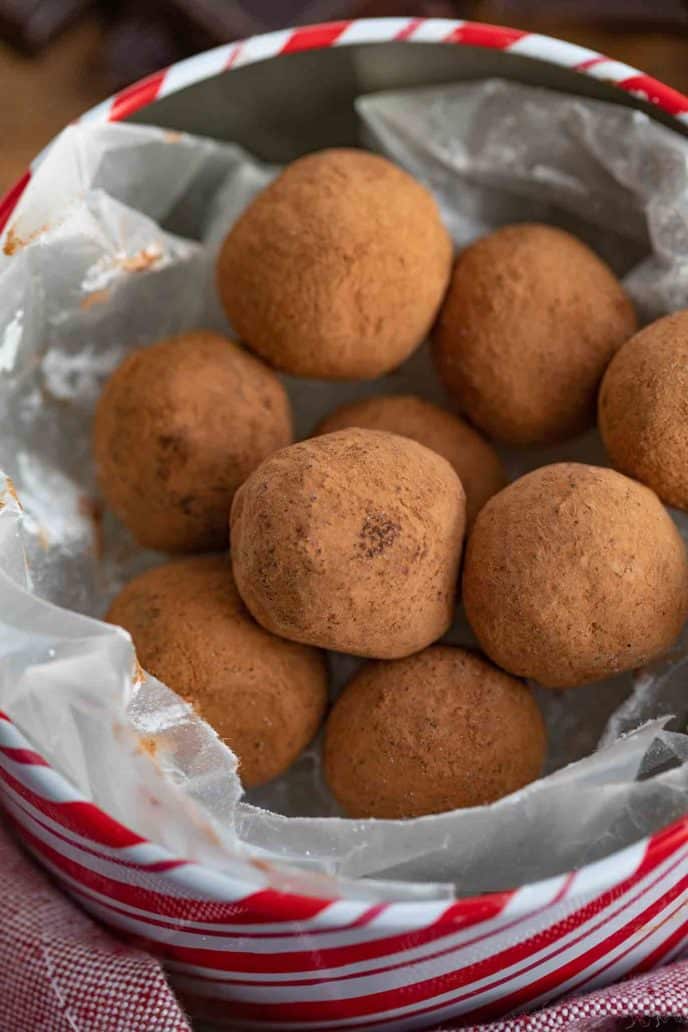
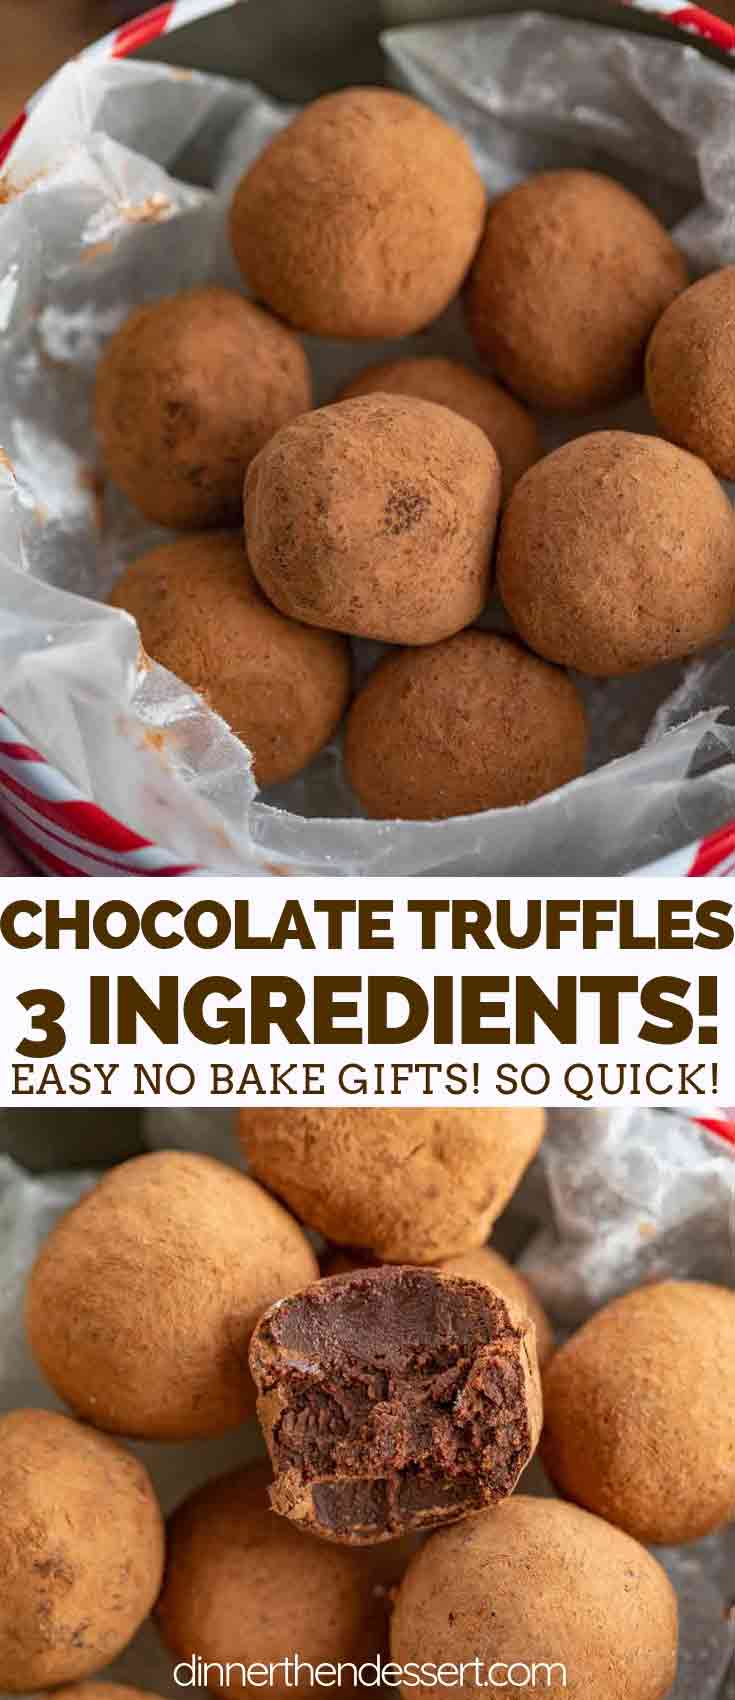
Chocolate Truffles are a melt-in-your-mouth amazing dessert, made with melted chocolate whisked with heavy cream and refrigerated, then rolled into balls and decorated with cocoa powder or powdered sugar. They’re PERFECT to serve at a party, or to wrap in plastic and give away as a gift. Plus they’re only 3 ingredients!
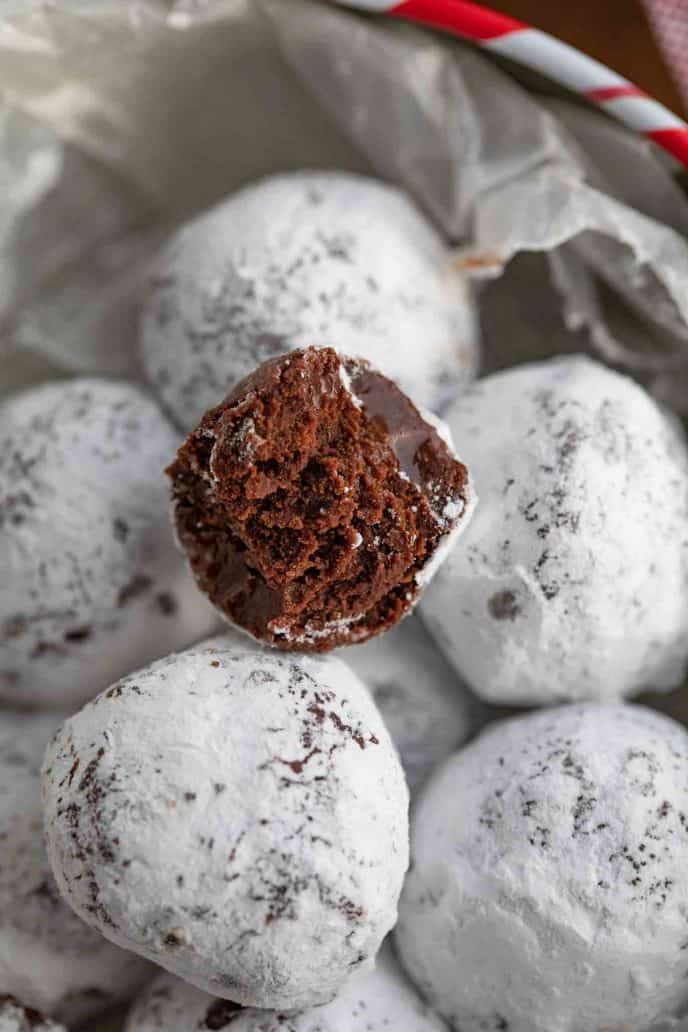
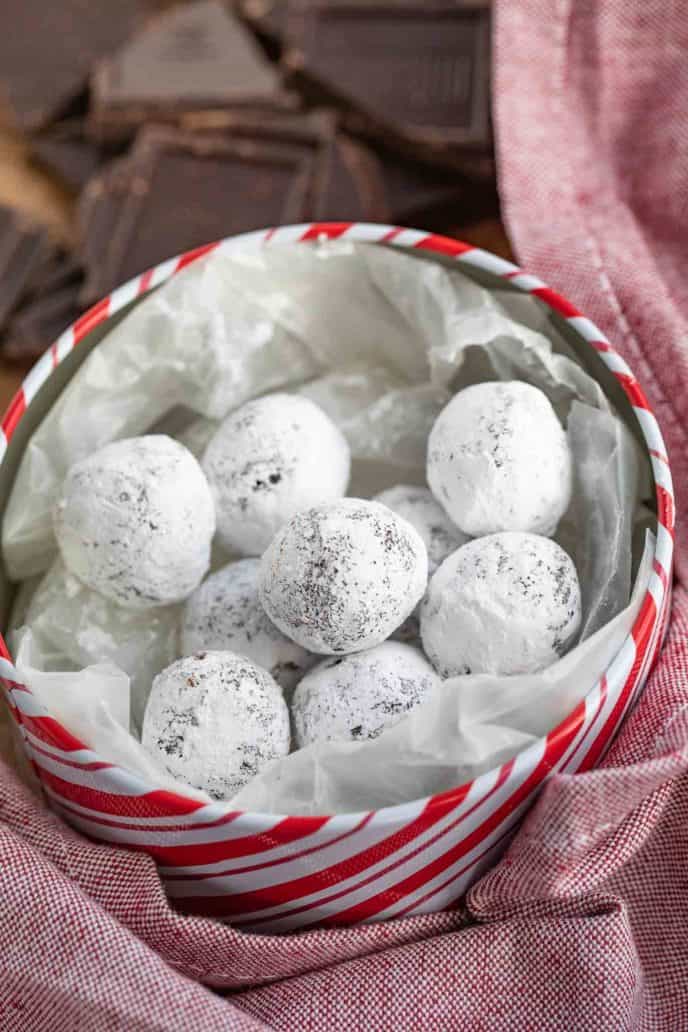
A lot of times I’ll serve these truffles in individual mini muffin cups, making it easier to pass desserts around to guests. They’re no-bake so they’re really easy to throw together, and perfectly bite-sized. I usually roll half of the truffles in cocoa powder, and half in confectioners sugar to add some variety.
HOW TO STORE CHOCOLATE TRUFFLES
Chocolate truffles will last for a day or two at room temperature, but should be refrigerated in an airtight container for longer term storage.
HOW LONG CAN YOU KEEP CHOCOLATE TRUFFLES?
Truffles will keep for about two weeks refrigerated, or longer in the freezer. If you’re freezing the truffles, I’d recommend not using tempered chocolate as a coating, as it may collect condensation when it defrosts. Make sure your truffles are wrapped as tightly as possible before freezing.
If you refrigerate the truffles, make sure to take them out an hour or two before you serve them. This chocolate truffles recipe is at its best when served at room temperature.
WHAT KIND OF CHOCOLATE CAN YOU USE FOR CHOCOLATE TRUFFLES?
I recommend using a quality melting chocolate for this chocolate truffles recipe. What we’re doing with the cream and chocolate is making a basic ganache, and in my opinion semi-sweet chocolate chips won’t do it justice. You can make milk, white, or dark chocolate truffles using high quality chocolate.
The better quality your chocolate, the better your ganache is going to taste. I like to stick with the chocolate disks because you don’t have to chop them like you’d need to for a bar. Chocolate chips may also have added ingredients that won’t come together and stay as soft as we need for a ganache.
Create a free account to Save Recipes
TOPPINGS FOR THIS CHOCOLATE TRUFFLES RECIPE
- Crushed candies
- Cookie crumbs
- Drizzled chocolate
- More melted chocolate
- Sprinkles
- Chopped nuts
MORE HOMEMADE CHOCOLATE RECIPES
- Chocolate Covered Graham Crackers
- Chocolate Pudding
- Chocolate Crinkle Cookies
- Flourless Chocolate Chewy Cookies
- Chocolate Covered Pretzels
TIPS FOR MAKING CHOCOLATE TRUFFLES
- Mix your favorite flavorings into the chocolate to add some variation in your truffles. Try mixing orange, hazelnut, or vanilla extract into the ganache.
- Make these truffles with white chocolate discs and roll in coconut.
- Mix a teaspoon of espresso powder in with the chocolate to make mocha truffles.
- If you can’t find semisweet chocolate discs, you can chop up a high quality chocolate bar, typically used for baking.
- If you leave the ganache in the refrigerator for too long it may be too hard to work with. Leave it on the counter for a while to soften before trying to scoop.
- If you don’t have heavy cream, heavy whipping cream will also work. I don’t recommend using anything lower in fat than this for truffles or they may not stay soft.
- If you don’t want to use the microwave, you can melt the chocolate with the cream in a double boiler on the stove, whisking continuously.
- You can find ice cream scoops that measure to about a tablespoon that have a release button, which will make this faster and easier to scoop the ganache.
- Add a dash of liqueur for an adult version of these truffles.


Ingredients
- 2 cups heavy cream
- 21 ounces semisweet chocolate disks/bar not chocolate chips
- 2 cups cocoa powder or powdered sugar
Instructions
- Add the heavy cream and chocolate disks to a large microwave safe bowl and microwave for 3 minutes then let sit for 3-4 minutes before whisking for 3-4 minutes until the mixture is smooth and shiny.
- Place saran wrap over the mixture and refrigerate for at least 4 hours.
- Using a tablespoon scoop make 1 tablespoon sized balls that you drop into either cocoa powder or powdered sugar and rolls into smooth balls.
Notes
Nutrition

What is a serving? Other than all of them ? very good made them for a second time.
I plan to make this Christmas Eve but I ditched the microwave 12 years ago. How should I go about it? Thanks in advance.
If you don’t want to use the microwave, you can melt the chocolate with the cream in a double boiler on the stove, whisking continuously. Good luck!
If i use a chocolate baking bar, is one enough? the bar is 4 oz, but it calls for 21 oz of discs!
You’ll want to use 21 ounces of either chocolate disks or 21 ounces of chocolate bar for this recipe. Hope this helps. Enjoy!
Would it be bad if I ate the whole batch myself?? So good!
I highly suggest you do! I won’t tell anyone. 😉
Chocolate truffles! Oh my gosh, my favoriteeee! Many thanks for this recipe, crazy how simple truffles really are to make! These look delicious!
I hope you enjoy them, Cathy!
If they come out too soft, how can I fix them or do I have to start from scratch
Yum! These look so tasty and simple! I can’t believe they’re only three ingredients.
So easy, right?!
I’ve never made chocolate truffles before, but with only three ingredients looks like I can’t go wrong!
Easy peasy! Give it a try!!
Just made them and they are very soft. Do they set up after sitting out for a bit? Do they need to be stored in the fridge/freezer if I’m going to be gifting them in a few days?
I’m so sorry this comment got stuck and I just came across it. I know your candy is long gone now. If they were too soft then the liquid was a bit too much. They are certainly better from the fridge but should not be sticky soft outside, they should hold their shape.
Homemade chocolate truffles really are so good, and easy as well. These look great, and useful tips as well.
Thanks, Caroline!