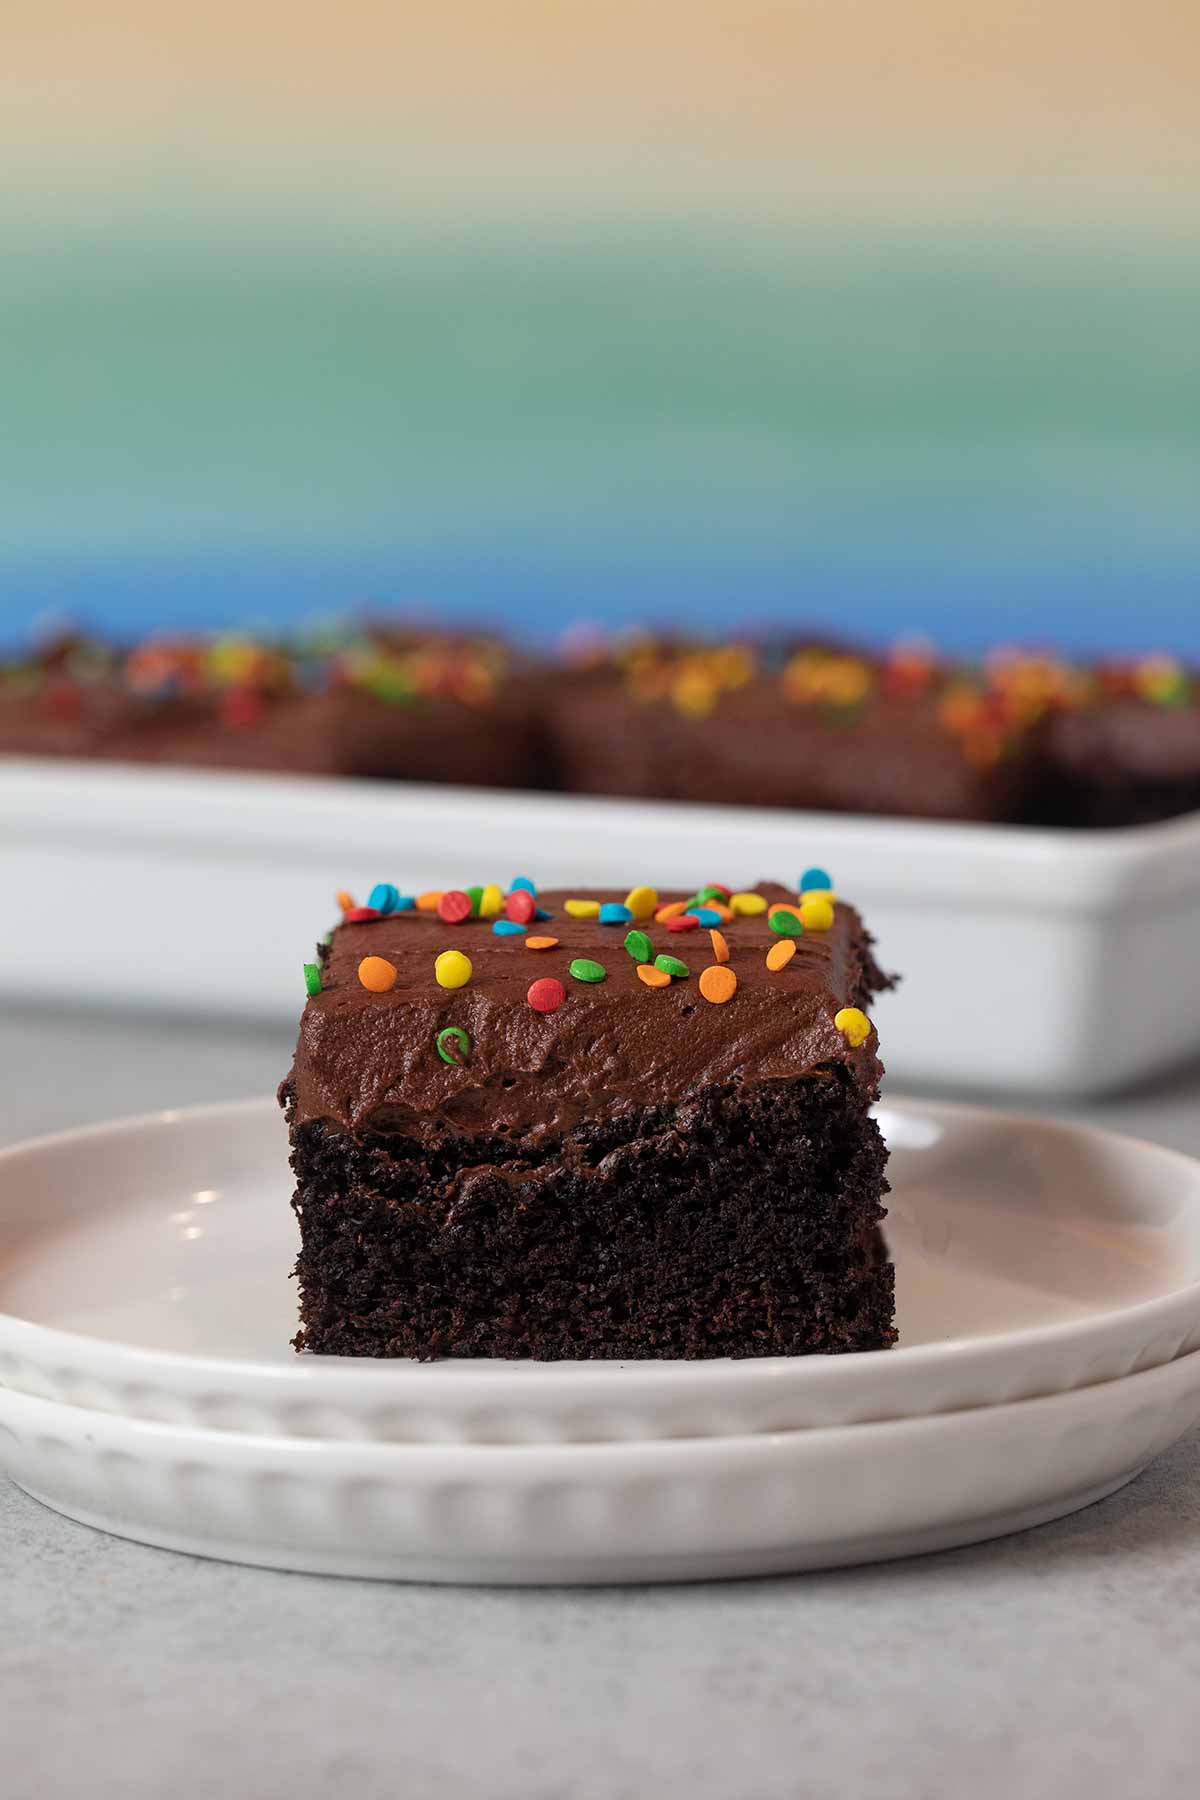
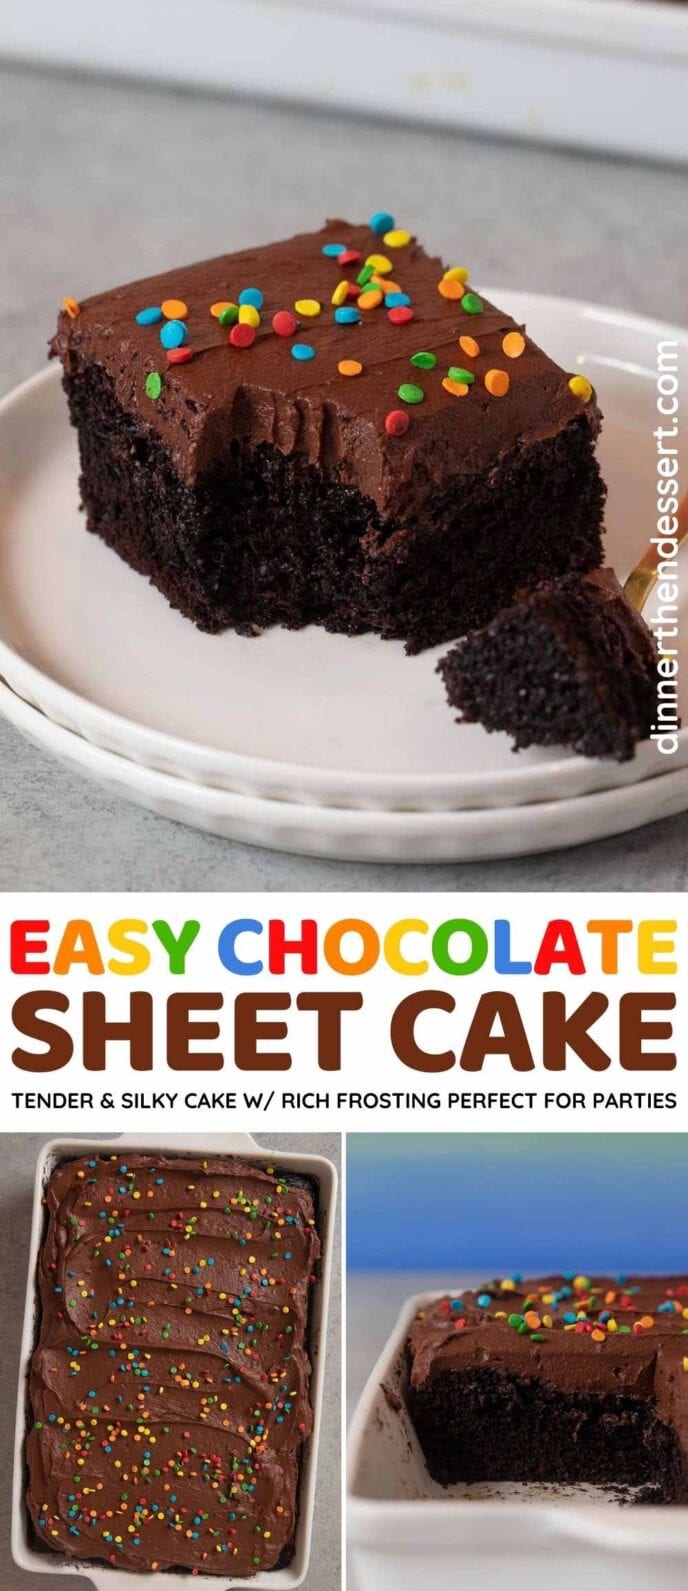
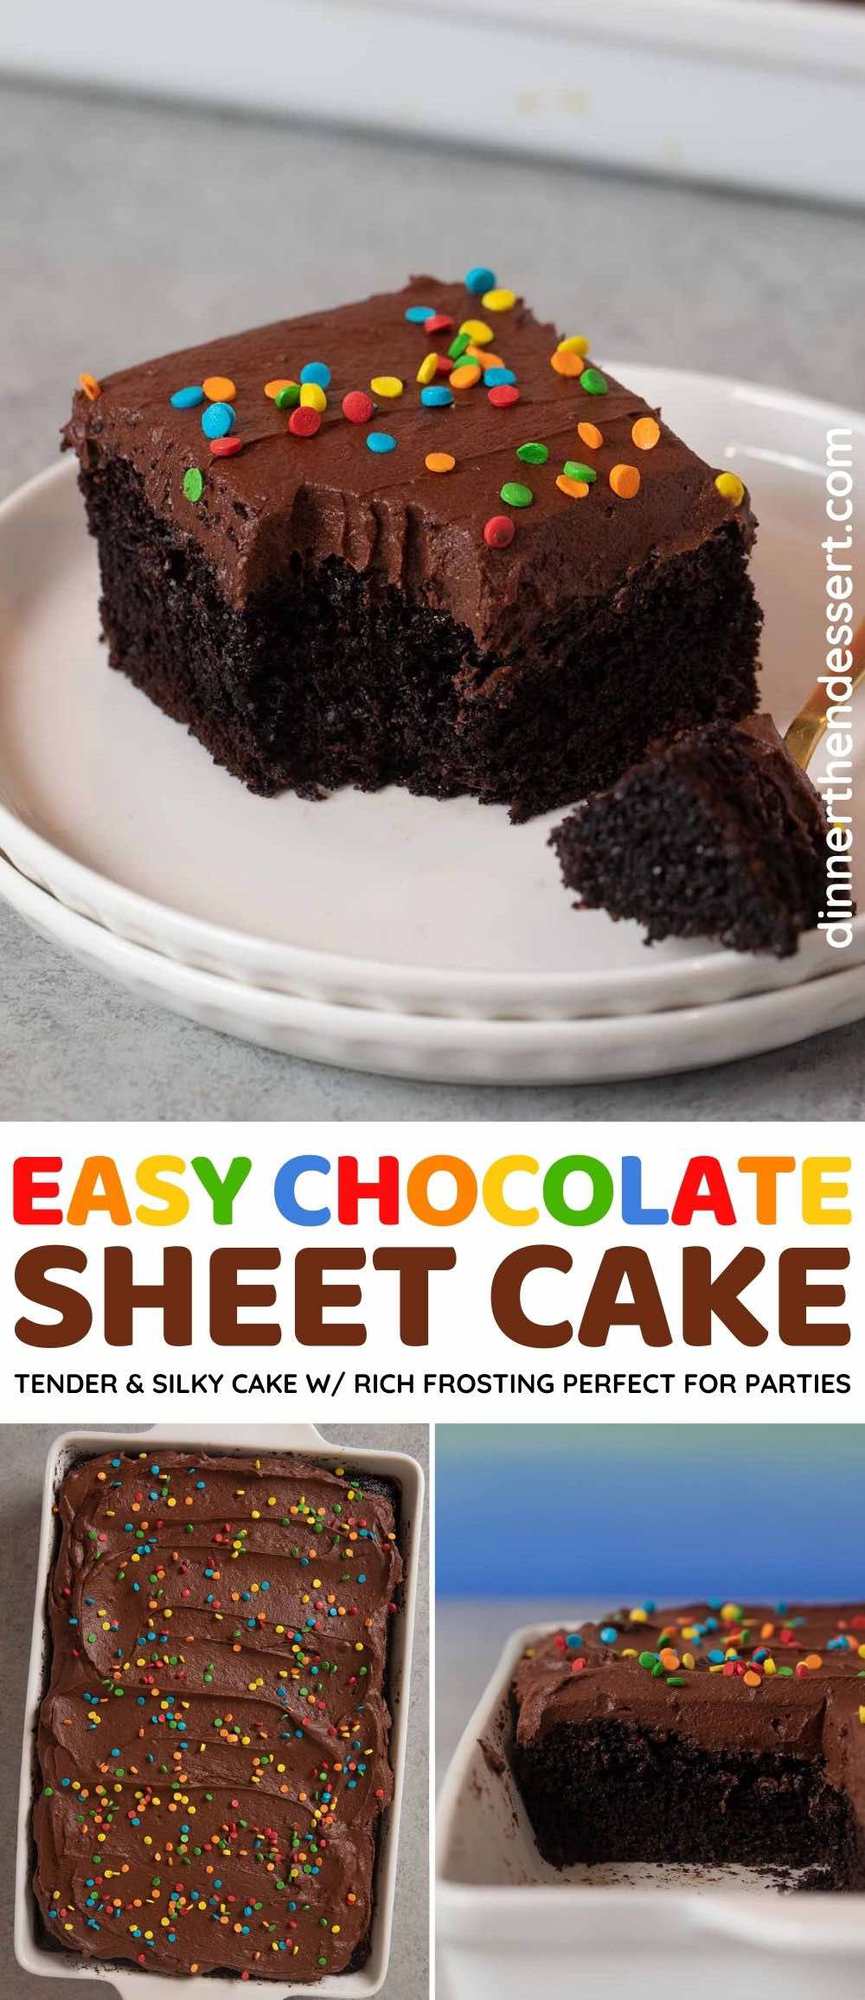
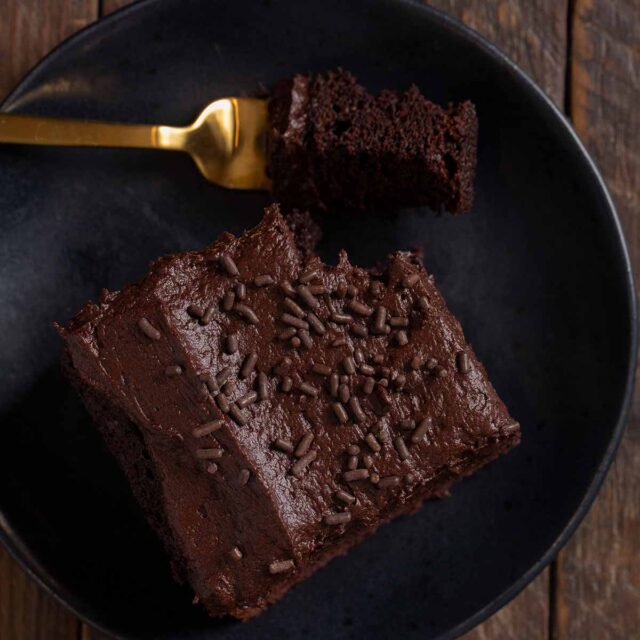
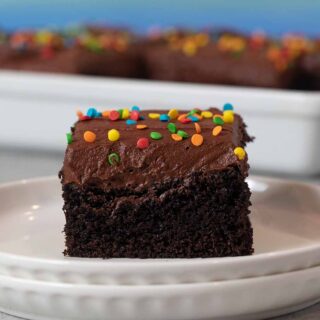
Chocolate Sheet Cake is tender and silky with a rich chocolate frosting. Perfect for a potluck, party, or family get-together.
Rich, chocolatey sheet cake is the perfect Cake Recipe to serve a crowd. Sheet cakes are easy to make, slice into squares, and serve. Enjoy it with a scoop of Vanilla Ice Cream for perfectly balanced chocolate and vanilla treat.
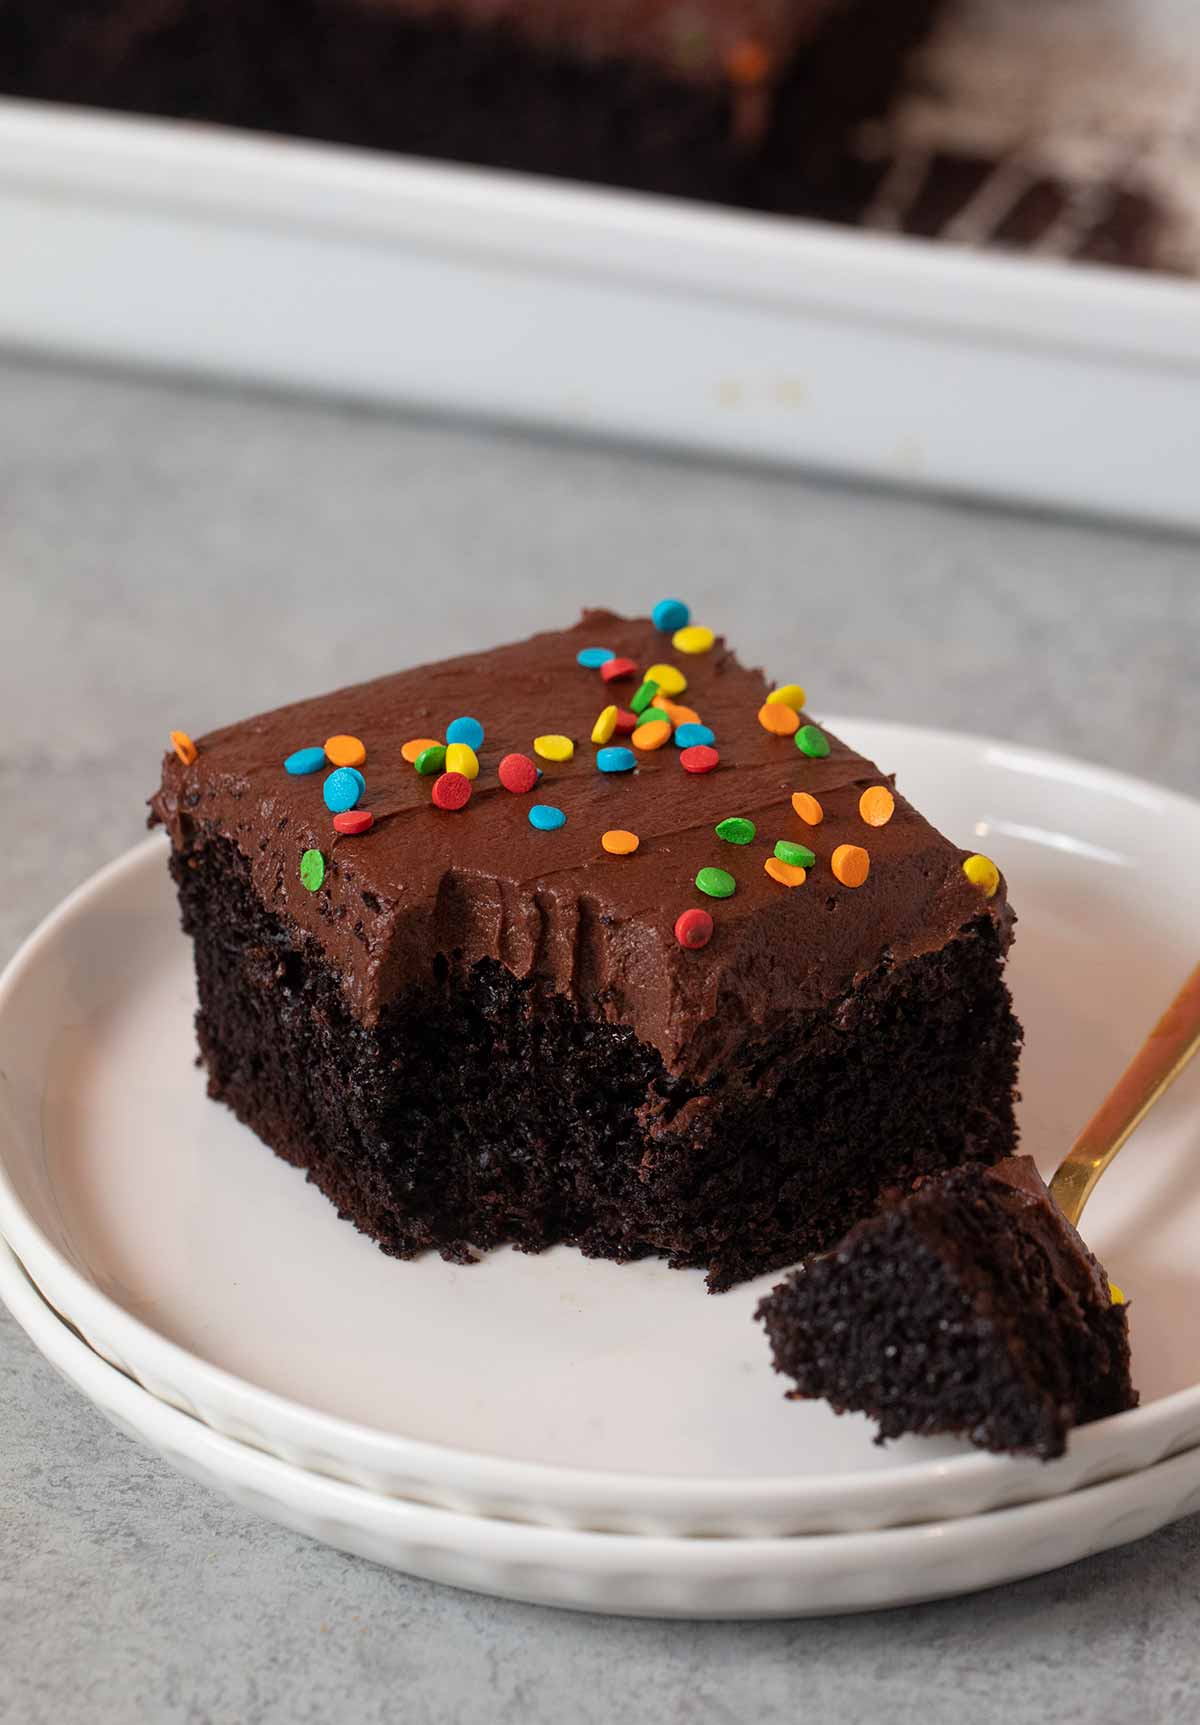
CHOCOLATE SHEET CAKE
Sheet Cakes are perfect to make for potlucks because the easy cake batter is spread over a large baking pan. This makes it easy to bake, slice, and get lots of pieces from. It’s also wonderfully portable because the rimmed pan will contain the cake even if it gets jostled a little in the car.
This delicious Chocolate Sheet Cake is similar to a classic Texas Sheet Cake. Just like this recipe Texas Sheet Cake is a classic American chocolate cake made in a large pan and frosted. Either recipe will give you an easy, moist dessert. However, there are some key differences between the two.
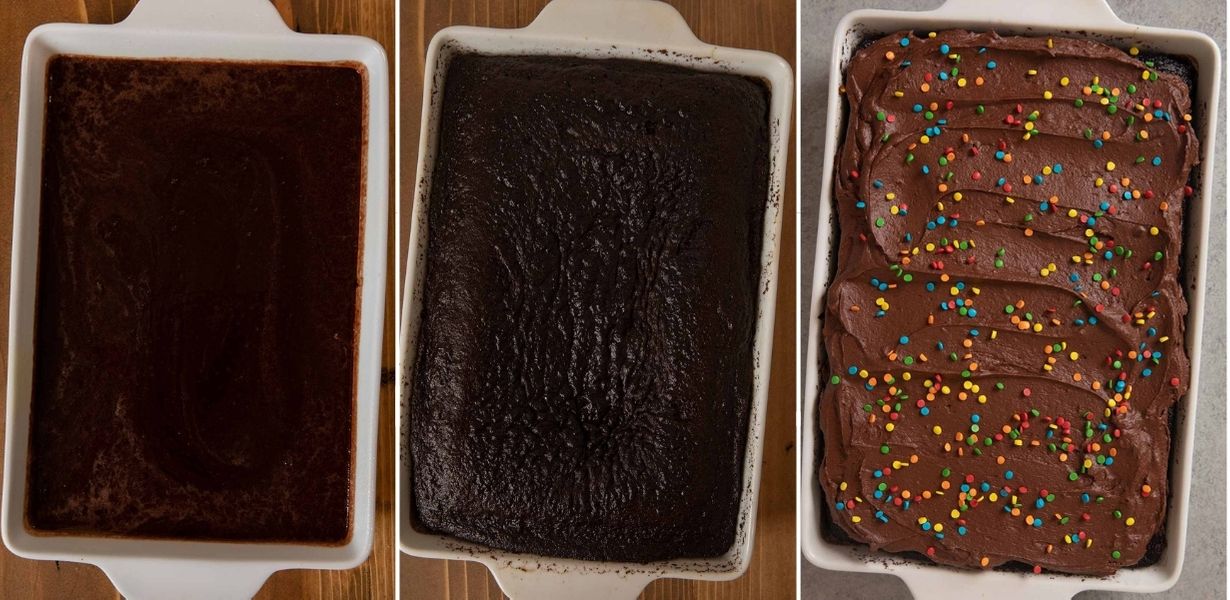
One big ingredient in this recipe that you won’t find in our Texas Sheet Cake is brewed coffee. We love adding coffee to chocolate recipes because it adds moisture and the coffee enhances the sweet chocolate flavor for an even more amazing dessert.
Along with the tender cake base, the cake recipe also has a rich, sweet chocolate icing. One of the most important steps to getting this recipe right is to let the cakes cool entirely before you add the frosting. As long as you take that extra time, the frosting will spread easily over the tender chocolate cake.
MORE CAKE RECIPES
TIPS FOR MAKING CHOCOLATE SHEET CAKE
- Prep time: Start by preheating your oven and spraying a rimmed baking sheet or jelly roll pan with cooking spray. If you don’t have cooking spray, you can line the pan with parchment paper instead.
- Cake batter: Add the granulated sugar, flour, cocoa powder, baking powder, baking soda, and salt to a stand mixer and mix them together on low speed. If you don’t have a stand mixer you can just add the dry ingredients to a mixing bowl and use a hand-held mixer. In a separate bowl whisk together the eggs, milk, oil, and vanilla extract. Once they’re well combined pour them into the flour mixture. Mix on low speed until well combined.
- Coffee: Turn the mixer off and add the coffee. You can use freshly brewed coffee, hot instant coffee, or replace the coffee with hot water. Stir the coffee in by hand until the cake batter is just combined. You want to stir by hand instead of the mixer to make sure the hot coffee doesn’t splash up and burn you.
- Bake: Pour the batter into the center of the prepared pan. It should spread out evenly on its own, but you use a spatula to help smooth it out. Bake for 30-35 minutes. The Sheet Cake will be done when a toothpick inserted in the center comes out with moist crumbs on it. If the toothpick comes out with batter still on it, add a few minutes of baking time. Let the cake cool entirely before spreading the frosting over it.
- Frosting: While the cake cools, add the butter to a medium saucepan over medium heat and whisk in the cocoa powder as it melts. Let the chocolate mixture cool for a few minutes. Then add it to the stand mixer and begin whipping it on medium speed. Add the powdered sugar and milk ⅓ cup at a time alternating between the two. Then finish the frosting by mixing in the vanilla extract. If the frosting is too thick add milk to reach the desired consistency.
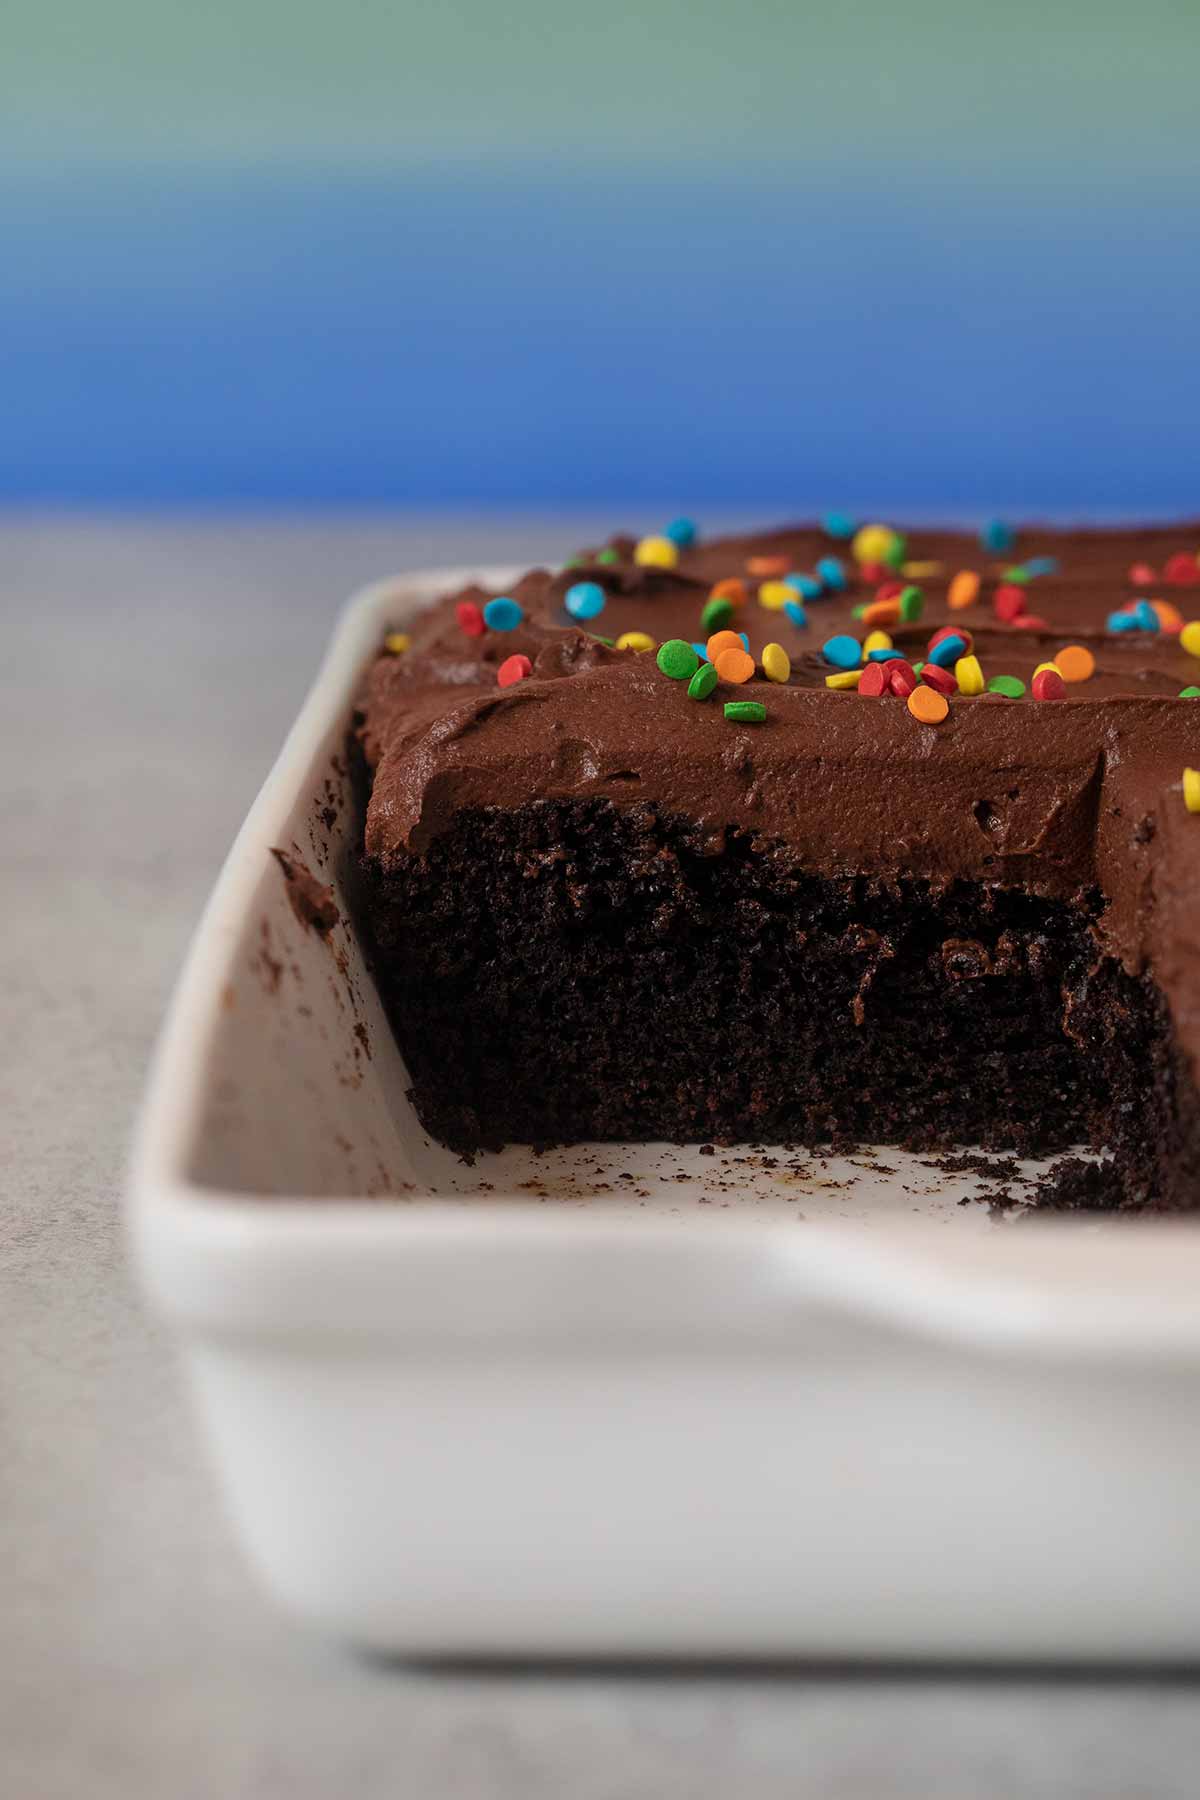
- Serve: Spread the icing over the cooled sheet cake. Slice the cake into square pieces and enjoy.
Create a free account to Save Recipes
VARIATIONS ON CHOCOLATE SHEET CAKE
- Gluten-free: To make a gluten-free sheet cake replace the all-purpose flour in the recipe with a gluten-free alternative. Almond flour, oat flour, coconut flour, or any of your preferred flour substitutes should work.
- Toppings: After frosting the Chocolate Sheet Cake you can add your favorite dessert toppings to it. Sprinkles, pecans, peanuts, chocolate chips, coconut flakes, or berries would all make nice additions.
- Dark chocolate: To make a dark chocolate sheet cake replace the cocoa powder in the cake batter and the icing with dark cocoa powder.
Cupcakes: For easily portable, mini cakes you can pour the batter into lined cupcake trays. Bake until the chocolate cake batter sets. Let the cupcakes cool and then frost them.
MORE CHOCOLATE RECIPES
HOW TO STORE CHOCOLATE SHEET CAKE
- Serve: If you cover the Chocolate Sheet Cake in plastic wrap or tin foil it will stay good at room temperature for up to 4 days.
- Store: You can also store the cake in the fridge for 1 week. Cover the cake tightly or put leftover cake slices in an airtight container to keep in the fridge.
- Freeze: Tightly wrapped, you can freeze the cake for 3 months. Let it thaw on the countertop before serving again.


Ingredients
Chocolate Cake:
- 2 cups sugar
- 1 3/4 cups flour
- 1 cup unsweetened cocoa powder
- 1 1/2 teaspoons baking powder
- 1 1/2 teaspoons baking soda
- 1 teaspoon salt
- 2 large eggs
- 1 cup whole milk
- 1/2 cup vegetable oil
- 1 tablespoon vanilla extract
- 1 cup hot coffee , you can substitute boiling water
Chocolate Frosting:
- 1 1/2 cups unsalted butter
- 1 cup unsweetened cocoa powder
- 6 cups powdered sugar
- 2/3 cups milk
- 1 teaspoon vanilla
Instructions
Chocolate Sheet Cake
- Preheat the oven to 350 degrees and spray a 9x13 baking pan with baking spray.
- In a stand mixer on low speed mix together the sugar, flour, cocoa powder, baking powder, baking soda, and salt.
- In a small bowl whisk together the eggs, milk, oil, and vanilla then add it to the stand mixer on low then medium speed until just combined and finally add in the hot coffee carefully and stir it in by hand until just combined (do not turn on the mixer, it may splash on you).
- Pour half of the batter into each of the pans and bake for 30-35 minutes then remove, let cool completely and frost with the chocolate frosting.
Chocolate Frosting:
- Melt the butter in a large saucepan and whisk in the cocoa powder then remove from the heat and let cool.
- Add the cooled chocolate mixer to your stand mixer and whip on medium speed adding the powdered sugar and milk, alternating them ⅓ at a time, and finally add the vanilla in last.
- If the frosting is too thick, add a bit more milk.
Nutrition

I feel I owe this recipe some redemption! Yes, I am the last review that had the overflowed cake and big mess. But I didn’t let it stop me. I cleaned up and tried again because my family was all super excited for this cake.
This cake turned out delicious!! The frosting was a favorite of everyone. It was so light and fluffy! My sister hates frosting, and usually scoops the frosting off of all her desserts… but I looked over at her plate today and she had actually eaten all of the frosting and didn’t finish all of the cake. So, honestly I think the frosting is what makes this cake unique!
LISTEN UP THOUGH: THIS RECIPE MAKES ENOUGH FOR TWO 9×13 PANS!!!!!!! I halved the recipe and it turned out perfect for my one 9×13 pan. I think I would be nervous to put this full recipe in a jelly roll pan because it does rise quite a bit! If you use the full recipe I would recommend using 2-9×13 pans so you have enough height on the sides so you don’t overflow.
Half of the recipe for 1-9×13 pan:
1 Cup Sugar
1&3/8 Cup Flour
1/2 Cup Cocoa Powder
3/4 tsp Baking Powder
3/4 tsp Baking Soda
1/2 tsp Salt
1 large egg
1/2 Cup Milk
1/4 Cup Vegetable Oil
1/2 Tbs Vanilla
1/2 Cup Hot Water or Coffee (I used water?)
Frosting:
3/4 Cup Butter
1/2 Cocoa Powder
3 Cups Sugar
1/3 Cup Milk
1 tsp Vanilla
*I added a tiny pinch of salt and it really brought out chocolate flavor
Thanks for the recipe 🙂 it was great!!
Sabrina: I enjoy quite a few of your recipes.
Perhaps you could clear up some confusion regarding your Chocolate Sheet Cake.
Step 1 of the directions says, “…spray a 9×13 baking pan…”
Step 4 of the directions says, “Pour half of the batter into each of the pans…” which implies, to me, that I’ve been directed to use plural pans.
Under “Tips,” you talked about using “…a rimmed baking sheet or jelly roll pan…”
In my mind, the term “Sheet Cake” implies a baking sheet or shallow pan, but the recipe directions have me very confused.
I wasn’t sure about the coffee, but it was delicious in this recipe! I’ve printed the recipe to use again. Thanks!
So glad you decided to give it a try, Erin.
This cake was a huge hit! It was moist and delicious and the frosting is scrumptious!
Thanks for coming back to let me know.
This Chocolate Sheet Cake did not last long at our house! It was incredibly delicious!
It’s hard to walk past and not take a bite.