
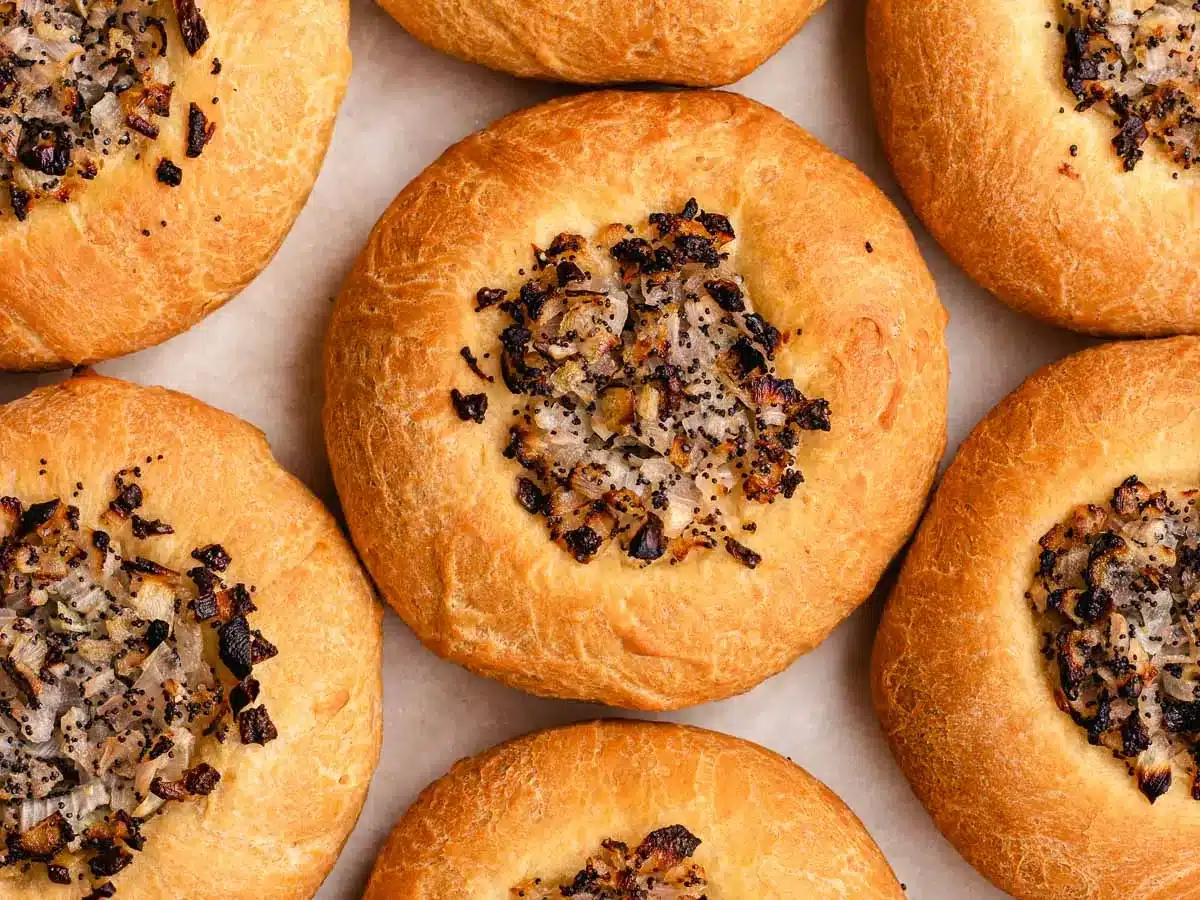
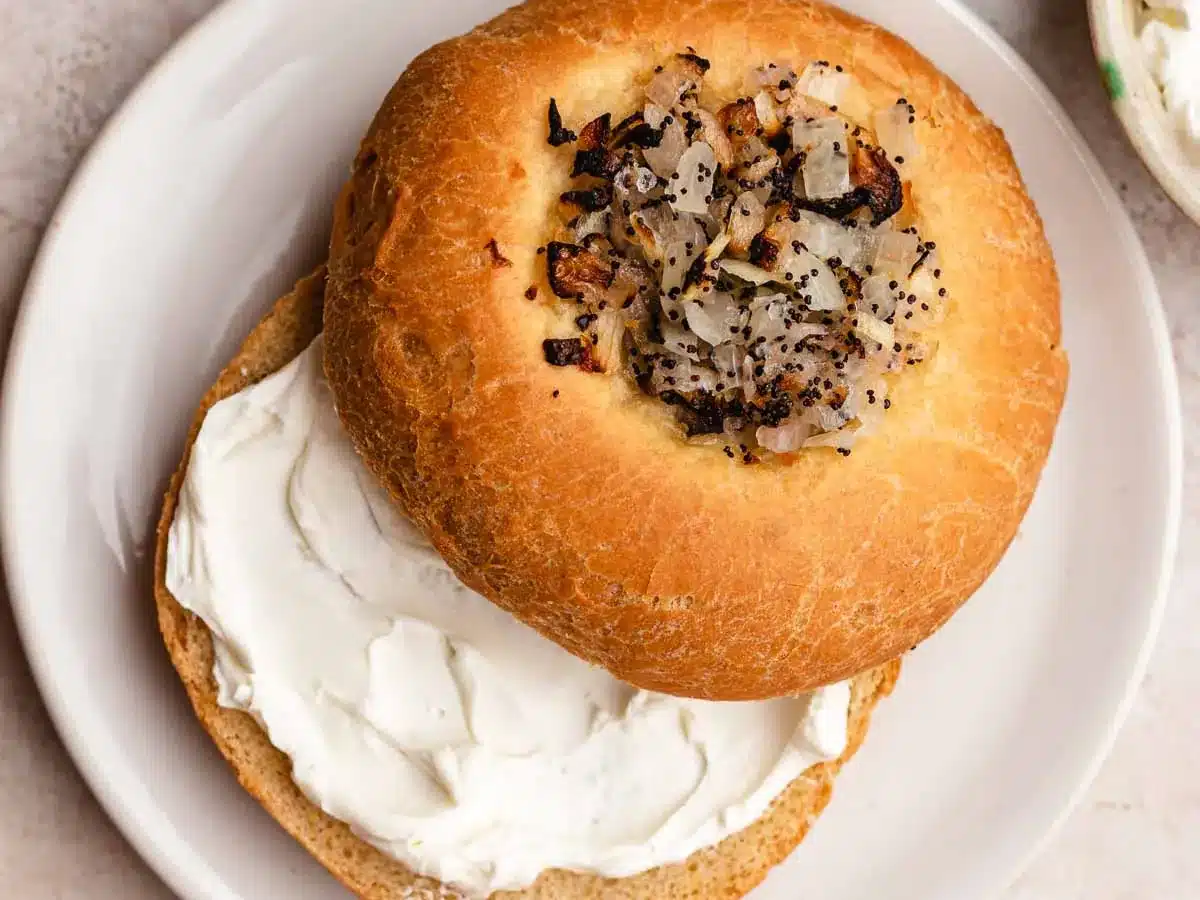
Classic Homemade Bialys recipe for the delicious Jewish bread that looks like a bagel! Yummy chewy roll with a savory onion center.
From sweet Cinnamon Rolls to savory Buttermilk Biscuits, there is nothing like starting your day with fresh Baked Goods. Bialys might look like bagels, but they are actually more like dinner rolls with a savory mixture.
Why You’ll Love This Bialys Recipe?
- These chewy, golden homemade rolls give you the satisfying texture of a bagel without the extra step of boiling the dough.
- Served warm from the oven with butter or cream cheese makes the perfect savory snack, breakfast, or brunch.
Sabrina’s Bialys Recipe
Bialys (pronounced bee-AH-lee) are a traditional Polish Jewish yeast roll. The crunchy crust and chewy, thick center is similar to an English muffin, but it’s the savory topping that makes these rolls so special. You only need a few simple ingredients and a stand mixer, however, they do take about 2 hours to prep total because the dough needs to rise. Since this baked good is savory, try serving with Tomato or French Onion Soup for a delightful twist on lunch. And don’t miss out on my Tips and Tricks below the recipe card for more guidance.
Recipe Card


Ingredients
- 1 tablespoon instant yeast
- 1 1/3 cups warm water , 110 degrees
- 4 cups bread flour
- 2 teaspoons kosher salt
- 1 tablespoon molasses
Bialys Topping:
- 1/4 cup olive oil
- 2 cups yellow onions , finely chopped
- 1 tablespoon poppy seeds
- 1/2 teaspoon kosher salt
- 1/8 teaspoon coarse ground black pepper
Instructions
Bialy Dough:
- To your stand mixer add the yeast and warm water.
- Let sit for 5 minutes.
- On the lowest speed setting add in bread flour, kosher salt and molasses until just combined.
- Remove beater attachment, add in the dough hook.
- On medium speed let the dough hook knead your mixture for 10-12 minutes.
- Note: Make sure stand mixer is in a secure place, the kneading may cause the stand mixer to move a bit.
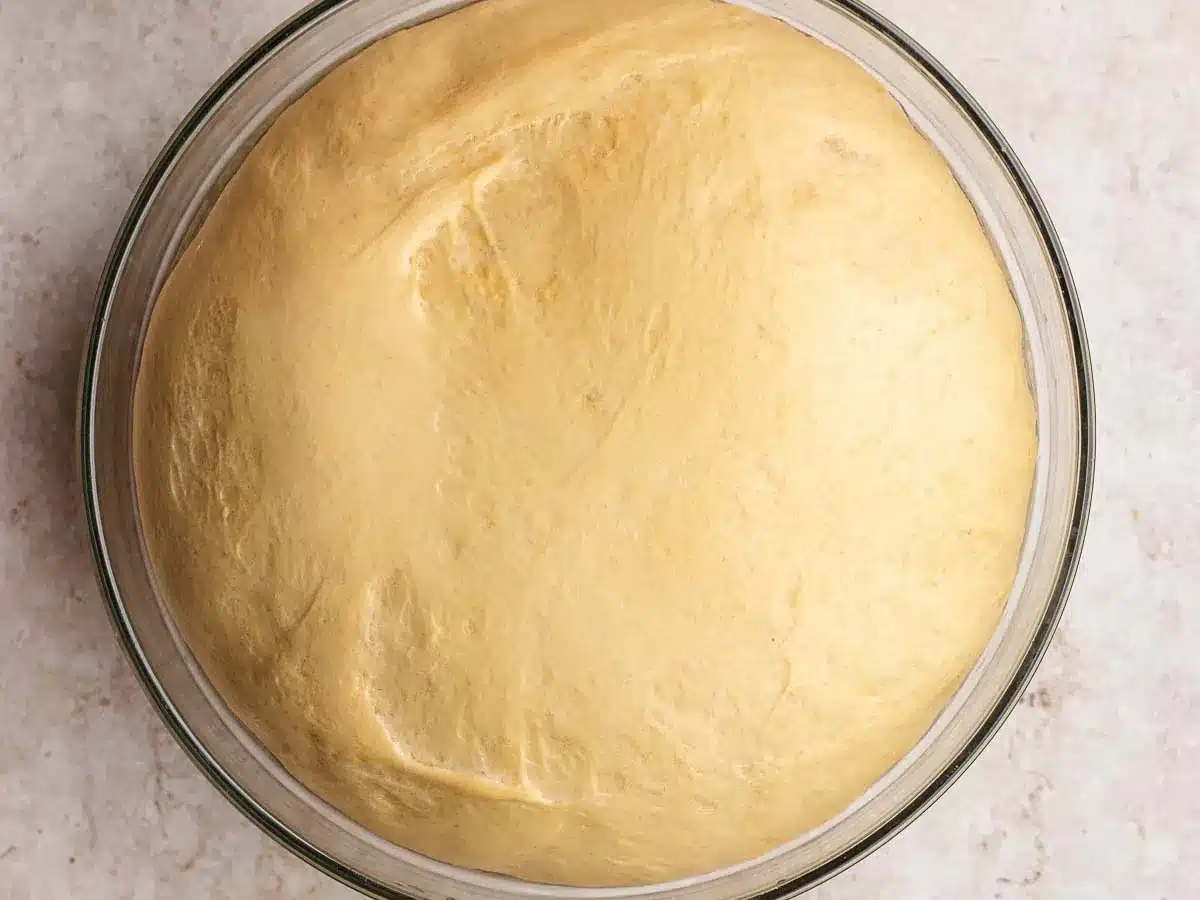
- Remove the dough to a greased large bowl and cover with a clean kitchen towel.
- Let rise for 90 minutes until it's doubled in size.
- Punch down the dough, then cut it into 10 pieces.
- Line two baking sheets with parchment paper.
- Gently knead each piece of dough on your clean surface for 30 seconds then roll into a ball.
- Place on the baking sheet, cover with clean kitchen towel.
- Coat hand in flour.
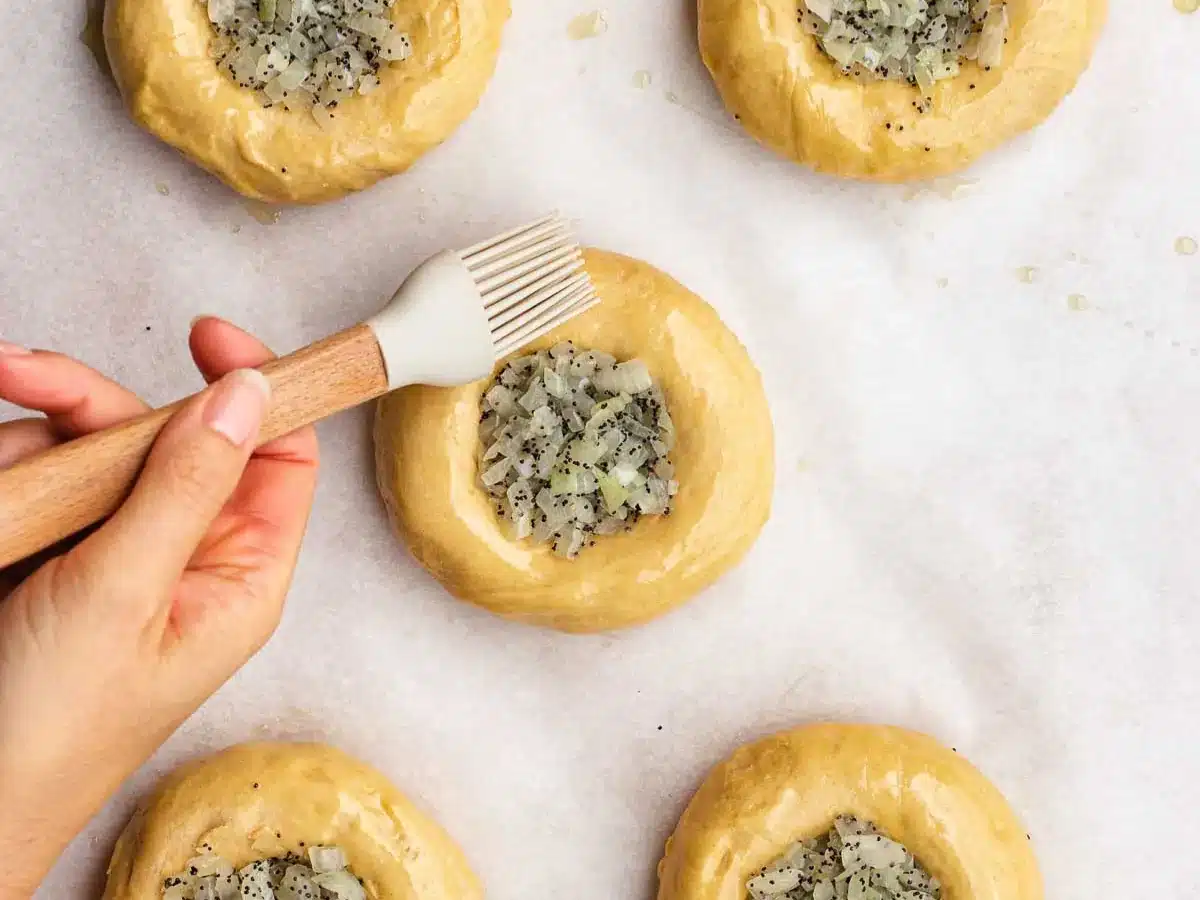
- Make a large well in the middle of the dough ball, but don't create a hole in the middle, stretching the well in the dough out with your hands gently.
- The center well of the dough should be about 2" across.
- Place the dough onto the baking sheets.
- Let rise for 20 minutes.
Bialy Filling:
- To a large skillet add half the olive oil and onions on medium heat.
- Stir and cook slowly until the onions are translucent.
- Stir in the poppy seeds, salt and black pepper then remove from the heat and let cool.
To Finish:
- Pre-heat oven to 425 degrees.
- Add the onion mixture to the wells and brush the top with the remaining oil and additional kosher salt as desired.
- Bake for 20-25 minutes until golden brown.
- Best eaten with warm butter or softened cream cheese.
Nutrition

Want to save this recipe? Create a free account to easily save your favorite recipes
Chef’s Note
Remember that the onion filling will continue cooking in the oven, so don’t go beyond the light and translucent step of sautéing. This will help keep the filling from drying out, or becoming too dark.
Table of contents
Can this be made ahead of time?
These are best made fresh since they will only last at room temperature for a maximum of 2 days. You can follow the slow rise method in the Tips and Tricks section, to split up the process. However, if you want to make this recipe all at once, make sure they’re cool before storing in an airtight container. They’ll keep on the countertop for 1-2 days.
How to Store Bialys
- Store: Enjoy Bialys right away because they will only last about a day or two at room temperature. Keep them fresh by storing them in an airtight container in a cool, dry place. They will technically stay good in the fridge for a couple days, but you’ll want to warm them back up.
- Reheat: Toast in the oven under the broiler for a couple minutes to soften the insides and make them chewy again.
- Freeze: Cool completely then wrap in plastic or aluminum foil and store in an a freezer bag for 2-3 months. Take them out the night before you want to eat them, and thaw in the fridge. Toast in oven to reheat.
Tips and Tricks
- Do a Slow Rise
- It takes at least 90 minutes for the first rise, then you’ll want to proof them a second time for 20 minutes. However, to speed up the process the day you want to serve them, make the dough the night before and let it slowly rise for the first proof overnight in the fridge.
- Use Bread Flour or These Substitutes
- High-gluten bread flour is key to the chewiness that makes Bialys so amazing and unique. If you don’t have bread flour, the best substitute is all-purpose flour with a tablespoon of vital wheat gluten. Now, wheat gluten probably isn’t in your pantry, so if you have to use all-purpose flour, don’t worry. Your Bialys will just be softer, and if you slow rise the dough overnight, you can get a slightly chewier texture.
Related Recipes