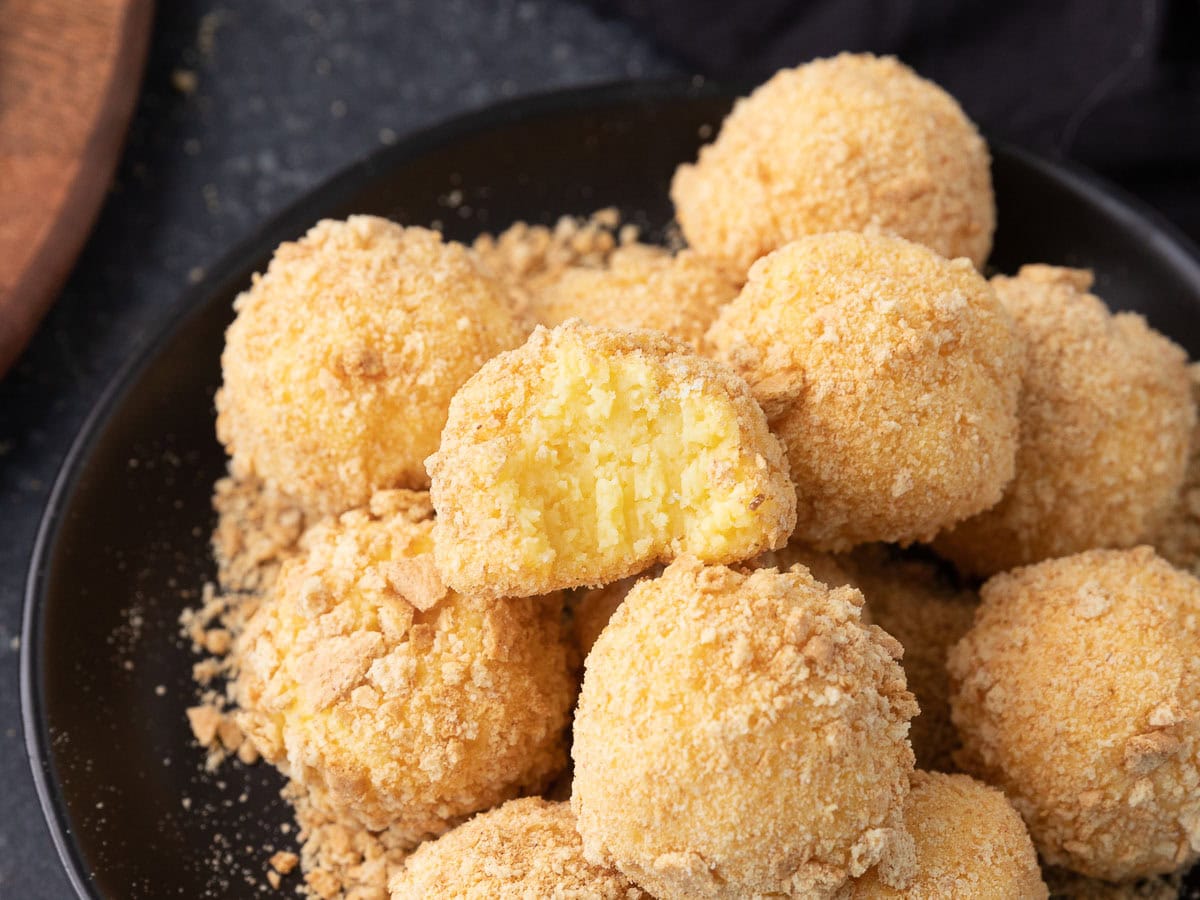
Cheesecake Balls are an easy no-bake mini dessert that delivers the indulgent flavor of cheesecake, in a fun bite sized treat.
Whether it’s Mini Cheesecakes, Chocolate Cheesecake Bites, or these vanilla cheesecake balls, what’s not to love about these bite-sized Cheesecake Recipes.

Sabrina’s Cheesecake Ball Recipe
Cheesecake balls are an easy and delicious dessert, perfect for any occasion. Whether you’re hosting a party, bringing a dish to a potluck, or just looking for a sweet treat at home, these are a great crowd-pleaser. You’ll be surprised how simple they are to make. You can serve them as a dessert with straightforward dishes like Baked Rosemary Chicken and Grilled Vegetables for a sublime meal. I’ve included some delicious variations at the bottom too, so don’t forget to check those out.
Recipe Card
Ingredients
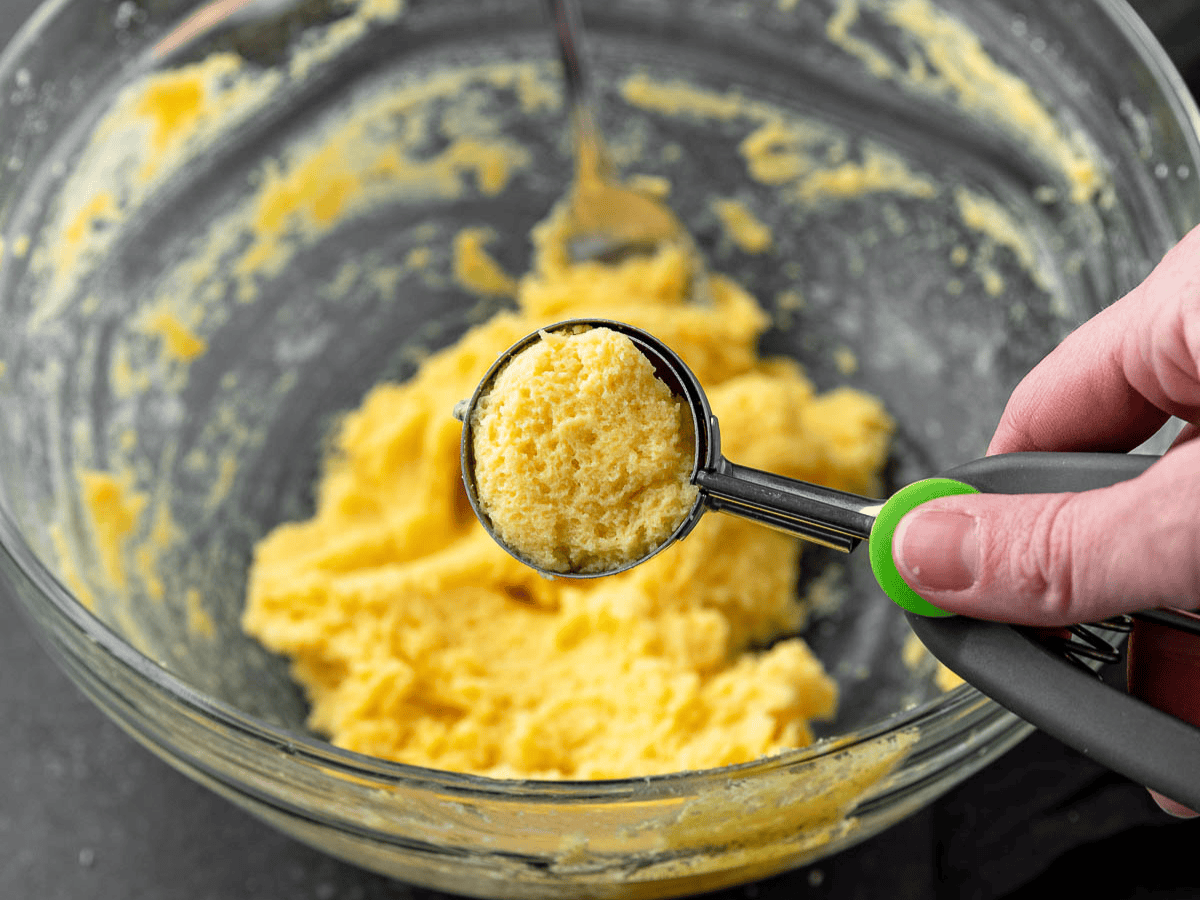
- 3.4 ounce package of instant vanilla pudding
- 8 ounces cream cheese , softened
- 1 teaspoon vanilla extract
- 1/4 teaspoon salt
- 1 cup powdered sugar
- 1/2 cup graham cracker crumbs
Instructions
- Mix the vanilla pudding, cream cheese, vanilla, salt and powdered sugar in a large bowl.
- Chill this "dough" for 30 minutes.
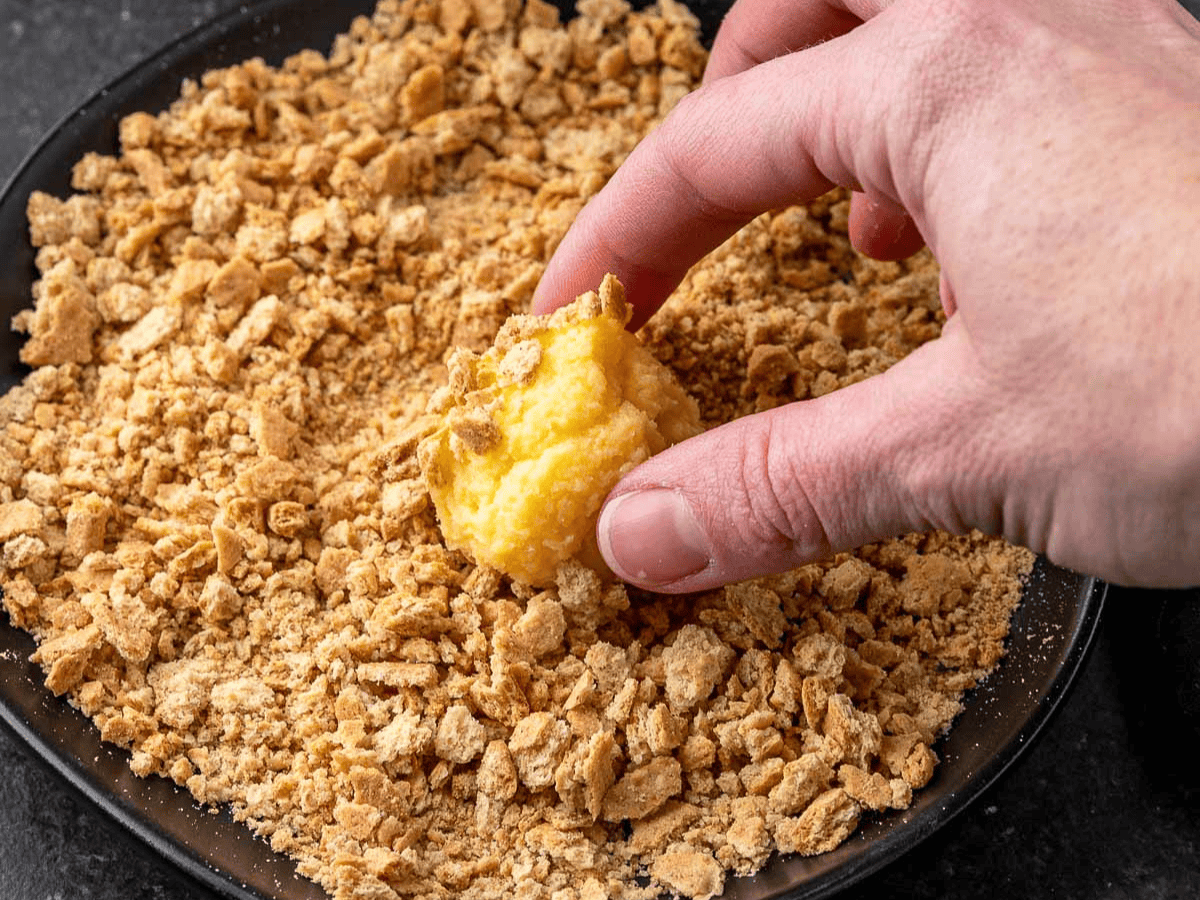
- Form into 1" balls then dip in a small bowl of graham cracker crumbs until coated.
- Refrigerate for 2 hours before serving, chilled.
Nutrition
Want to save this recipe? Create a free account to easily save your favorite recipes
Chef’s Note
Since this is a no-bake cheesecake style recipe, you won’t be using the oven, and won’t have to use your baking skills. I really enjoy easy desserts like this when I want something sweet, but have no desire to turn on the oven. The key to keeping them from melting or falling apart is to let them chill. It’s crucial to refrigerate for at least 2 hours before serving, so make sure you have enough time.
Table of contents
Can these be made ahead of time?
Yes, you can make them a day or two in advance. Store them in the refrigerator, or freeze them for up to 3 months. They are a great make ahead dessert for parties and events. For the best texture you’ll want to serve them within the first 1-2 days of making, or thawing from frozen.
How to Store
- Serve: Refrigerate for at least 2 hours so the cream cheese mixture fully sets and the flavors come together. Keep them chilled when you are not serving them.
- Store: Keep stored in an airtight container in the refrigerator. They will last for about 5 days and to prevent them from sticking or getting too moist, use parchment paper between layers.
- Freeze: If you need to store them for longer, you can freeze for up to 3 months. To prevent sticking, freeze them on a baking tray until solid before transferring to an airtight container. Thaw them in the refrigerator before serving.
Variations
- Kahlua: For an easy adults-only dessert, add 2-3 tablespoons of Kahlua liquor, or another alcoholic coffee liqueur like Bailey’s Irish Cream. For a strong coffee flavor, add a teaspoon regular coffee grounds or espresso too.
- Coating: Instead of graham crackers, you roll in any number of cookie crumbs, or other favorite toppings. Try vanilla Oreos, gingersnap crumbs, leftover cake crumbs, cinnamon sugar, your favorite sprinkles, chopped nuts, or even crushed cereal like Fruity Pebbles.
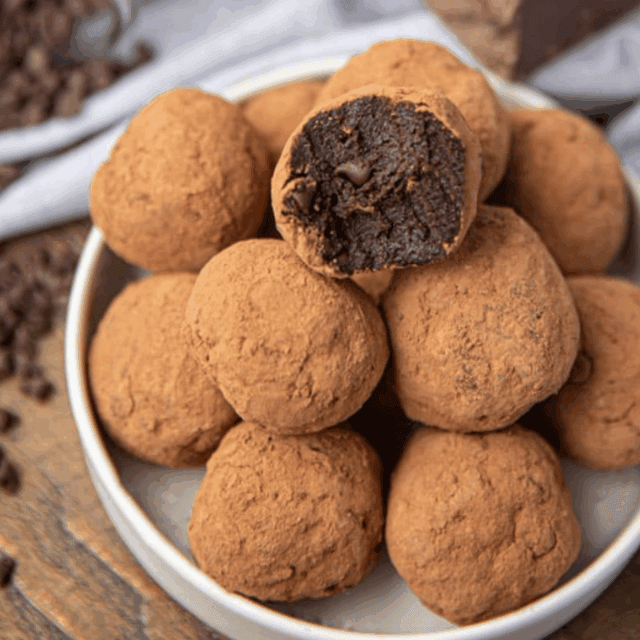
- Chocolate: Use chocolate pudding or add a couple tablespoons of cocoa powder, then mix in ⅓ cup mini chocolate chips. Use chocolate graham cracker crumbs, or freeze the bites first, then dip them in melted chocolate.
- Lemon: Add ¼ cup of lemon juice, and the zest of one lemon to the mixture. You can also use lemon pudding and coat them in lemon cookie crumbs instead of fresh lemon.
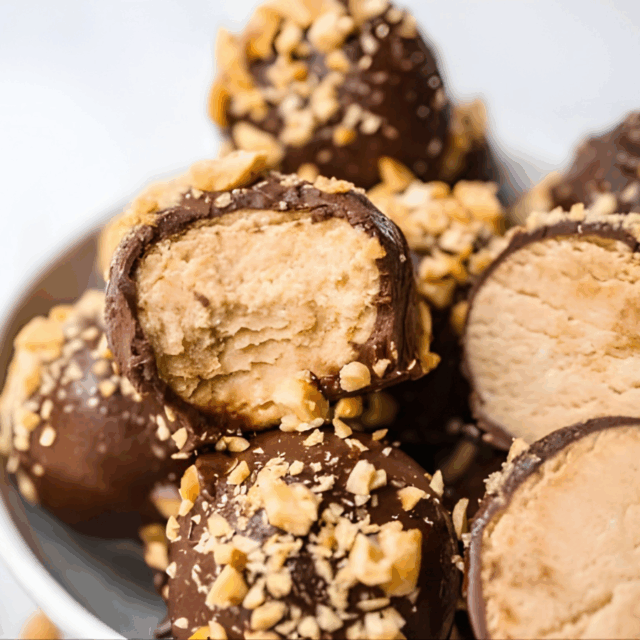
- Peanut Butter: Add ¼ cup of peanut butter to the mixture before chilling. For the coating, crush peanuts and roll each ball in the crushed peanuts for a crunchy texture. You could also add peanut butter chips to the cheesecake batter.
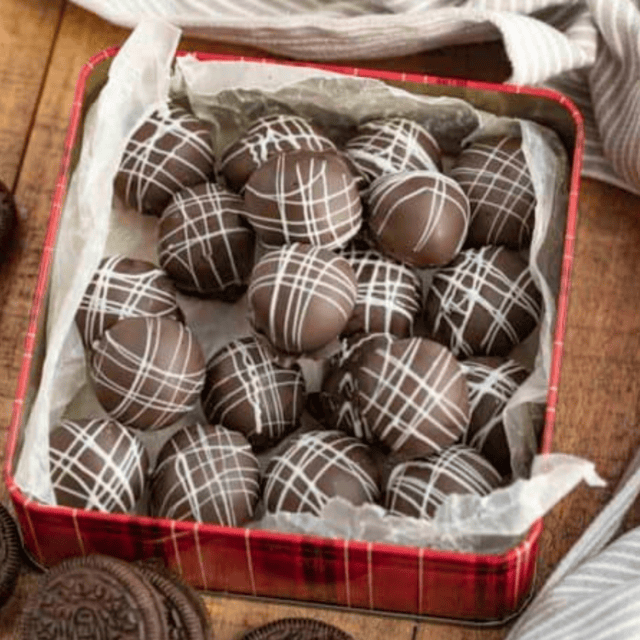
- Oreo: Add ½ cup of crushed Oreo cookies to the mixture before chilling. Roll in crushed Oreo crumbs instead of graham cracker crumbs to finish.
Related Recipes
Dessert Bites