
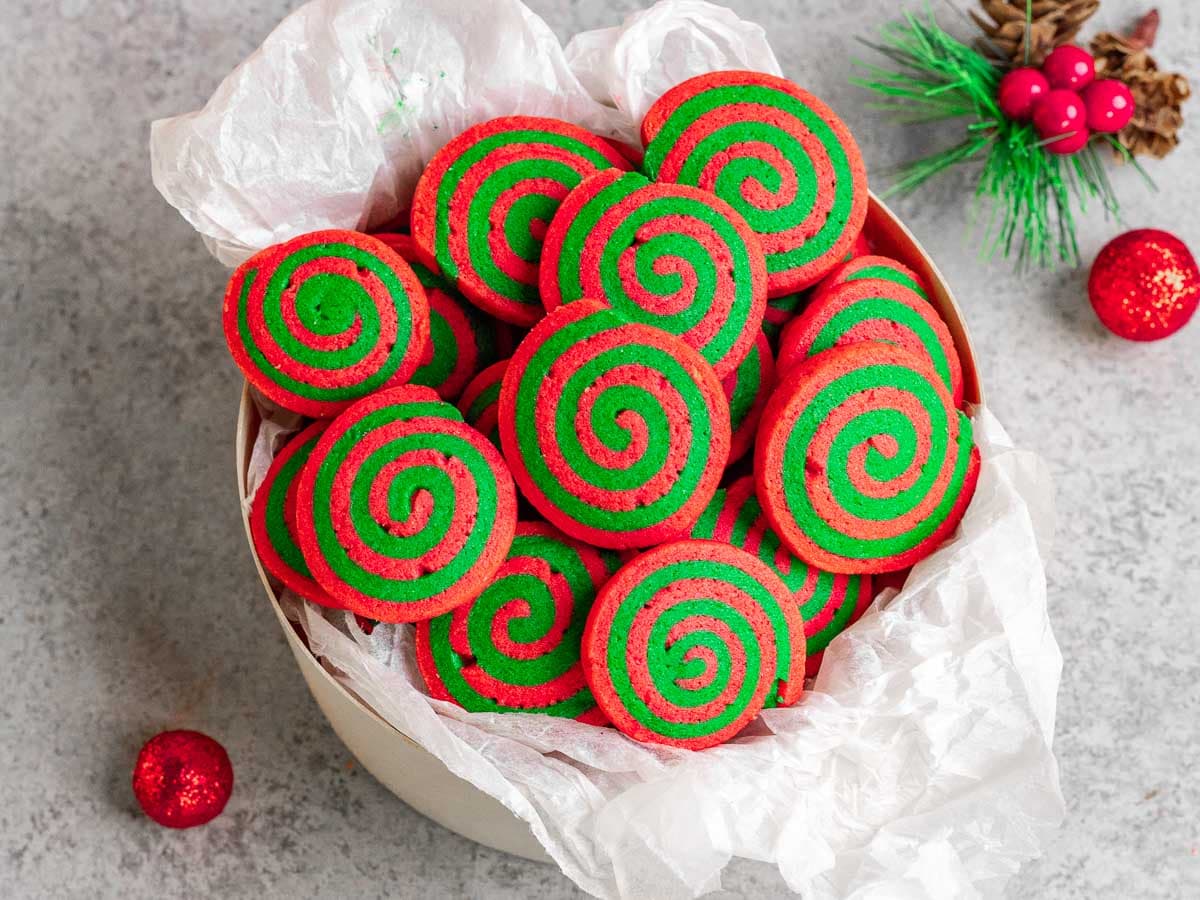
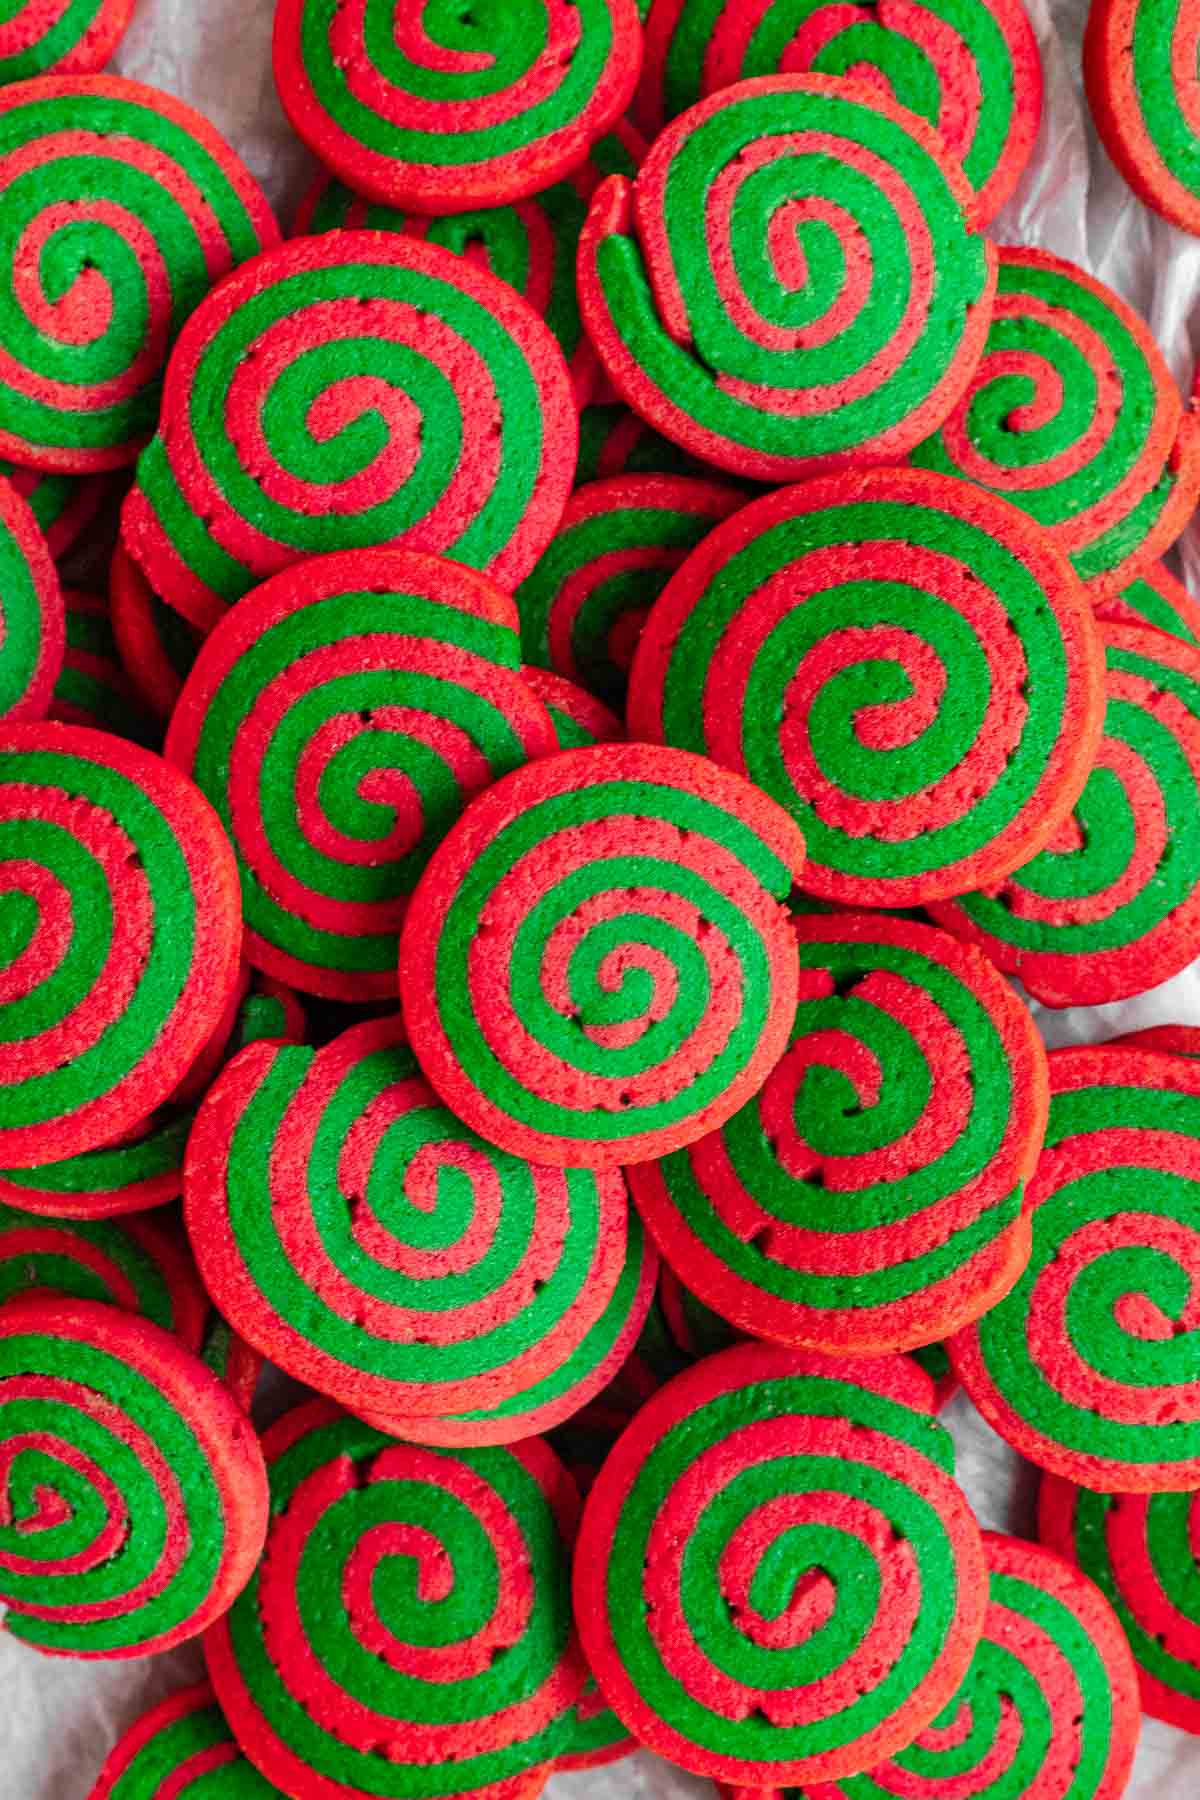
Christmas Pinwheel Cookies are the most festive holiday cookies with bright red and green swirls and filled with buttery peppermint flavor!
This fun and colorful treat is the perfect Cookie Recipe to serve at your next holiday party or bring to a cookie exchange. For more Christmas favorites try Candied Shortbread Cookies, Brown Sugar Cookies, or Gingerbread Cookies.
About our Christmas Pinwheel Cookies Recipe
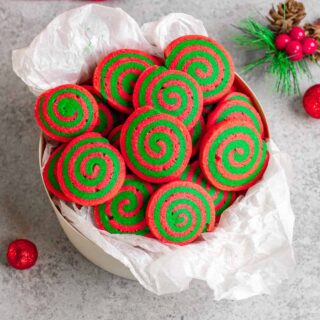
These green and red pinwheel cookies should definitely be included in your holiday baking plans this year. Their fun colors make them an instant hit with kids. Plus, they add a festive touch to any dessert spread. You can put them out on a cookie tray at a party or enjoy them on Christmas morning with a mug of Hot Chocolate for the ultimate holiday treat.
The thing that really sets Christmas Pinwheel Cookies apart is their beautiful presentation. That pinwheel cookie swirl is sure to catch anyone’s eye, and it’s easy to make by just rolling two pieces of colored dough together. But these cookies are also a lot more than what they look like. Once they’re baked, they have a rich, crisp, buttery texture, and sweet flavor with a hint of peppermint that’s just delicious.
Christmas Pinwheel Cookies Ingredients
- Sugar Cookie Dough: These cookies start with a basic sugar cookie dough recipe but it adds brown sugar for the majority of the sugar. It adds a hint of caramel flavor to the cookies and makes them extra soft and moist. Make sure to soften your butter and bring your eggs to room temperature when you cream them with the butter it gets nice and fluffy.
- Color: To get the two spiraled colors, all you have to do is separate the dough into two sections and add gel food coloring to each. You’ll only need a few drops of food coloring to get a clear and vibrant color in the dough so no need to overdo it. For more vibrant color without using a lot of dye, use gel food coloring.
- Peppermint Extract: To add a bit of holiday flavor to the Christmas cookies, just mix in ½ teaspoon peppermint extract. Just like with the food color, a little goes a long way so you don’t want to add more than that.
Kitchen Tools & Equipment
- Stand Mixer: To make sure your dough is mixed properly, it’s handy to have a stand mixer. This allows you to get the butter creamed super light and fluffy. If you don’t have a stand mixer, you’ll want to use an electric hand mixer.
- Sharp Knife: You’ll want a very large sharp knife to cut through the dough logs in one cut that won’t smash the logs. A string of unflavored dental floss or a sharp bread scraper works just as well too.
How to Make Christmas Pinwheel Cookies
Time needed: 1 hour and 40 minutes
- Make the Cookie Dough
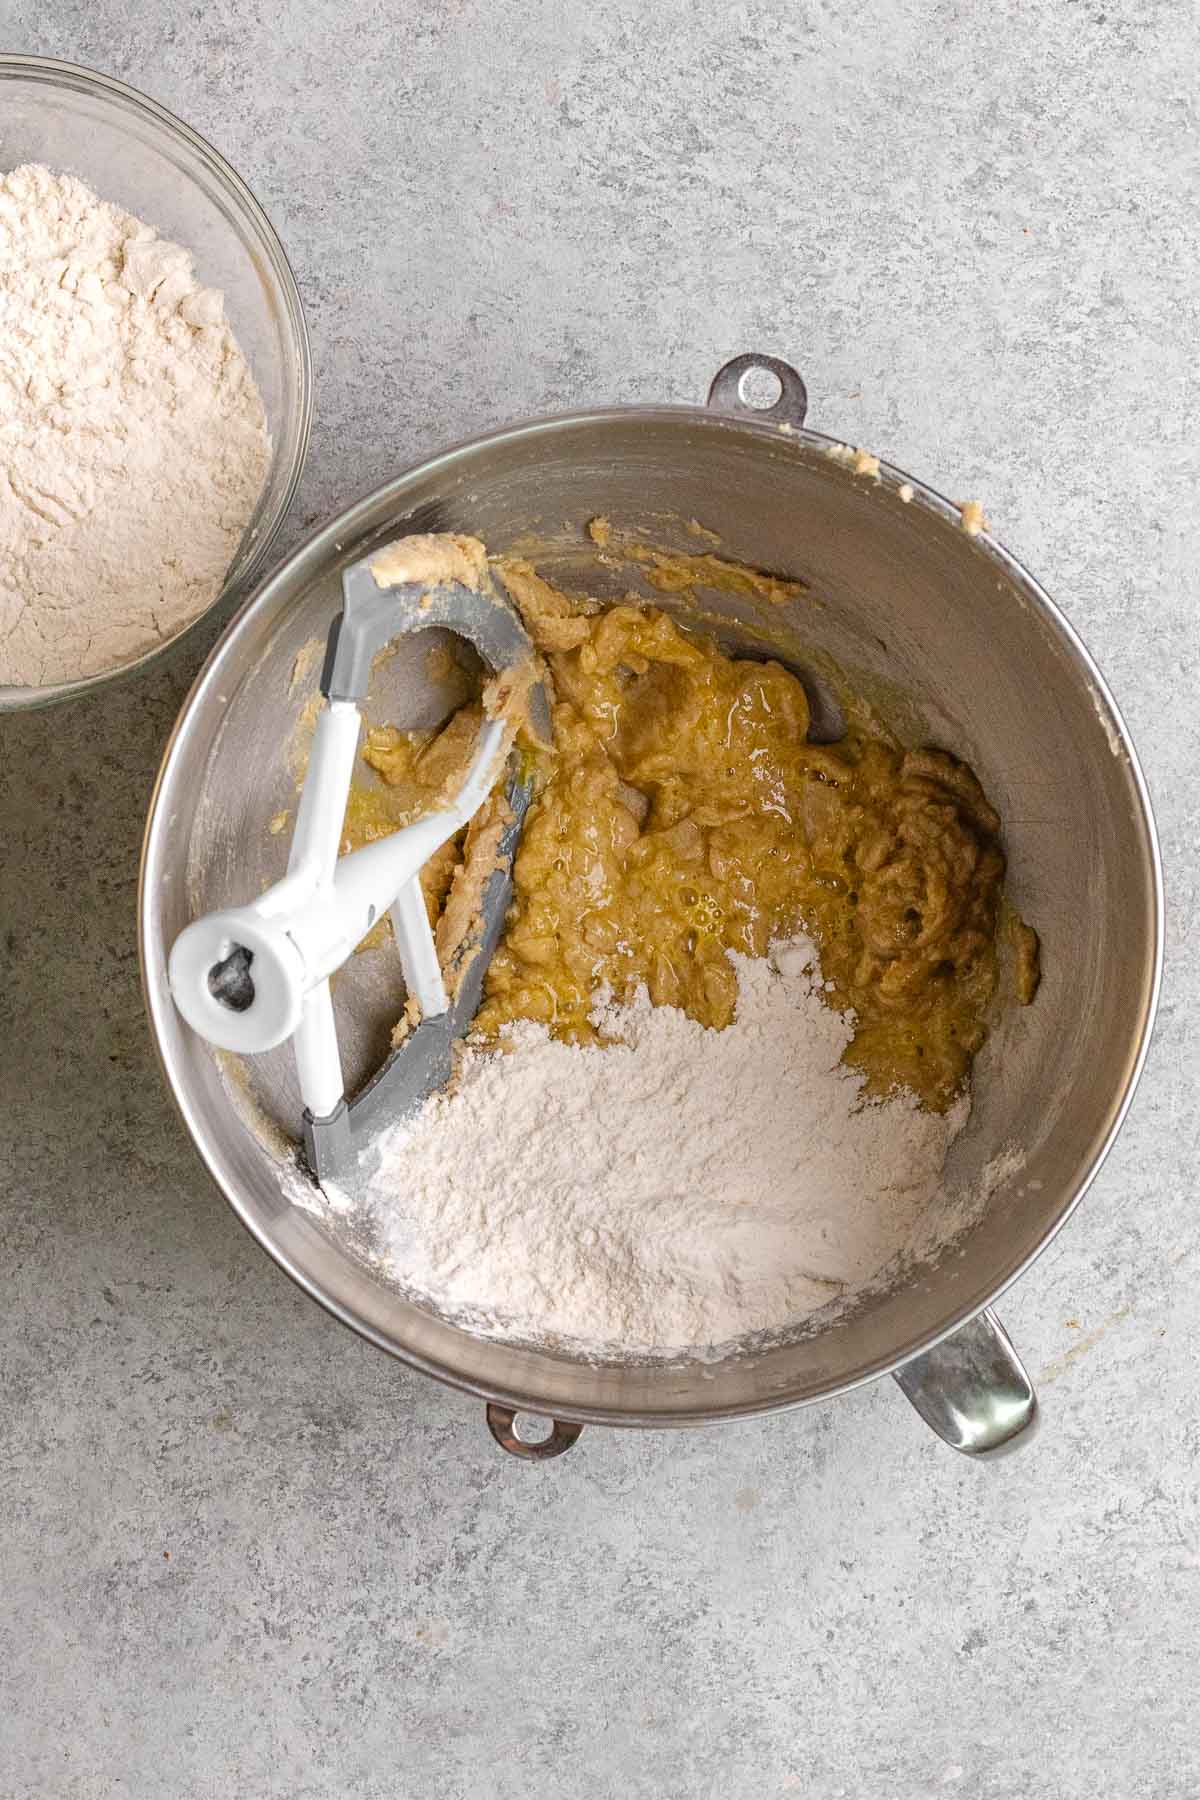
Cream the softened butter and both sugars for 2-3 minutes on medium-high speed until light and fluffy. Add the egg and peppermint extract to the mixing bowl. Mix until well combined into a smooth dough. Sift the all-purpose flour, salt, baking powder, and baking soda together in a separate bowl. Add the dry ingredients to the stand mixer in small batches until it’s mixed in.
- Color the Dough
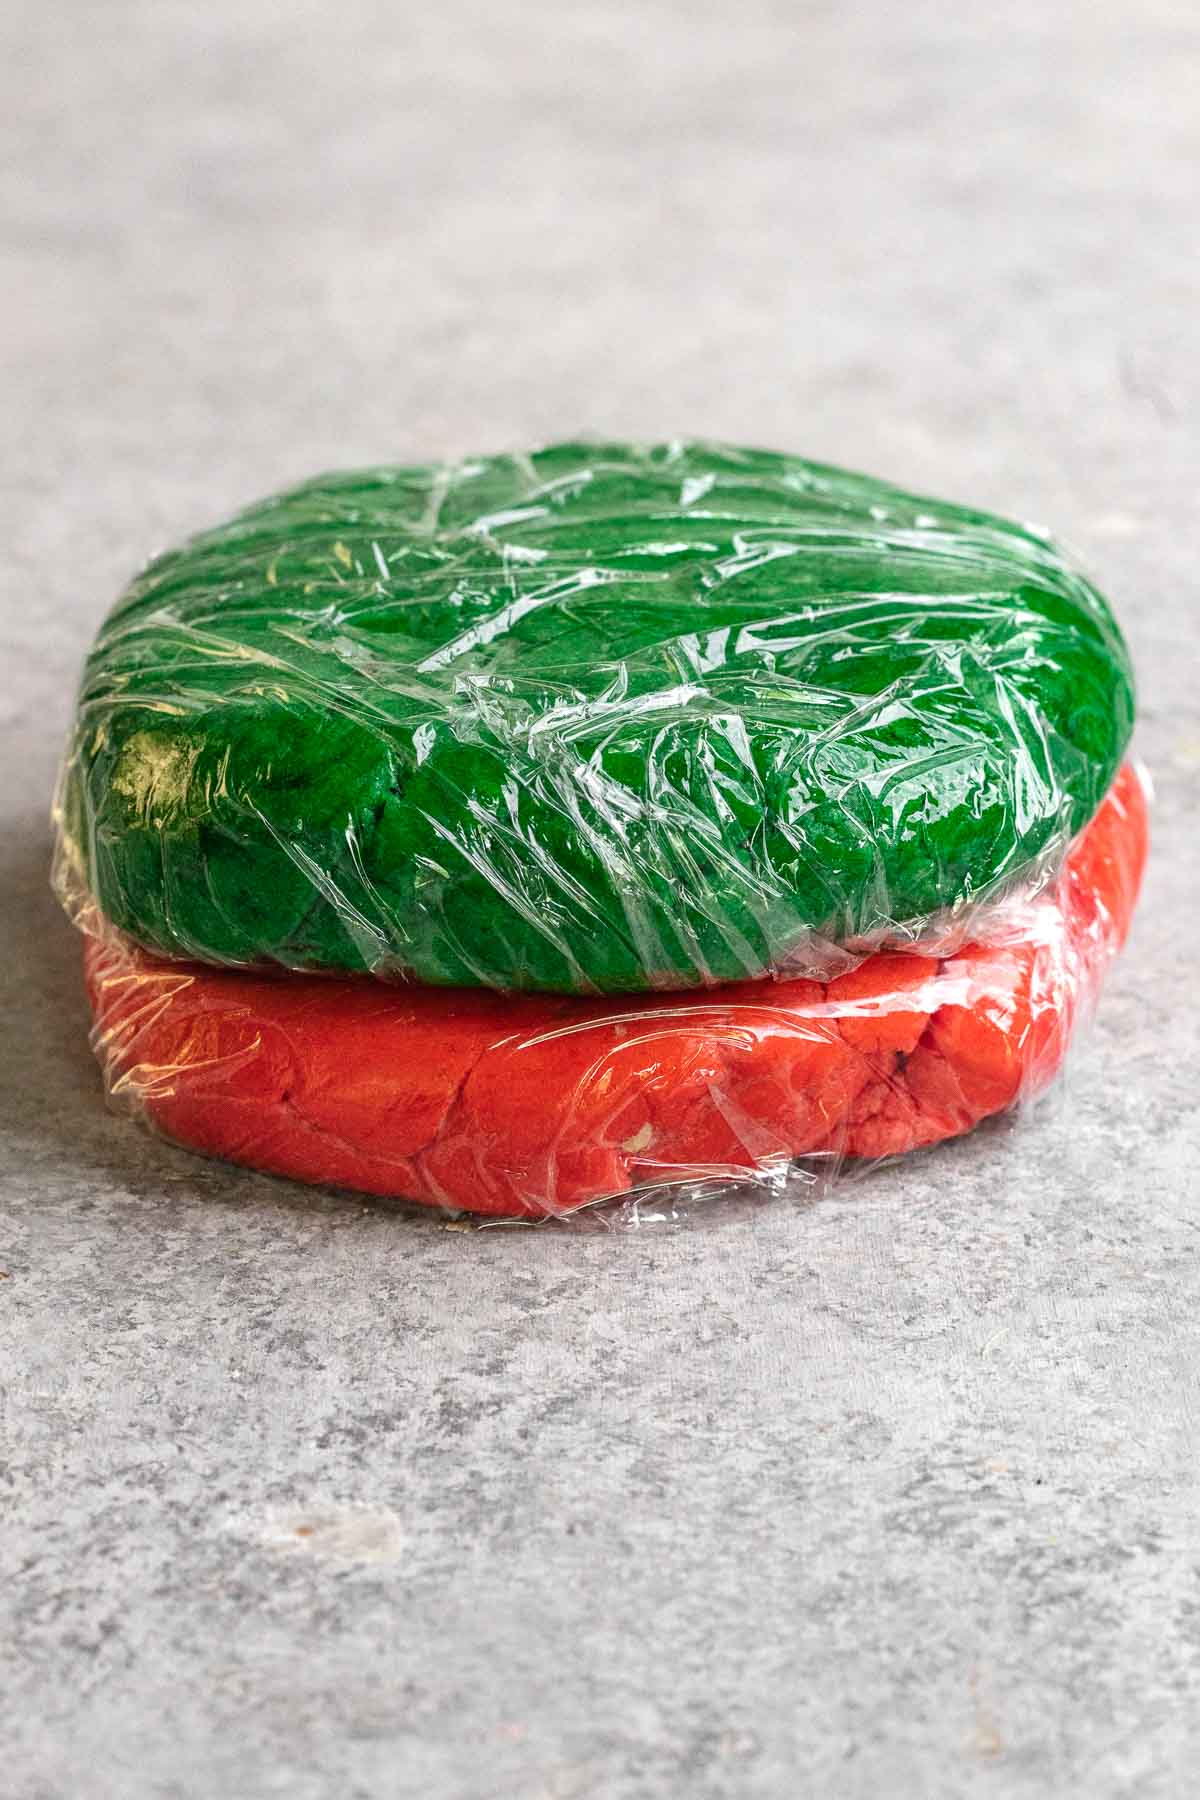
Divide the plain cookie dough evenly into two bowls. Add the green food coloring to one bowl, and red to the other and mix until the dough is fully colored. Wrap each dough ball separately in plastic wrap. Refrigerate the dough for 20 minutes.
- Layer the Dough
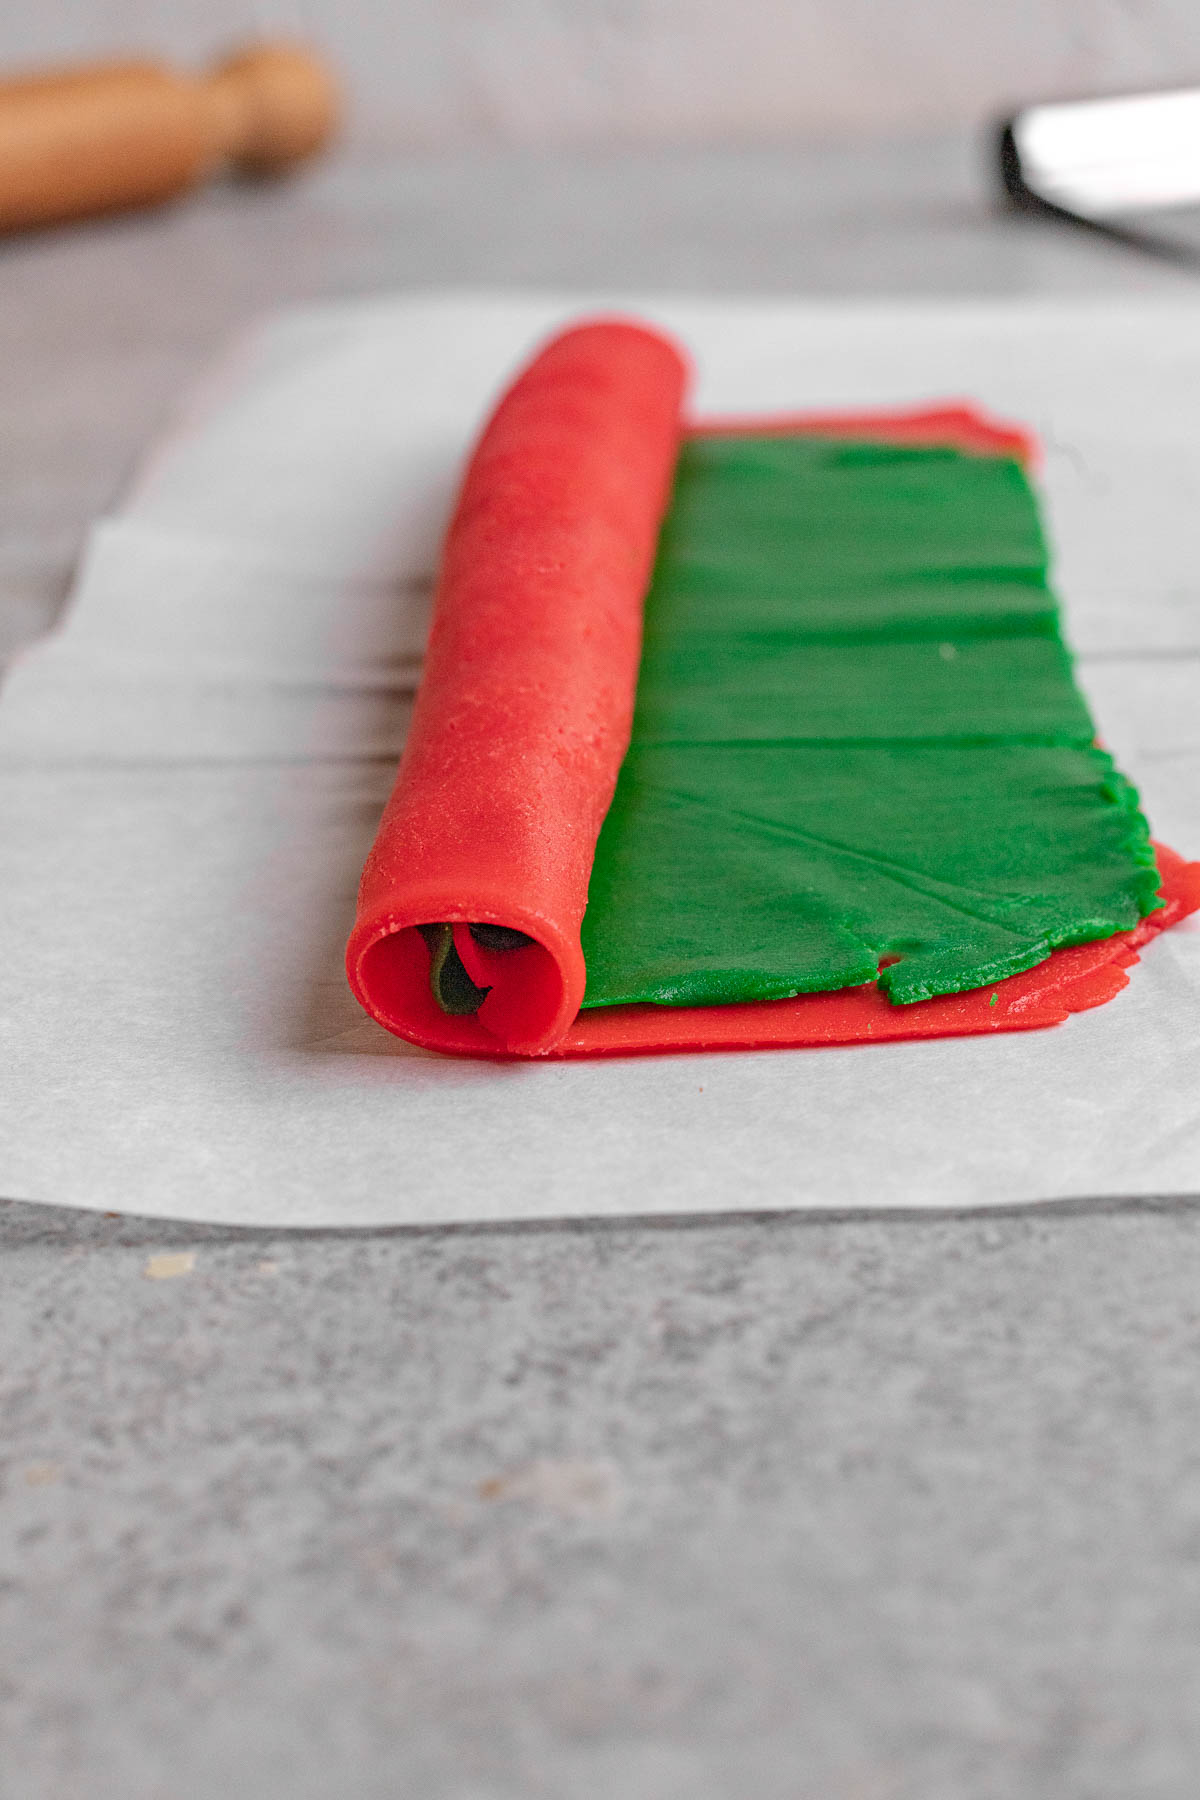
Take the chilled dough from the fridge. Cut each piece of dough in half. Roll the four balls of dough out on a floured surface. You want each piece of rolled-out dough to be an even rectangle, 10 × 6 inches. Place a green dough layer on top of the red dough. Form them each into a tight roll. After the rolling process, wrap each dough log in plastic wrap. Chill them in the refrigerator until firm.
- Prep for Baking
Line your baking sheets with parchment paper or silicone baking mats. Preheat your oven to 375 degrees. Remove the chilled dough logs from the fridge and unwrap them.
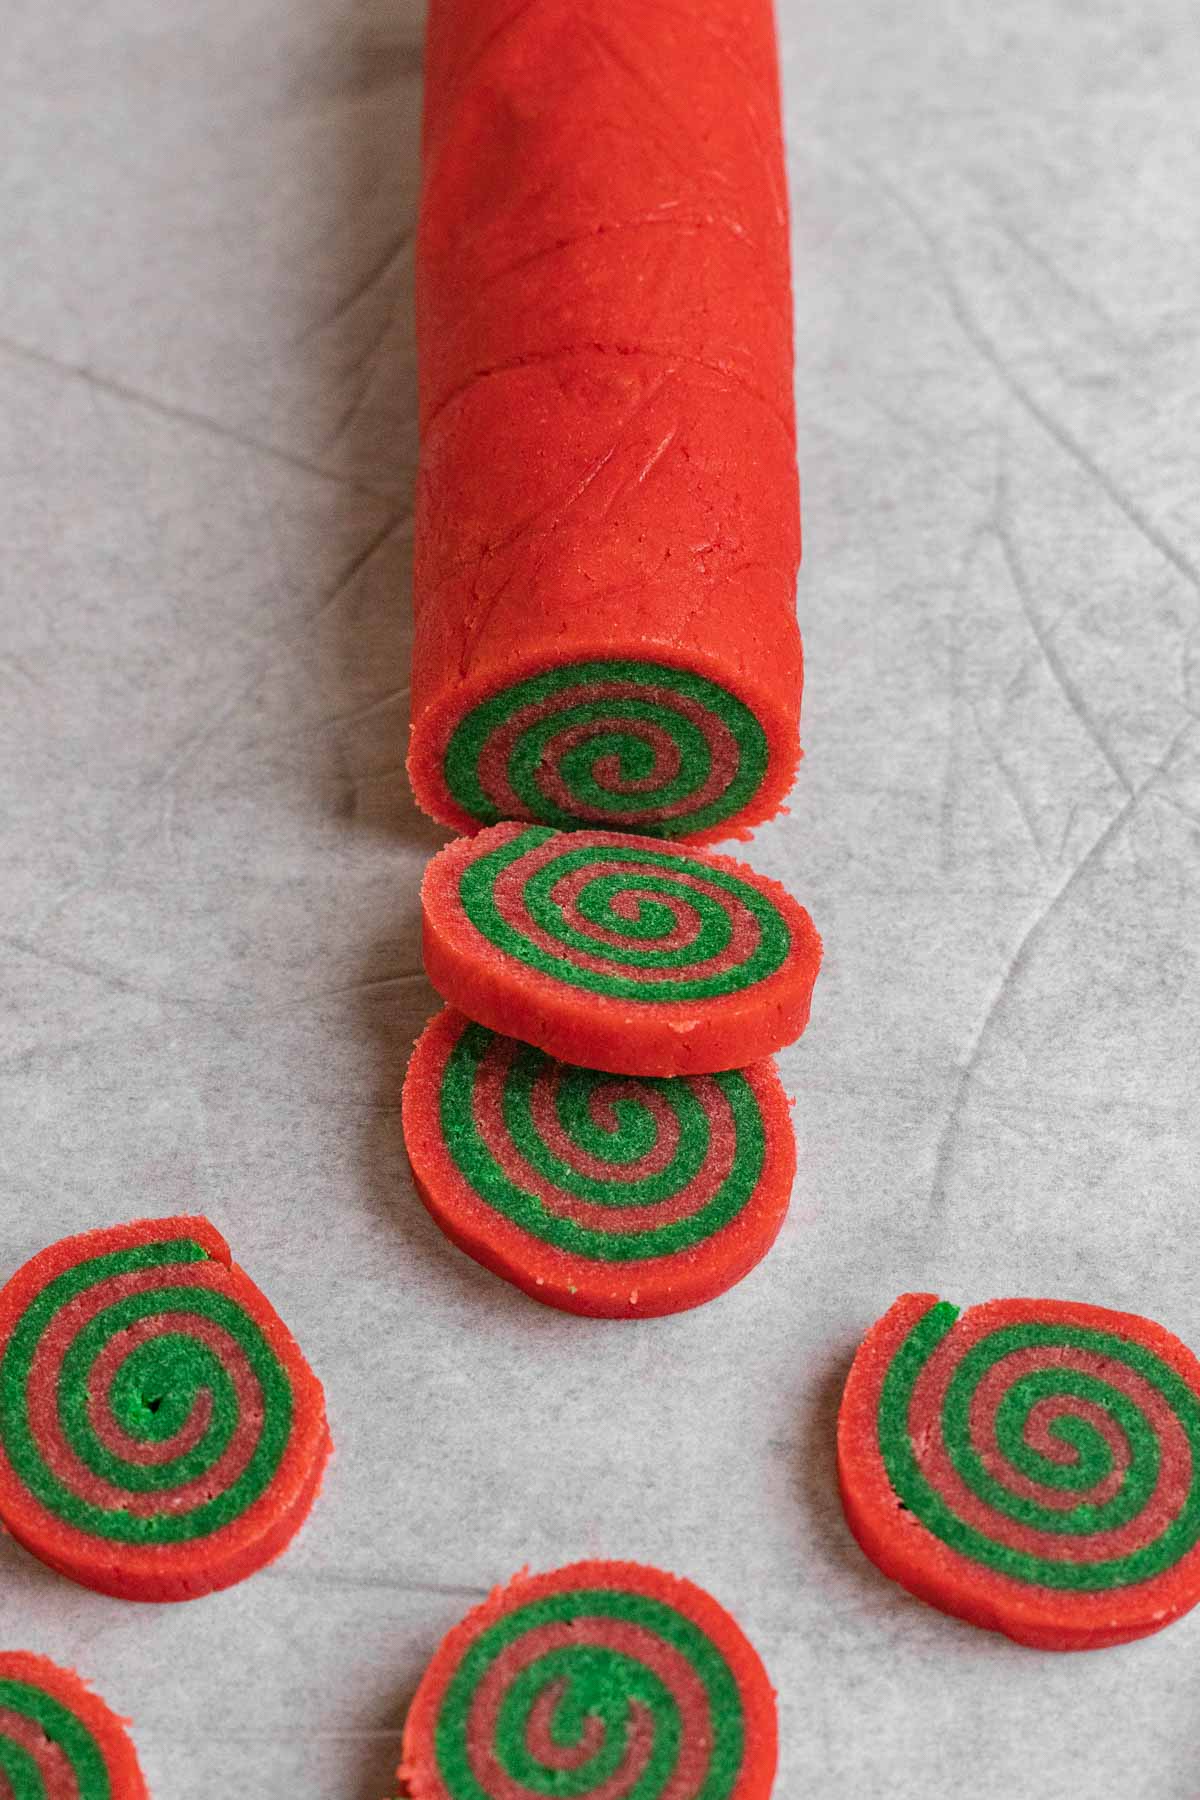
- Cut the Cookies
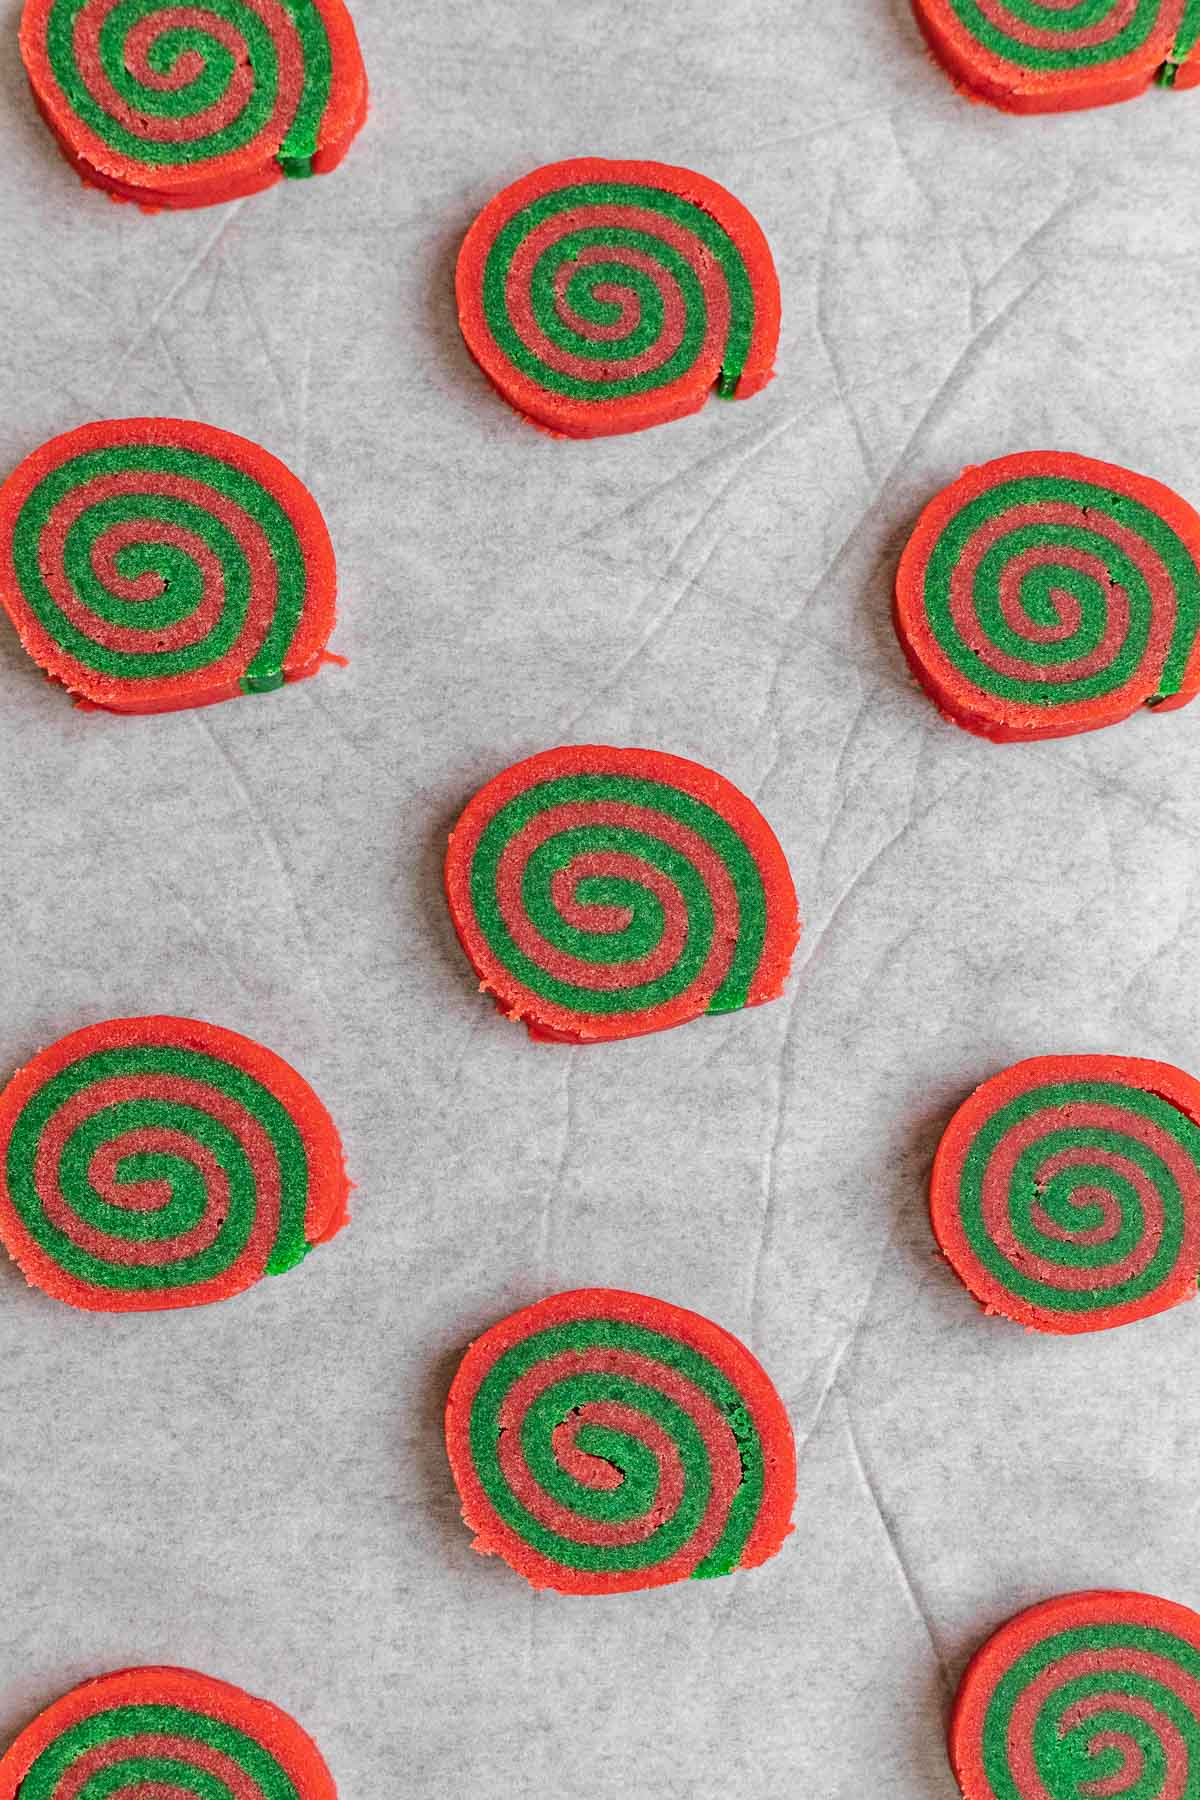
Use a sharp knife or string to slice the dough logs into ¼ inch thick cookies. Place each cookie onto the prepared baking sheets.
- Bake the Cookies
Pop the cookie sheets in the oven for 8-10 minutes. You want the edges to just set but you don’t want the cookies to brown. Allow the cookies to cool for 10-15 minutes before transferring off the hot baking sheet to finish cooling.
Nutritional Facts
Christmas Pinwheel Cookies Recipe Tips & Tricks
- Make Sure the Dough is Chilled!
- Don’t skip the step of chilling the dough both times or you will get flat cookies. Cold butter will melt slower as the cookies bake which keeps them from spreading. You will chill the dough each time you shape it so the butter is extra cold.
- Make the Dough in Advance
- To make sure your dough is properly chilled, or if you just want to get a jump start on your holiday baking, you can absolutely make this cookie dough ahead of time. It’s best to shape the dough and cut the cookie circles, but you can also store it at any stage for up to 3 months. If you freeze the dough
What to Pair With Christmas Pinwheel Cookies
Include these beautiful, delicious cookies in a Christmas Cookie Box to bring to a holiday gathering. They would be perfect to serve alongside a Hot Chocolate Charcuterie Board with your favorite toppings like Homemade Marshmallows.
How to Store Christmas Pinwheel Cookies
- Serve: After baking, you can leave them at room temperature for up to 2 weeks. Cover them in plastic wrap or put them in an airtight container to keep them from drying out.
- Store: You can also store the baked cookies in an airtight container to keep them in the fridge for up to 2 months.
- Freeze: To easily freeze the cookies, put them in a freezer bag with parchment paper between each layer so they don’t stick together. They’ll stay good for up to 8 months.
Ideas to Serve Christmas Pinwheel Cookie
Festive cookies like this recipe also make an amazing holiday gift for friends, family, neighbors, or your kid’s teachers. Wrap a stack of them in clear plastic wrapping. Tie a festive ribbon around the top to close it, and add a gift tag to finish the job. They’d also look cute delivered in an old-fashioned cookie tin with colorful tissue paper lining it, just make sure it’s food safe paper.
FAQ for Christmas Pinwheel Cookies
When giving cookies as a gift, you want to bake them as fresh as possible before wrapping and gifting. Make sure they are cooled completely, and package them in tissue paper to keep them from cracking. If your gift box or tin is not air tight, wrap the entire box in a clear plastic bag and tie with a decorative ribbon. Your gift wrap also serves to help keep the cookies fresh!
If your cookies are turning out too dry, you could be measuring your flour incorrectly and using too much. To correctly measure flour for baking, fluff the flour with a measuring cup so it is not compacted, before spooning flour into the measuring cup, then leveling it off with a flat knife.
Recipe Card
Ingredients
- 2/3 cup unsalted butter , softened
- 1/2 cup brown sugar , packed
- 1/4 cup sugar
- 1 large egg
- 1/2 teaspoon peppermint extract
- 2 1/4 cups flour
- 1/2 teaspoon salt
- 1/2 teaspoon baking powder
- 1/8 teaspoon baking soda
- 1/2 teaspoon red gel food coloring
- 1/4 teaspoon green gel food coloring
Instructions
- Add the butter, brown sugar, and sugar to a stand mixer on medium-high speed and cream until light and fluffy, about 2-3 minutes.
- Add in the egg and peppermint extract until well combined.
- In a large bowl sift together the flour, salt, baking powder and baking soda.
- Add the flour mixture to your stand mixer on low speed in small batches until just combined.
- Separate the dough into two equal halves.
- Add food coloring to each of the bowls and mix until smooth and evenly colored.
- Wrap the dough in plastic wrap and refrigerate for 20 minutes.
- Cut each colored dough into two pieces.
- Roll the four balls of dough into 10×6″ rectangles.
- Layer the green dough rectangles on top of the red dough rectangles
- Roll the dough into two logs (roll so the cookie log is long and skinny, rolling up from the widest side), wrap tightly with saran wrap and refrigerate for 1-2 hours.
- Preheat the oven to 375 degrees.
- Slice the cookies 1/4″ thick and place on a parchment paper lined baking sheet.
- Bake for 8-10 minutes, but do not let them brown.
Nutrition
Want to save this recipe? Create a free account to easily save your favorite recipes
Christmas Pinwheel Cookies Variations
Flavoring Extract: The original recipe is made with peppermint extract for a bit of holiday flavor, but you can also use other kinds of extract. Simple vanilla extract is great for a more basic flavor, or try a teaspoon of almond extract, orange extract, or a little lemon extract
Colors: You can make these pinwheel cookies with different colored swirls to make them match whatever occasion you’re using them for. Simply replace the red and green food dye with whatever colors you want. If you want them to be more a spring or summer cookie, replace the peppermint extract with lemon, or orange extract so the flavor can match the colors.
Chocolate Pinwheel Cookies: For Chocolate Spiral Cookies, you can leave half of the dough plain. Add a little cocoa powder to the second half of the dough. After rolling out the dough, you can layer the white dough on top of the chocolate and layer them together.

These images were used in previous versions of this post:


