
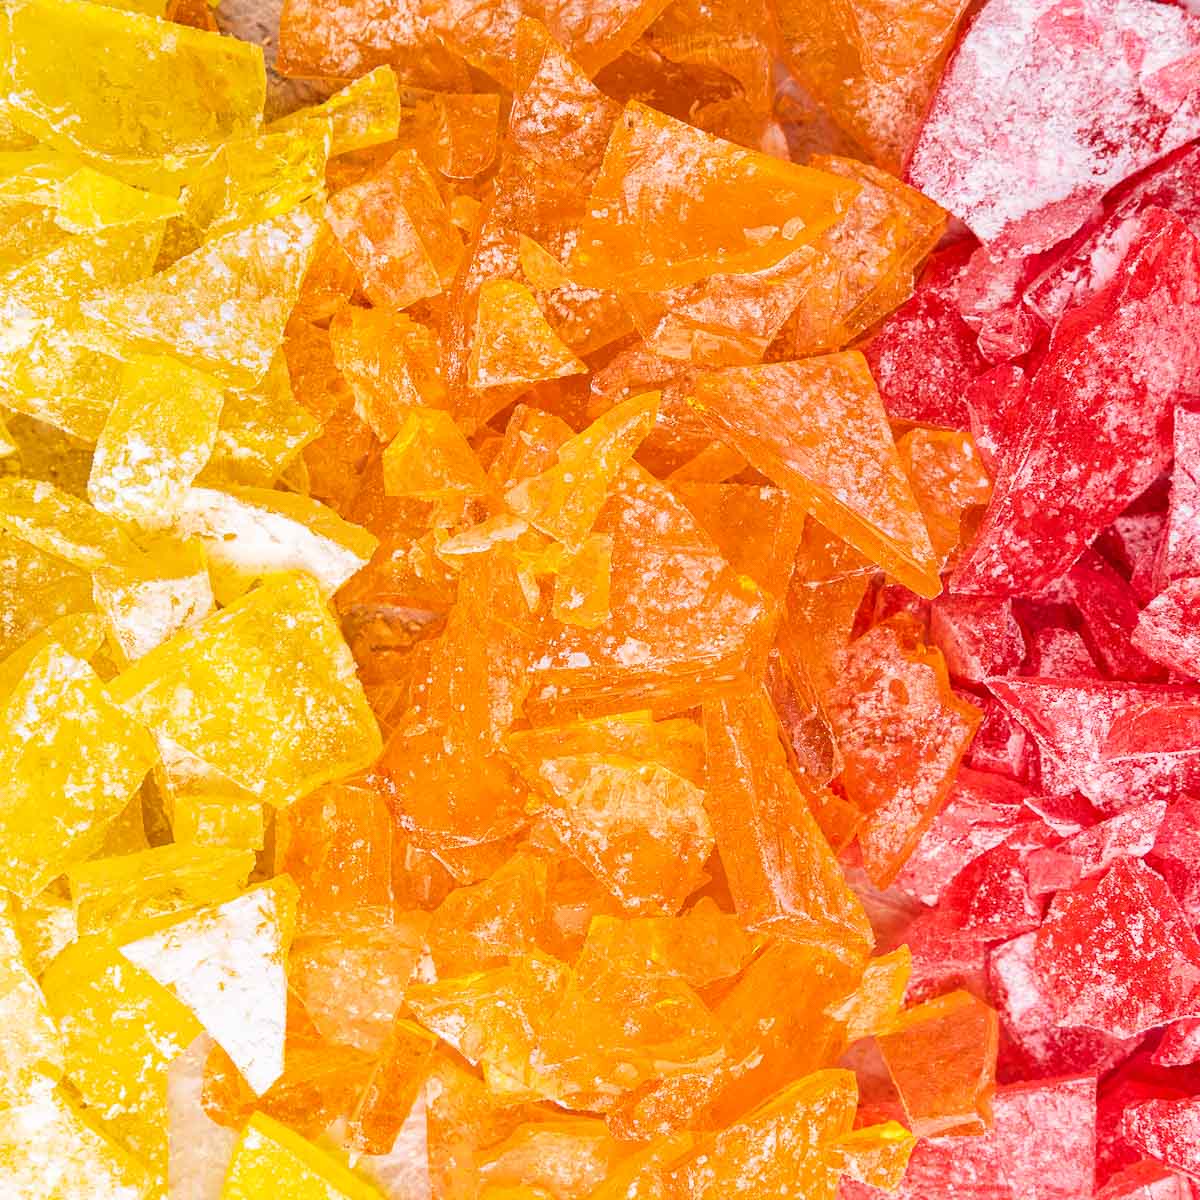
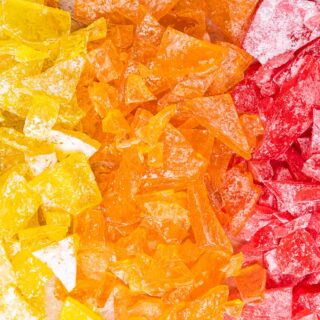
Hard Candy is the perfect sweet treat to give as a gift or enjoy yourself. Make them with lemon, orange, or strawberry flavors.
This is such an easy Homemade Candy recipe you can follow to create multiple Hard Candy flavors. If you’re a homemade candy fan, be sure to also try recipes for chewy candy like Sour Patch Grapes, Marzipan, or Birthday Cake Fudge.
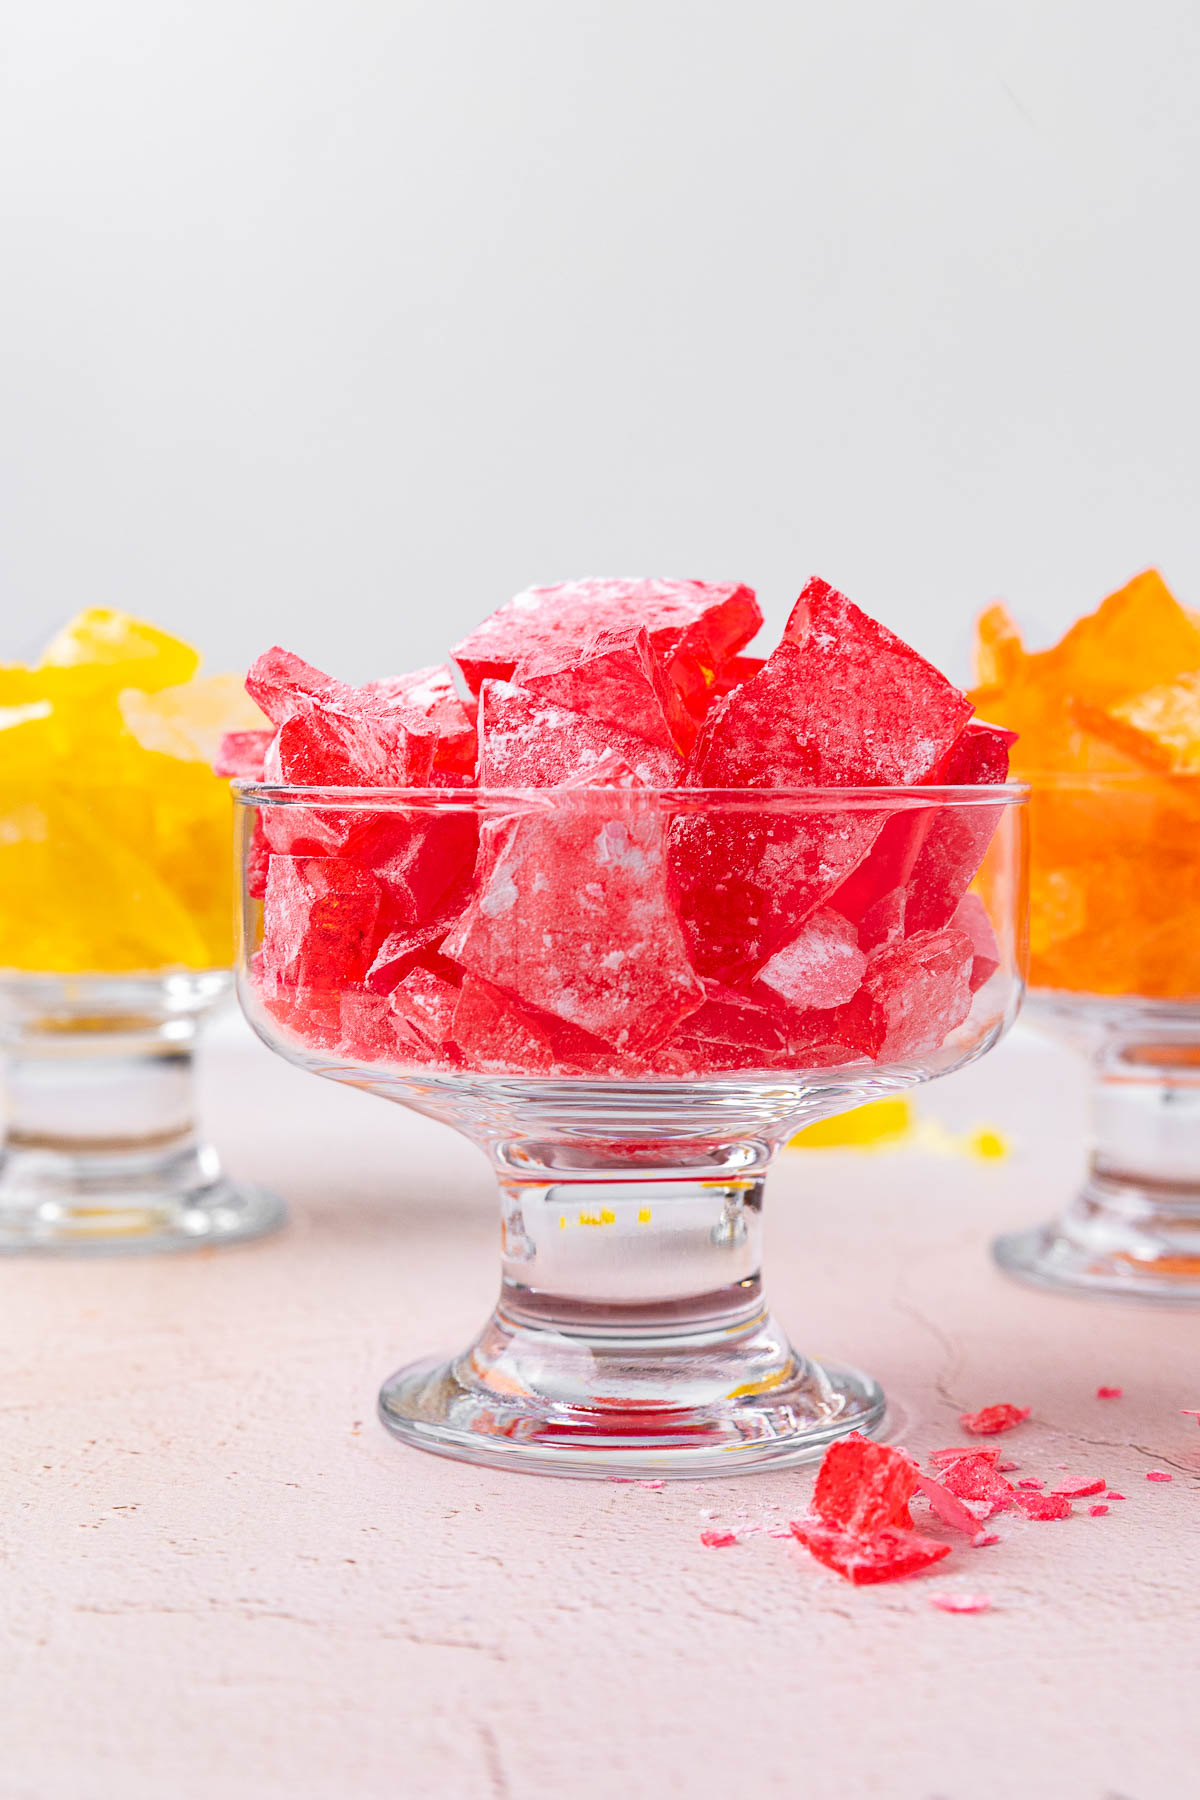
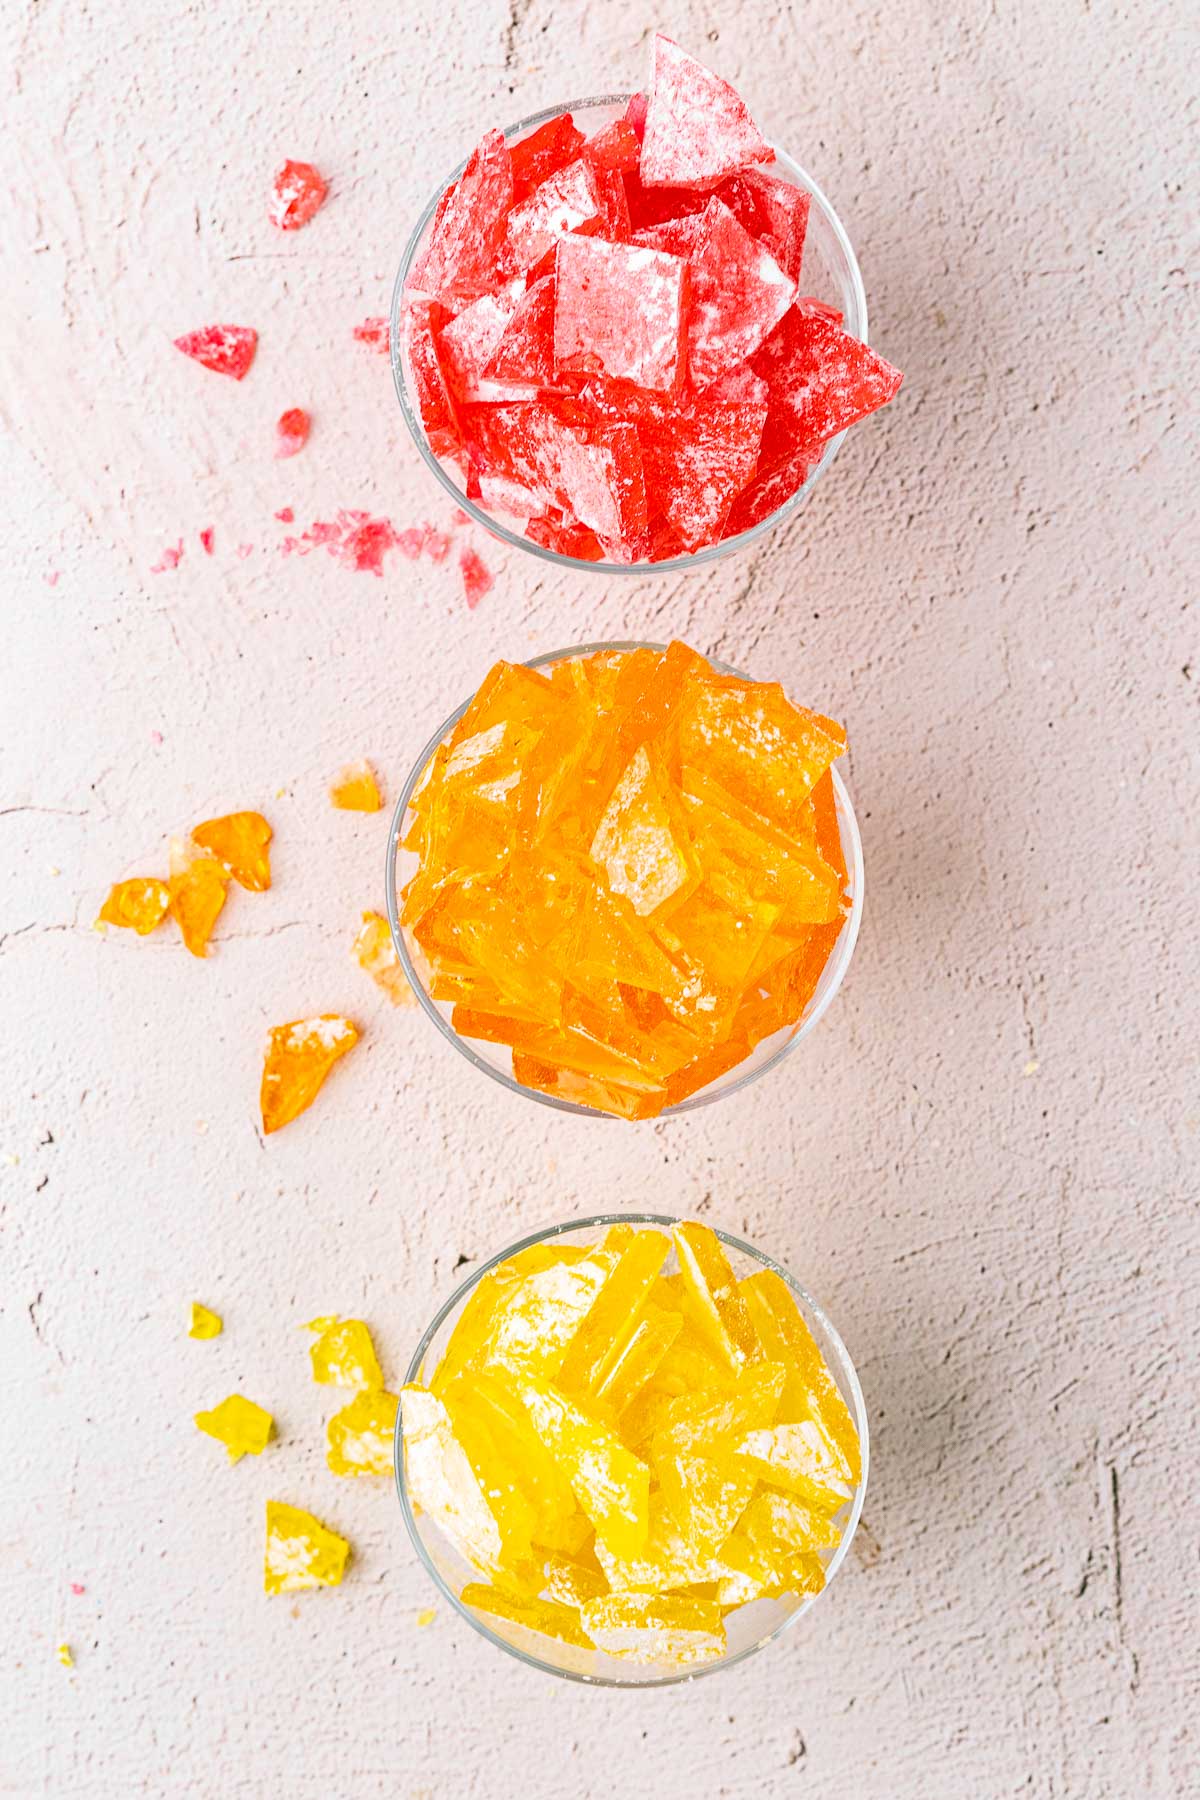
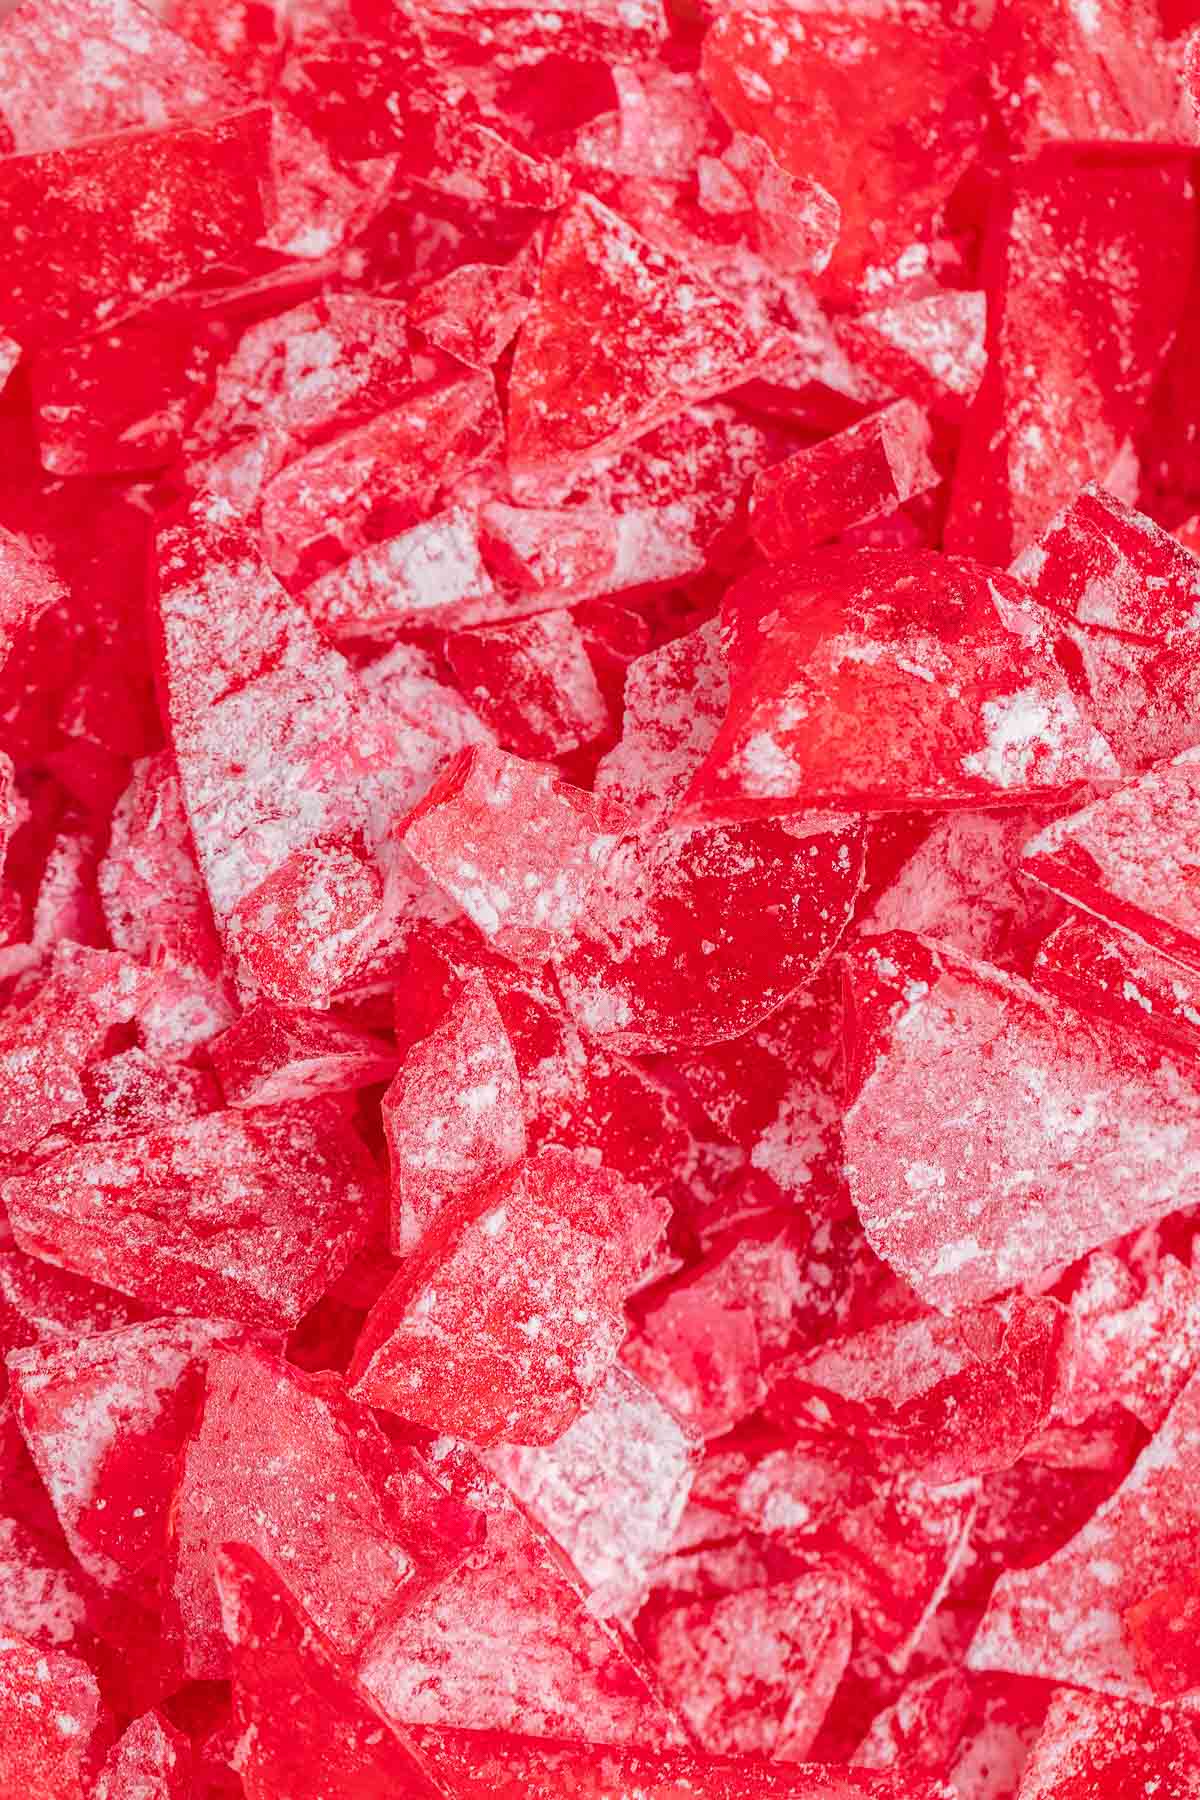
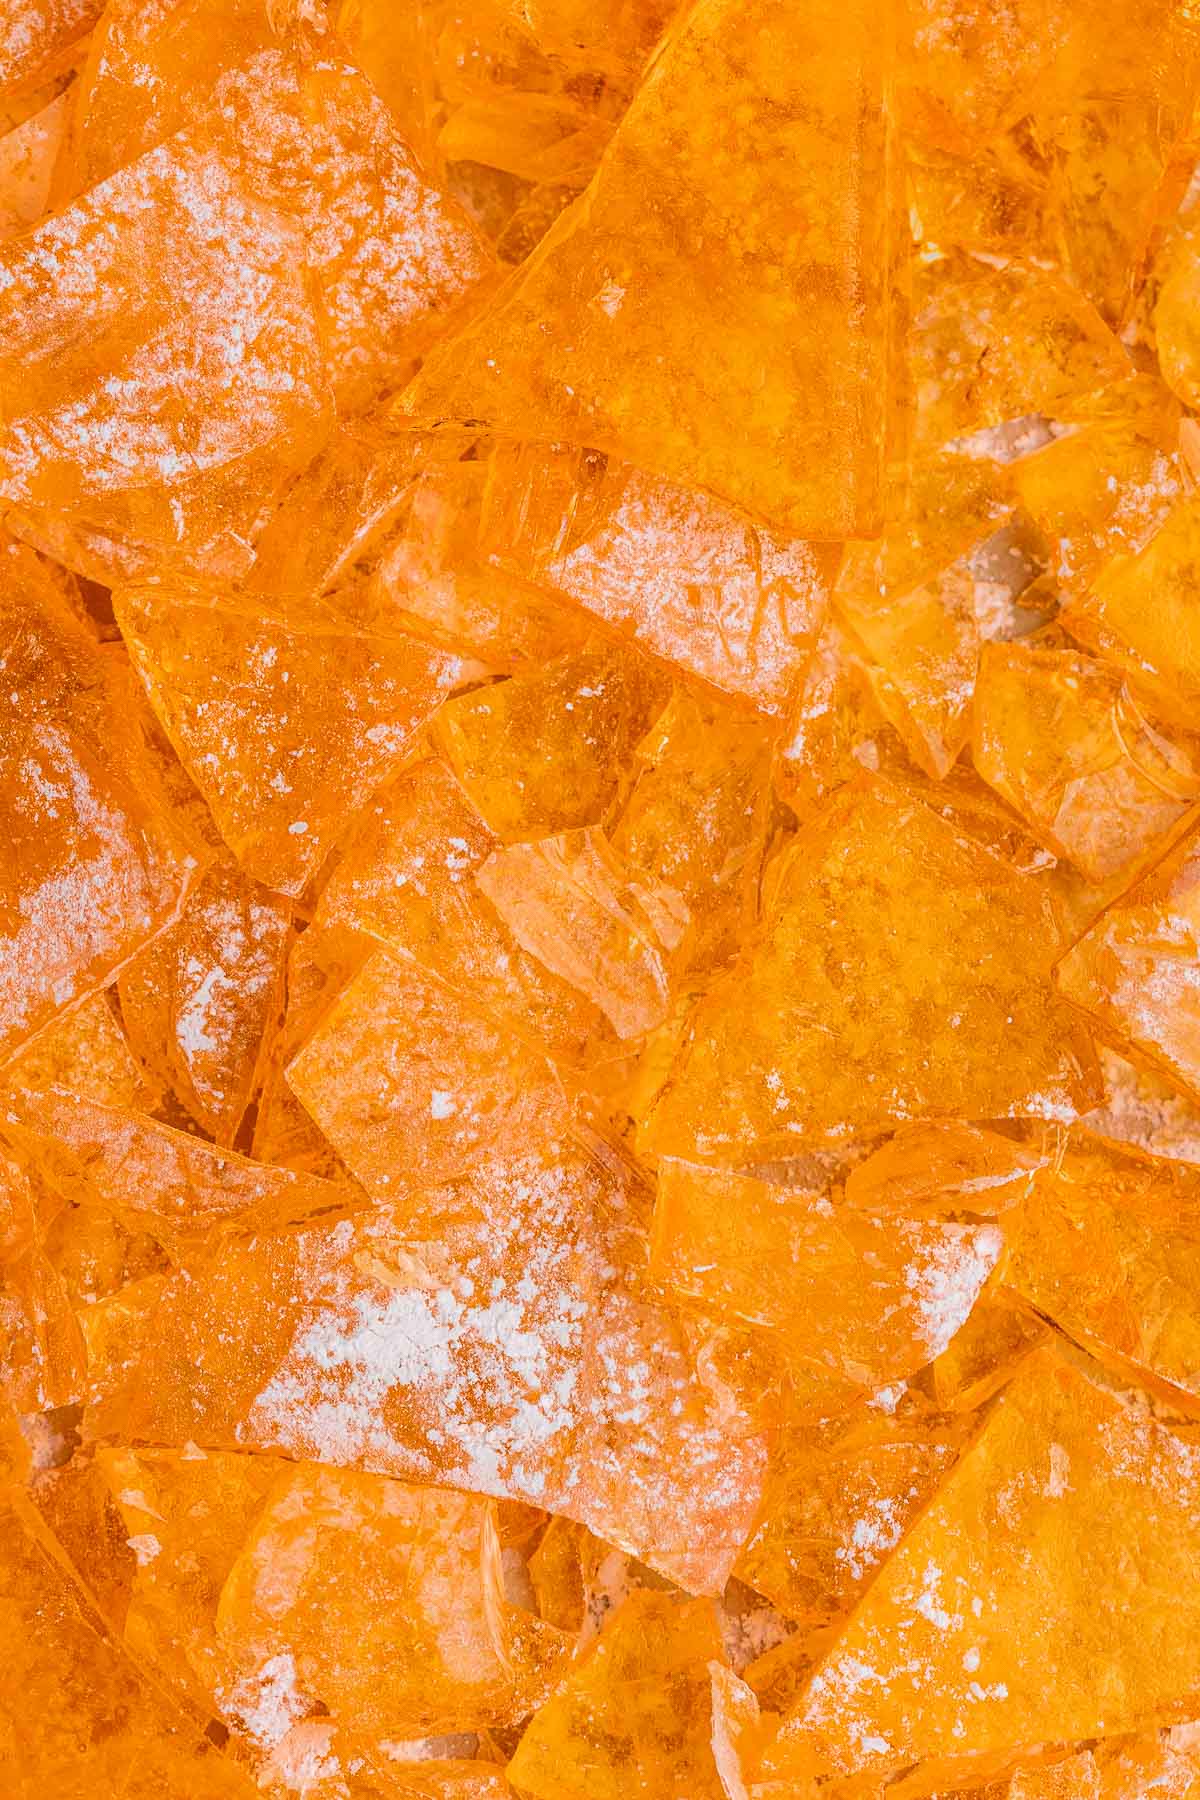
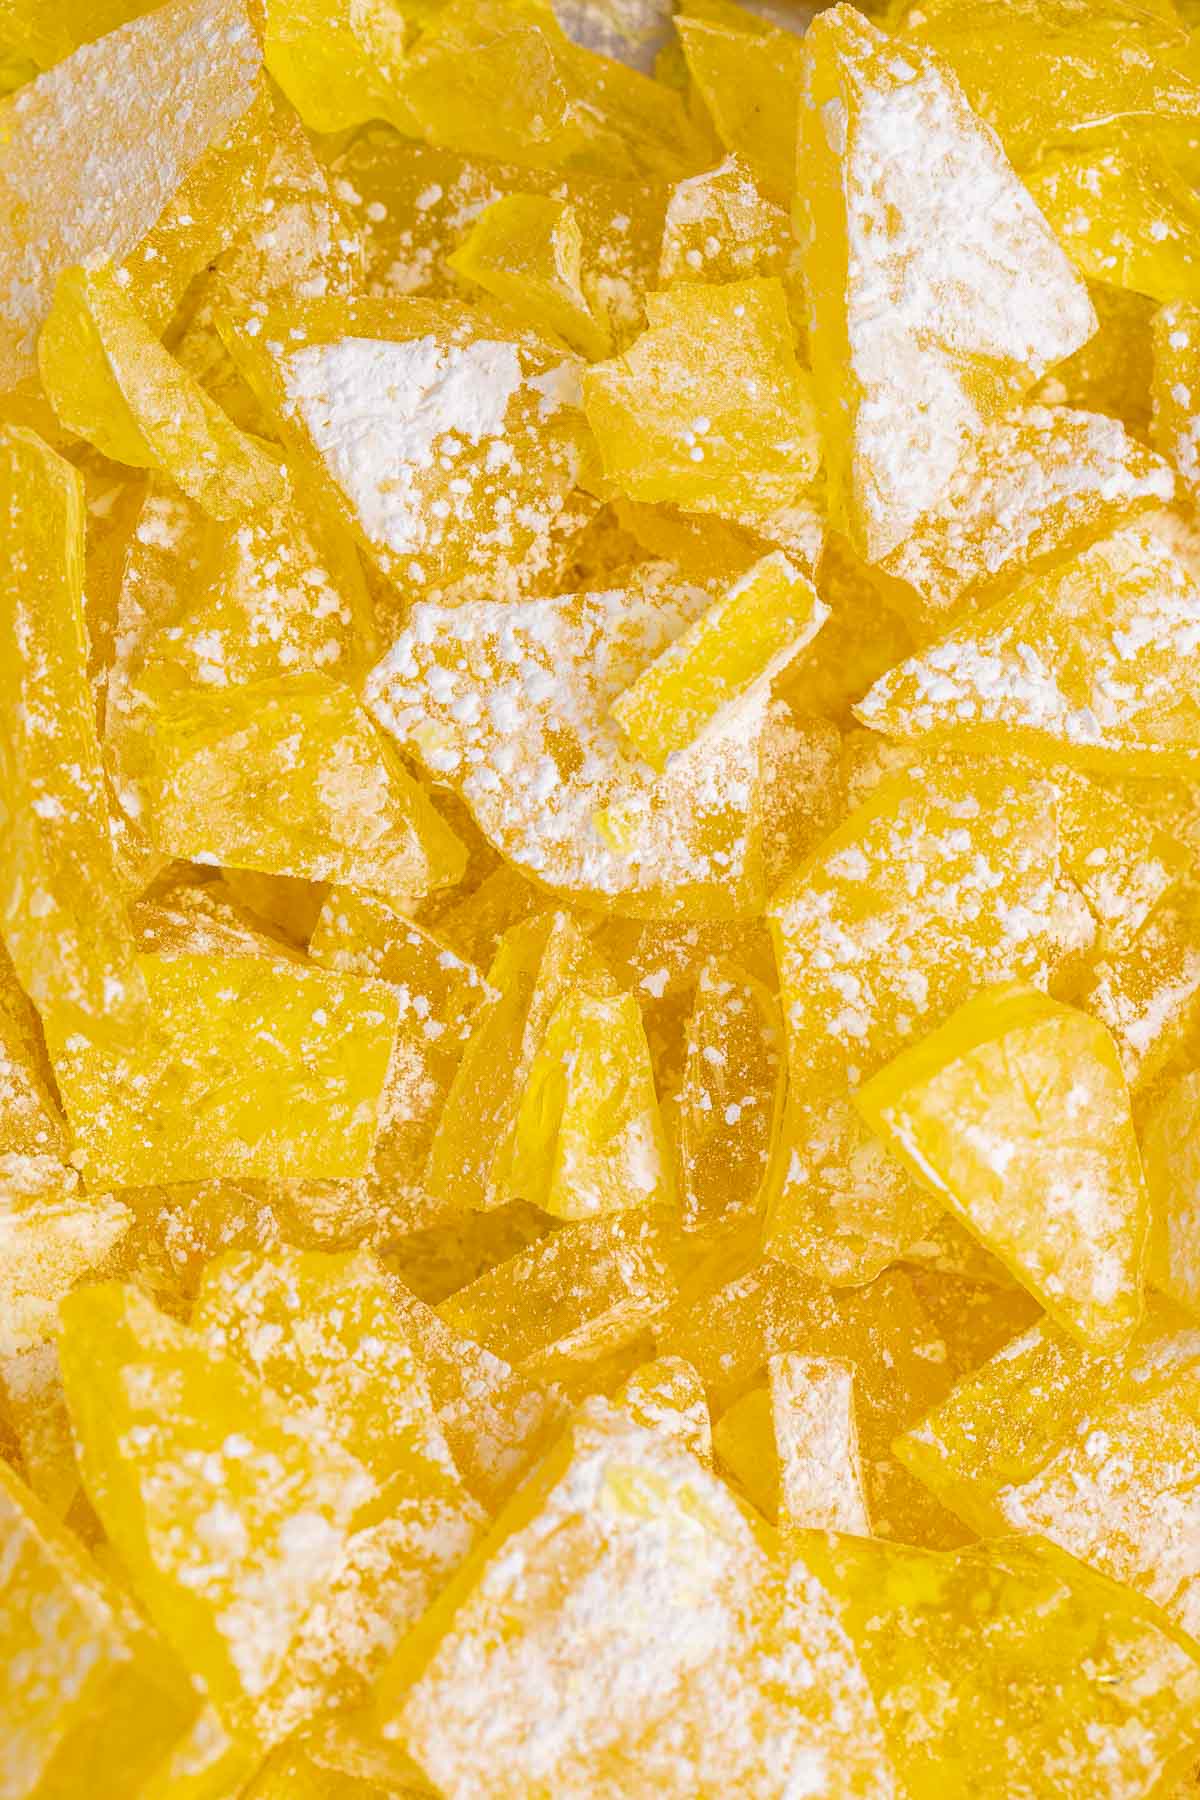
Table of Contents
About Our Hard Candy Recipe
Even first-time candy makers, can successfully make this Hard Candy recipe. This is an old-fashioned recipe that only takes a few ingredients to make. You’ll combine sugar, corn syrup and water in a dutch oven or heavy saucepan and cook it into a syrup. Then add the flavors and colors of your choosing. After that, just pour the candy, and let it dry before breaking it into pieces. To compliment this fruity candy, try making my Easy Toffee bites for another hard candy style treat!
The best tip for making sure your candy turns out right is getting the right cooking temperature for the syrup. This is easy to do if you have a candy thermometer to check the cooking temperature.
This recipe has instructions for lemon, strawberry, or orange Hard Candies, so you can make whatever type of candy you like best. If you want to make all three, you can divide the ingredients into three separate pans before adding food coloring and flavor. Then let the candy harden in separate square cake pans. After breaking the candy into bite-size pieces you can mix the finished candies all together in a candy jar.
“Can Hard Candy be made ahead?”
Hard Candy will keep for a while. You do not need to prioritize prepping this candy fresh. Go ahead and make it days ahead of when you’d like to serve it, if you like. This way, you’ll have some hard candy around for when you have a sweet tooth until it’s time to share them.
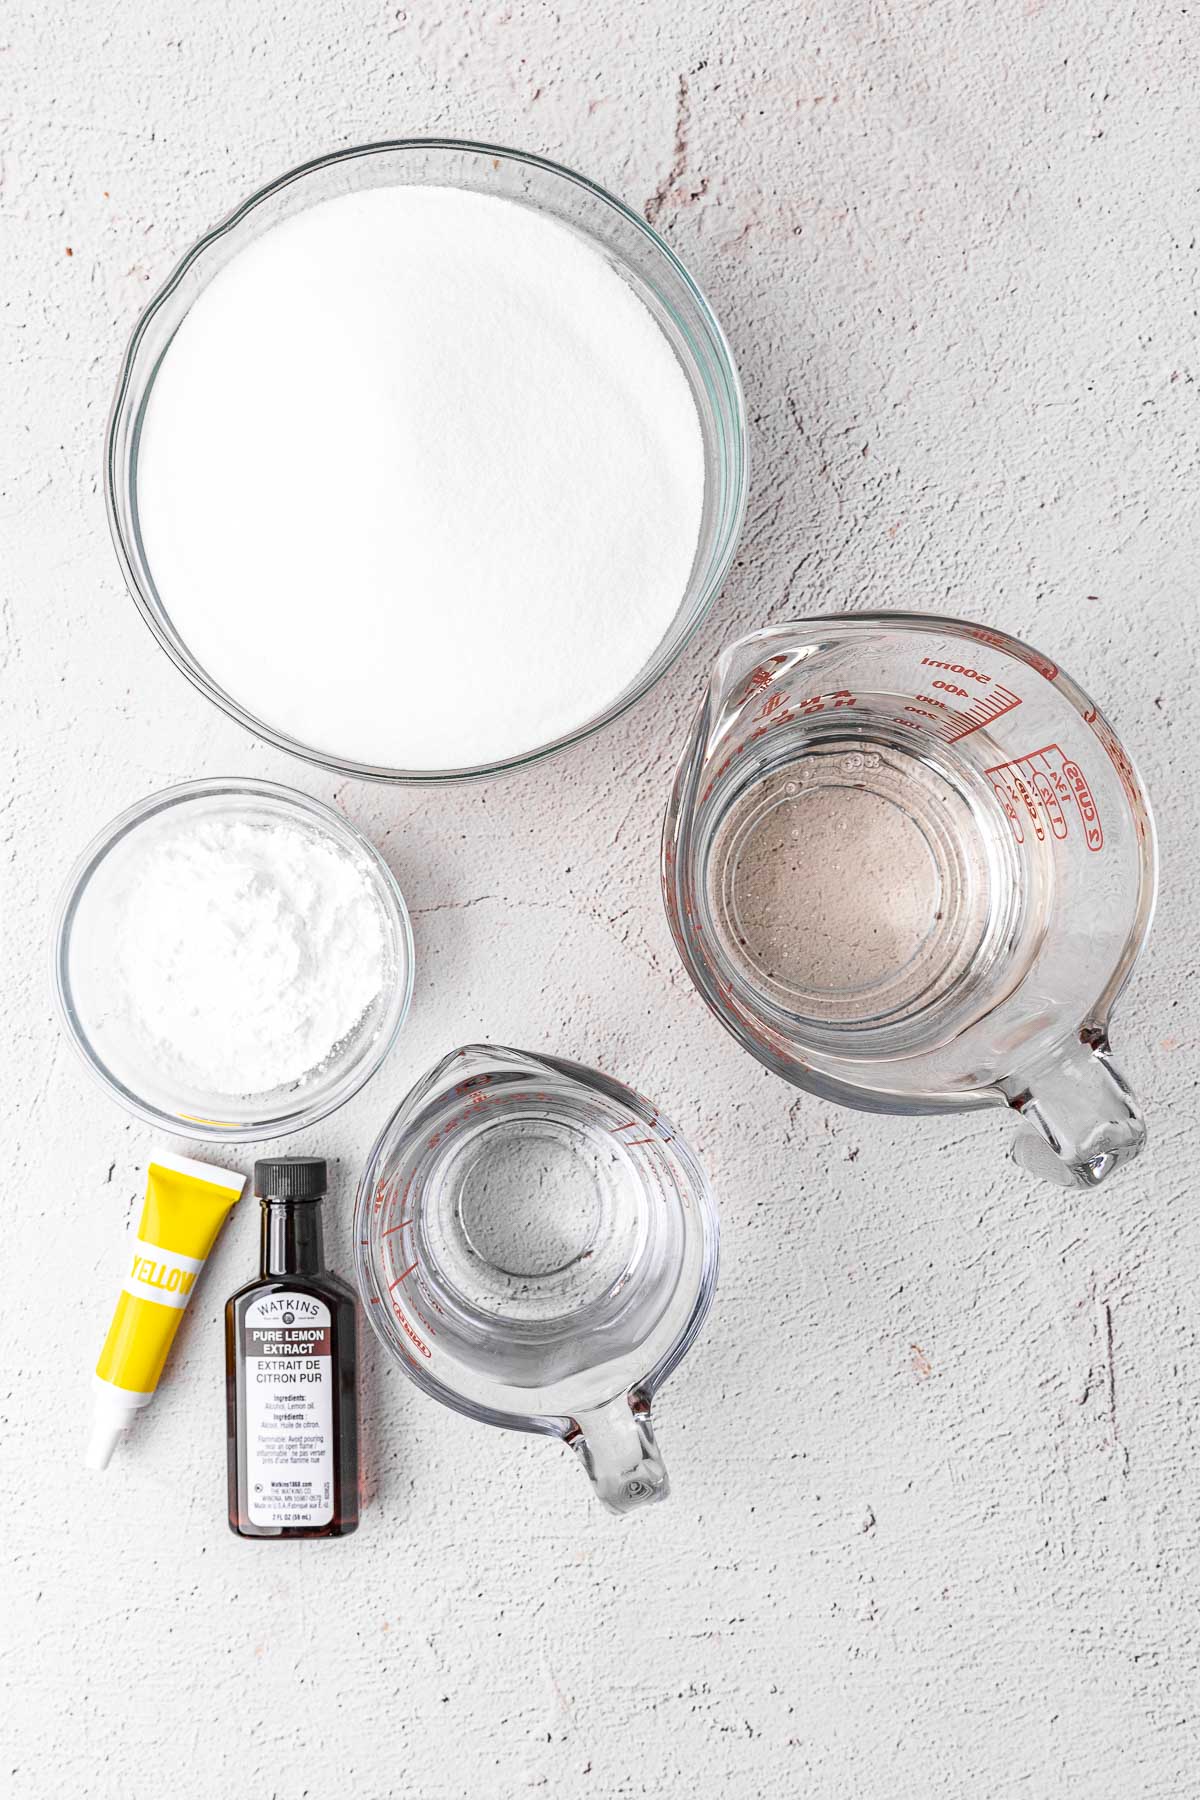
Hard Candy Ingredients
- White Sugar: One of the most important components of this candy recipe is sugar. As you cook the sugar with the other ingredients it will melt into molten sugar. Continue to cook the white sugar until it fully turns into liquid.
- Light Corn Syrup: Along with the sugar, you’ll also use light corn syrup. Like the sugar, it sweetens the candy recipe. However, it’s essential to have both sweeteners because the corn syrup stops sugar crystals from forming, resulting in a smooth syrup-like mixture.
- Water: You’ll need 1 cup of water to mix with the corn syrup and granulated sugar. As you cook the hot candy mixture, the sugar dissolves into the water, and some the water cooks down to make a thickened, sweet mixture. It’s important to cook the mixture to the proper temperature so that the water cooks down.
- Food Coloring: You can add any color you like to hard candy, though it’s nice to pick colors that match your flavor of choice. Whichever color you’re using, only add a few drops of food coloring at a time. Mix in the food coloring, and add more as needed until you reach the desired color.
- Flavoring Ingredients: To flavor the homemade candy recipe, you can use strawberry extract, orange extract, or lemon extract. These are a great way to flavor the simple, homemade candy recipe. You can also add different extracts to make your favorite flavor combination.
Kitchen Tools & Equipment
- Baking Sheet: Grab a baking sheet with a 1-inch wall to hold and cool your candy. The wall is important so the liquid candy doesn’t spill over the side.
- Nonstick Cooking Spray: Make sure to prep your pan with an oil spray so that the Hard Candy doesn’t get stuck to the pan. You can also prep the pan by covering it with nonstick foil for ease.
- Large Dutch Oven: Use a large dutch oven that can handle the amount of liquid, and the boiling that will be going in inside the pot.
- Whisk: You will need a wire whisk to combine the ingredients and to whisk while your candy comes up to temperature.
- Candy Thermometer: The Candy Thermometer you use should be able to clip to the side of the dutch oven so you can watch the candy as it bubbles.
- Kitchen Mallet: Use your trusty kitchen mallet to break the candy into bite-sized pieces.
How to Make Hard Candy
Time needed: 1 hour and 30 minutes
- Prep Time
Get out a rimmed baking sheet with a 1-inch wall, and spray the baking sheet with vegetable oil spray.
- Mix Ingredients
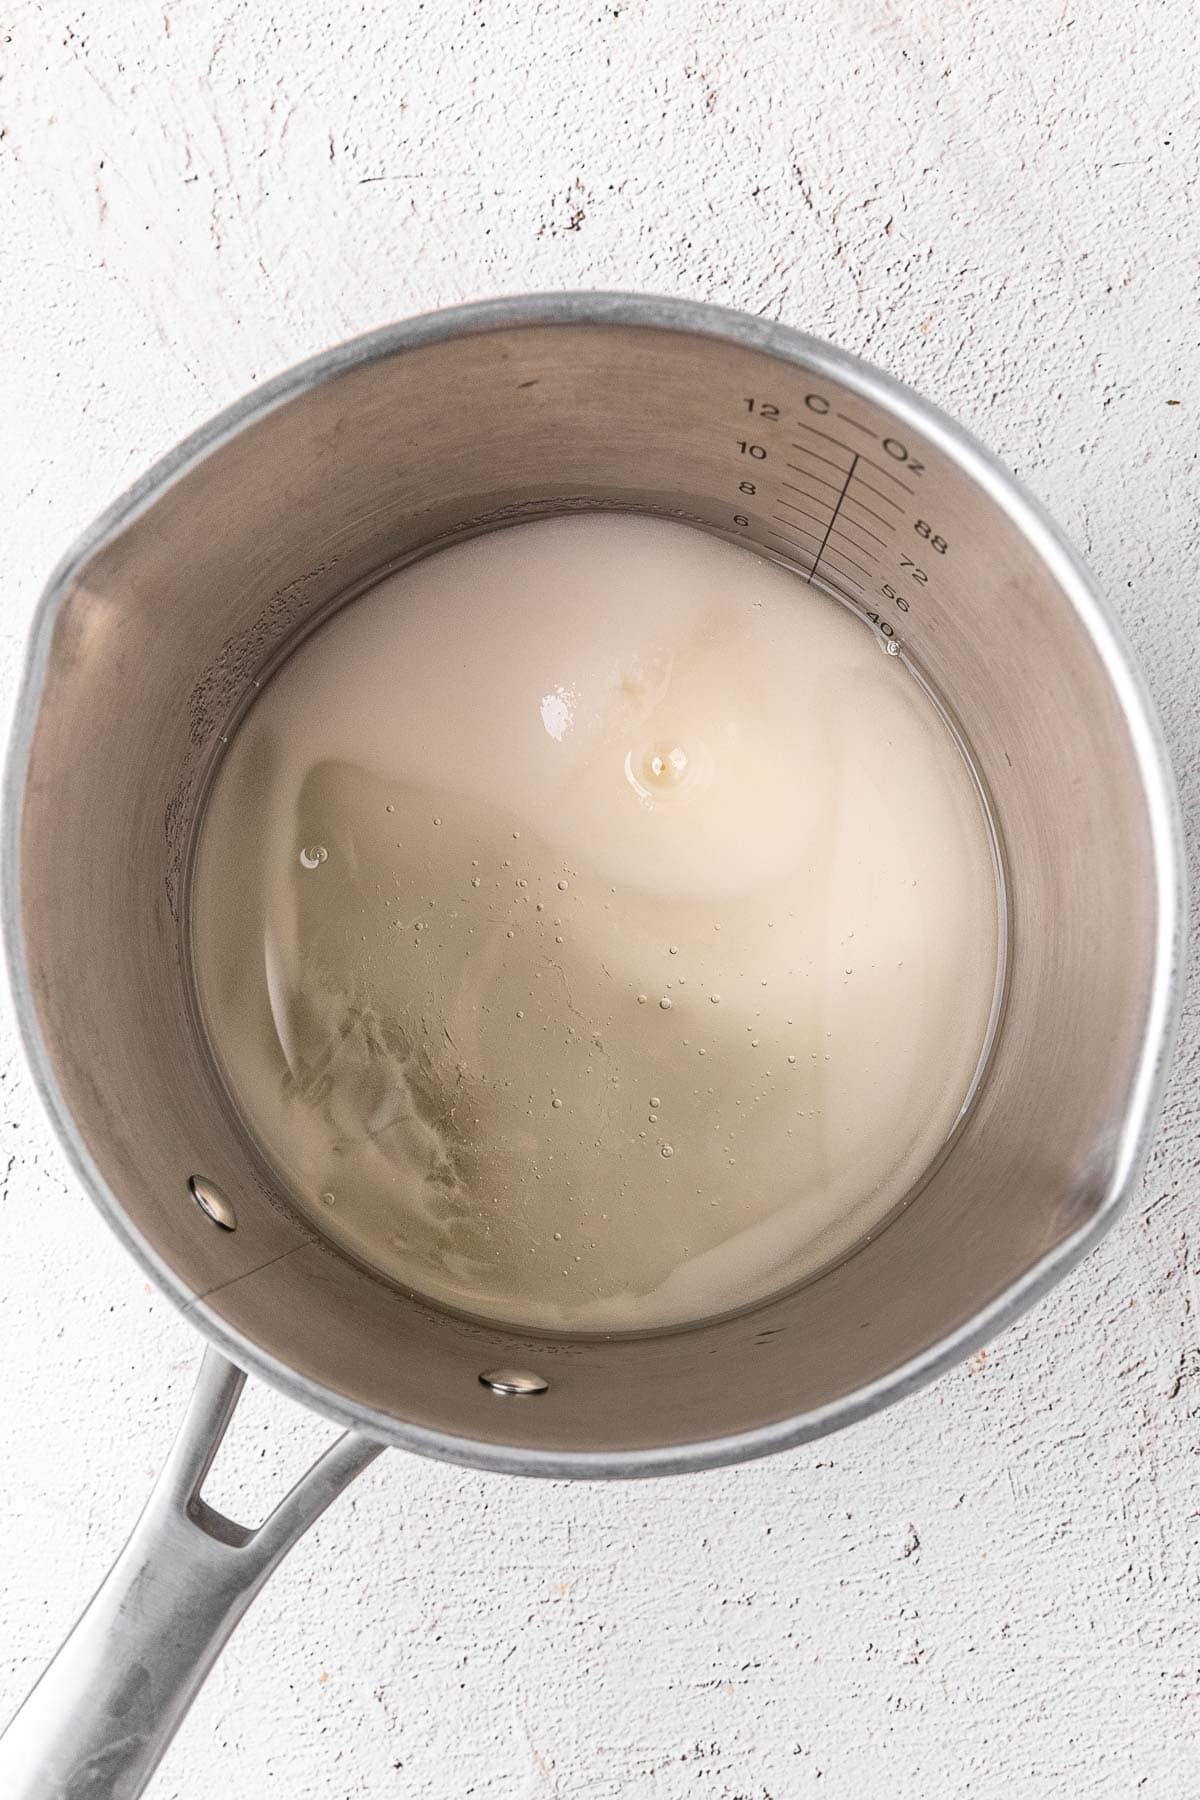
Add the granulated sugar, corn syrup, and water to a large dutch oven, and whisk well.
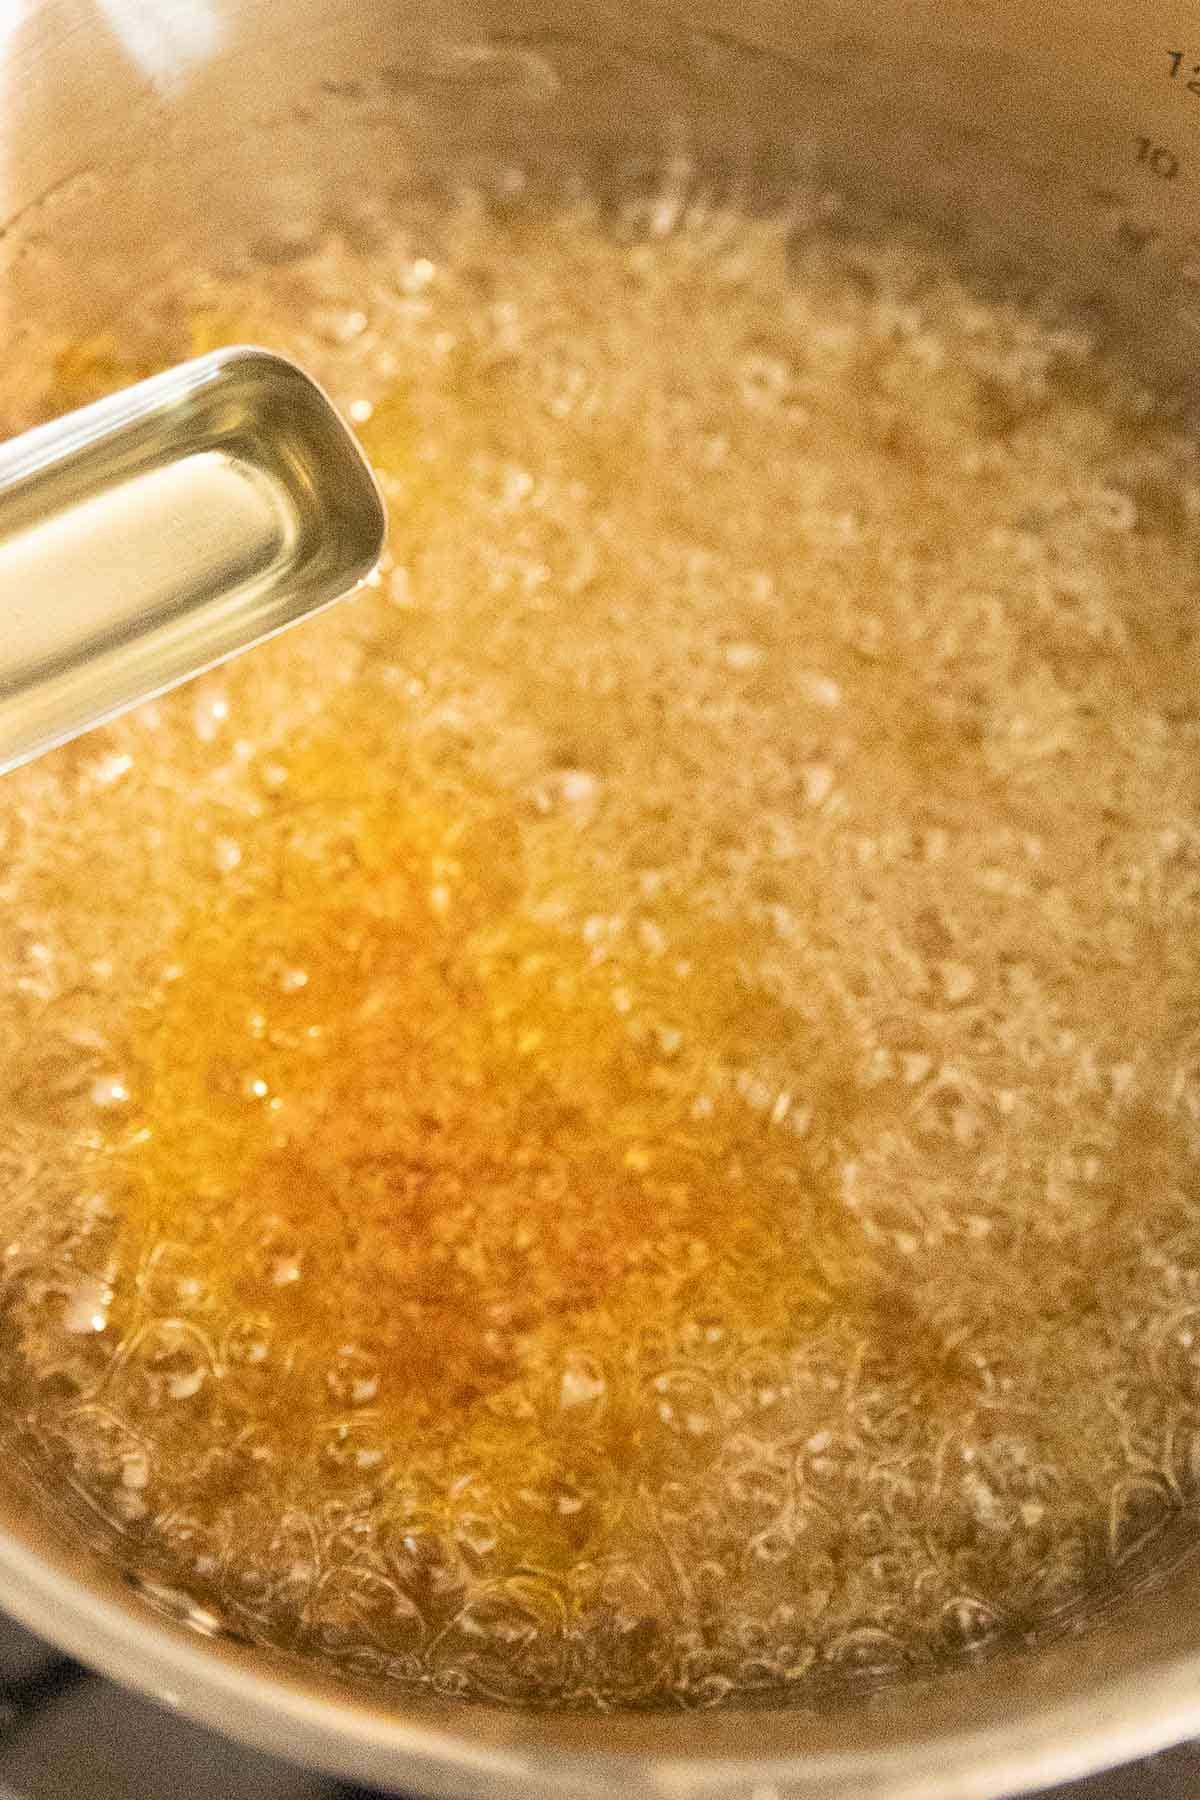
- Boil the Candy
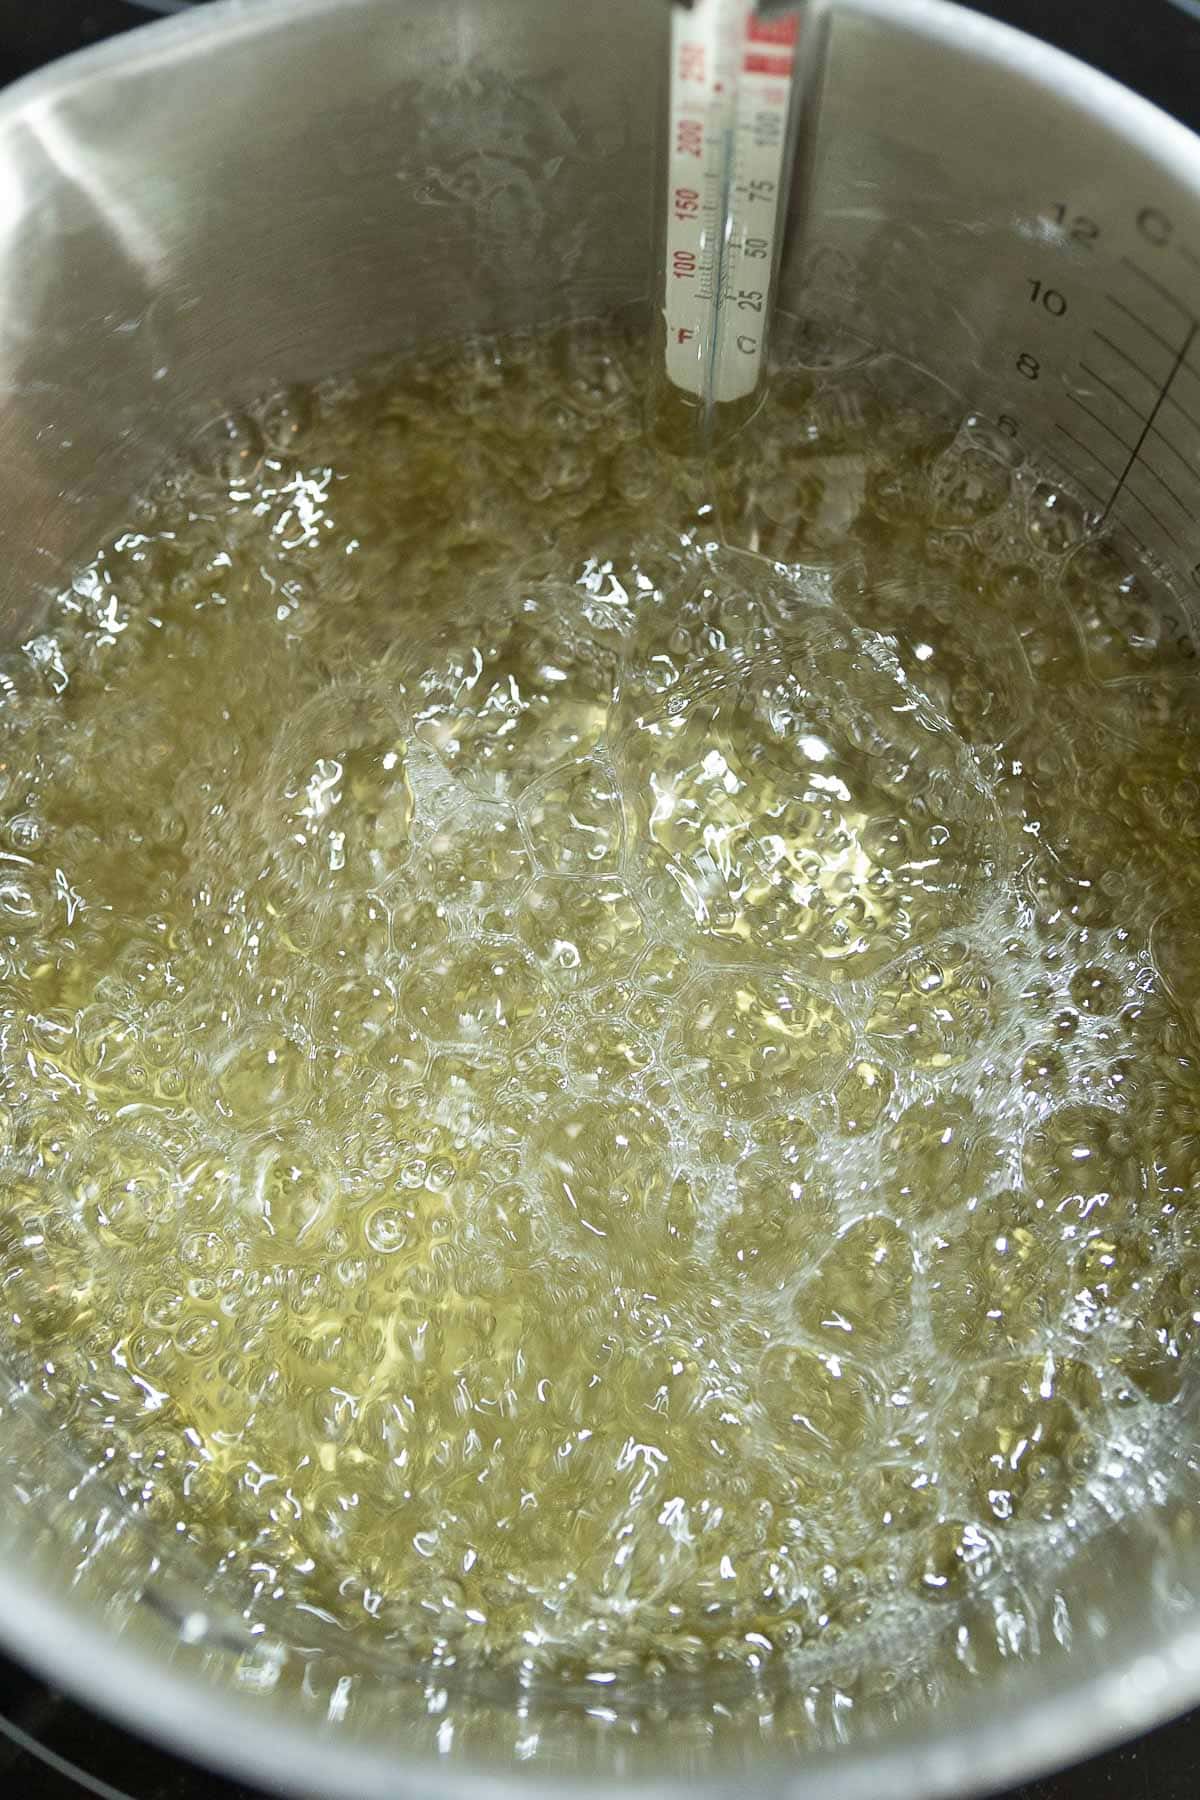
Turn the stovetop to medium heat as you continue whisking until it comes to a boil. Stop whisking once it starts boiling. Then bring the temperature of the syrup to between 300 and 310 degrees, using a candy thermometer to check the temperature. It will take about 20-30 minutes to come to the right temperature.
- Lemon Flavor
Remove the sugar mixture from the heat, and add your choice of flavoring and food coloring. For lemon candy, whisk in 1 tablespoon of lemon extract and ½ teaspoon of yellow food coloring.
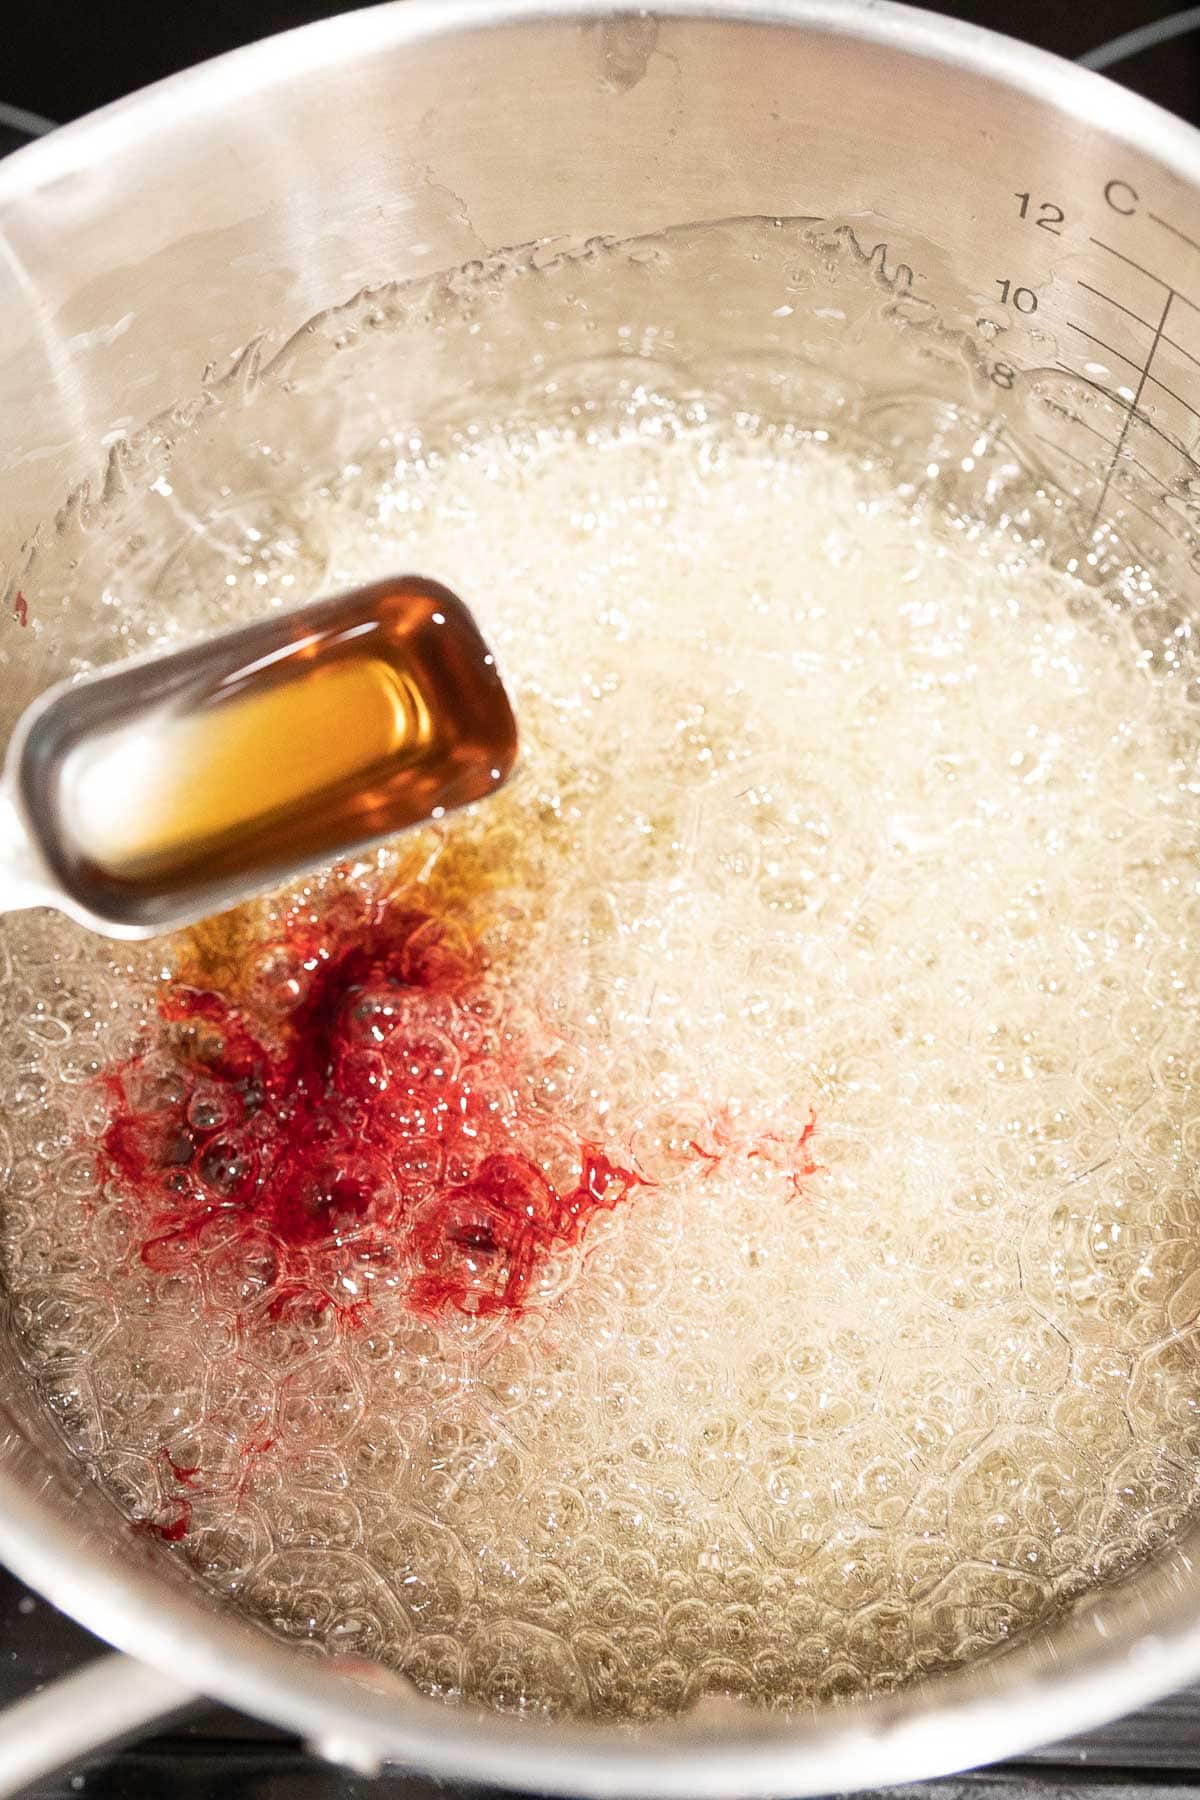
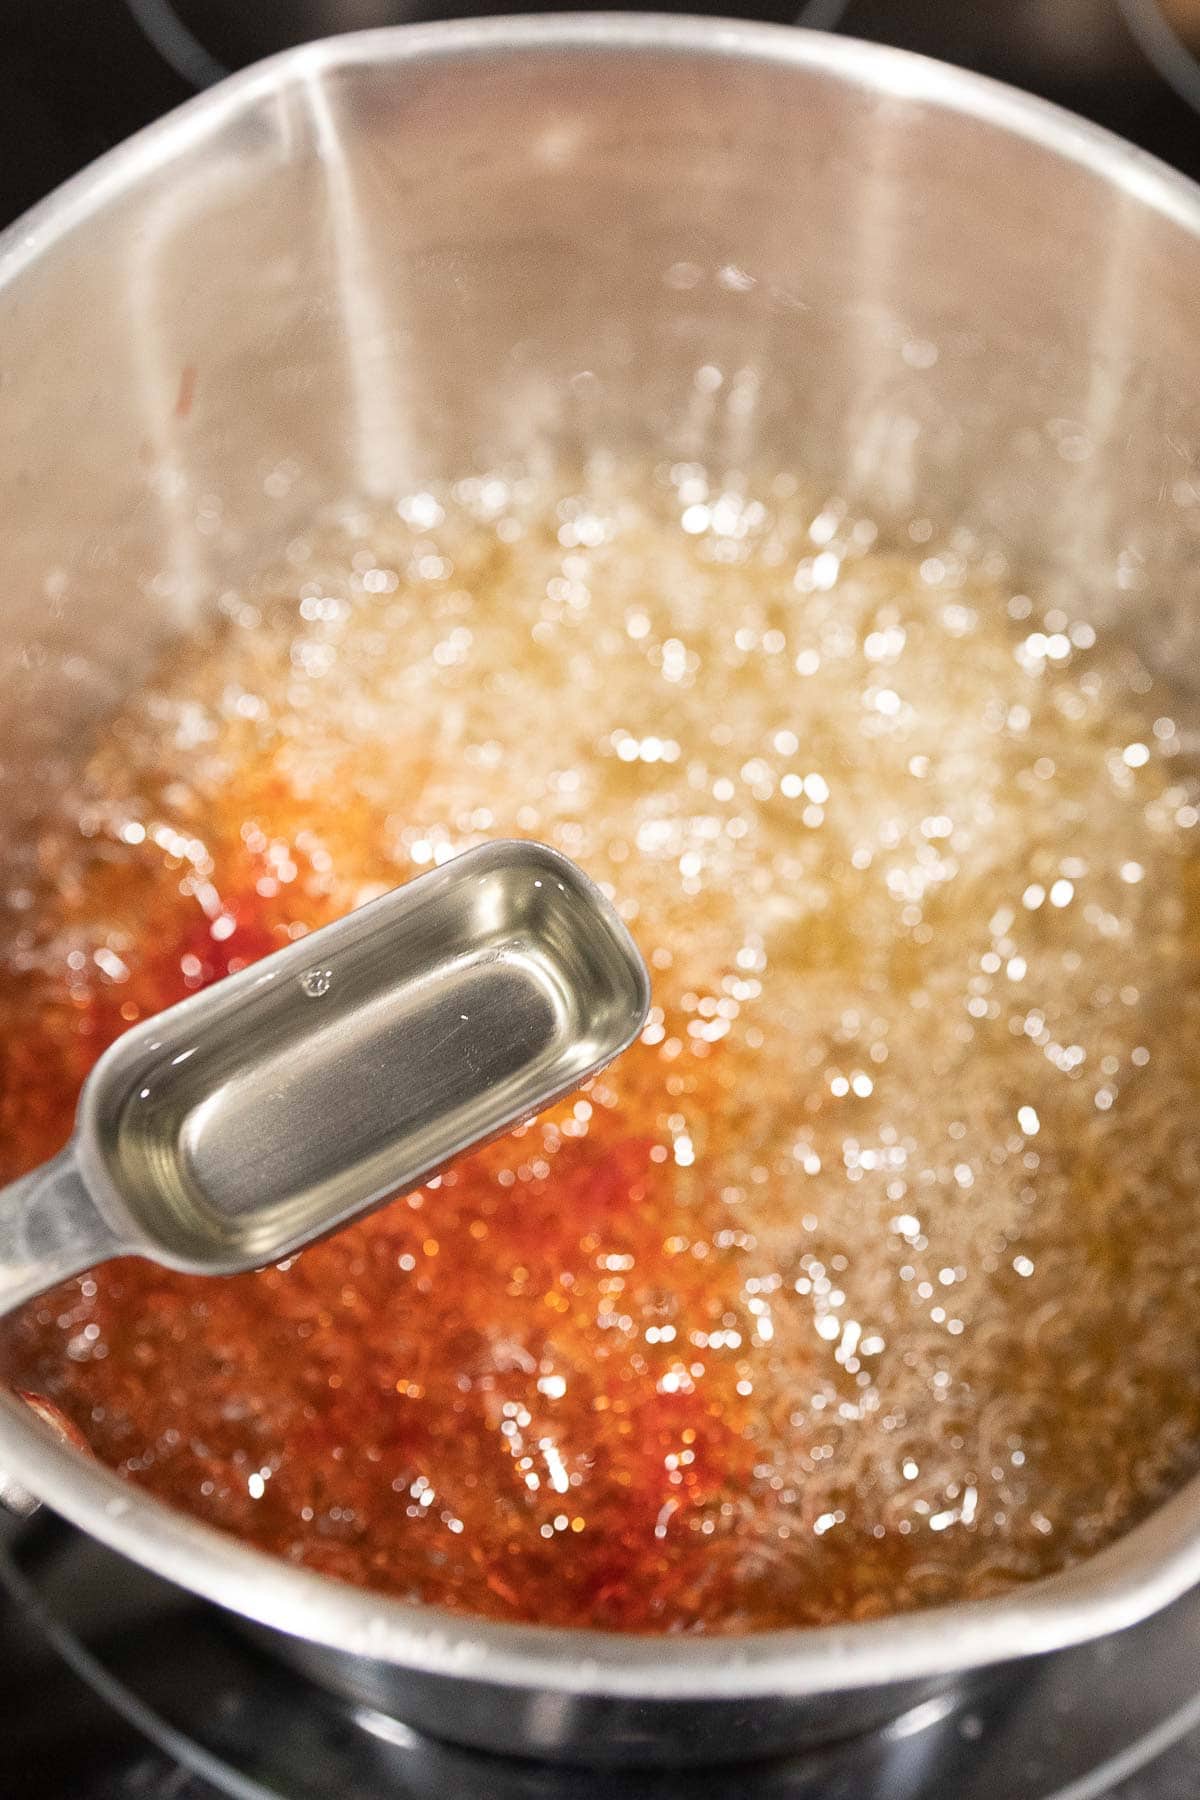
- Strawberry Flavor
Add 1 tablespoon of strawberry extract and ½ teaspoon of red food coloring to make Strawberry Candy. Stir until completely blended into the syrup mixture.
- Orange Flavor
Add 1 tablespoon of orange extract and ½ teaspoon of orange food coloring for orange hard candy. Stir until completely blended into the syrup mixture.
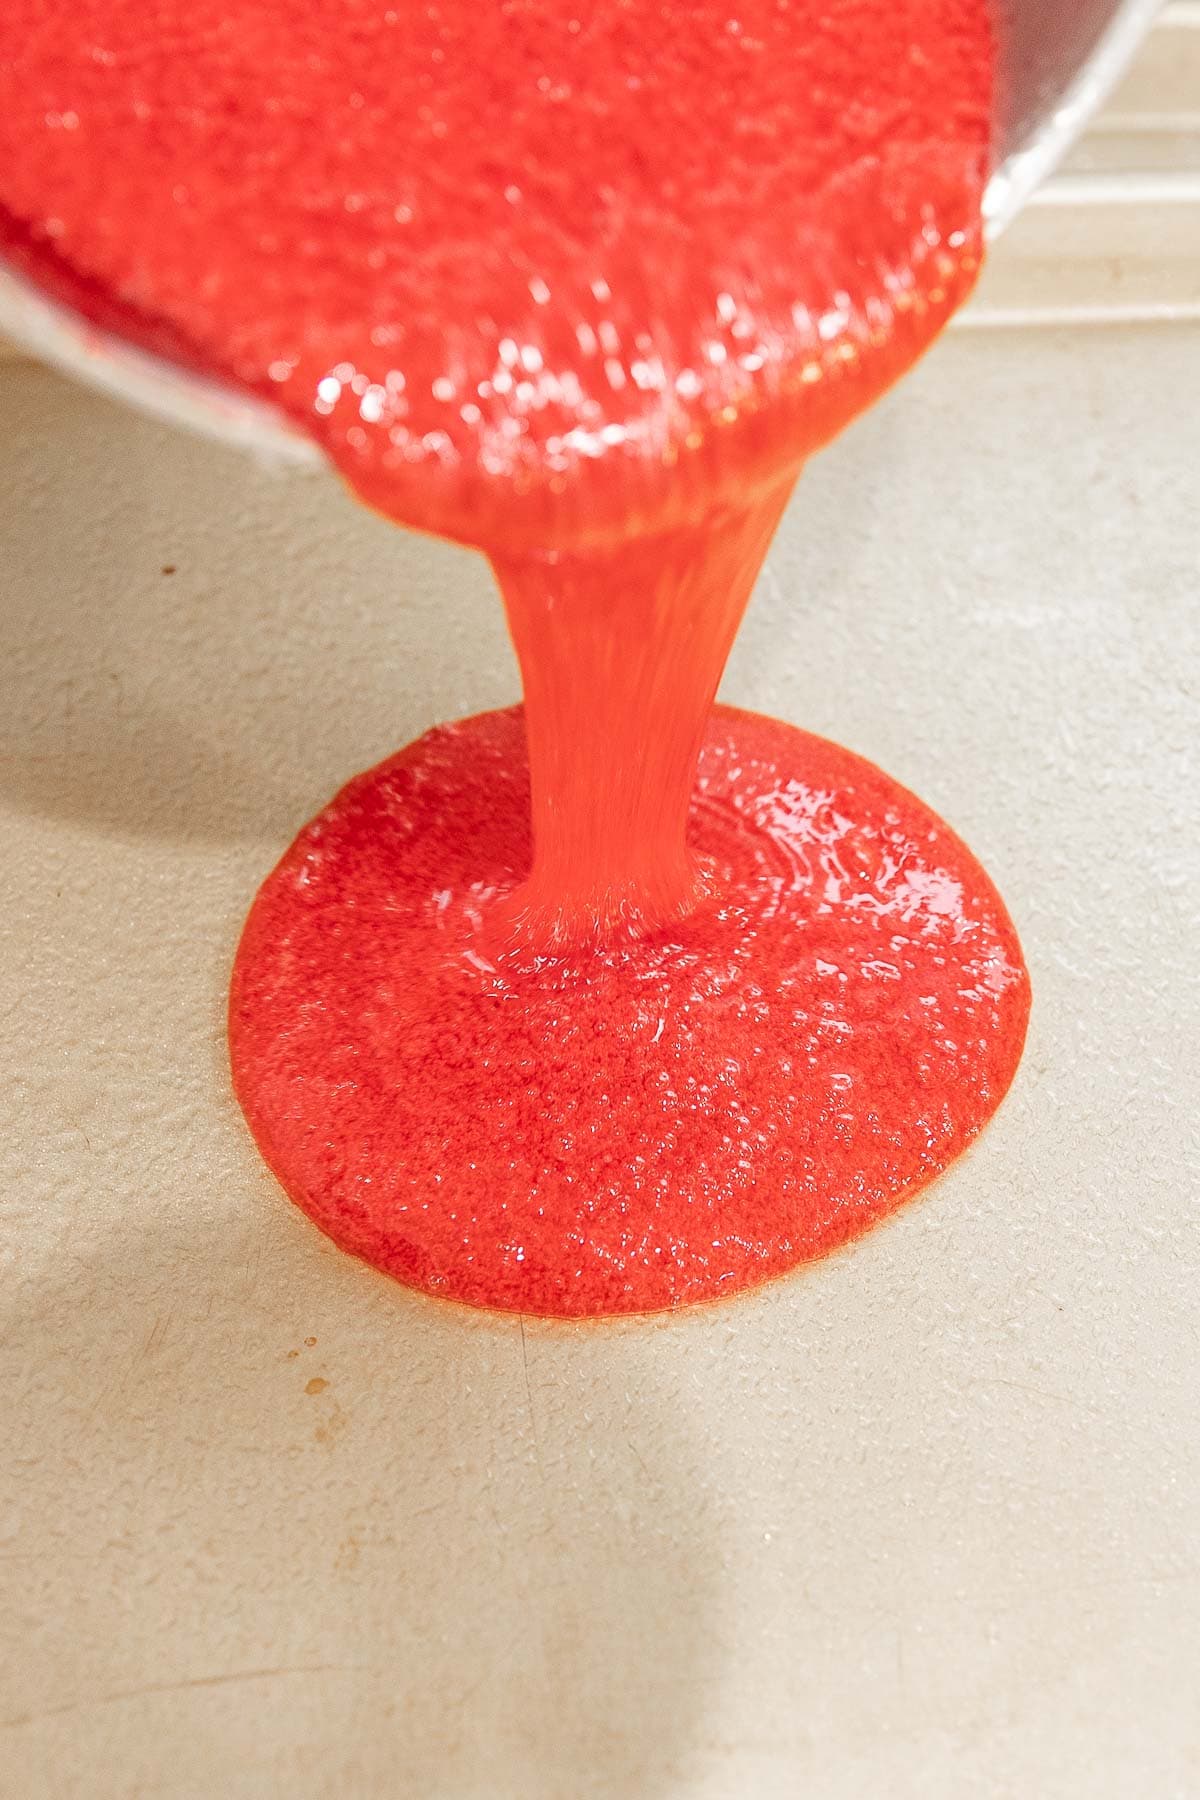
- Cool
Pour the candy mixture into the prepared baking sheet, and tilt the cookie sheet to spread the mixture evenly. Then dust powdered sugar over the top. Let the slab of candy cool for 1 hour. Use a kitchen mallet to break the hardened candy into bite-sized pieces. Remove from the pan into a candy bowl or jar and enjoy the homemade Hard Candy.
Nutritional Facts
Recipe Tips & Tricks
Get your old-fashioned Hard Candy just right with these helpful tips.
- Watch Temperature Carefully: The ability of your rock candy mixture to get to that crack stage all depends on the temperature it reaches. 300 to 310 degrees is essential. If the temperature is too cool, you will have a softer candy as a result.
- Whisking: It is essential to whisk continuously until your candy starts to boil. The sugar needs to be distributed evenly, and not clump in one spot as it comes up to temperature. Then it will be important for to stop whisking so your candy can crystalize properly.
How to Store Hard Candy
- Serve: Make sure to let the Hard Candy completely cool and harden before breaking them apart and serving.
- Store: To keep the candy fresh, place them in an airtight container and keep them stored in a dry, cool place. The candy pieces can stay good for 2-3 weeks.
- Freeze: You can also freeze this recipe. After breaking the candy into pieces, place them in a freezer bag or another freezer safe airtight container. The recipe can stay good frozen for up to 12 months. Then let the candy pieces thaw at room temperature until you’re ready to serve them.
Ideas to Serve Hard Candy
These are a great treat to give as a gift, or have around the house for a sweet tooth. Put them in small bags to give as gifts, housewarming presents, or add to snack baskets. Set some out in a bowl as a part of a dessert board, or even a sweet addition to an appetizer board. You can also enjoy them after dinner, similar to how you’d have Mints.
FAQs for Hard Candy
If your Hard Candy recipe isn’t staying solid, it’s likely because there’s too much liquid in the candy mixture. That’s why it’s important to cook the sugar mixture to 300 degrees, so most of the water cooks out. It’s also important to store the Hard Candy in a cool place. Otherwise, it can start to melt.
It should only take your candy syrup about 1 hour to harden to the crack stage. If after an hour, the candy slab is still sticky, it could be that the liquid never got hot enough. It could also be that your house is too warm. Try putting the pan in the fridge to see if the candy hardens at a cooler temperature.
Recipe Card
Ingredients
Lemon Candy:
- 3 3/4 cups sugar
- 1 1/2 cups light corn syrup
- 1 cup water
- 1 tablespoon lemon extract
- 1/2 teaspoon yellow food coloring
- 1/3 cup powdered sugar
Strawberry Candy:
- 3 3/4 cups sugar
- 1 1/2 cups light corn syrup
- 1 cup water
- 1 tablespoon strawberry extract
- 1/2 teaspoon red food coloring
- 1/3 cup powdered sugar
Orange Candy:
- 3 3/4 cups sugar
- 1 1/2 cups light corn syrup
- 1 cup water
- 1 tablespoon orange extract
- 1/2 teaspoon red food coloring
- 1/3 cup powdered sugar
Instructions
- Spray a baking sheet with a 1-inch wall with vegetable oil spray.
- In a large dutch oven add sugar, corn syrup, and water and whisk well.
- On medium heat, keep whisking until it comes to a boil.
- Do not whisk any further, bring to a temperature between 300 and 310 degrees using a candy thermometer.
- This will take 20-30 minutes.
- Remove from heat, add in extract and food coloring, stirring well until the color is completely mixed in.
- Pour the candy into the baking sheet and tilt to spread evenly.
- Dust powdered sugar over the top.
- Let cool for 1 hour.
- Break candy apart into bite sized pieces.
Nutrition
Want to save this recipe? Create a free account to easily save your favorite recipes
Hard Candy Variations
- Candy Shapes: This is more of free-form candy recipe, where you’ll break the candy into broken glass type shapes. To make Hard Candy into different shapes, you can pour the hot sugar mixture into candy molds of your choice. You should be able to get candy molds at a baked goods store. Just make sure to get heat safe candy molds. Otherwise, the hot mixture can melt the molds.
- Lime Candies: You can try this simple candy recipe with a lot of different flavor ingredients. Another easy one to try is lime. Add 1 tablespoon of lime extract and ½ teaspoon of green food coloring to the sugar syrup mixture. Stir the mix-ins in carefully. You can always add a couple more drops of food coloring as needed to get the desired color.
- Cinnamon Candies: If you like a sweet and spiced flavor, then try making Hard Candy with cinnamon flavor. Use 1 teaspoon of cinnamon oil to flavor the candy. If you like a hotter flavor, you could do 1 ½ teaspoons. Just keep in mind that the flavoring oil is quite strong. Mix in the teaspoon of flavoring and red food coloring for a delicious old fashioned candy recipe.
- Toppings: Instead of topping the candies with powdered sugar, you could sprinkle large-grain sanding sugar, sprinkles, or lime or lemon zest. Sprinkle any toppings you’d like over the candy before it hardens so that it sticks to the surface.
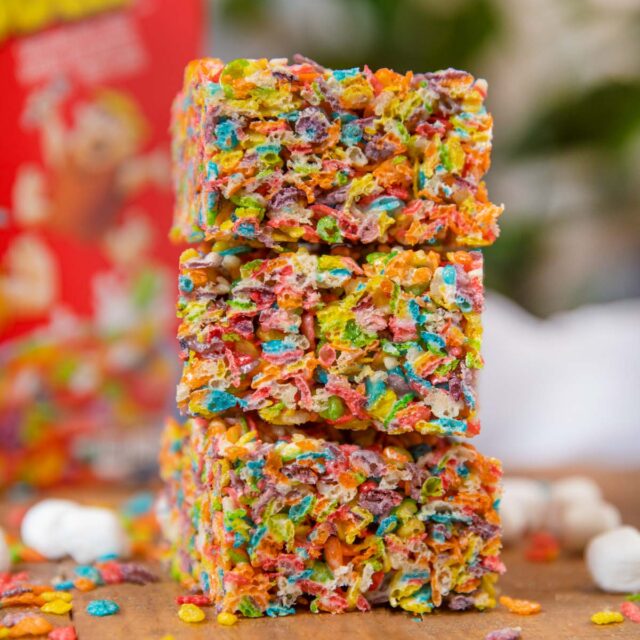
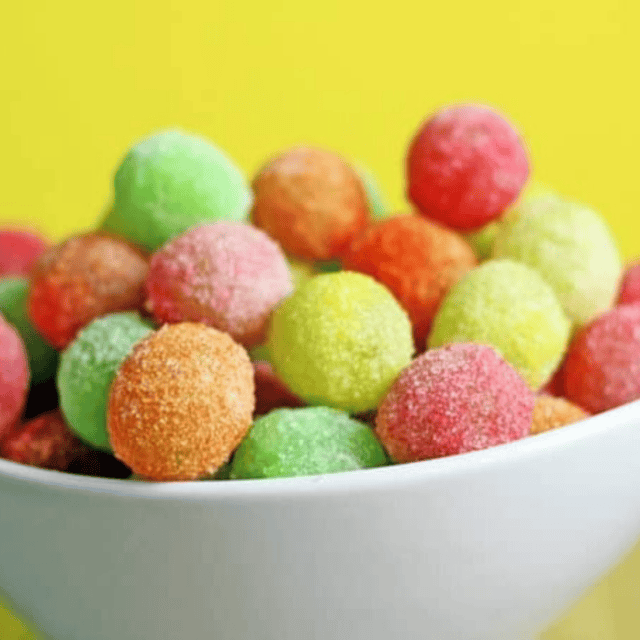
Kid-Friendly Treats


can you make it without a dutch oven?
You’ll need a heavy duty thick walled pan for the high heat.
I made a double batch of lemon and added an extra teaspoon od lemon flavor, it doesn’t taste like lemon…is there a way to fix it
hmm…that’s something I will have to experiment with. I wonder if adding citric acid would’ve helped. Putting it on my list for the test kitchen recipes!
Maybe add 2 tablespoons of flavoring for a double batch