
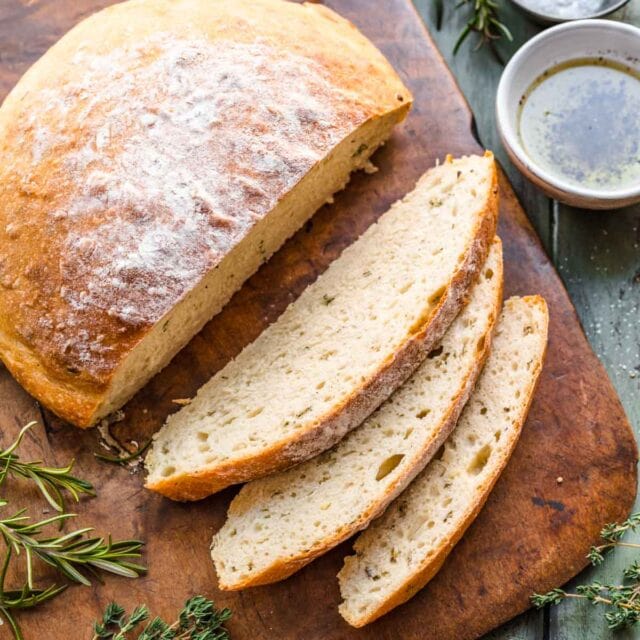
Hearty Italian Bread is an easy recipe for beginning bakers to follow to get perfectly, filling bread with a crisp crust. Check it out!
Italian Bread is an irresistible bread recipe that is surprisingly easy to make! There’s no need for a bread machine or any other fancy equipment. You only need a stand mixer and basic pantry ingredients. The recipe does take some time since you need to let the soft dough rise. However, the hands-on prep is relatively easy and not at all time-consuming. Once it’s done, you’ll have wonderfully airy, crusty bread that you can use in a variety of ways.
Try toasting the bread slices and brushing a little olive oil over the top to make it the perfect bread option to serve with a Spaghetti Dinner. We also love having buttered slices of Hearty Italian Bread on the side of comforting dinners like Beef Stroganoff and Italian Wedding Soup. Or, cut the loaves lengthwise and use them for meatballs subs. It’s a perfect addition to your Easter brunch!
Why Make Italian Bread at Home
Baking Italian Bread with your own hands in your own kitchen is truly a special experience. The fresh, warm aroma of homemade bread filling your kitchen and the satisfaction of creating something so hearty and flavorful from scratch are unbeatable. Plus, you’ll have full control over the ingredients! Not to mention that homemade bread will impress your family and guests!
Images: How to Make
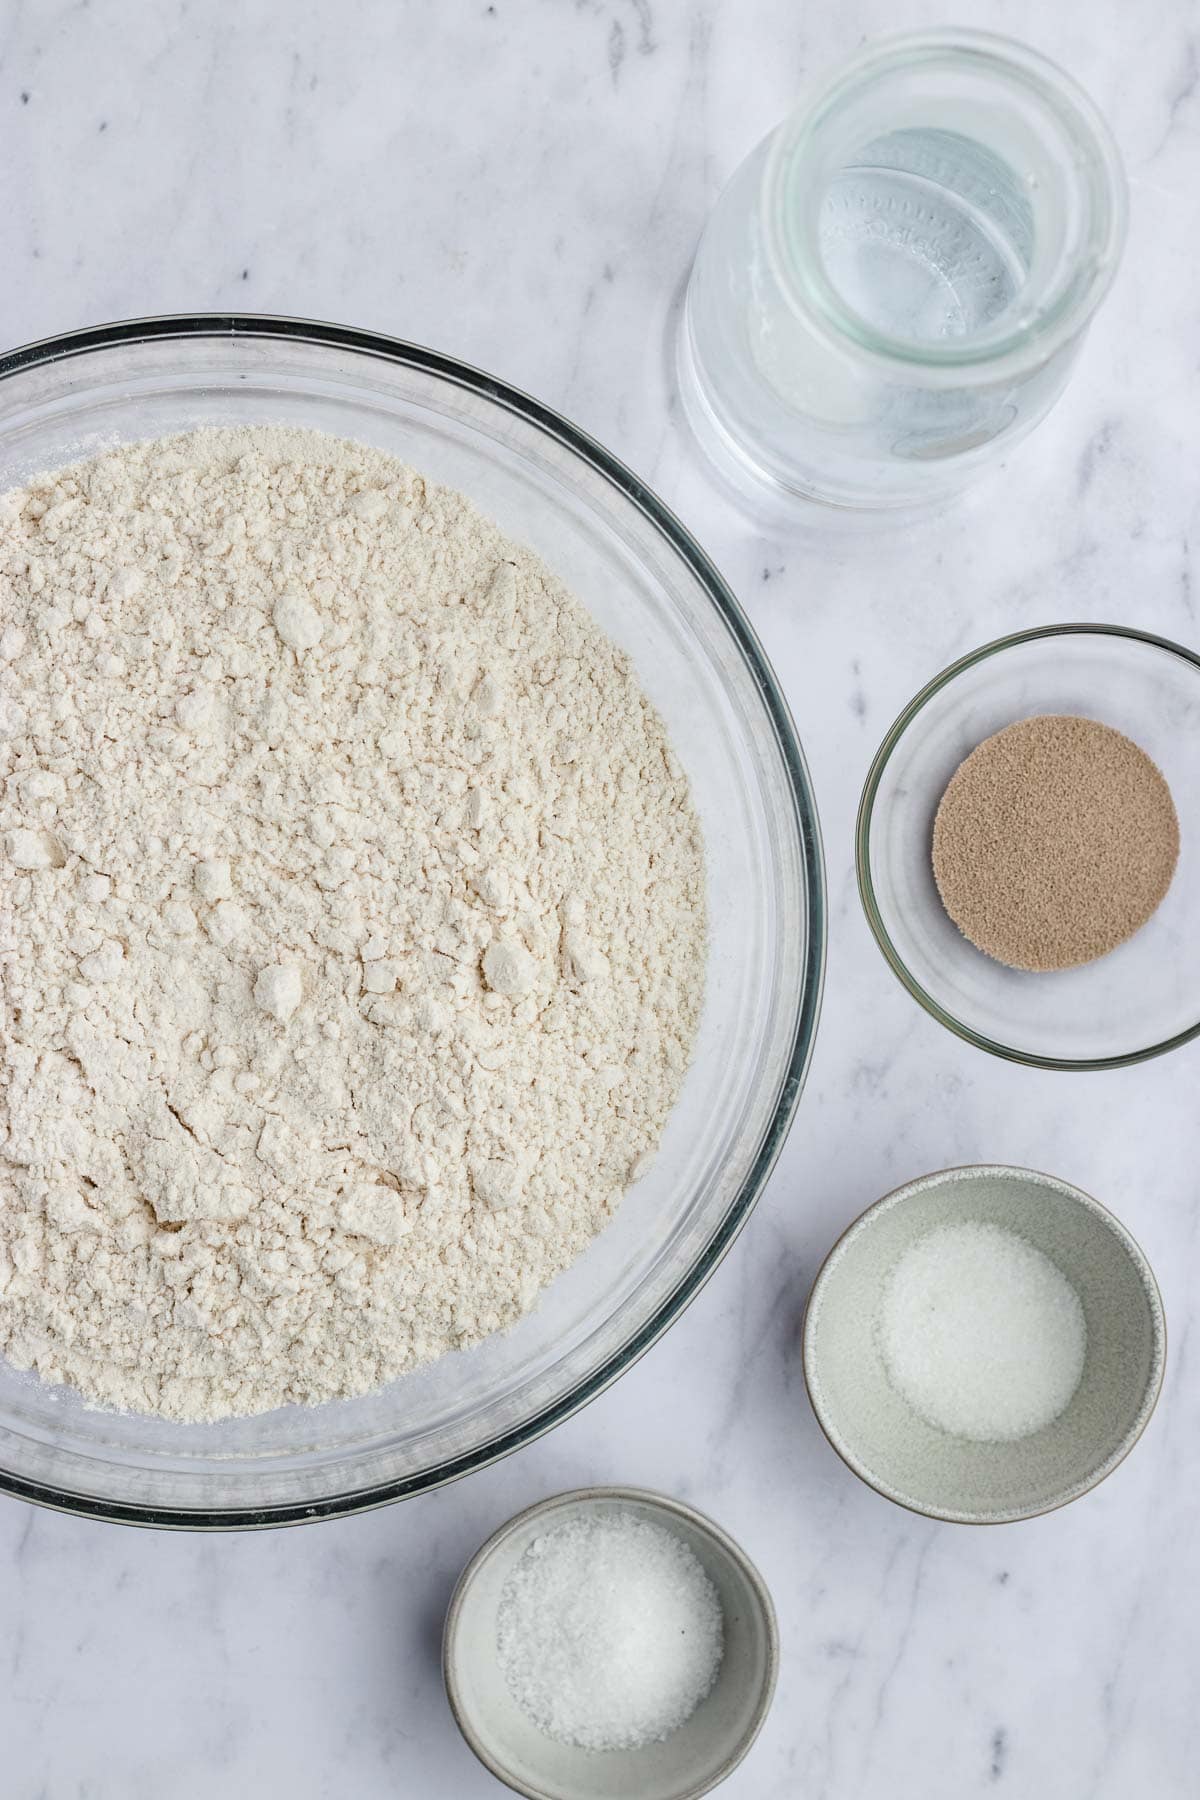
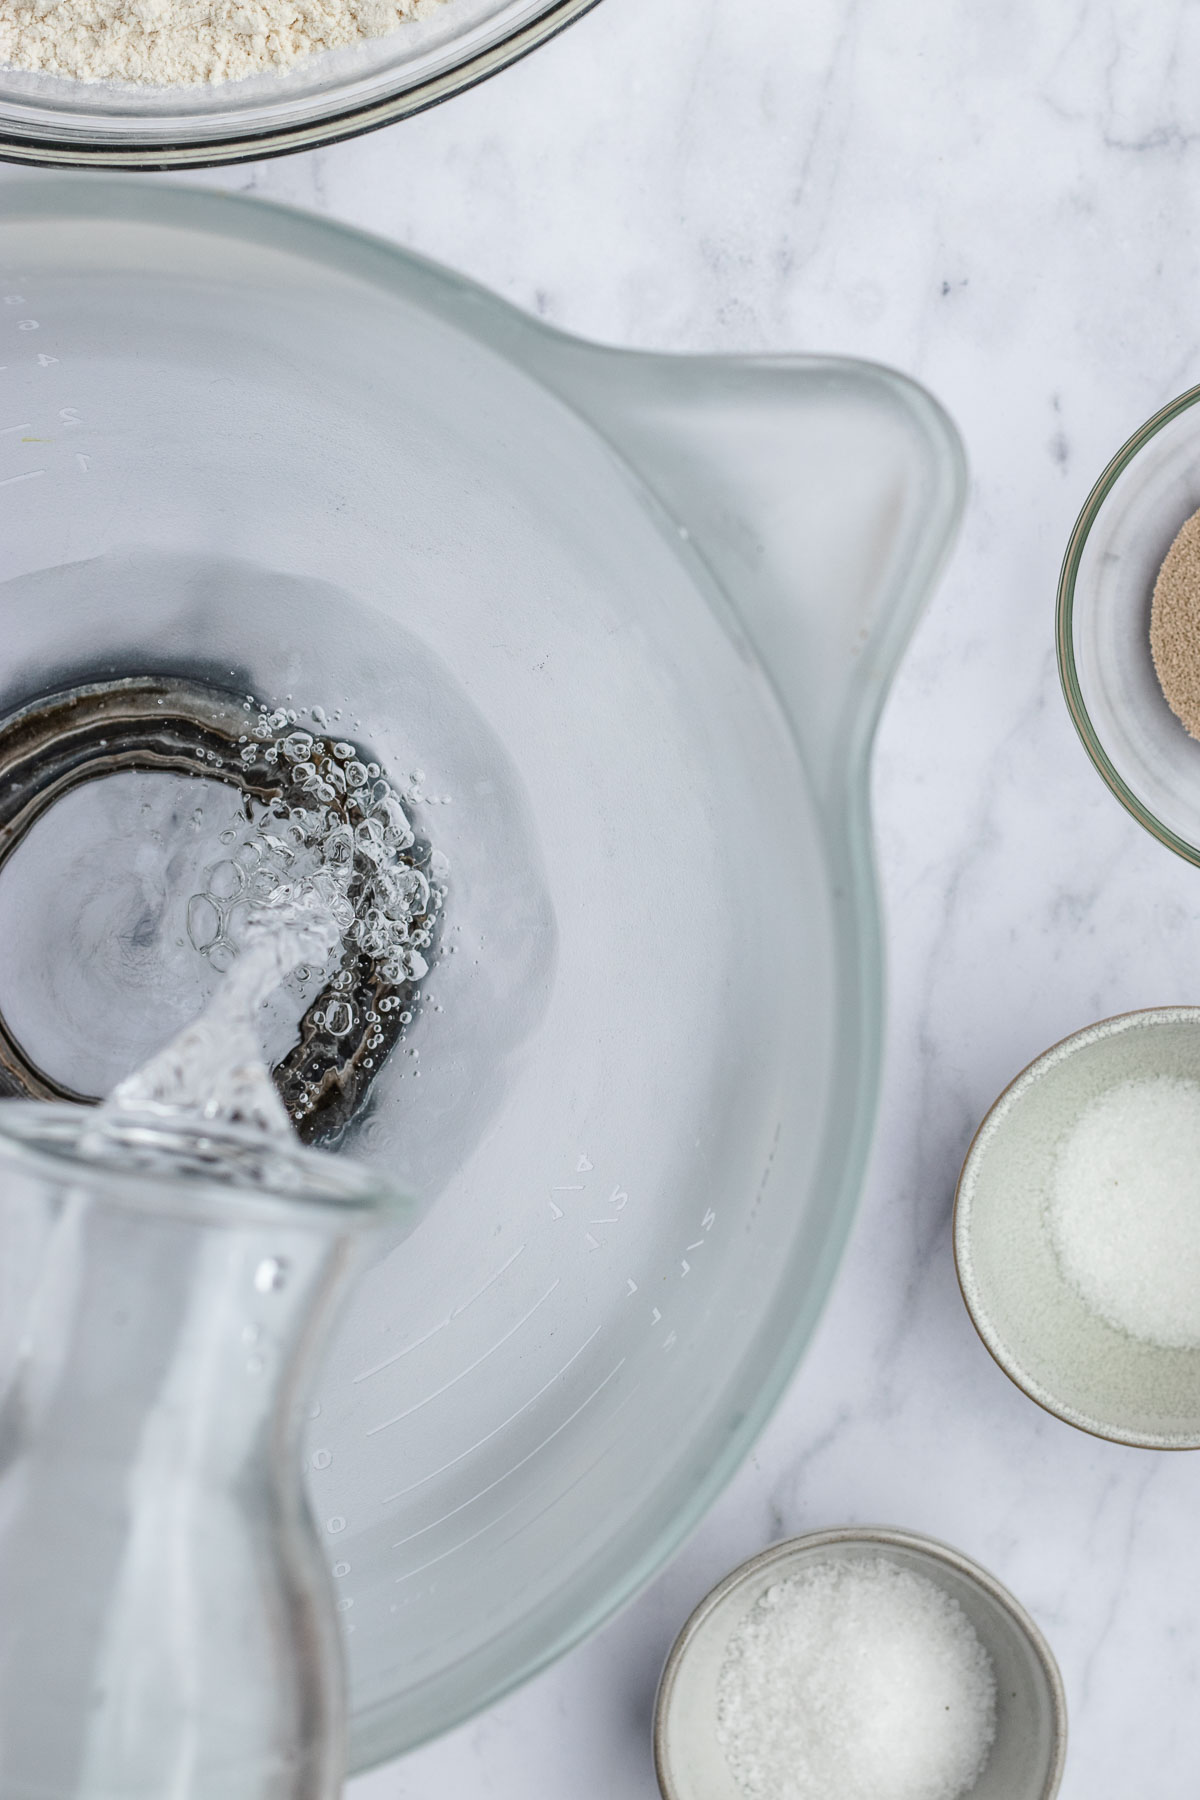
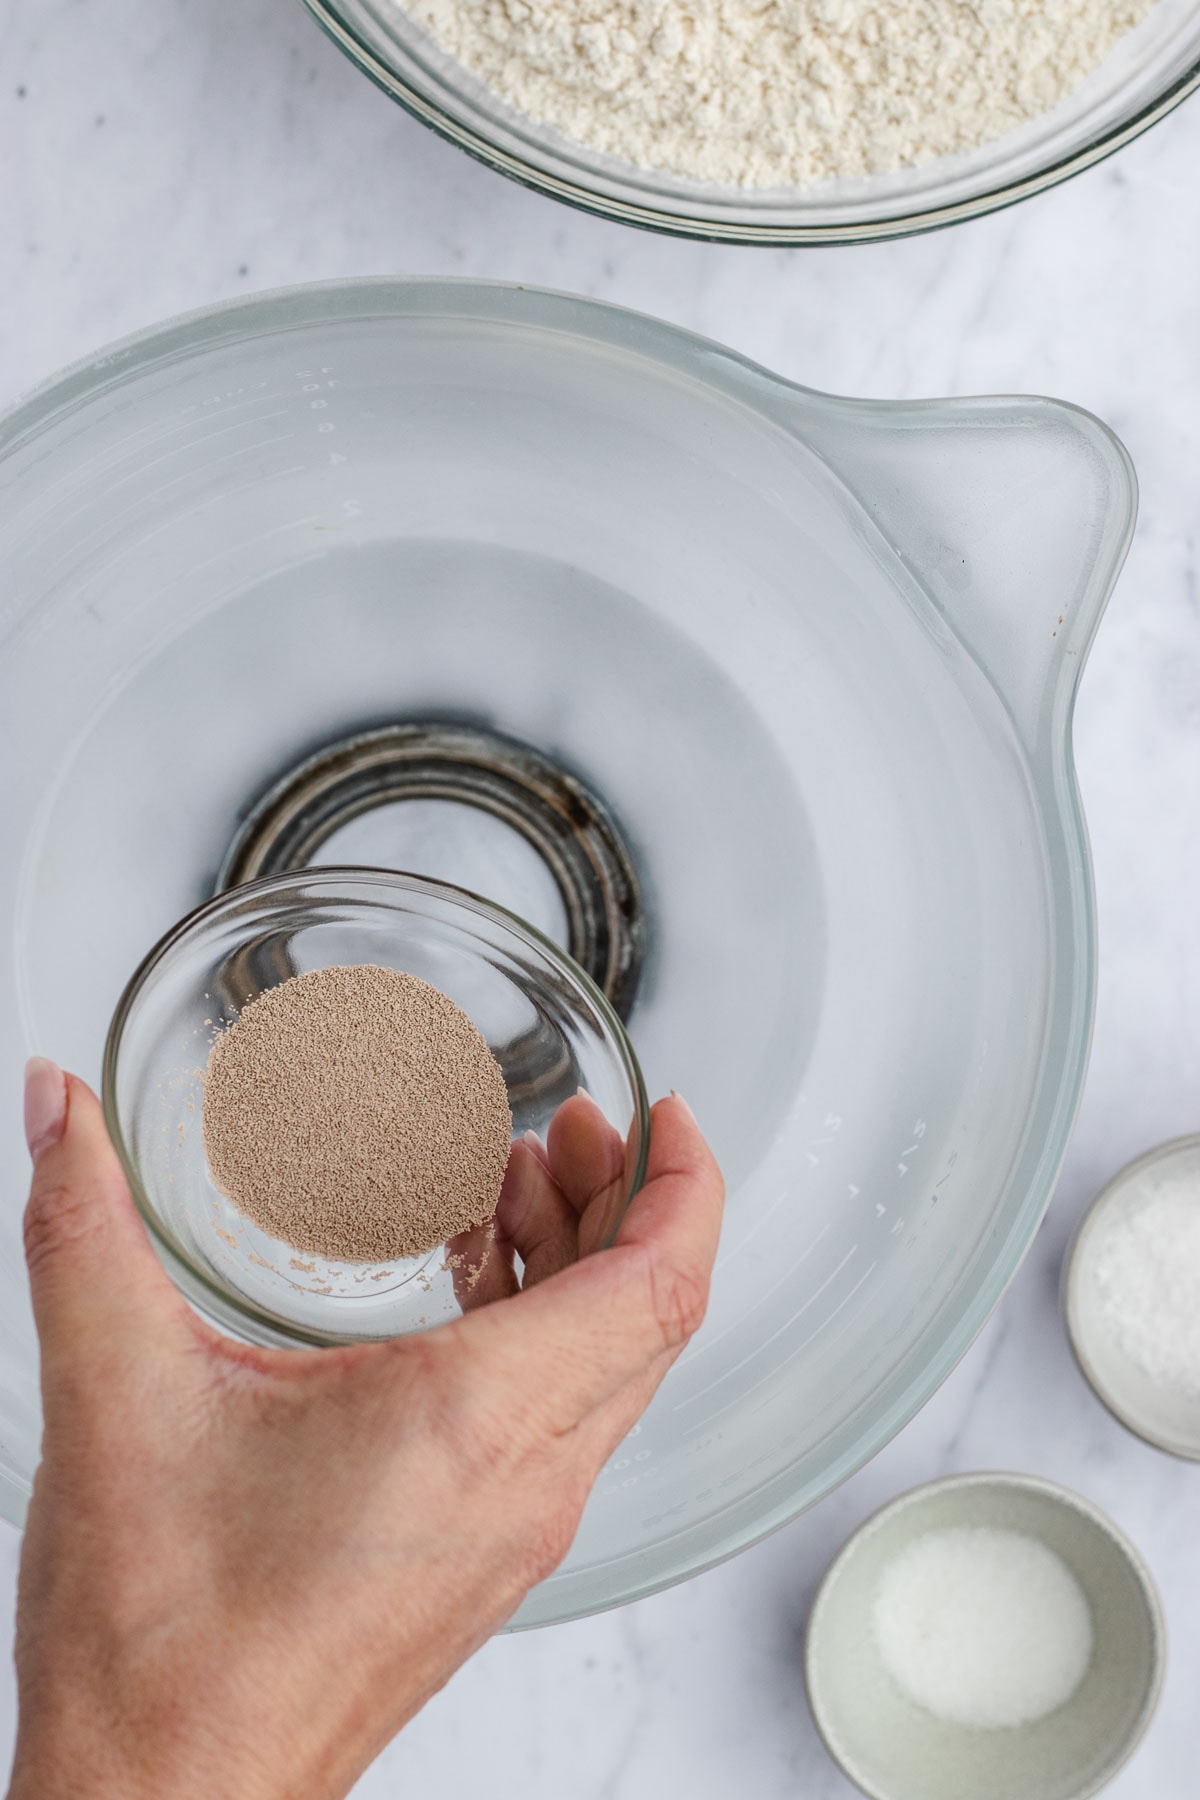
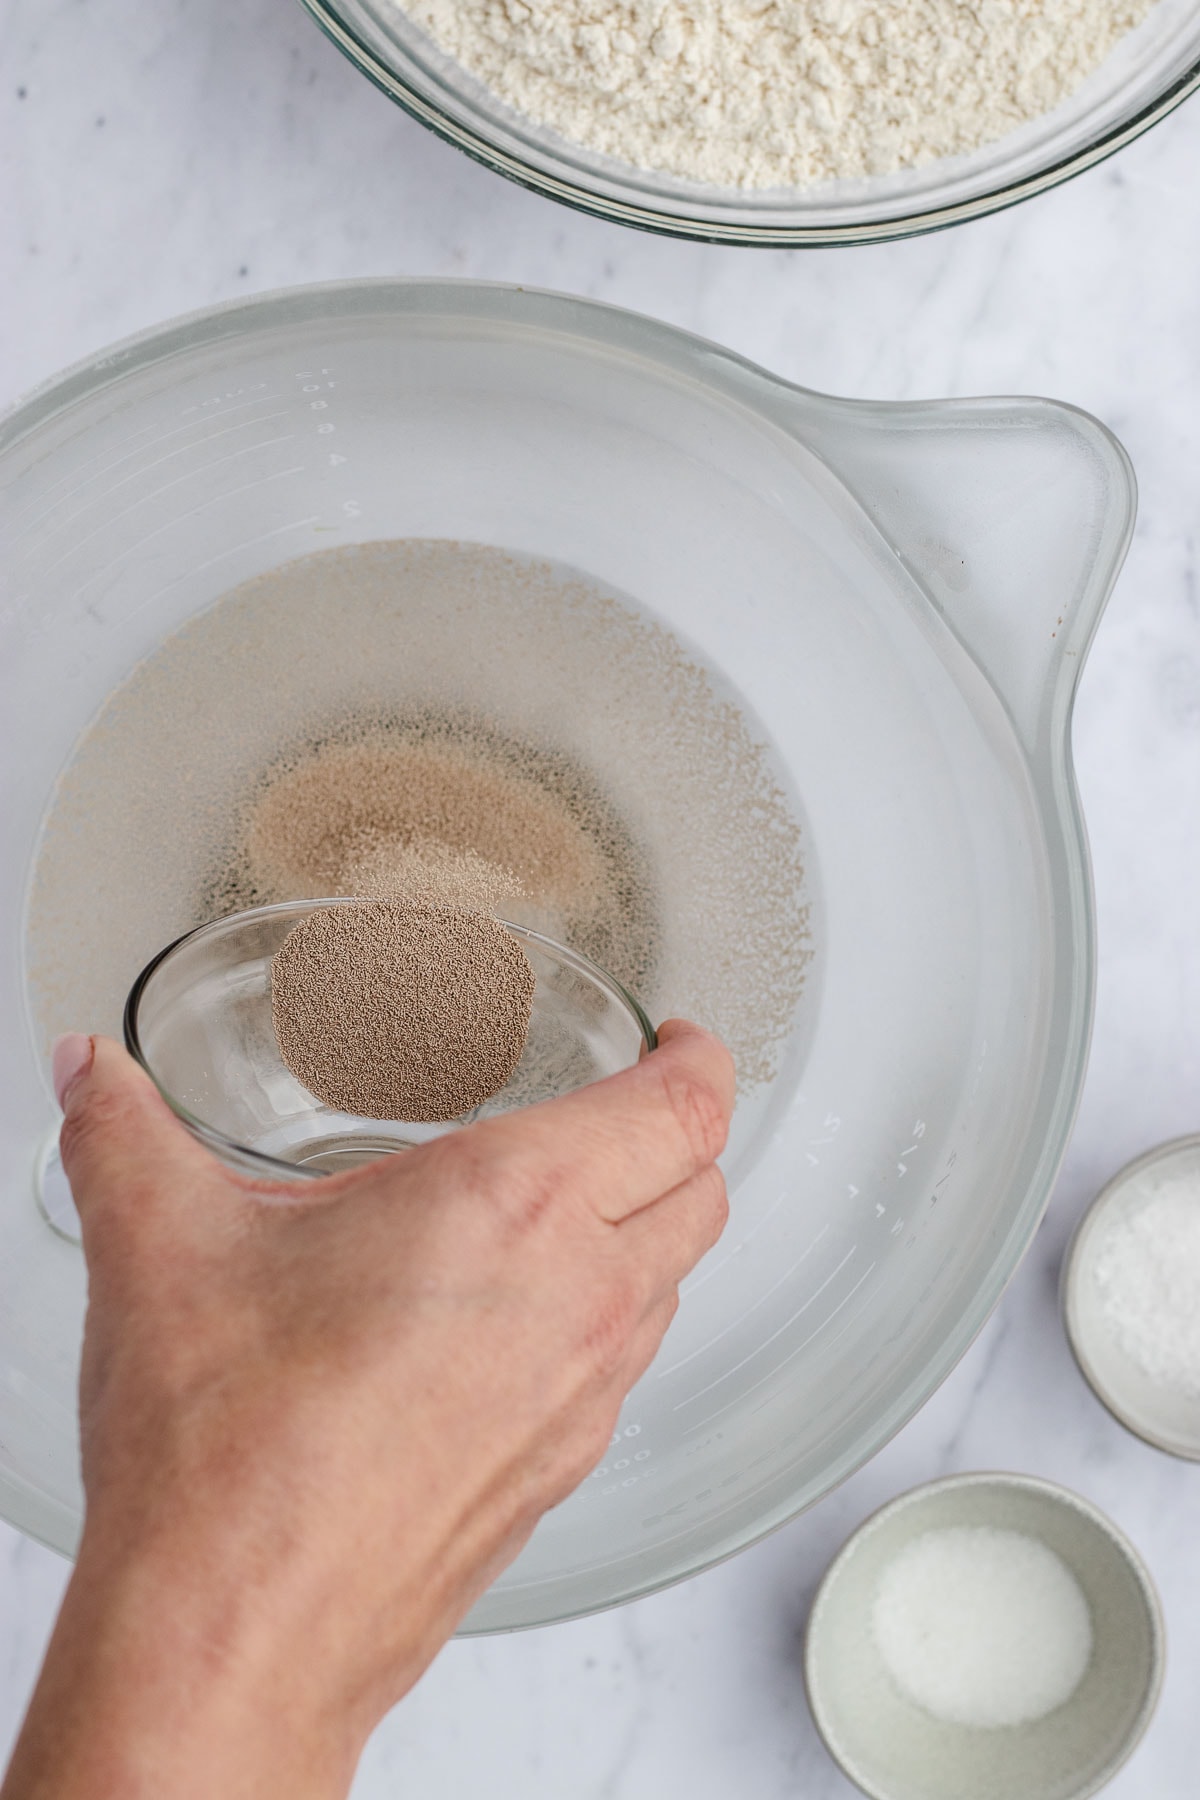
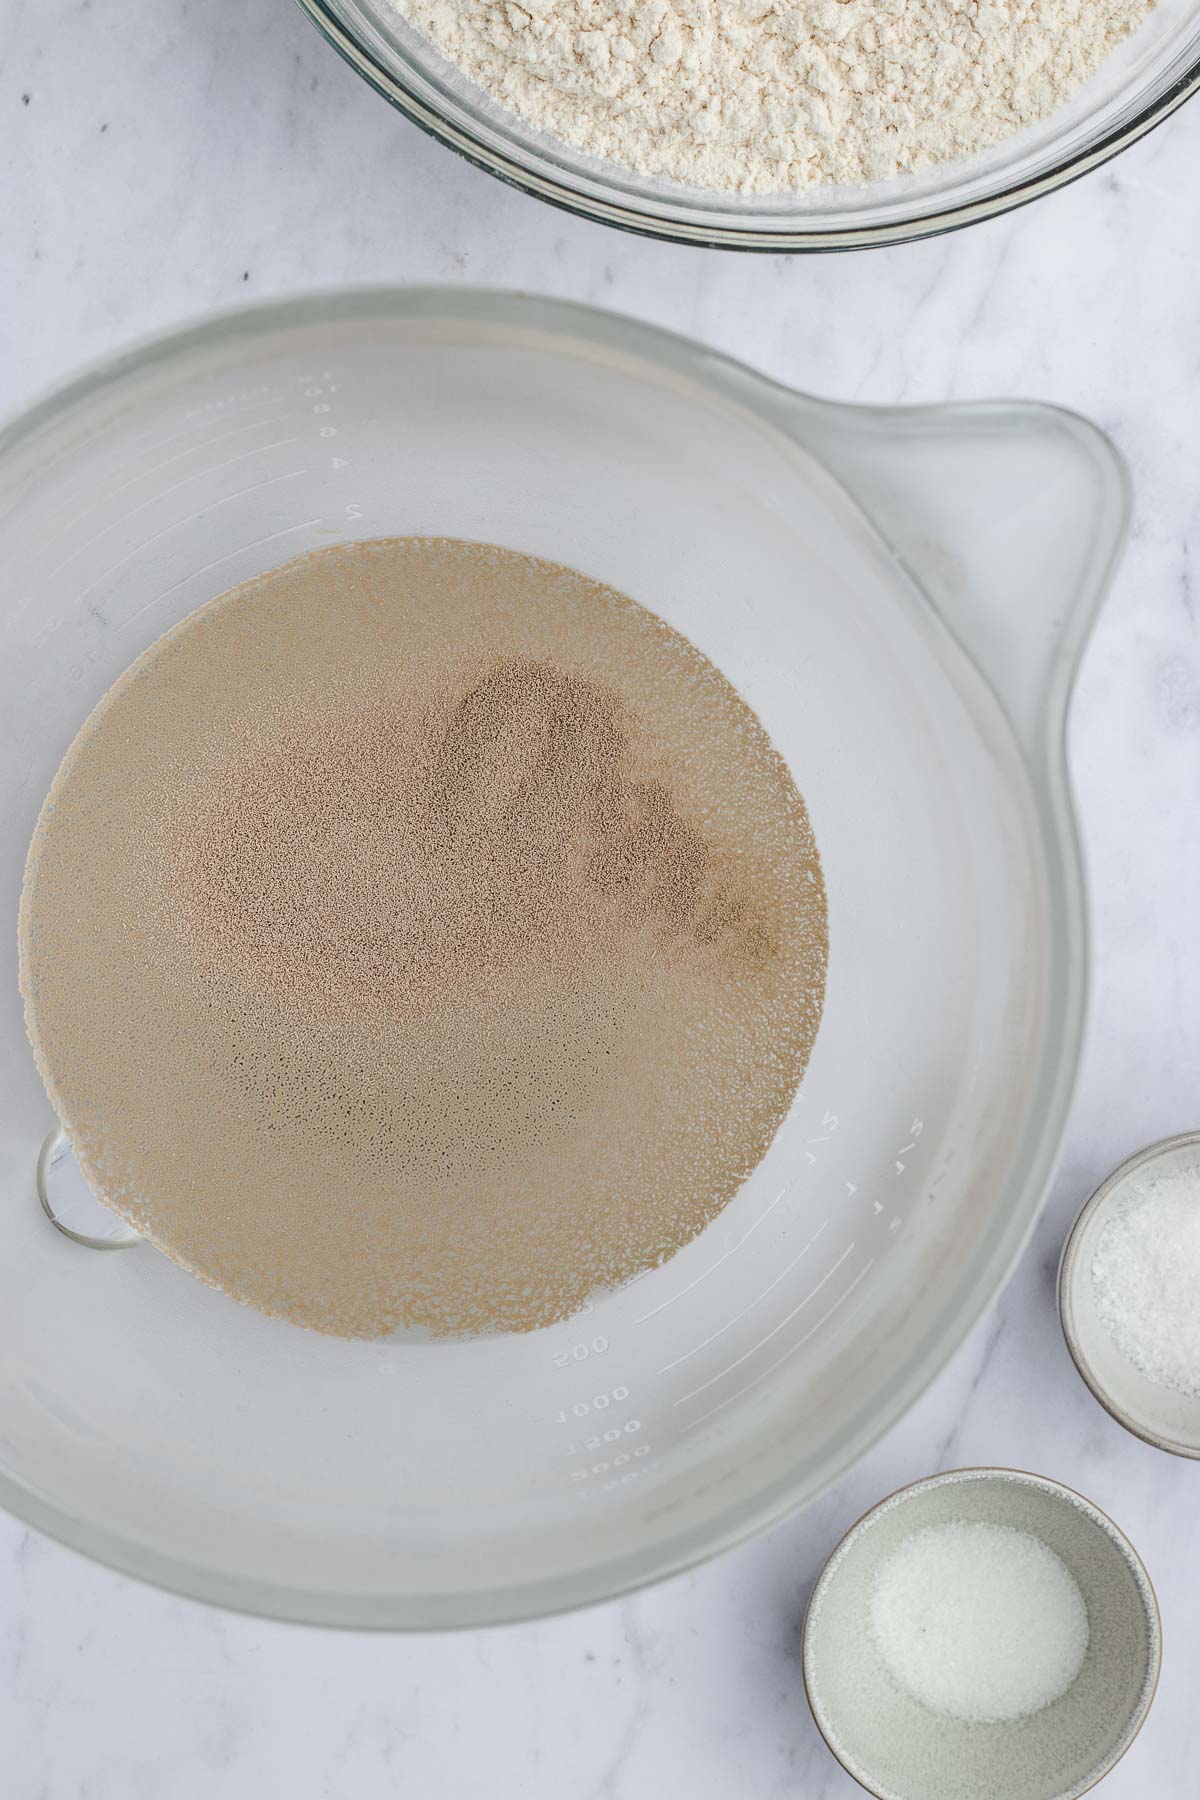
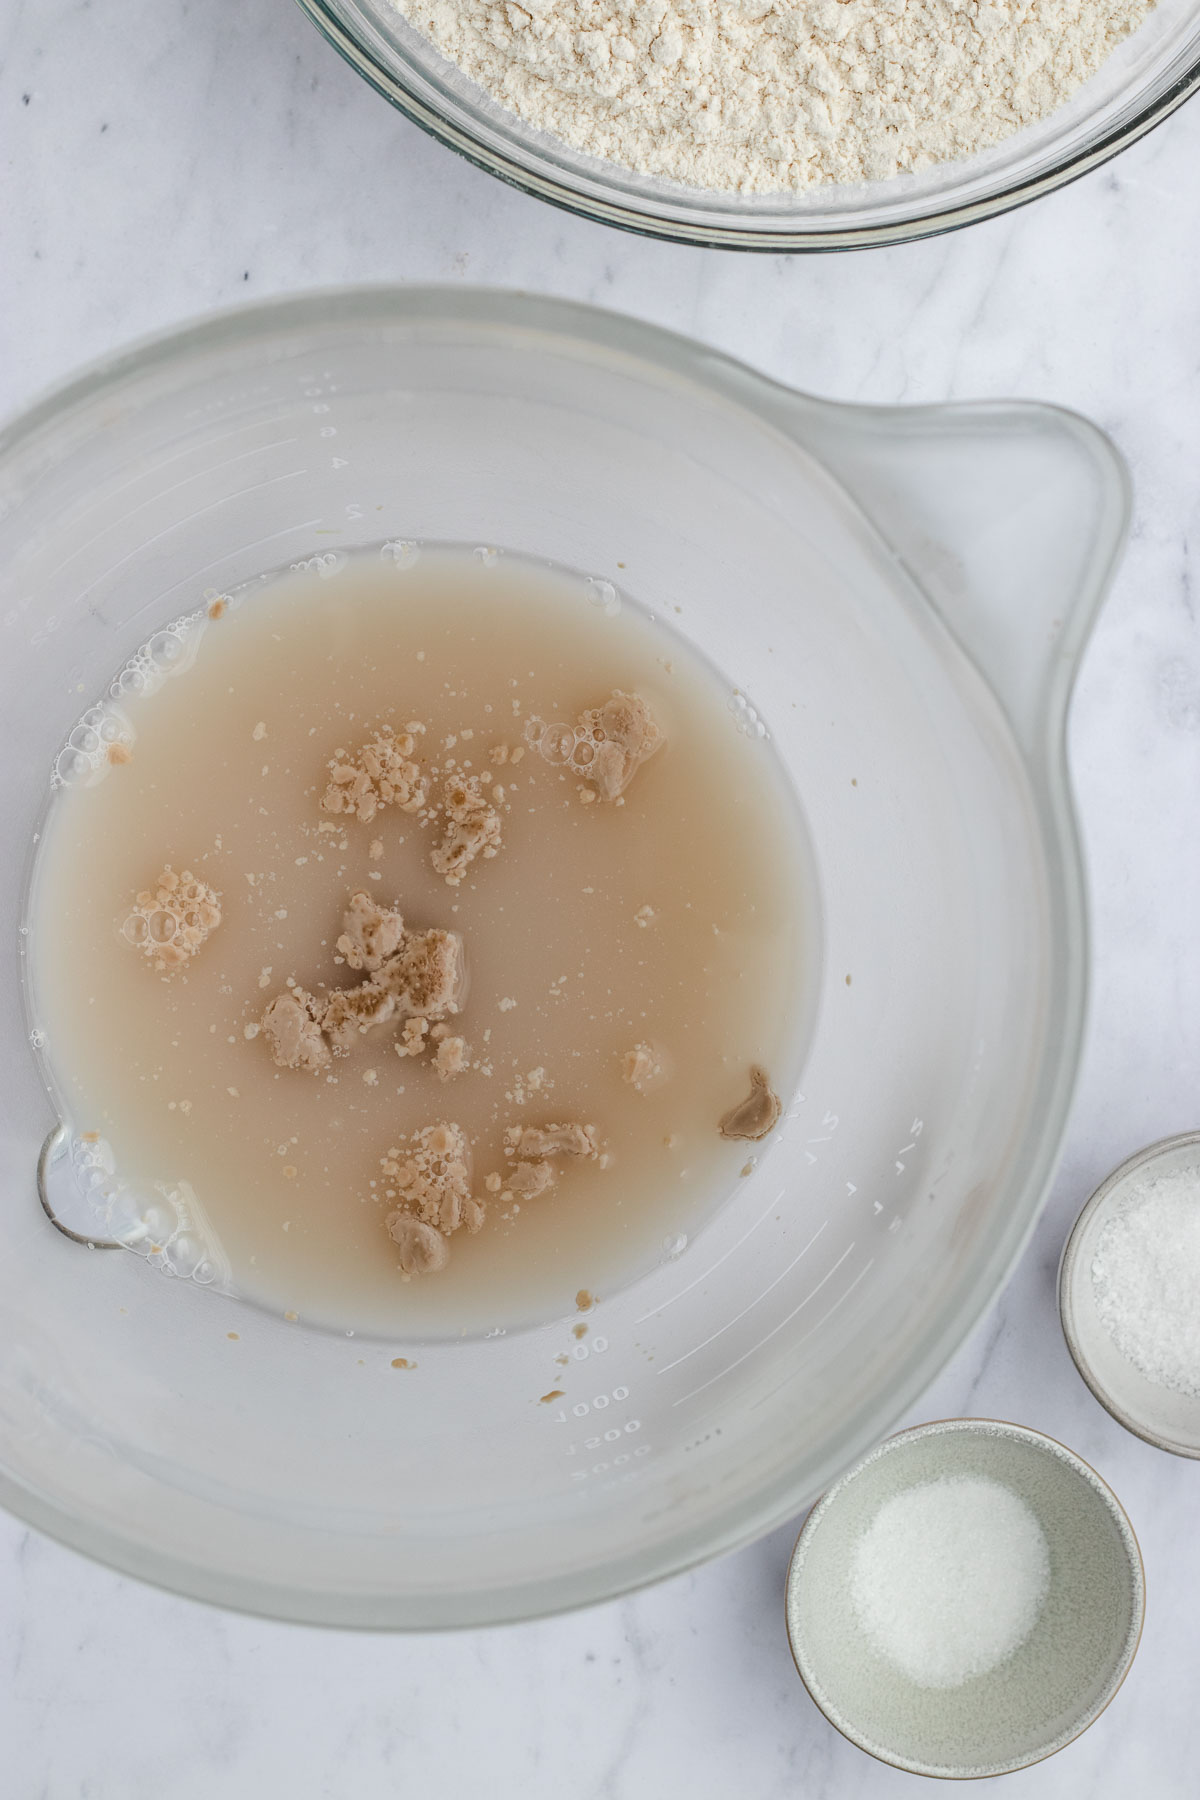
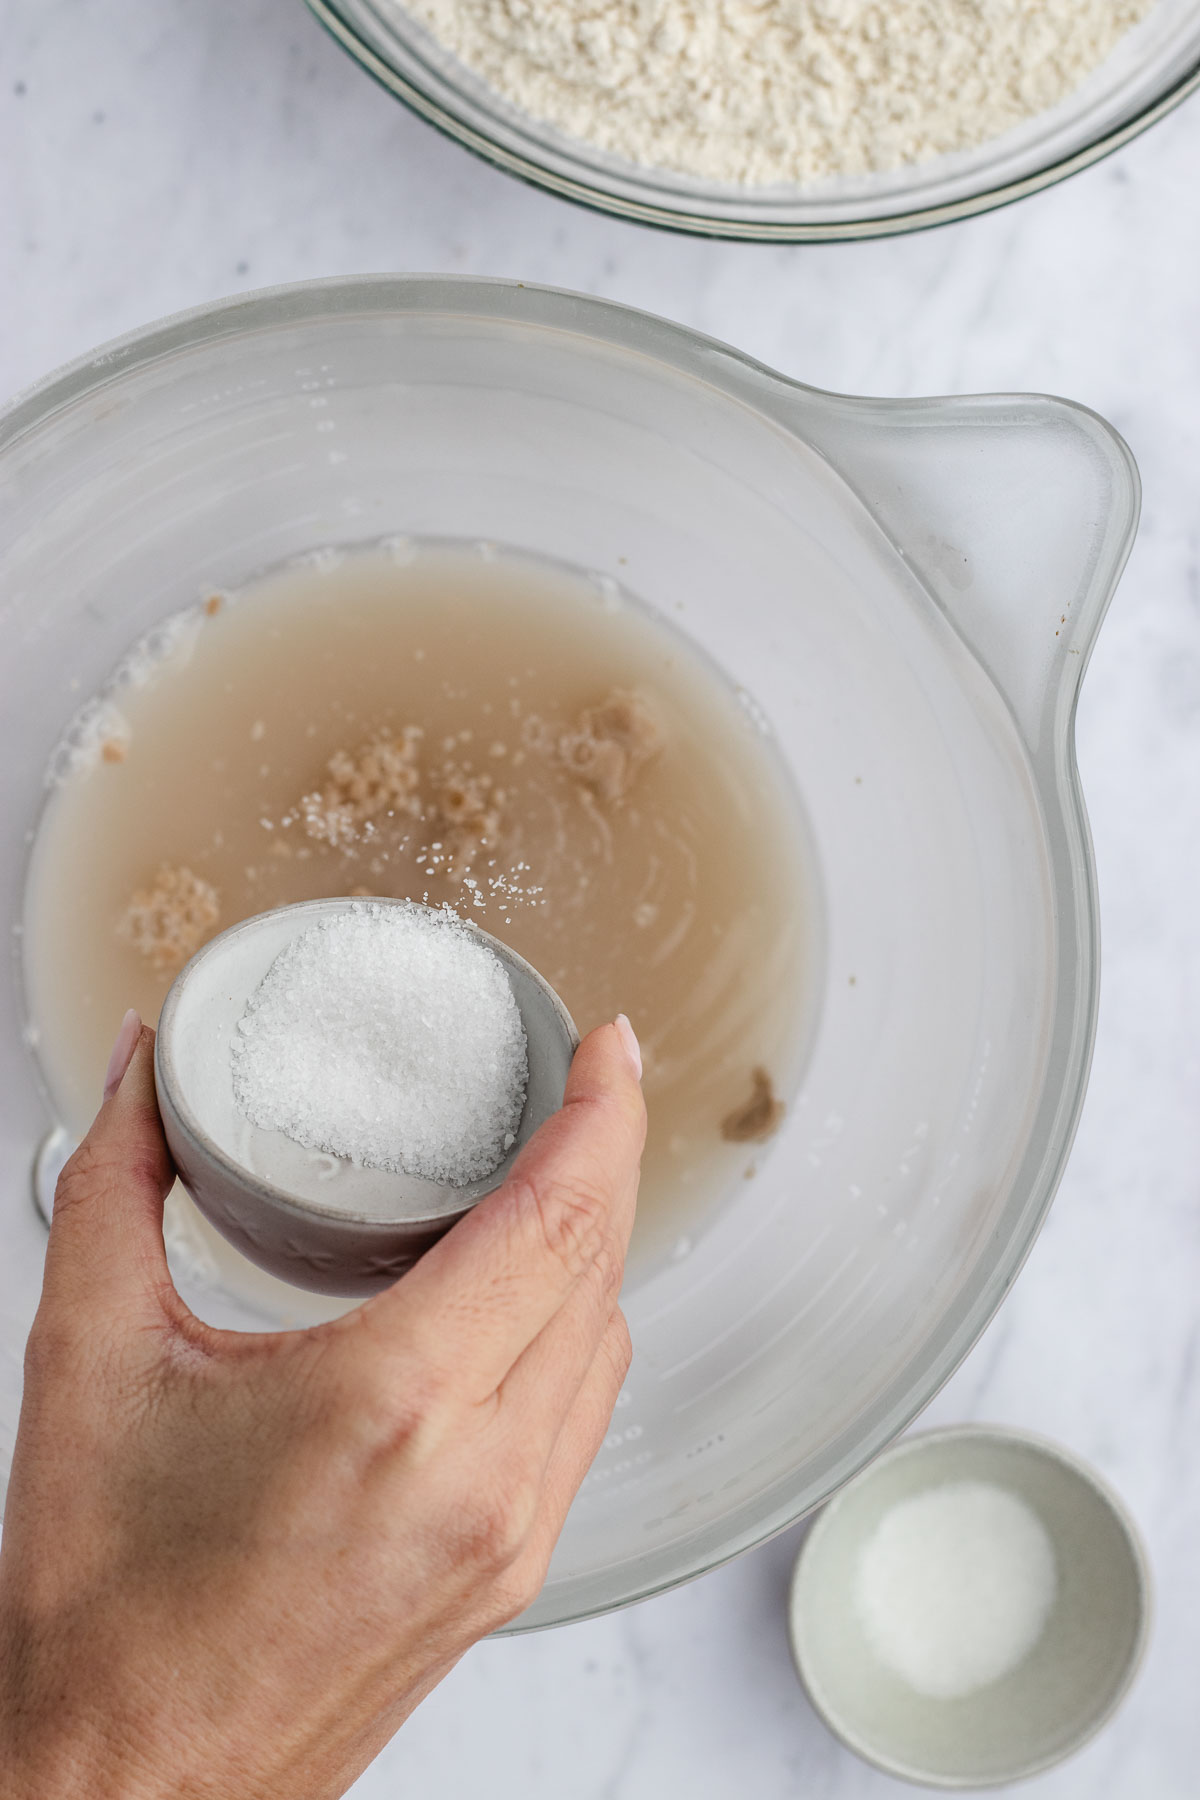
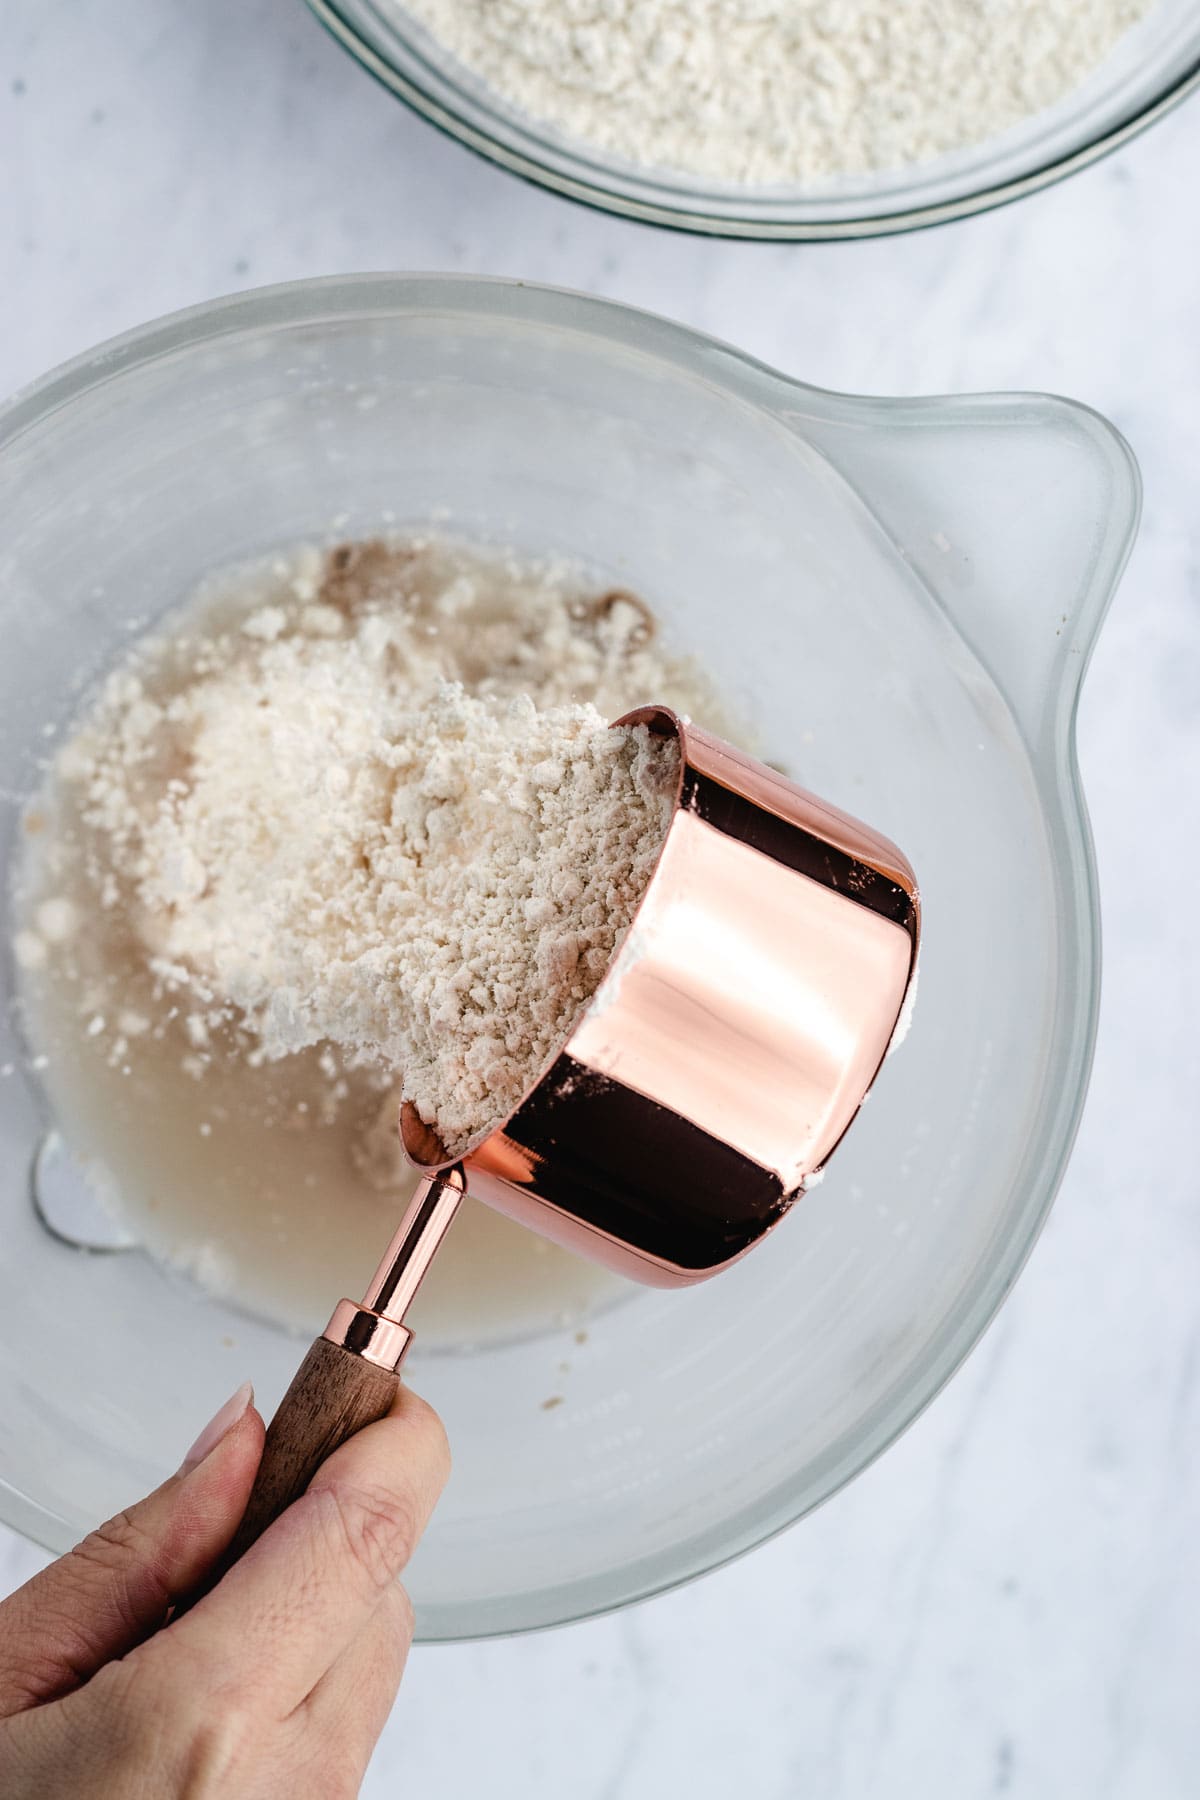
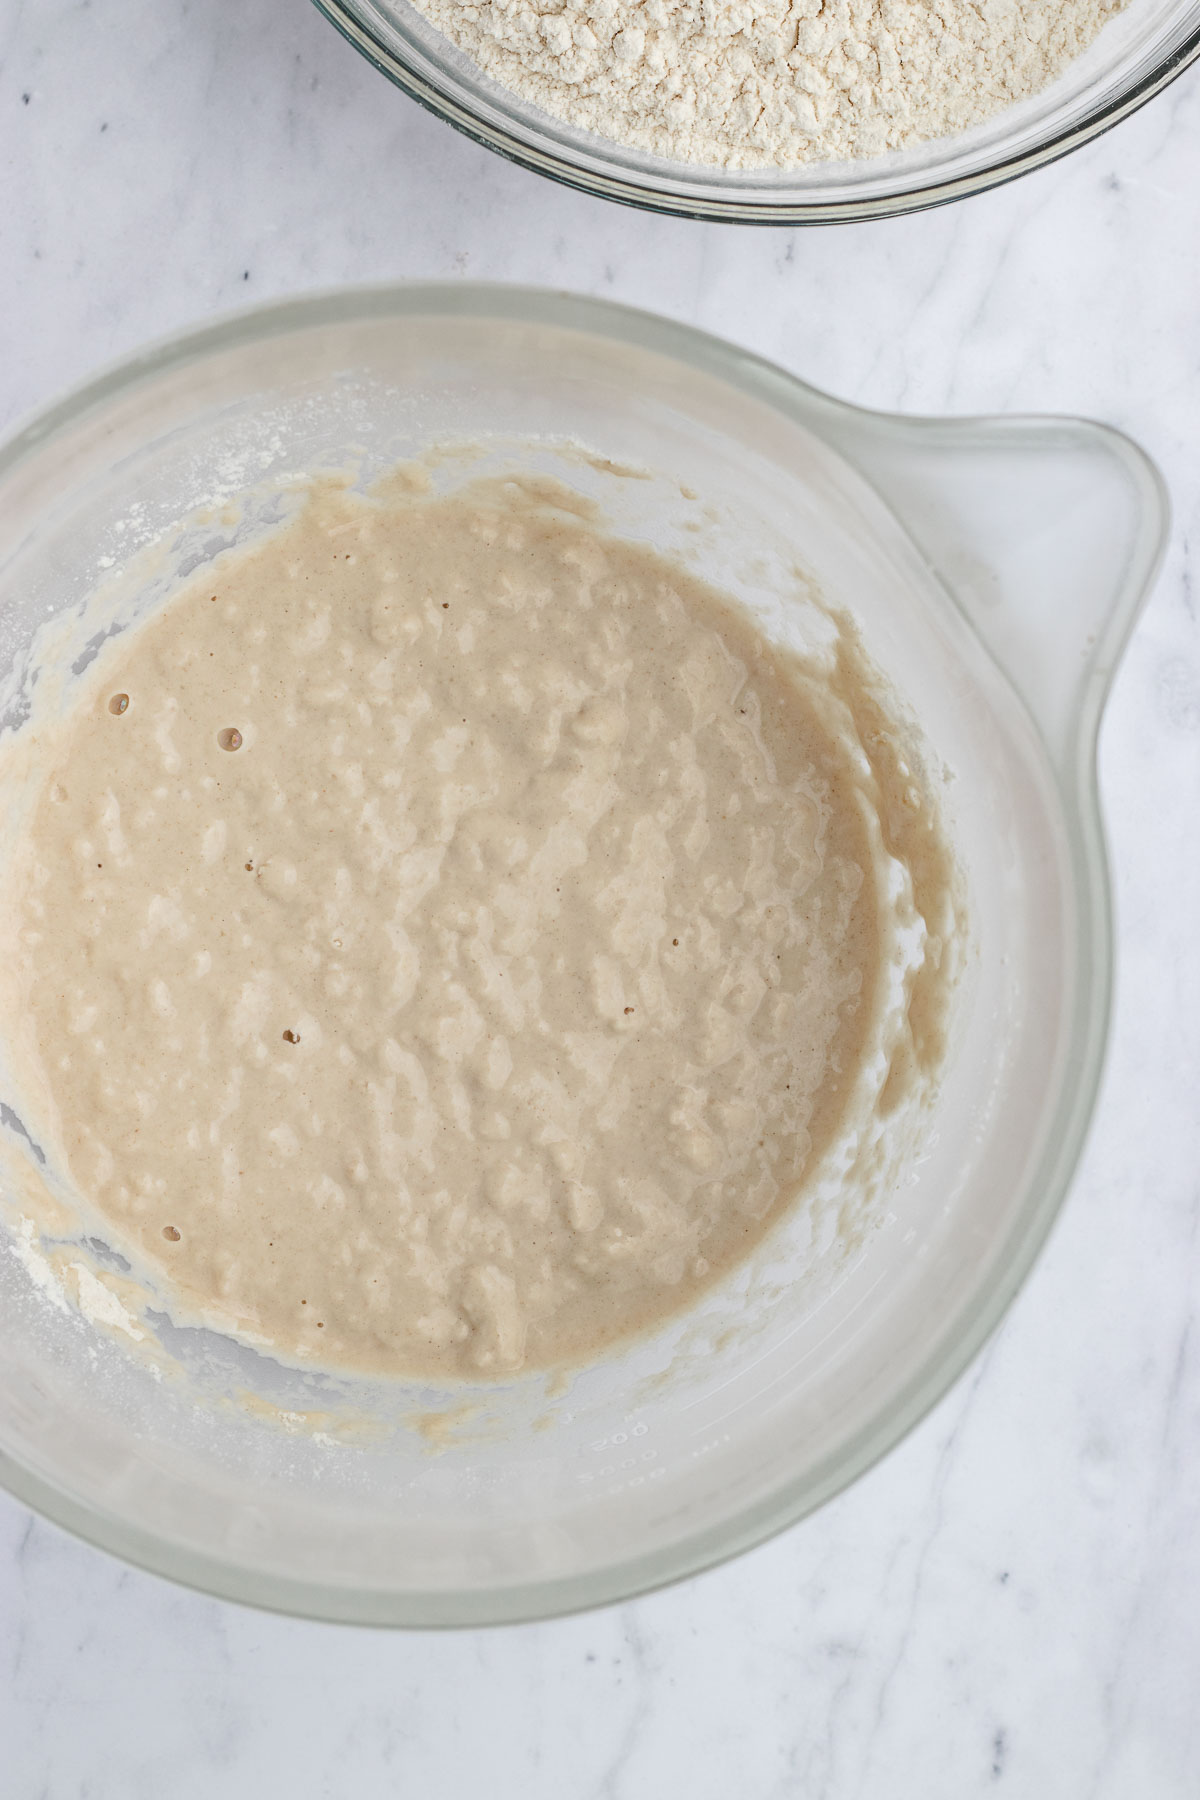
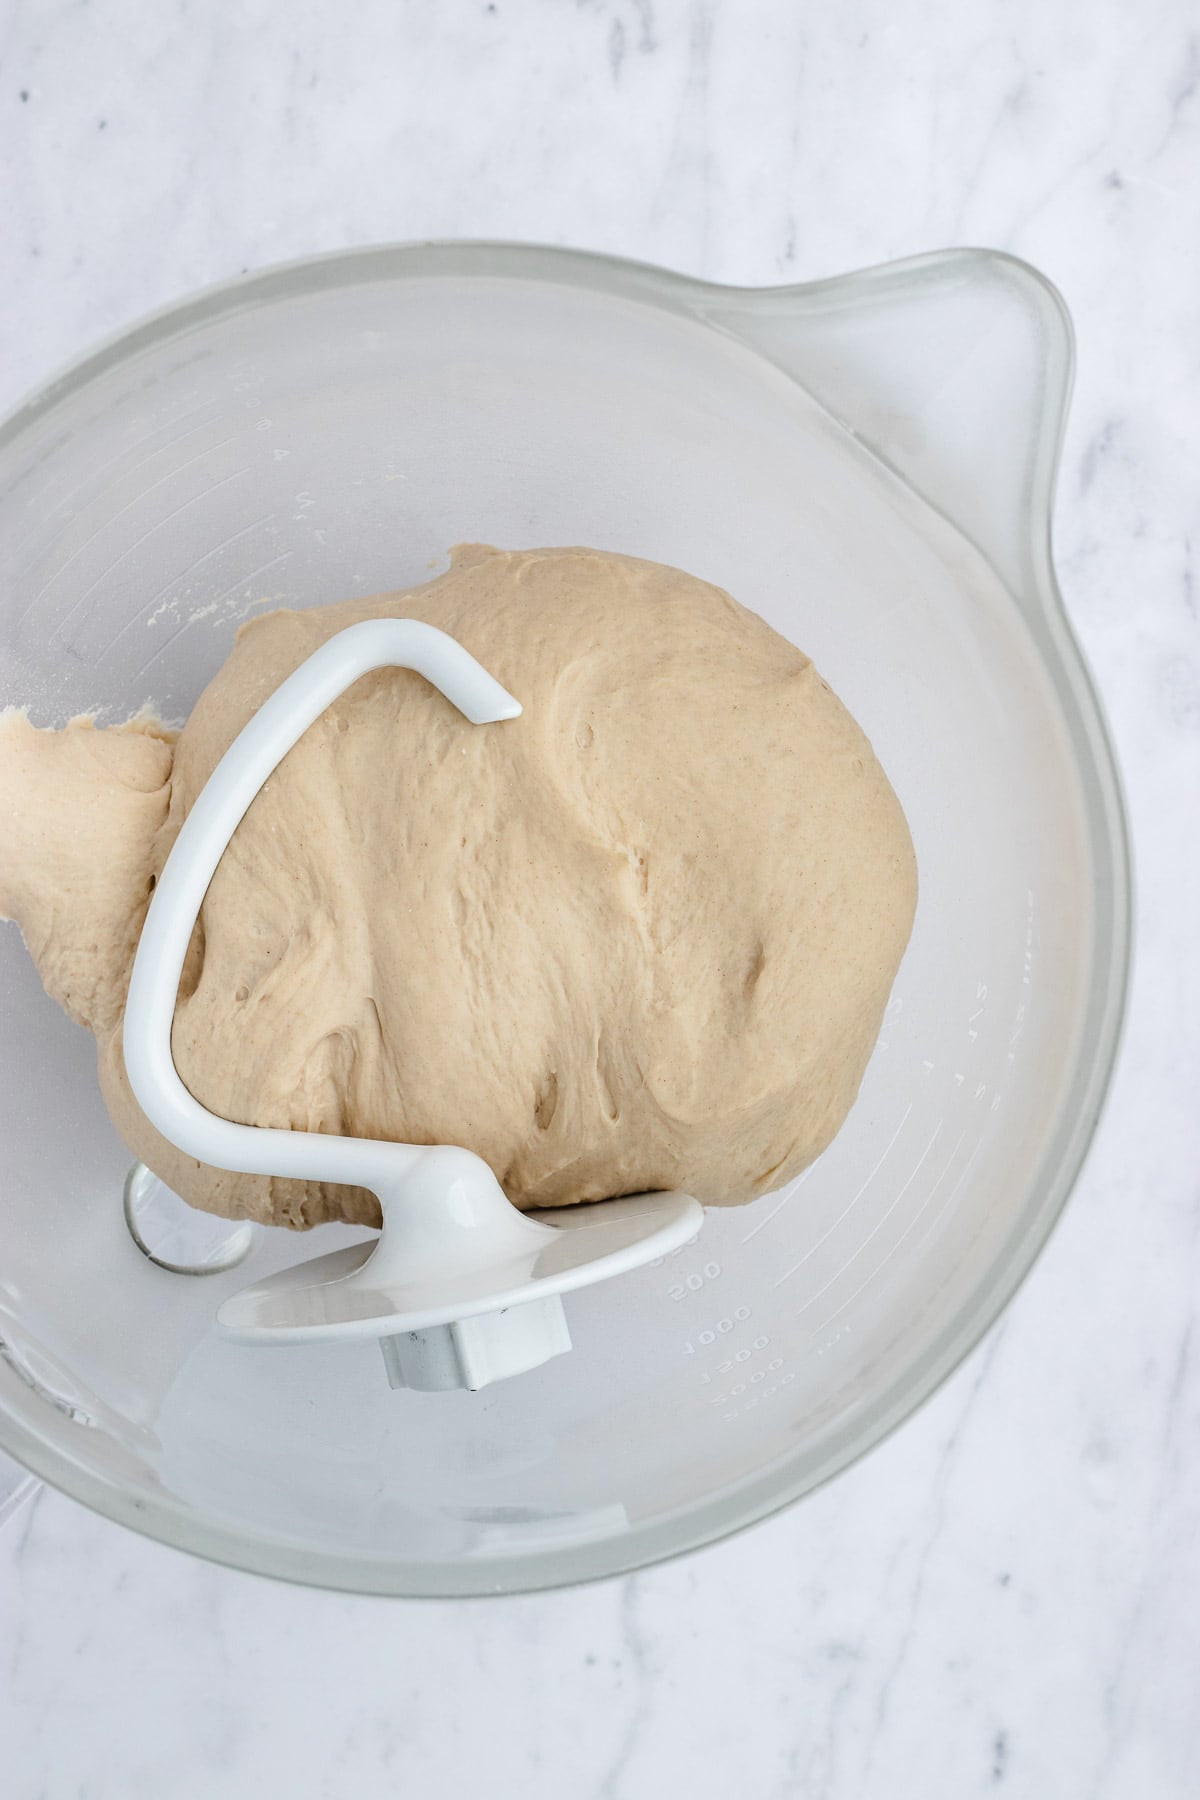
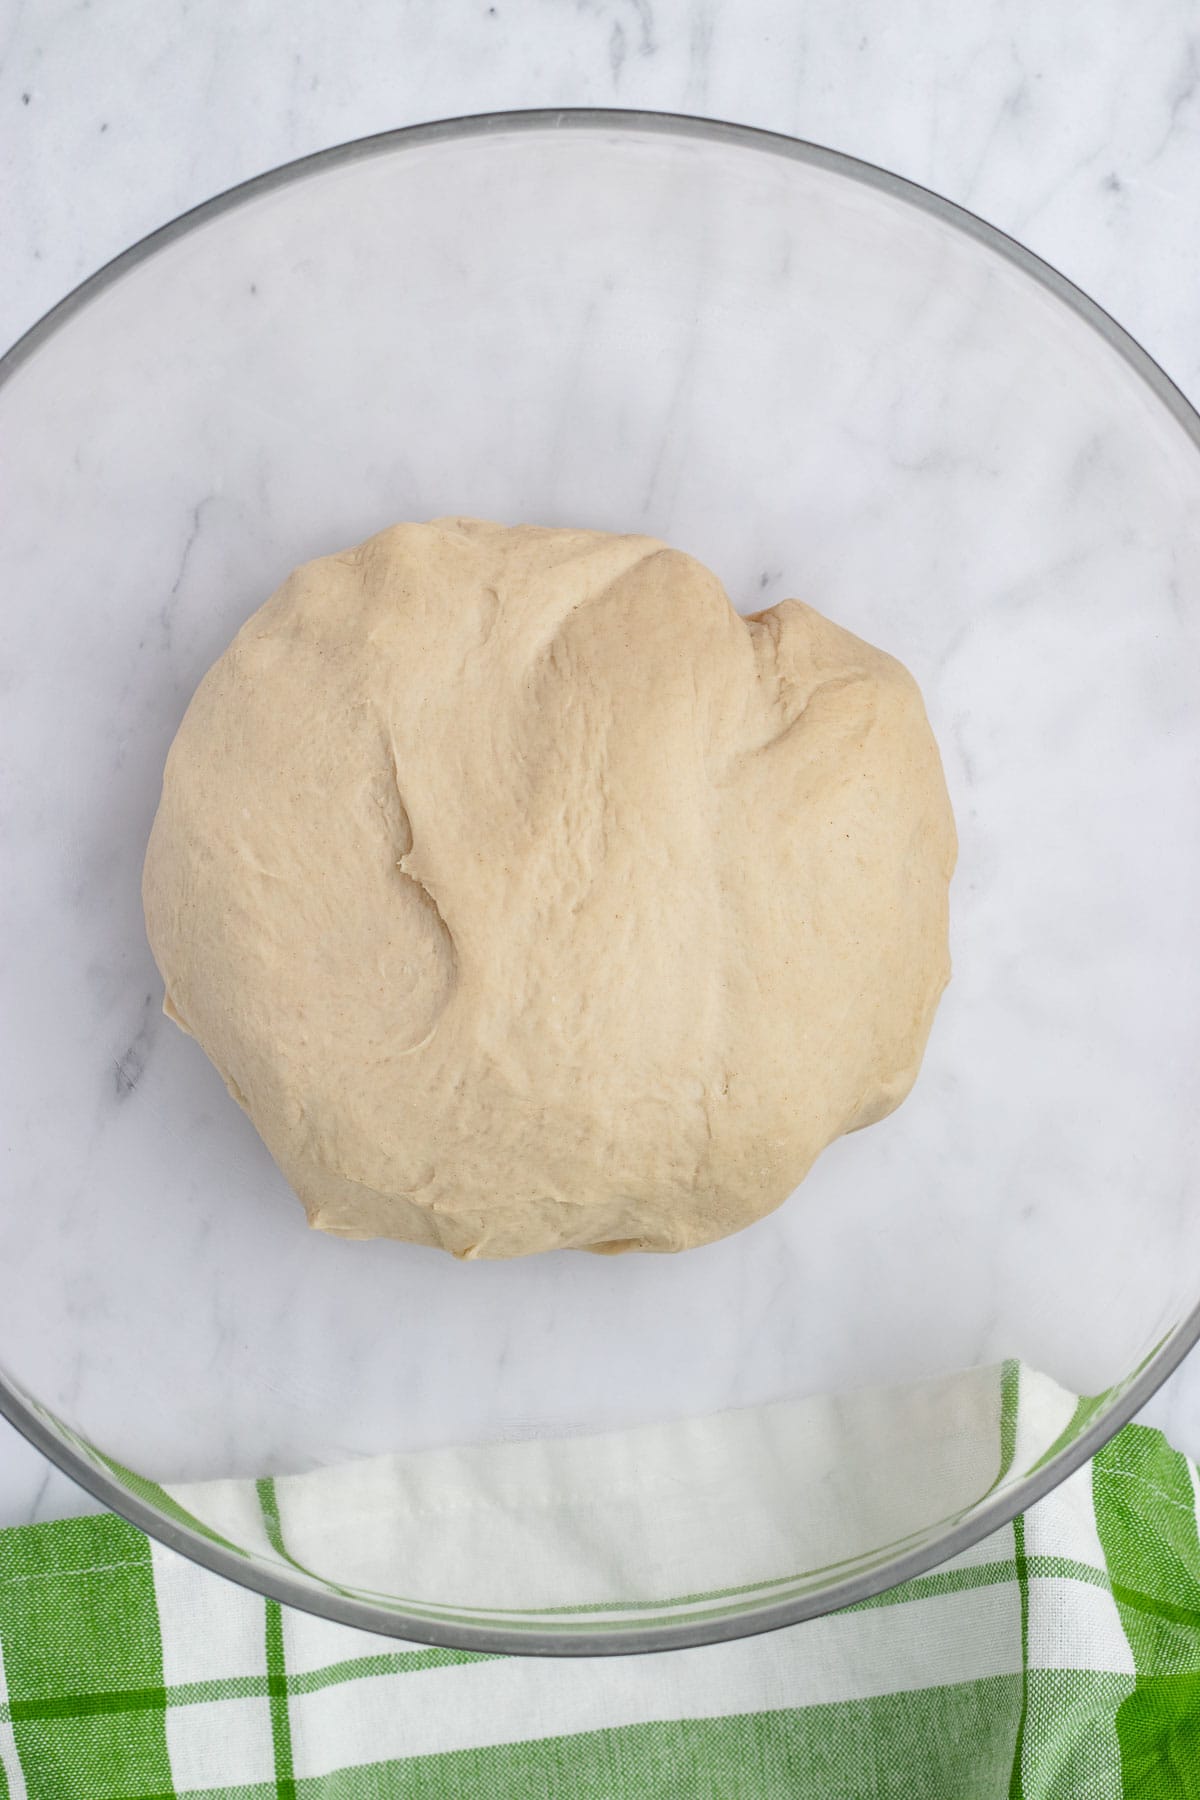
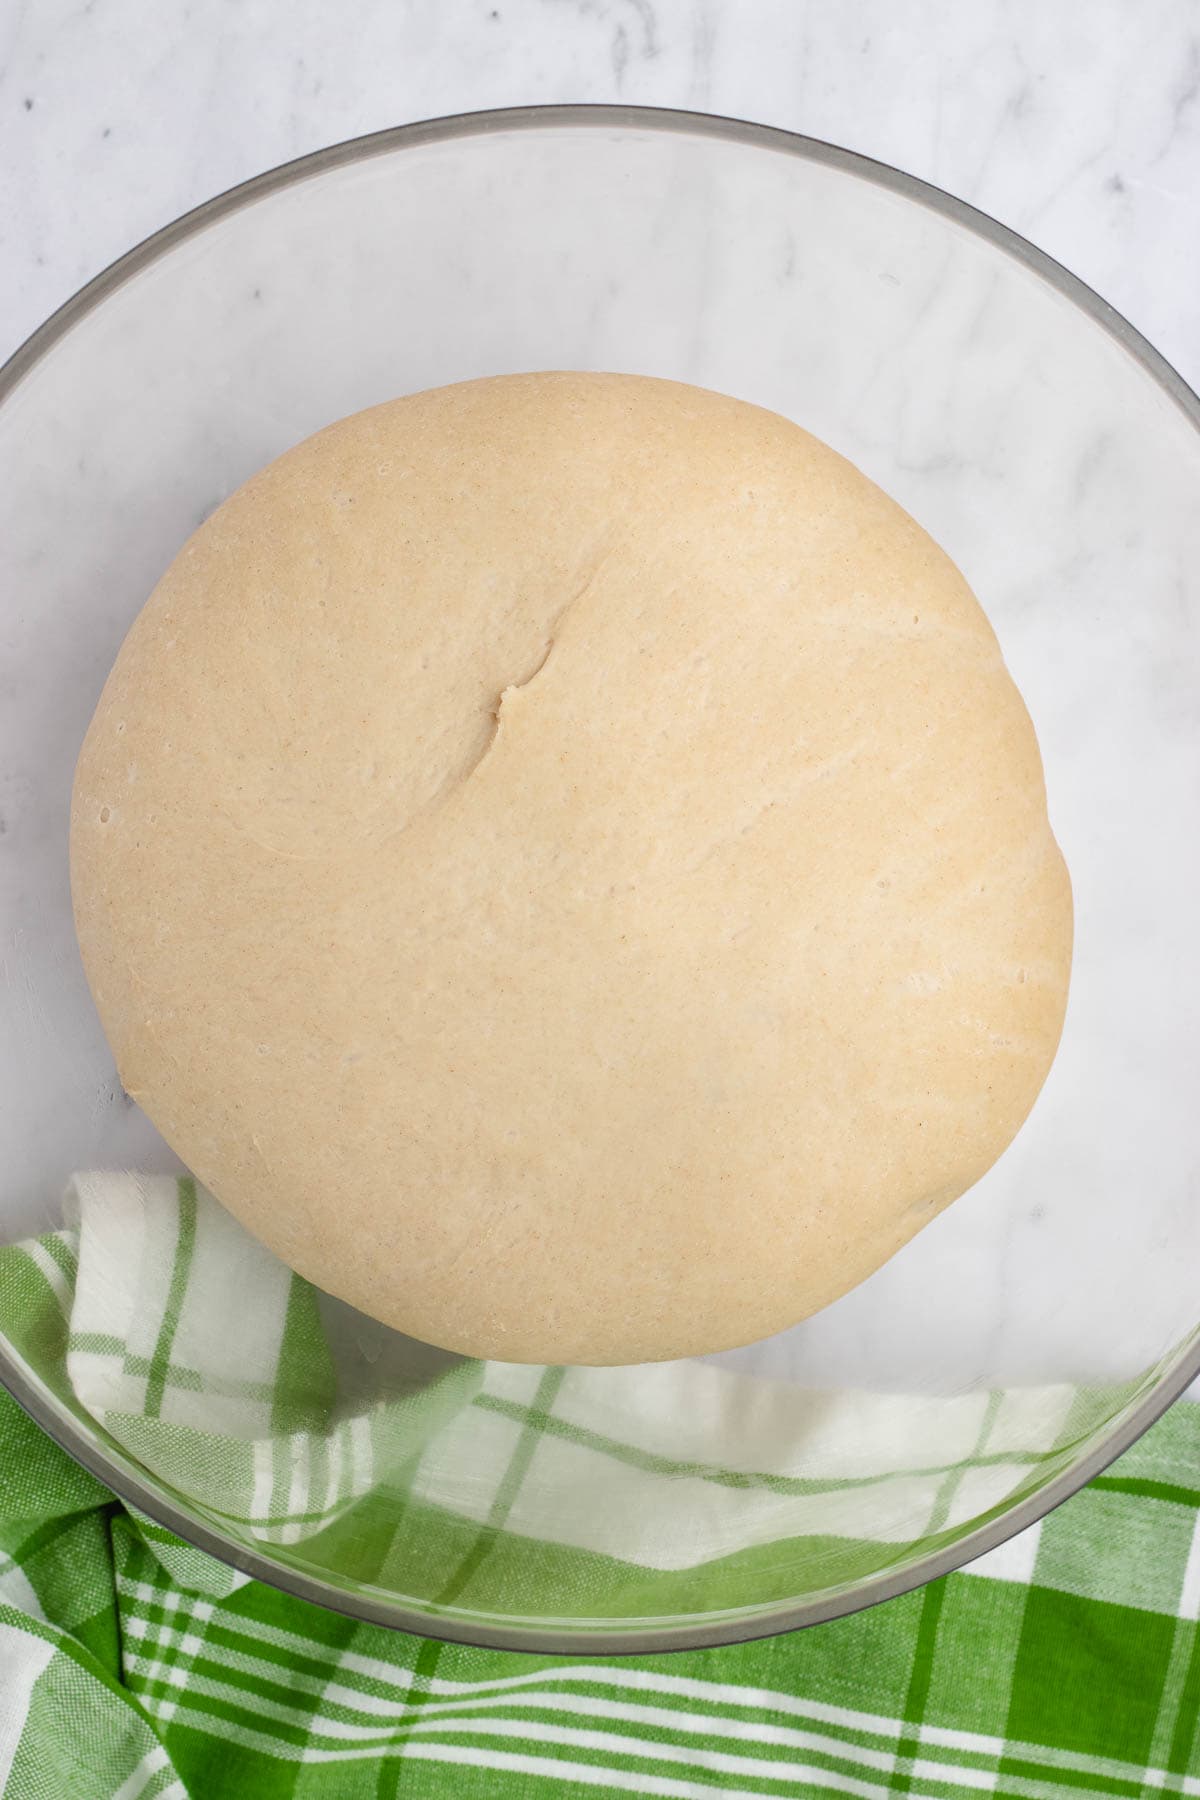
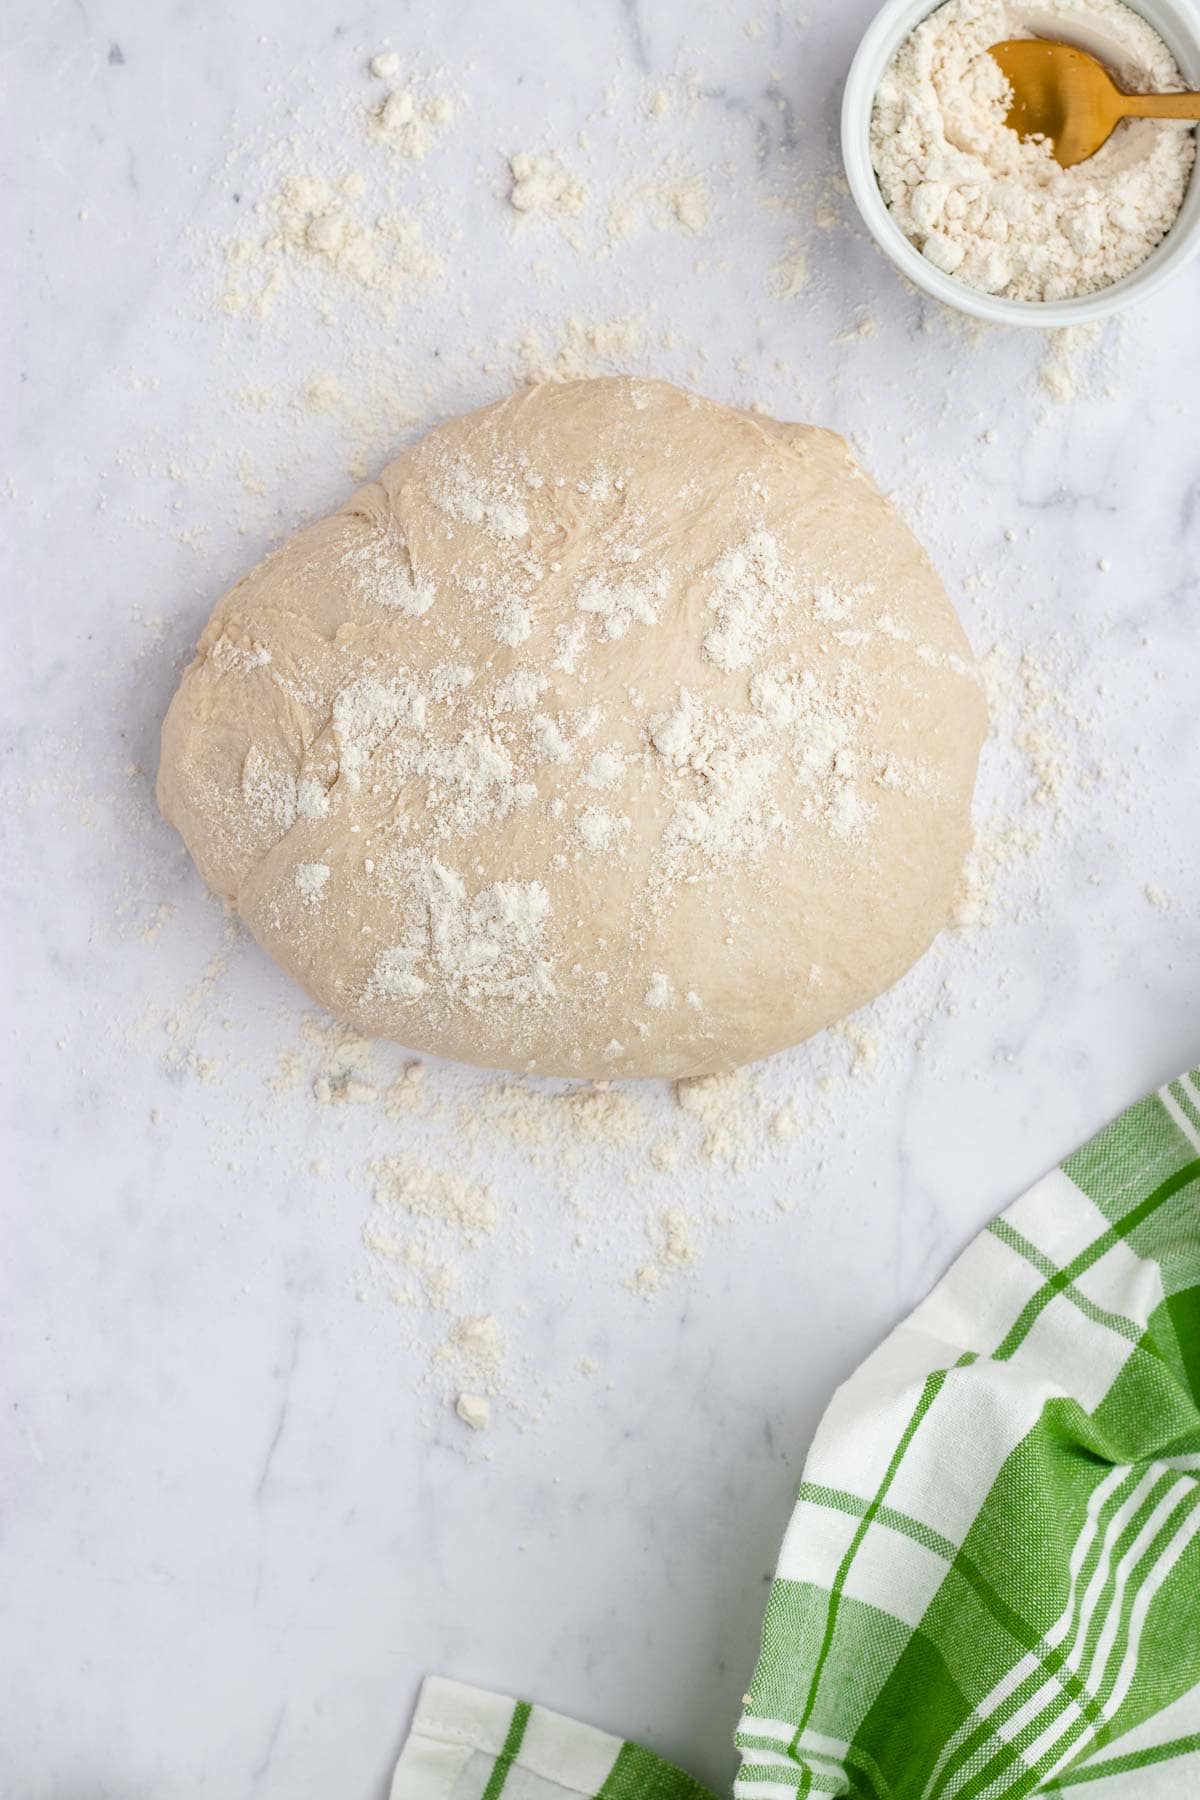
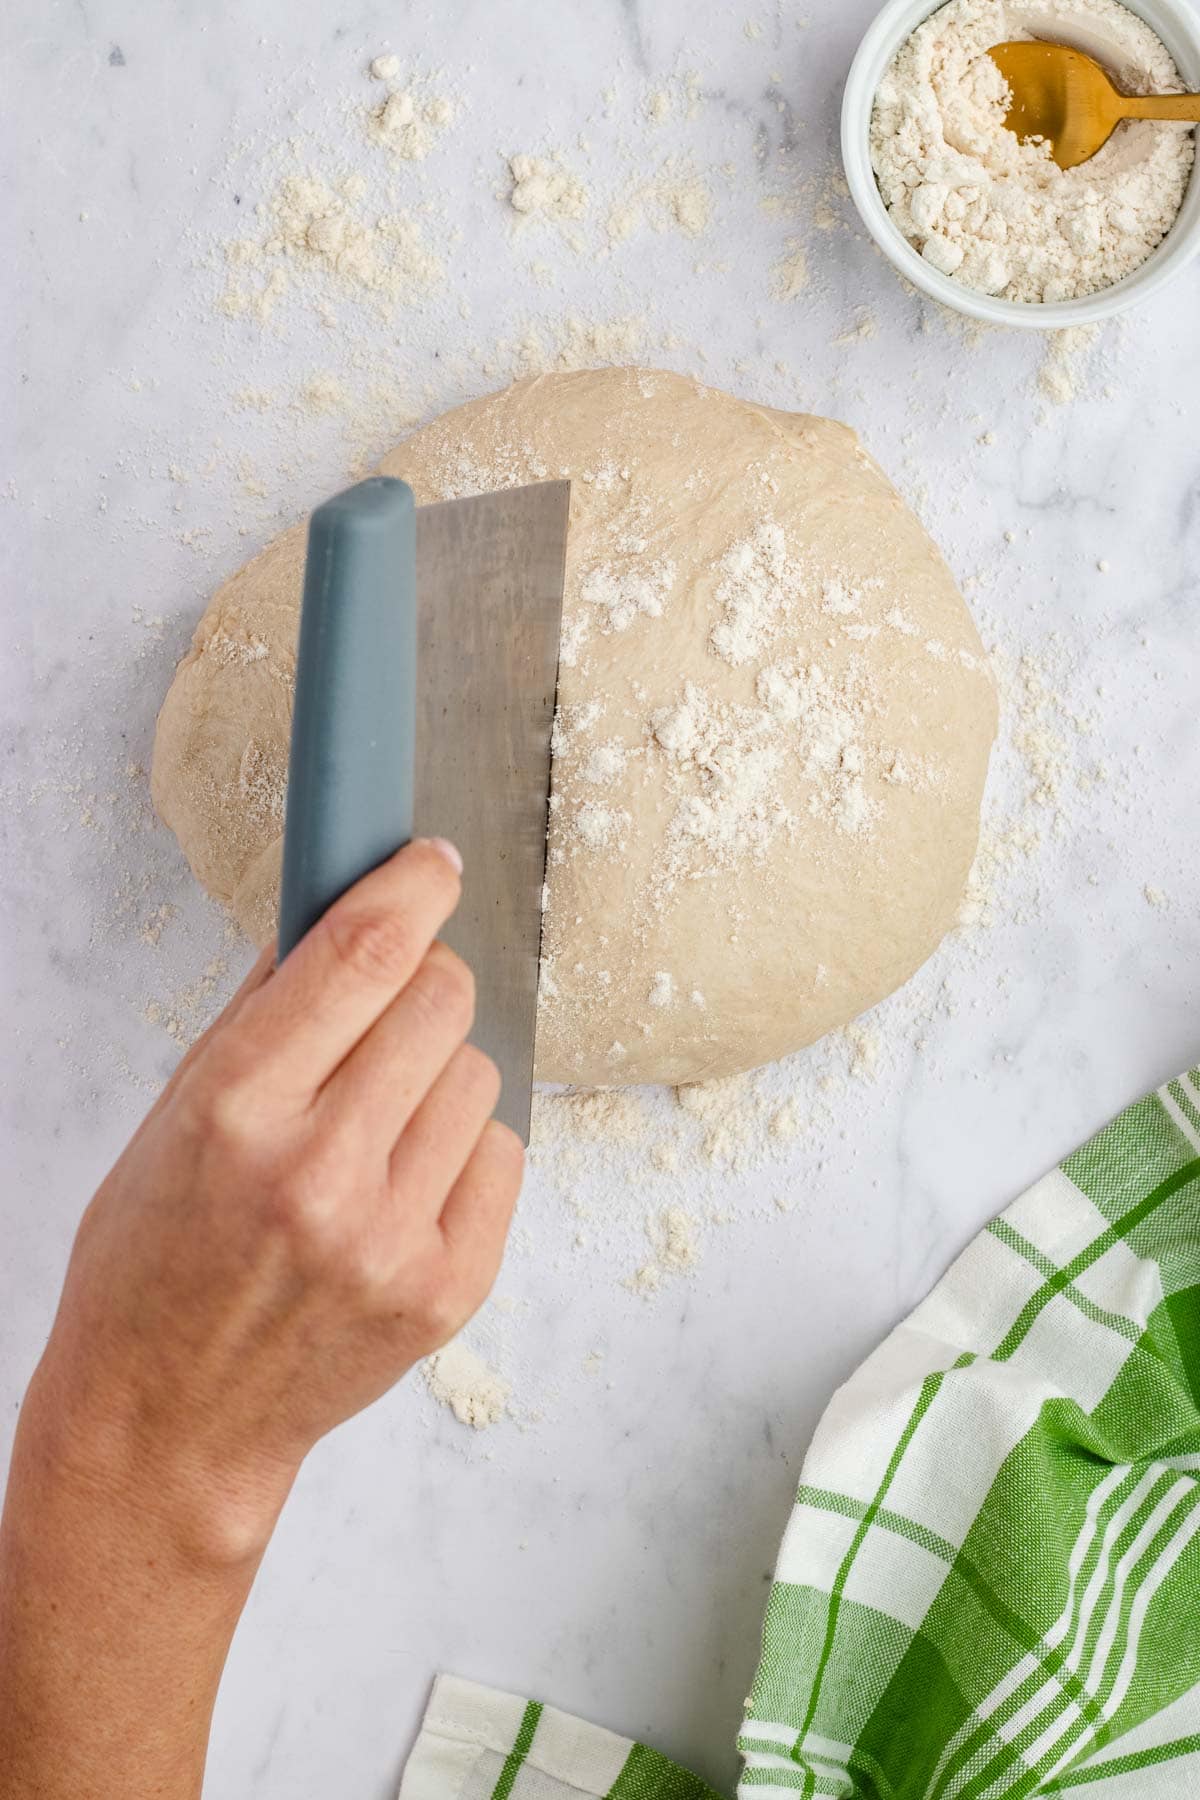
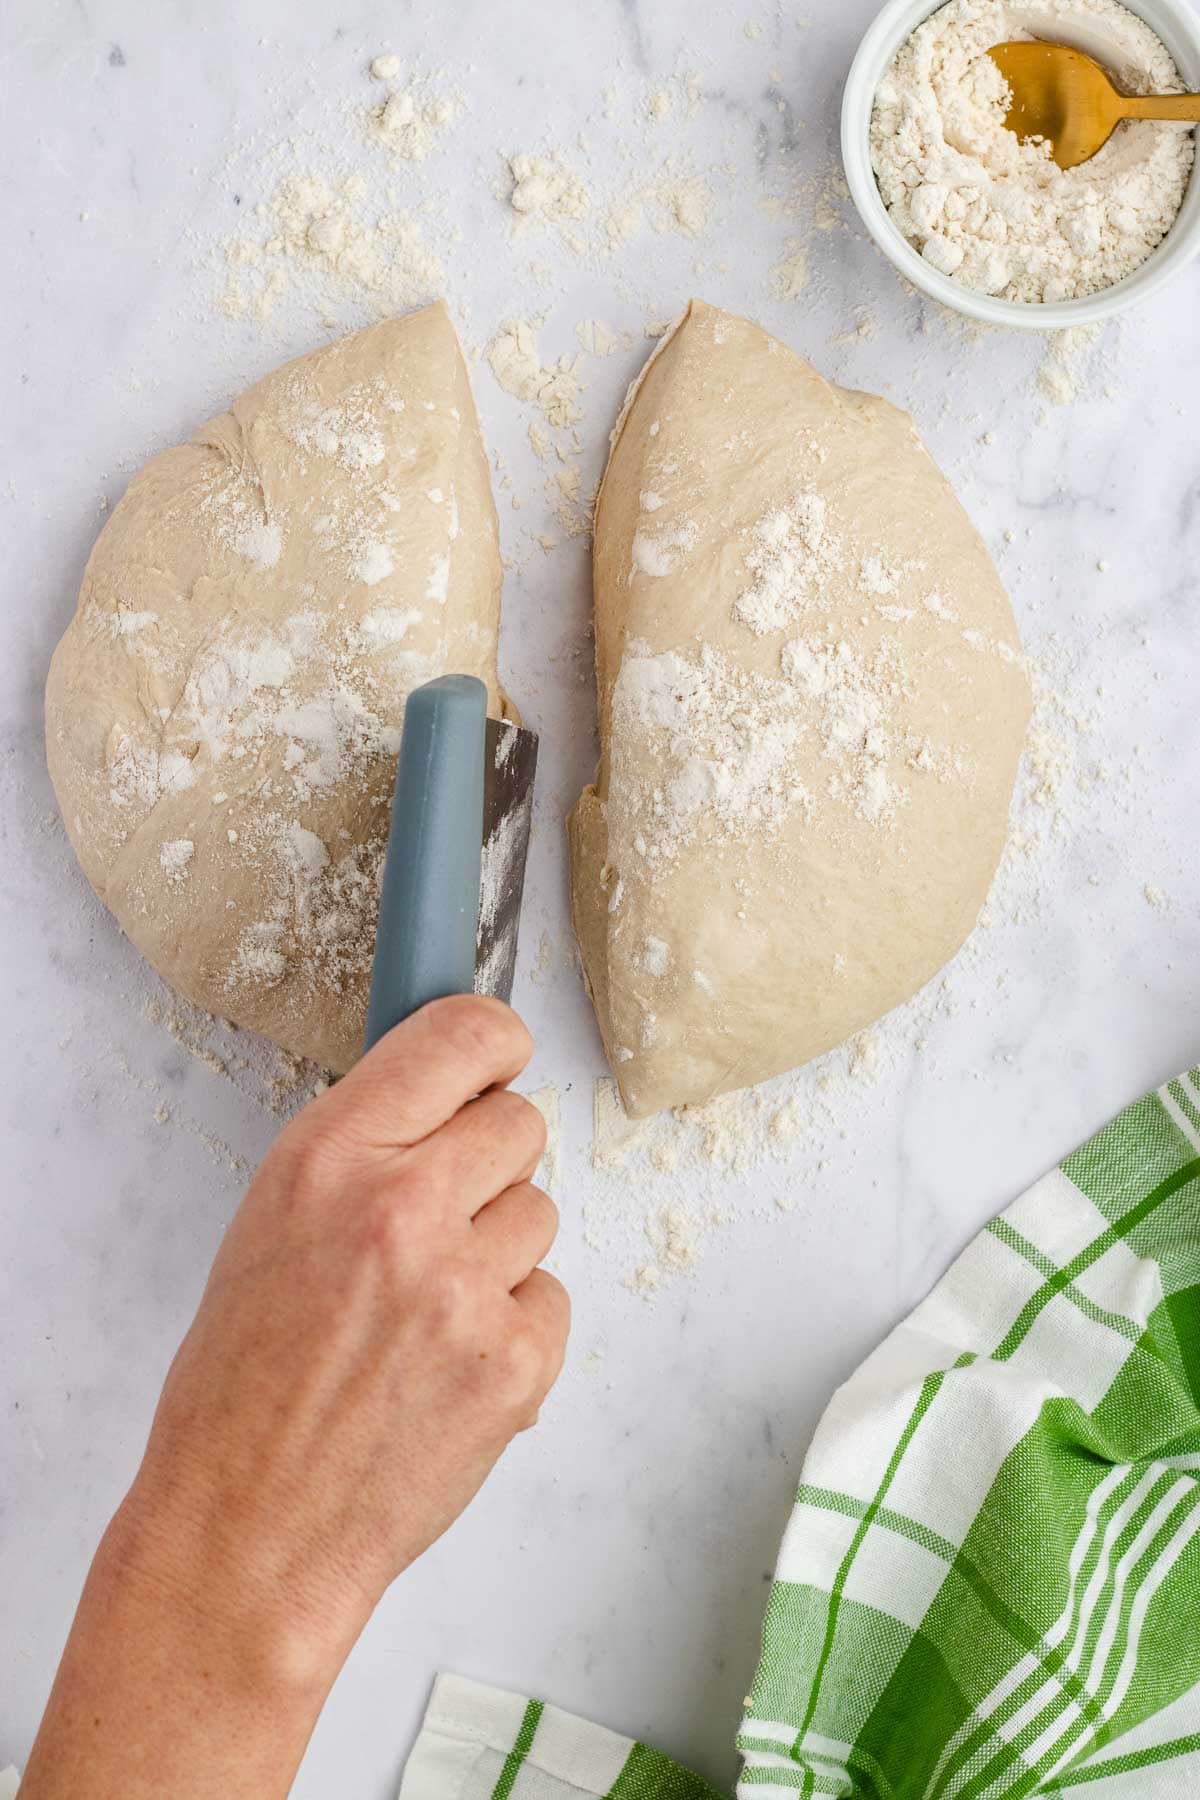
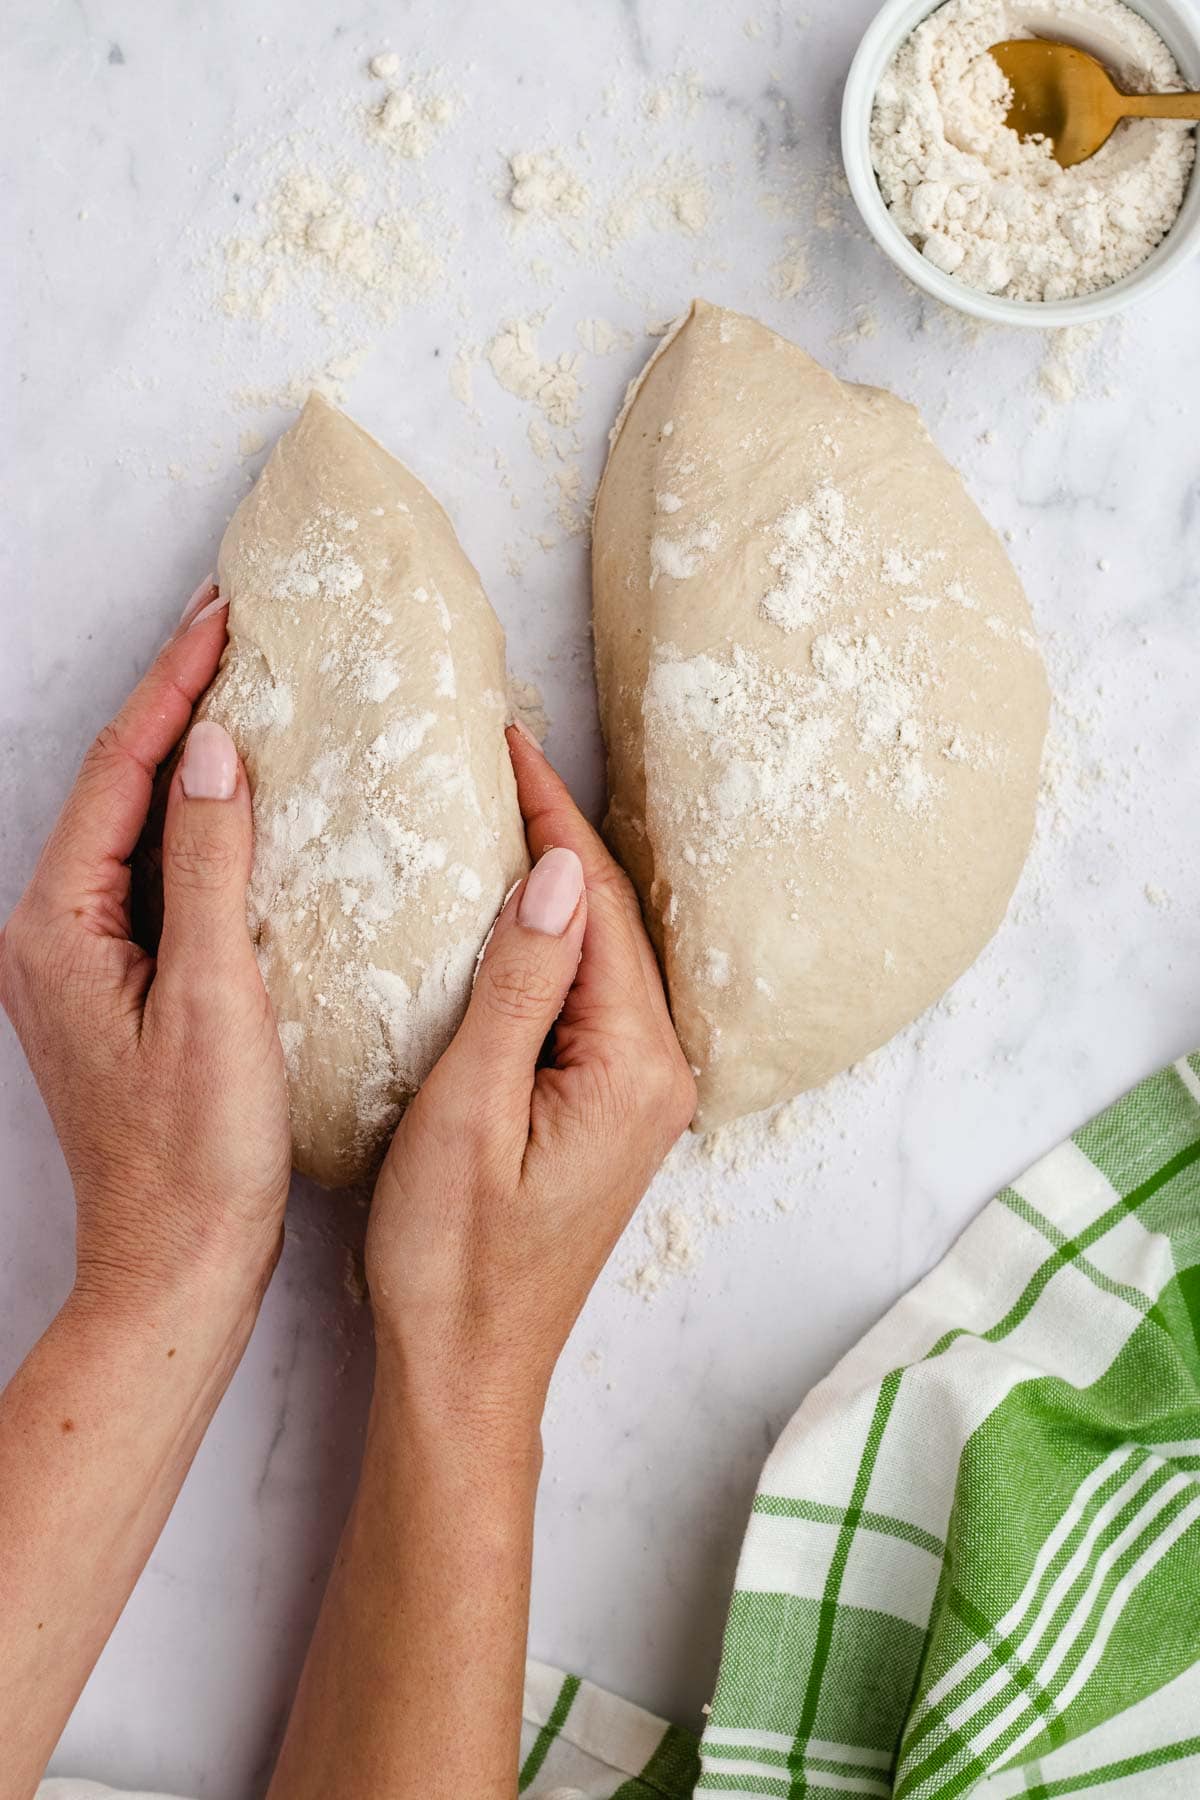
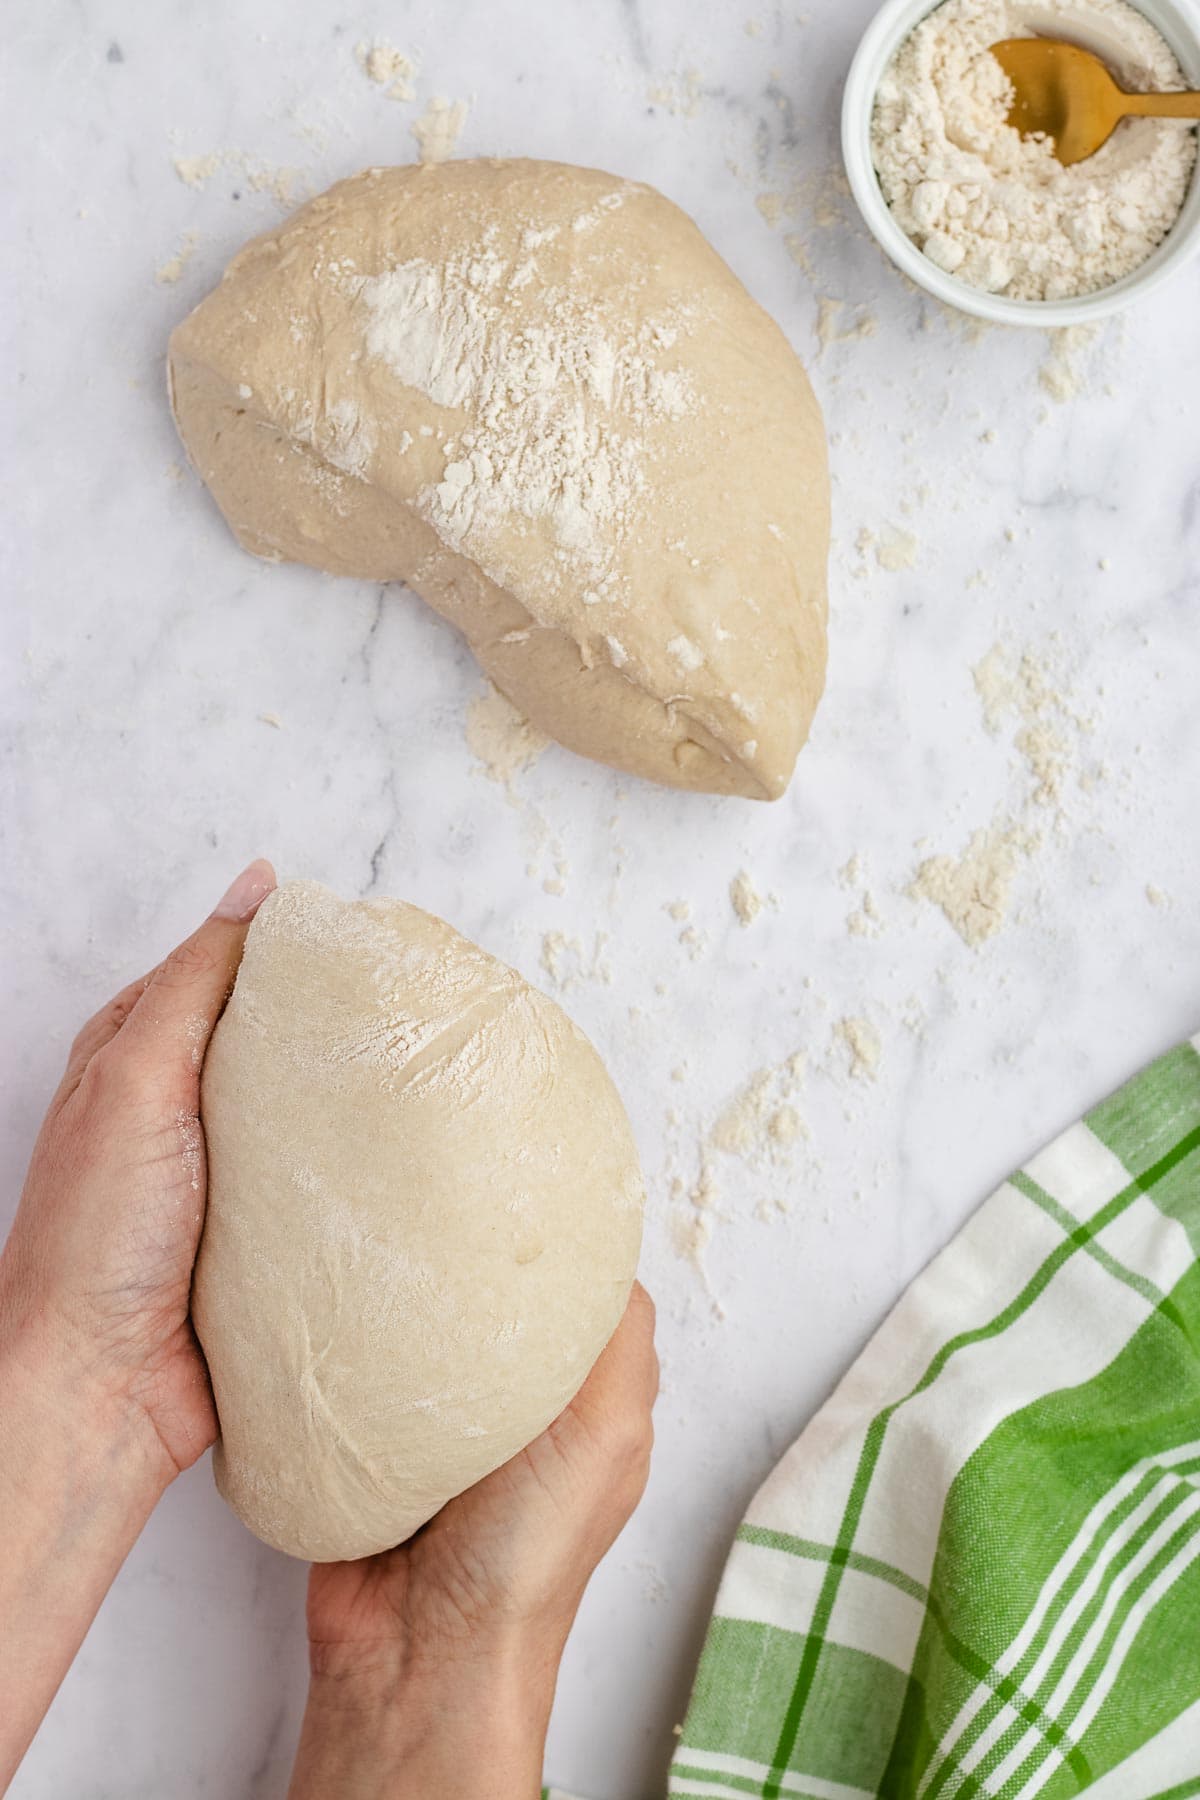
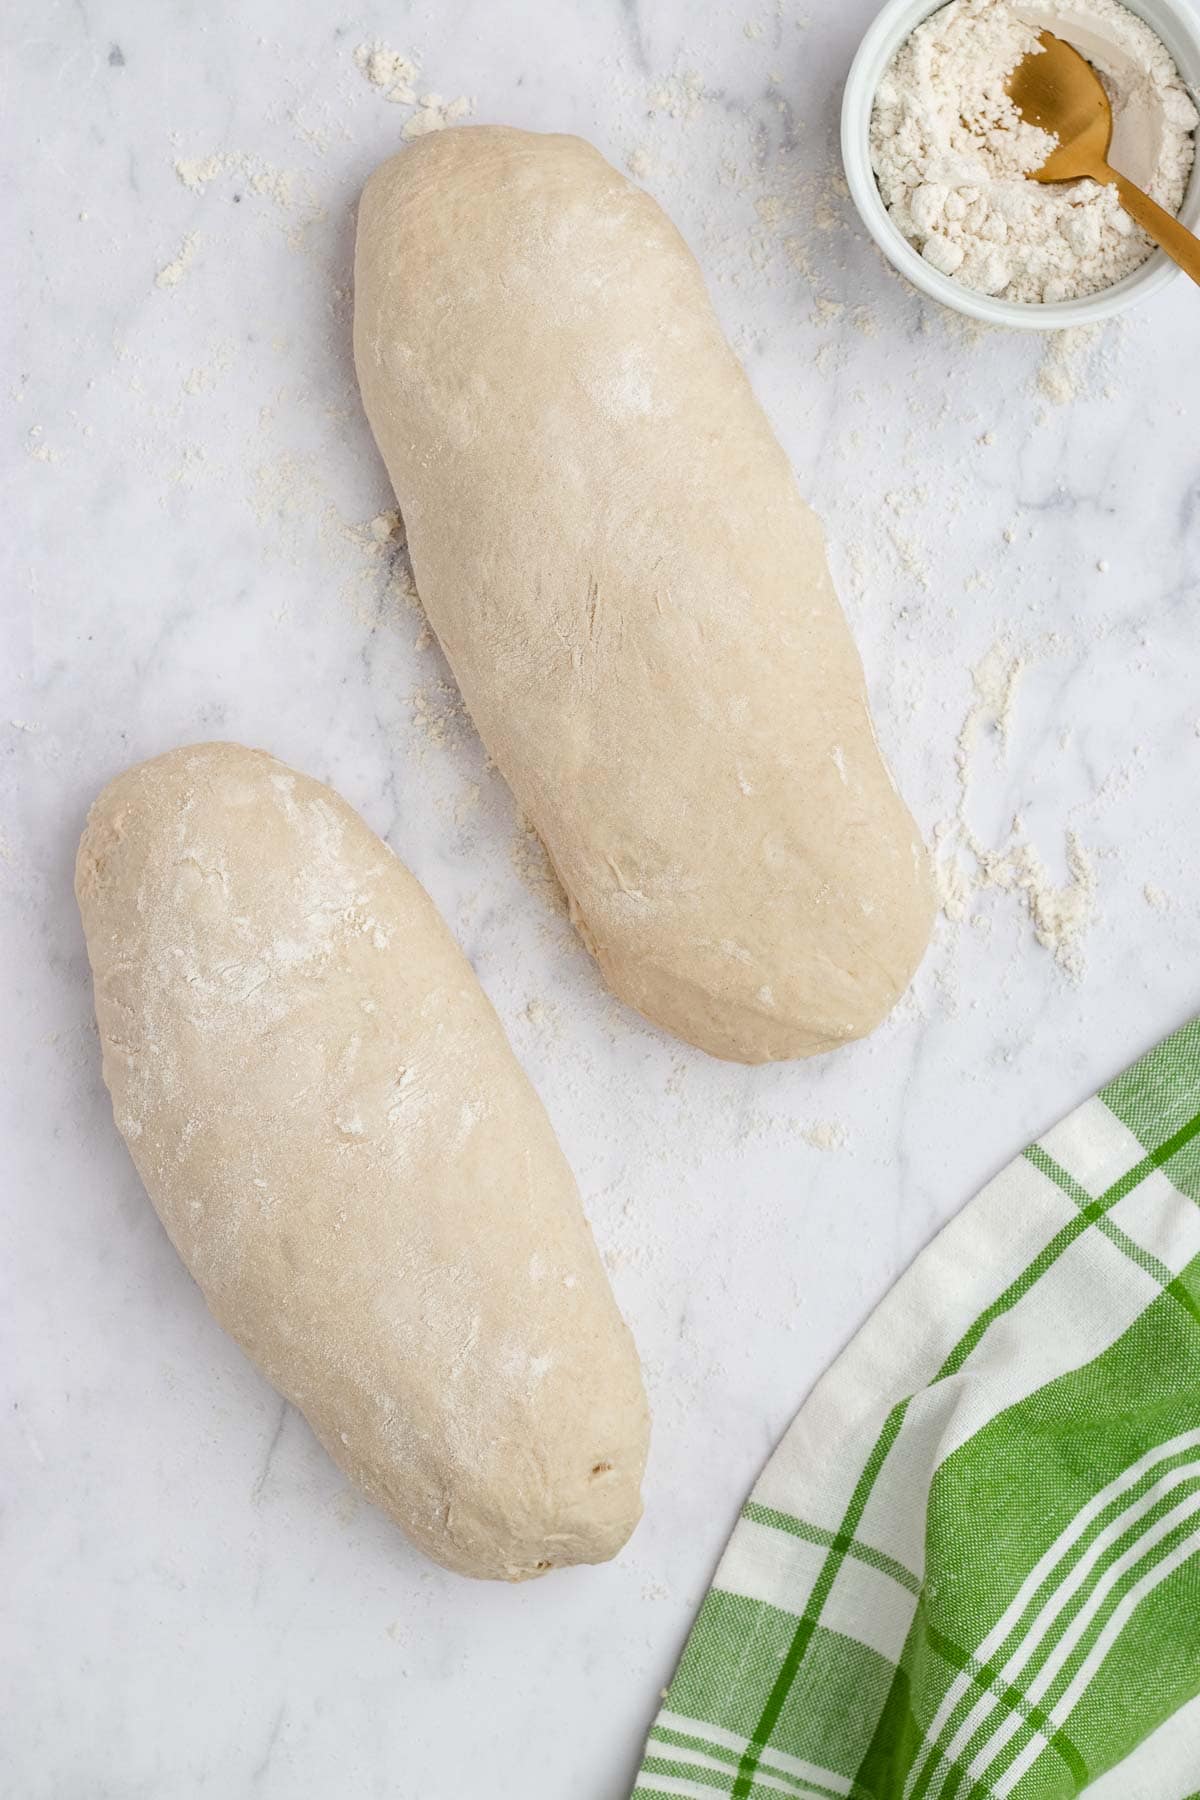
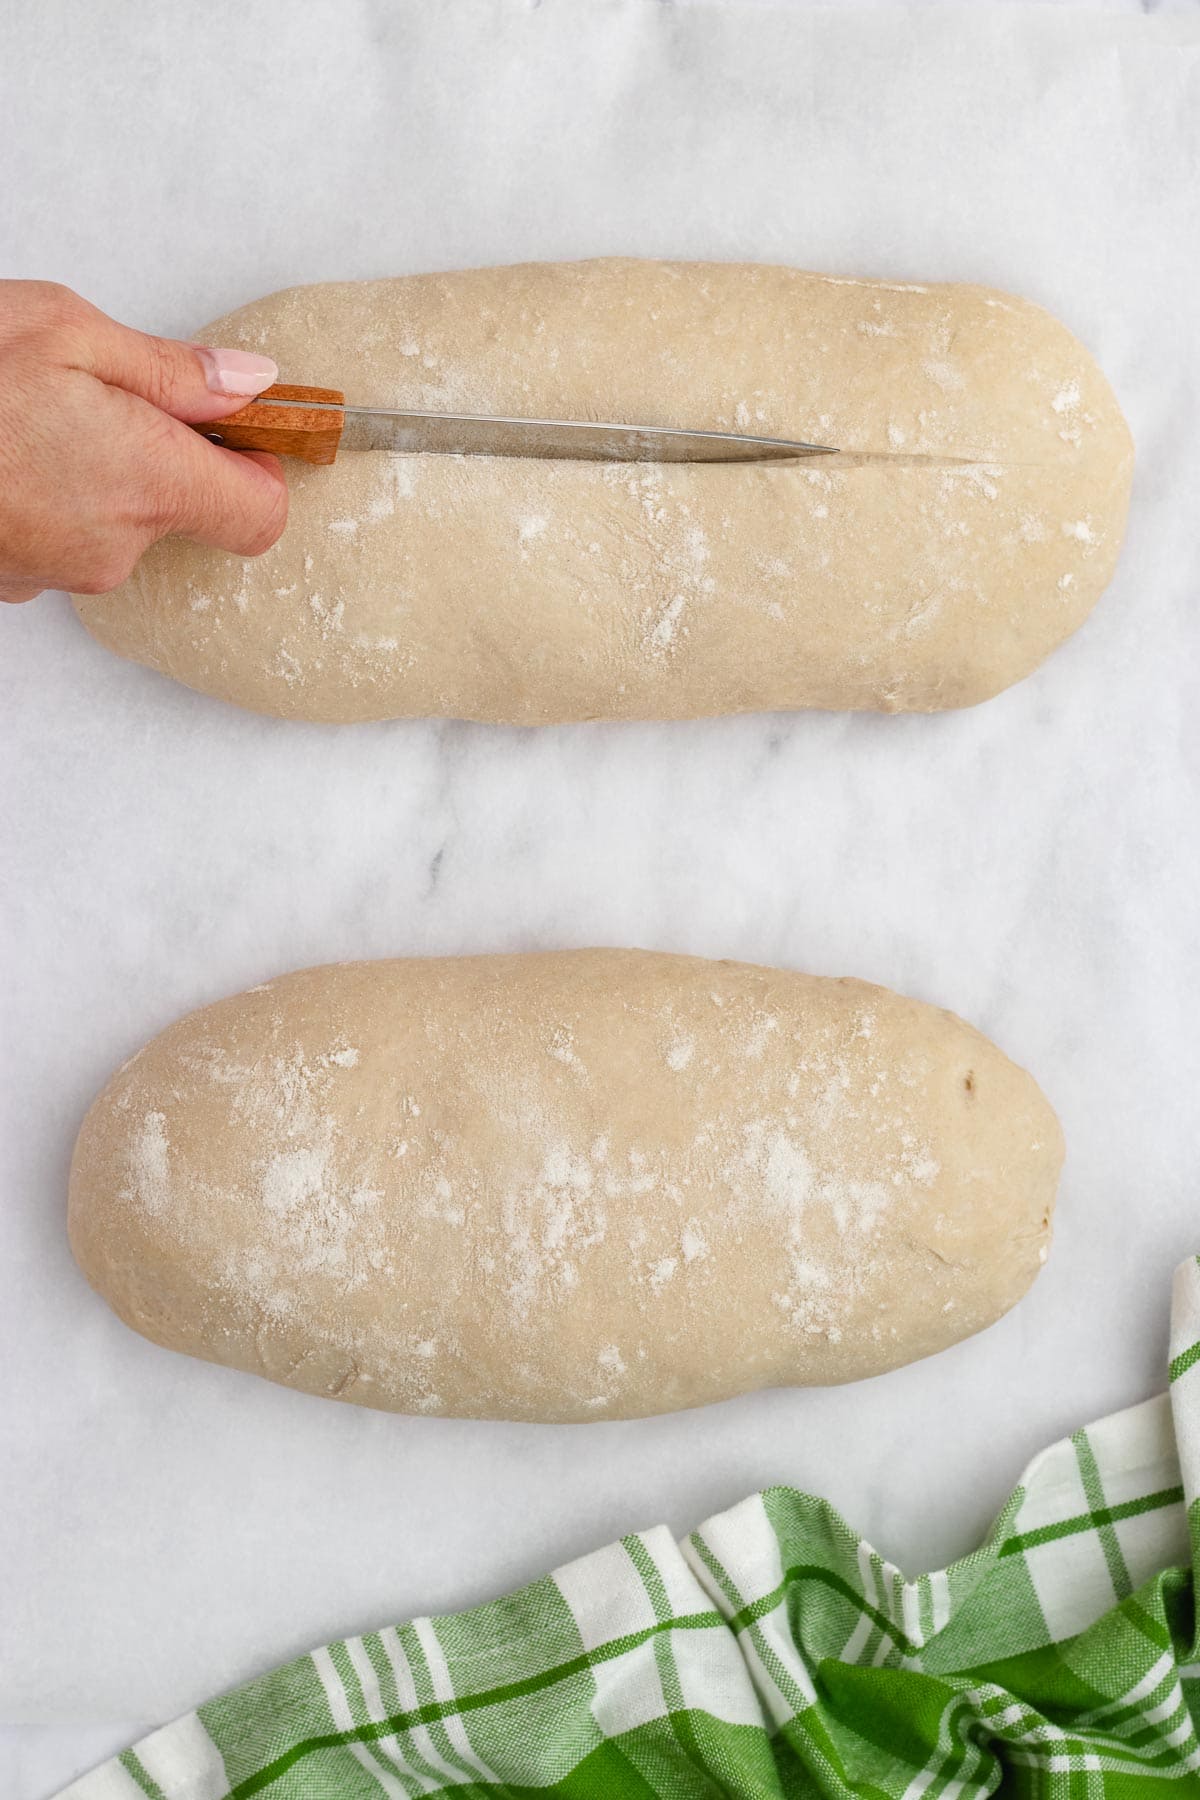
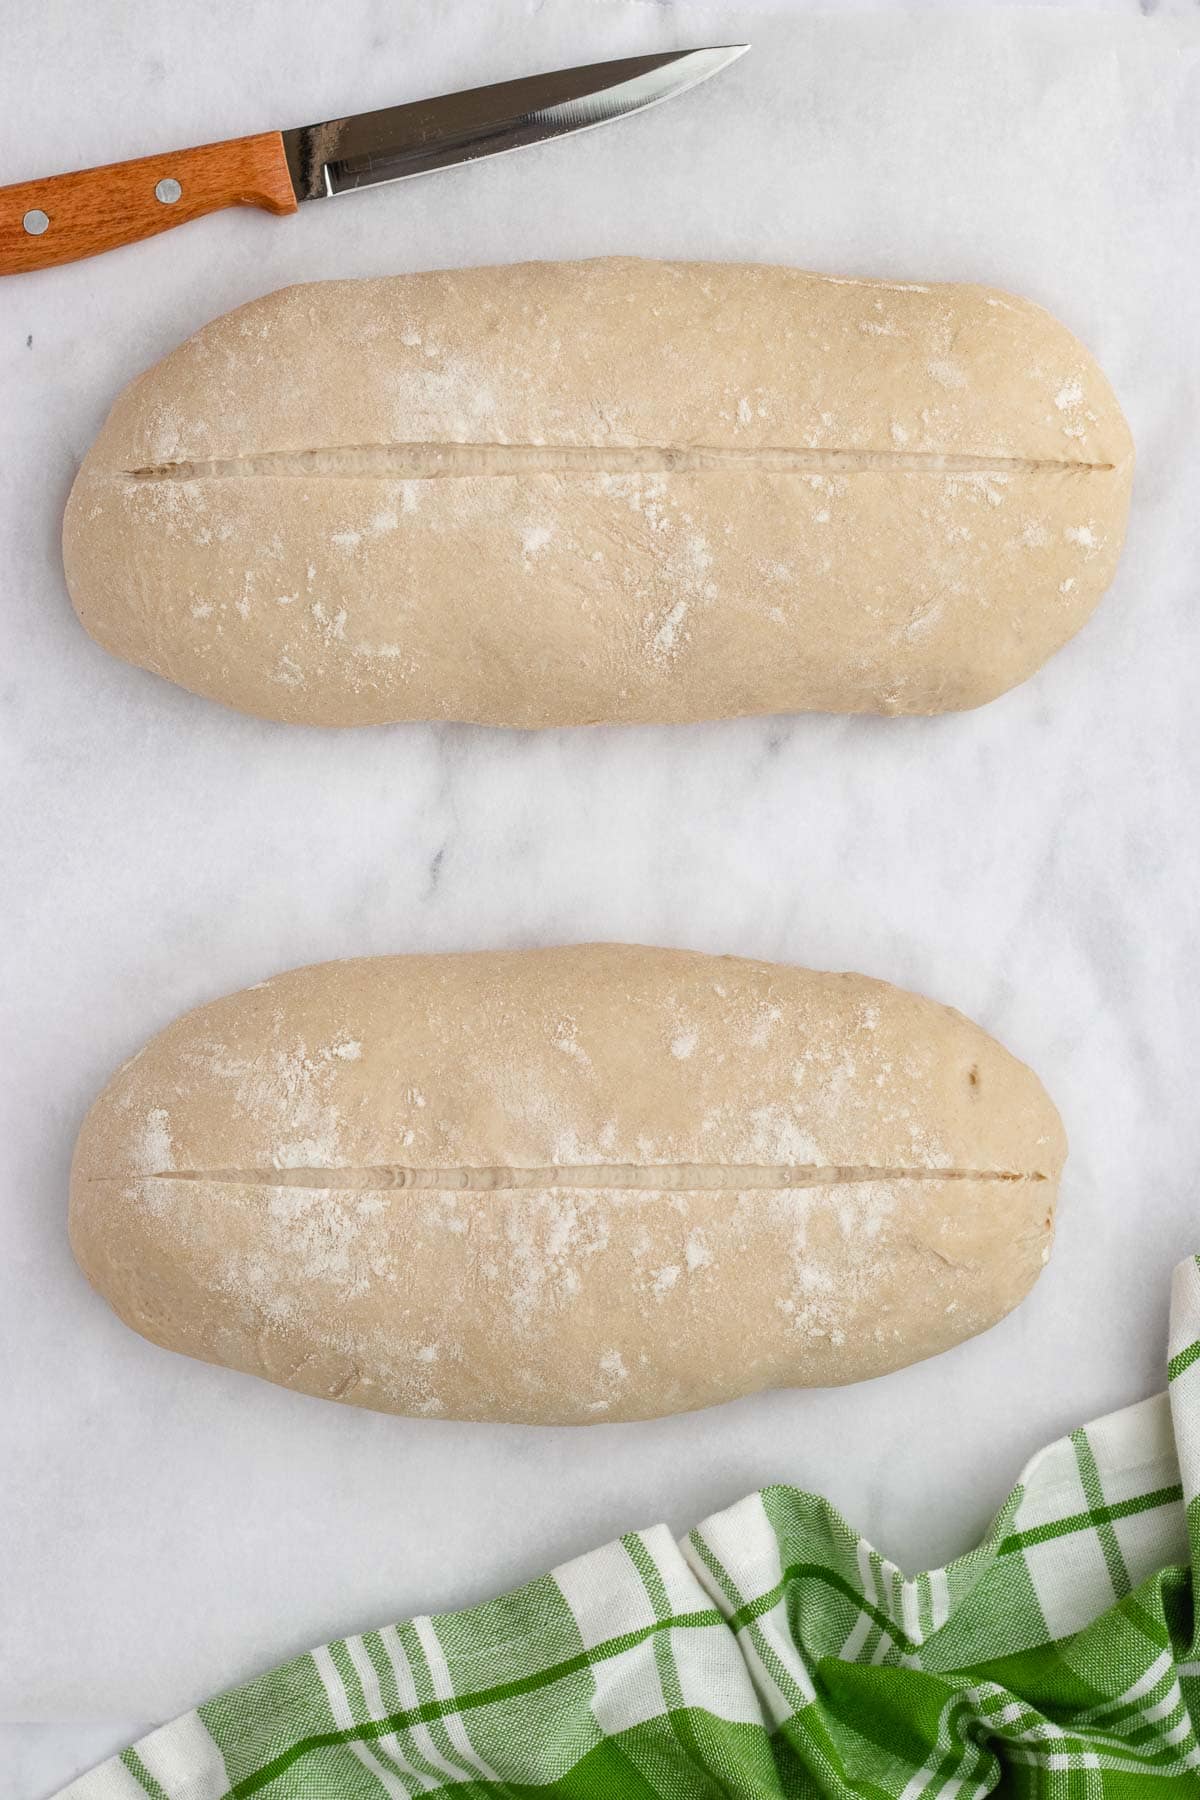
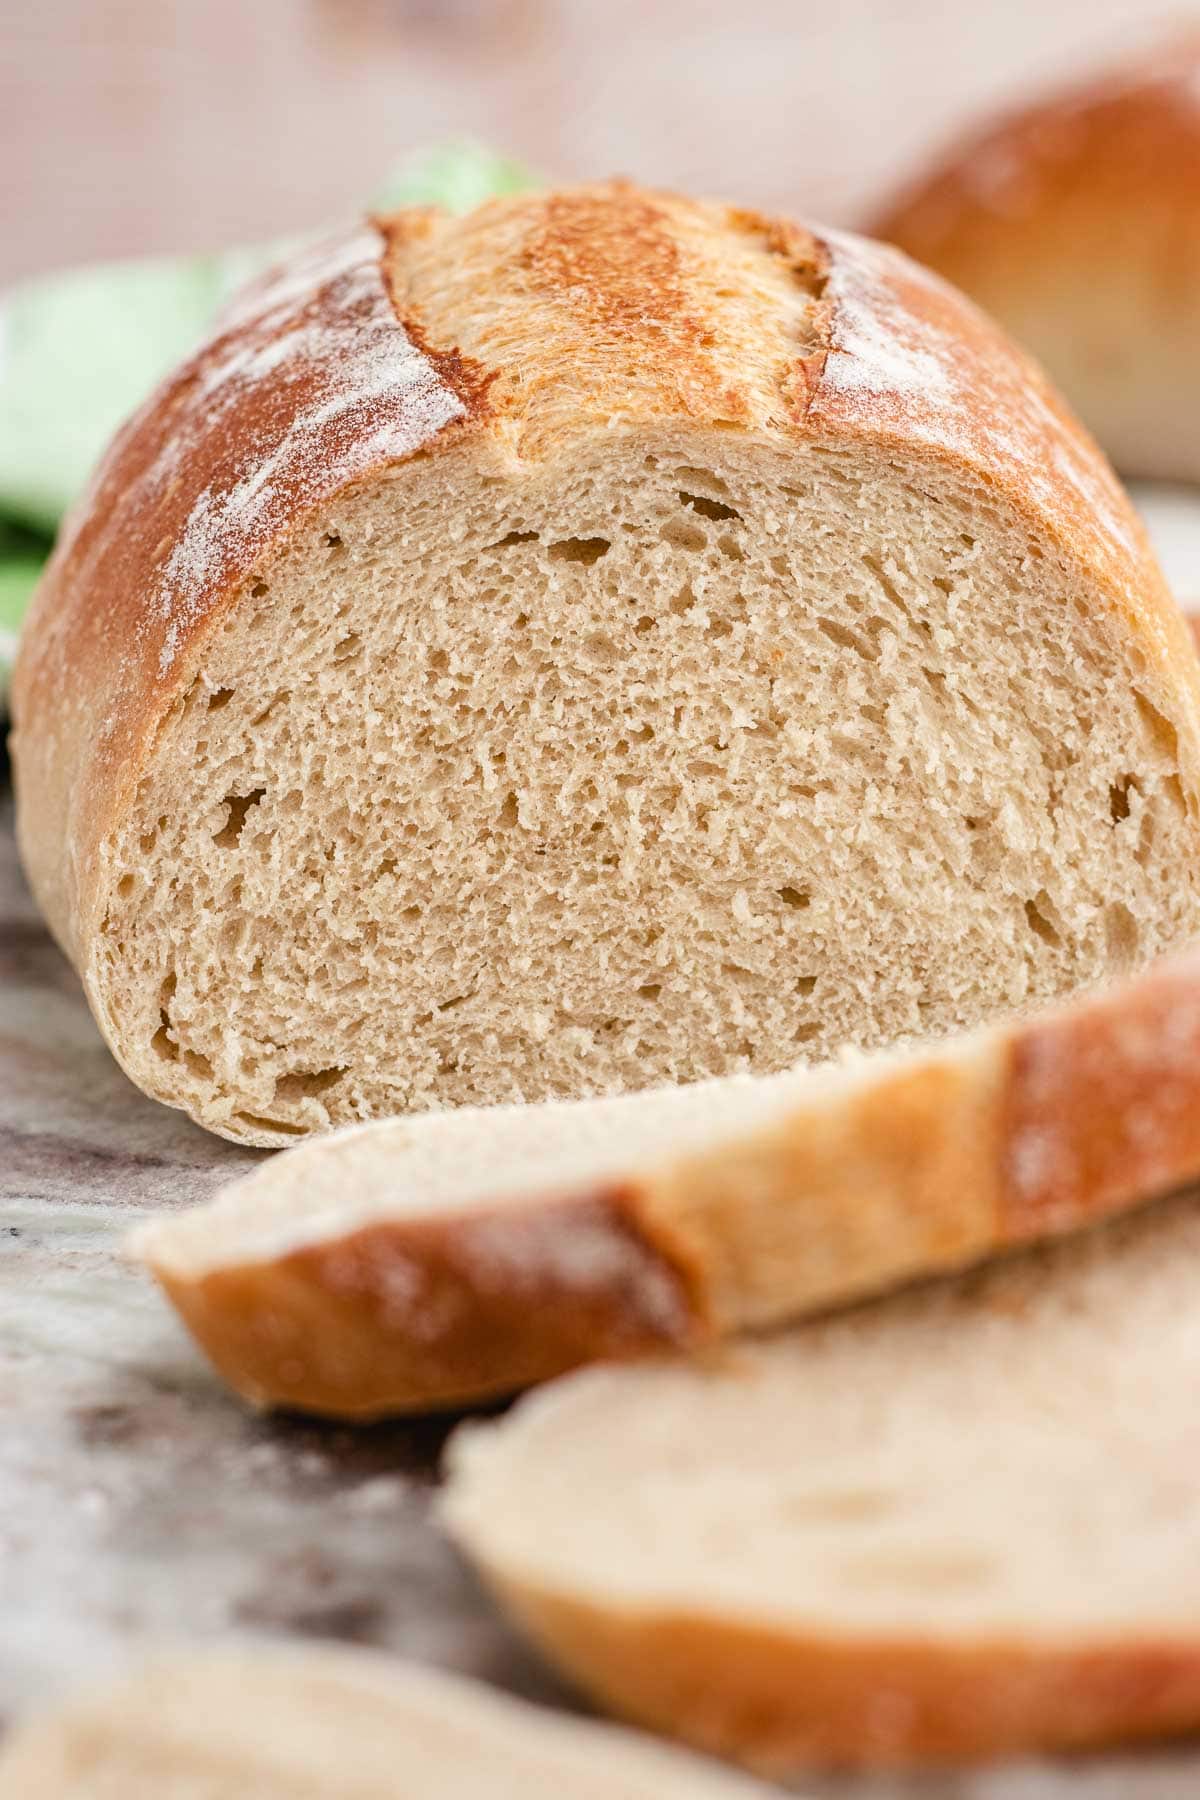
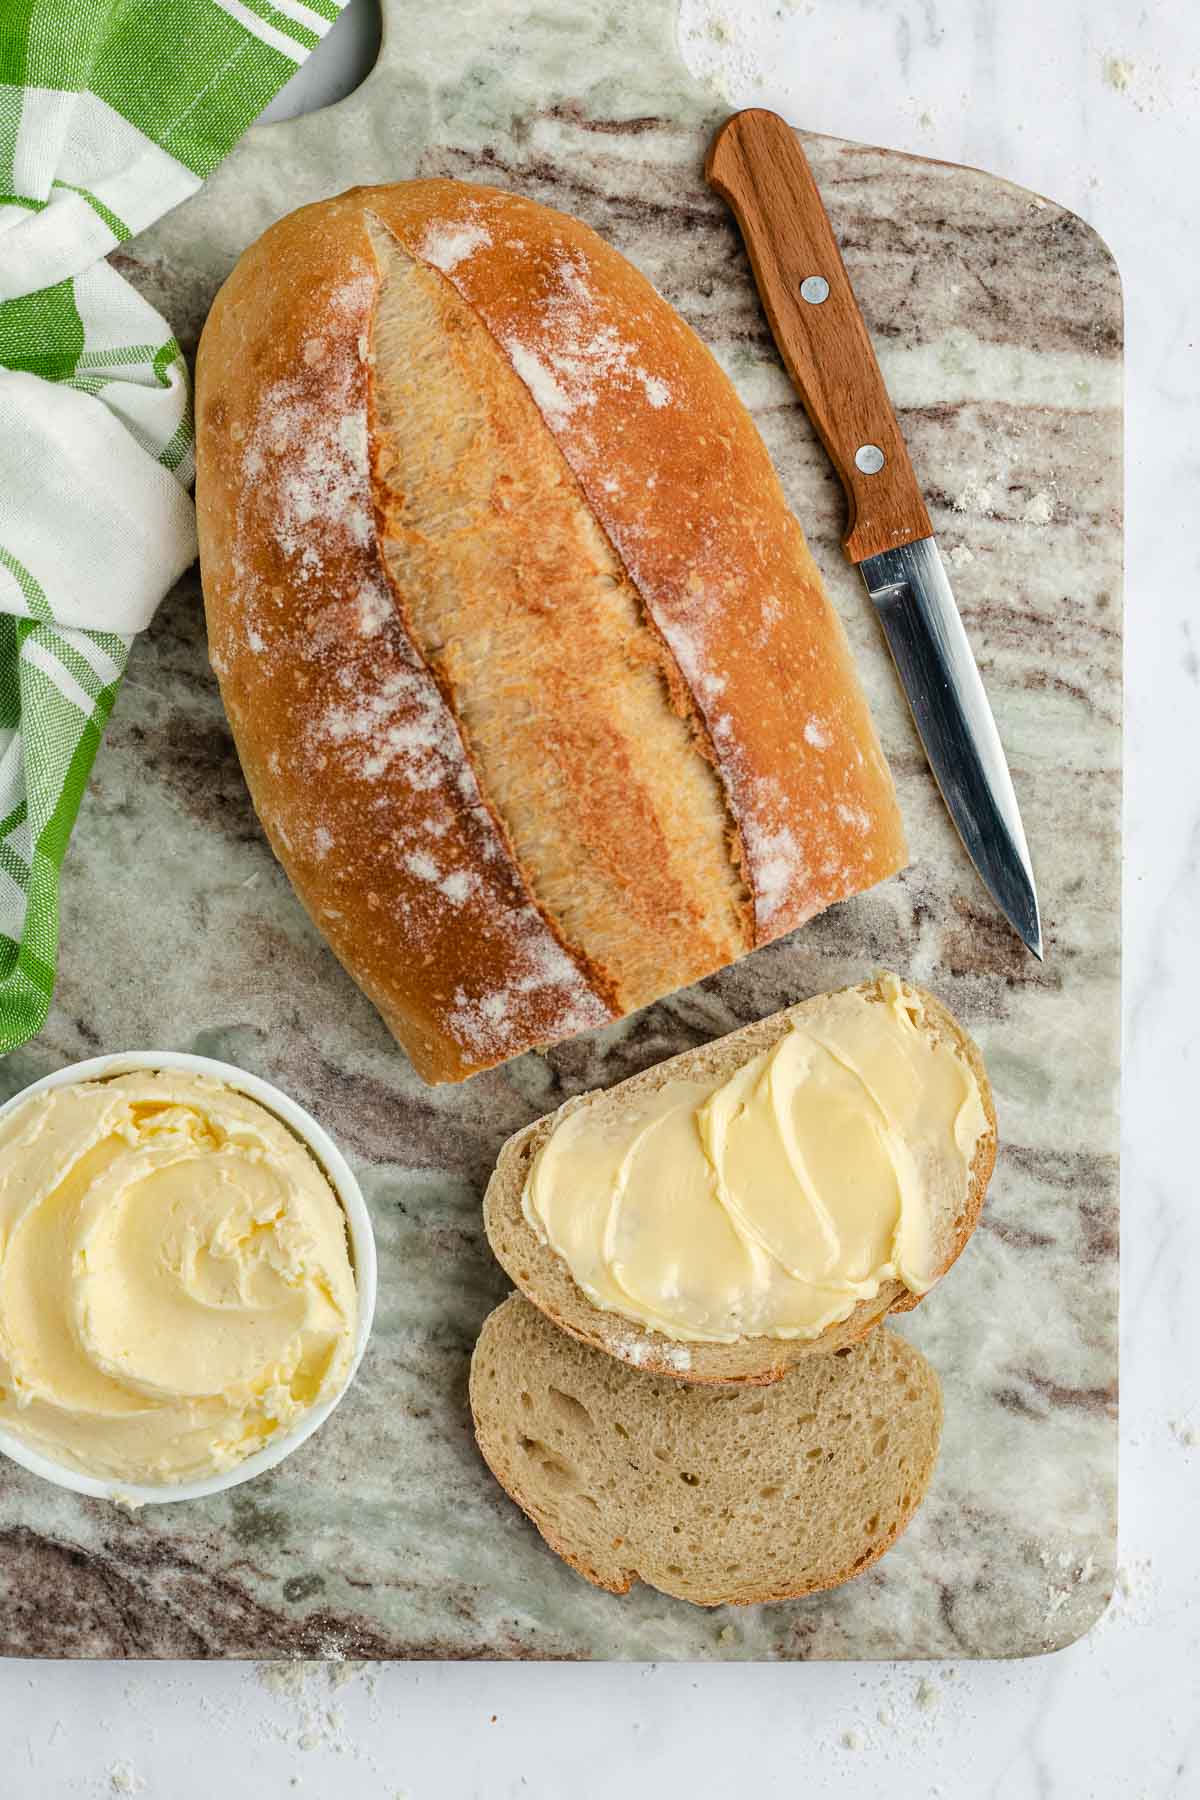
Table of contents
Sabrina’s Italian Bread Recipe
Sabrina’s Hearty Italian Bread Recipe is a wonderful way to bake your own delicious bread at home. This classic Italian bread recipe is easy to follow and uses simple ingredients. You’ll mix, knead, and let the dough rise, resulting in a light and fluffy texture. What makes this recipe special is the way you shape the loaves and make a pretty design on top before baking. While it doesn’t specify a particular region in Italy, it captures the essence of traditional Italian bread. It’s a fun and rewarding activity that gives you a fragrant, golden-brown loaf to enjoy.
If you’re looking for the perfect Side Dish or sandwich bread, then you should definitely try this recipe. The firm crust and soft center make Italian Bread excellent for dipping in soup, toasting to use in a Bacon Lettuce Tomato Sandwich, or another classic sandwich.
Can Italian Bread Be Made Ahead of Time?
Yes, Italian Bread can be made ahead of time by preparing the dough, letting it rise, shaping the loaves, and then refrigerating them overnight. Simply bring the dough to room temperature and bake. You can also make the bread and store it 2-3 days on the counter wrapped in an airtight container, or up to a week in the fridge.
Ingredients
- 1 package (¼ ounce) Active Dry Yeast: Yeast is a crucial ingredient that helps the dough rise by fermenting the sugars in the flour, resulting in a fluffy and airy texture. You can use instant yeast as a substitute, but adjust the quantity and skip the initial proofing step.
- 2 cups Warm Water (110-115 degrees Fahrenheit): Lukewarm water activates the yeast and helps create a suitable environment for dough fermentation. Ensure it’s not too hot to prevent killing the yeast.
- 1 teaspoon Sugar: Sugar serves as food for the yeast, aiding in its fermentation process. It adds a subtle sweetness to the bread. We’re using granulated sugar for this recipe.
- 2 teaspoons Salt: Salt enhances the flavor of the bread and regulates yeast activity. You can use table salt as a substitute, but reduce the amount slightly.
- 5 ½ cups Flour: Flour is the primary structure of the bread, providing the necessary gluten for texture and structure. You can use all-purpose flour or bread flour, but bread flour results in a slightly chewier texture. Whole wheat flour can also be used for a healthier alternative with a nuttier taste.
Key Tools & Equipment
- Stand Mixer: A stand mixer with paddle and dough hook attachments makes kneading and mixing the dough effortless. However, you can knead by hand if you don’t have one.
- Baking Sheets: Baking sheets are essential for shaping and baking the loaves. Use parchment paper or lightly grease them to prevent sticking.
- Large Bowl: A large bowl is needed for the initial dough rise. Ensure it’s grease-free and cover it with a floured cotton towel.
- Sharp Knife: You’ll need a sharp knife for scoring the loaves just before baking. This allows the bread to expand properly while baking and creates an appealing design on the crust.
- Dough Knife: A dough knife rectangle in shape and can be a useful tool for working with dough, such as cutting, shaping, and handling it during the bread-making process.
How to Make
Time needed: 2 hours
- Step 1: Activate Yeast
In the mixing bowl of a stand mixer, combine 1 package (¼ ounce) of Active Dry Yeast with 2 cups of warm water (110-115°F). Stir and let it sit for 1 minute to activate the yeast.
- Step 2: Mix Initial Ingredients
Add 1 teaspoon of Sugar, 2 teaspoons of Kosher Salt, and 3 cups of Flour to the yeast mixture. Use a paddle attachment on medium speed to combine the ingredients until smooth.
- Step 3: Knead the Dough
Switch to a dough hook attachment and gradually add the remaining flour in ½ cup increments. Knead for 7-9 minutes until the dough becomes smooth and elastic.
- Step 4: First Rise
Grease a large bowl, place the dough inside, and cover it with a cotton towel (tea towels are great for this). Allow it to rise for 1 hour until it doubles in size.
- Step 5: Prepare Loaves
Punch down the dough, then remove it to a floured surface. Divide it in half and shape each half into a loaf, placing them seam side down on baking sheets.
- Step 6: Second Rise
Cover each baking sheet with a dry cotton towel and let the loaves rise for another 30 minutes.
- Step 7: Preheat Oven
Preheat your oven to 400°F while the loaves are rising.
- Step 8: Score and Bake
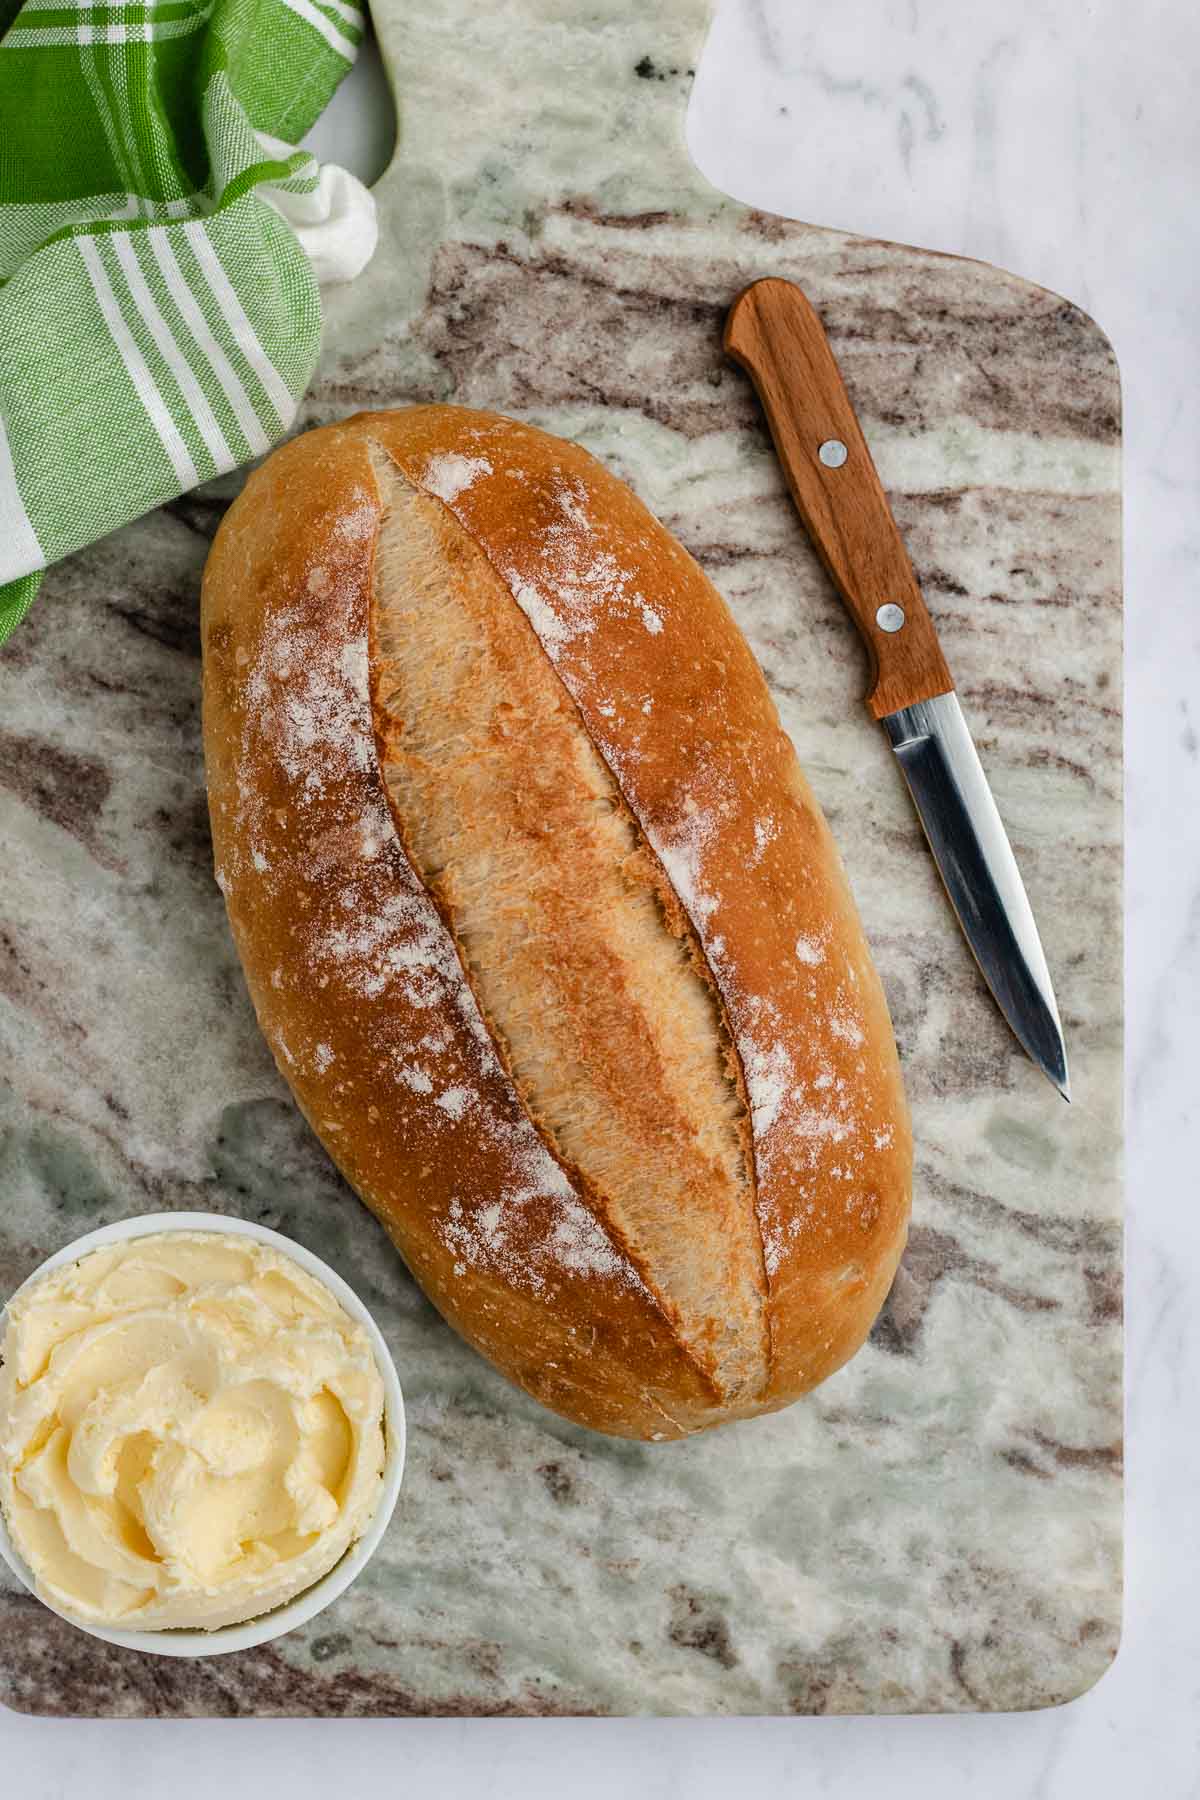
Just before baking, use a sharp knife to make a shallow line through the middle of each loaf. Bake in the preheated oven for 20-25 minutes or until golden brown.
- Step 9: Cool and Enjoy
Remove the bread from the oven and let it cool on a wire rack. Once cooled, slice and enjoy your homemade Hearty Italian Bread!
Nutritional Facts
Tips & Tricks
- Greased and Oiled Bowl: When you let your dough rise in a greased bowl, make sure to coat the entire surface of the bowl with a couple of tablespoons of olive oil. This prevents the dough from sticking to the bowl as it rises.
- Parchment Paper on Baking Sheet: You can use a baking sheet if you don’t want to use a bread tin. Line your baking sheet with parchment paper before placing the shaped bread loaves on it. This not only prevents sticking but also makes cleanup a breeze. This is the way we’re doing it here.
How to Store
To keep your Italian Bread fresh, store it in an airtight container or resealable plastic bag at room temperature for 2-3 days. Ensure it’s properly sealed to prevent moisture loss, which can make the bread go stale.
Reheating Tips
To revive the taste and texture, preheat your oven to 350°F, wrap the bread in foil, and warm it for 10-15 minutes. This helps maintain its crusty exterior and soft interior.
Freezing
For longer storage, freeze slices in an airtight bag or container for up to 3 months. Thaw at room temperature or reheat in the oven to enjoy the same fresh taste and texture as when it was first baked.
Frequent Questions
When you’re adding the flour, the goal is to make the dough soft and elastic but not sticky. Make sure you don’t add the flour too fast. Let the mixer knead the flour in before adding the next scoop so that you don’t over-flour the bread.
If you don’t have a stand mixer, then you can still make this bread recipe by hand. Just make sure you knead the dough long enough for the gluten to develop and the dough to soften.
es, you can substitute instant yeast for active dry yeast in this recipe. Use the same amount, but skip the initial proofing step and mix the instant yeast directly with the dry ingredients.
You can use bread flour for a slightly chewier texture, or whole wheat flour for a nuttier taste.
Avoid over-kneading the dough, as this can result in a dense texture. Knead until it’s smooth and elastic, but don’t overdo it. Additionally, ensure the dough rises in a warm place, and don’t rush the rising process.
Scoring the loaves (cutting the shallow line across the top) allows the bread to expand properly during baking and helps create an attractive crust. It also prevents the bread from cracking unpredictably. Use a sharp knife to make shallow cuts just before placing the loaves in the oven.
Recipe Card
Ingredients
- 1 package active dry yeast , (¼ ounce)
- 2 cups warm water , 110-115 degrees
- 1 teaspoon sugar
- 2 teaspoons kosher salt
- 5 1/2 cups flour
Instructions
- In your stand mixer add the active dry yeast and the warm water, stir and let sit for 1 minute.
- Add in the sugar, salt and 3 cups of the flour, with a paddle attachment on low speed until combined.
- Switch to dough hook and add in flour in ½ cup increments until smooth and elastic, kneading in the stand mixer for 7-9 minutes total.
- Grease a large bowl, add the dough to the bowl and cover with a floured cotton towel in a warm place.
- Let rise for 1 hour.
- Punch down the dough, remove to a floured surface and cut in half.
- Shape each half into a loaf shape (seam side down) and place each loaf on a baking sheet.
- Cover each sheet with a dry cotton towel and let rise another 30 minutes.
- Preheat oven to 400 degrees.
- Cut a shallow line through the middle of the top of each loaf.
- Bake for 20-25 minutes or until golden brown.
Notes
- Click on the “yield” amount to slide and change the number of servings and the recipe will automatically update!
- Click on times in the instructions to start a kitchen timer while cooking.
- To convert measurements to grams, click on the “Metric” option next to “Ingredients” in the recipe card.
Nutrition
Want to save this recipe? Create a free account to easily save your favorite recipes
Variations on Italian Bread
- Honey Oat Bread: To make Italian Bread with a honey oat topping, prepare the bread dough as usual (you can add a little honey if you like). Then once you have the dough rolled into loaves, brush with an egg wash, and sprinkle rolled oats over the top. Drizzle honey on top of that, and bake.
- Cheese Bread: If you want to add some cheese flavor to this recipe, mix in shredded cheese with the dough. Mozzarella, parmesan, provolone, muenster, or sharp cheddar would taste great in this Hearty Italian Bread.
- Add-ins: There are plenty of other mix-ins that you can add to the bread dough. Try mixing in herbs like chives, rosemary, parsley, or oregano. You can also mince half of a medium onion or a garlic clove to add.
- French Bread Variation: To transform this recipe into a French bread variation, shape the dough into a longer baguette-like form. This yields a different crust-to-crumb ratio, perfect for sandwiches or dipping in soups.
Related Recipes
More Yummy Bread Recipes


Fantastic bread!
Glad you enjoyed the bread Marie!
You first say use an ungreased bowl to rise in and then you say grease a bowl. Which is best?
Thank you for asking Anna. That was a mistake I need to fix. Please grease the bowl and sorry for the confusion.
Do you bake both loaves on 1 baking sheet or 1 loaf on its own baking sheet? Thank you!
Parchment Paper on Baking Sheet: You can use a baking sheet if you don’t want to use a bread tin. Line your baking sheet with parchment paper before placing the shaped bread loaves on it. This not only prevents sticking but also makes cleanup a breeze.
Both loaves on one cooking sheet lined with parchment paper.
Please let us know how your bread turned out!