
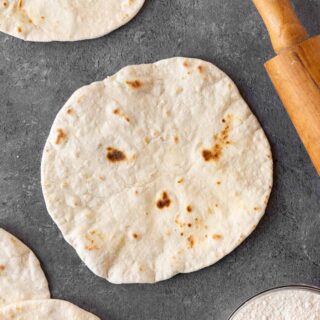
Easy recipe for Homemade Flour Tortillas with just 5 ingredients! Warm, soft perfect tortillas for burritos, tacos, quesadillas and more!
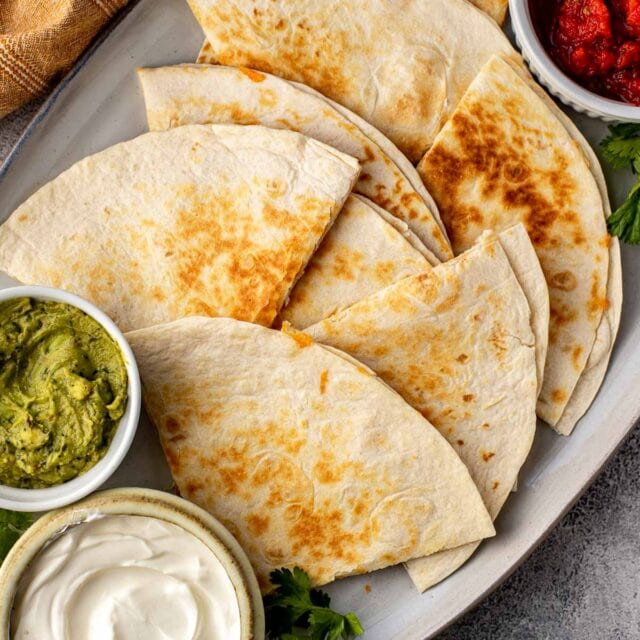
Soft, Homemade Tortillas are the perfect base that you can use to serve your favorite Mexican food like Beef Enchiladas, Chicken Burritos, or Shrimp Tacos. It’s an easy way to make Dinner Recipes even more fresh and delicious.
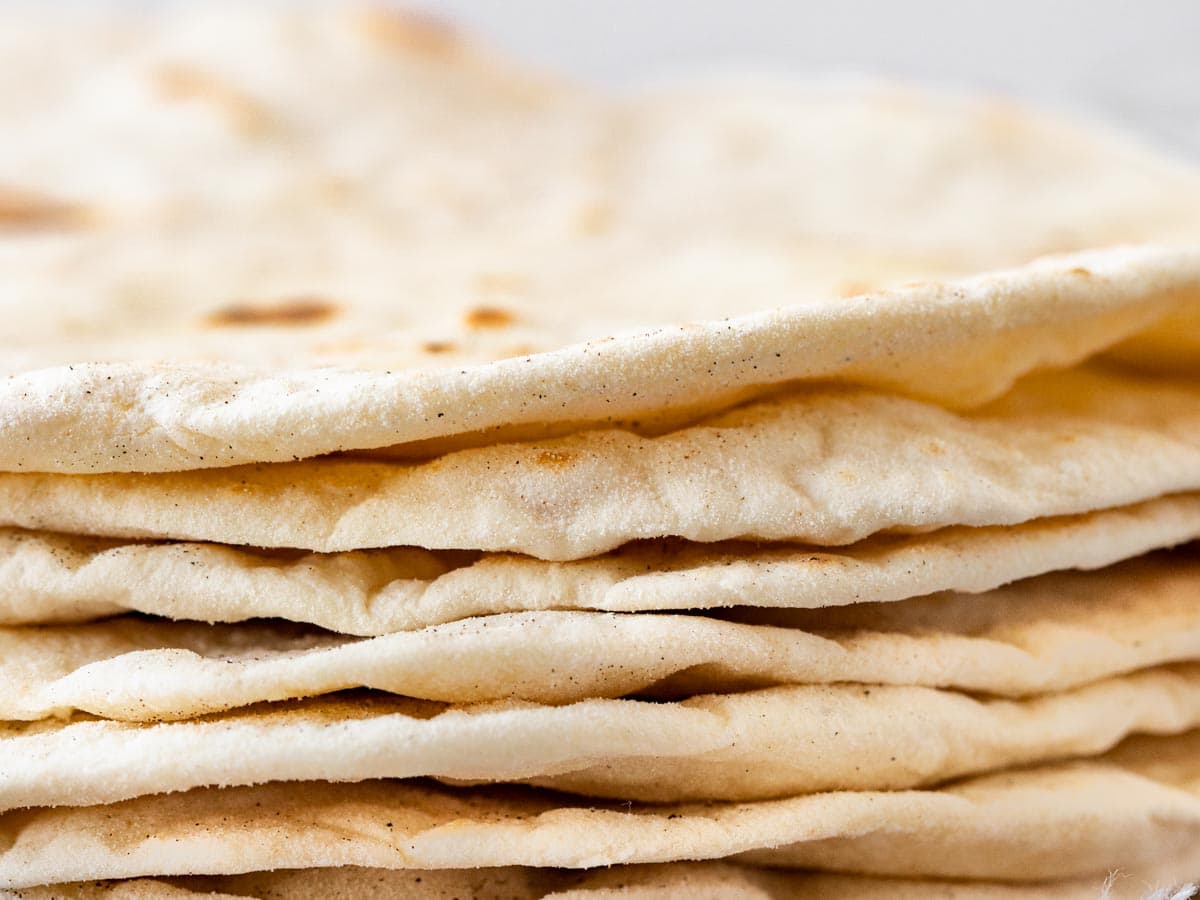
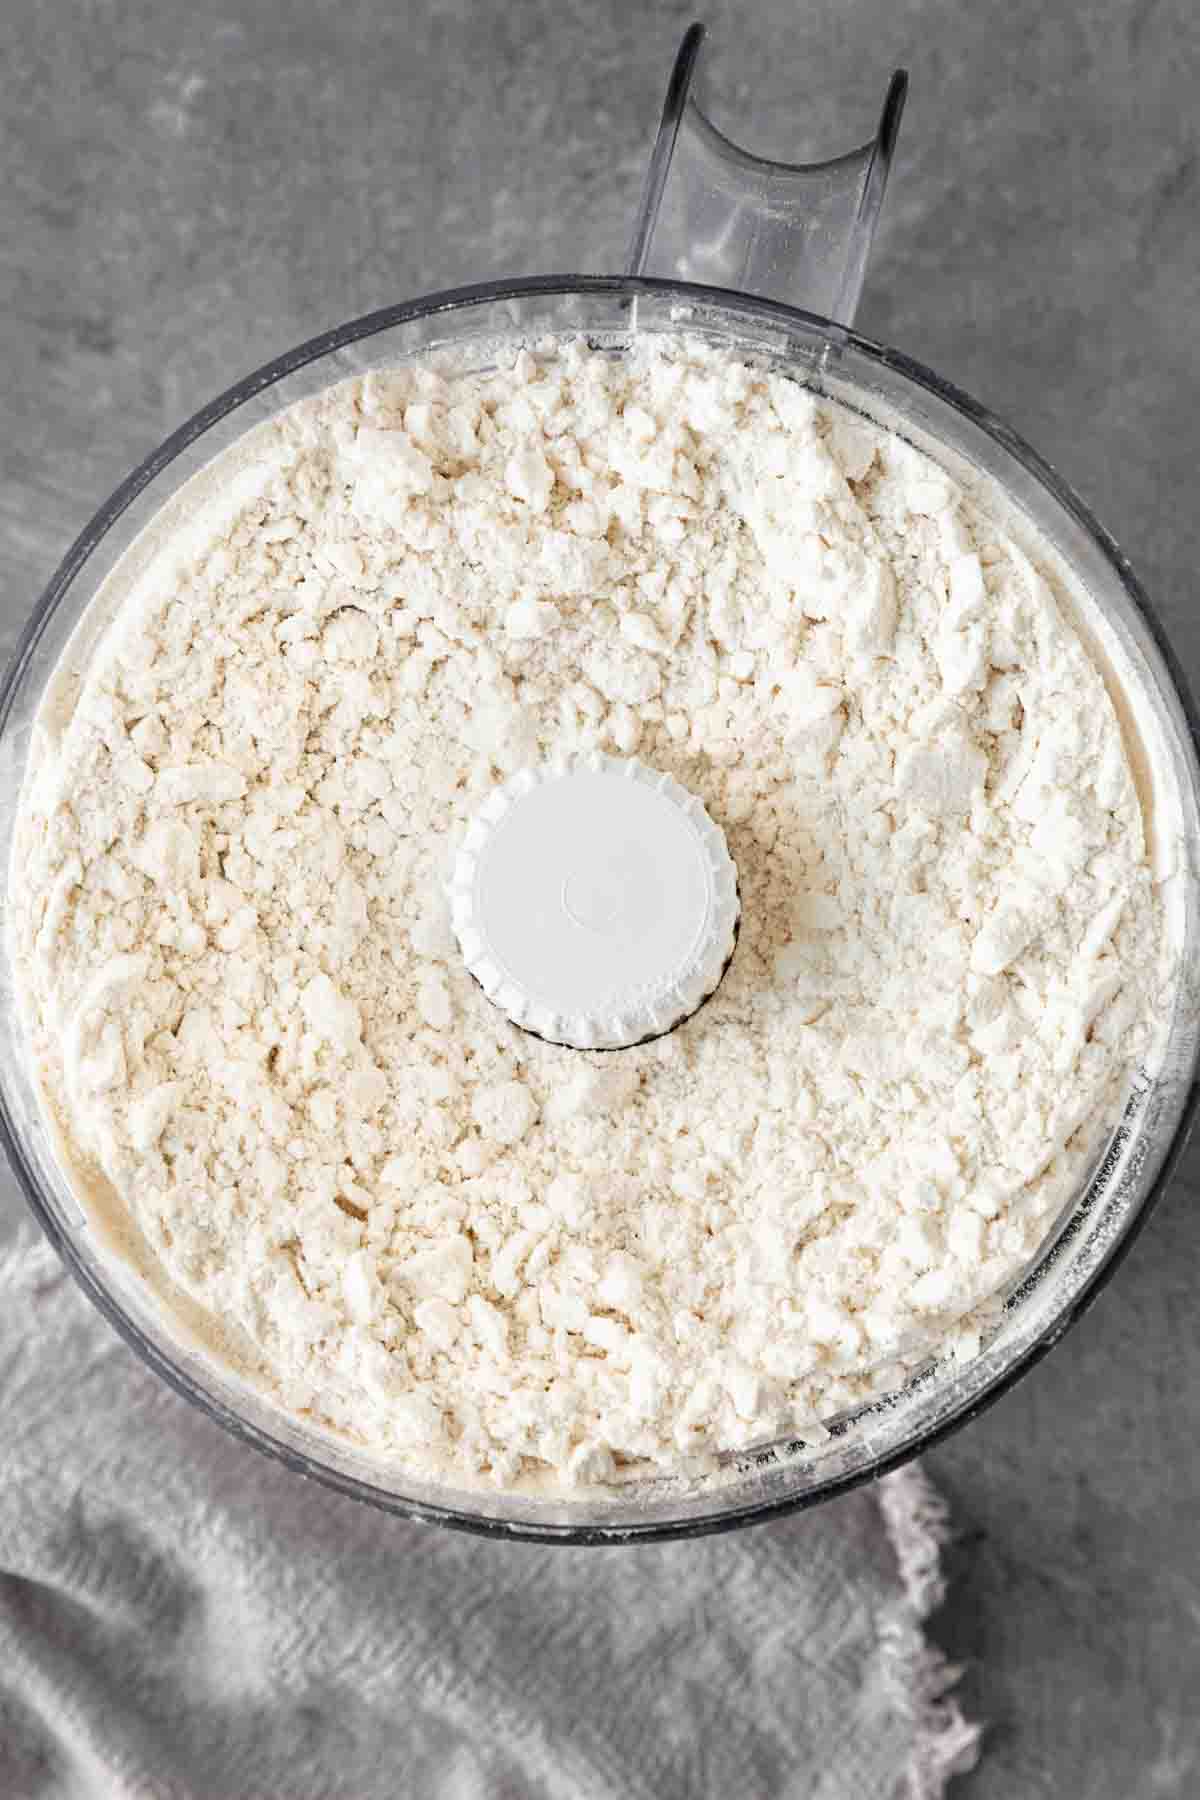
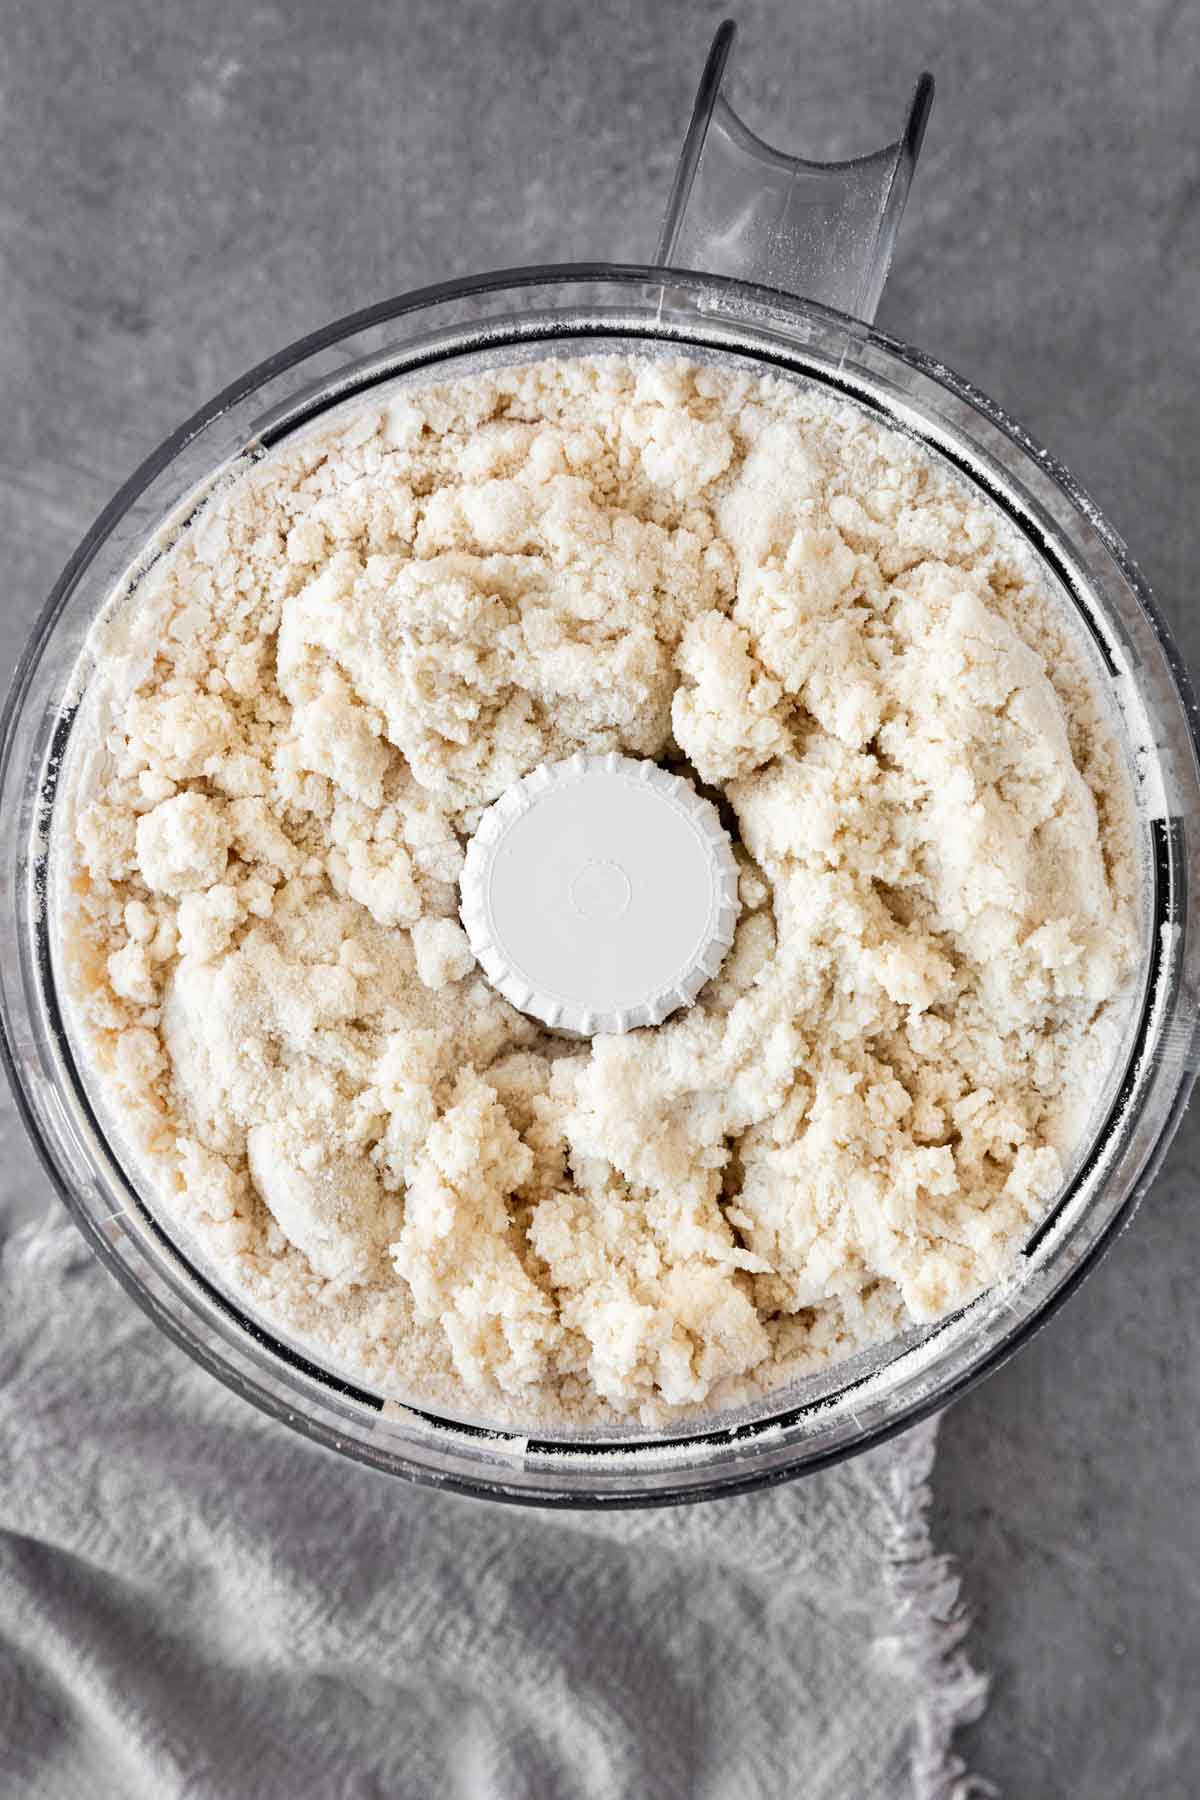
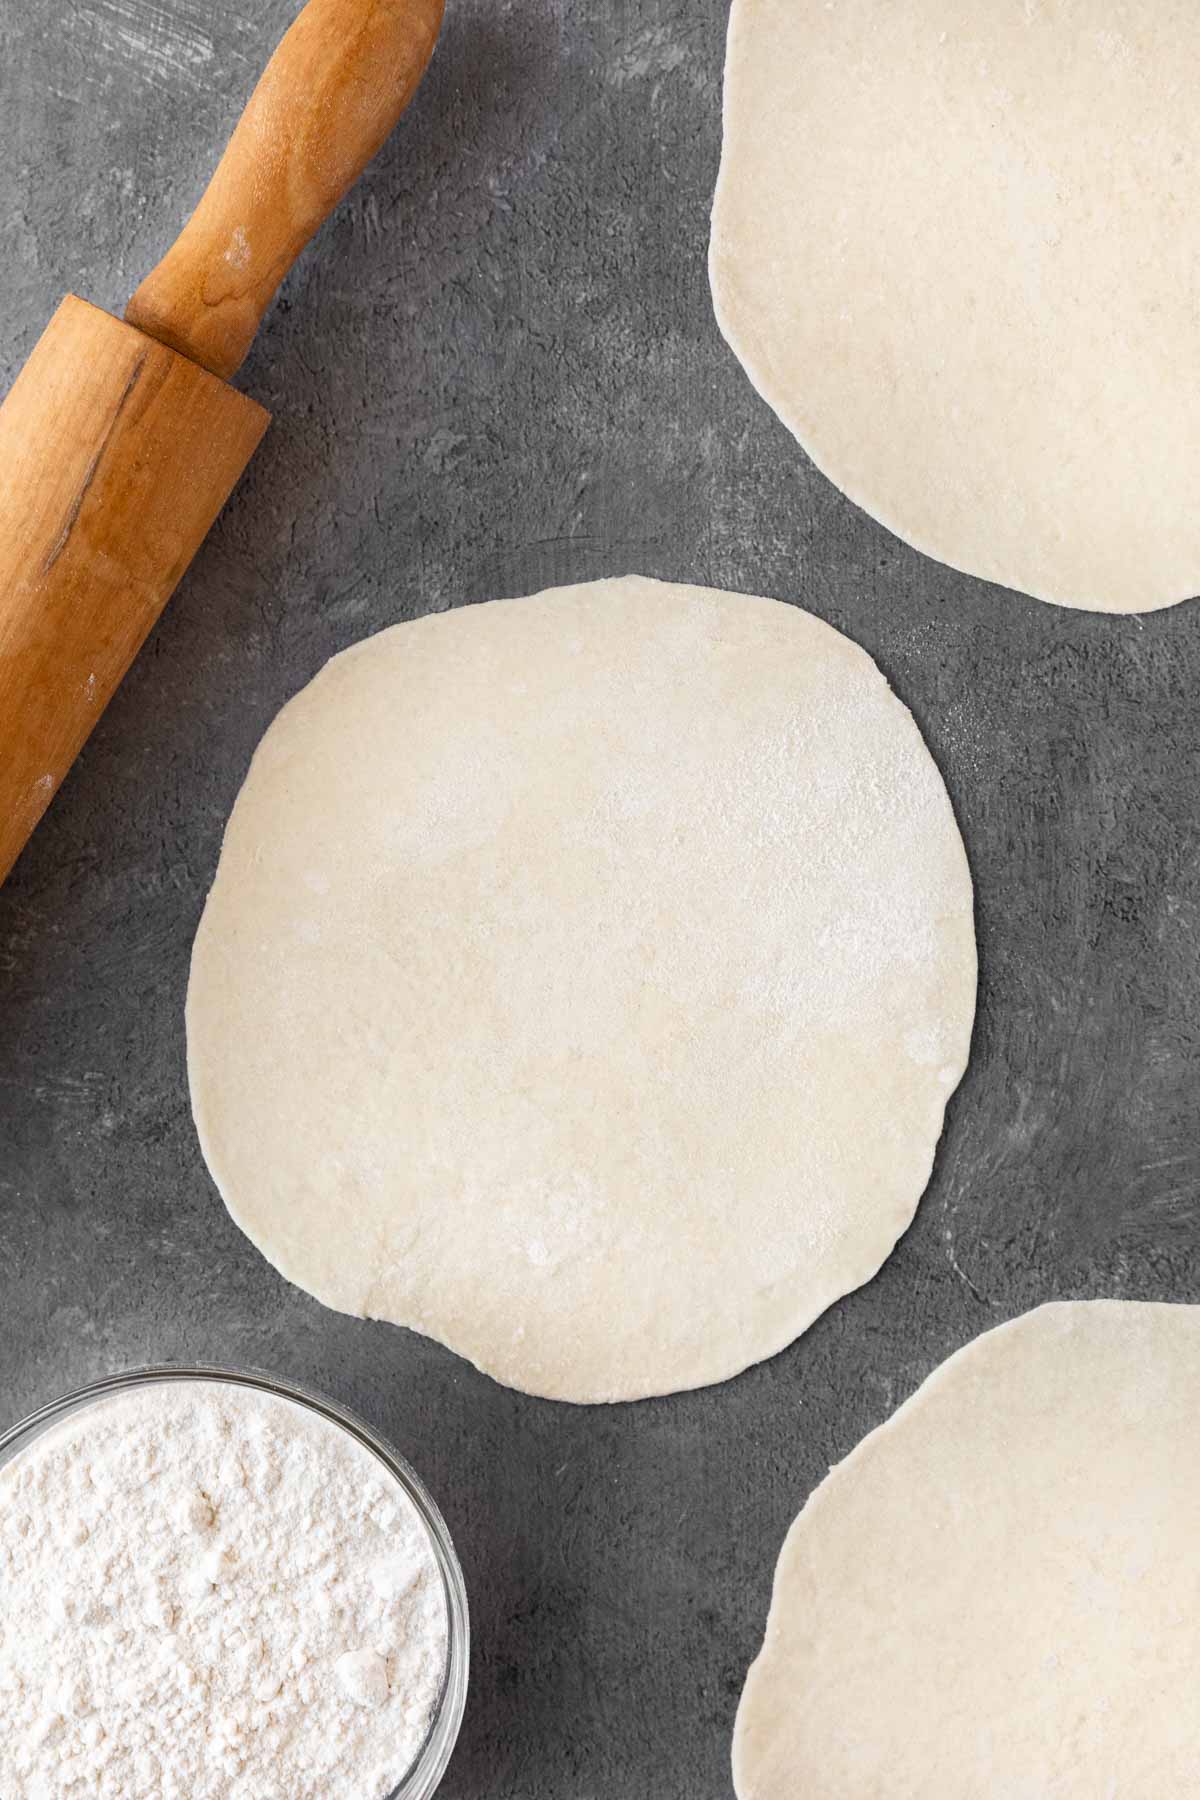
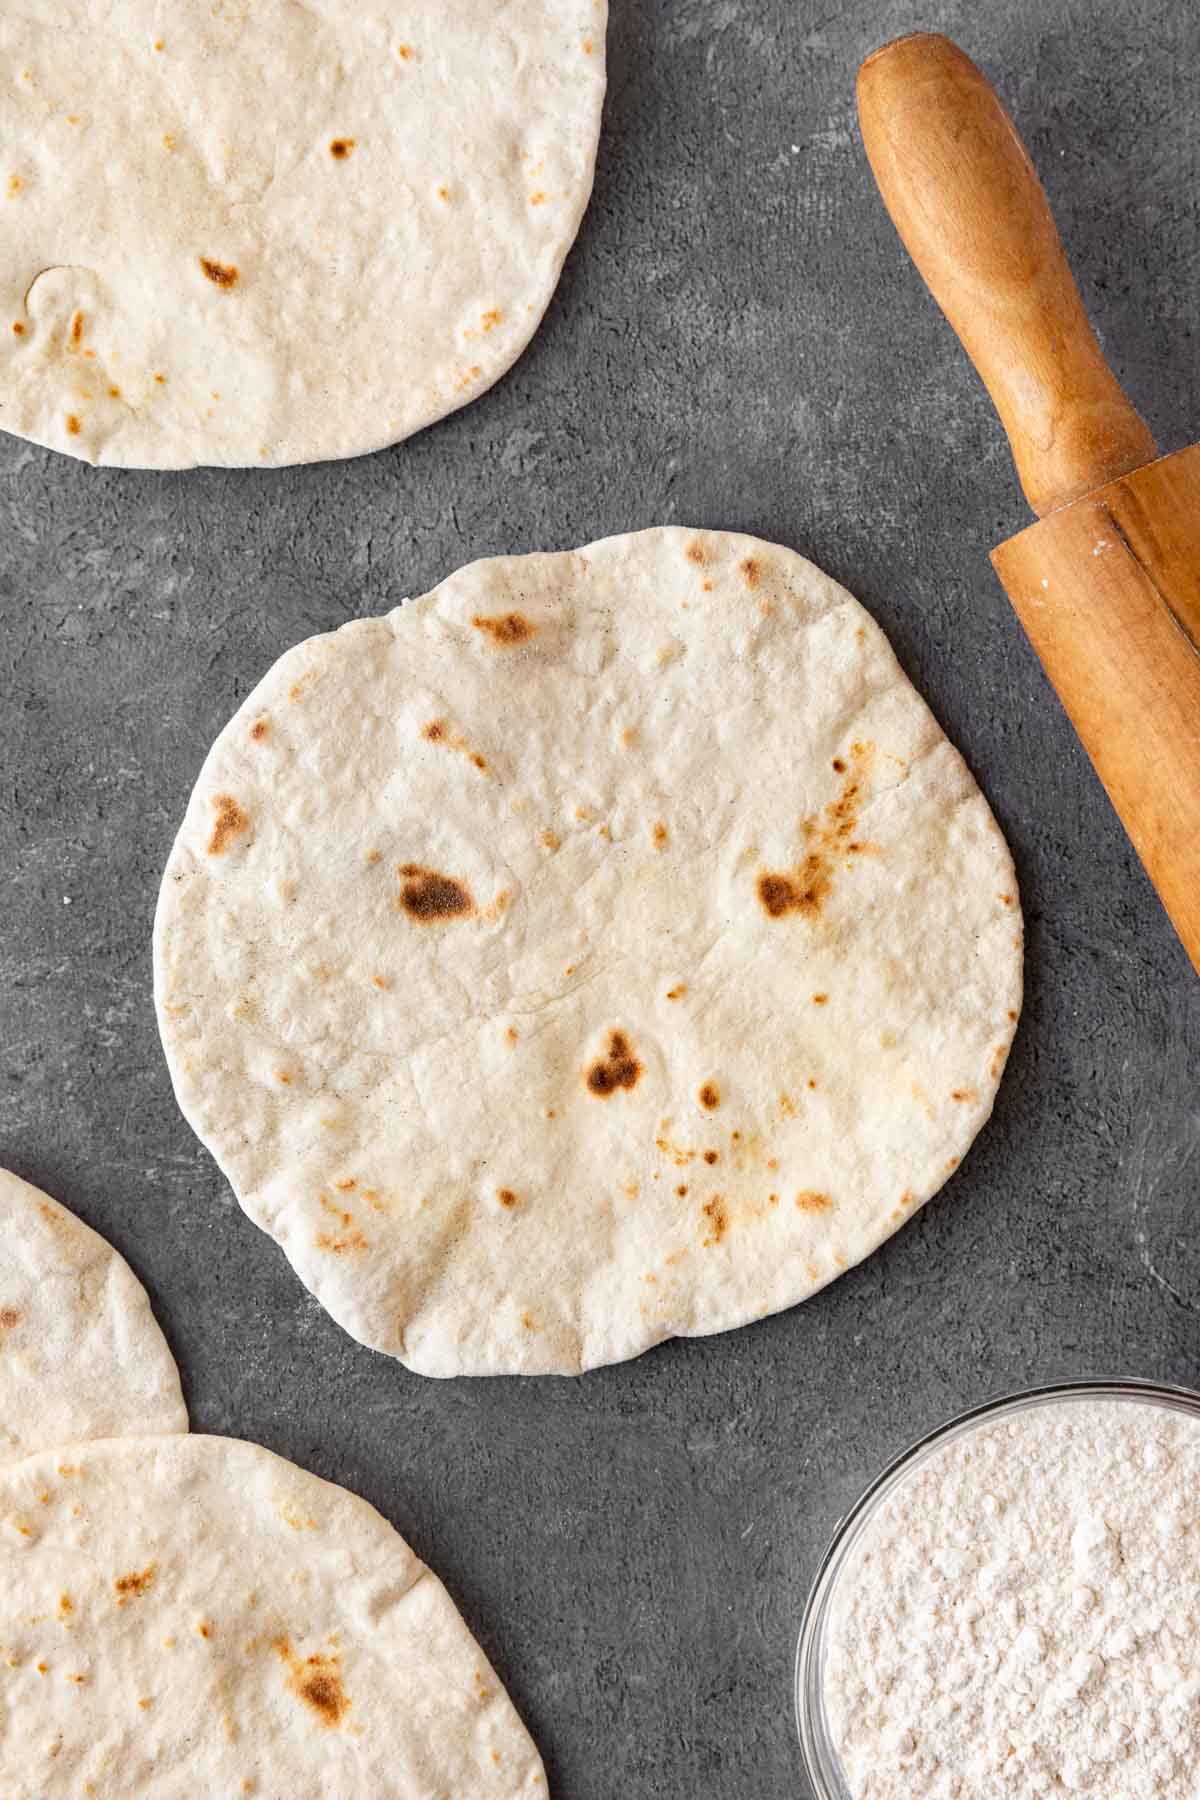
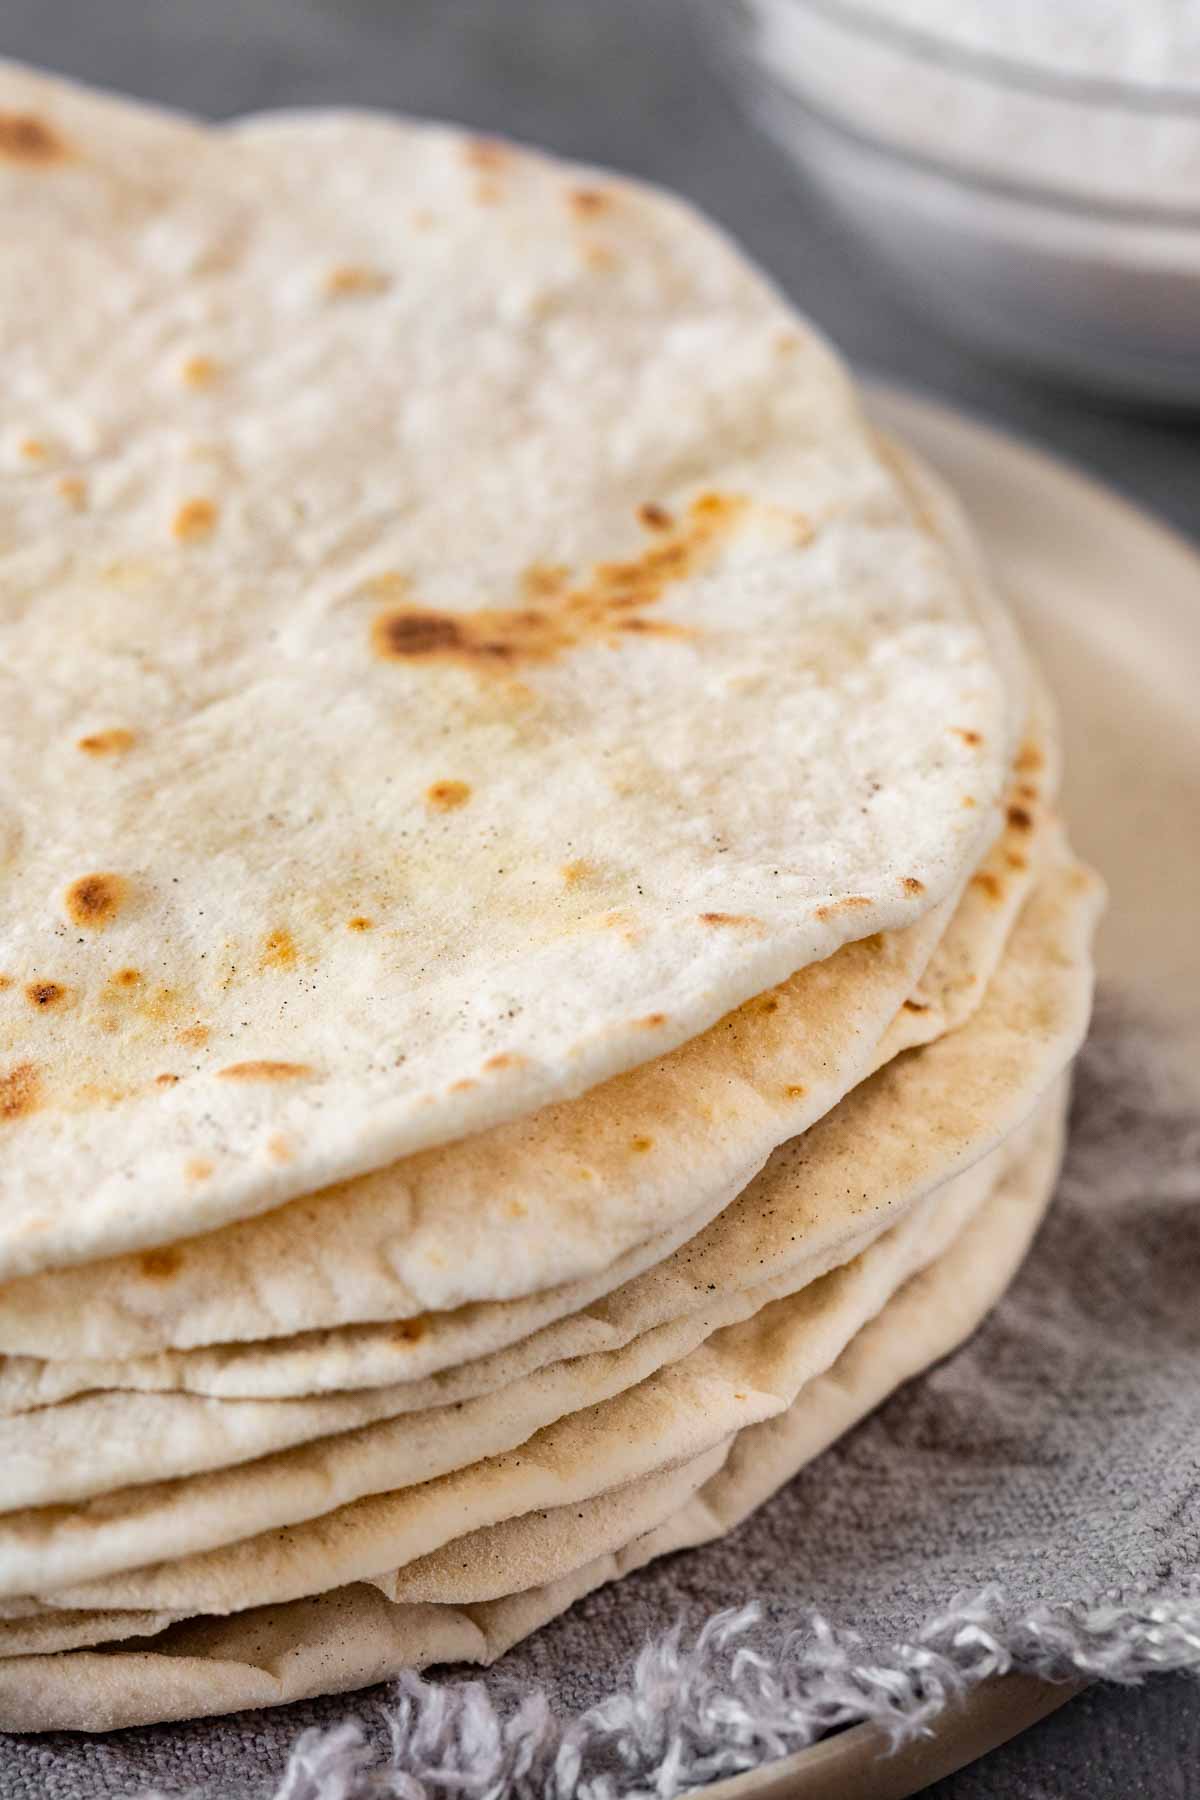
Table of contents
Sabrina’s Homemade Flour Tortillas Recipe
Making your own authentic Flour Tortilla recipe is the perfect way to elevate your family Mexican dinner night to the kind of delicious meal you’d have at a Mexican restaurant. Fill up the homemade tortillas while they’re still slightly warm and enjoy your favorite recipes with a completely fresh flavor.
You can make this Flour Tortilla recipe with a pretty basic process. It’s a simple matter of combining the recipe ingredients in a food processor, then kneading, and finally cooking each soft tortilla on a skillet. They’re ready in practically no time and so delicious.

Ingredients
- Flour: This recipe uses all-purpose flour to make light and soft flour tortillas. Flour tortillas are chewy, filling, and they make a strong base for you to add all your favorite taco ingredients.
- Baking Powder: One of the key dry ingredients in this recipe is baking powder. It acts as a leavening agent. While tortillas don’t rise the same way that other breads do, the baking powder adds a little bit of volume and chewy texture to the incredible flour tortillas.
- Oil: Tortillas are traditionally made with lard, which is what we recommend in this recipe. However, you can use other basic ingredients as the fat in the recipe, like vegetable oil, butter, or shortening.
- Water: The water helps make the dough, gives the tortillas moisture and binds everything together. You don’t want your dough too sticky or too dry, so add a little more flour or additional water a little at a time if needed.
- Salt: The salt is optional but it gives the delicious tortillas a little extra flavor and brings all the flavors together.
Kitchen Tools & Equipment
- Food Processor: If you don’t have a food processor, use a pastry cutter or your hands to mix the dough then knead by hand for 5 minutes.
- Rolling Pin: You don’t need a fancy tortilla press to make Homemade Flour Tortillas, just a rolling pin will do! If you do have a tortilla press, you can always use that instead.
- Skillet: You want a large enough skillet to hold the one tortilla easily so the edges don’t curl up the sides. A flat top electric griddle or flat griddle pan will work too.
- Tortilla Warmer: Since you are cooking the tortillas one at a time, you want something to keep them warm and moist. A tortilla warmer is a great tool, but you can also use a plate with a pot lid that is bigger than the plate and tortillas, or a piece of foil.
How to Make
Time needed: 27 minutes
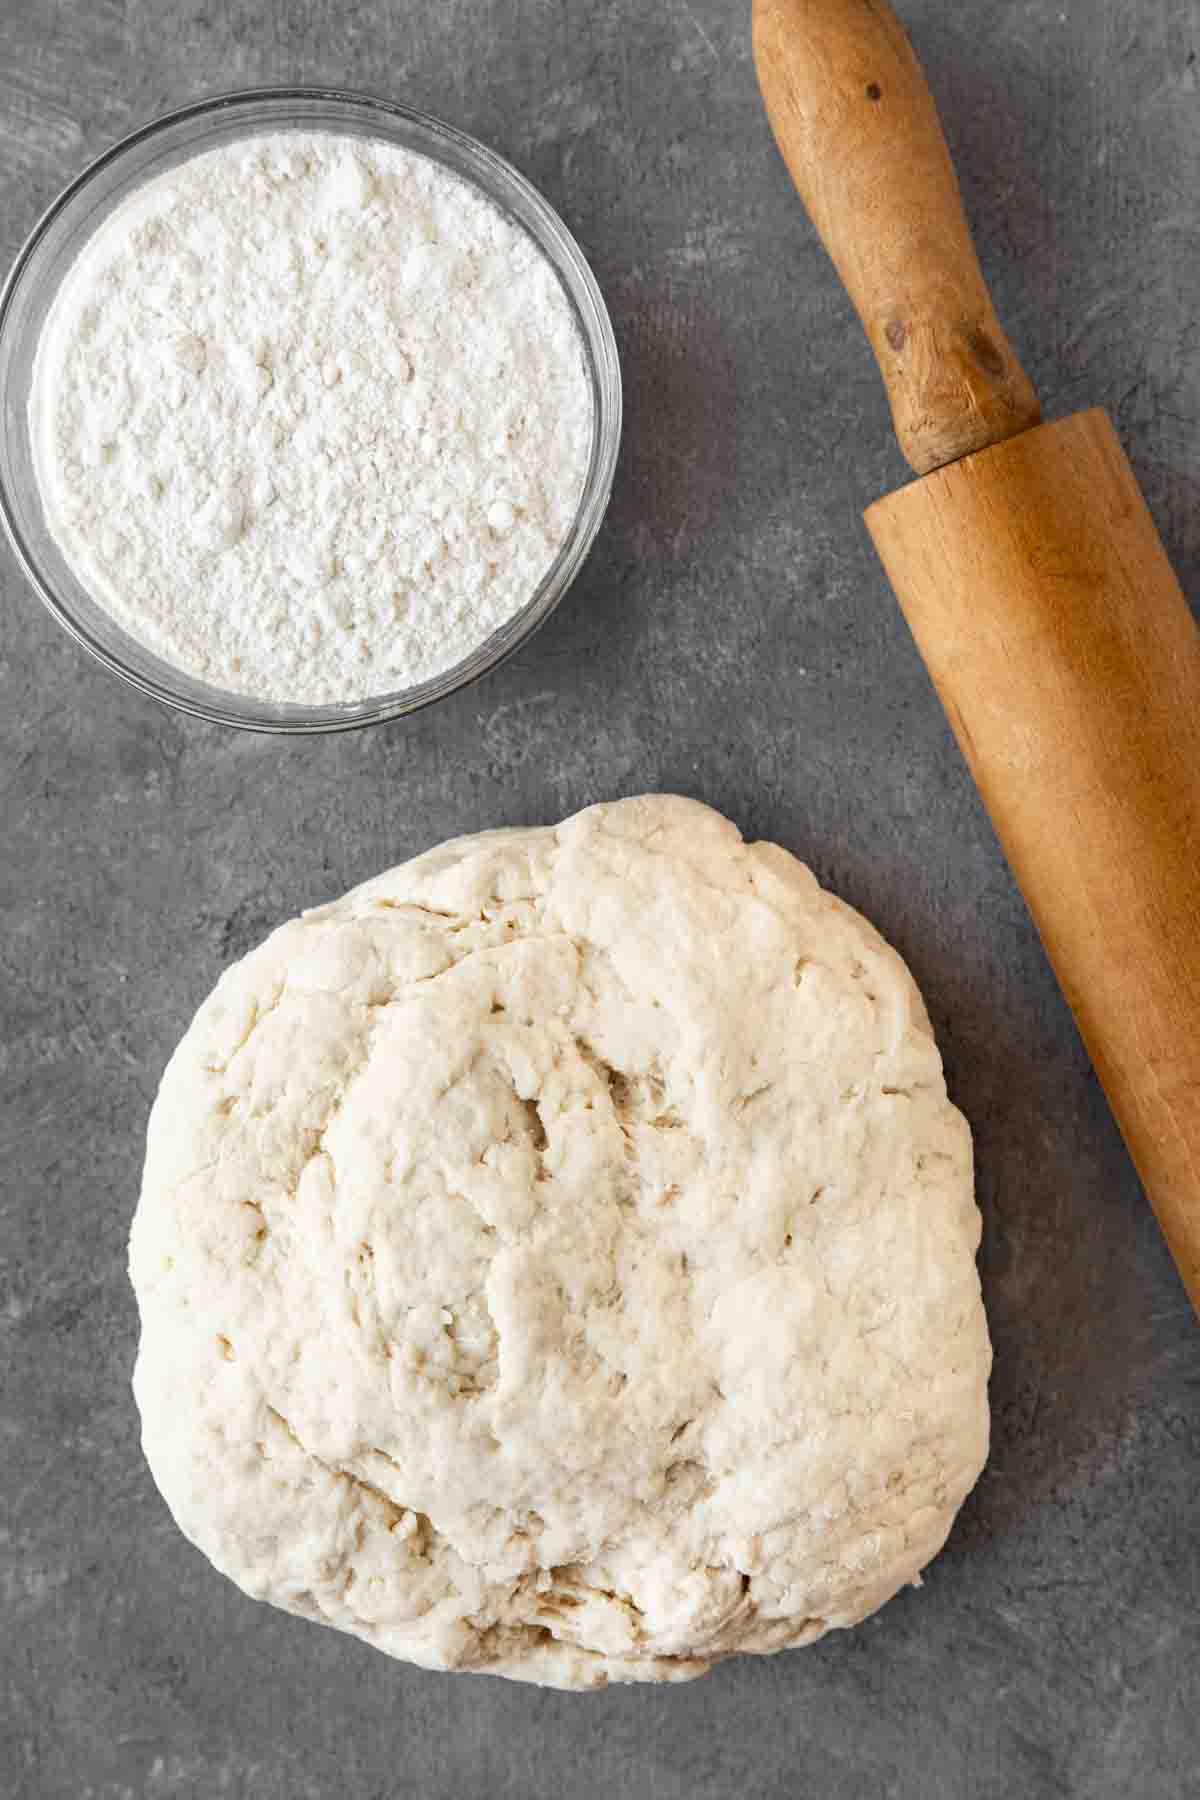
- Make the Dough
Start by adding the flour, baking soda, and salt to a food processor. Pulse the dry ingredients to combine them then add the lard or vegetable oil. Continue to pulse until it’s in a crumbly, coarse mixture that looks like cornmeal. Keep pulsing while you slowly add in the water through the chute.
- Shape the Tortillas
Sprinkle a smooth counter or another flat surface with a little bit of flour. Add the dough to the floured surface and knead it for 2-3 minutes. Next, cut the dough into 24 even dough balls. Knead the balls of dough for another 30 seconds then roll them out into an 8-inch circle.
- Cook the Tortillas
Put a large cast-iron skillet over medium heat. To make the recipe quicker, you could use a griddle and cook more tortillas at once. Add each piece of dough to the hot skillet or hot griddle. Cook for 30 seconds, then flip and cook the next side. They should have a few light golden-brown spots on the surface. Place the cooked tortillas in a tortilla warmer, or on a paper towel-lined plate and cover loosely with foil. Continue cooking tortillas until all the dough is cooked.
Can Homemade Tortillas be made ahead of time?
Yes, you can make the dough the night before and shape it into balls. Place on a baking sheet covered with plastic wrap and refrigerate overnight. You could also roll the tortillas and place lightly floured parchment between each uncooked tortilla then store in a sealed bag in the fridge.
Nutritional Facts
Tips & Tricks for Homemade Flour Tortillas
- Let the Dough Rest
If you are having trouble rolling out your tortillas because they keep shrinking, let the dough rest for 15-30 minutes. This is a pretty good idea anyways especially if you don’t have a tortilla press because it lets the gluten settle down and makes your dough less sticky.
- Don’t Overcook the Tortillas
If you overcook your tortillas they will be tough and hard. You cook them only until they are bubbling with light brown spots. The perfect heat is medium to medium high heat. If your tortillas are too thick, they will take longer to cook so roll them very thinly. Don’t worry, they will puff up when cooked!
How to Store
Store: After cooking, you can keep fresh tortillas at room temperature for 2-3 days. To stop them from sticking together store the stack of tortillas with lightly floured parchment paper between each layer and put them in an airtight container in your pantry. You can store them in the fridge for 1 week.
Reheat: Reheat in the microwave covered with a damp paper towel or in a skillet on the stove top.
Freeze: You can also store your tortillas in the freezer for up to 6 months. Prepare them as usual and then let them cool completely (pop them in the fridge overnight if possible) so they don’t steam or make extra moisture. Freeze with parchment or wax paper between the layers in a freezer bag.
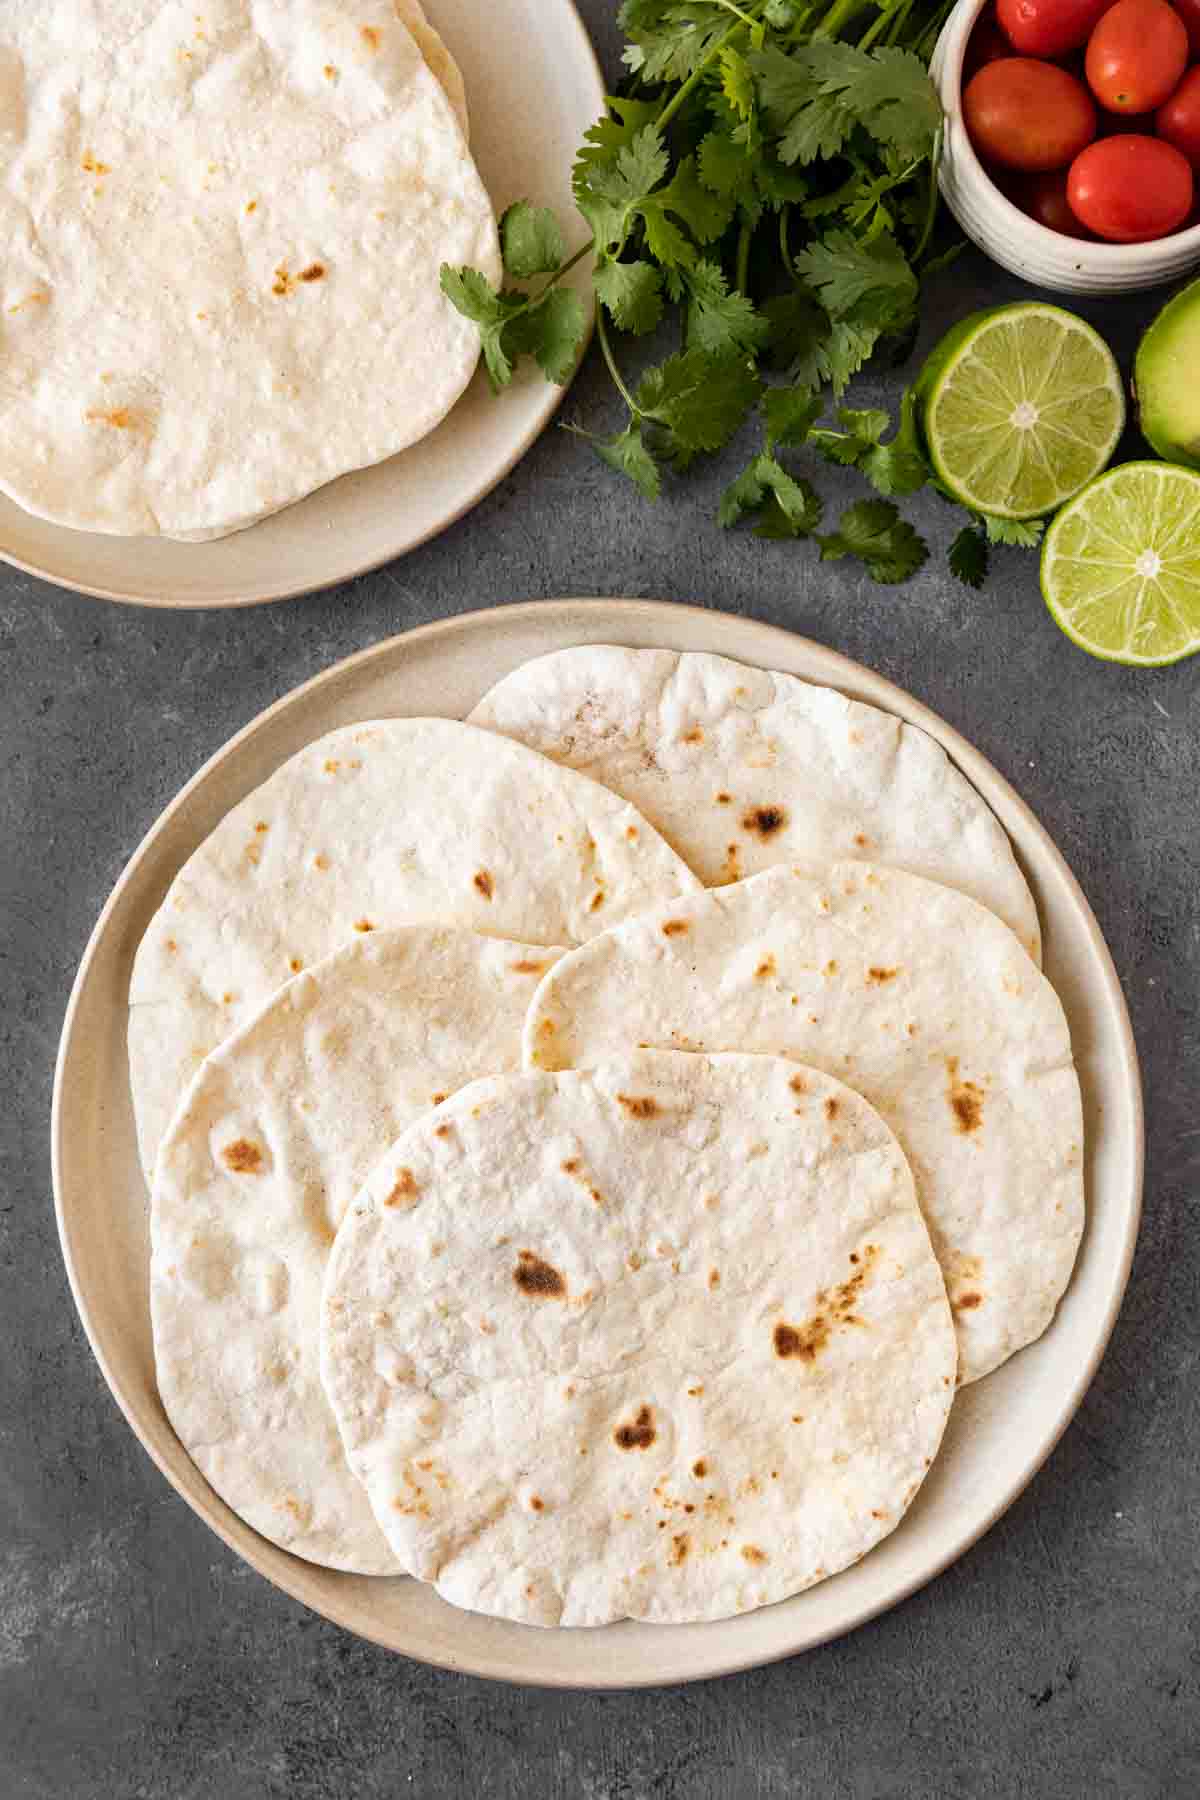
Ideas to Serve Flour Tortillas
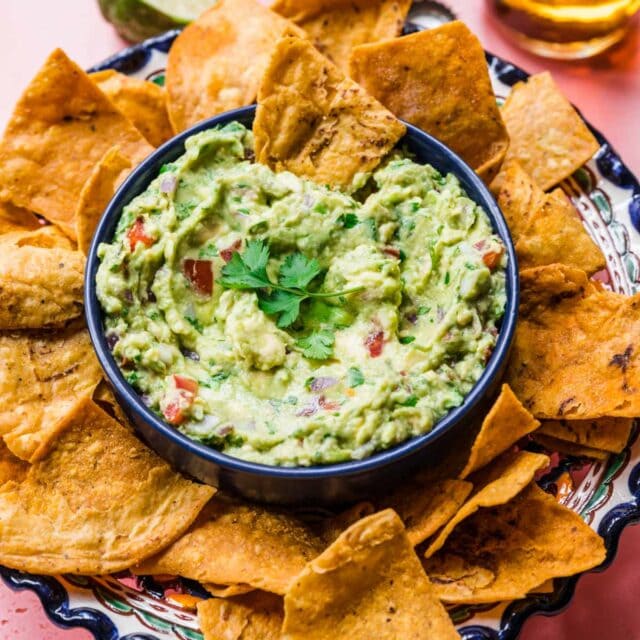
Taco Bar: After making tortillas from scratch, serve them up with more homemade Mexican food. An at-home taco bar is an easy, fun DIY dinner. Put out a stack of fresh tortillas along with Black Beans, sour cream, Guacamole, shredded cheese, Salsa, ground beef, fresh veggies, and other favorite taco ingredients.
Pizza: You can use the dough to make thin crust pizza! Just roll them as usual, spread a light layer of oil or sauce then add cheese and toppings. Bake them at 450 degrees for about 4-5 minutes.
Chips: For homemade tortilla chips, use a pizza cutter to slice the rolled disks of dough into triangles. Spray or brush lightly with oil and bake at 400 degrees for about 5 minutes until crispy. Toss in salt and serve.
Frequent Questions
Too much flour is the likely culprit if your tortillas or tortilla dough is dry. To make the perfect soft, moist tortillas, make sure your dough is shaggy and stretchy not crumbly. If it is too dry, add a tbsp of water at a time until it’s right. Also, when you roll out the dough, you only want a lightly floured work surface.
Homemade tortillas from scratch are definitely cheaper than store-bought tortillas. They are made with pantry ingredients you probably have on hand like basic flour and salt, and you can swap in unsalted butter or vegetable shortening for lard.
Recipe Card
Ingredients
- 4 cups flour , plus more for kneading
- 2 teaspoons baking powder
- 1 teaspoon salt
- 2 tablespoons lard , or vegetable oil
- 1 1/2 cups water
Instructions
- In a large food processor add the flour, baking soda, and salt.
- Pulse to combine, then add in the lard and pulse the mixture until it resembles cornmeal.
- Keep pulsing as you add in the water slowly through the liquid chute.
- Onto a floured surface add the mixture and knead for 2-3 minutes.
- Cut into 24 even pieces.
- Knead each piece for about 30 seconds before rolling the dough into an 8" tortilla shape.
- In a large skillet on medium heat add the tortilla dough (remove any excess flour).
- Cook on each side for about 30 seconds. Roll additional tortillas while the tortillas are cooking so they don't dry out.
Nutrition
Want to save this recipe? Create a free account to easily save your favorite recipes
Variations
Wheat Flour: You can make this homemade tortilla recipe with wheat flour instead of unbleached all-purpose flour. The whole grains will make a more wholesome, chewier tortilla dough.
Corn Tortillas: Another way to make delicious tortillas is to make homemade corn tortillas. Instead of the basic flour, you can use 2 cups masa harina and use 1 ½ cup warm water to make corn tortillas.
Flavors: Add finely diced fresh herbs like cilantro, chives or oregano to your tortilla dough for a little boost in flavor. You could also add some spices like chipotle powder or chili powder for a little warmth and color.
Sweet: For a sweet tortilla, add a pinch of nutmeg or cinnamon then sprinkle with sugar while they are warm and serve them with butter.
Related Recipes
Recipes for your Homemade Tortillas!


First you said baking powder and then at the bottom you said baking Soda. There’s a big difference. It should be baking powder.
Thank you for bringing this to our attention Amy. The recipe card has been fixed.