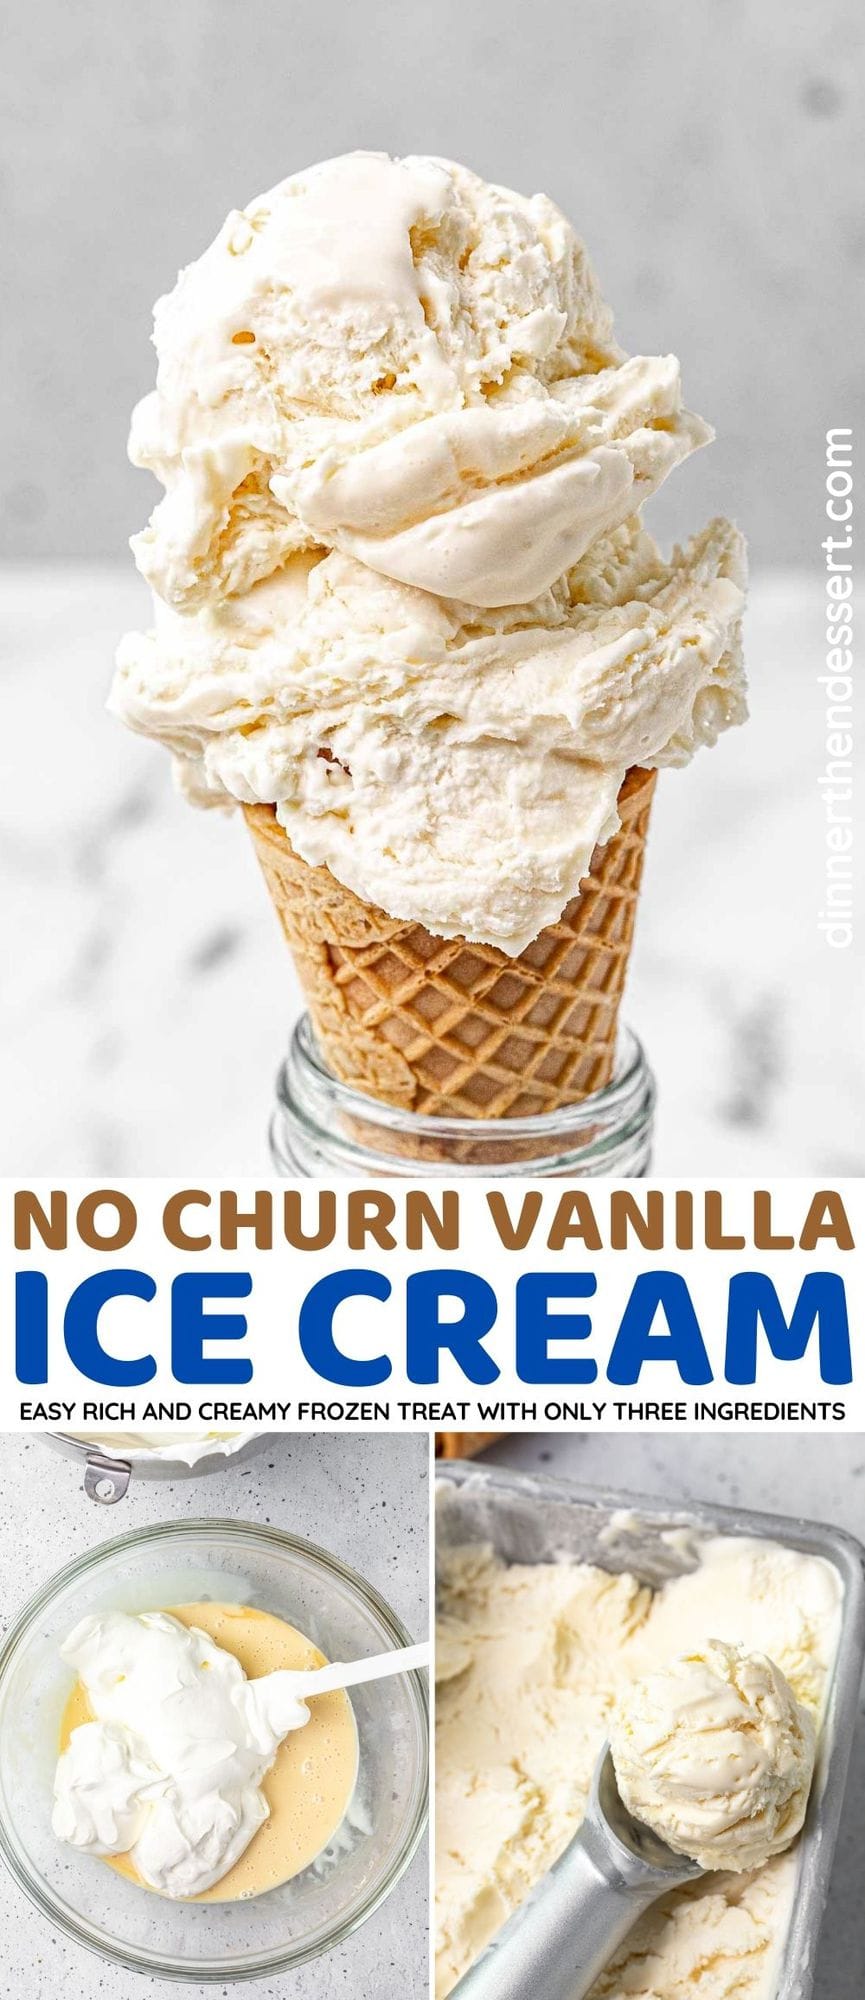
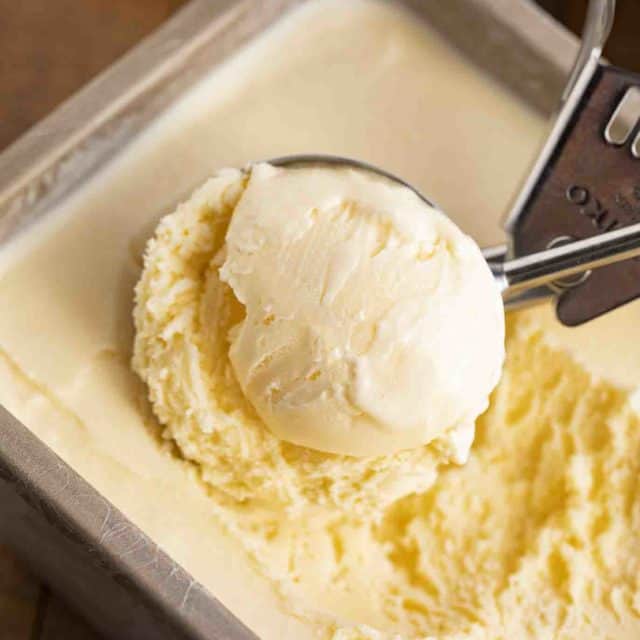
No Churn Vanilla Ice Cream is the easiest ice cream recipe with no ice cream maker needed. Rich and creamy, made with just heavy cream, condensed milk, and vanilla!
We love our traditional Vanilla Ice Cream, made in an ice cream machine, but this is a super easy recipe that absolutely everyone can make! Enjoy on its own or with all your favorite Desserts!
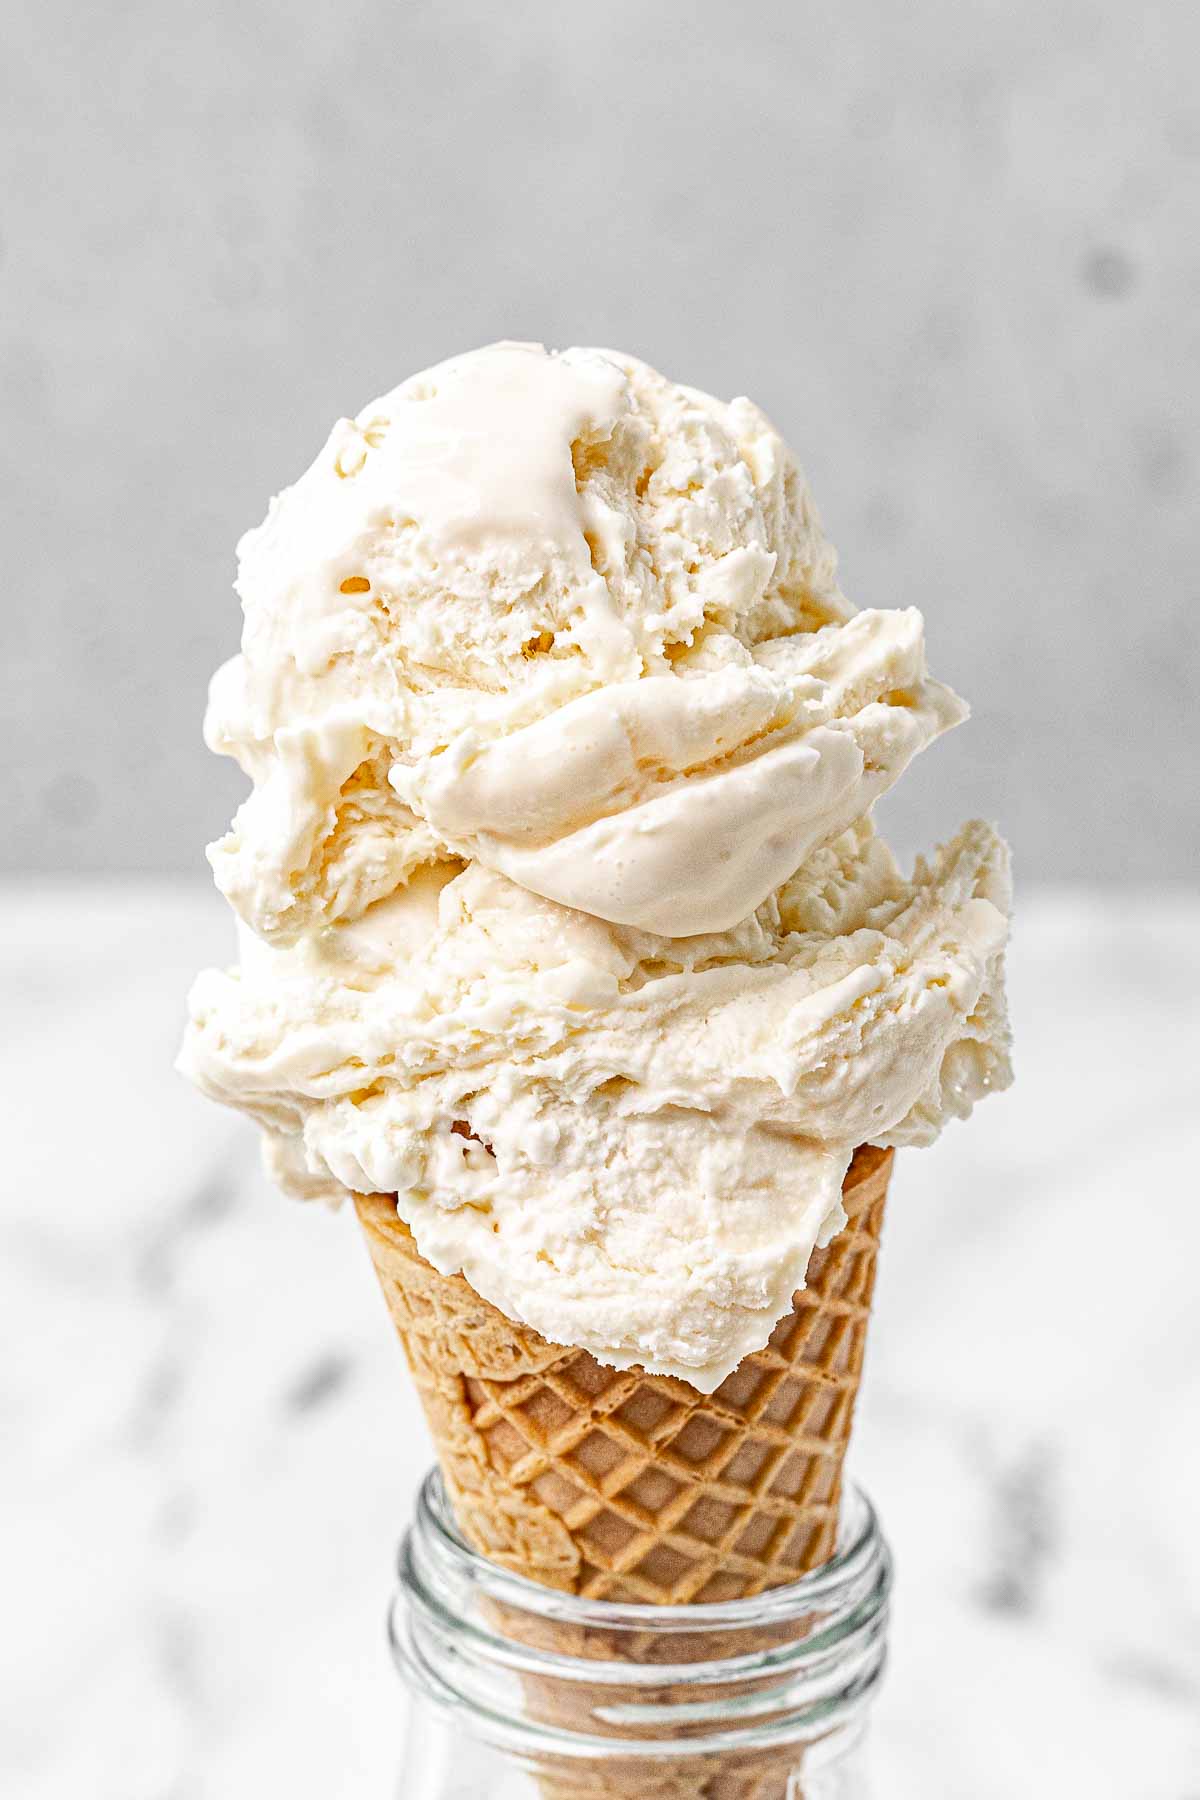
There’s nothing quite like small batch handmade ice cream! No need to head out to a gourmet ice cream shop or invest in a pricey ice cream machine when you are craving the good stuff. All you need is a stand mixer or electric mixer, a freezer, and 3 simple ingredients to get creamy and rich Vanilla Ice Cream at home.
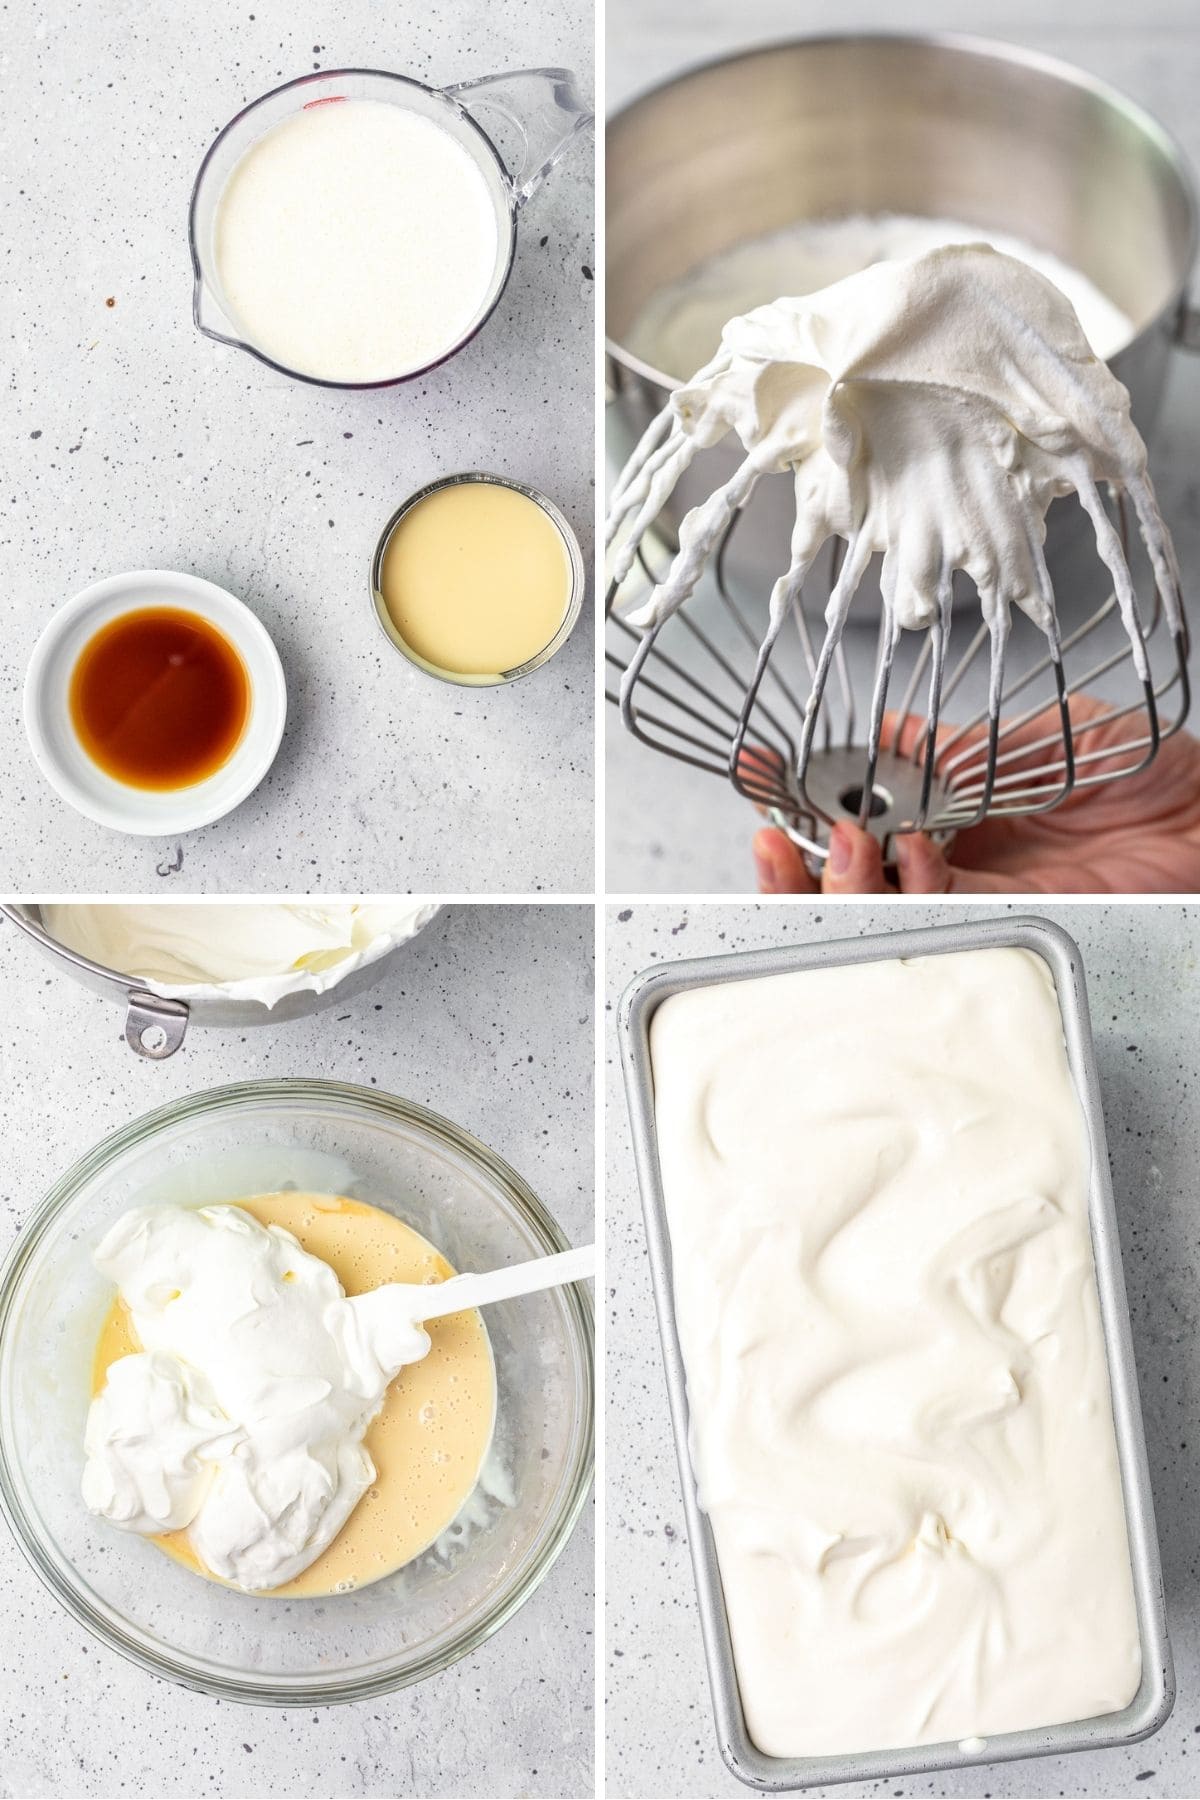
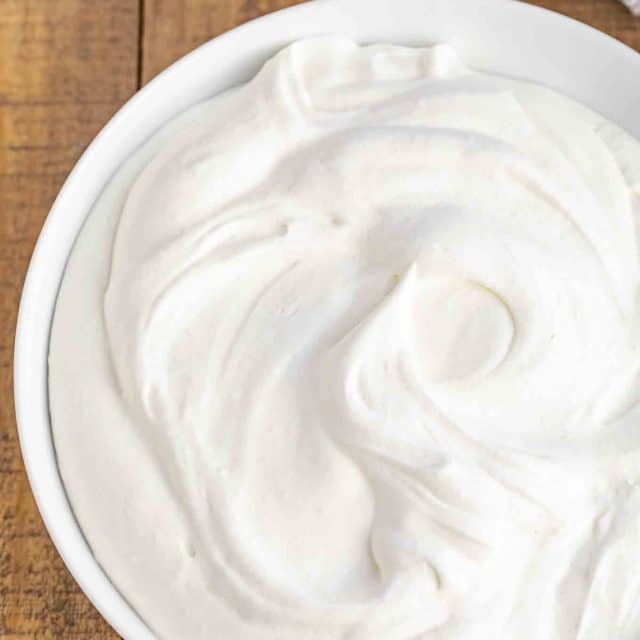
This easy No Churn Vanilla Ice Cream comes together in just a few steps and is basically fail-proof. You start by making beating heavy whipping cream until it turns to a whipped cream consistency. Gently fold in the vanilla & sweetened condensed milk mixture, then freeze until firm for the perfect Vanilla Ice Cream. It will last for months, that is if you can resist eating it all in one night!
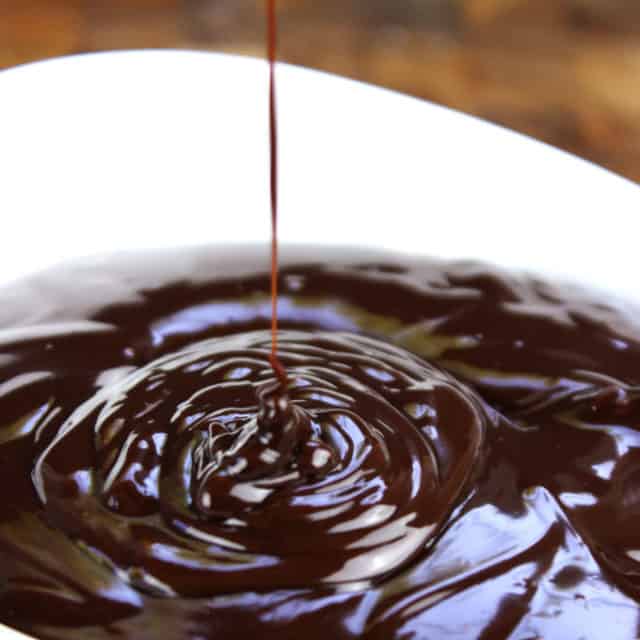
One of the best things about this No Churn Vanilla Ice Cream is all the possibilities! Since this is a simple 3 ingredient recipe for Vanilla Ice Cream, it goes with all your favorite flavors, toppings, and desserts. Make some Chocolate Brownies, Hot Fudge, and Whipped Cream while your No Churn Vanilla Ice Cream is freezing for the ultimate homemade Brownie Sundae!
The key to making No Churn Vanilla Ice Cream is whipping the heavy cream into stiff peaks. To check if stiff peaks are formed, remove the beaters by pulling straight up. The cream should form a peak and stay without falling over. It’s okay if the tip of the peak curls a little but you want to make sure the cream doesn’t sink immediately.
SOME DELICIOUS TOPPING IDEAS:
This No Churn Ice Cream Recipe uses heavy cream, which has a very high fat content. You can also use “whipping cream” which has a similar milk fat content. It’s definitely worth a few extra calories for creamy, smooth ice cream. If you want intense vanilla flavor, soak real vanilla beans in the heavy cream overnight, then use the vanilla bean paste instead of vanilla extract. For more flavor tips, check out the mix-ins ideas below.
Create a free account to Save Recipes

MIX INS IDEAS FOR NO CHURN VANILLA ICE CREAM
Prepare your whipped cream mixture and fold in the condensed milk mixture before adding your flavors and mix-ins. Keep the ice cream mixture in a very chilled bowl while mixing in your add-ins. Freeze in the bowl with a lid or transfer the ice cream to a metal loaf pan and cover.
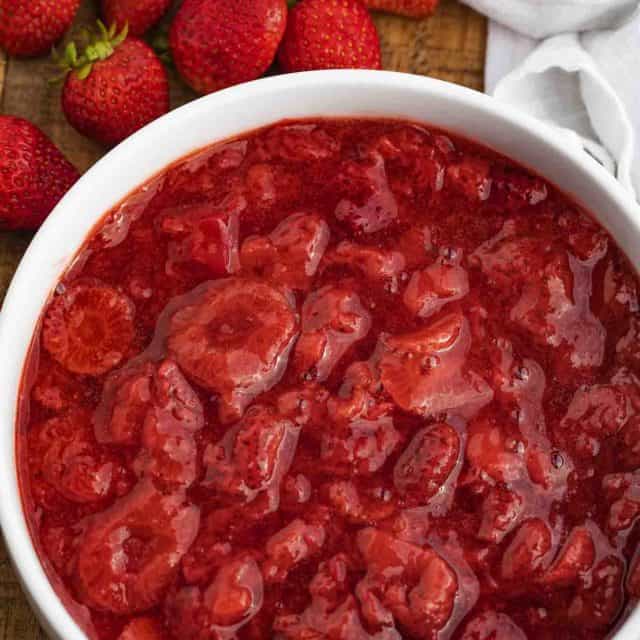
- Strawberry Cheesecake: This is great when you have leftover Cheesecake Bars! Cut cheesecake into small pieces and add ½ cup frozen strawberries (chopped into bits). Add white chocolate chips for extra creamy vanilla flavor.
- Chocolate Chip: For Chocolate Chip Ice Cream, fold in ½ cup mini chocolate chips. You can also make chocolate chunks by chopping up your favorite candy bars. This is great with Reese’s peanut butter cups, peanut butter chips, or other soft candies.
- Cookies and Cream: Cut 12 Oreo Cookies into quarters. Use any flavor Oreos you like and fold crumbs too for that yummy speckled look of Cookies and Cream Ice Cream. Try Mint Oreos and replace half the vanilla extract with peppermint extract for Mint Oreo Ice Cream.
- Salted Caramel Waffle Cone: Mix in flaked sea salt and waffle cone pieces to your ice cream mixture. Place ⅓ of ice cream into a frozen metal loaf pan. Drizzle ⅓ cup Salted Caramel Sauce over ice cream, then alternate with ice cream and caramel sauce until all is added to pan. Gently swirl mixture with a butter knife before freezing.
- Cookie Dough: Make Edible Cookie Dough and chop into small pieces before folding into the ice cream mixture. Add Chocolate Ganache like the Salted Caramel instructions above for a fudge swirl.
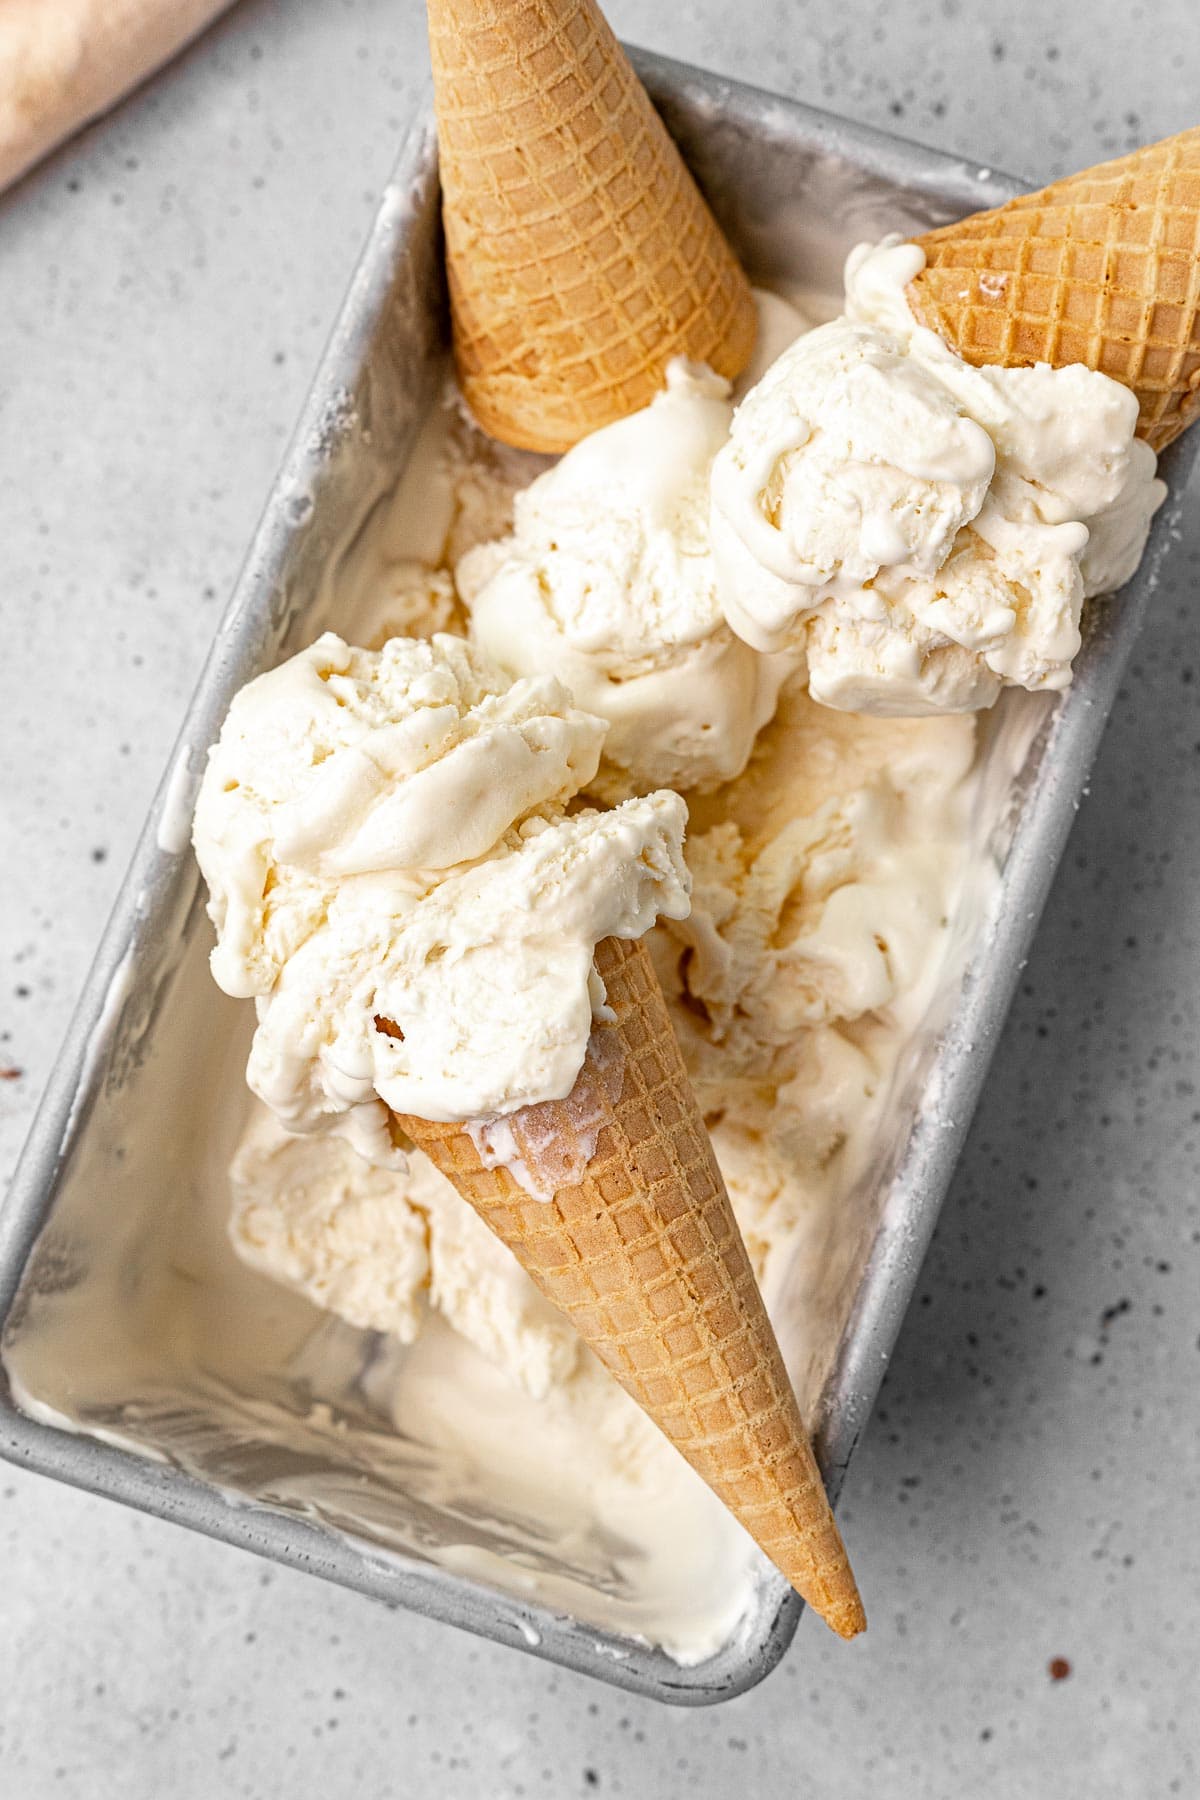
MORE TASTY EASY FROZEN TREATS!
HOW TO STORE NO CHURN VANILLA ICE CREAM
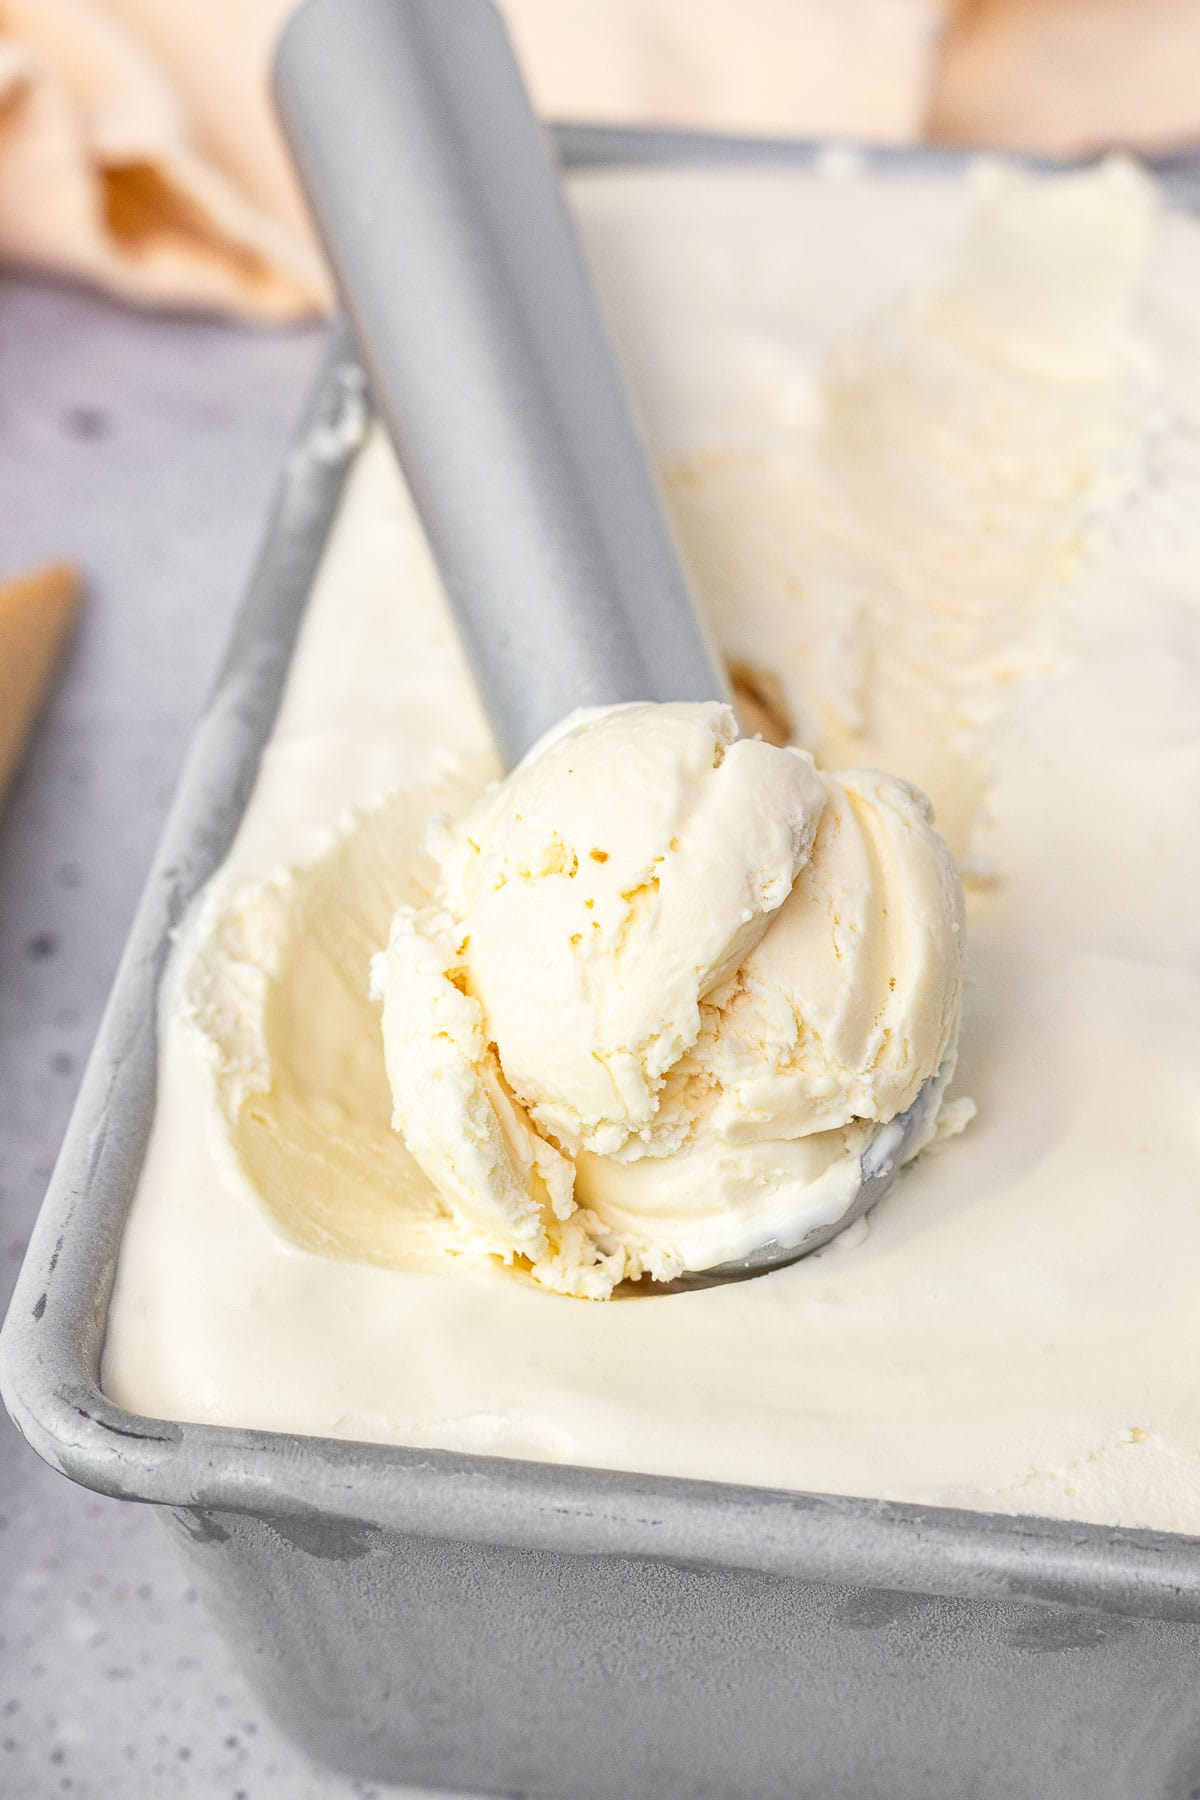
- Serve: Let the No Churn Ice Cream freeze for at least 4 hours until firm before serving. Be sure to cover the ice cream and wipe off as much moisture as you can on the lid and container to reduce ice crystals.
- Freeze: You can freeze No Churn Vanilla Ice Cream for up to 2 months covered tightly in an airtight container. Place a piece of plastic wrap between the lid and ice cream to prevent ice crystals from forming. For best results, keep the ice cream in the back of the freezer versus up front where the temperature will fluctuate.


Ingredients
- 2 cups heavy cream
- 14 ounces sweetened condensed milk
- 1 tablespoon vanilla extract
Instructions
- Add the heavy cream to your stand mixer and whip to stiff peaks, 2-3 minutes.
- In a large bowl stir together condensed milk and vanilla with a spatula.
- Add in half the whipped cream and fold together gently until well mixed.
- Add in the rest of the whipped cream and fold together gently.
- Pour into covered container and freeze for 4 hours before serving.
Nutrition



This is so good. I like to add oreos, Reece’s, or caramel. So easy and so delicious