

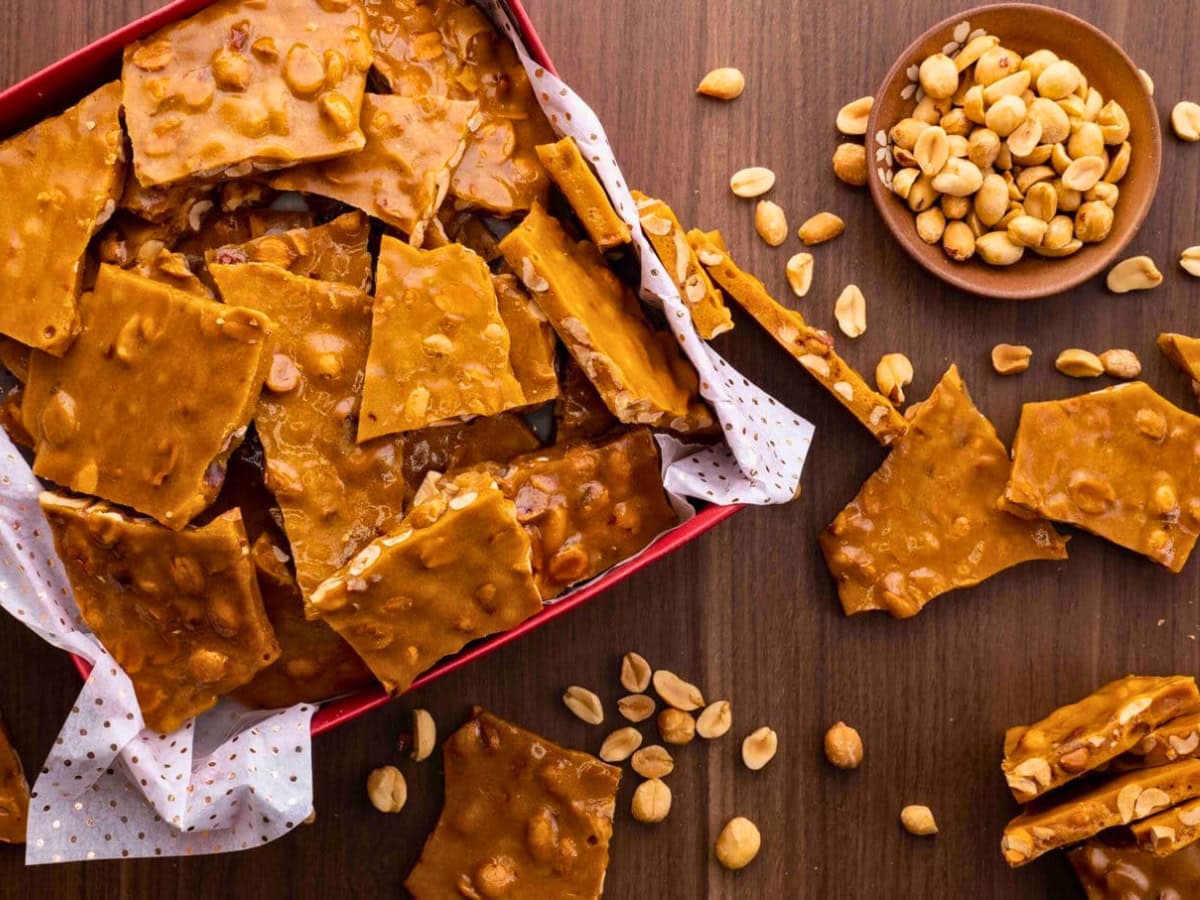
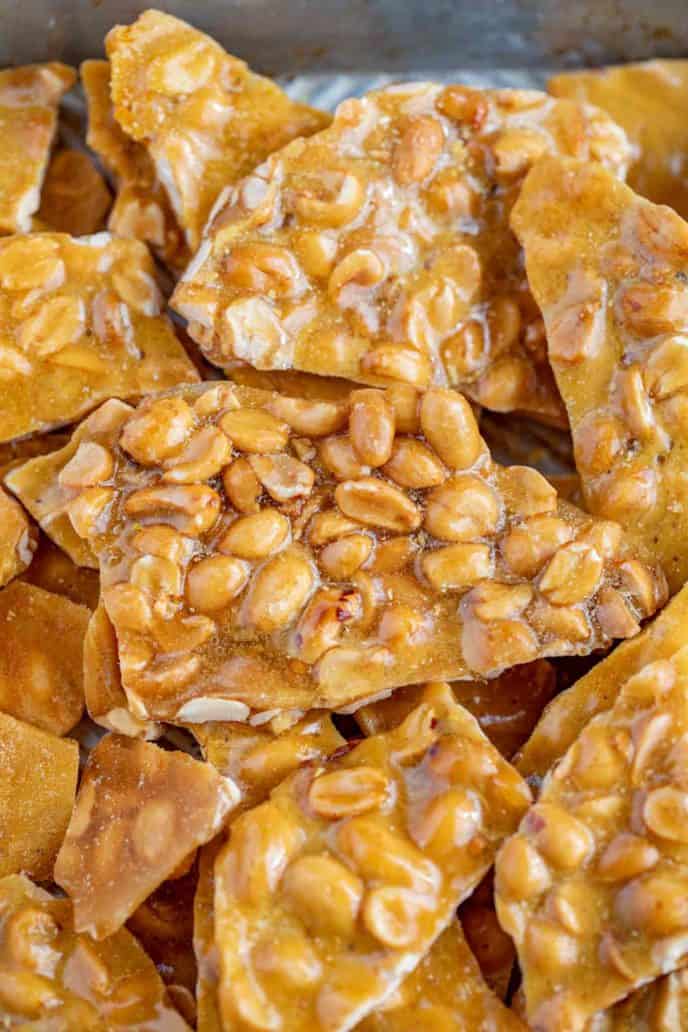
Peanut Brittle is the ultimate sweet, buttery, and crunchy treat, perfect for parties, gifts, and treat platters. Ready in under an hour!
Homemade Candy isn’t as intimidating as it sounds; in fact, you’ll love making easy homemade dessert gifts, including these Chocolate Truffles and Buckeye Balls.
Sabrina’s Peanut Brittle Recipe
Peanut Brittle is a go-to holiday party dessert because it’s incredibly EASY to make, and a classic recipe that everybody loves. You can also give brittle out as party gifts by wrapping it in plastic with a ribbon. Plus, it’s kid-friendly, because they love helping to decorate the brittle, and breaking it into pieces after it sets. You can make this brittle with almonds, pecans, or walnuts instead of peanuts. You can also add any toppings you’d like, like chocolate chips or a sprinkle of cinnamon sugar.
Recipe Card
Ingredients
- 2 cups sugar
- 1 cup light corn syrup
- 1/2 cup water
- 1 cup unsalted butter
- 2 cups unsalted peanuts
- 1 teaspoon baking soda
Instructions
- Spray 2 medium (15×10-inch) baking sheets with vegetable oil and line with a parchment paper.
- Add the sugar, corn syrup and water in a large dutch oven on medium heat and bring to a rolling boil, stirring until the sugar is fully dissolved (5-8 minutes).
- Add the butter, stirring occasionally until it reaches 280 degrees on a candy thermometer (15-18 minutes).
- Add in the peanuts, stirring nonstop for another 8-10 minutes until it reaches 305 degrees, turn off the heat and mix in the baking soda and immediately pour onto the baking sheets to cool completely.
Video
Nutrition
Want to save this recipe? Create a free account to easily save your favorite recipes
Sabrina’s Tips
Peanut brittle didn’t set right? No worries, it happens to the best of us! If it didn’t set properly, chances are you took it off the heat a bit too soon. Next time, try cooking it a little longer or even set a timer to keep track. Make sure your candy thermometer hits 305 degrees—that’s when the sugar reaches that all-important hard crack stage. Once you nail that, you’ll have the perfect brittle that’s crunchy and satisfying!
Table of Contents
Tips & Tricks
- Prep your ingredients ahead of time and have them next to the pan. This peanut brittle recipe depends on reaching specific temperatures (this is why a candy thermometer is so important to use; do not eyeball it), so it’s important to move fast once you reach it.
- I like to use a Dutch oven for this recipe, but you can use a large saucepan if that’s what you have.
- Once you pour it onto the baking sheet, try topping your brittle with extra peanuts (or chopped peanuts), marshmallows, coconut flakes, candies, drizzled peanut butter, caramel sauce, or pecans.
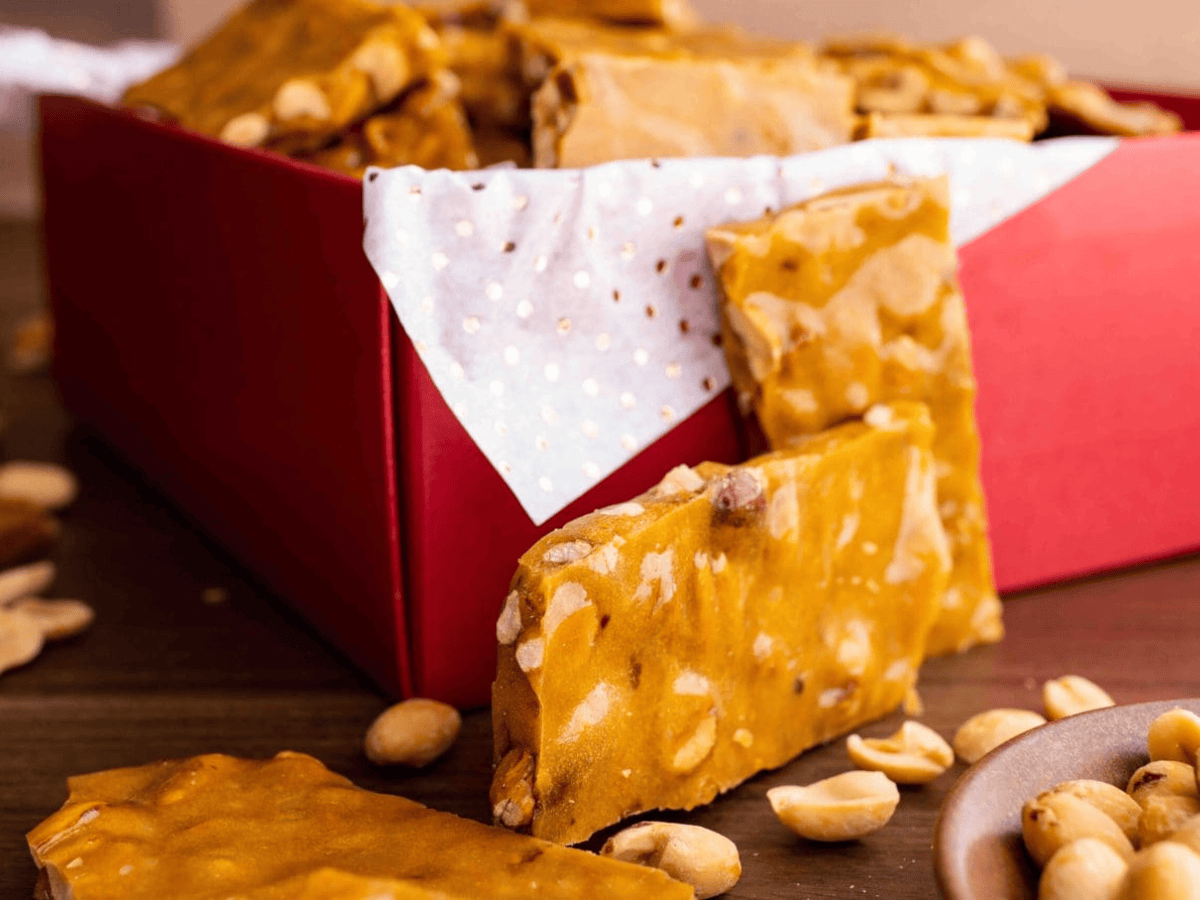
- Once the brittle has cooled (do not rush this step), break it with your hands by bending it slightly. If you’re having trouble, you can use a kitchen hammer or other heavy tool to lightly tap the brittle until it breaks into pieces.
- We’re greasing the baking sheets, but I want to stress that you should also line them with parchment paper. This Peanut Brittle recipe is very sticky when it’s warm, and this helps to ensure that the sticky brittle will come off the pan completely.
- Usually, I would advise you not to stir the sugar too much to avoid it from becoming grainy, but the corn syrup actually helps keep the sugar smooth and helps it set properly, so stirring it while it’s cooking should not ruin your brittle.
- Be very careful when boiling the sugar for this brittle, as it is VERY hot and can burn if it gets on your skin. I do NOT recommend having the kids help with this part, only adults!
How to Store
- Serve: Peanut Brittle can remain at room temperature for serving and storing.
- Store: After you break it, brittle will last several weeks at room temperature, stored in an airtight container. Store it with a piece of parchment paper between each layer, to keep the brittle from sticking together. Don’t store your brittle in the refrigerator, or it won’t stay crunchy.
- Freeze: Peanut brittle will last frozen, stored in an airtight container, for several months. This is a great way to make the candy ahead of time for the holidays and keep it until you’re ready! Defrost on the counter several hours before you’re ready to serve it.
Frequently Asked Questions
Baking soda helps give the brittle a lighter texture, keeping it from turning out too dense.
Peanut brittle can take 20-30 minutes to harden fully. Leave it alone on the counter; there is no need to refrigerate it to set it.
You can add a splash of vanilla extract or almond extract to add extra flavor.
For an adult Peanut Brittle recipe, add a splash of rum or bourbon to the hot sugar!
Always use unsalted butter for all recipes so you can control the amount of salt that goes into a recipe. Keep in mind that the flavor will be different if you use salted.
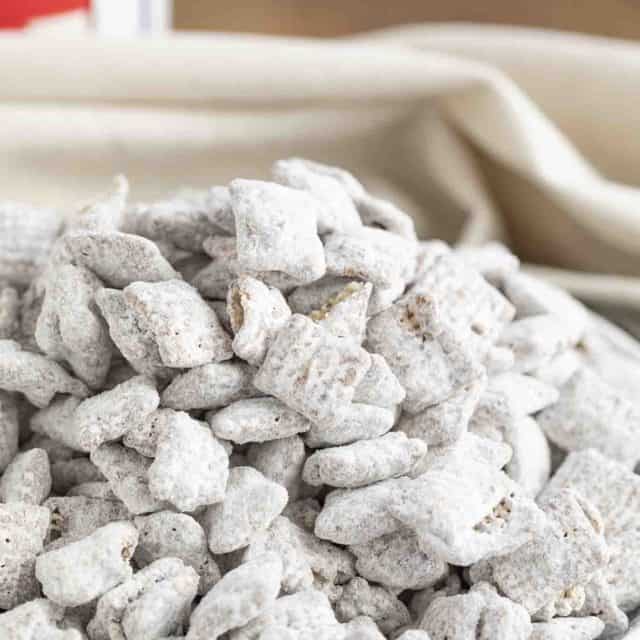
Related Recipes
More Easy Candy Recipes

Photos used in a previous version of this post.


Have you ever tried to replace the sugar with a sugar alternative like Splenda to reduce the sugar content? Will it still cook and harden?
I haven’t. If you decide to try the recipe using Splenda please let me know how it turned out!
Hi can I omit the baking soda,if I do will it still be crunchy,I don’t like the soft peanut it’s to chewy,I love the crunchy peanut brittle,I cannot wait to try it,I made fudge for the first time and it was delicious the flakey fudge not the chewy one,yummy,xxx
The baking soda will release small bubbles in the brittle that gives the peanut brittle its signature crunch, without it the brittle might be too dense. Hope that helps!
Absolutely fantastic recipe. I used a mixture of Deluxe Roasted Salted Nuts. I simply omitted the salt from the recipe.
Thanks for the 5 stars, Jennifer.
So glad to get this recipe…. my Dad made the best peanut brittle in the country and made it very often. He is gone now and I am disappointed I did not get his recipe before he passed. The only thing missing now is popcorn balls…. he also made very tasty popcorn balls…. I kick myself!
I hope this lives up to your expectation. So sorry for your loss.
Can you use salted peanuts?
Yes 🙂
What type of peanuts, I know unsalted but are they raw or roasted?
Thanks, Georgianne
I used roasted unsalted peanuts. If you click on the green link in the recipe card for peanuts, it’ll take you directly to the ones that I used. I hope you enjoy it!
Wondering if there’s a Sugarfree version for Peanut Brittle?
I don’t have a sugar free version, but if you make it sugar free I’d love to hear how it turns out!
Try this with filberts instead of peanuts!!!!
Loved this peanut brittle recipe. It is perfect! All the step-by-step instructions are very helpful. Thank you!
You’re welcome, Amina!
One of my favorite treats to make!!!! So easy and delicious!!!
This peanut brittle looks delicious, so simple with only a few ingredients!
Easy peasy!
I do love me some peanut brittle! This recipe looks so tasty and easy, will be trying it the next time I get a craving for sure!
Thanks, Carrie!
This is such a great recipe! I was always kind of afraid to try peanut brittle, but it wasn’t a huge deal at all and it was so tasty! Everyone loved it, thanks!
So glad you decided to give it a try! Thanks for the 5 stars.
This peanut brittle looks absolutely perfect! Crispy crunchy! I have only made brittle once, and you are right, it is super easy. I can’t wait to try your recipe! Thanks for sharing!
It’s too easy not to make!! Enjoy!
Thanks for sharing! My husband loves peanut brittle and is a big fan of this recipe.