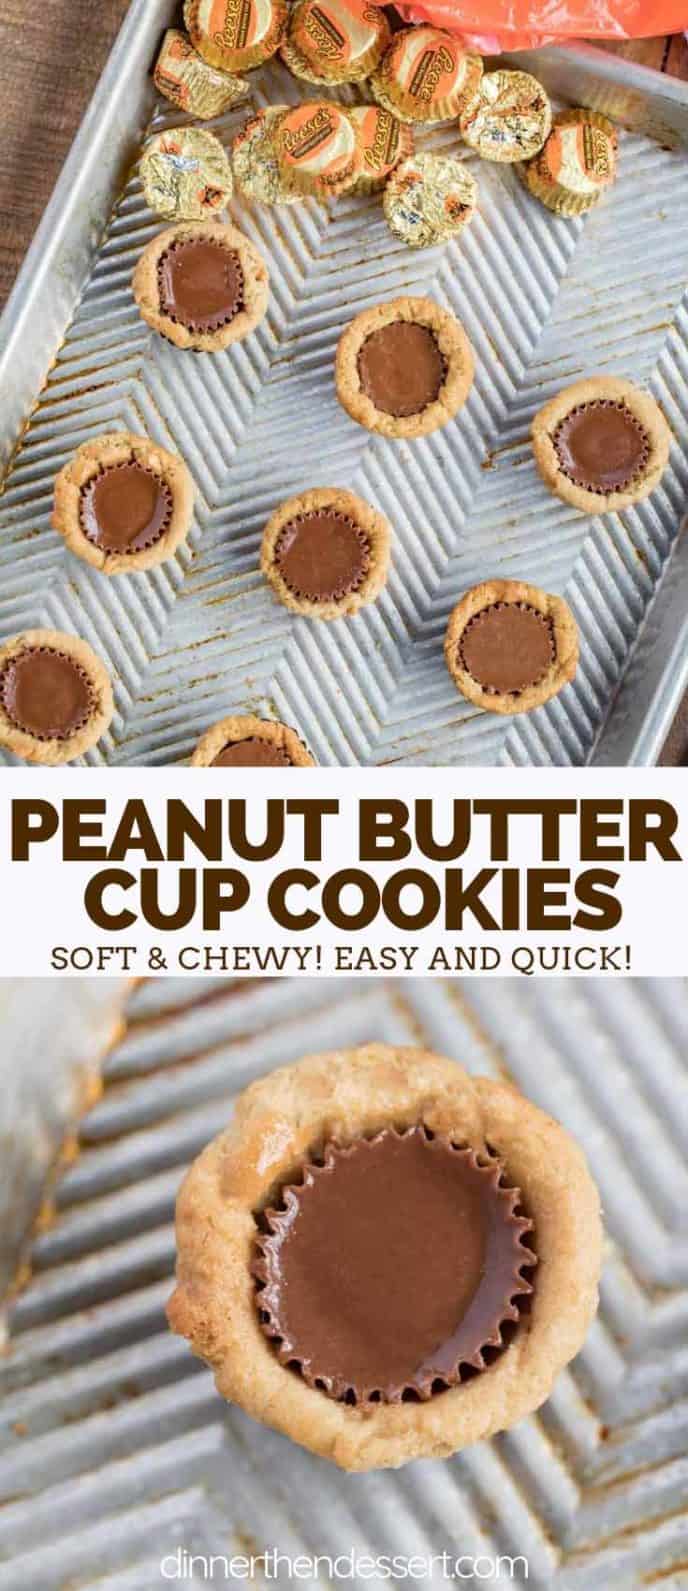
Peanut Butter Cup Cookies are sweet and chewy with smooth peanut butter, brown sugar, and peanut butter cups, ready in under 45 minutes!
Peanut butter is practically its own food group in this kitchen, and right now we’re loving these Peanut Butter Blossoms, Peanut Butter Cookies, and Buckeye Balls!
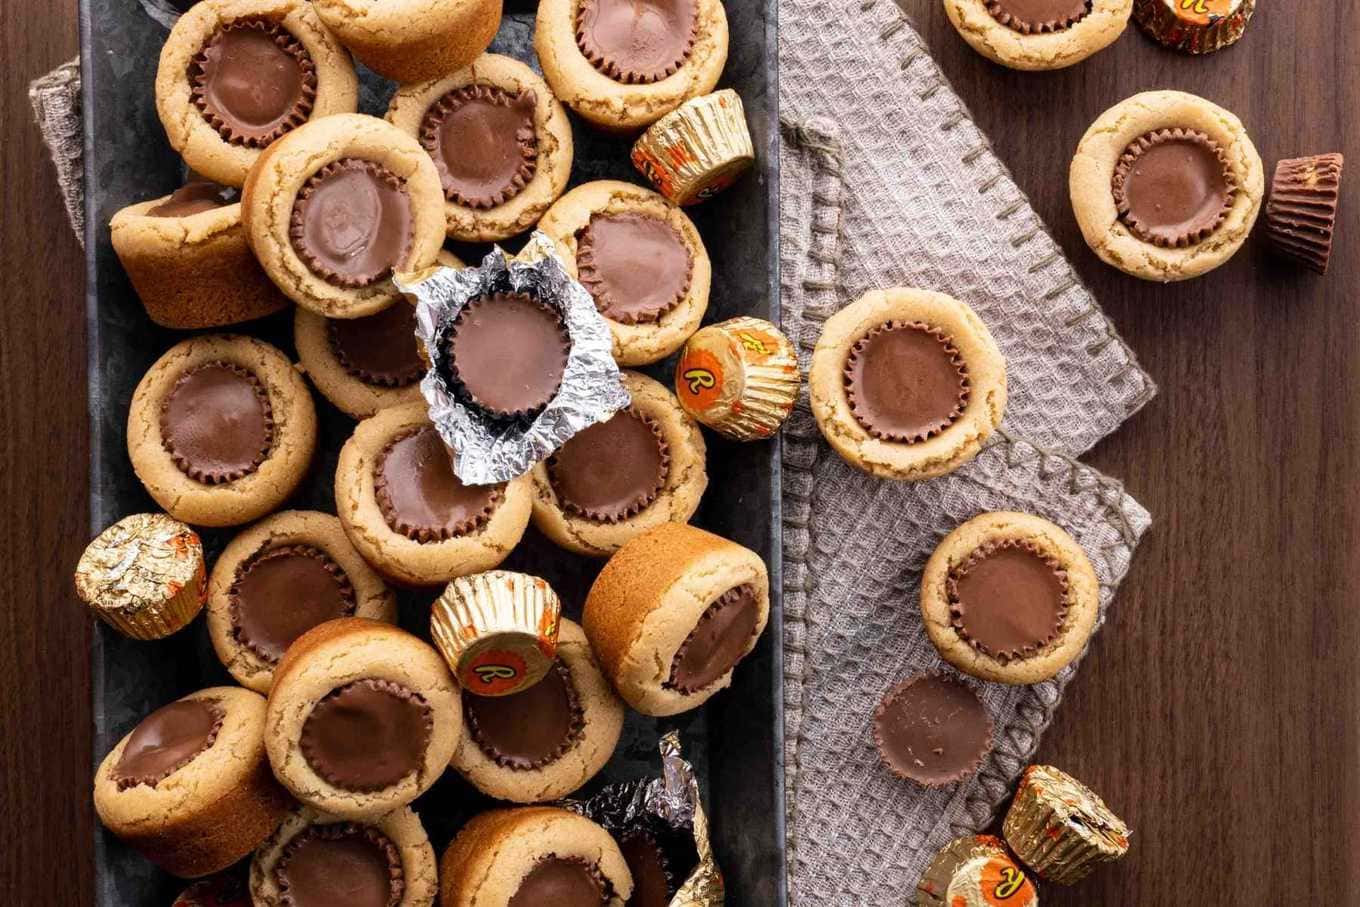
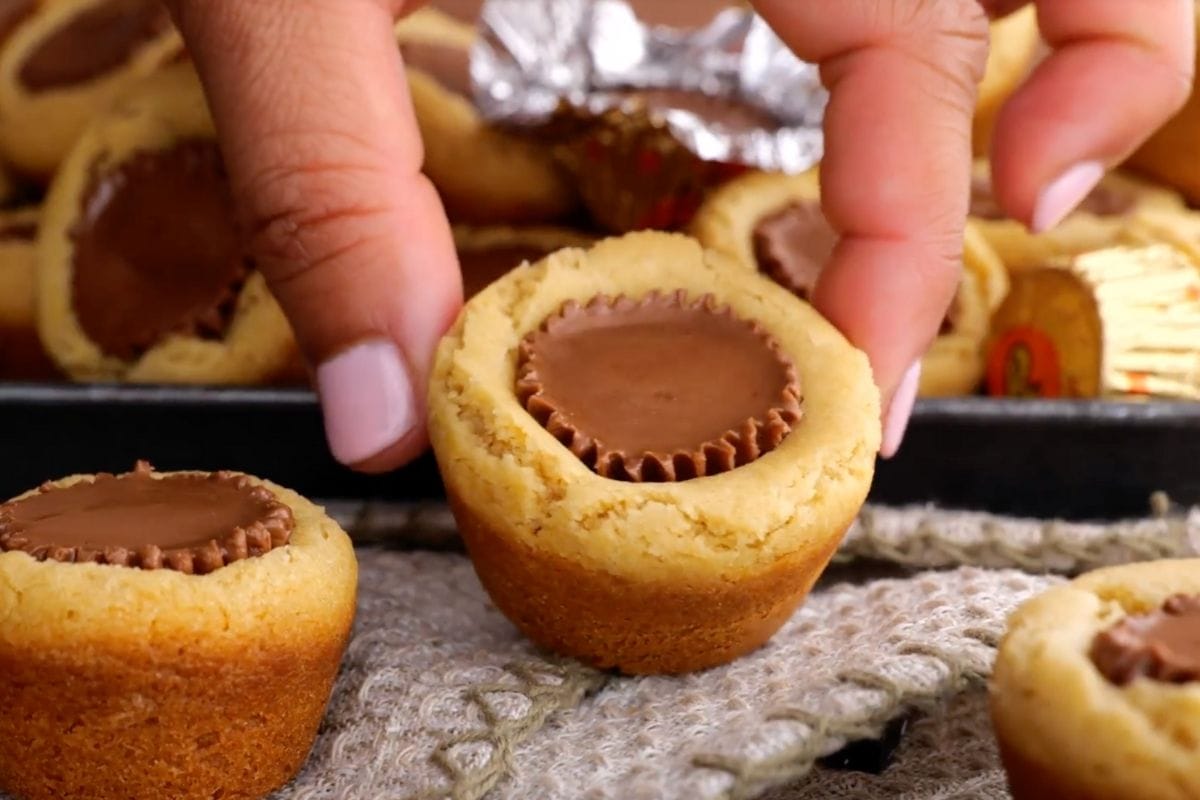
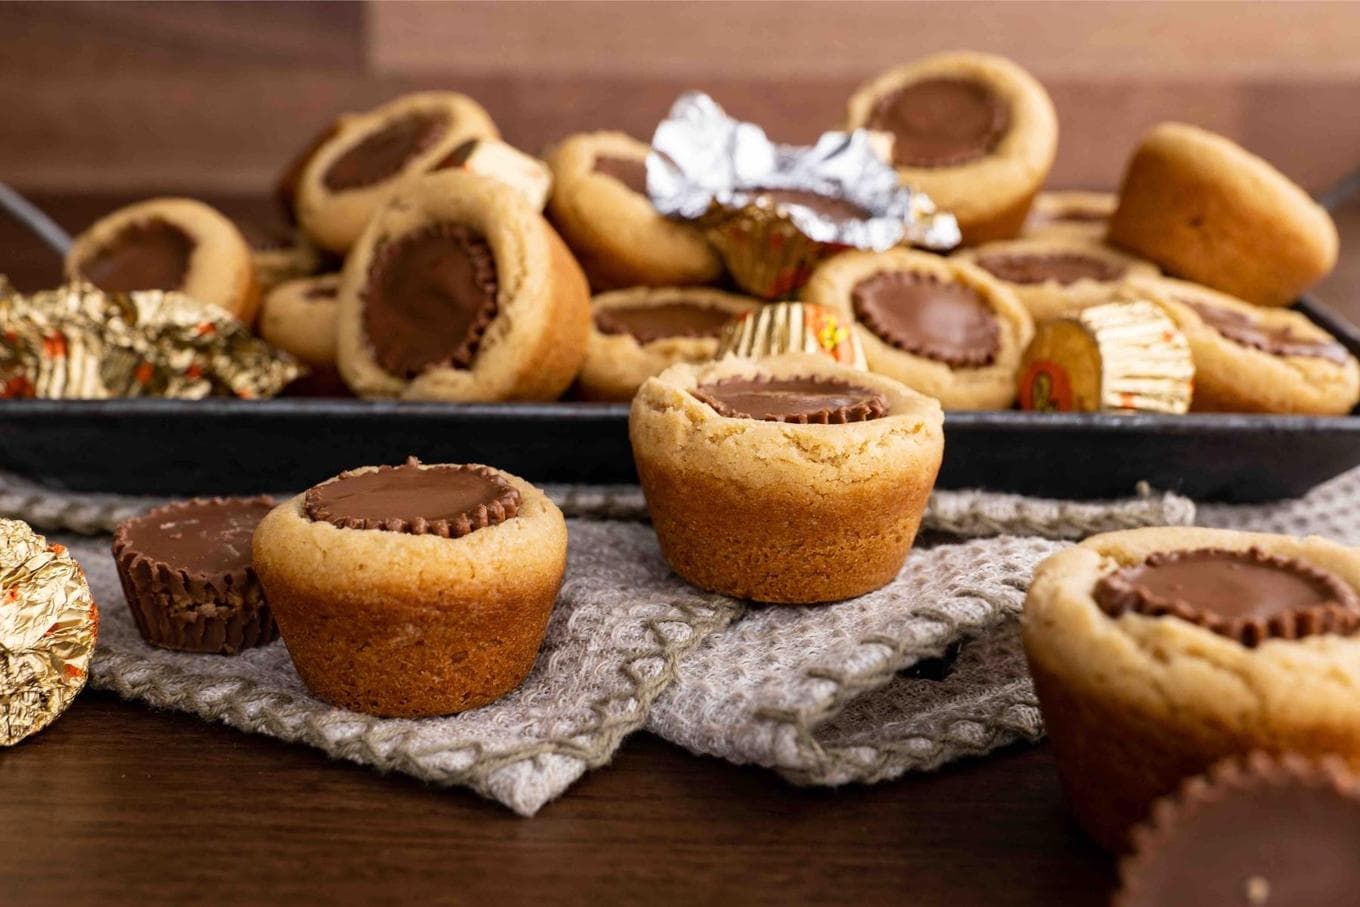
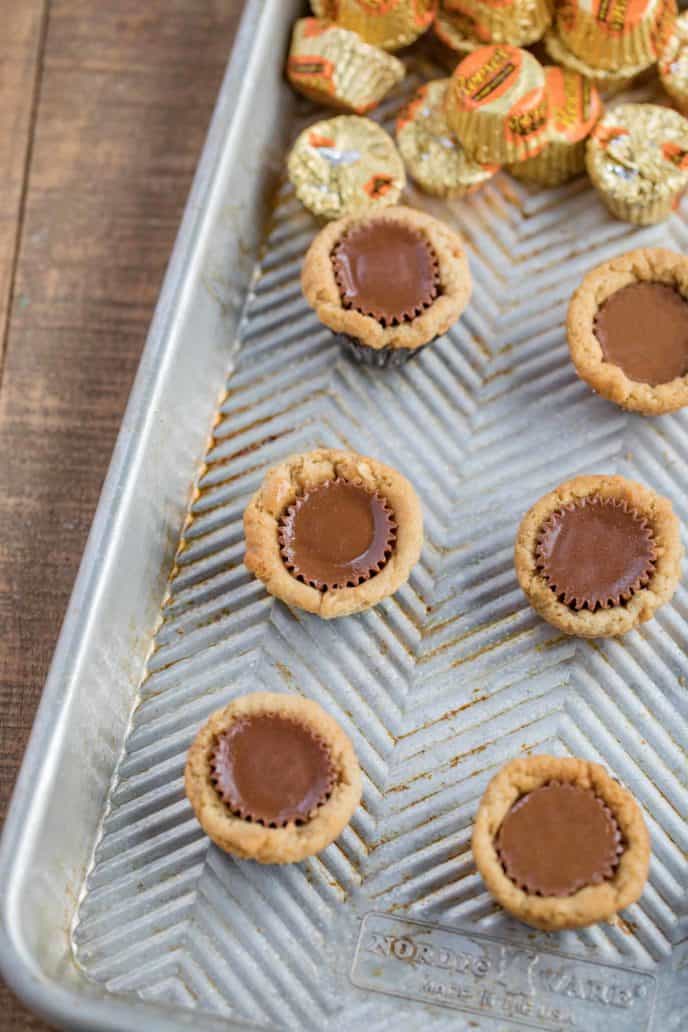
Peanut Butter Cup Cookies are such an easy and fun dessert that will soon become your family’s favorite. These cookies are soft, chewy, and topped with an indulgent gooey peanut butter cup. They’re made with brown sugar and peanut butter, which adds a rich flavor to the cookie while also adding a really nice texture. The result is a softer cookie, just like Chocolate Chip Cookies and Turtle Cookies!
If you’re loving these peanut butter cookies, you’ll also love Flourless Peanut Butter Cookies! They’re a lot like our Peanut Butter Cookies, but without all purpose flour.
Frequently Asked Questions
This recipe naturally uses peanut butter cups, but here are a few more topping ideas just in case you want to try something new! Try pressing in Marshmallows, chocolate chips, Caramels, rolo’s, or white chocolate.
Always make peanut butter cookies out of regular peanut butter, not natural peanut butter, because there are other ingredients in it that help it hold together better, and the sweetness goes really well with these cookies.
Make sure you keep the brown sugar in the recipe, because it’s adding a lot to the texture of the cookie. I don’t recommend substituting for this ingredient, unless you’re ok with sacrificing some chewiness. Also, don’t substitute the butter, because the moisture and solids you’re getting here also contribute to the chewy texture of the cookie.
Watch carefully the baking time and temperature so you don’t over bake. Set an oven timer, and double check that it’s baking correctly with an oven-safe thermometer.
Create a free account to Save Recipes

More Delicious Cookie Recipes
- Mexican Wedding Cookies
- Hershey’s Kiss Cookies
- M&M Cookies
- Mint Chocolate Chip Cookies
- Meringue Cookies
- Dark Chocolate Crinkle Cookies
Tips for Making Peanut Butter Cup Cookies
- This recipe calls for a mini muffin pan, but you can use a non-stick baking sheet if you don’t have a mini muffin pan available.
- These cookies hold their shape because of the muffin pan, but if you’re making these on a baking sheet you should refrigerate the dough for 20-30 minutes before baking. Cooling the dough helps to prevent the dough from spreading too much when it drops in the oven.
- Use a small ice cream scoop to make sure the dough balls are all the same size, to get more uniform cookies.
How to Store Peanut Butter Cup Cookies
- Serve: Once cooled, serve Peanut Butter Cup Cookies slightly warm.
- Store: Homemade Peanut Butter Cup Cookies will last in an airtight container at room temperature for about a week. I don’t recommend storing them in the refrigerator because it’ll cause them to harden and they’ll lose some of the chewiness. You can also add a slice of bread to the container to absorb any moisture from the air and keep the cookies chewy for longer.
- Freeze: You can freeze these peanut butter cup cookies either before or after baking. If you’ve already baked them, just add them to an airtight container, layering with parchment paper so they don’t stick together, and freeze up to 2 months. If you haven’t baked them yet, roll the cookie dough into balls and freeze on a baking sheet. Then transfer the cookie dough to a plastic bag. When you want to make the cookies, you can take the cookie dough straight from the freezer to a baking sheet in the oven. Then follow the recipe as usual.


Ingredients
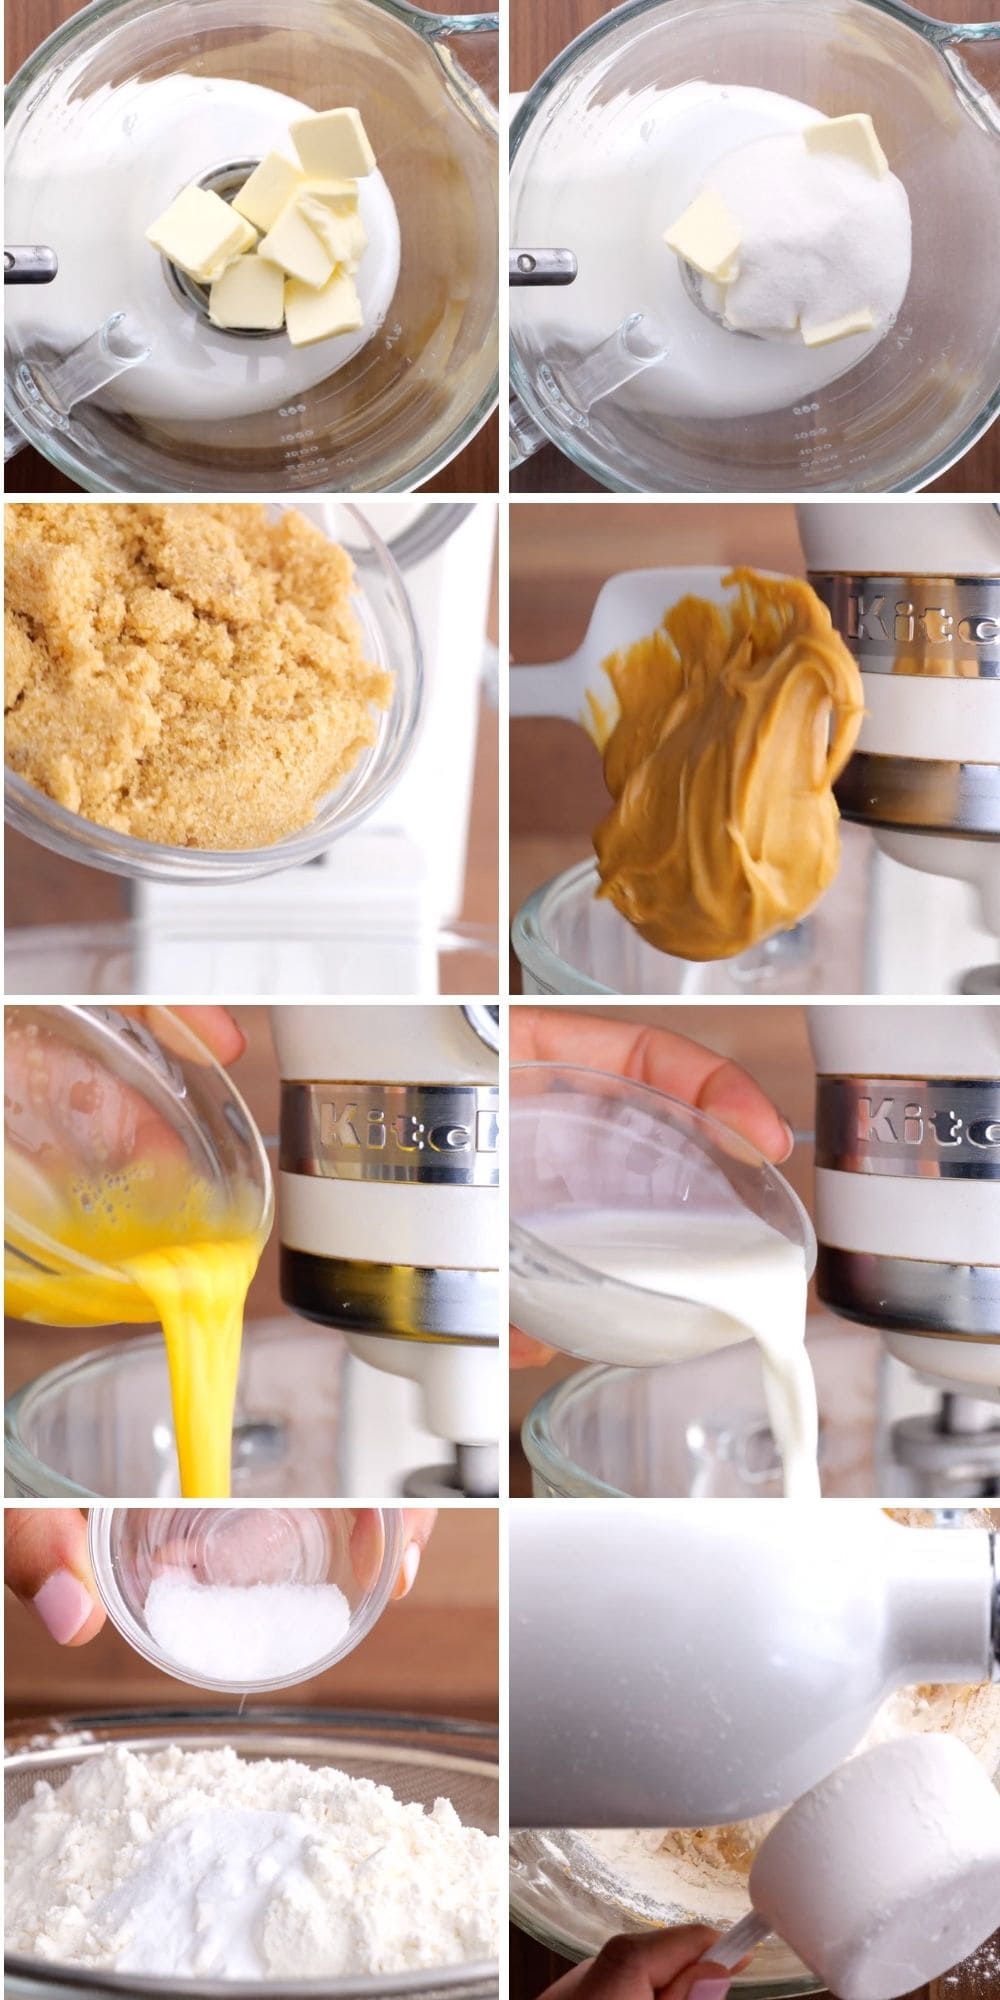
- 1/2 cup unsalted butter , softened
- 1/2 cup sugar
- 1/2 cup brown sugar , packed
- 1/2 cup smooth peanut butter
- 1 large egg , beaten
- 2 teaspoons vanilla extract
- 2 tablespoons whole milk
- 1 3/4 cups flour
- 1 teaspoon baking soda
- 1/2 teaspoon salt
- 36 miniature peanut butter cups , unwrapped
Instructions
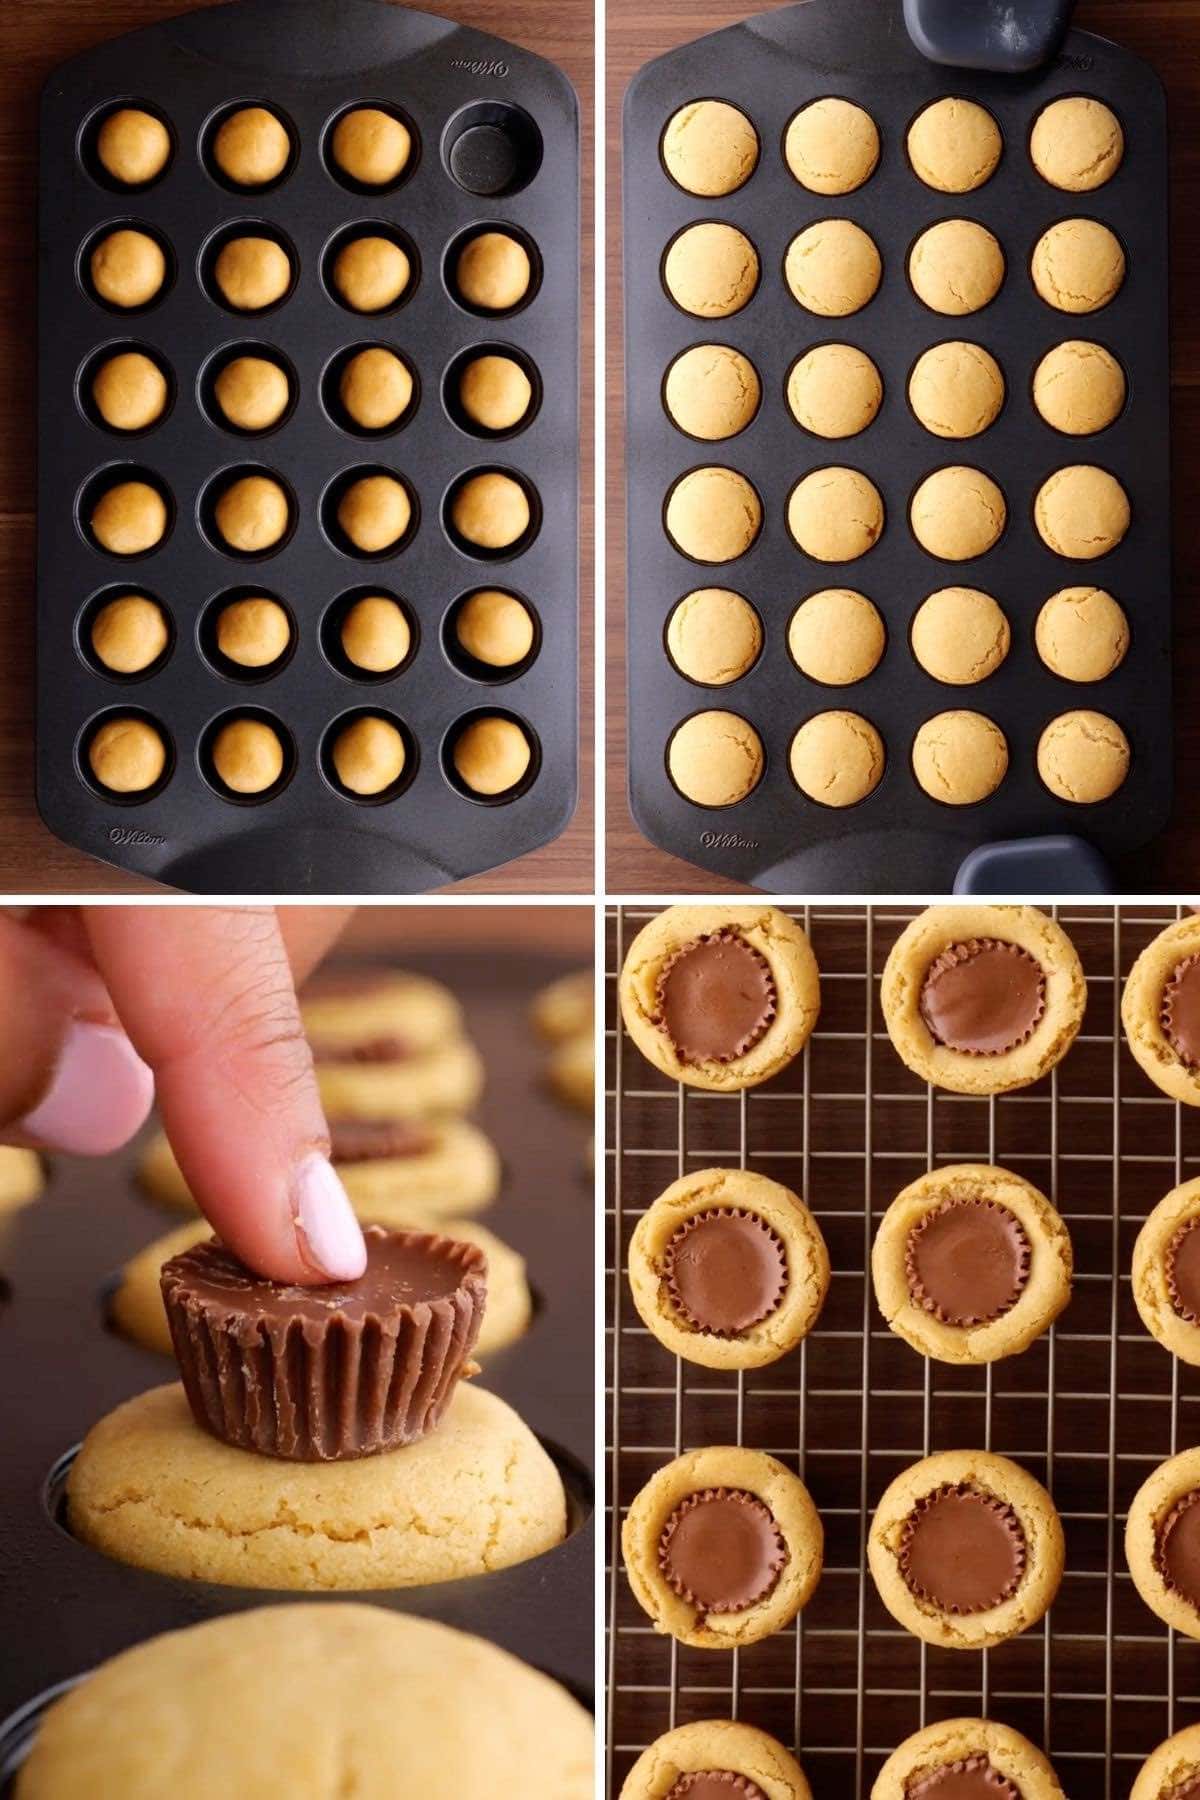
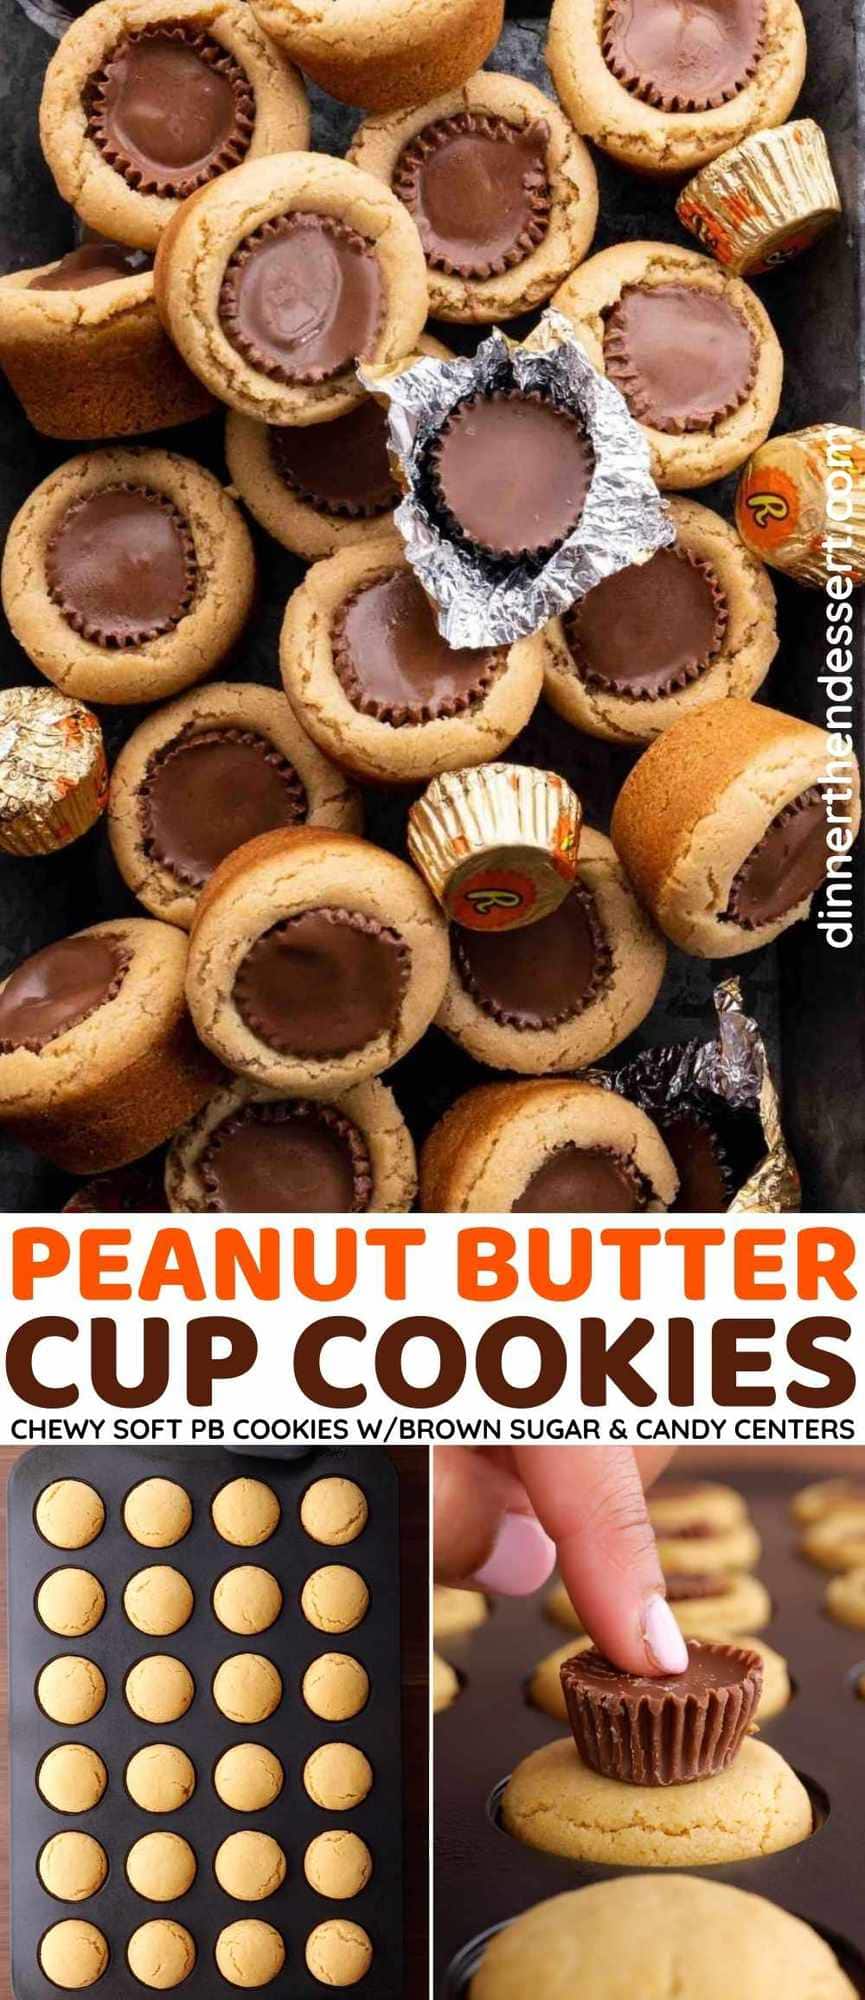
- Preheat oven to 375 degrees and grease your mini muffin tins.
- In your stand mixer beat together the butter, sugar and brown sugar on medium high speed until lightened in color and fluffy, then add in (one at a time) the peanut butter, egg, vanilla and milk until fully combined.
- Sift together the flour, baking soda and salt and add to the stand mixer on low speed until just combined, then roll into 36 balls (refrigerate any you can't bake in the first batch).
- Put the dough into the muffin tins and bake for 8-10 minutes then immediately put a peanut butter cup into the middle of the cookies when they come out of the oven and remove from the pan after letting cool for 15 minutes.
Notes
Nutrition
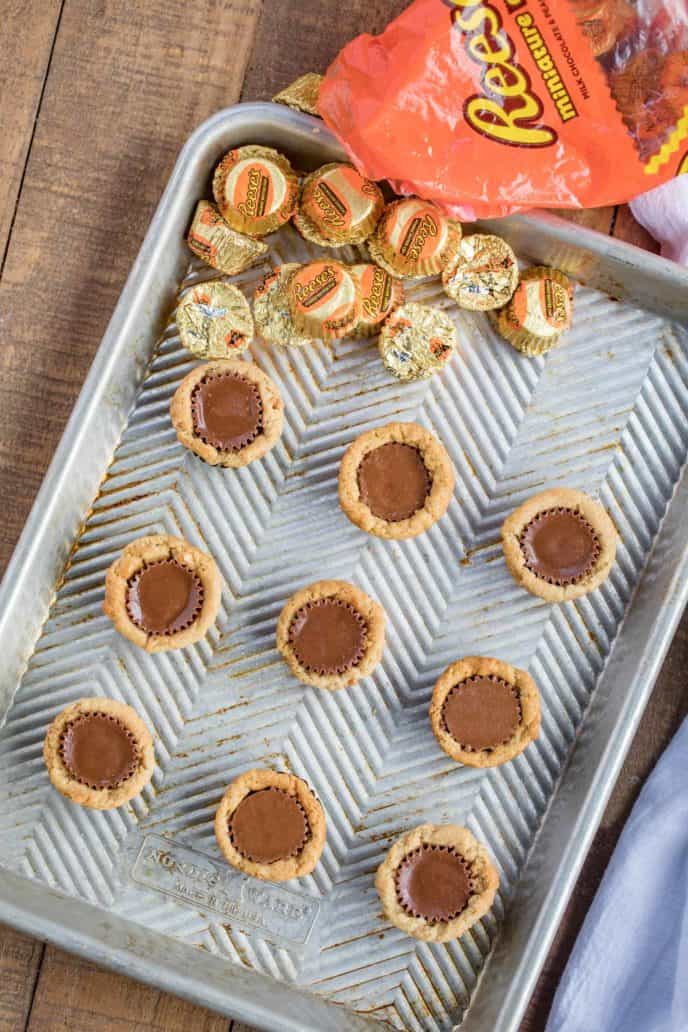
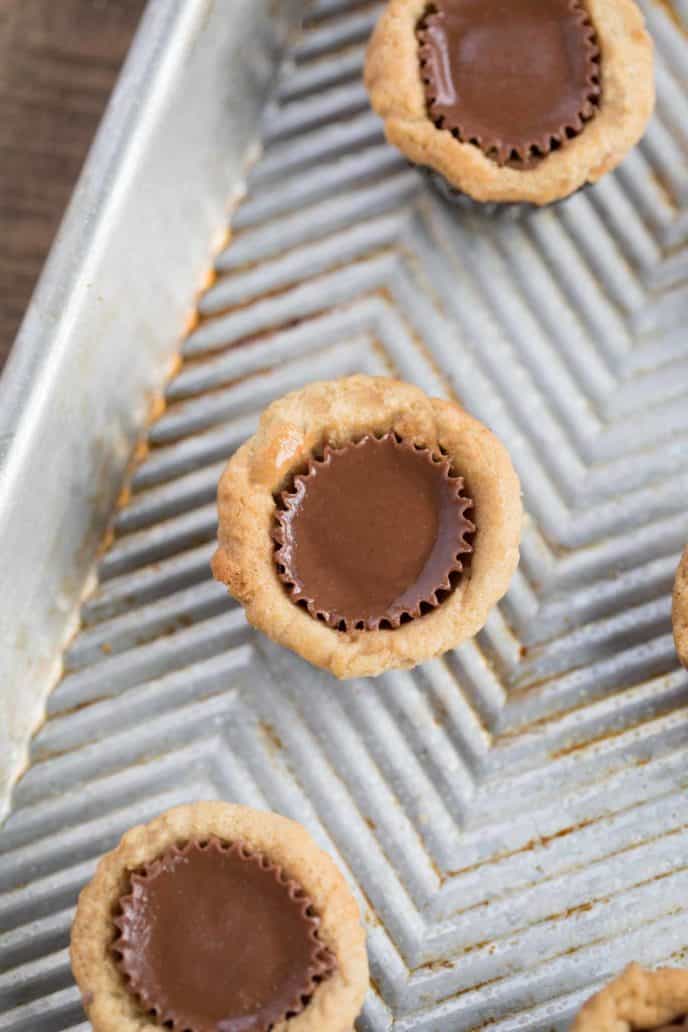
Photos used in a previous version of this post.

Place a 1/2 pecan on top of peanut butter cup while chocolate warm so nut sticks to chocolate. Put in tiny paper candy cups.
Super cute! I’m doing it that way next time!
Hands down these are always a favorite and the first cookie to go!
They’re so good!
You can’t go wrong with this combo!
Agreed!
I saved some peanut butter cups from Halloween and you know where they are going, right? xoxo
Good for you for showing restraint in still having some! You’re a better person than me, haha!
You can’t go wrong making these! They never last long in my house.
They’re just too tempting!
These are so addictive! I’m not going to admit to how many I ate but these are so delicious!
Your secret is safe with me!