
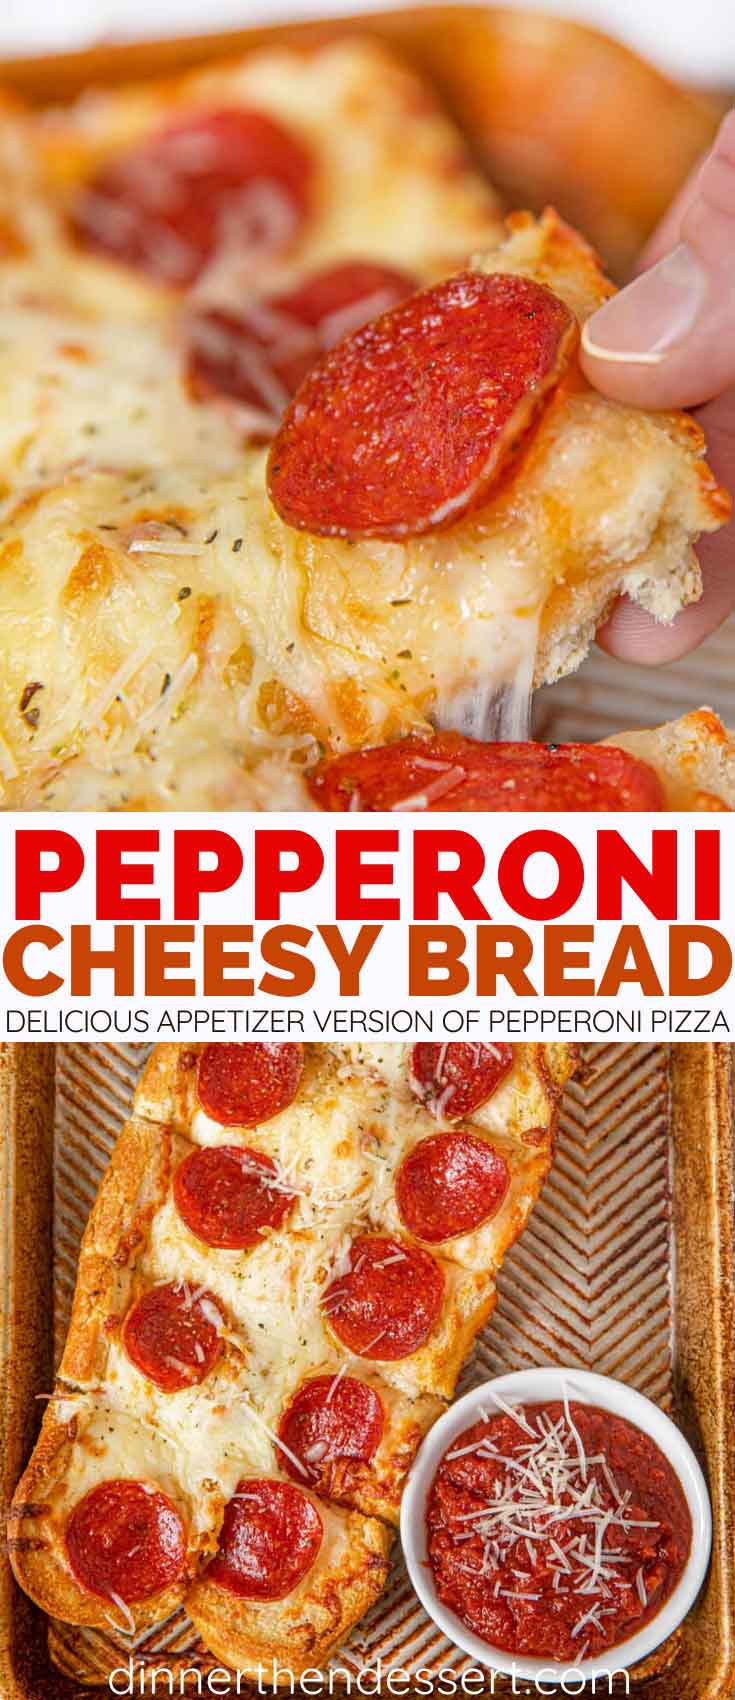
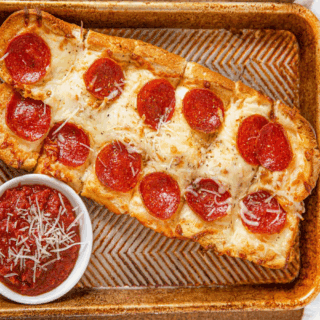
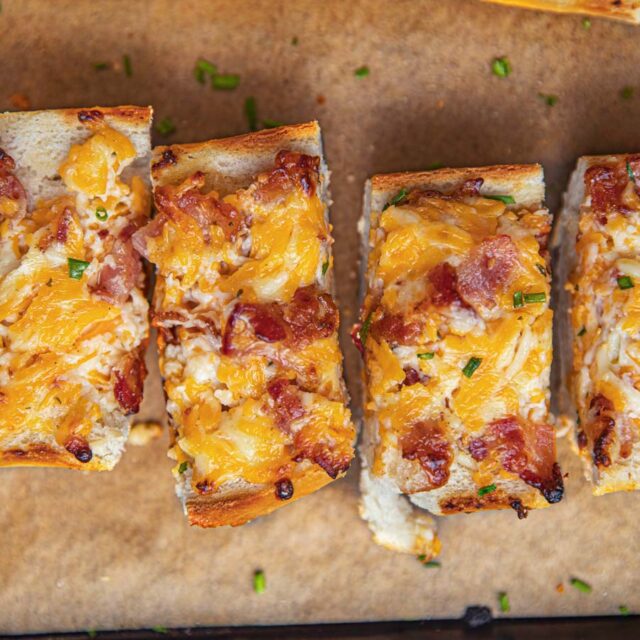
Pepperoni Cheesy Bread is a shareable cheesy appetizer version of pepperoni pizza made on a hoagie roll with loads of mozzarella cheese.
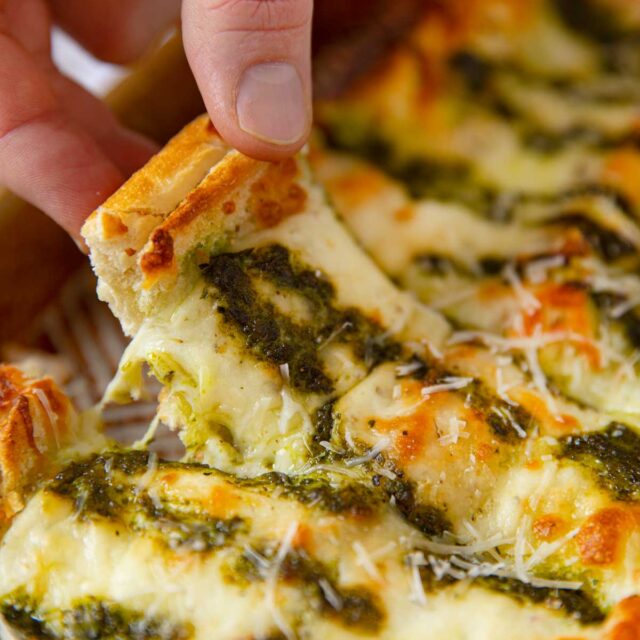
I’ve made traditional Garlic Bread in the past, as well as a couple other varieties of cheesy bread, but this cheesy bread is a favorite of mine.

Sabrina’s Pepperoni Cheesy Bread
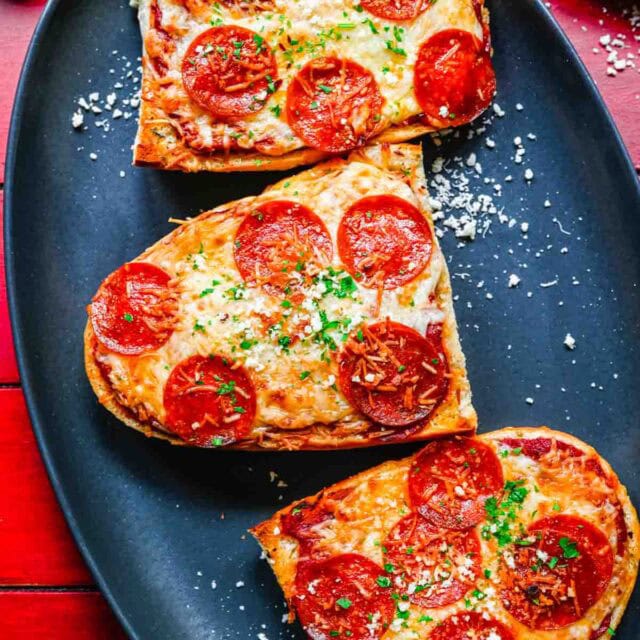
This Pepperoni Cheesy Bread feels like a throwback to the frozen French Bread Pizzas of my youth, but kicked up a notch. It’s the perfect appetizer and also the best and easiest kid friendly dinner too. Give a kid something to dip and you’re the parent of the year.
Recipe Card
Ingredients
- 2 large hoagie rolls
- 2 tablespoons olive oil
- 1 teaspoon Italian seasoning
- 1 teaspoon garlic salt
- 1/4 teaspoon red pepper flakes (optional)
- 2 cup shredded mozzarella cheese
- 1/2 cup shredded parmesan cheese
- 1/2 cup pepperoni
- marinara or pizza sauce , for serving
Instructions
- Preheat oven to 350 degrees.
- Cut the two hoagie rolls into 2-inch wide portions but leave it attached in the middle.
- Mix the olive oil, Italian seasoning, garlic salt, and red pepper flakes (if using) then brush it onto the bread.
- Top the bread with the mozzarella cheese, pepperoni, and parmesan cheese and bake until crispy, about 15-18 minutes.
Nutrition
Want to save this recipe? Create a free account to easily save your favorite recipes
Table of Contents
About This Recipe
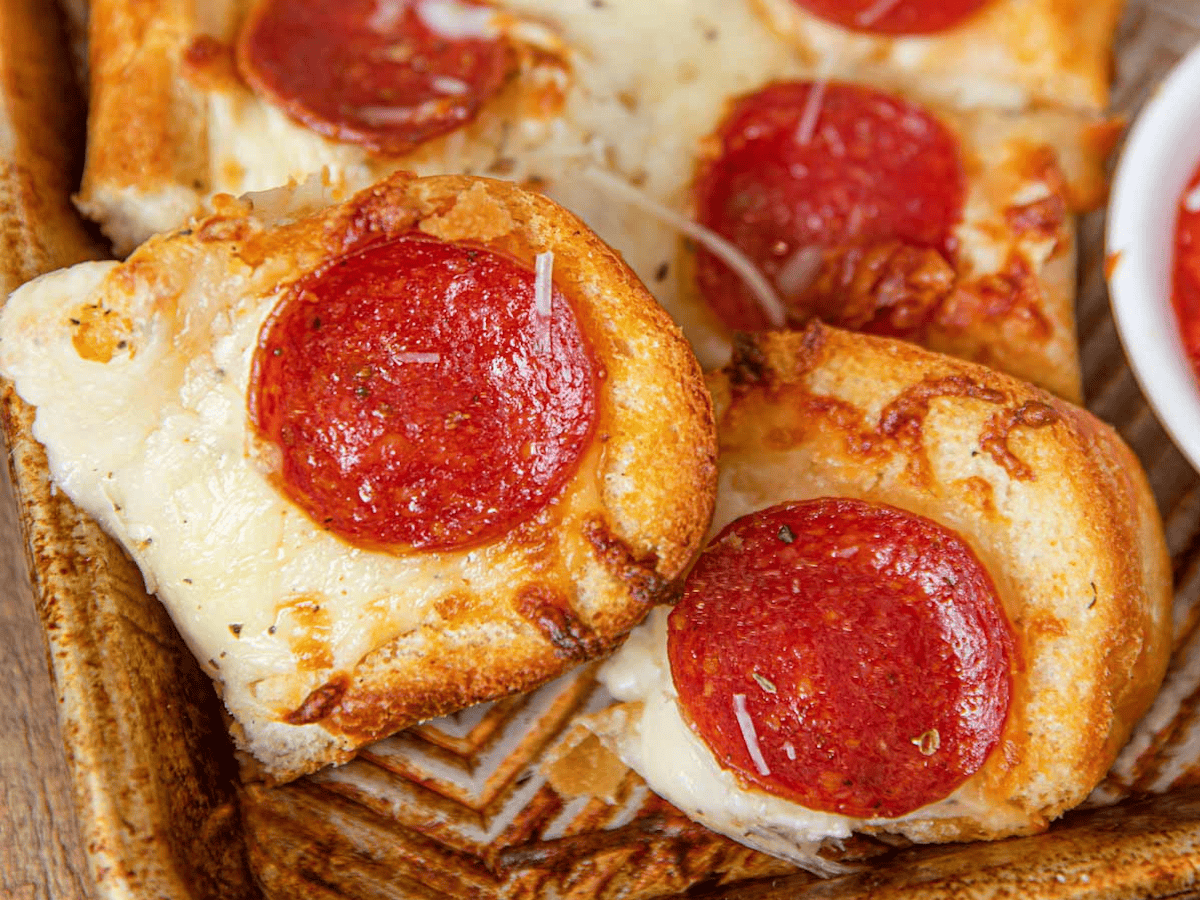
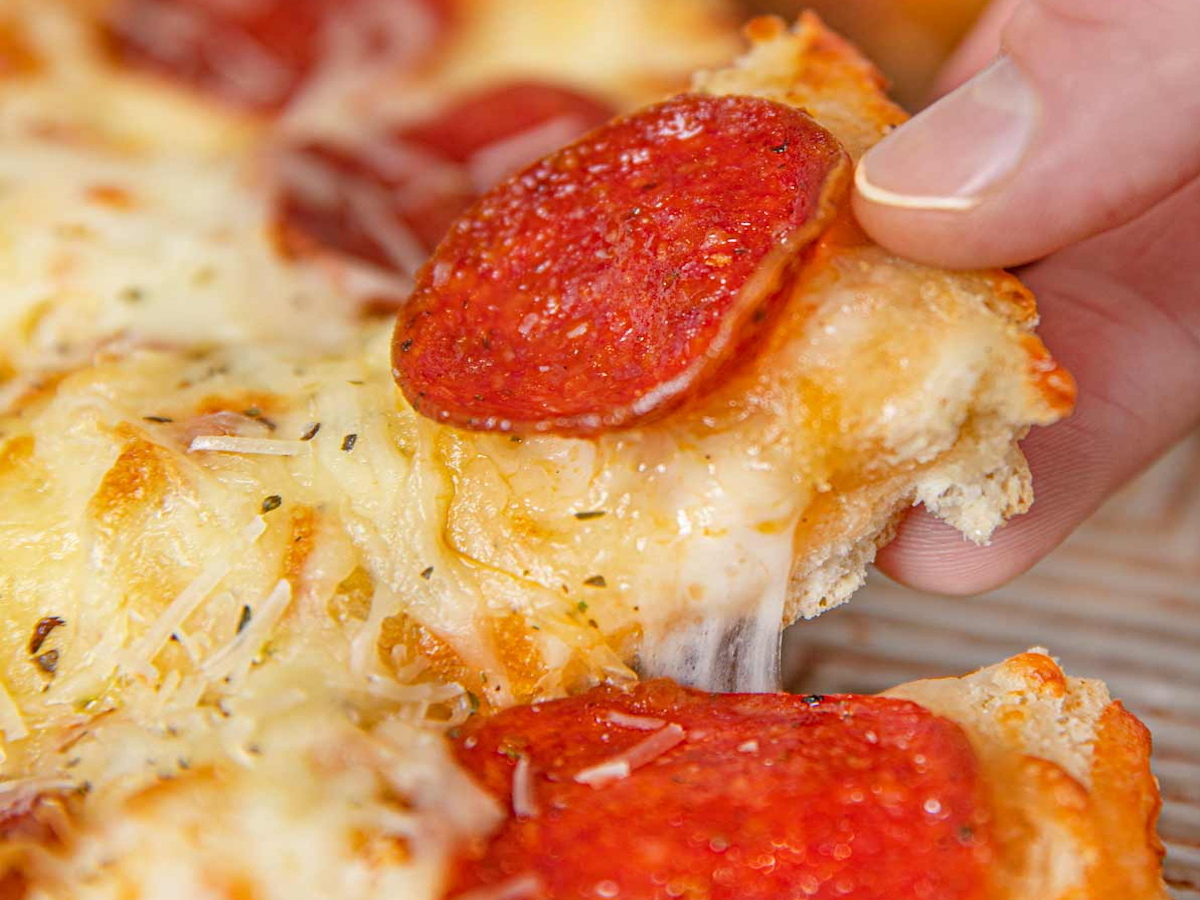
Pepperoni Cheesy Bread takes everything you like about pepperoni pizza and puts them onto a hoagie roll. I cut the hoagie roll into smaller pieces first so it is easier to serve once out of the oven, but you can skip that if you prefer. I love a good cheese pull and if you slice it after cooking you’ll miss the cheese pulling apart.
Chef’s Note
It’s not just a dinner either. You can serve it as an appetizer, along with some of the other tasty dishes on my Appetizer Page, or bring a tray of these cheesy bread pieces to your next potluck.
Recipe Tips and Tricks
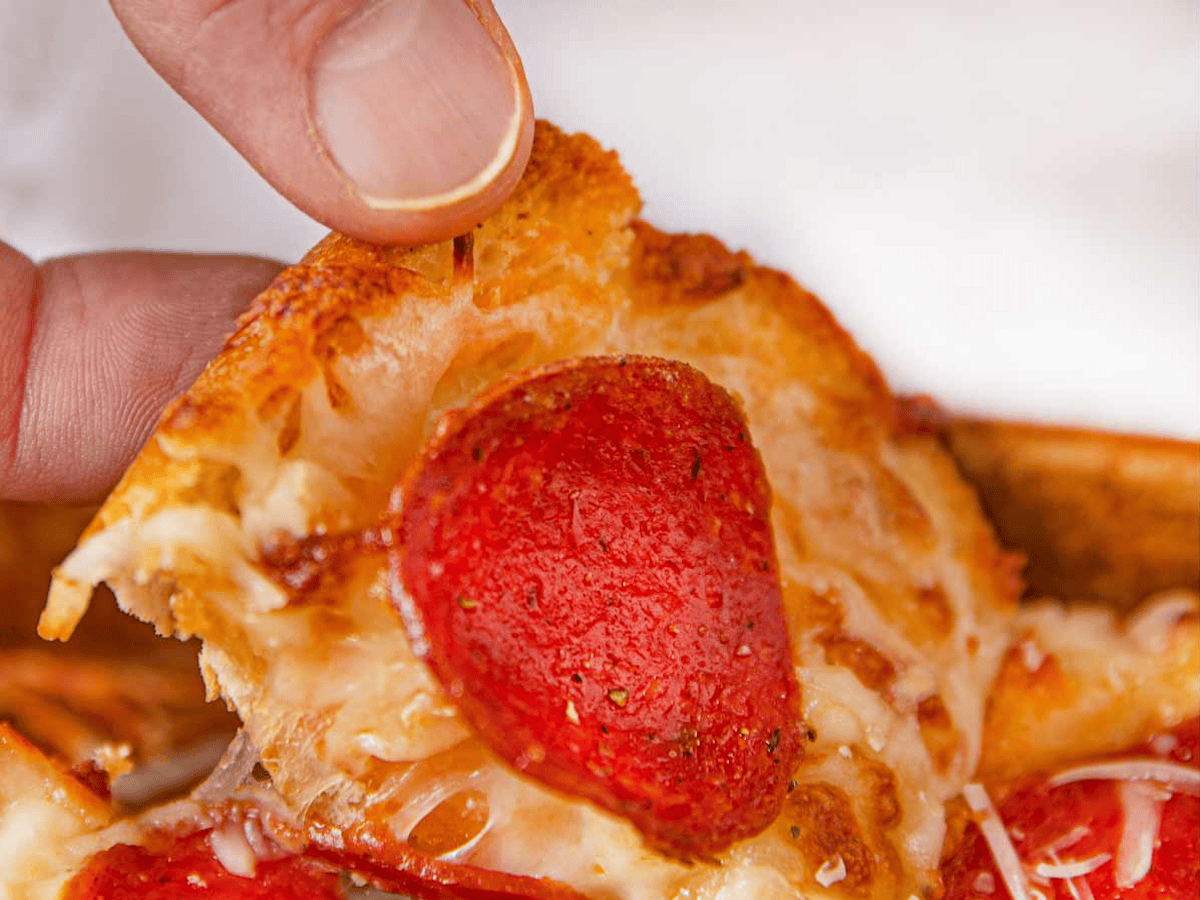
One of the main differences between Pepperoni Cheesy Bread and pepperoni pizza is the lack of sauce on the bread. This allows the bread to remain crispy and avoid any sogginess. On a standard pizza crust your dough cooks all the way through so it can avoid this, but with a hoagie roll the inside of the bread won’t cook long enough to avoid this.
You can also cut the slices in small enough pieces to make this recipe easy for sharing. It’s perfect for after school snacks, for kids’ parties, holiday parties, tailgating, basically any day that ends with y.
How To Store
- Serve: Don’t leave your Pepperoni Cheesy Bread out at room temperature for longer than 2 hours or it can make you sick.
- Store: You can keep leftover Cheesy Bread in the fridge for up to 3 days before the pepperoni won’t be safe to eat any more. You should keep your leftovers in a sealable bag or an airtight container to keep moisture out.
- Freeze: With some special considerations, you can freeze most cheesy breads. Make sure it’s completely sealed so that no moisture can spoil it, and it should be good in the freezer for up to a month. To keep it from fusing together, layer the bread between pieces of parchment paper
Variations
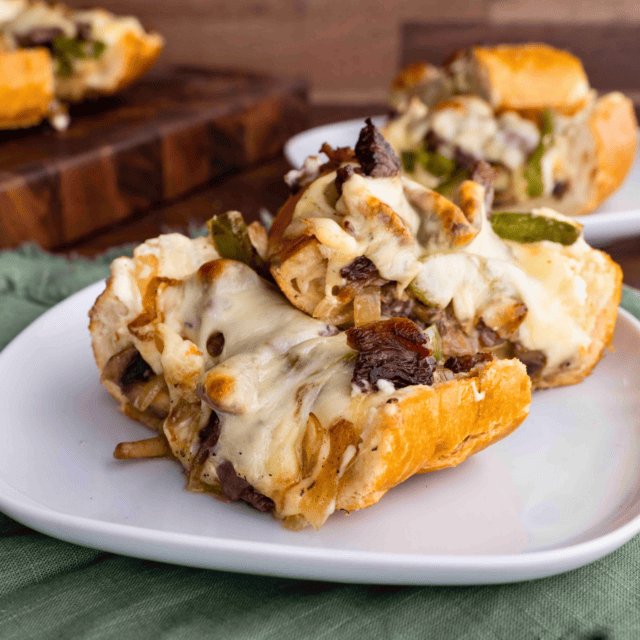
- Toppings: You can try adding some traditional pizza toppings, like marinara sauce, garlic butter, mushrooms, sausage, olives, or anything else you would like.
- Cheese: You don’t have to just use mozzarella cheese, you can use a few blends. Try mixing parmesan cheese, mozzarella, provolone (a personal favorite), pecorino, or even a little gruyere to make the flavor more complex.
Related Recipes
More Fun Snack Bread Recipes


I made this for the game on Sunday and it was a hit! Will definitely be making again soon!
Fantastic! Thanks for the 5 stars.
This came just in time for upcoming holiday parties and busy week days! Quick and delicious!
You’ll definitely be party ready!
This is perfect for the kids on pizza night instead of ordering out. They love it, and it’s so easy to make it’s practically as simple as take-out!
Definitely the perfect, easy dinner.
Cheese and bread are my two favourite things, so this sounds good to me!
Those two things are so wonderful, haha!
Loving this Pepperoni Cheesy Bread, great for an appetizer or even a dinner idea!!!
Yep, no matter what you need it for, you’re totally covered.
I am lucky enough to have a butcher who will grind my pepperoni, we enjoy it this way. I will make this for Christmas snackies. So many in my family enjoy Italian cuisine. I didn’t see the parm in the recipe, but I assume it is to garnish.
You are lucky!! Thanks for catching that parmesan cheese was missing. You’ll want to add in 1/2 cup before baking. I’ve edited the recipe card to include it now.