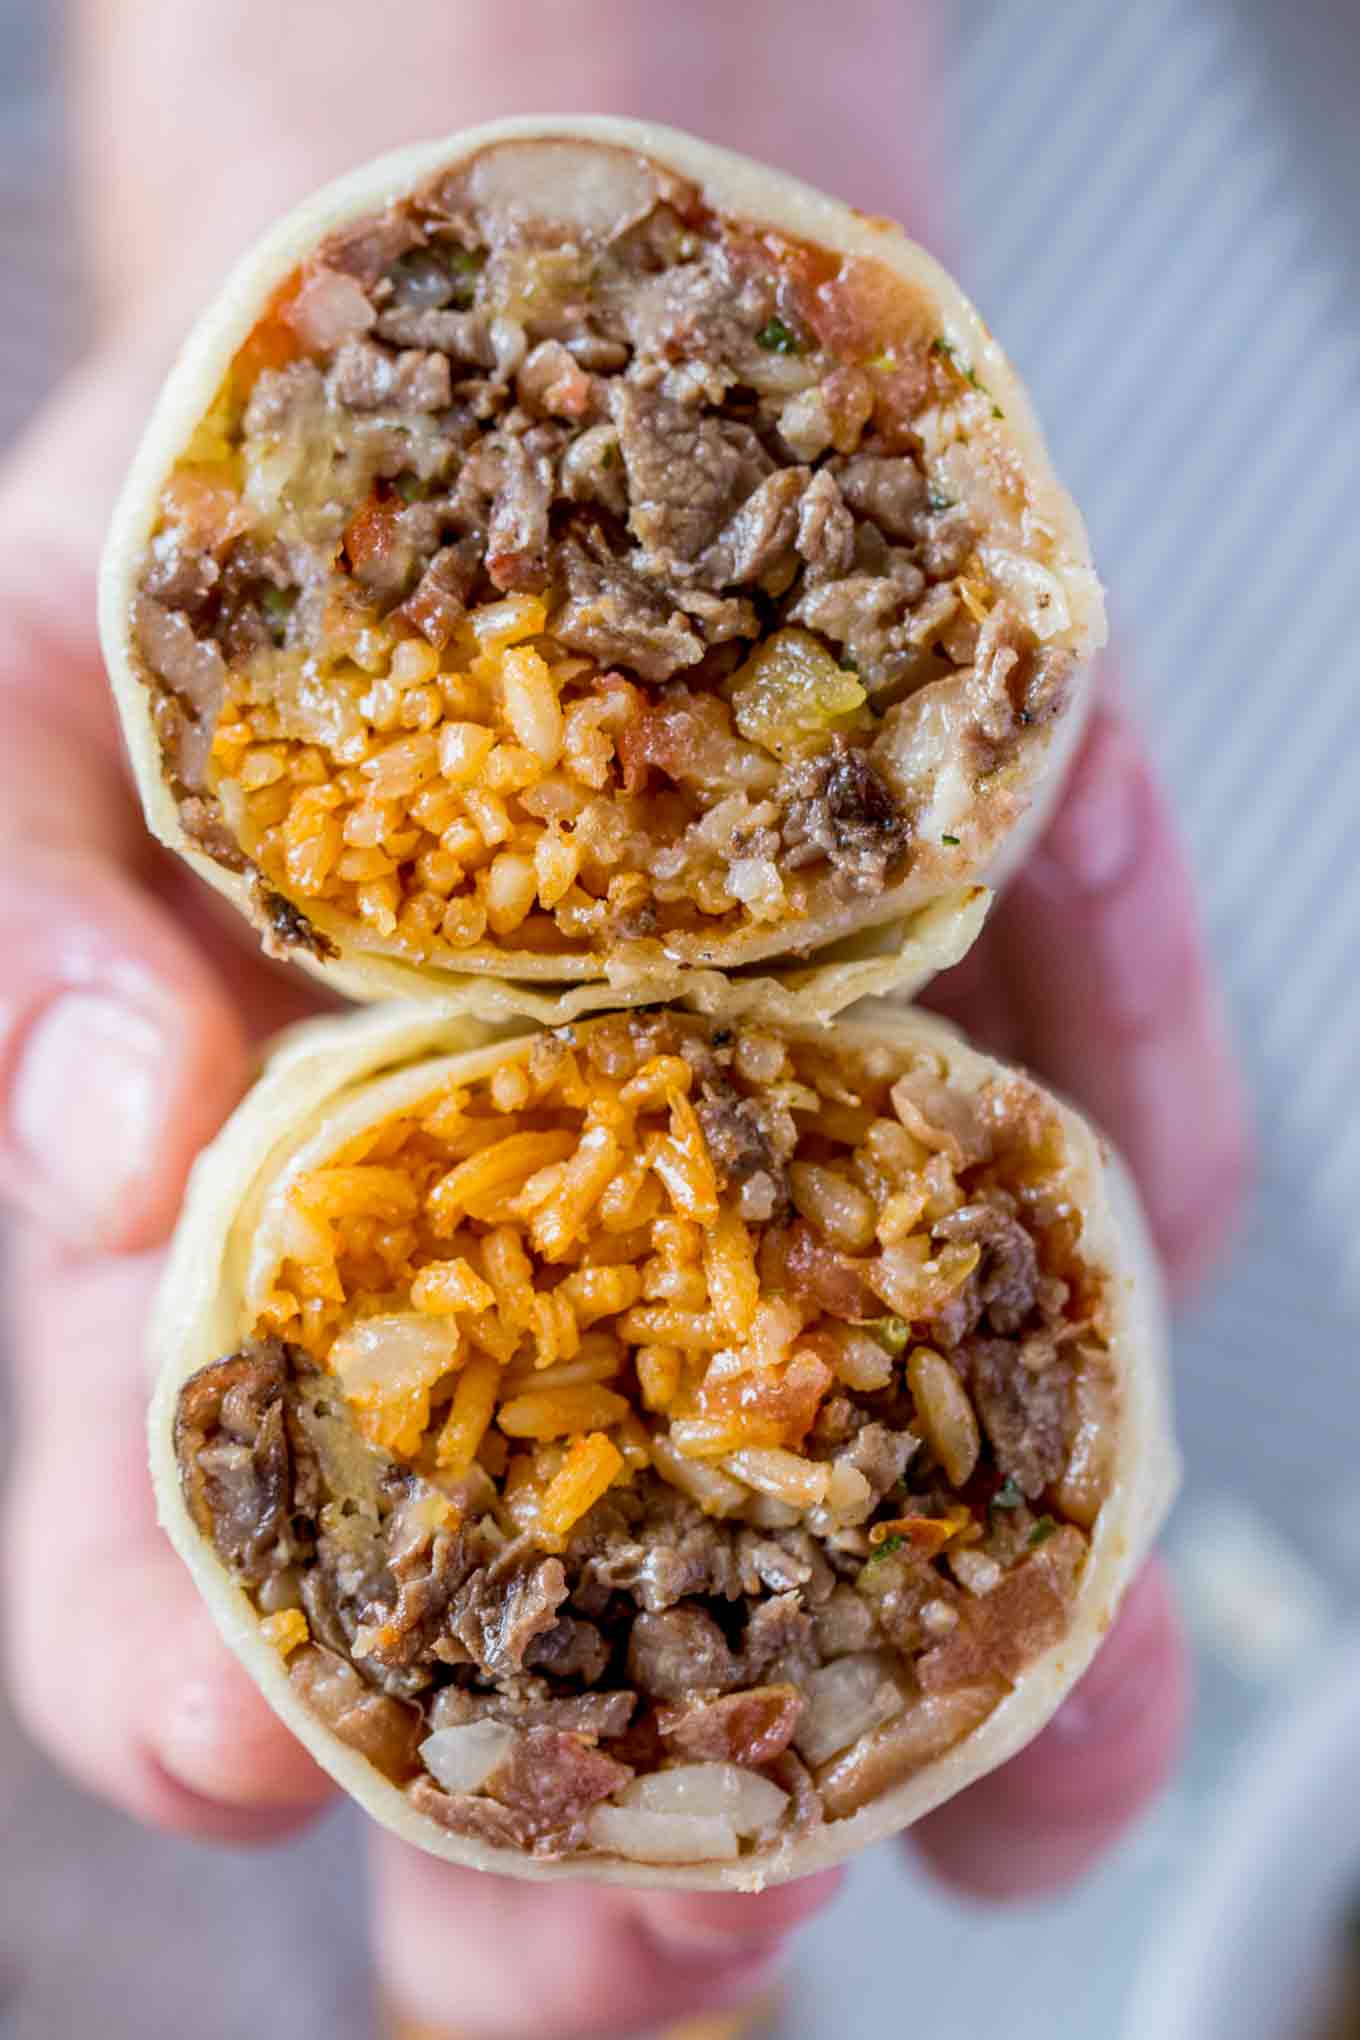
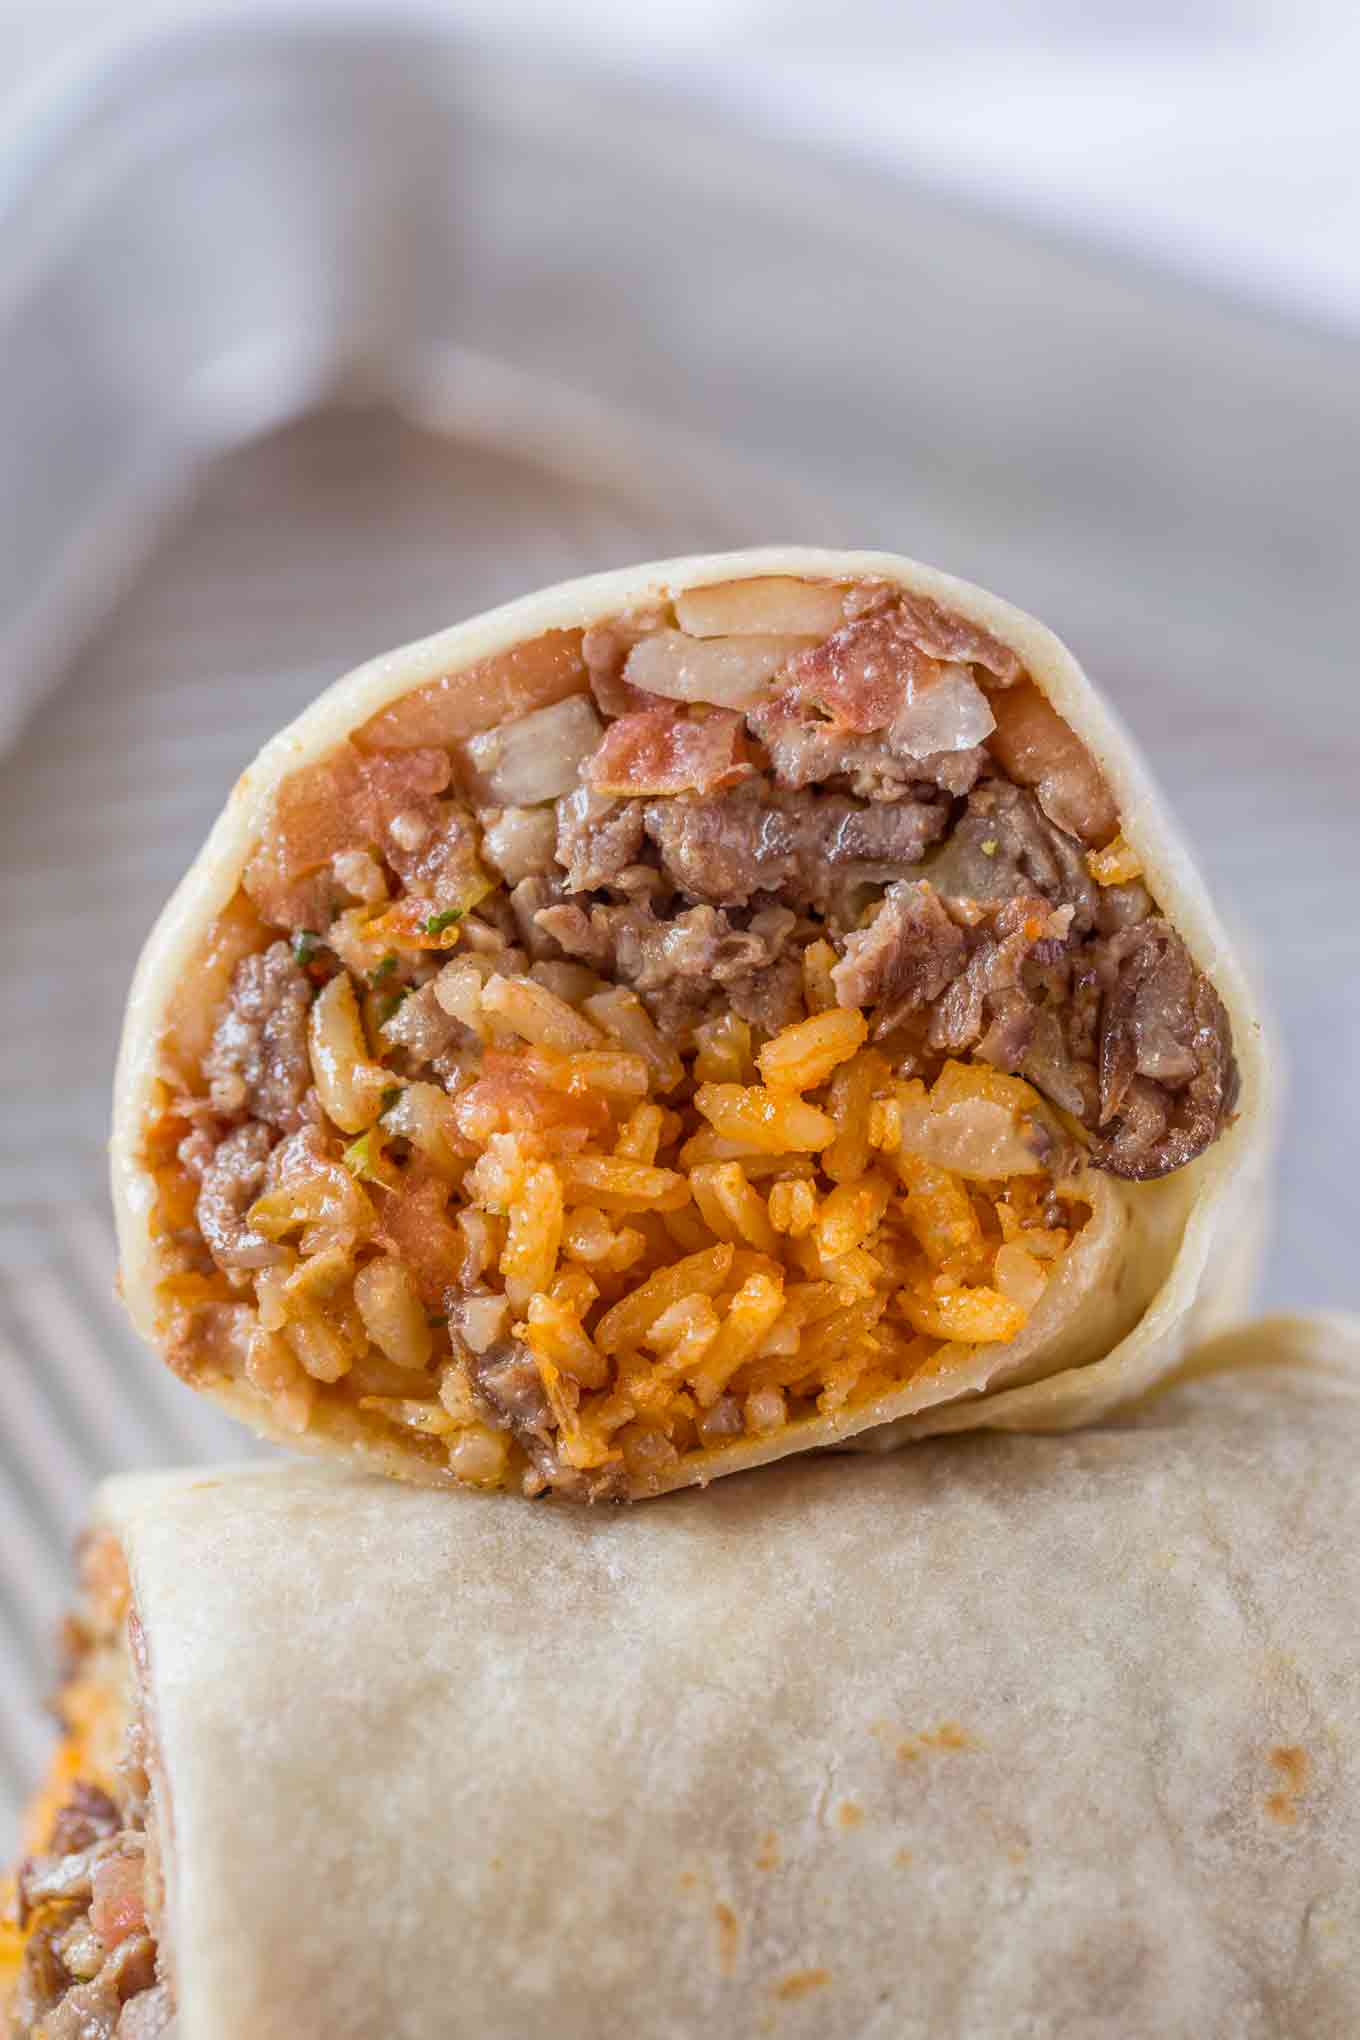
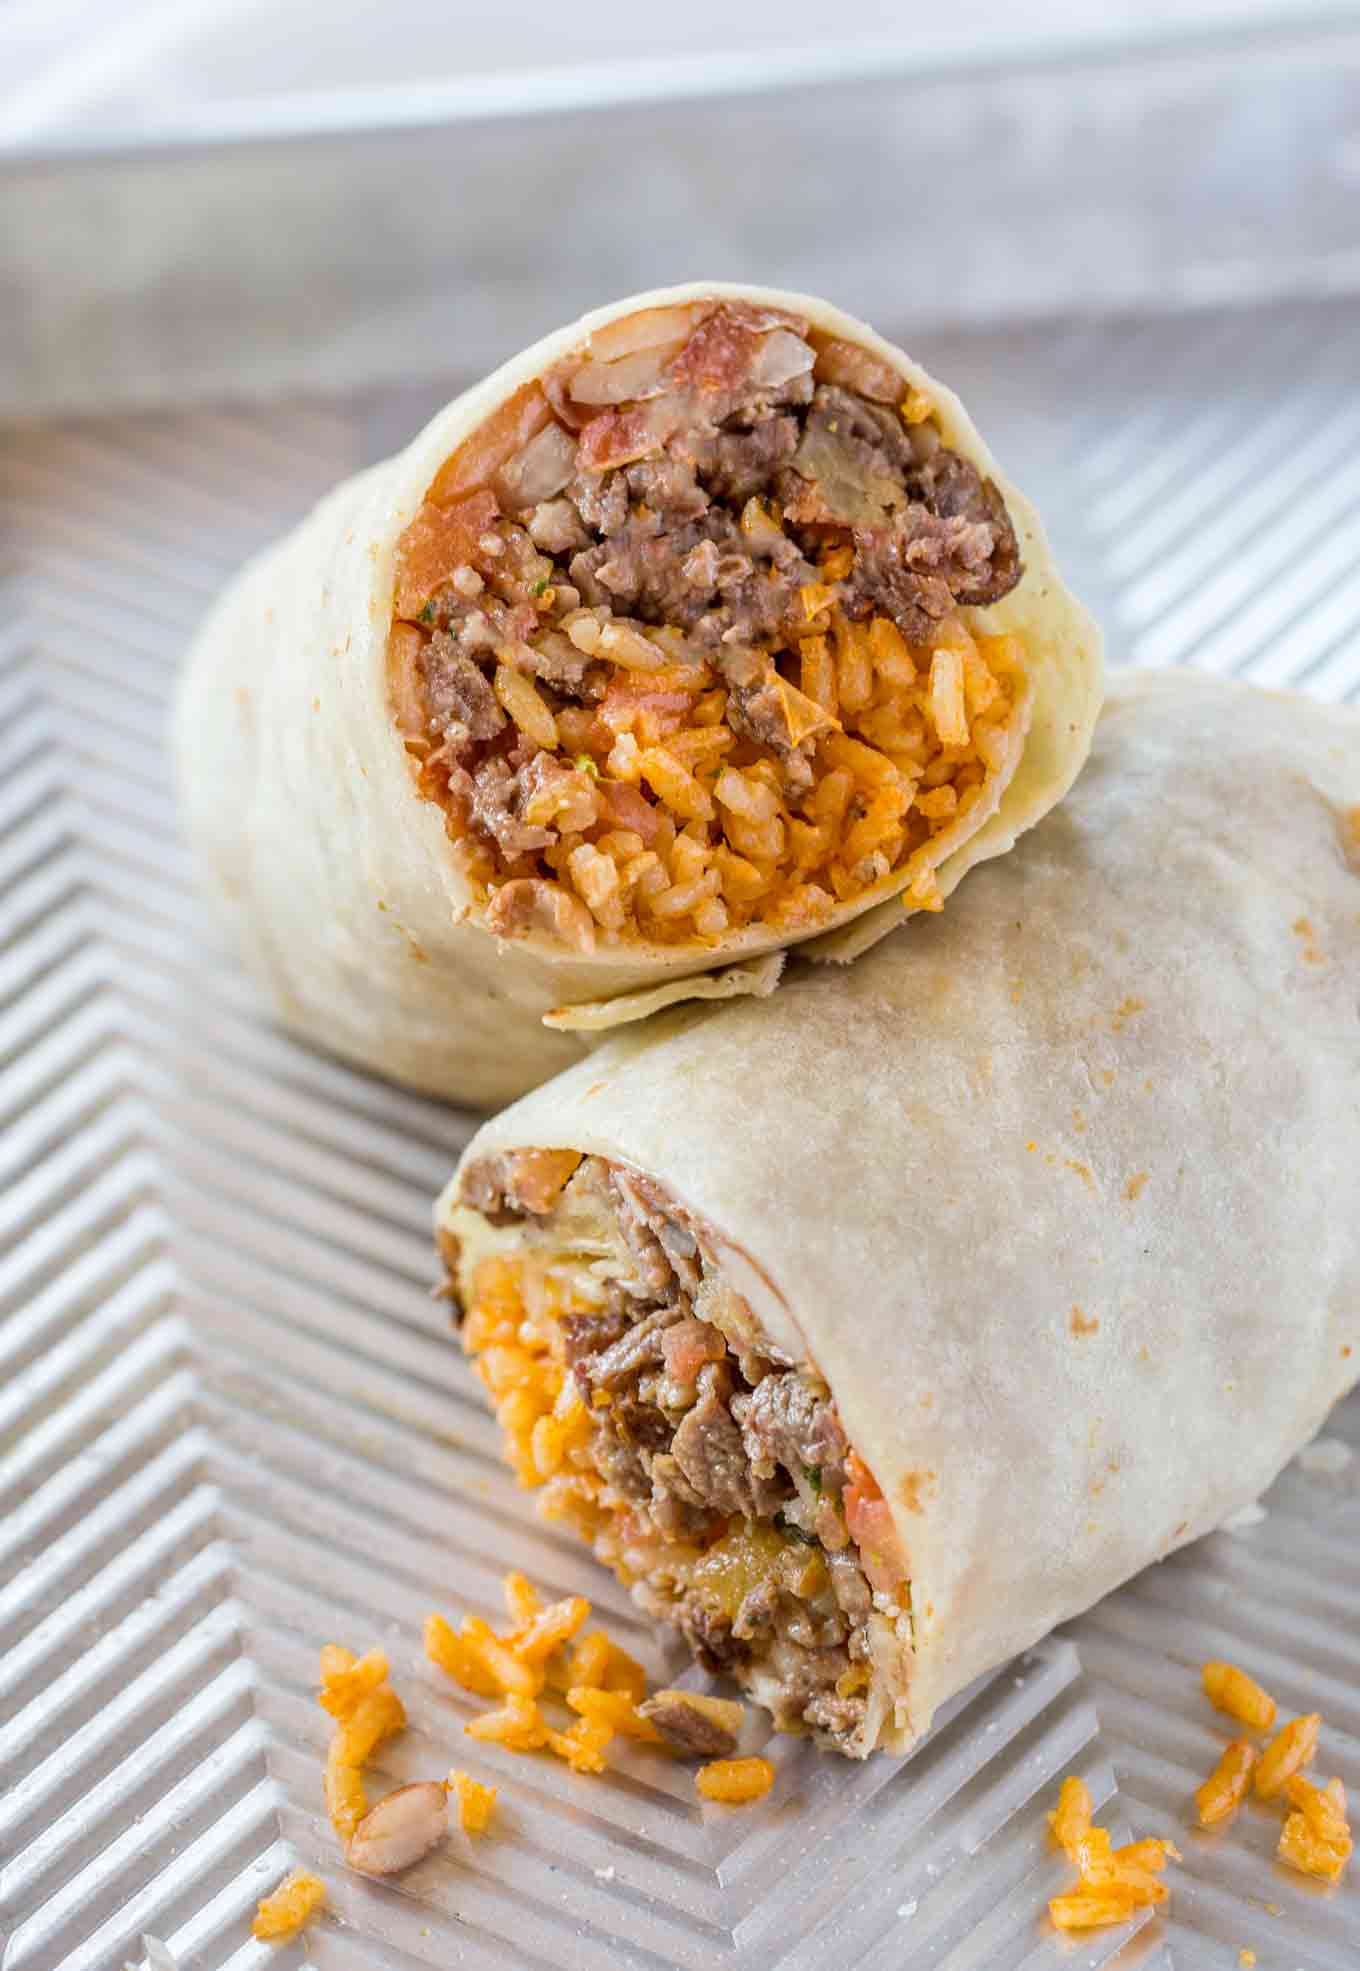
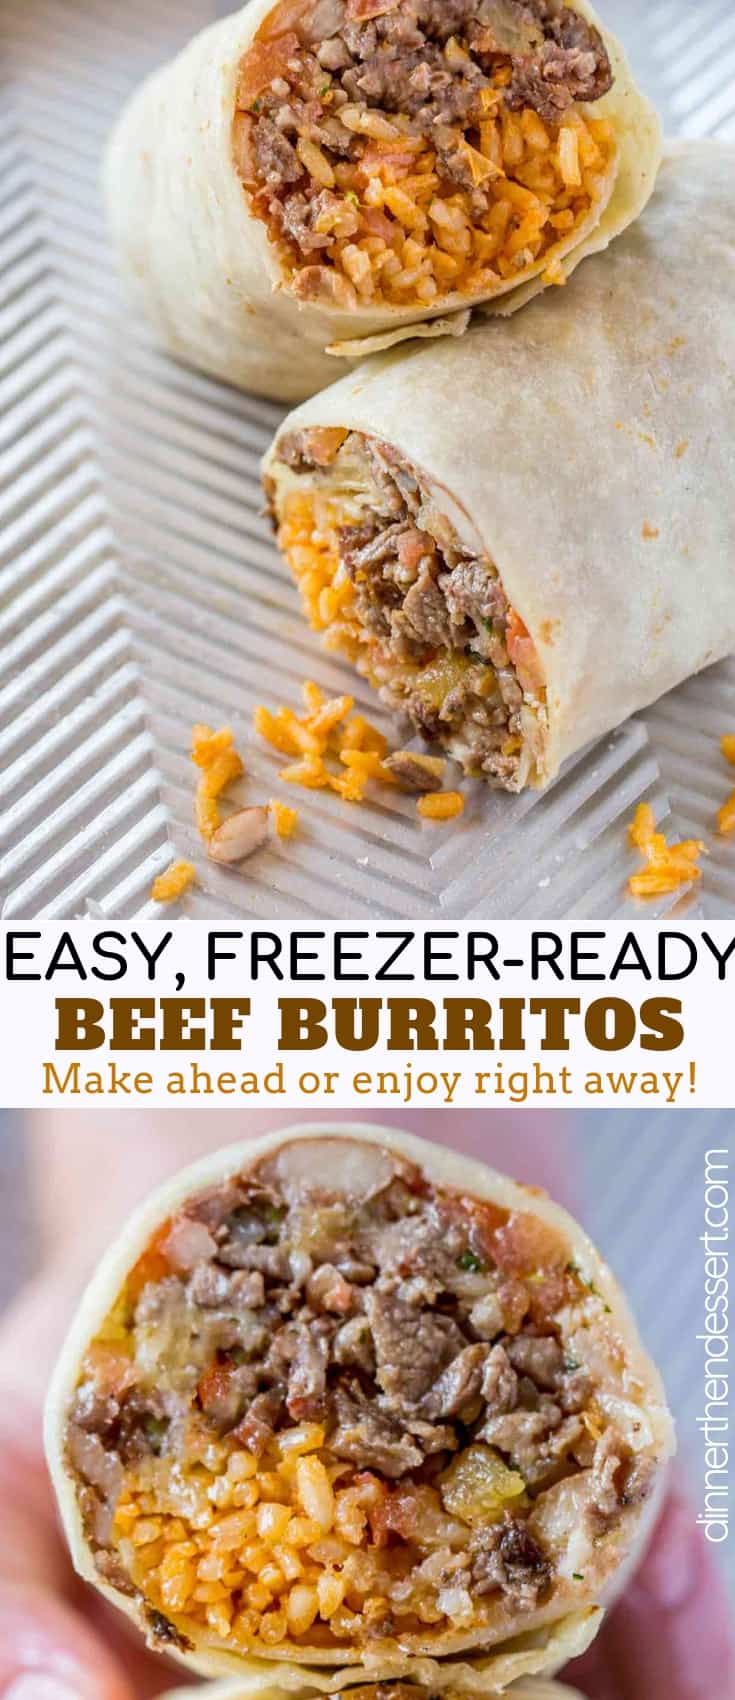
Classic beef burrito with Spanish rice, pinto beans and easy carne asada filling that’s perfect for dinner tonight or for meal prepping.
Create the perfect Mexican dinner at home serving these beef burritos with Spanish Rice (Mexican Rice), Corn Salsa and Restaurant Style Salsa.
 Beef Burrito Recipe
Skip Taco Bell and make this delicious, EASY, beef burritos at home instead of your favorite taqueria. The prep can be done ahead of time and the results are delicious and a total breeze to freeze for later meals.
Burritos, especially those made with freezer friendly ingredients, are the perfect make ahead meal.
How to meal prep burritos:
- Make all the fillings: rice, beans and meat.
- Chop everything to a uniform consistency.
- Lay flat pieces of foil on your table or counter.
- Lay out all the tortillas on their pieces of foil.
- Fill with ¼ cup of each filling then roll the burrito.
- Roll the foil wrapper after you’ve already rolled the burrito.
Create a free account to Save Recipes
Great Burrito Mix-ins:
- Tomato: Fresh diced tomatoes or pico de gallo add lots of flavor.
- Salsa: Jarred or fresh salsa is a great healthy way to add volume to your burrito (but drain it well first.)
- Cheese: shredded cheese would be great for easy melting but cubes of cheese provide great melted cheese pockets.
- Lime Juice/Lime Zest: I add this at the end for a splash of fresh flavor.
- Cilantro: Chopped and added to the burrito for freshness.
WAYS TO ADD MORE FLAVOR:
- Marinade: Marinades are the best for flavor and to help make the beef more tender.
- Sour Cream: adds a creamy, cool element the recipe.
- Guacamole: adds richness and creaminess to the dish and enough flavor to avoid other fats.
Ways to serve Beef Burritos (inside and out of the bun!):
- With flour tortillas or corn tortillas for soft tacos instead.
- In hard taco shells topped with lettuce and tomato or even a creamy slaw.
- With a large salad full of romaine, grape tomatoes, avocados, salsa, and sour cream.
- In a rice bowl, or over cauliflower rice for a low carb option.
- Baked with enchilada sauce.
- In lettuce cups instead of tortilla wrap.
- Chopped up leftovers stuffed inside of quesadillas for a perfect, easy leftovers meal.


Ingredients
- 1 pound ground beef
- 1/2 cup chopped onion
- 3 cloves garlic minced
- 3 Tablespoons tomato paste
- 1/2 Tablespoon ground cumin
- 1 teaspoon chili powder
- 1 teaspoon dried oregano
- 1/2 teaspoon salt
- 2 Tablespoons fresh lime juice
- 1/4 cup water
- 2 cups prepared Mexican rice
- 1 15 oz. can refried beans
- 2 cups shredded cheddar cheese
- 8 Tablespoons sour cream
- 8 large 10-inch flour tortillas
Instructions
- In a large skillet, over medium-high heat, add ground beef, onion and garlic to skillet. Cook and crumble beef and cook until no longer pink. Drain grease.
- Add tomato paste, cumin, chili powder, oregano, salt, lime juice and water to beef. Cook and stir until mixture comes to a slight boil. Reduce heat to low and cook for 5 to 8 minutes or until thoroughly heated.
- Remove from heat and let stand 15 minutes or until mixture comes to warm room temperature.
- Lay tortillas out on a flat surface and divide the beans, cheese, beef,rice and sour cream among the 8 tortillas. Fold each burrito-style.
- Wrap each burrito with saran wrap, and then place burritos in a freezer-safe ziplock bag. Freeze up to 2 months.
- To Reheat: Unwrap burrito from plastic wrap. Place on a microwave-safe plate. Microwave 2 to 3 minutes or until heated through. Serve and enjoy!

Recipe doesn’t say anything about the rice, how did you make the Spanish rice? The pic isn’t really regular white rice
Here is our Spanish Rice Recipe!
https://dinnerthendessert.com/spanish-rice/
Thank you so much for the wonderful recipe! These have become a staple at our house.
very tasty recipe…thank you for posting!
Realized the next day I forgot to add the water, but this was so good! My favorite burrito recipe now. I sprayed them with cooking spray and air fried them!
The pictures don’t show ground beef. What did you use in those burritos? Is that some kind of steak?
Loved the burritos… good way to use up leftover Spanish rice.
GREAT RECIPES!
Wonderful recipes.
I don’t have a microwave. How would you suggest reheating in the oven?
I’d wrap it in aluminum foil and place it in a 350 degree oven to reheat. Might take up to 15 minutes. Enjoy!
This is an easy great tasting recipe that almost anyone should be able to make.
If I could give it more stars I would.
That’s so nice of you to say, Mike. Thank you!
Check your recipe. It’s says beans to begin with but then list decried beans????
You can actually use either for this recipe. If you want to use pinto beans, make sure they’re rinsed and drained. Sorry for the confusion.
I absolutely love all your recipes. We’ve made these burritos several times. I’ve also made these with a chuck roast slow cooked and then shredded. My husband devours them every time. We have several of these frozen in food saver bags for a quick weeknight meal. The chicken and cilantro rice ones are awesome as well. Keep up the great work!!
Thanks, Amanda. I’m so glad you’re loving the recipes.
Thanks for the recipe, it’s very helpful
You’re welcome.
I have my this recipe twice and my family loves it!! Thank you this is delicious!
Thanks for coming back to let me know, Crystal.
Your recipe calls for ground beef but in the picture it doesn’t look like ground beef. The picture looks awesome but I don’t want to use ground beef so what meat was used in the picture?
I used ground beef for this recipe.
It looks like carde asada which is like a skirt steak
beautiful
Hello! These sound amazing! I plan to make them ahead of time for a camping trip. I’m guessing I would just use foil and hen can throw gen over hot coals? Would I double wrap them? Thanks!
I am definitely not a camping pro, haha but that sounds right. Have a great time!
What are the instructions for backing right away if not freezing?
You can follow the same instructions just don’t let the the filling cool down. Start making the burritos right away and serve. Enjoy!
This is very good and easy to make
I make them in large quantities I like having them in the freezer
So smart to do that!
should this be baked in the oven and am I the only one that noticed what to do with the cheese? all the ingredients sound great, but the directions are bare.
If frozen, I just reheated in the microwave. You’ll want to add the cheese in with the other ingredients as you’re laying out the burritos. Thanks for catching that it was missing. 🙂
My family loves this recipe! We make them ahead of time to eat through the week.
Very smart!
Wow! I can’t wait to give it a try! Love this beef burrito!
So delicious and easy – my whole family devoured them in no time!
Yay!! So glad you all loved it!
Wow!! These look SO delicious!! My family would love these!!
Such a great family friendly recipe, for sure!
This will now become a weekly staple for our family!
How awesome!!