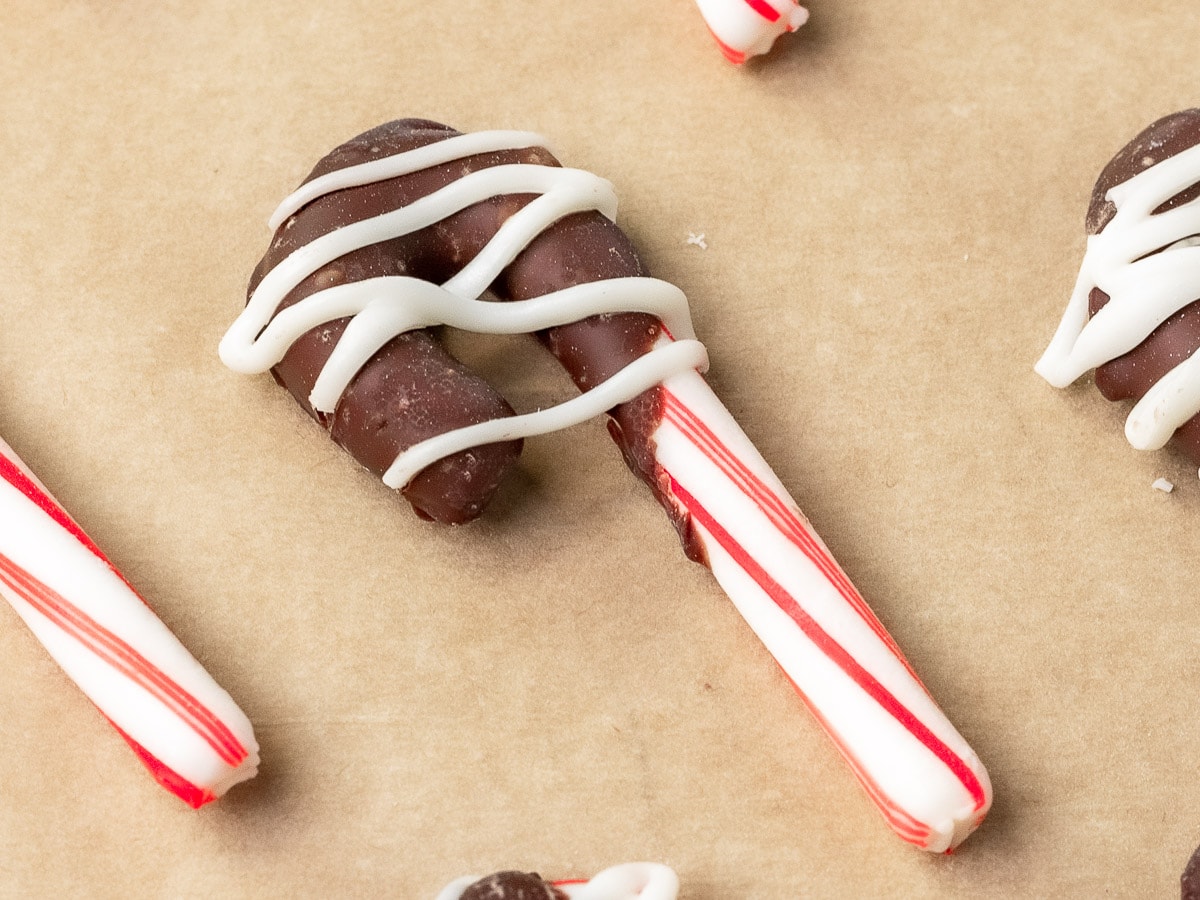
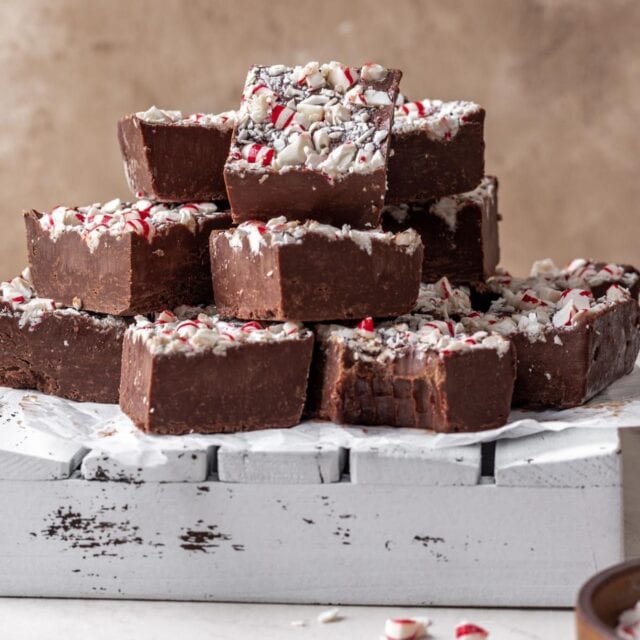
Chocolate Dipped Candy Canes are easy edible holiday gifts! Mini peppermint sticks dipped in chocolate and drizzled with white chocolate.
From Peppermint Bark Pretzels to Chocolate Covered Oreos to these Chocolate Dipped Candy Canes, all you need is a handful of chocolate chips to turn sweets and snacks into festive treats! This easy Candy Recipe is perfect for sprucing up Christmas dessert tables and gift baskets.
Table of contents
Sabrina’s Chocolate Dipped Candy Canes Recipe
Minty, warm candy canes and creamy semi-sweet chocolate are great on their own, but together they are a magical Christmas treat. The peppermint and chocolate flavor combo make Chocolate Dipped Candy Canes the perfect holiday candy. They are so budget-friendly and easy to make, they are sure to be your go-to treat for all things winter.
Chocolate Dipped Candy Canes are an easy addition to any holiday gift basket or dessert table, just tuck a few here and there for an edible decoration. A Chocolate Candy Cane or two make a great lunchbox dessert or after-school treat during the winter months. Instantly make coffee or Hot Chocolate a peppermint mocha with Chocolate Dipped Candy Canes as a delicious stir-stick!
Ingredients
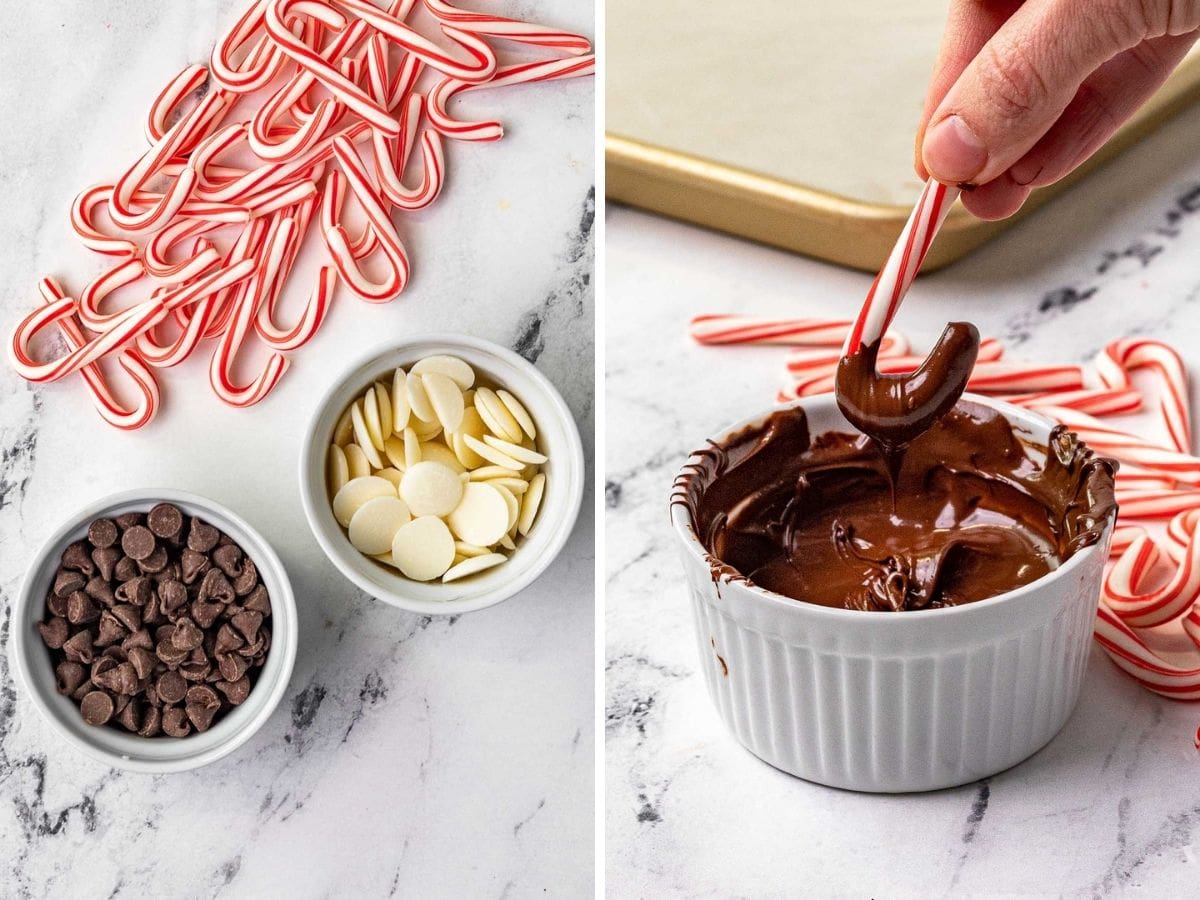
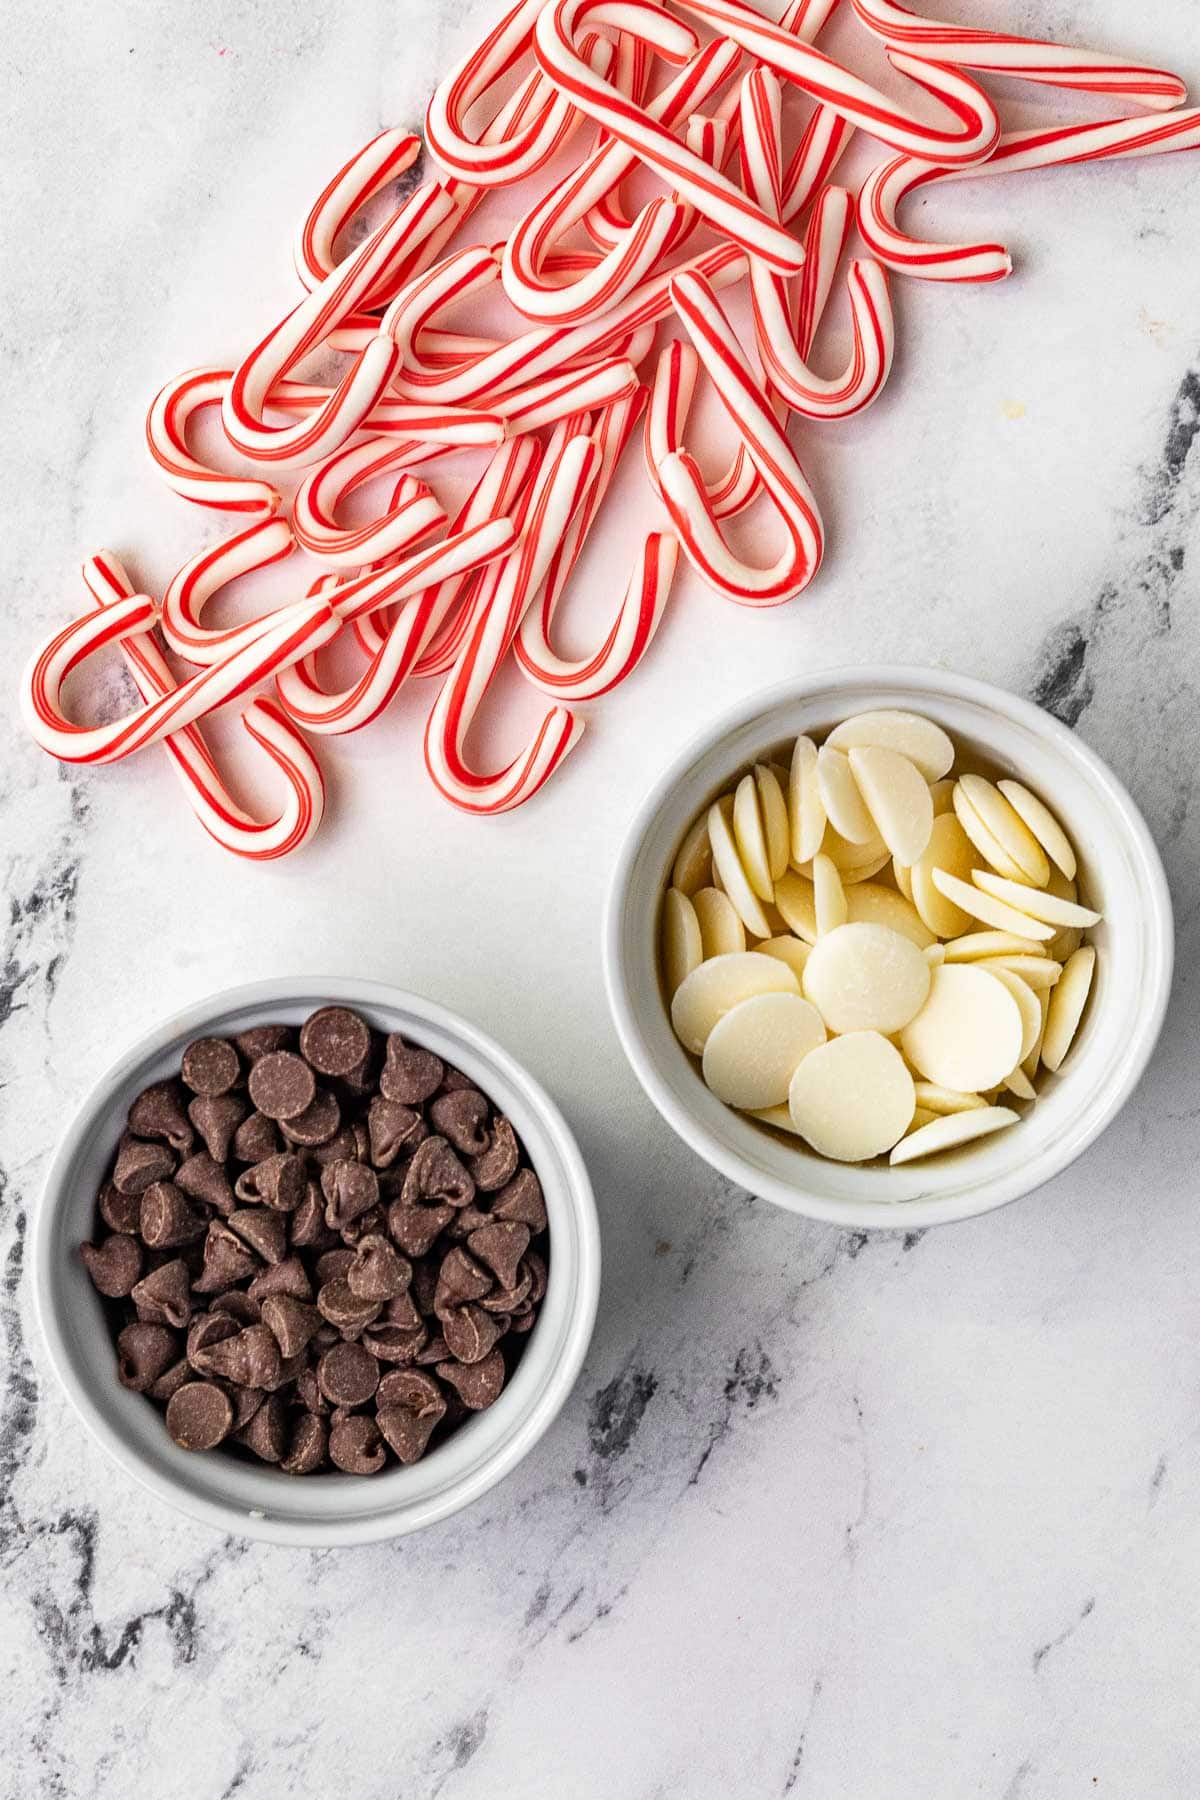
- Candy Canes: Mini candy canes are great for an easy holiday treat because you won’t need much chocolate and they set quickly. Plus the miniature peppermints are the perfect size for hanging off the side of a mug of cocoa.
- Chocolate: As said above, you don’t need to use much chocolate to dip the smaller candies. A ½ cup of semi-sweet chocolate chips is plenty to coat the tops of 24 mini canes, or 12 regular candy canes. Chocolate chips are good for dipping because they add a nice thick layer of chocolate that will harden easily in the fridge.
- White Chocolate: For a little extra decoration, you’ll use white chocolate melting disks for a drizzle. The reason you use the melting disks is that they will melt smoother and a bit thinner than white chocolate chips so they are easier to drizzle.
Kitchen Tools & Equipment
Bowl: A microwave-safe bowl makes melting chocolate chips super easy. Just make sure to heat it in short bursts so it doesn’t burn. Stir each time so the hot chocolate gets mixed in to melt the rest of the chips.
Piping Bag: No need to get out your fancy frosting piping bags if you don’t want to, you can just use a ziplock bag. Add the melted white chocolate to the bag and snip a tiny corner to make a disposable bag. You could also use a fork for an easy splatter-style drizzle.
How to Make
Time needed: 20 minutes.
- Melt the Chocolate Chips
In a small microwave safe bowl, melt the chocolate chips in 30 second bursts in the microwave. Stir between each heating time until the chocolate is fully melted and smooth.
- Dip the Candy Canes
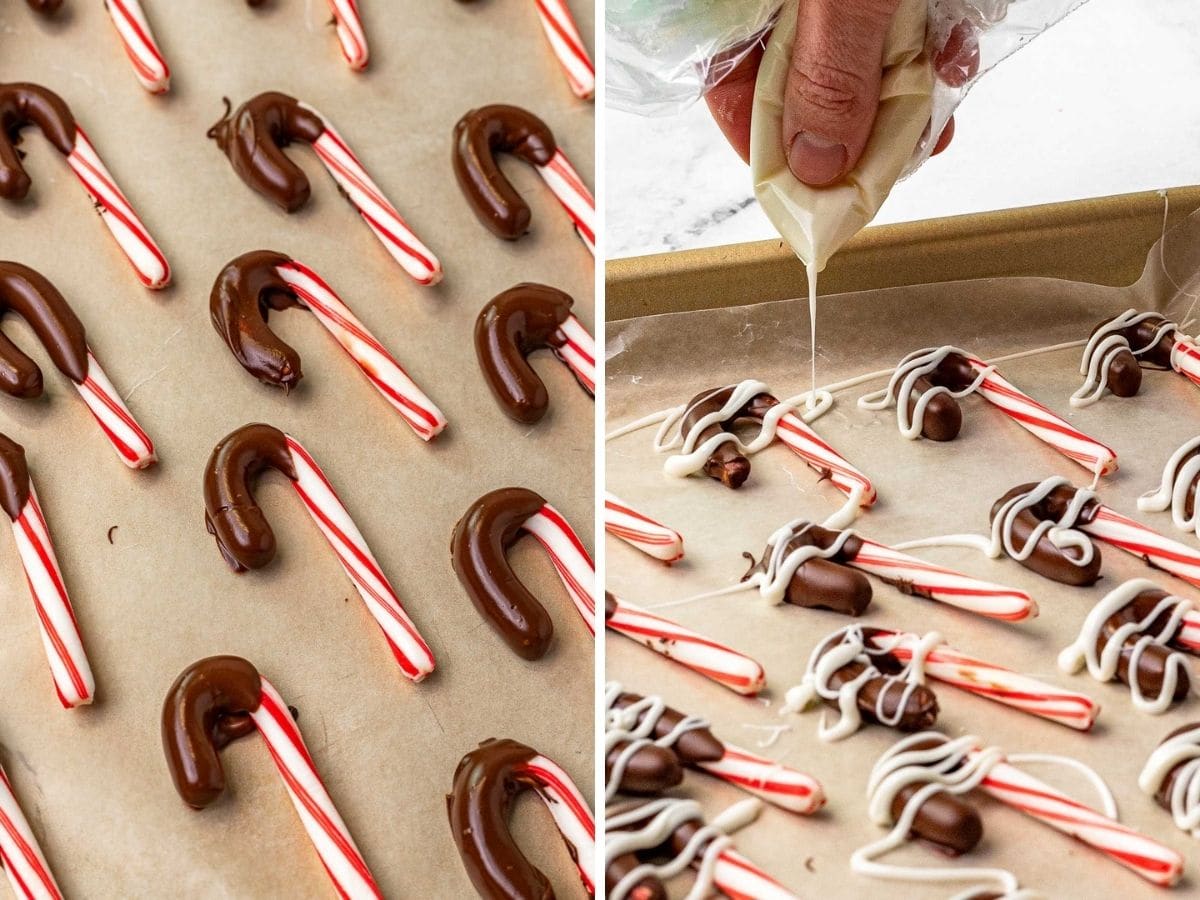
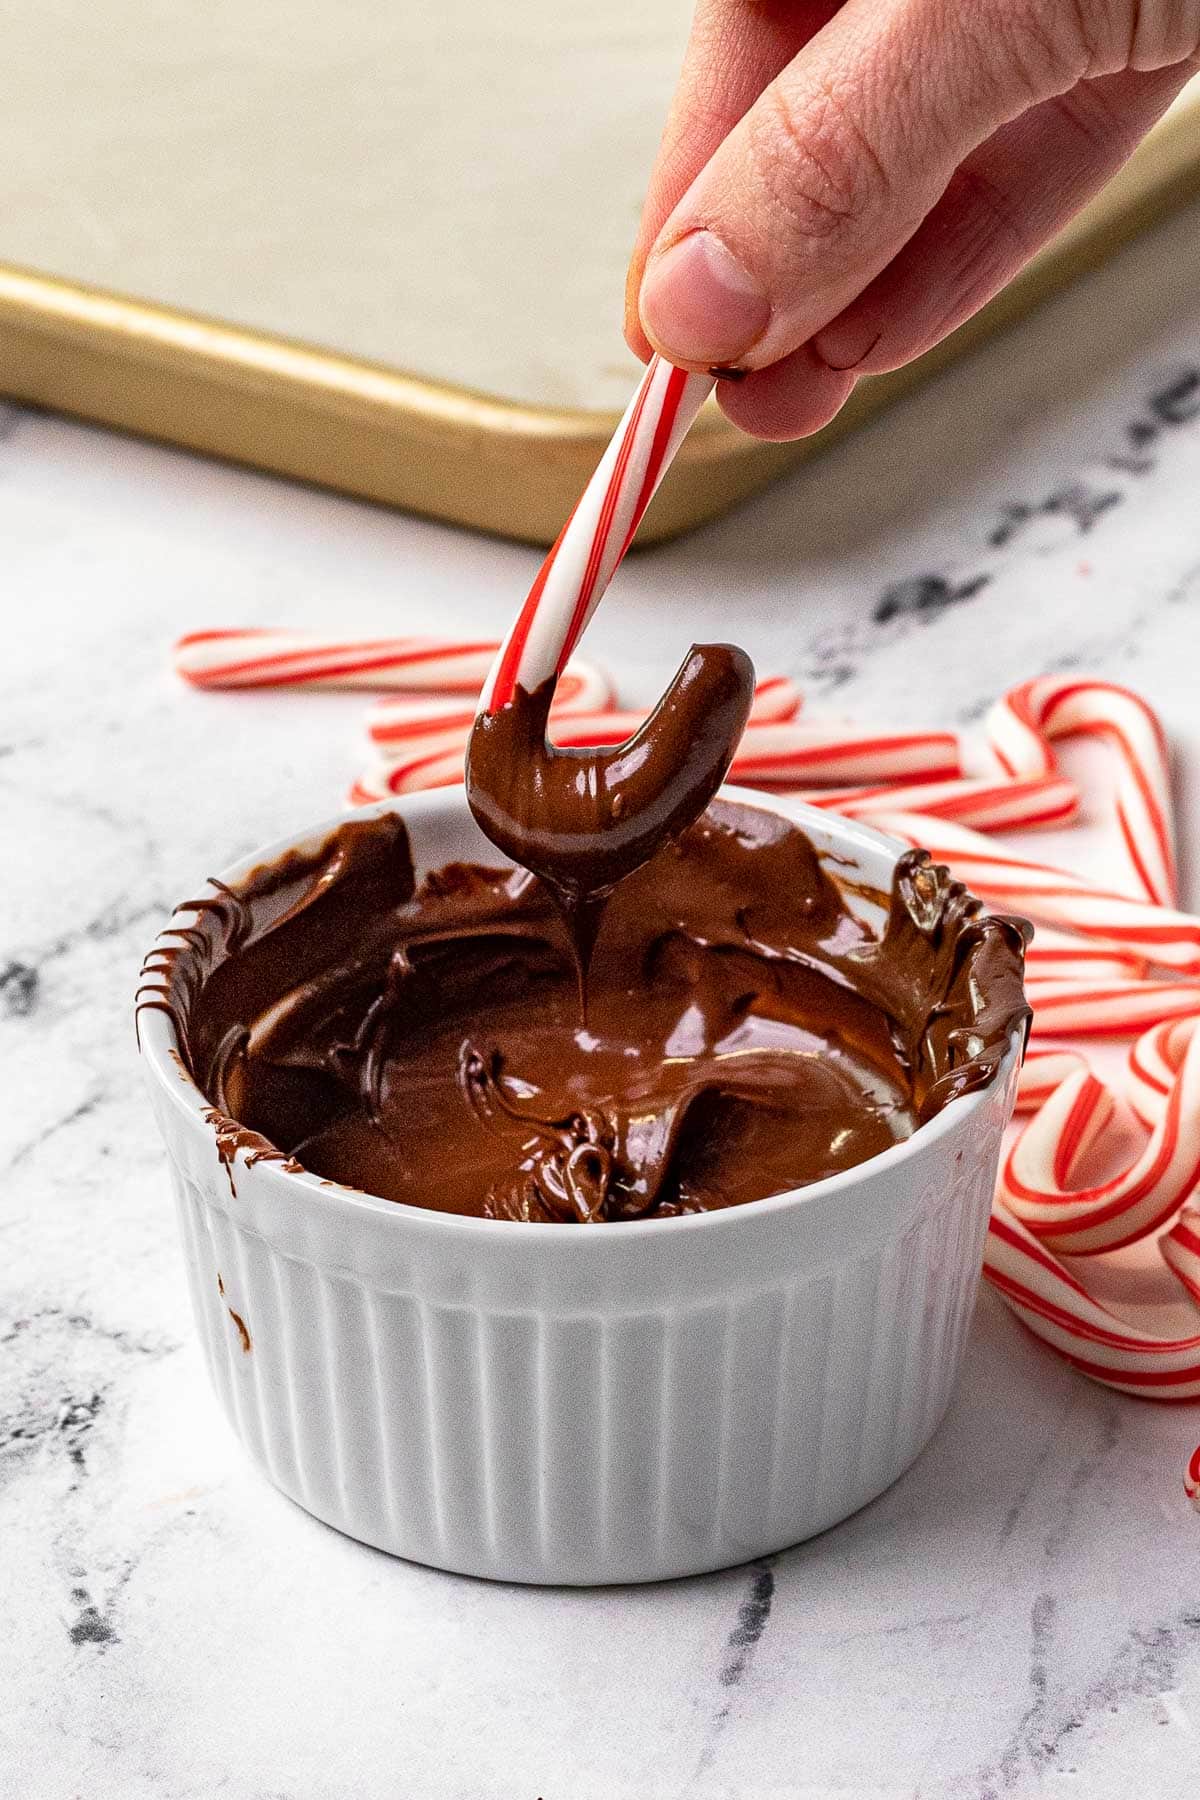
While the chocolate is melting, line a baking sheet with parchment paper. Dip the hook end of the candy cane into the melted chocolate, about halfway down the cane. Let the excess drip off then lay the candy cane on the parchment.

- Melt the White Chocolate
Melt the white chocolate disks in a small heat safe way in the 30 second increments in the microwave. Stir after every time you heat it until it’s smooth and melted. Transfer the melted white chocolate to a small ziplock bag. Snip off a tiny piece of one bottom corner.

- Decorate and Set
Gently squeeze the white chocolate out of the trimmed edge and drizzle back and forth over the chocolate dipped part of the candy canes. Chill in the fridge for about 15 minutes, until the chocolate is hardened.

Can you make these ahead of time?
Yes! These Mini Chocolate Dipped Candy Canes will last for weeks at room temperature and months in the freezer or fridge!
Nutritional Facts
Tips & Tricks for Chocolate Dipped Candy
- Picking the right candy canes
This recipe for Chocolate Dipped Candy Canes uses mini candy canes for the best ratio of chocolate to hard candy. Plus, they are super cute for giving as gifts and the right size to add to a cookie platter. You can use regular candy canes or peppermint sticks instead if you want a bigger treat. If you have leftover broken candy canes, crush them up and sprinkle them over the chocolate for a quick decoration.
- Make this a fun kid craft!
These Chocolate Dipped Candy Canes are a kid-friendly activity to occupy kids of all ages during winter break. The chocolate is melted in the microwave so there’s almost no risk of burnt chocolate or fingers. You can melt the chocolate for younger bakers and let them do the dipping part. Melt the chocolate in a slow cooker to make a big batch of Chocolate Dipped Candy Canes, it will keep the chocolate liquid without burning it.
How to Store
Store: You can keep Chocolate Dipped Candy Canes at room temperature, in a cool, dry place, for up to 2 weeks. Cover or place in a plastic bag to keep fresh for longer. Once set, store Chocolate Dipped Candy Canes in a plastic storage bag or airtight container and refrigerate for up to 1 month.
Freeze: You want to make sure to set the chocolate before freezing so you don’t get any bubbles or separation. Place Chocolate Dipped Candy Canes in a sealed container (like a freezer-safe zippered bag) and freeze for up to 6 months.
Gifting Ideas for Chocolate Candy Canes
These Chocolate Dipped Peppermint Candy Canes make the perfect homemade gift during the holiday season. Here are some ways you can make this festive treat shine:
- Hot Cocoa Gift Mug: In a large festive mug, add a packet of instant hot cocoa mix and 2-3 mini Chocolate Dipped Candy Canes.
- Treat Tray: Add them to a holiday treat platter filled with peppermint goodies like Peppermint Fudge, Candy Cane Brownies, and Peppermint Meltaway Cookies. Wrap the whole tray with festive plastic wrap and tie it with a pretty ribbon.
- Candy Basket: Make a holiday gift basket filled with other no-bake homemade candies like Chocolate Fudge, Peppermint Bark, and Peppermint Oreo Balls.
- Mason Jars: Give these Chocolate Dipped Candy Canes in a mason jar for a cute, functional gift “box” to store their candy in. Decorate the jar or just tie a piece of flannel or twine around the top so they can use it all year long.
Melting Chocolate in a Slow Cooker
Instead of melting the chocolate in the microwave or a double boiler, you can melt it in the slow cooker with some heat-safe glass jars.
- Place a few quart-sized heat-safe glass jars in the bottom of a slow cooker.
- Pour 1 to 2 cups of water around jars, careful not to get any water inside the jars.
- Water will make your chocolate seize and ruin it.
- Fill jars halfway with chocolate chips or chocolate melting disks.
- Cover the slow cooker with a thick layer of paper towels (to absorb moisture) and cover.
- Cook on low for 1 hour, or until chocolate is melted.
- Stir chocolate and use it for dipping and drizzling!
Recipe Card


Ingredients
- 24 mini candy canes
- 1/2 cup semi-sweet chocolate chips
- 1/4 cup white chocolate melting disks
Instructions
- Add the semi-sweet chocolate chips to a small bowl and microwave in 30 second increments until smooth, stirring in between each increment.
- Dip the curved edges of the candy canes into the chocolate, let the excess drip off then place carefully onto baking sheet lined with parchment paper.
- Add the white chocolate disks to a small bowl in the microwave in 30 second increments until smooth, stirring in between each increment.
- Add white chocolate to small zip lock bag and trim the edge of a corner off.
- Pipe back and forth quickly over the dipped chocolate portion of the candy canes 3-4 times over each one.
- Refrigerate until firm, about 15 minutes.
Nutrition
Chocolate Dipped Candy Canes Variations
Candy: Use regular size candy canes, peppermint sticks, flavored candy canes, or old-fashioned hard candy sticks instead of mini candy canes.
Chocolate: Dip your candy canes in white chocolate and drizzle with dark chocolate or semi-sweet chocolate. Make half a batch the regular way and half a batch white chocolate covered.
Flavor: Add oil-based flavorings, usually called “chocolate flavoring” or “candy flavoring”, if you want to add flavors to the chocolate. Don’t use regular flavorings that are alcohol-based or the chocolate could seize. You can also melt candy chips like mint chocolate candies or butterscotch chips to add flavor without ruining your chocolate.
Toppings: After you dip the candy canes in the semi-sweet chocolate, sprinkle them with crushed candy canes, toffee bits, rainbow chips, or festive sprinkles while the chocolate is wet. Let set for a few minutes before drizzling with white chocolate.
Related Recipes
Easy Chocolate Peppermint Treats

