
This Classic Custard Pie has a sweet, silky smooth baked custard filling flavored with vanilla extract and warm spices in a flaky pie crust.
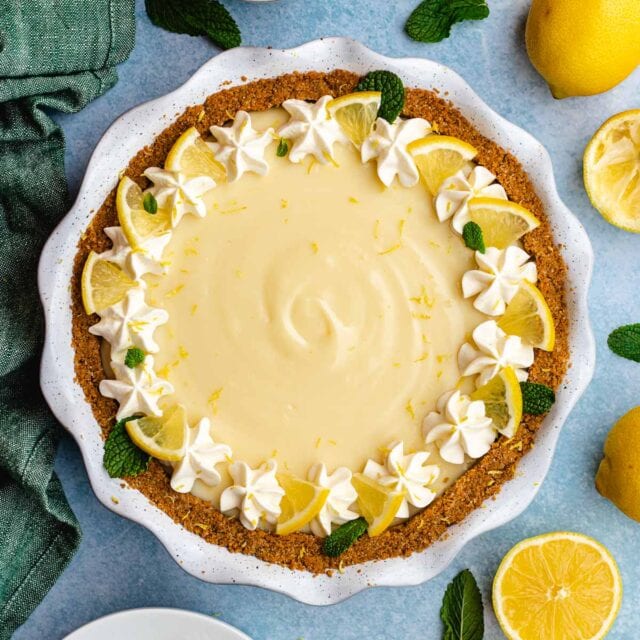
This chilled creamy old fashioned custard pie is the perfect Summer Dessert or wheneve you are craving a nostalgic, classic treat. For more cool and creamy old fashioned pies, try my Key Lime Pie, Shaker Lemon Pie and Buttermilk Pie!


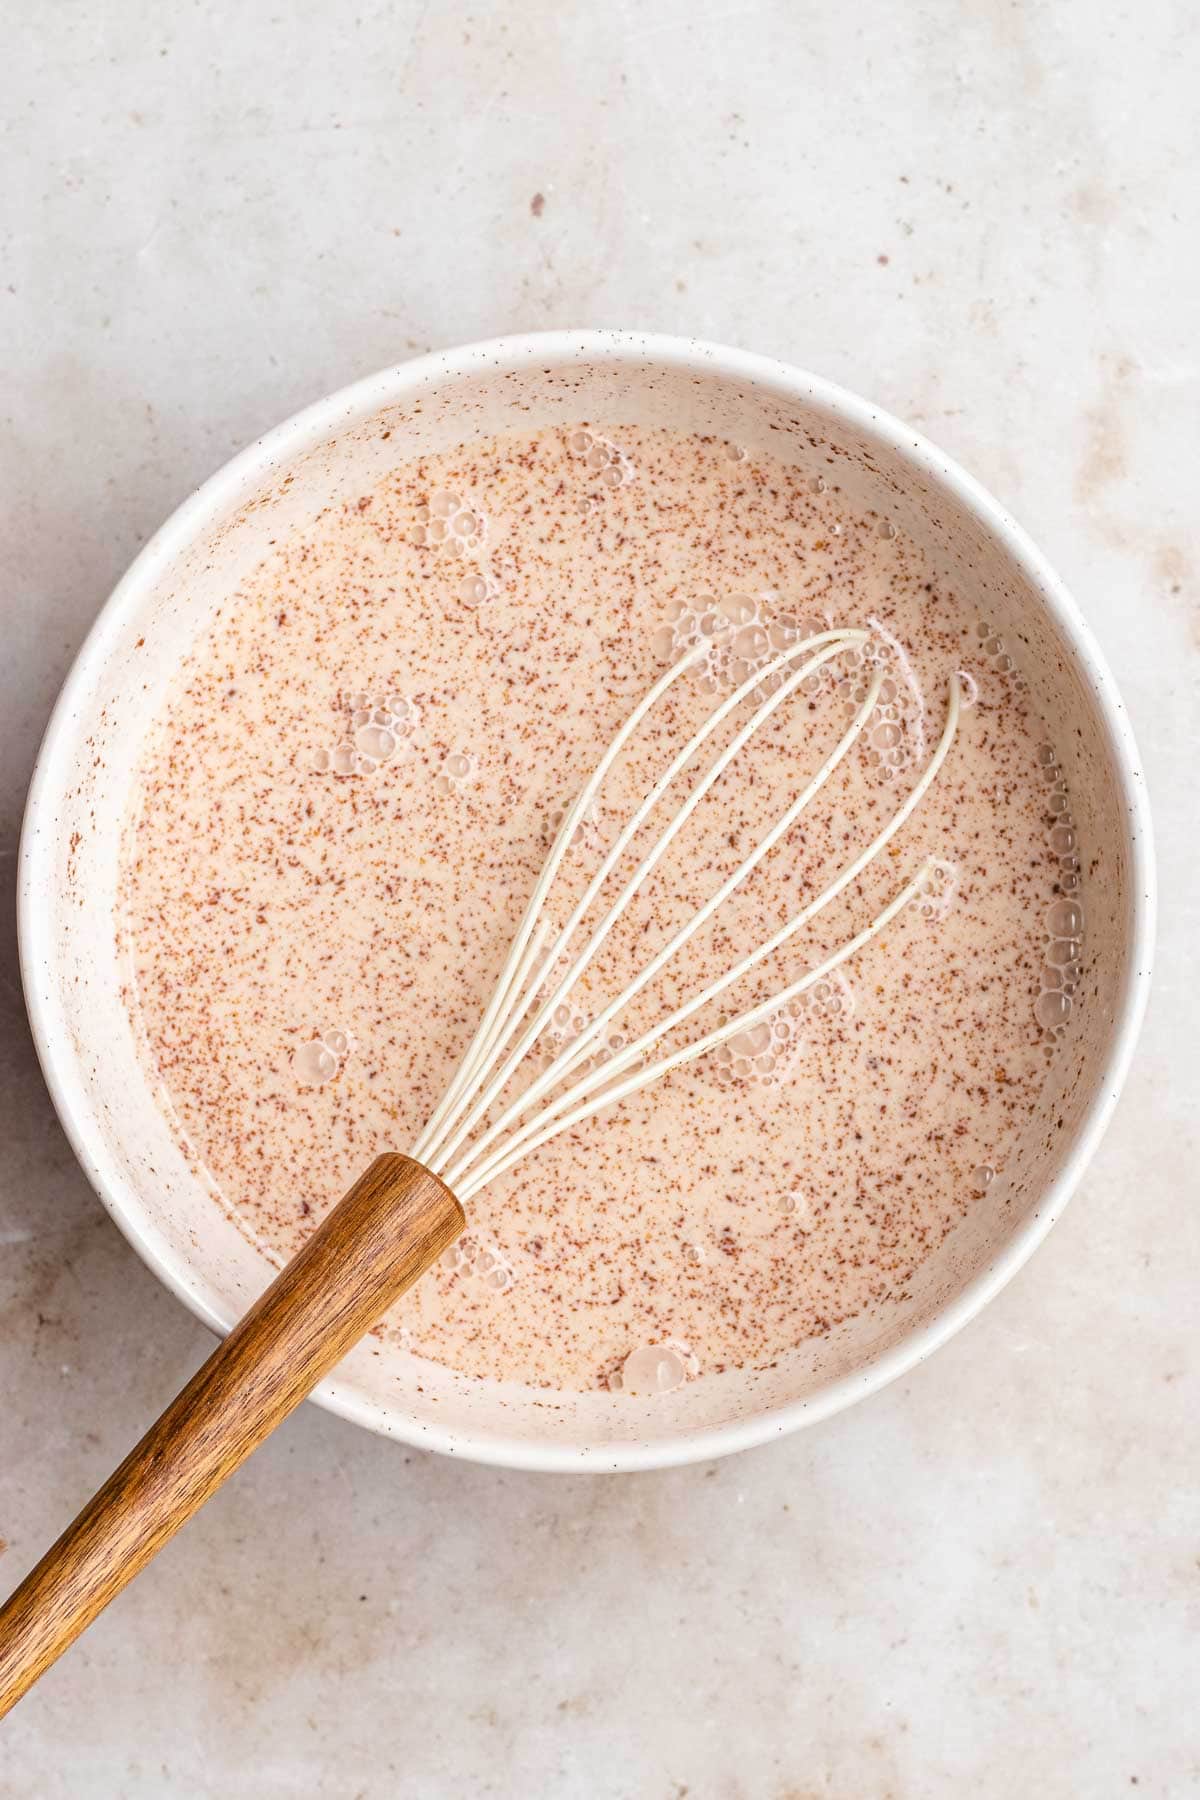
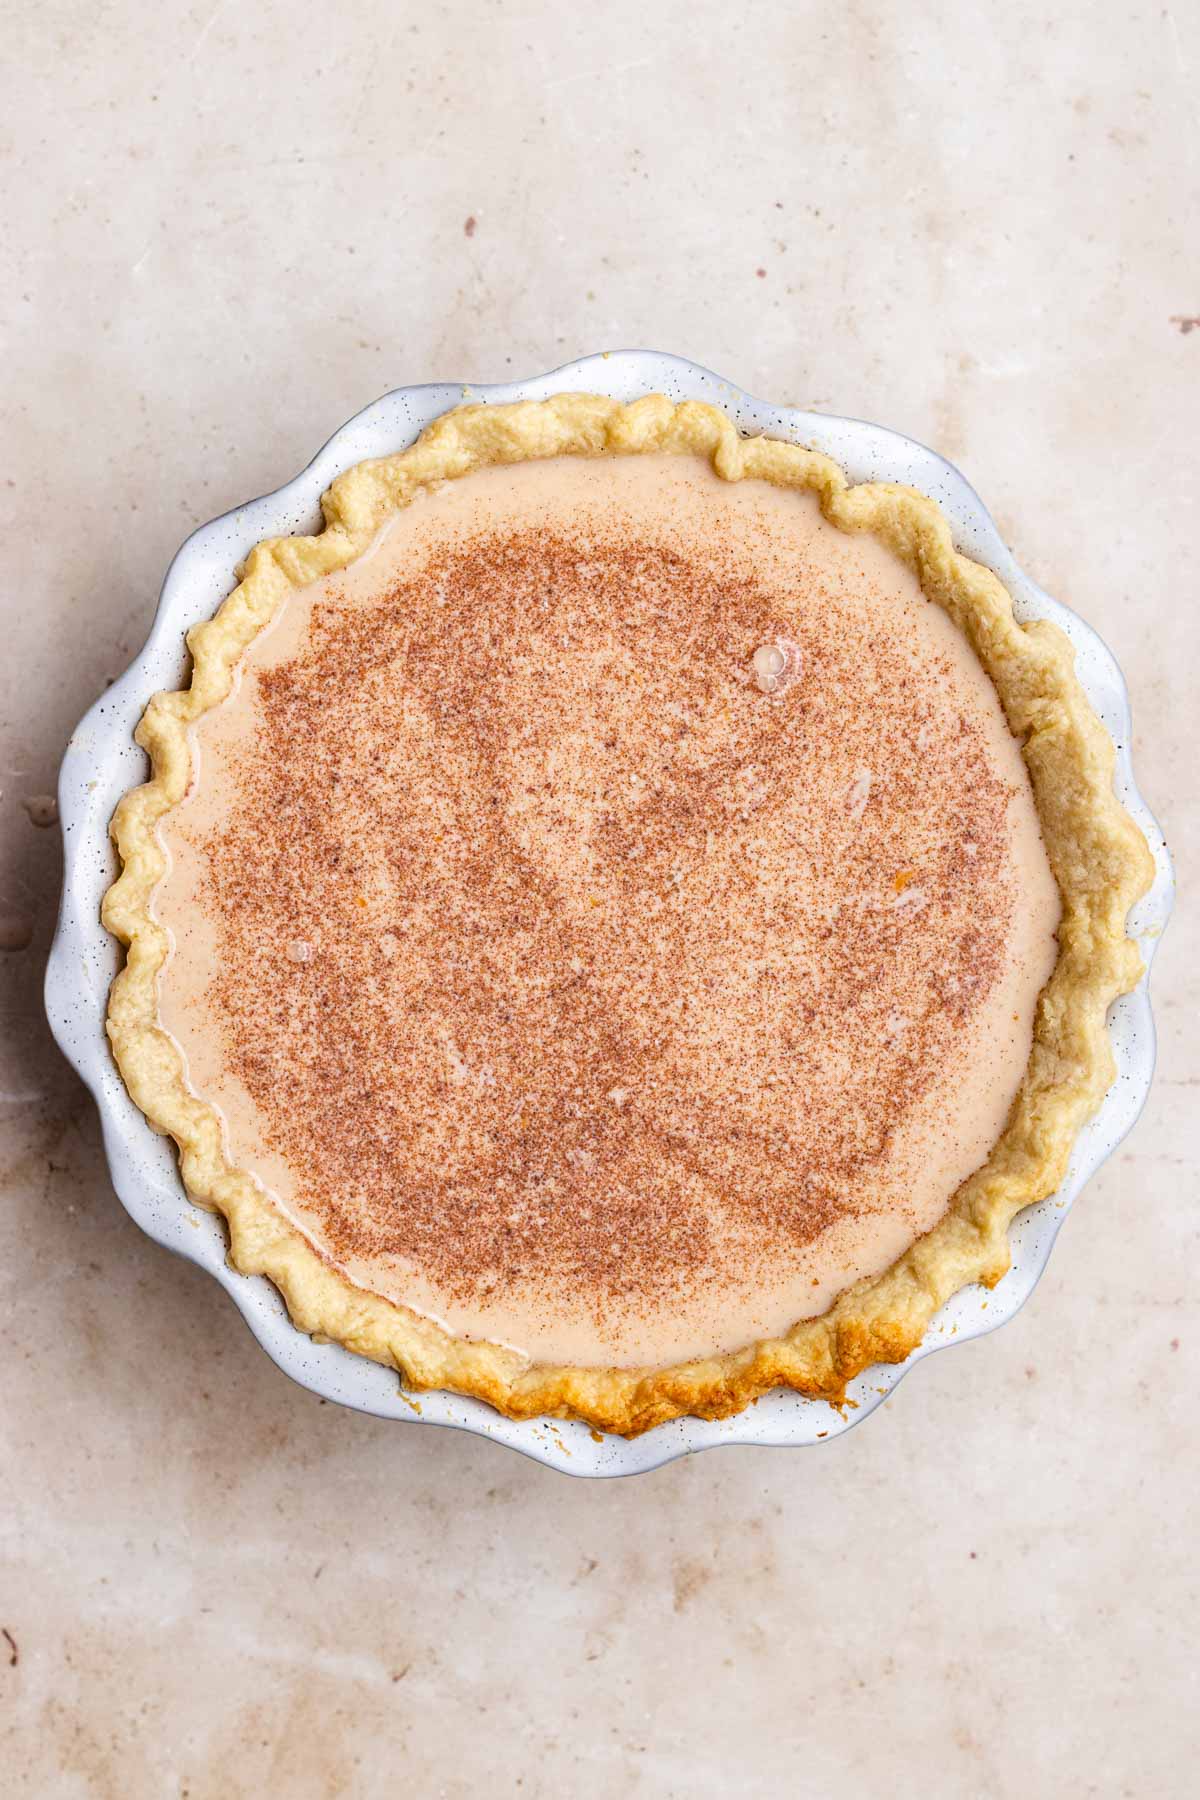
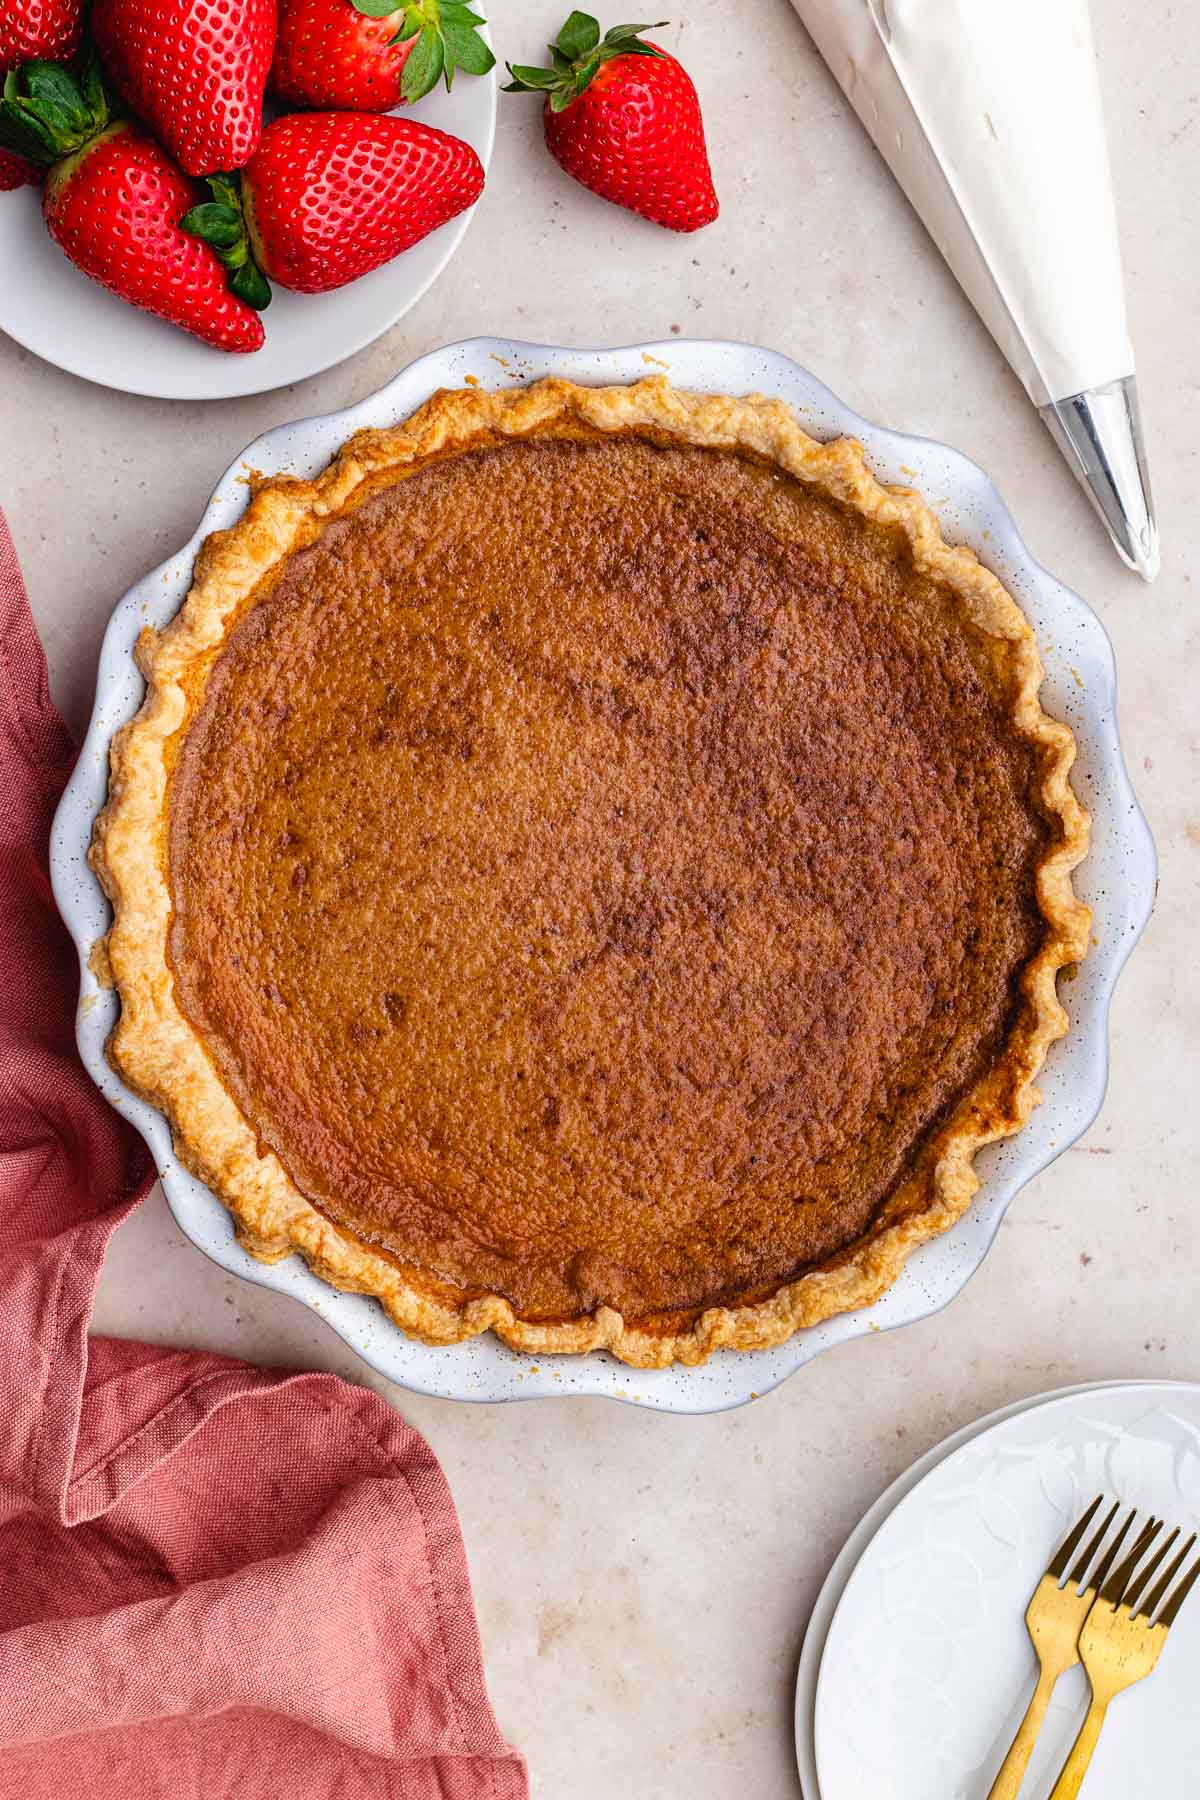
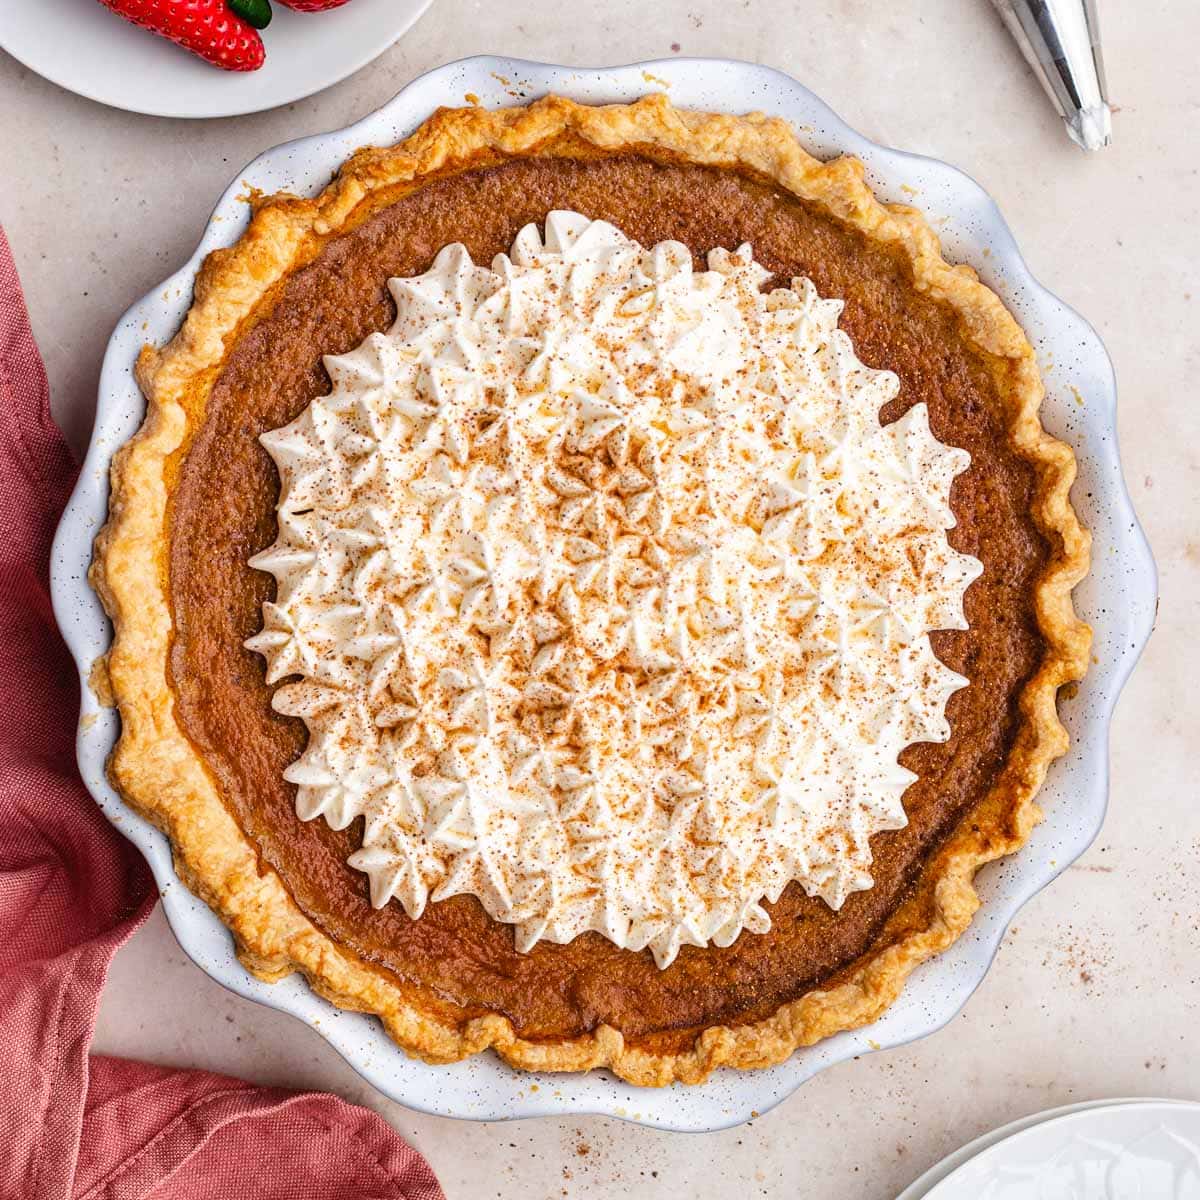
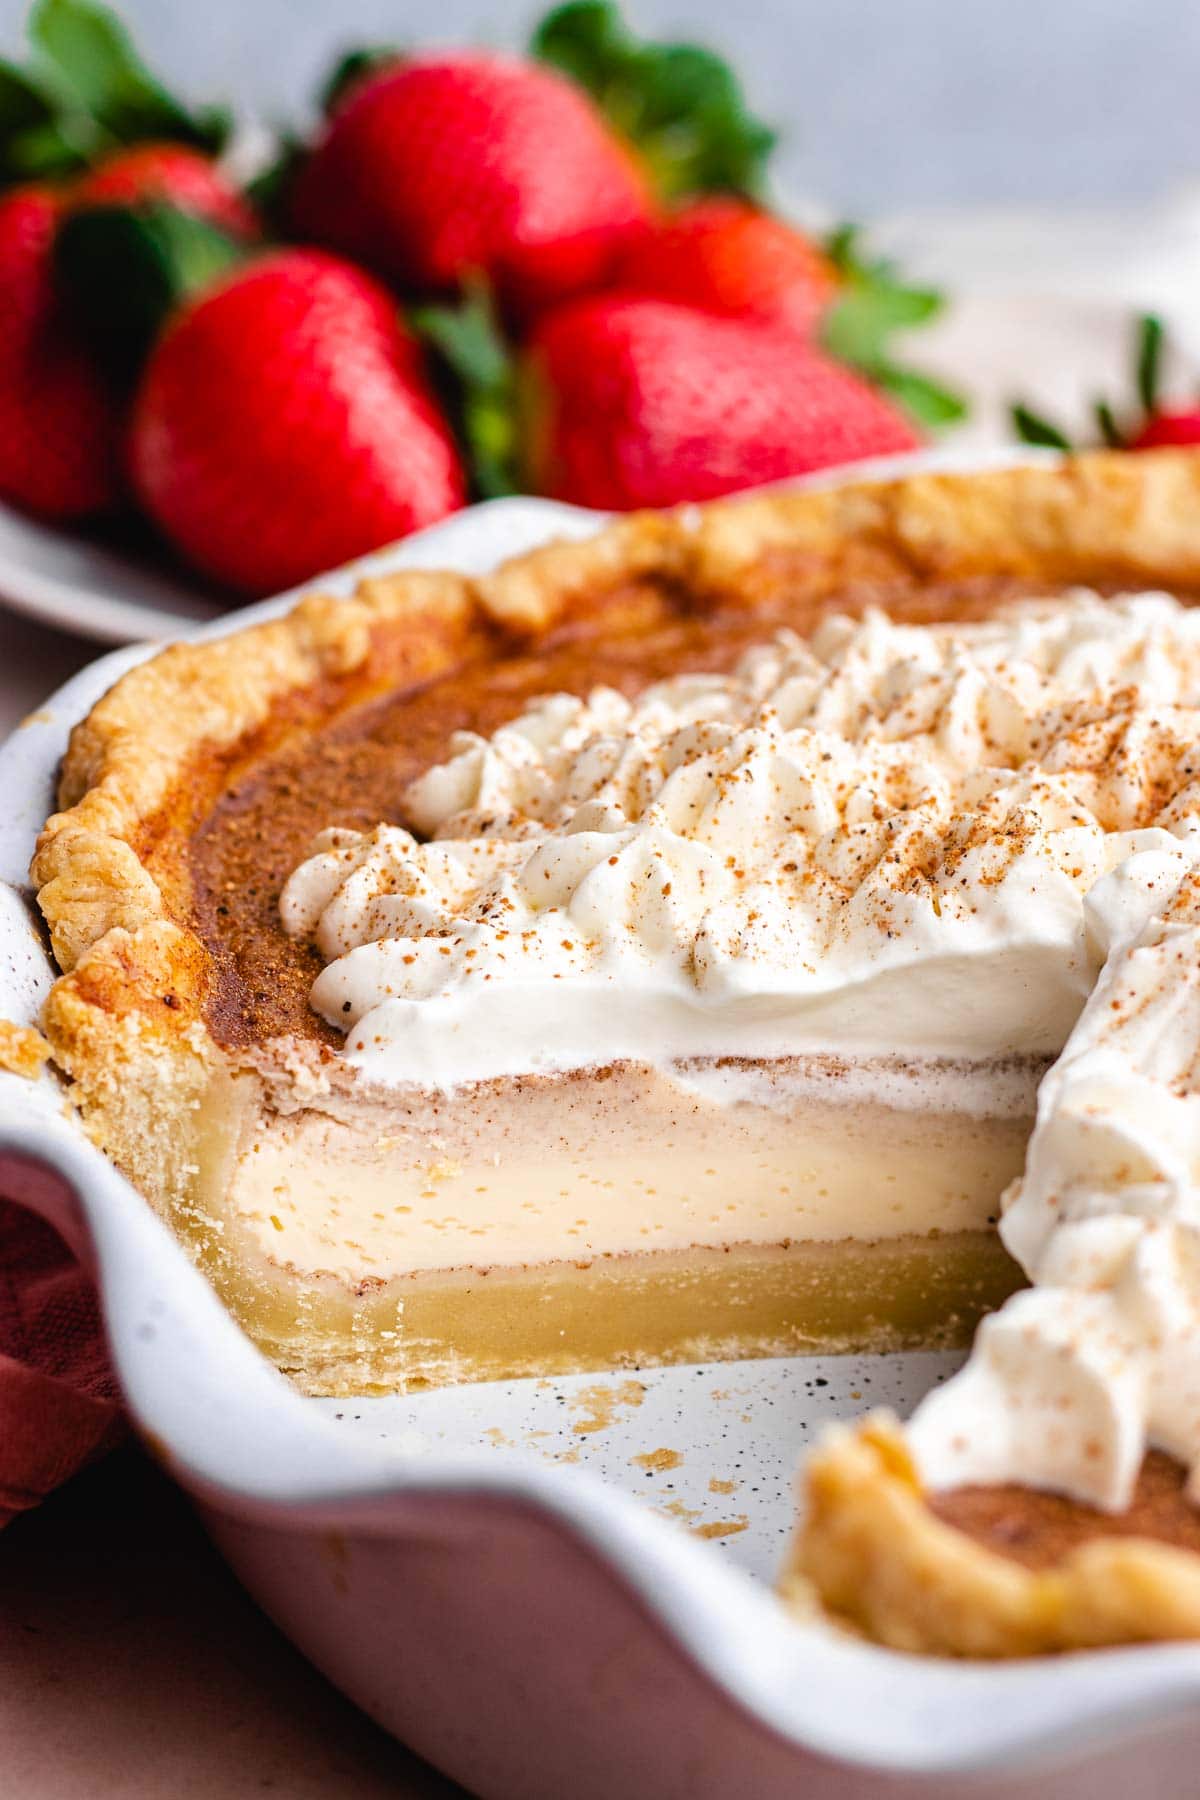
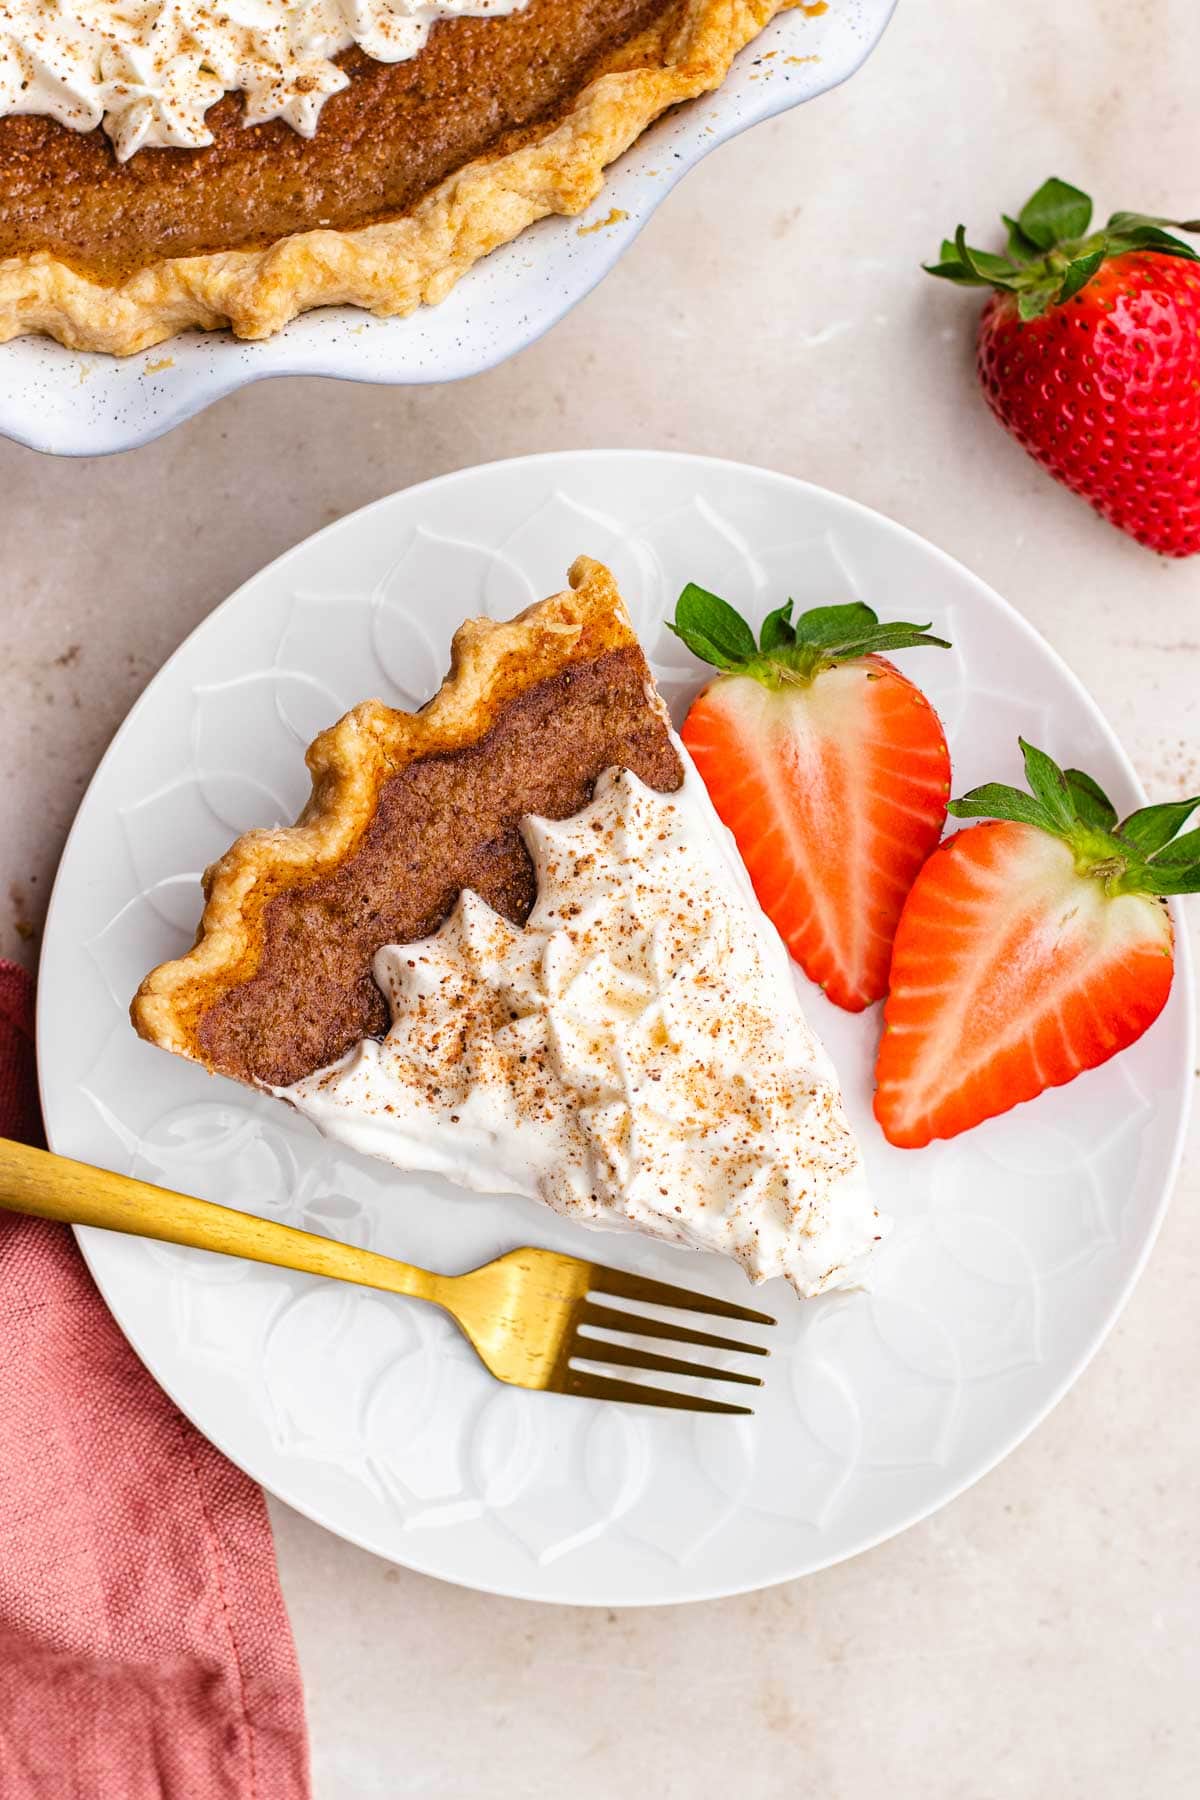

Table of contents
Sabrina’s Custard Pie Recipe
Baked custards don’t have to be complicated! I made the recipe simple and easy so anyone can make it. You don’t need to temper eggs or bake it in a water bath. All you need to make the creamy filling is a whisk, a bowl, and a handful of regular baking ingredients. The hardest part of this recipe is remembering to plan enough time to chill the dough and then later chill the pie to set the filling. But after all that chilling and setting time, you’ll have a beautiful, silky, creamy custard pie ready to slice and share.
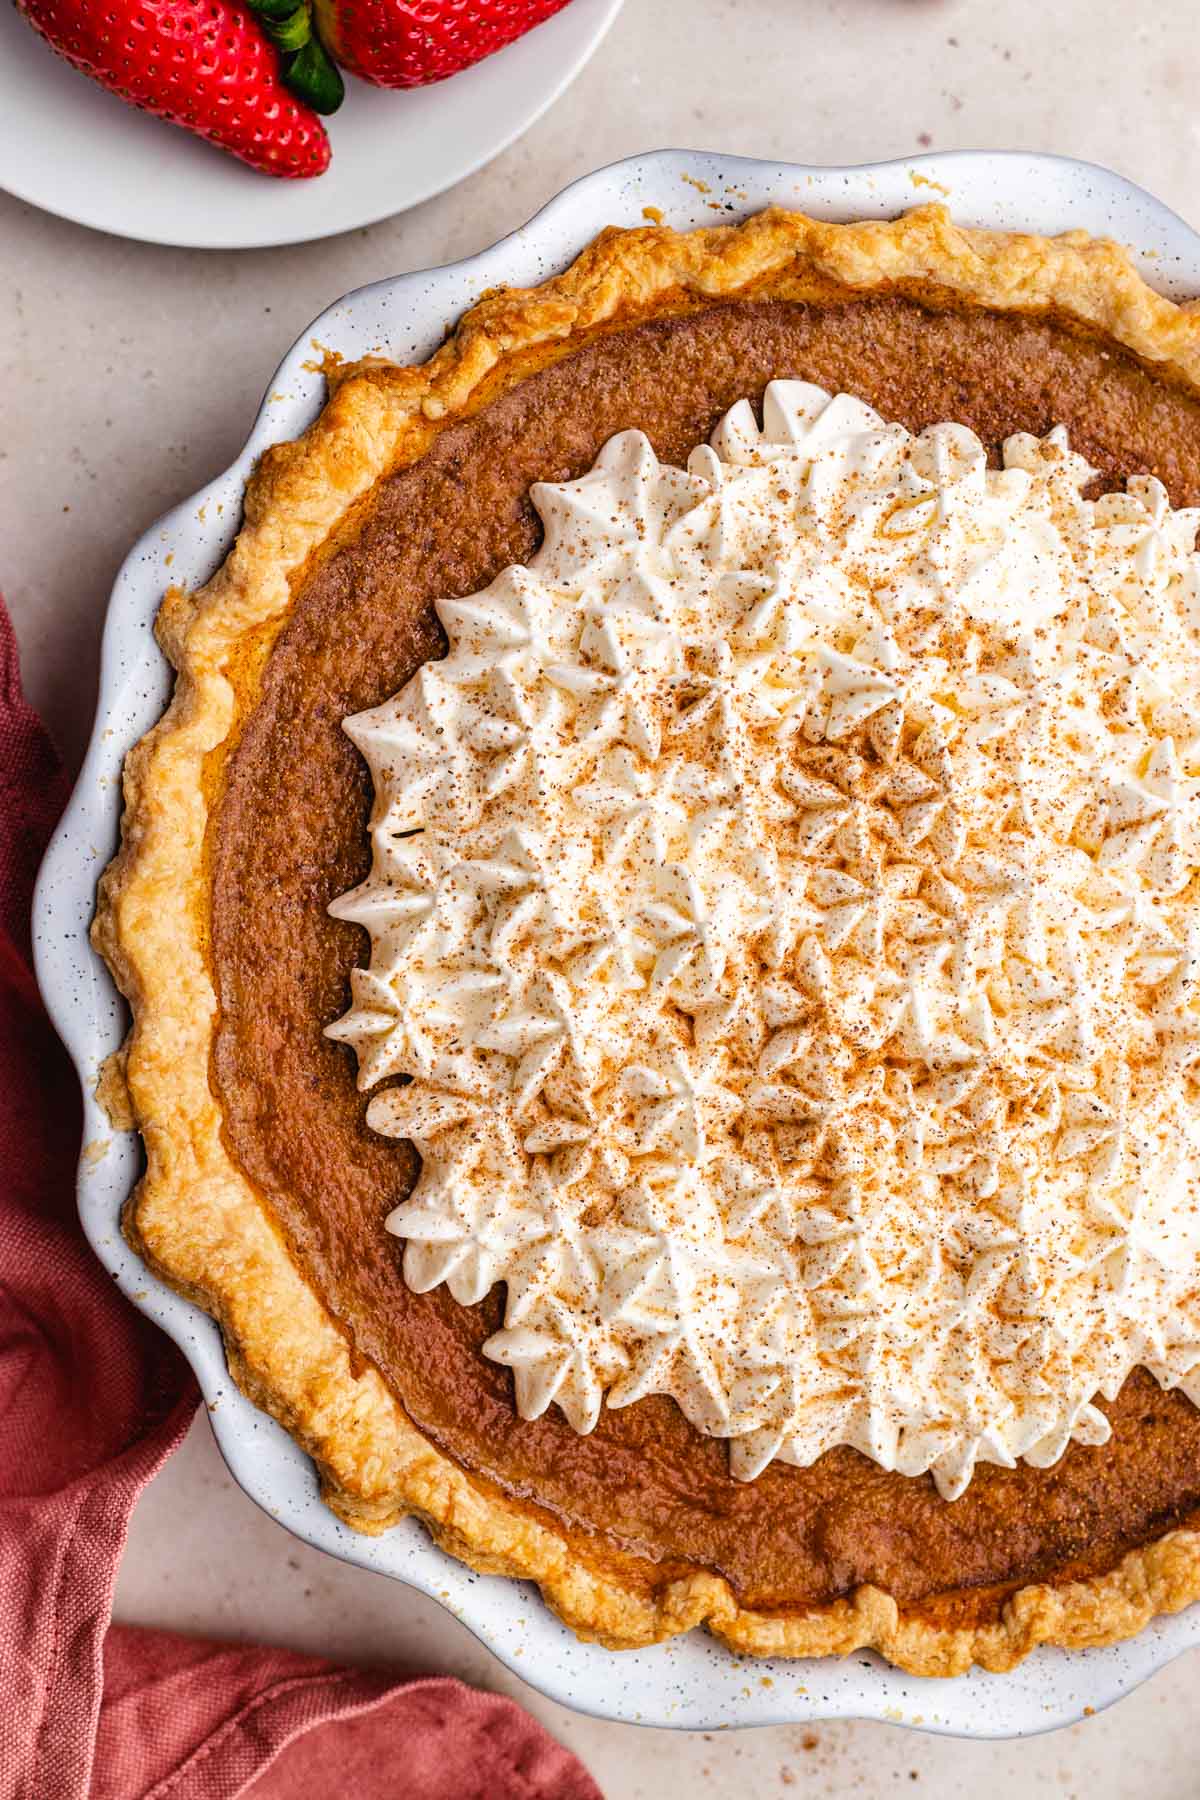
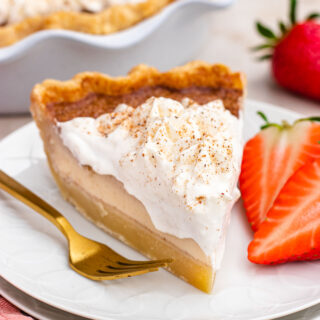
This basic Custard Pie recipe is a classic dessert with the perfect amount of sweetness for any occasion. The addition of nutmeg, cinnamon, and vanilla makes the perfect blend of lightly spiced flavors. The bright yellow filling and homemade Whipped Cream topping make this delightful dessert the perfect table centerpiece, and you’re sure to love every rich bite.

Ingredients
- Flour: All-purpose flour will also work just fine in this simple recipe. You will need 2 ½ cups total.
- Butter: To make the flaky texture, it’s essential to use frozen butter. Freeze 1 cup of unsalted butter ahead of starting the recipe and dice the stick of butter into smaller pieces before adding it to the dough. As the pie dough bakes, the frozen butter releases steam, forming air pockets to create the flaky layers in the dough.
- Eggs: You’ll need 4 large eggs to form the custard filling for this pie recipe. The egg yolks are the main thickening agent, giving custards their smooth, thick consistency. Eggs also create a delightful yellow color and add flavor to the filling.
- Milk: Along with the egg mixture, add heavy cream and whole milk to the pie filling. Whisking the cream and egg together creates the custard. It has a wonderfully silky texture that bakes down into a rich, soft pie filling.
- Sugar: To sweeten the pie crust and filling, you’ll just use white sugar. Be sure when combining the custard that the sugar fully dissolves into the liquid ingredients in the recipe.
- Spices: Custard filling is naturally quite sweet. So, it’s essential to add vanilla, cinnamon, and nutmeg for a more layered, warm, and comforting pie flavor.
Kitchen Tools & Equipment
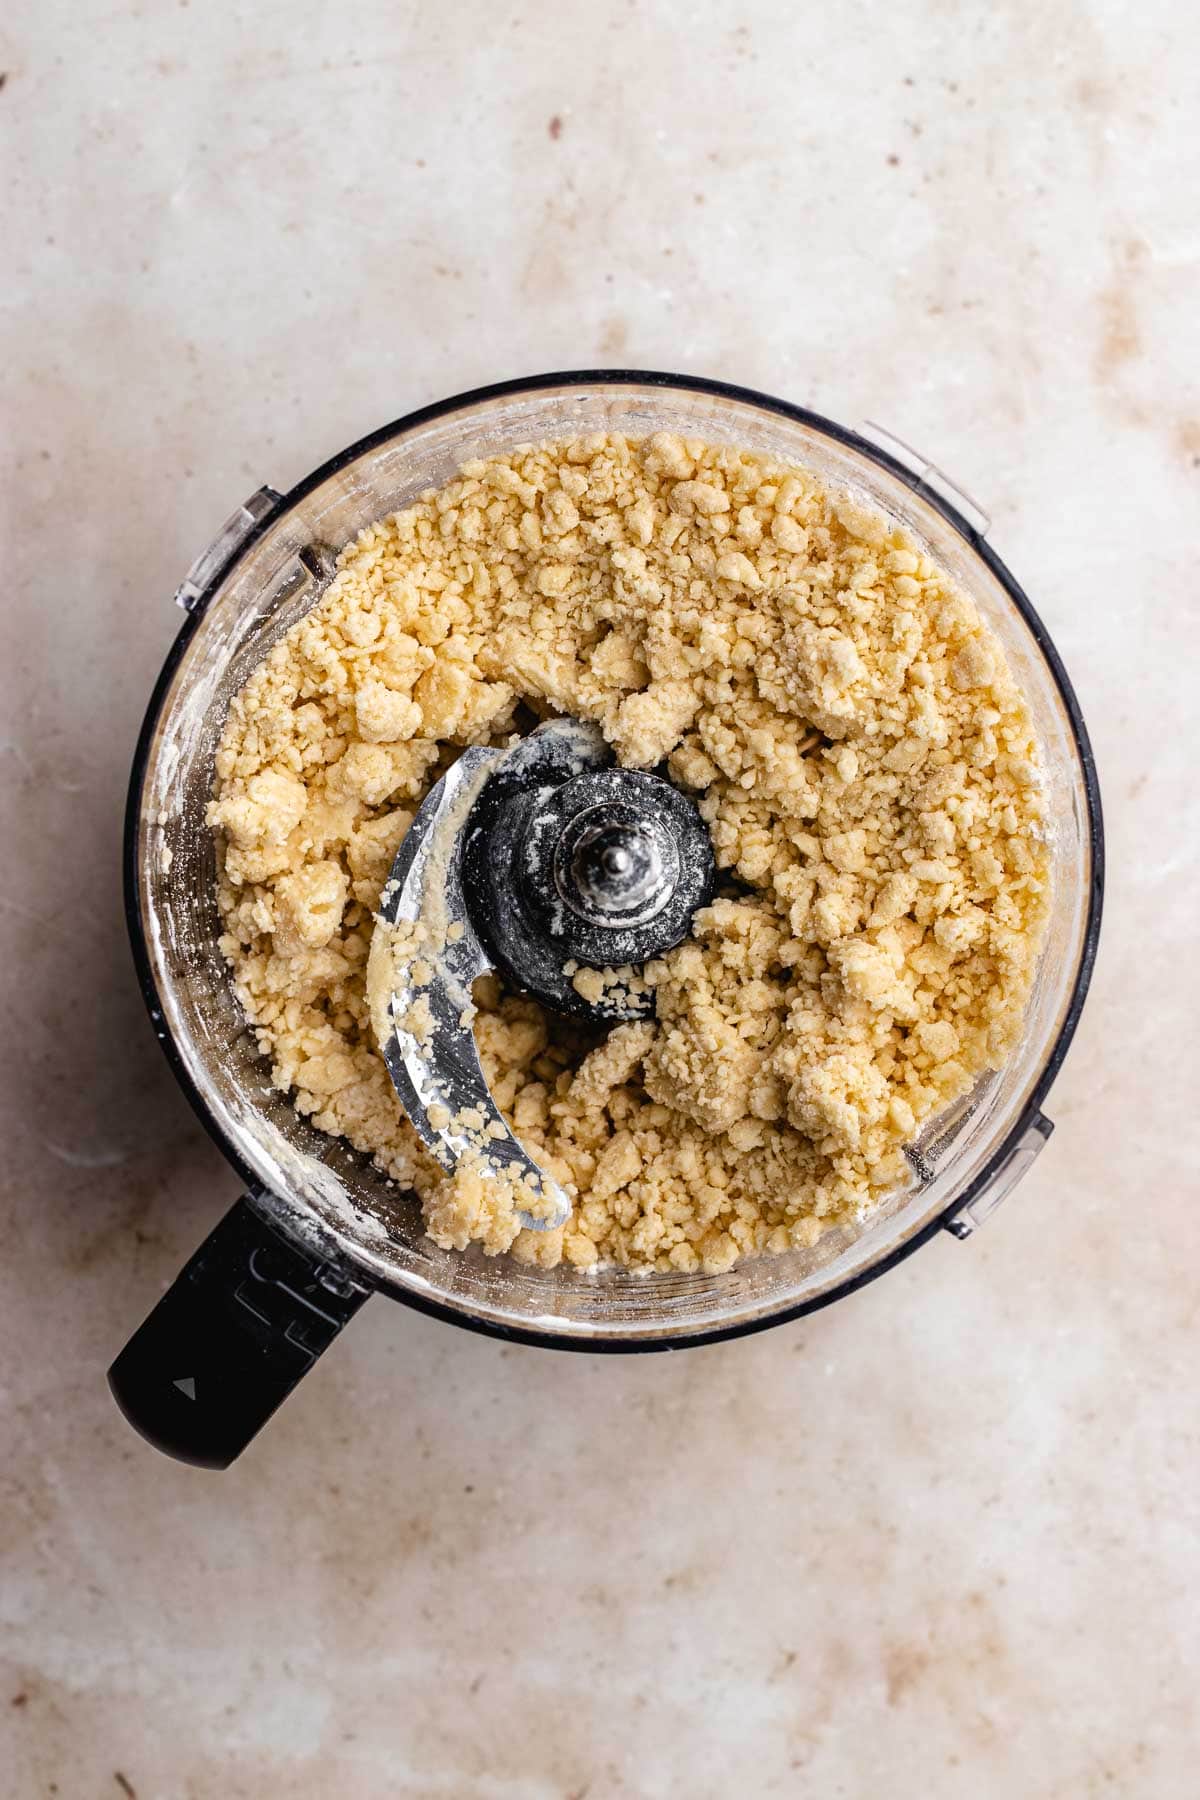
- Food Processor: Making your pie crust dough will be extra easy using a food processor. It will cut the butter into the flour to create the perfect crumbles as the base of your dough. If you don’t have a food processor, you can prepare the dough by hand using a handheld pastry blender.
- Rolling Pin: A rolling pin is essential to roll refrigerated dough into a circle-shaped sheet to place into your pie pan. You can use any kind of rolling pin that you have on hand.
- Pie Dish: A pie dish or pie plate is needed to bake your crust, then your whole pie with the filling. You can use a standard pie dish, or a deep dish. If yours is particularly deep then you might need a little bit more whipped cream topping to fill it.
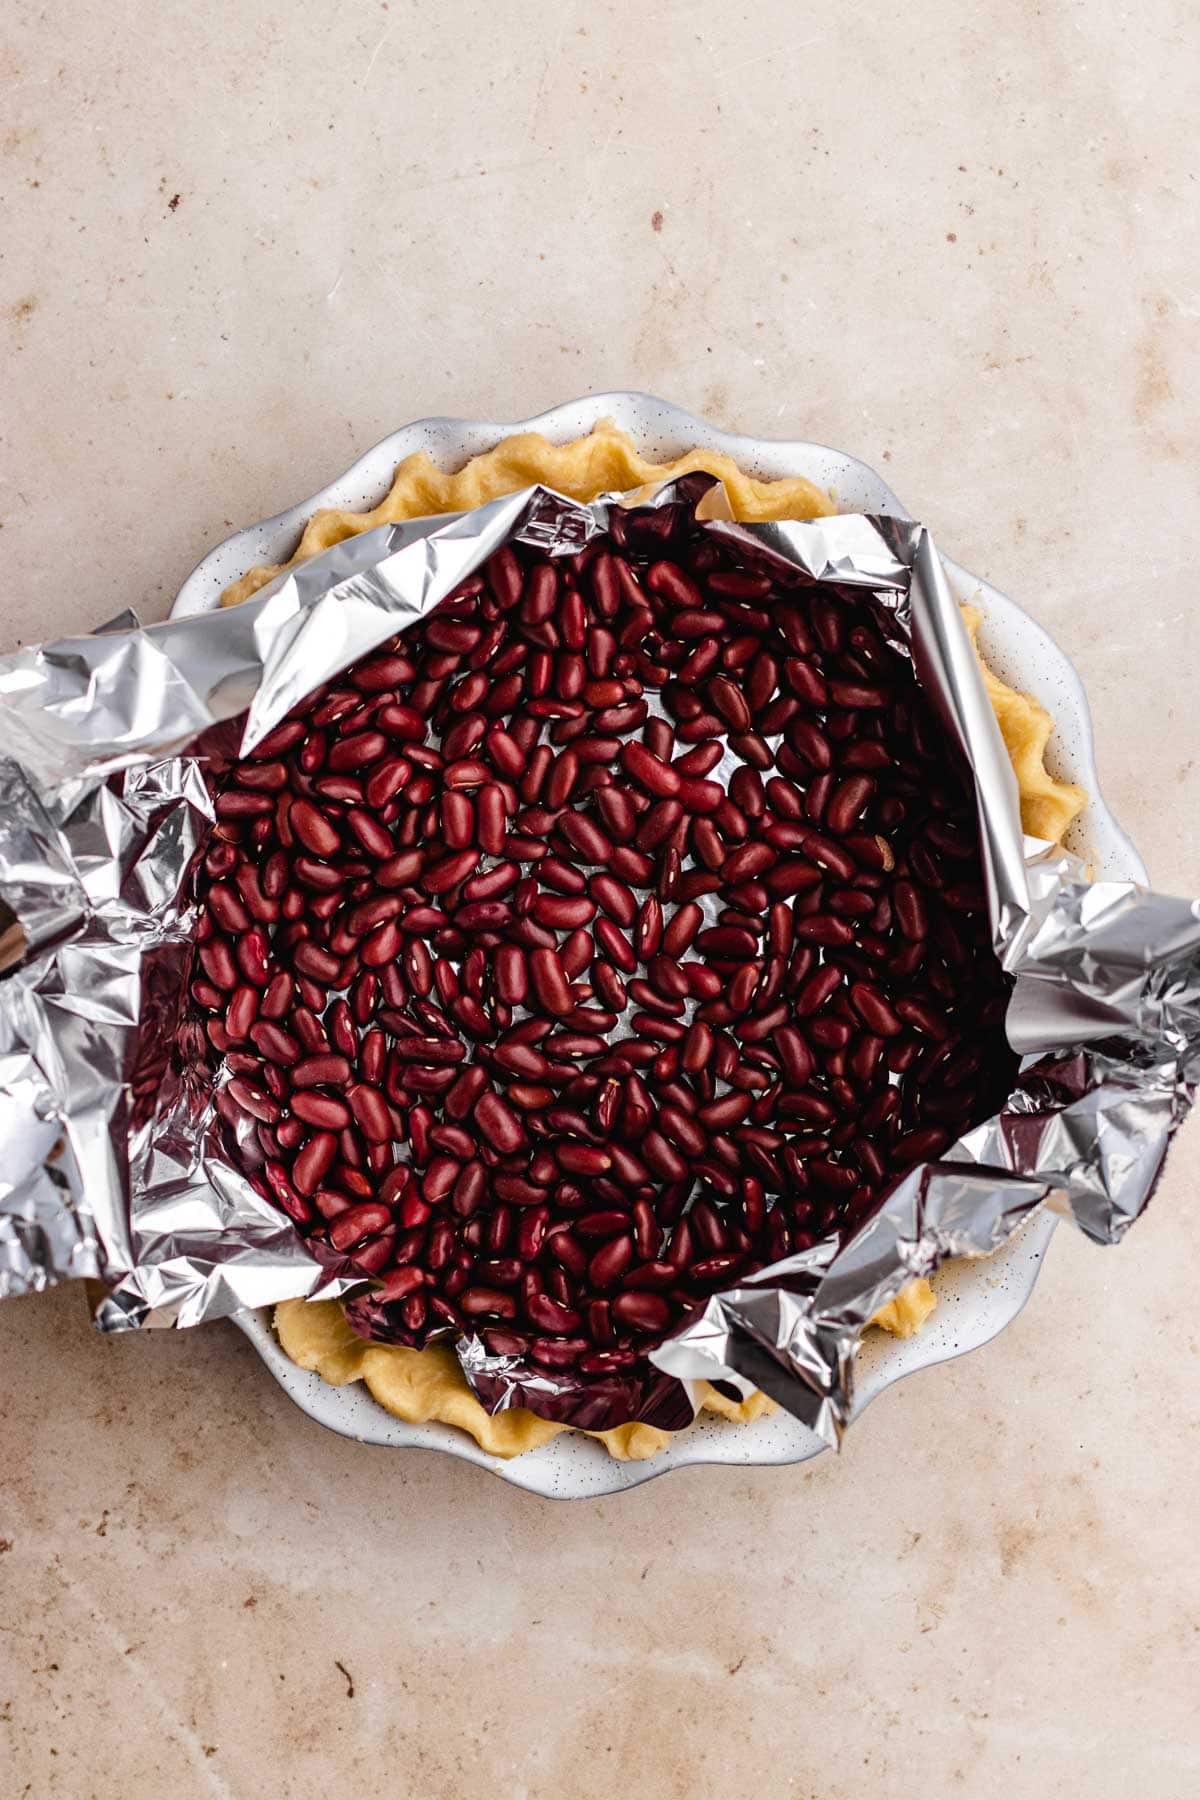
- Dried Beans: This pie crust is blind-baked or pre-baked before the filling is added in. However, in order for the crust to keep it’s shape and not puff up too much, you need to fill the pie with something to keep it weighted down. Instead of fancy pie weights, you just use dried beans.
- Aluminum Foil: You need a layer in between your beans and the dough so they won’t stick in your dough as it bakes. A layer of foil will do the job! Foil also comes in handy if your pie crust is browning too quickly.
How to Make Custard Pie
Time needed: 7 hours and 15 minutes
- Make the Crust
Add flour, granulated sugar, kosher salt, and frozen butter to a food processor. Add water in a thin stream through the chute, one tablespoon at a time as you pulse. The dough should start to form into tiny crumbles. Empty the dough into a sheet of plastic wrap and press it into a ball of dough. Be sure to work quickly so that your hands don’t melt the butter. Place the ball of dough in the fridge for 2 hours.
- Prep for Baking
Have your oven preheating to 425 degrees while you shape you dough.
- Roll the Dough
After 2 hours in the fridge, put the dough ball on a floured surface and roll it out into a 12-inch circle. Then place the pie crust in a 9-inch pie plate, and press down on the rim to make a fluted pattern. Line the pie crust with foil and fill it with dried beans.
- Bake the Crust
Place the pie crust in the preheated oven to bake for 20 minutes. Remove the crust and set aside to cool while you make the filling. Lower the oven temperature to 350 degrees.
- Prepare the Custard Filling
Whisk together eggs, white sugar, vanilla extract, cinnamon, ground nutmeg, whole milk, and heavy cream. It should be smooth with no streaks of egg whites or yolk.
- Baking the Pie
Pour the custard mixture into the pie plate and bake for an additional 40 minutes. If you notice the edges browning too quickly, you can tent the pie crust in foil.
- Chill to Set
Place the Custard Pie in the fridge for 3-4 hours to set before topping with the whipped cream and serving.
- Make the Whipped Cream
To make homemade whipped cream add powdered sugar and heavy whipping into a mixing bowl. Beat until it forms medium peaks form, about 1-2 minutes.
- Top and Serve
Add a large portion of whipped cream to the center of the pie, then spread it out in a circle, leaving a 1″ border around the edge. You can also pipe the whipped cream of a more decorative topping like in this photo. Dust the top with additional nutmeg, then slice and serve the Custard Pie.
Can you make Custard Pie in advance?
While you don’t want to freeze Custard Pie before baking, you can freeze the baked pie for up to 3 months. You can also prep the pie ahead of time to keep it in the fridge for 4 days before serving the recipe. Another option to make prepping easier is to bake the pie crust 3 days ahead of time. Then making and bake the custard filling the day you plan to serve the pie.
Nutritional Facts
How to Store
Serve: Be sure to let the custard filling set for at least 3 hours in the fridge before slicing and serving this pie recipe. You don’t want to leave this recipe sitting out at room temperature for more than 2 hours.
Store: To keep any leftover pie, cover the pan in plastic wrap or aluminum foil, or place pie slices in an airtight container. This dessert can stay good in the fridge for up to 4 days.
Freeze: You can also freeze Custard Pie for up to 3 months as long as you haven’t added the whipped cream topping. Wrap the pie in plastic wrap, then put it in a freezer bag to store in the freezer. You can let the recipe thaw in the freezer before serving.
Frequently Asked Questions
Yes. The eggs and milk in the custard filling make it necessary to keep the pie chilled. The pie needs to cool in the fridge before serving so that the center can set, and you should return leftovers to the fridge after serving.
Custard is a sweetened cream-based mixture with whole egg or egg yolk used to thicken. Using egg yolks in the creamy mixture results in a super silky and rich consistency.
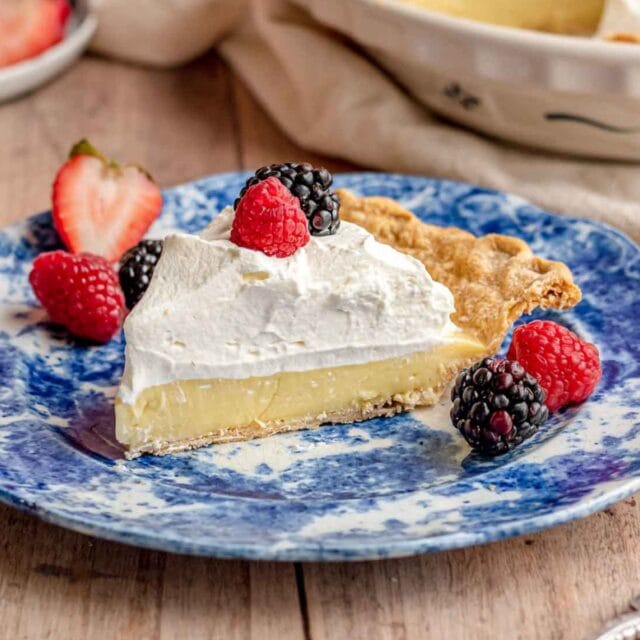
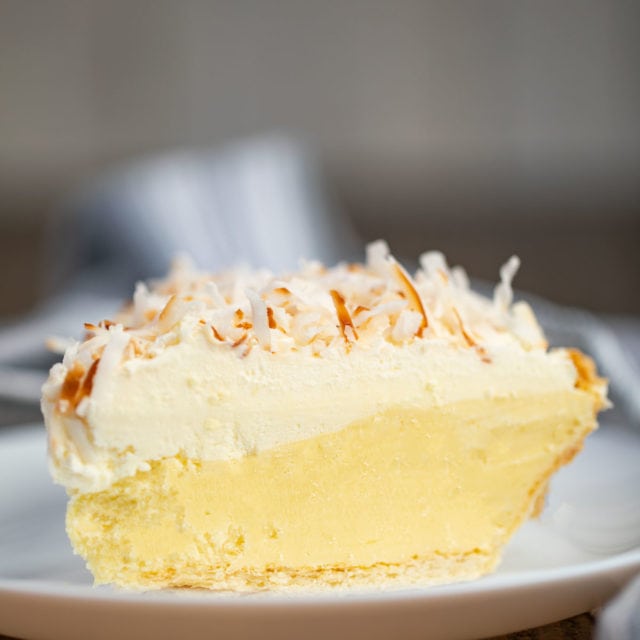
Although custard and cream pies are both made with a sweet and smooth filling and chilled before serving, they aren’t the same. For Custard Pie, you’ll whisk together the creamy filling, then pour it into the pie plate to bake. But cream pies aren’t baked. Instead, for cream pies like Coconut Cream Pie and Banana Cream Pie, recipe instructions simply call for you to create the cream or pudding filling, then add it to the pie plate and pop it in the fridge to chill.
Recipe Card
Ingredients
Pie Crust:
- 2 1/2 cups flour
- 1 tablespoon sugar
- 1/2 teaspoon salt
- 1 cup unsalted butter , frozen and diced
- 1/2 cup ice water
Custard Filling:
- 4 large eggs
- 1/2 cup sugar
- 1 teaspoon vanilla extract
- 1 teaspoon cinnamon
- 1/4 teaspoon ground nutmeg
- 1 1/2 cups whole milk
- 1 cup heavy cream
Whipped Cream:
- 1 1/2 cups heavy cream
- 2 tablespoons powdered sugar
Instructions
Pie Crust:
- Pre-heat the oven to 425 degrees.
- Add the flour, sugar, salt, and butter to a food processor and pulse, adding the water in a thin stream through the chute one tablespoon at a time until the dough begins tiny crumbles (don't let it become a ball).
- Empty it into a sheet of plastic wrap and press it quickly into a ball (you don't want the heat of your hands to melt the butter) and refrigerate for 2 hours before rolling it out to use.
- Roll out the pie crust into a 12" circle, then add to a 9" pie plate and press the rim into a fluted pattern with your fingers.
- Line the pie crust with foil and fill with dried beans
- Bake the pie crust for 20 minutes then remove.
Custard Filling:
- Lower heat to 350 degrees.
- Whisk together eggs, sugar, vanilla extract, cinnamon, ground nutmeg, whole milk and heavy cream.
- Add mixture to the pie plate and bake for 40 minutes.
- Note: If the edges are browning too quickly, tent with foil gently.
To Finish:
- Cool the pie completely in the fridge (3-4 hours) before topping with whipped cream.
Whipped Cream:
- To make the whipped cream add the powdered sugar to the heavy cream and beat until it forms medium peaks, about 1-2 minutes with a hand mixer.
- Add the whipped cream to the middle of the pie, spread in a circle but leave a 1" border of the cream pie filling showing.
- Dust with additional nutmeg.
Nutrition
Want to save this recipe? Create a free account to easily save your favorite recipes
Variations
Fruit topping: There are so many ways to dress up your Custard Pie recipe. One is by topping the whipped cream off with fresh fruit. Fresh berries like raspberries, blueberries, and sliced strawberries make a beautiful and flavorful addition. You could also add fresh peach slices or other types of fruit.
Nuts: The perfectly creamy filling of this recipe tastes wonderful with some crunchy contrast. Try layering slivered almonds, Candied Pecans, toasted walnuts, or other types of nuts over the custard surface when it’s partially set.
Related Recipes
More Creamy Pie Recipes


This recipe reminded me exactly of the pie my grandmother used to make. It’s simple, silky, and that hint of nutmeg on top is just perfect.