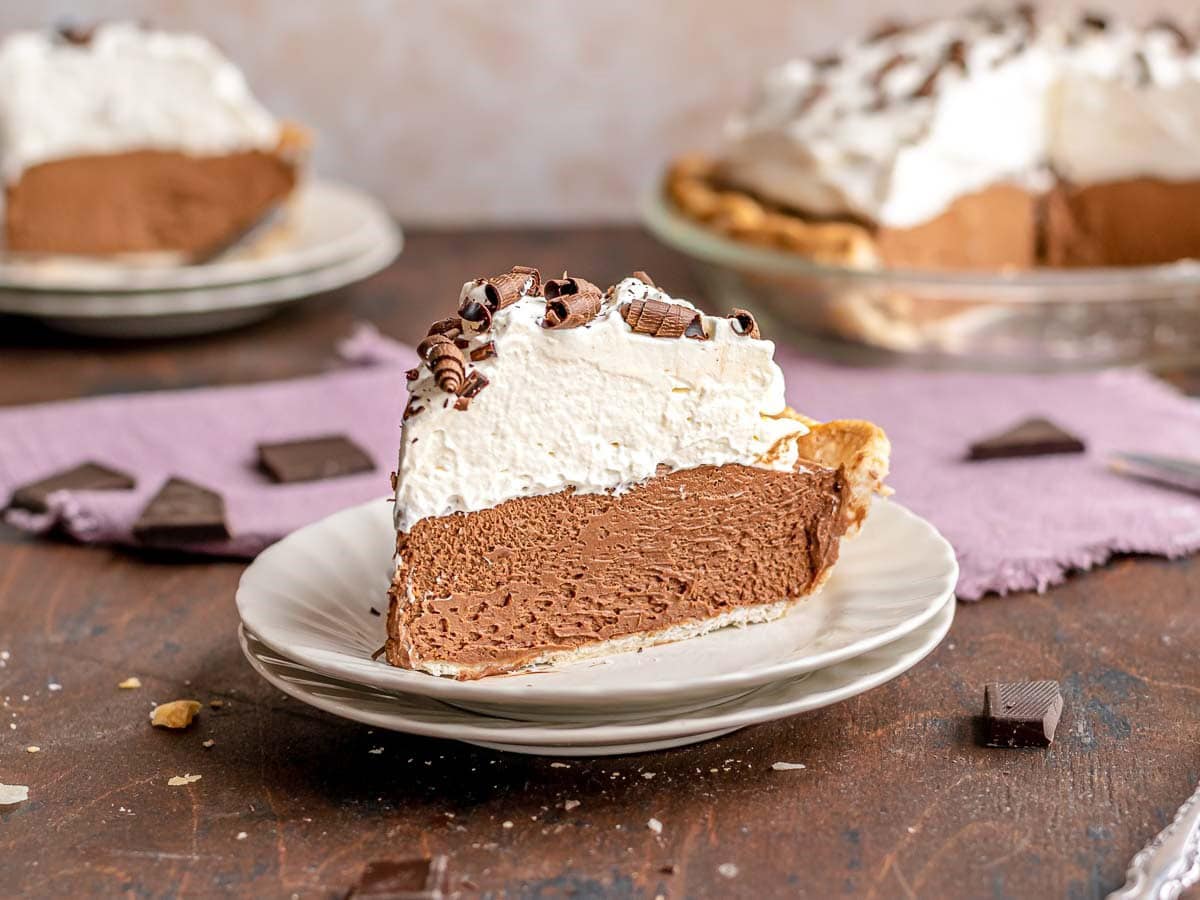
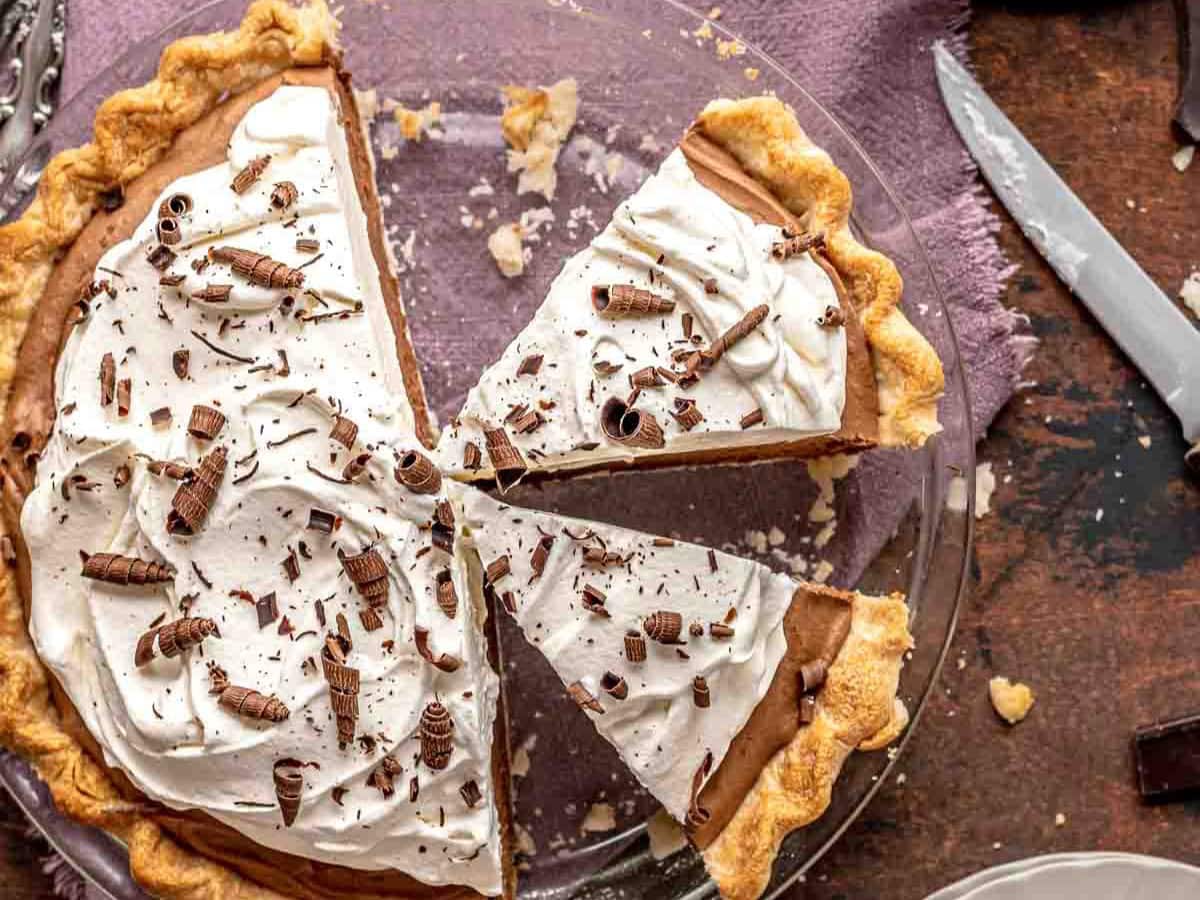
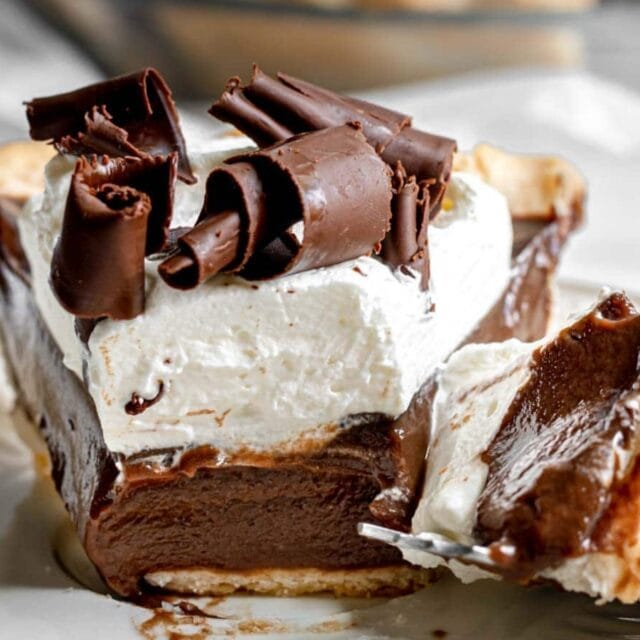
French Silk Pie is a rich, velvety dessert with a smooth, indulgent filling. It’s light, airy, and melts in your mouth.
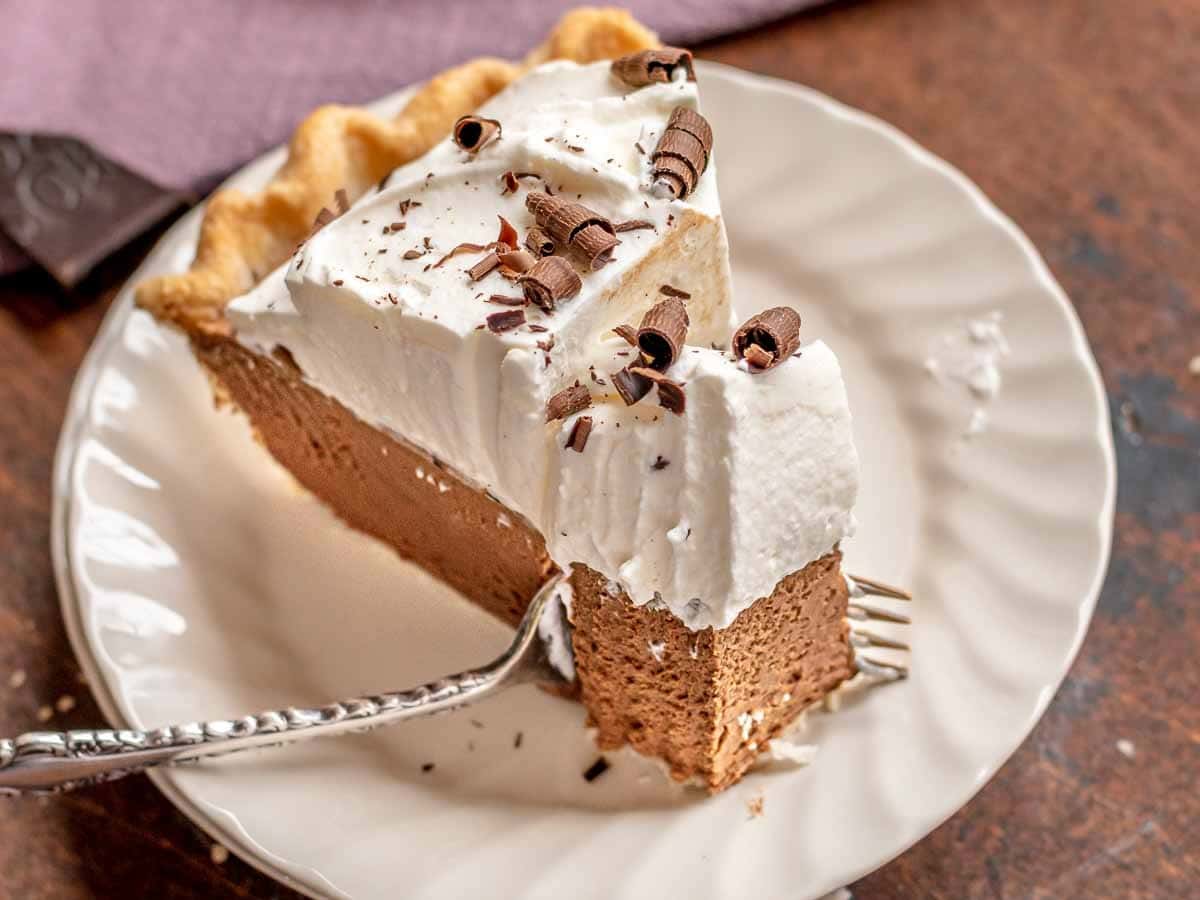
A slice of chilled Chocolate Cream Pie topped with fresh Whipped Cream is a favorite tasty and easy weeknight Dessert. This silky, rich chocolate Pie is just as delicious and is elegant enough for your holiday dessert table.

Sabrina’s French Silk Pie Recipe
“Luscious, melts in your mouth, heavenly.” That’s what your guests will say about this gorgeous and mouthwatering French Silk Pie. It’s hard to describe this dessert without many adjectives, but imagine the smoothest, most decadent chocolate mousse nestled in a flaky, buttery pie crust and topped with light, airy, sweet whipped cream. It’s drool-worthy and much easier to make than it looks, especially with my tips and tricks to make the best-ever French Silk Chocolate Pie!
Recipe Card
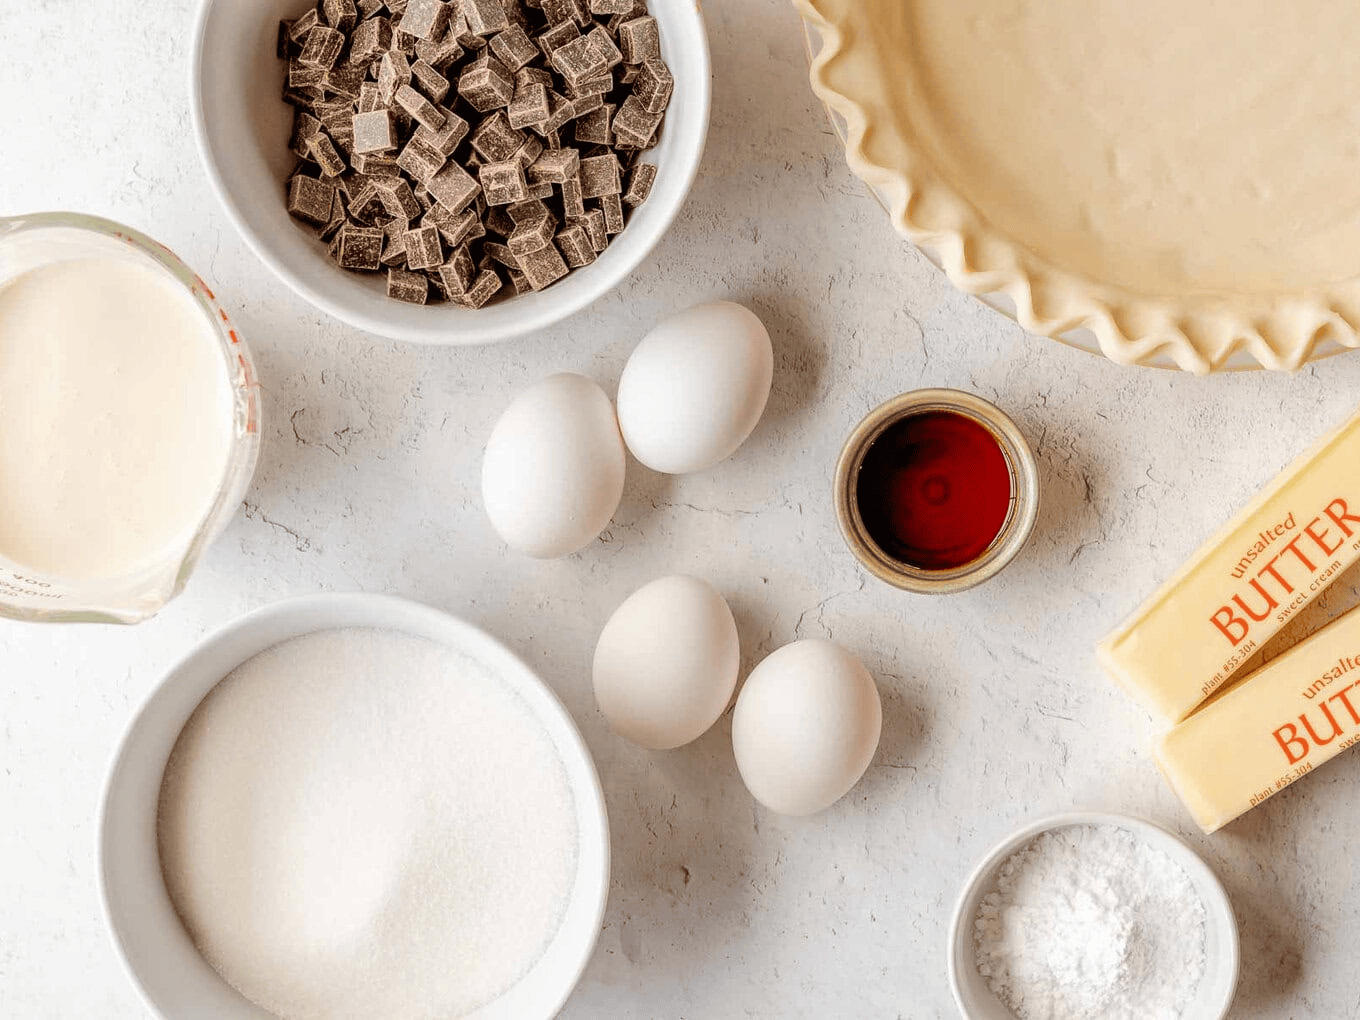
Ingredients
French Silk Filling:
- 4 large eggs
- 1 1/2 cups sugar
- 1 1/2 cups dark chocolate chunks
- 2 teaspoons vanilla extract
- 1 1/2 cups heavy cream
- 2/3 cup unsalted butter
- 1/4 teaspoon salt
Whipped Cream:
- 2 cups heavy cream
- 2 tablespoons powdered sugar
Instructions
Pie Crust:
- Preheat oven to 375 degrees and line a deep dish 9" pie plate with your pie crust.
- Line with parchment paper and add beans or pie weights to hold crust in place.
- Bake for 18-20 minutes until golden brown.
- Let cool.
French Silk Filling:
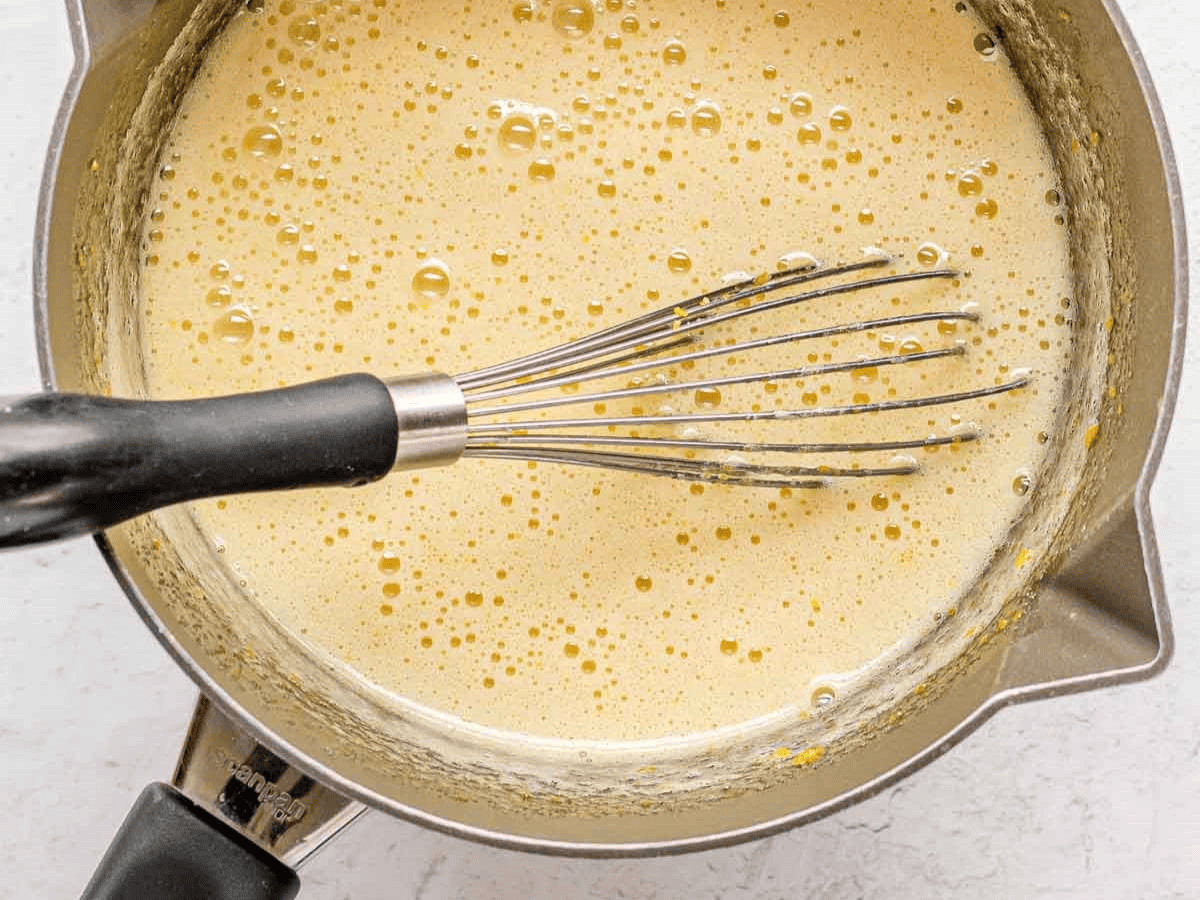
- In a large saucepan add eggs and sugar on medium low heat, whisking constantly until it reaches 160 degrees (this is a safe zone for egg safety). Remove the pan from the heat.
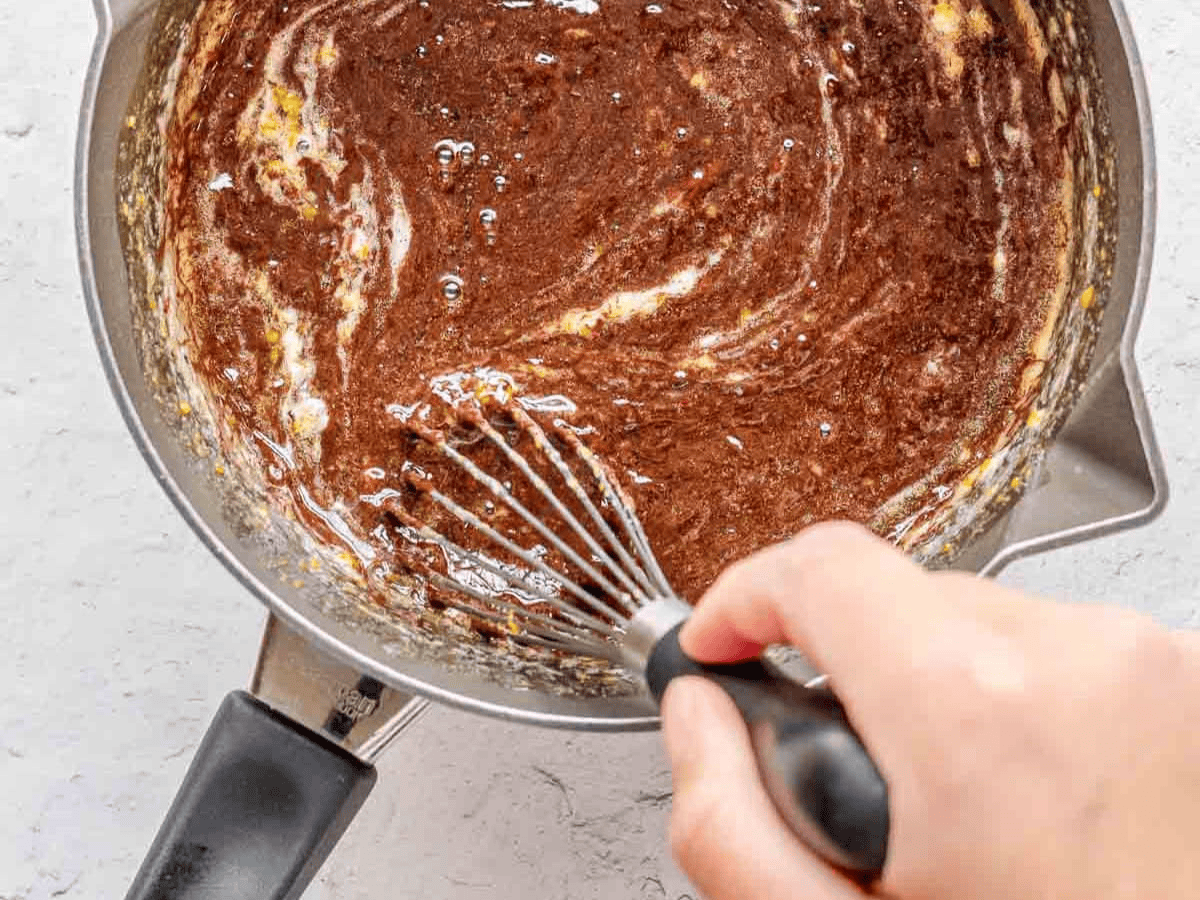
- Add in the chocolate, cover for 5 minutes, then whisk vigorously until chocolate is melted. If necessary turn heat on low just long enough to melt the chocolate the rest of the way, but no longer. The heat of the eggs should melt the chocolate if you leave it covered.
- Whisk in the vanilla extract.
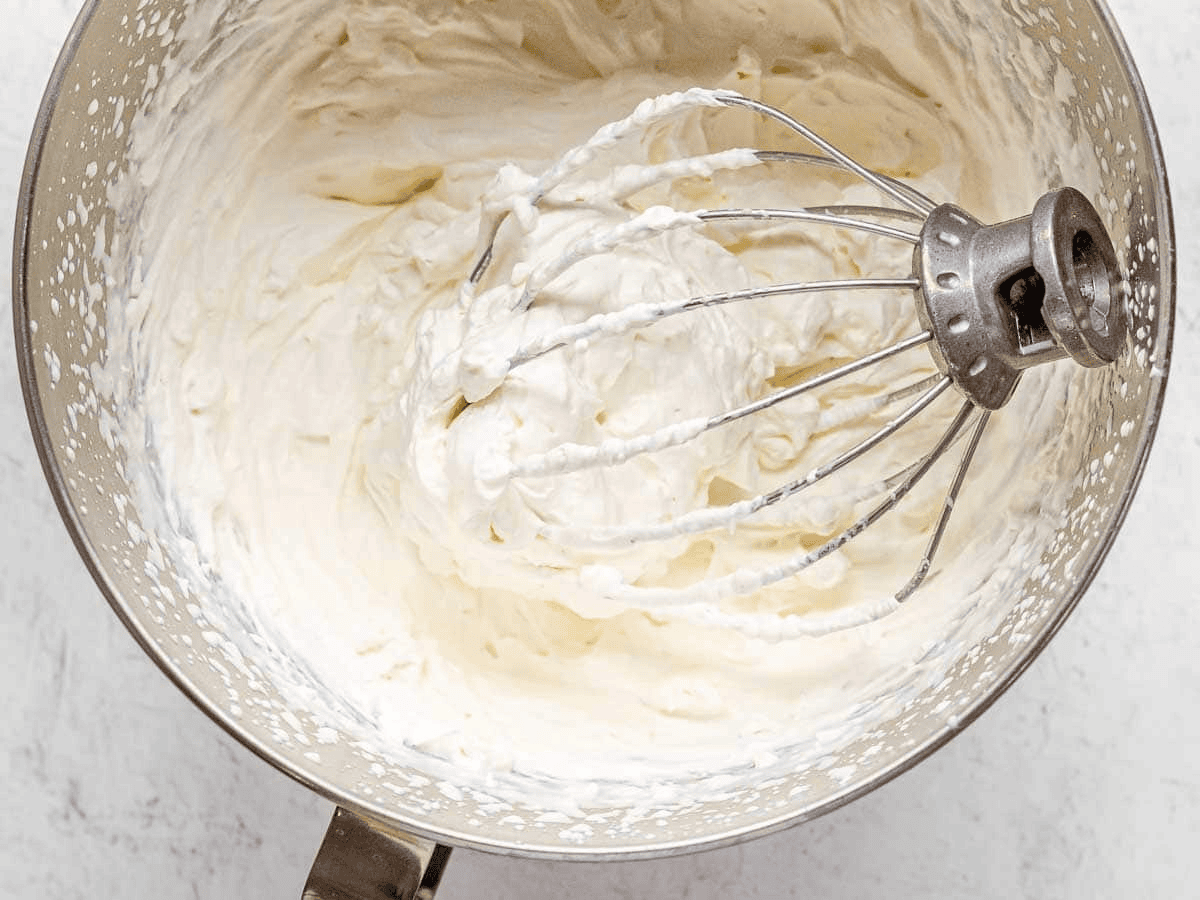
- To your stand mixer add the heavy cream and beat on high speed until it reaches stiff peaks.
- Remove and set aside whipped cream to a large mixing bowl.
- Add the butter to your stand mixer and cream for 4 minutes on high speed.
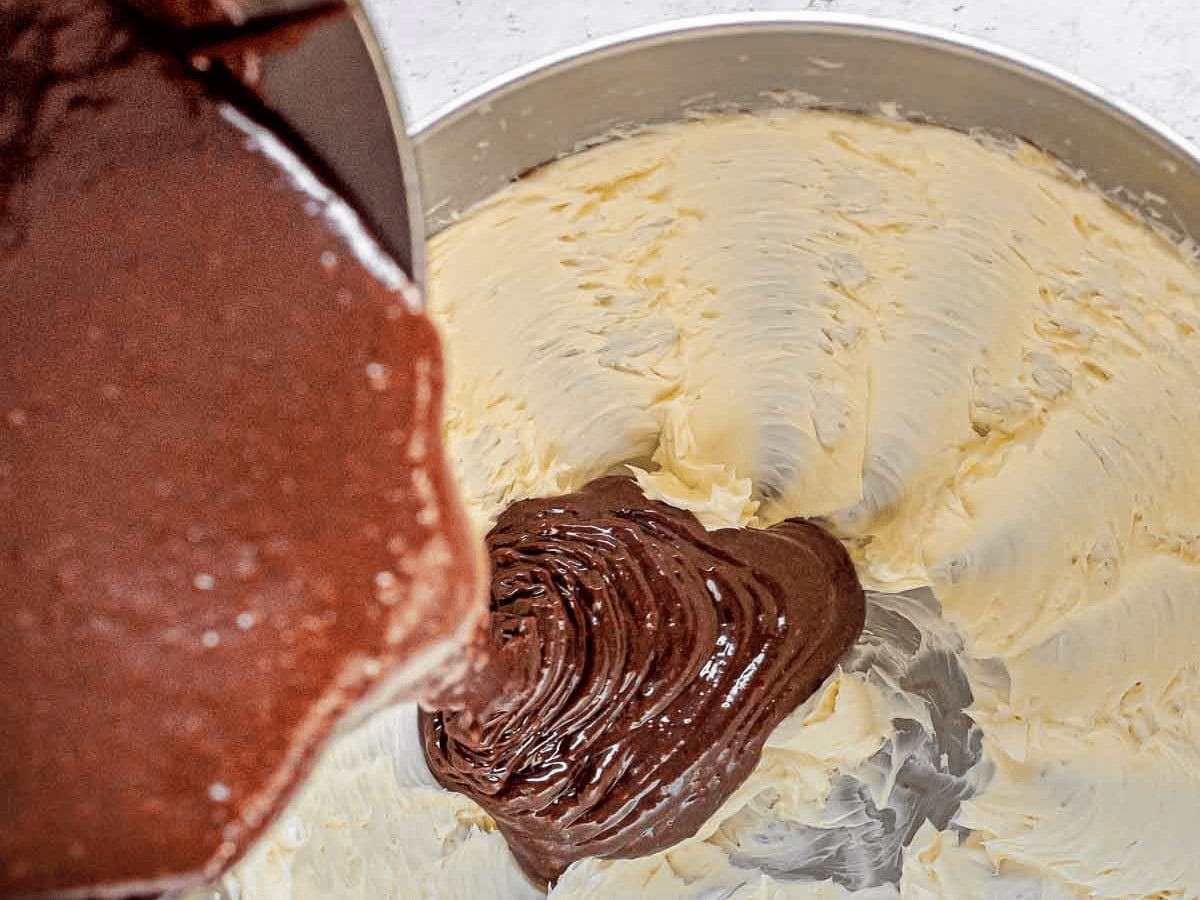
- Lower the speed to the lowest speed setting add in the chocolate mixture in a very thin stream.
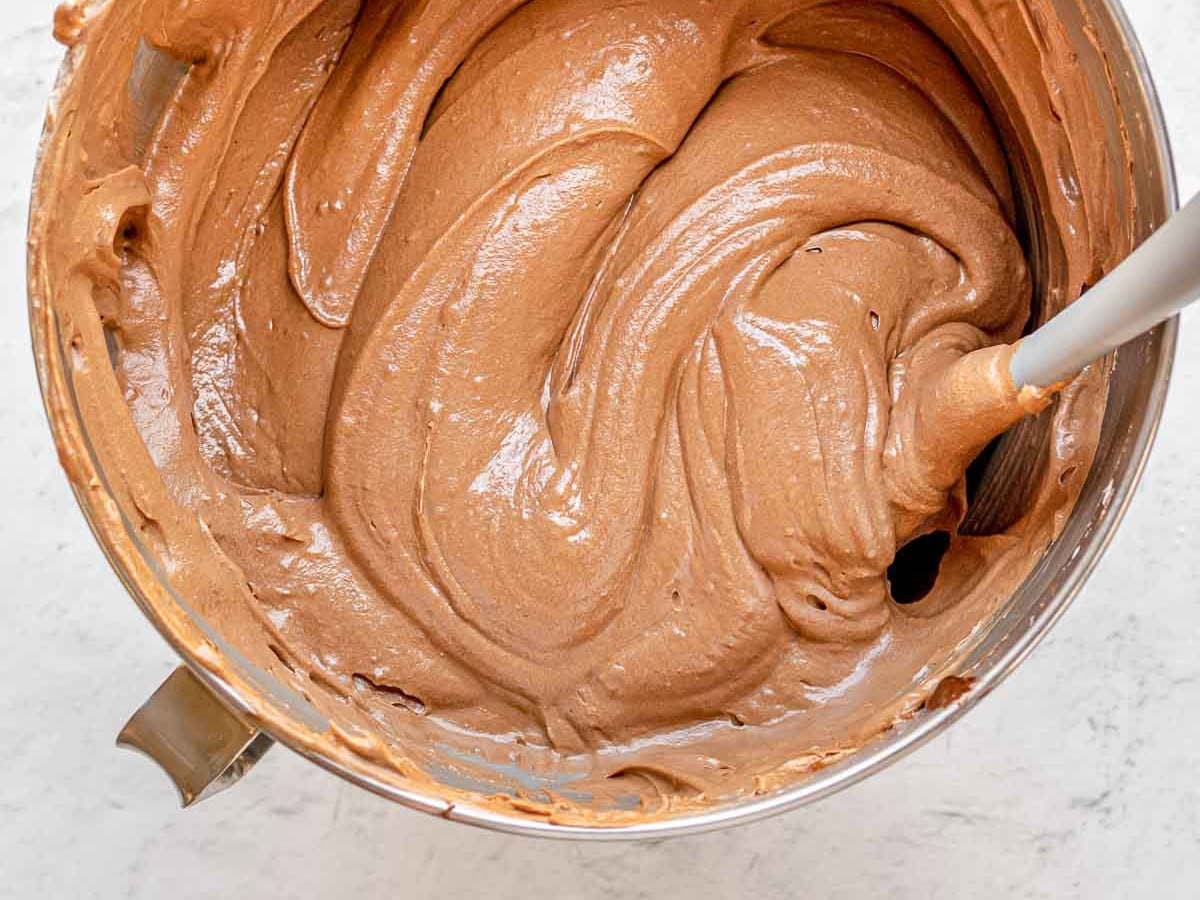
- Beat again for 1 minute until light and fluffy.
- Remove beater, fold in half the whipped cream until well mixed.
- Fold in the remaining whipped cream carefully until just combined.
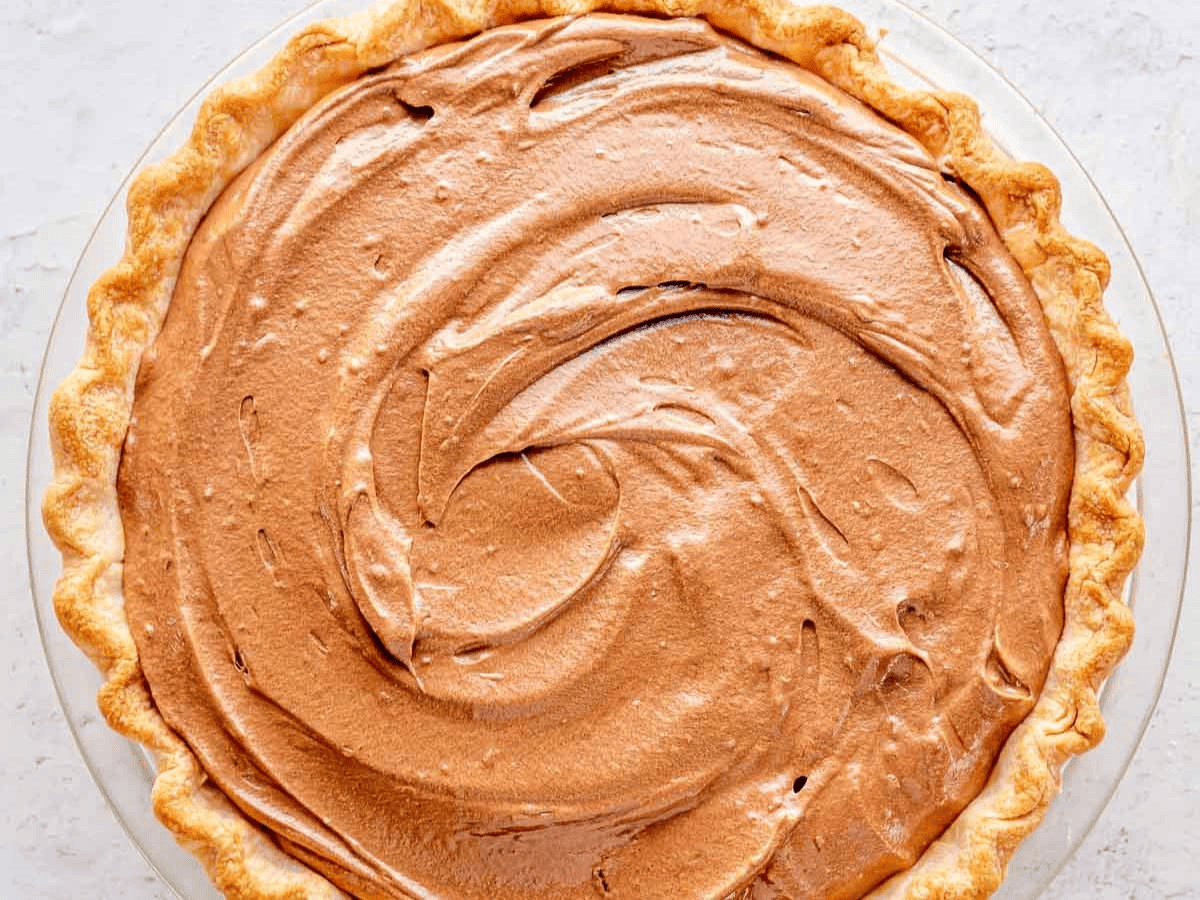
- Pour mixture into the pie crust and spread evenly, then cover with plastic wrap.
- Chill for four hours before topping with whipped cream.
Whipped Cream Topping:
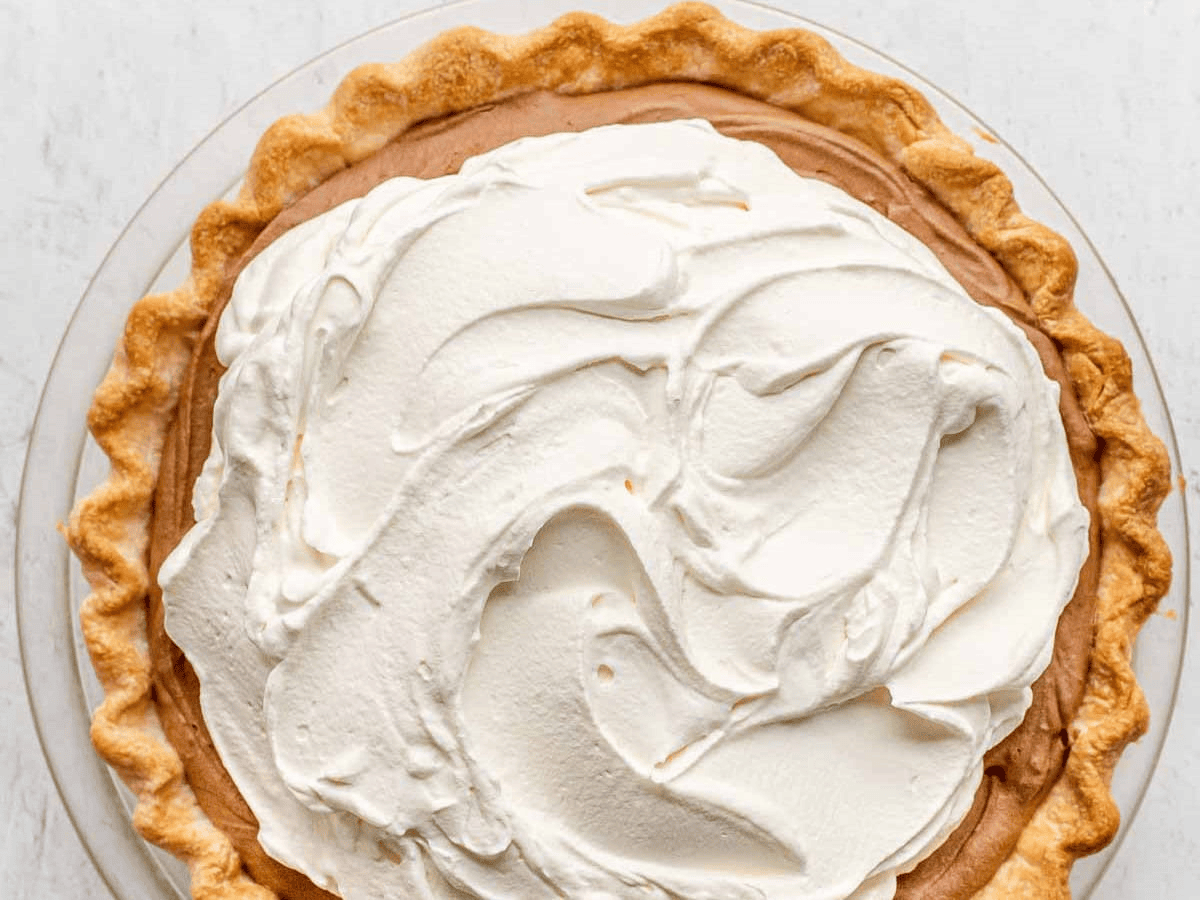
- To your stand mixer add the heavy cream and powdered sugar and beat on high speed until it reaches stiff peaks.
- Top with whipped cream, leaving a 1" border of the filling showing and shaved chocolate.
Nutrition
Want to save this recipe? Create a free account to easily save your favorite recipes
Table of contents
Chef’s Note: Raw Eggs vs Cooked Eggs
The classic recipe for French Silk Pie is made with raw, pasteurized eggs that whip into a filling at the last step. In order to be safe to eat, you must use high-quality eggs that are pasteurized correctly, and the pie goes bad faster. For me, it’s just not worth the hassle, especially since I can get the same luxurious texture by gently cooking the eggs first. My cooked egg mixture gives you a silky chocolate pie that is worry-free, so you can enjoy every smooth, creamy, amazing bite.
Ingredients
- Pie Crust: I love a flaky, buttery pie crust to balance out the creamy, sweet filling and toppings. You can use a homemade pie crust from scratch or a refrigerated one, but it must first be blind-baked because the filling is not baked.
- Dark Chocolate: Bittersweet chocolate for an intense chocolate flavor without being overly sweet.
- Eggs: Eggs also add richness to the mousse filling, giving it that signature silky mouth feel. I use a tempered, cooked egg mixture for my silk pie.
- Heavy Cream: For this pie, you make two batches of whipped cream, one for the filling and one for the topping. The filling whipped cream is unsweetened, and the heavy cream is whipped until stiff peaks, making the mousse super light and airy.
- Sugar: This Silk Pie recipe requires two kinds of sugar. Granulated sugar tempers the eggs and adds sweetness while keeping them from scrambling. Powdered sugar provides the right texture for the whipped topping.
- Vanilla: Use real vanilla extract for the best flavor in both the pie filling and the cream topping. For an extra fancy pie, use vanilla bean paste!
- Butter: Use unsalted butter and bring it to room temperature so that it will cream easily. Creaming the butter creates air and allows it to mix more easily with the other ingredients for the lightest, smoothest mousse filling.
Can This Be Made Ahead of Time?
This is a fantastic pie to make ahead of time because the mousse needs at least 4 hours to chill properly, and the longer the chilling time, the better it tastes. Fill the crust and let the chocolate filling set the night before your event. Top with fresh whipped cream and chill for 30 minutes before serving.
Silk Pie freezes well, whole or in individual slices. For best results, completely set the pie, and pop it into the freezer for 2 hours. After it’s frozen, you can more easily wrap the pie with plastic wrap without squishing anything. Thaw at room temperature until soft enough to eat, or thaw overnight in the fridge before serving.
Baking Recipe Tips & Tricks
- Correct Temperature: The eggs need to reach 160 degrees so they are safe to eat. But don’t let them get too hot, or they will scald or scramble.
- Cook Eggs Carefully: You need to stir the egg and sugar mixture constantly so the eggs don’t scramble or get chunky.
- Strain the Eggs: If your egg mixture does curdle a little or is chunky, you can strain it through a fine mesh sieve. It still won’t be as smooth but at least you don’t have to toss it.
How to Store
- Serve: Chill the chocolate filling for a minimum of 4 hours before serving for the best flavor. It’s best to let it chill overnight or for about 8-12 hours.
- Store: Leftover pie will stay good for up to 4 days in an airtight container or wrapped in plastic wrap. If you know you’re making it ahead of time, it’s best to store the pie without the whipped topping and add it fresh to serve.
- Freeze: Freeze leftover pie or individual leftover slices for 2 hours on a baking tray. Then, wrap frozen slices in plastic wrap and store them in an airtight container. Freeze pie for up to 3 months. Thaw at room temperature or in the fridge before serving.
Frequent Questions
This recipe does not use raw eggs, but eggs that have been tempered first. Tempering means heating the eggs slowly while continually whisking them until they reach a safe temperature to consume. Use a candy thermometer to make sure the eggs reach 160 degrees.
This version is entirely safe because it does not contain raw eggs. French Silk Pies that have raw eggs should not be eaten by pregnant people, young children, the elderly, or others who are immunocompromised.
To properly blind-bake your crust, you want the beans or pie weights to fill the pie tin up to the edge. This keeps the pie crust from separating from the sides of the pie tin. Use a fork to poke holes in the bottom to allow steam to escape as the dough bakes.
Variations
- Crust: Instead of a regular crust, you can use a Graham Cracker crust, baked for 10 minutes or left unbaked. An Oreo cookie or vanilla wafer crust would taste delicious with this pie, too!
- Topping: Give your pie a drizzle of Chocolate Ganache or caramel sauce for extra sweetness. Instead of chocolate shavings, you could use mini chocolate chips, cocoa powder or chocolate curls.
- Chocolate: For a milder, sweeter chocolate flavor, you can use semi-sweet chocolate, and for a deeper, less sweet filling, use bittersweet chocolate (like for baking). You can also add ¼ teaspoon of espresso powder to bring out the chocolate flavor in this pie.
- Raspberry: For a fruity twist, fold in some Raspberry Sauce or fresh raspberries into the chocolate filling. Garnish with fresh raspberries and a drizzle of chocolate or raspberry sauce.
Related Recipes
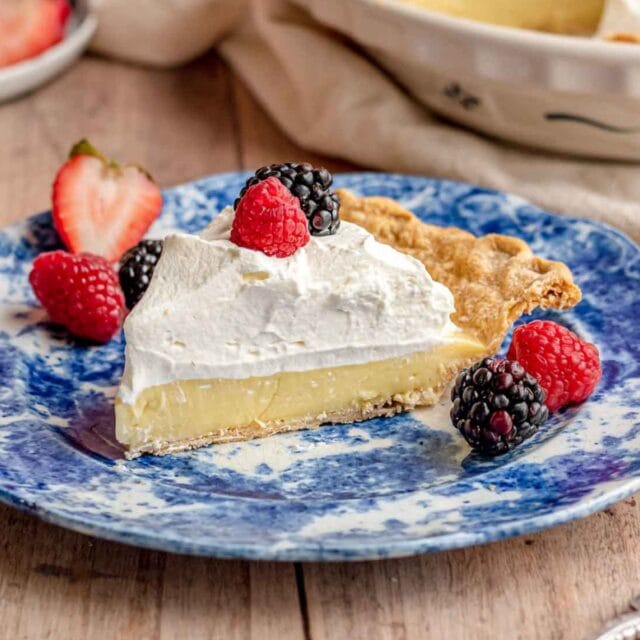
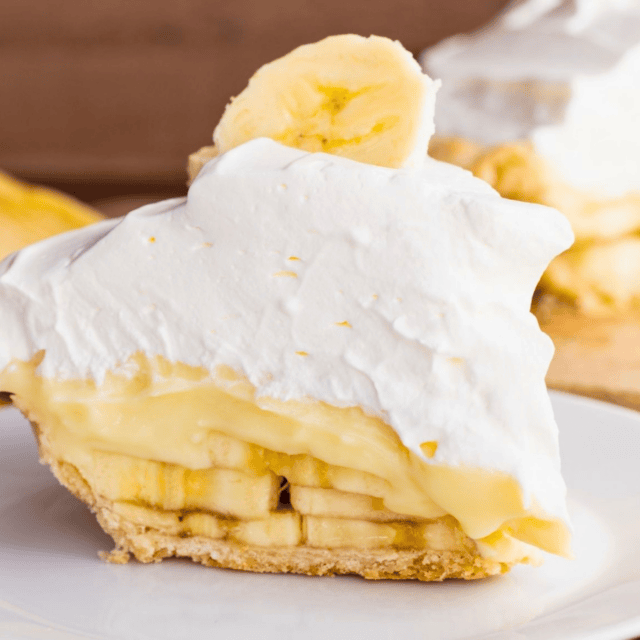
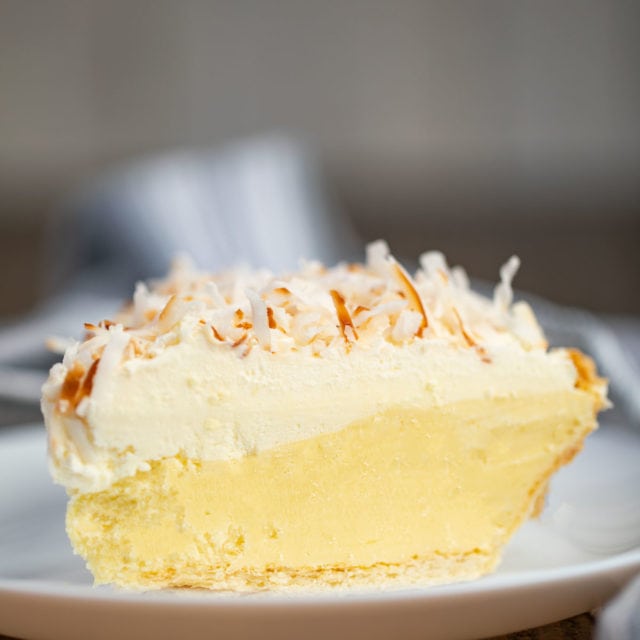
More Delicious Cream Pie Recipes

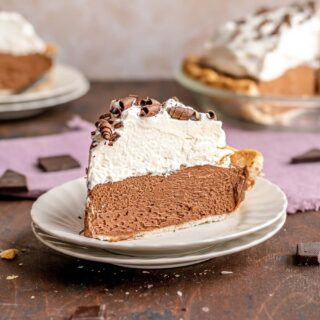
Photos used in previous versions of the post: