
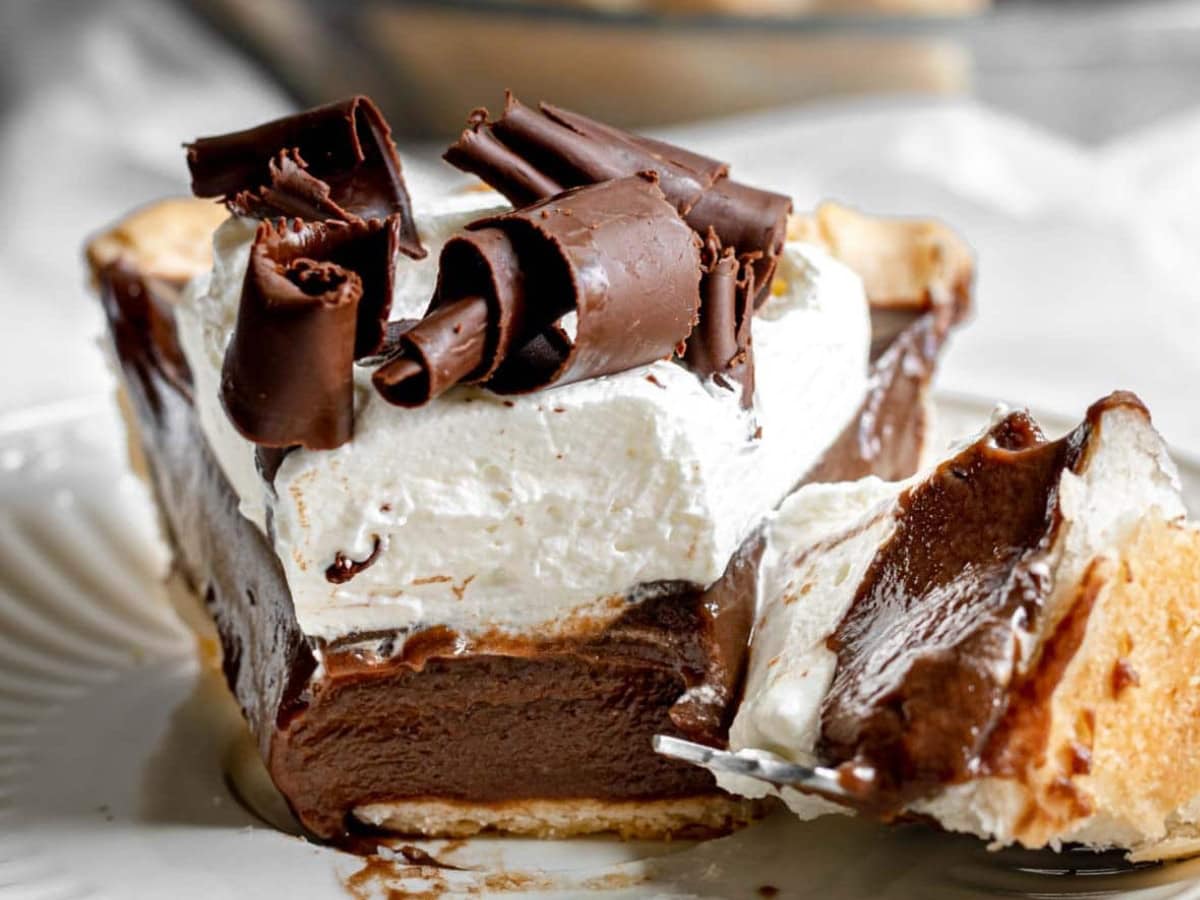
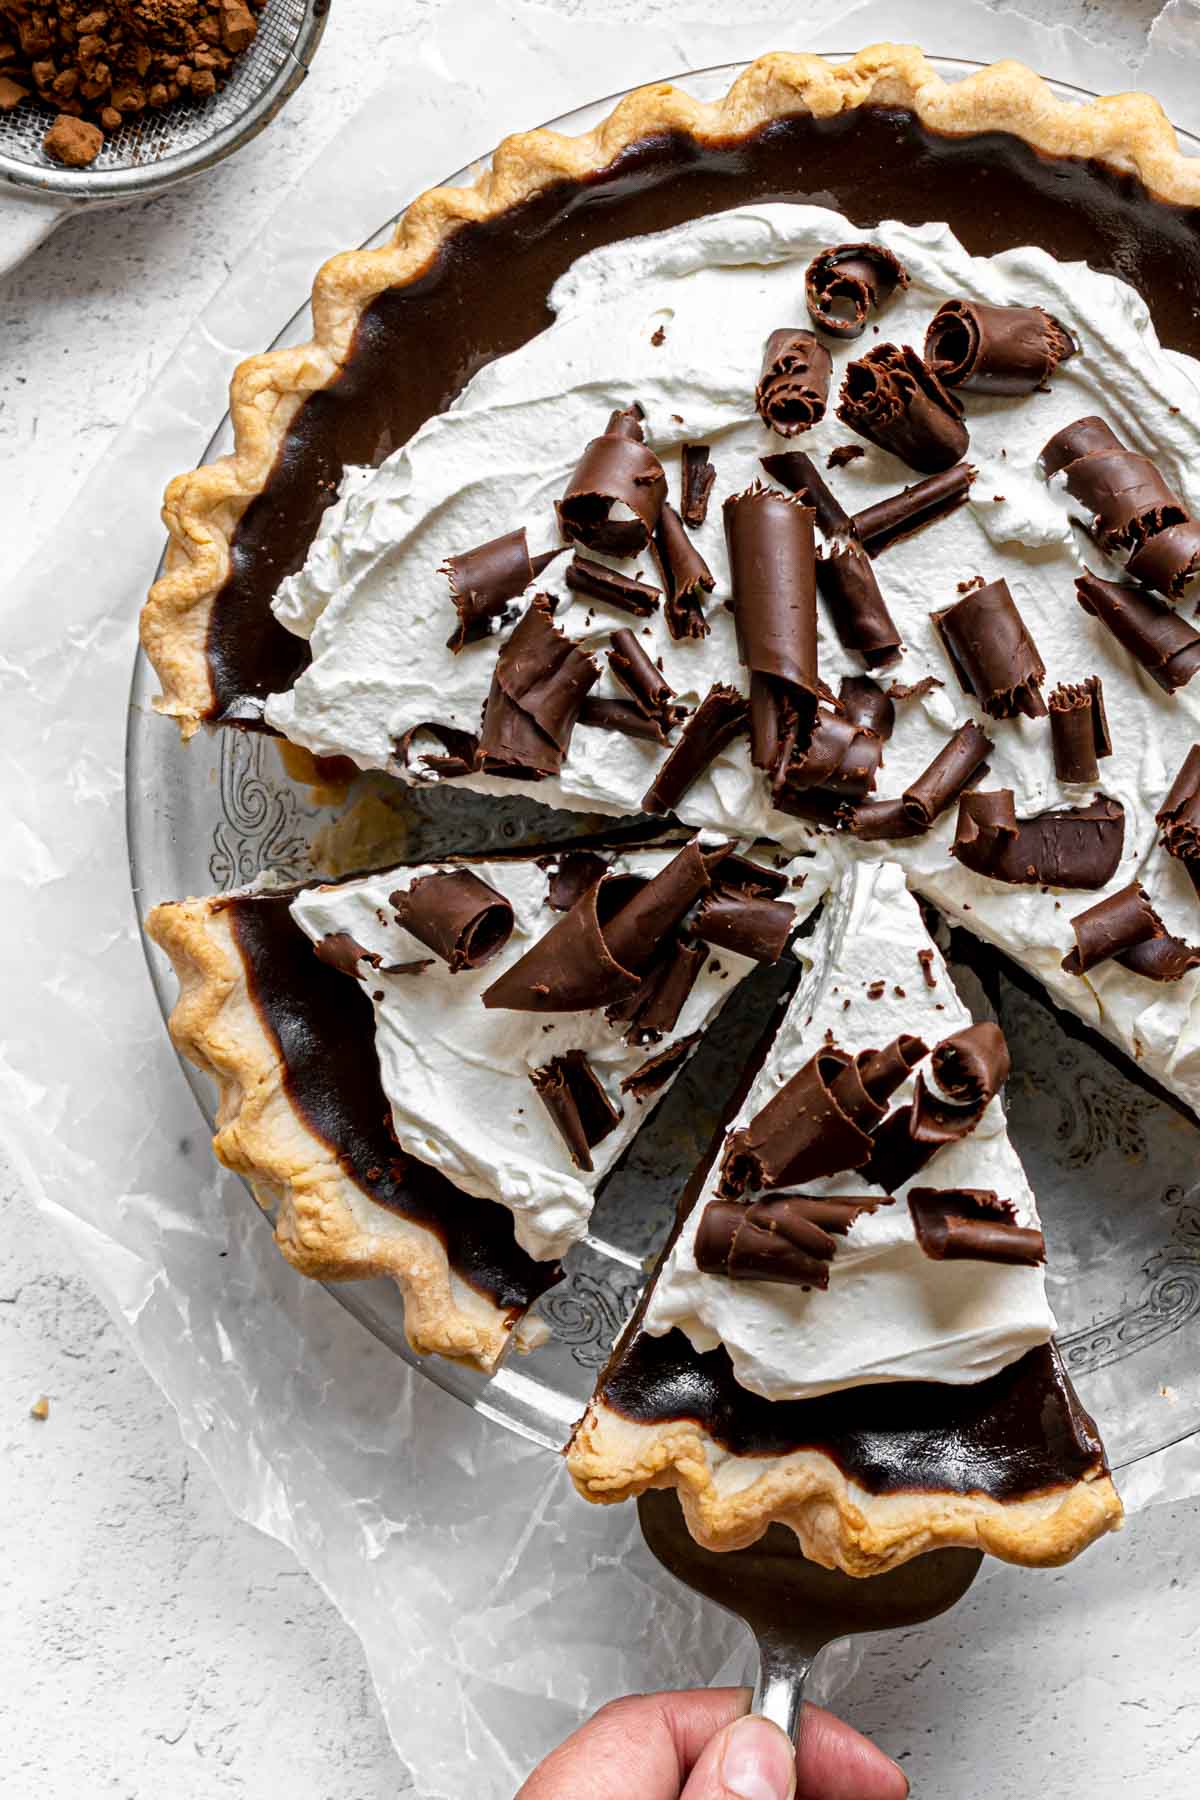
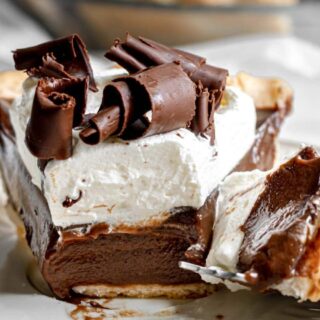
Chocolate Cream Pie is rich, smooth, and decadent with a rich chocolate filling nestled in a flaky crust, and finished with whipped cream.
Sweet Chocolate Cream Pie is the perfect recipe to add to any dessert table. It is easy to make, keeps nicely in the fridge, and it’s a real crowd-pleaser. If you love this Pie Recipe, be sure to try our Cookie Dough Pie for another creamy, chocolate cream pie.

Sabrina’s Chocolate Cream Pie Recipe
Chocolate Pie is made with a creamy custard filling that’s sure to make it a favorite with any chocolate lover! The chocolate custard gets its rich chocolate flavor from simple cocoa powder. Then it’s topped off with chocolate shavings for a beautiful look and more sweet chocolate.
Recipe Card
Ingredients
- 1 pie crust
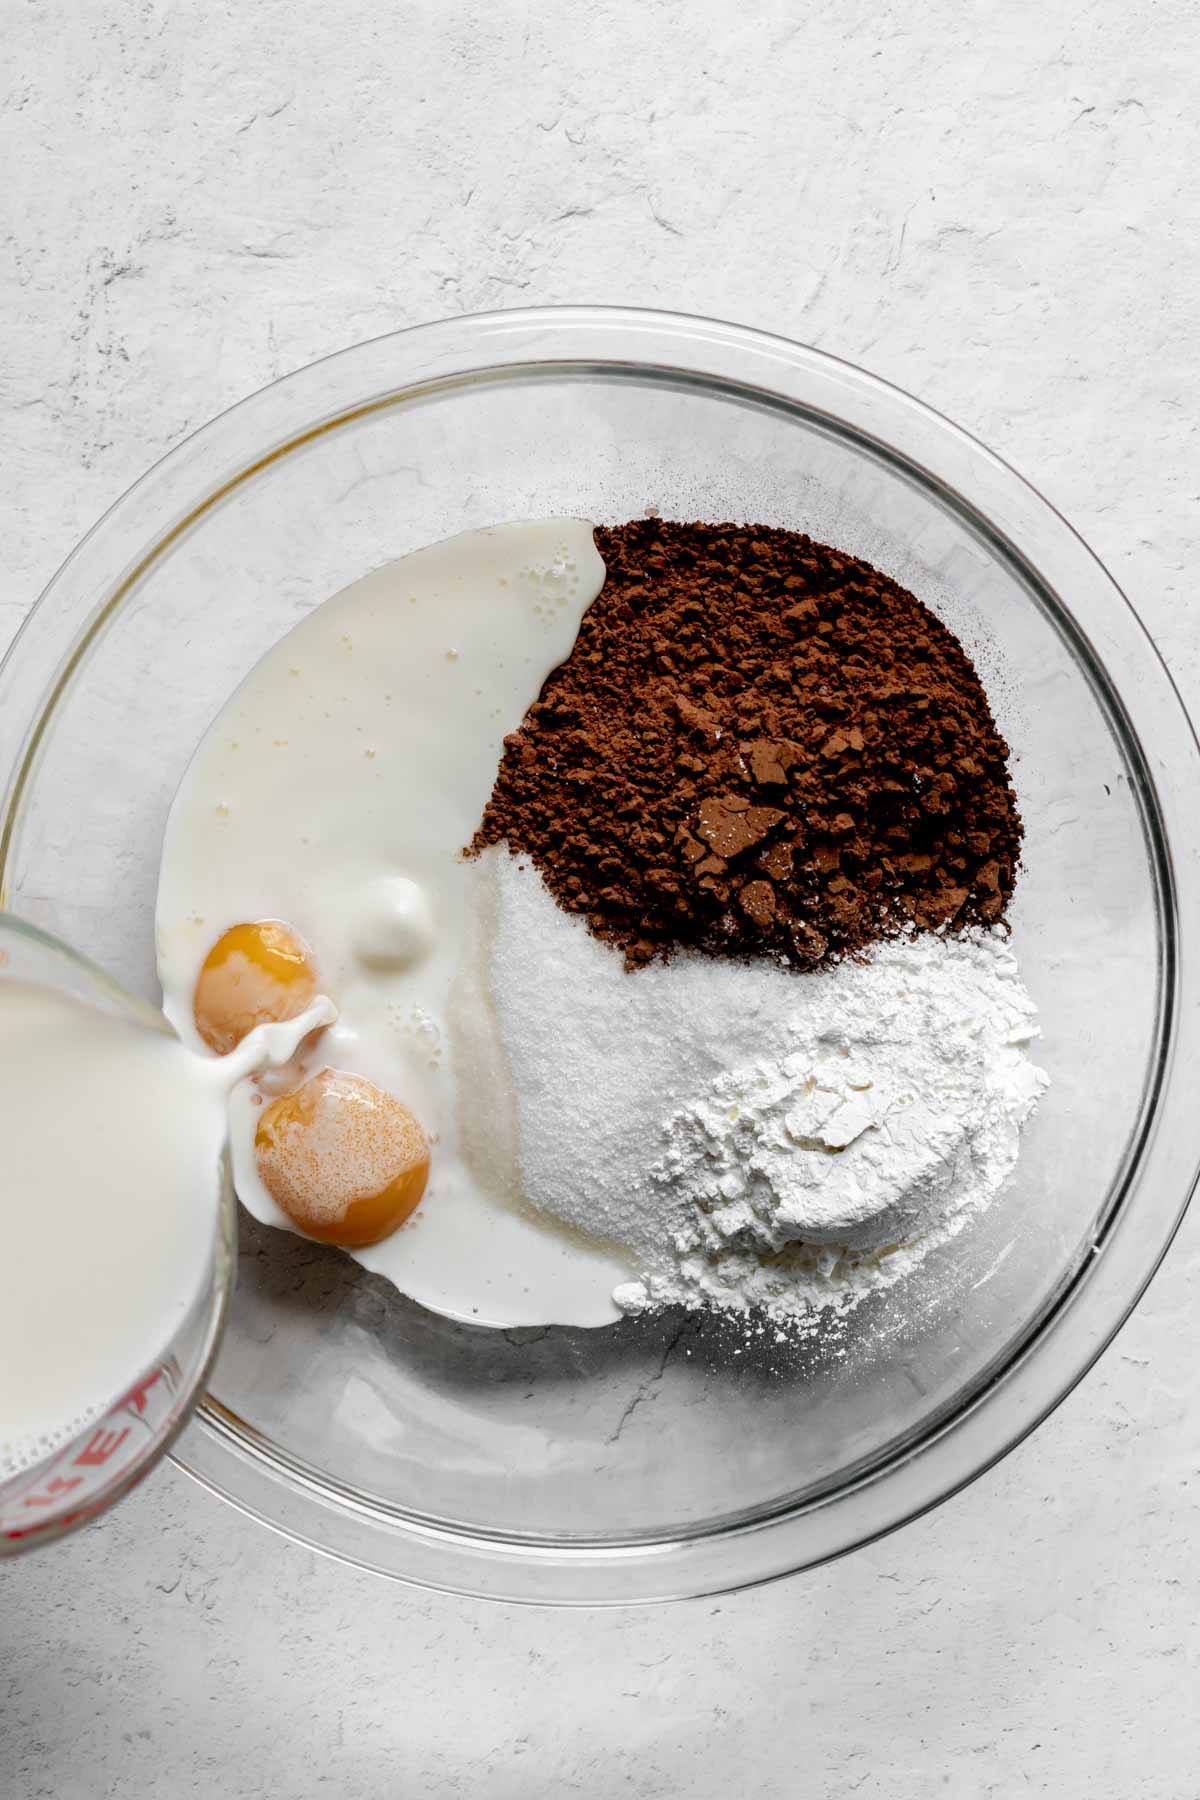
- 3 egg yolks
- 1 1/2 cups sugar
- 3 cups whole milk
- 1/4 cup cornstarch
- 1/2 cup unsweetened cocoa powder
- 1/2 teaspoon salt
- 1 tablespoon unsalted butter
- 1 teaspoons vanilla extract
Instructions
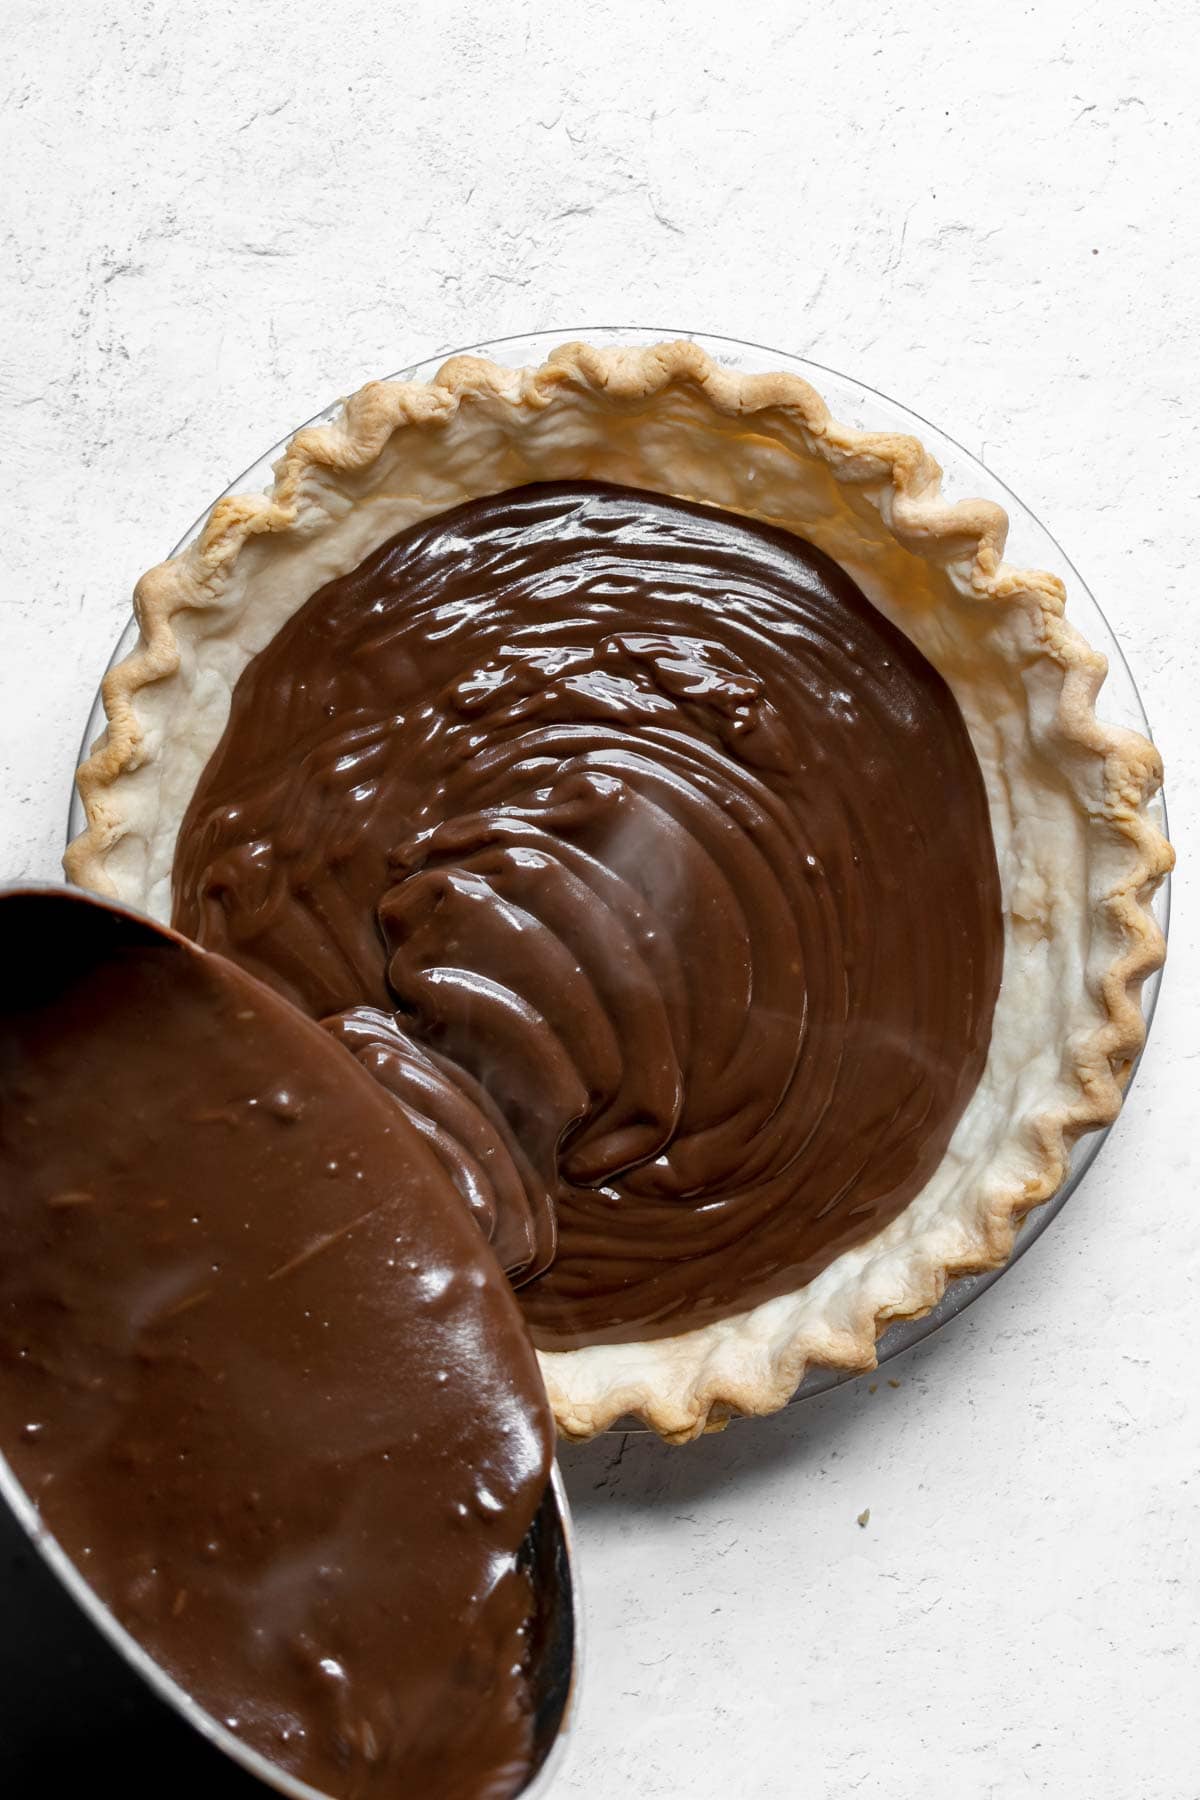
- Preheat oven to 375 degrees and line a pie plate with your pie crust.
- Line with parchment paper and add beans or pie weights to hold crust in place.
- Bake for 18-20 minutes until golden brown.
- Let cool.
- In a large mixing bowl whisk the egg yolks, sugar, milk, cornstarch, cocoa powder, and salt.
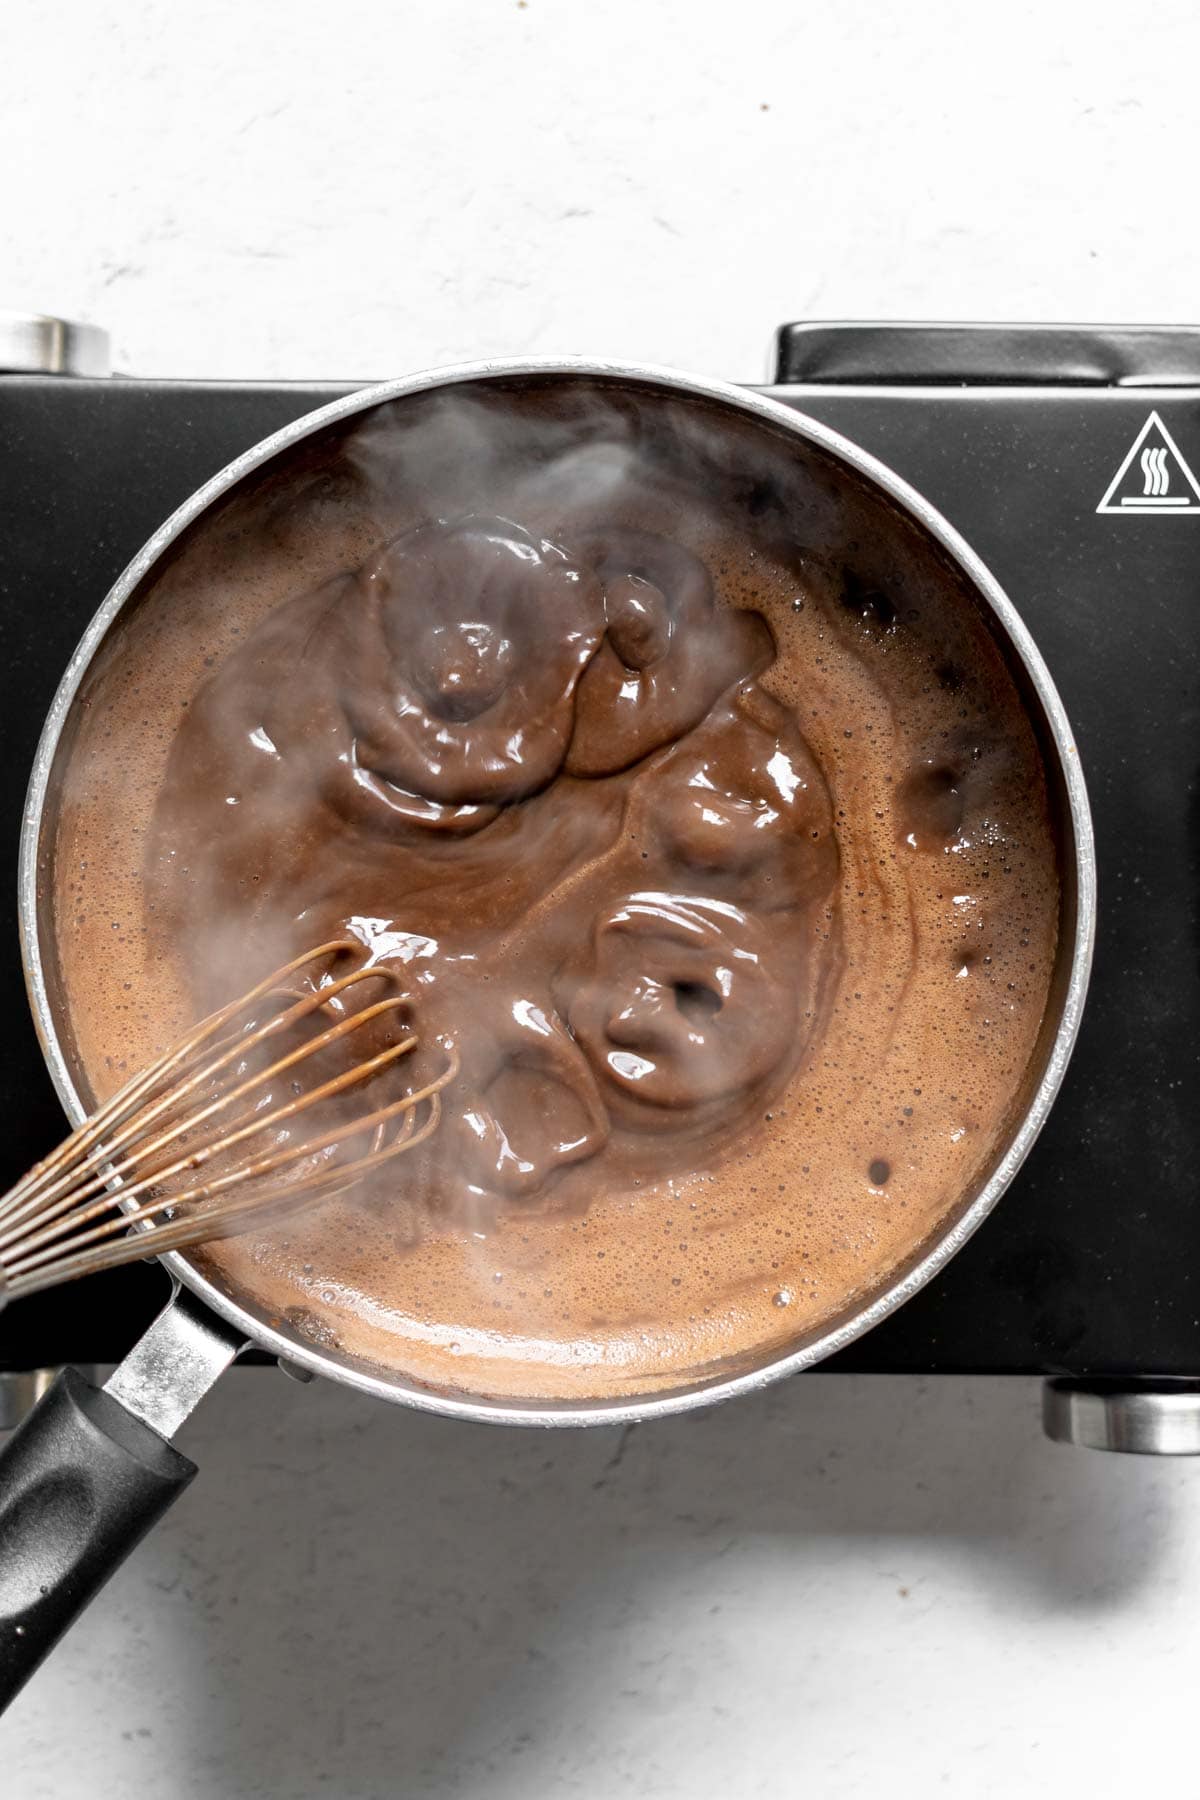
- Add mixture to a medium saucepan on medium heat.
- Whisk well until it comes to a boil, then cook for 30 seconds, stirring the whole time.
- Turn off heat and whisk in the butter and vanilla extract.
- Let filling cool for 10 minutes.
- Pour mixture into the pie crust.
- Cool completely before serving.
- Top with whipped cream and shaved chocolate to serve if desired.
Nutrition
Want to save this recipe? Create a free account to easily save your favorite recipes
Table of contents
About this Recipe
This is one of those simple dessert recipes that you’ll find yourself making over and over again. The Chocolate Cream Pie recipe only takes a few minutes of hands-on work, and the instructions are easy to follow. Still, the pie comes out looking beautiful and tasting unbelievably decadent. It’s sure to be a new favorite pie, but it’s also one of the easiest to make.
Ideas to Serve
Serve the creamy pie with Whipped Cream and a scoop of Ice Cream for the perfect chocolatey dessert. You can also experiment with other toppings like Hot Fudge Sauce or Strawberry Topping.
Create a free account to Save Recipes

How to Serve and Store
- Serve: Don’t leave Chocolate Cream Pie at room temperature for more than 2 hours.
- Store: Cover the pie in tin foil or plastic wrap to store in the refrigerator for 3-4 days.
- Freeze: Let the pie chill in the fridge, then cover it in plastic wrap or aluminum foil. Then put it in a freezer bag. It will stay good in the freezer for up to 1 month.
Variations
- Graham Cracker Crust: Instead of using a store-bought pie crust, you can make a Homemade Pie Crust with graham crackers. Add the graham crackers to a food processor and break them into crumbs. Then mix that with melted butter and sugar. You can use the same crust recipe with vanilla wafers, chocolate wafers, or Oreos to make a crust.
- Chocolate Chips: For some extra chocolate flavor, sprinkle chocolate chips or chocolate shavings right over the chocolate filling. You can use regular or mini chocolate chips in the recipe. Semi-sweet chocolate, dark chocolate, or milk chocolate chips would all taste great in this recipe. You could also try melting chocolate chips and drizzling melted chocolate over the top.
- Berries: For some sweet fruit to go with the rich chocolate flavor, line fresh raspberries over the surface of the pie before serving.
- Espresso powder: Adding a bit of coffee flavoring to your dessert is the perfect way to play up the sweet notes in the chocolate. Mix 1-2 tablespoons of espresso powder into the cream pie filling.
Related Recipes
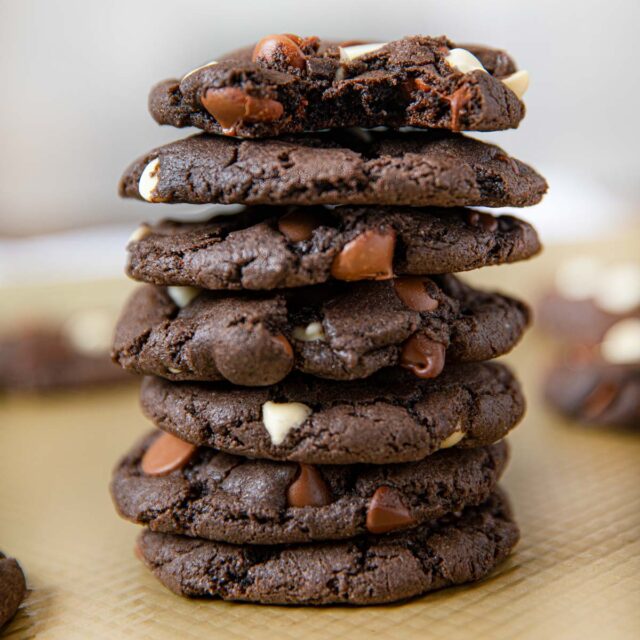
Triple Chocolate Cookies
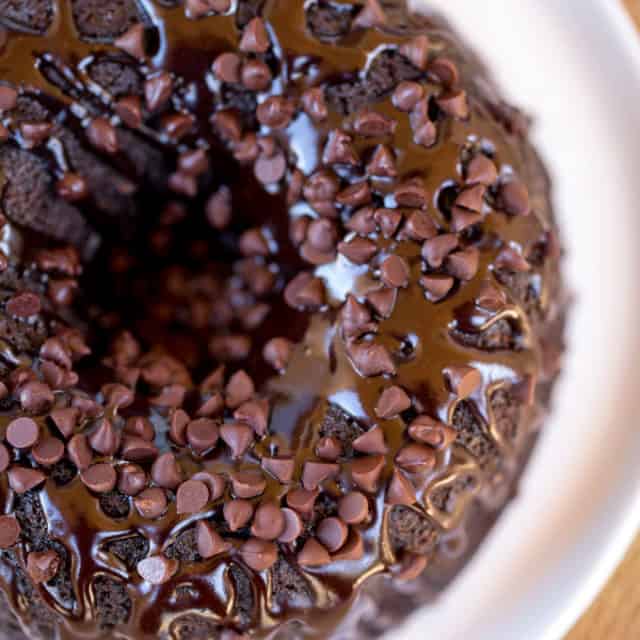
Triple Chocolate Bundt Cake
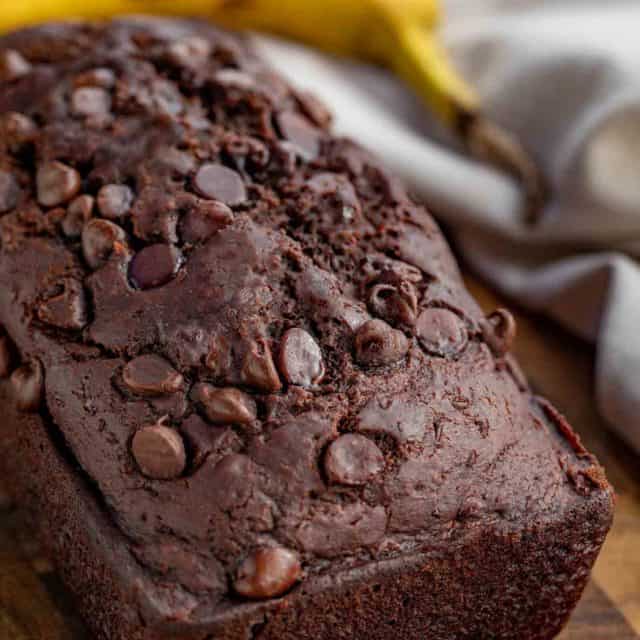
Chocolate Banana Bread
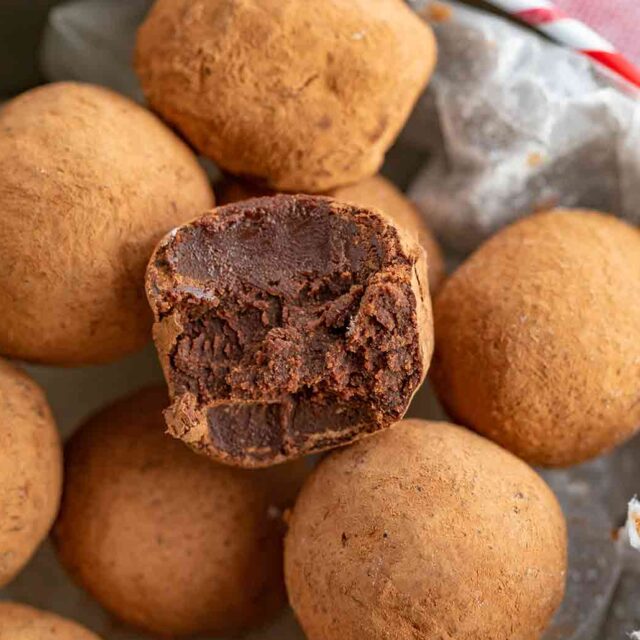
Chocolate Truffles

These photos were used in a previous version of this post


I made this pie for a party and it was a huge hit.