Perfect Pie Crust

1 pie crust
Prep Time 10 minutes
Cook Time 0 minutes
Refrigerate 4 hours
Total Time 4 hours 10 minutes

Perfect Pie Crust is a flaky pie crust recipe made with butter and no shortening. Easy shortcrust made in minutes for all your baking needs!

A nice shortcrust pastry is of course key to sweet pie and tart recipes like Apple Pie, along with savory pie recipes like Chicken Pot Pie. Fortunately, it’s surprisingly easy to make a Homemade Pie Crust recipe. Make it ahead and then you can keep the perfect crust in the fridge or freezer to have ready the next time you make one of your favorite Pie Recipes.

Sabrina’s Perfect Pie Crust Recipe

I’m excited to share my go-to recipe for a buttery, flaky pie crust with you. It’s perfect for all your favorite pies and tarts. The recipe is super simple and gives you a delicious, homemade crust that bakes into buttery, flaky perfection. I’m using real butter, not vegetable shortening making it an all-butter pie crust. What’s the secret to a perfect butter crust? Ice-cold butter.

My easy Homemade Pie Crust Dough makes a full pie crust perfect for a 9-inch pie plate. It’s an easy flaky crust that you can use for blind baking for a baked crust that’s crisp and buttery, like for tarts, or double the recipe for a double crust pie like classic Peach Pie. There are so many Dessert Recipes, that call for pastry crust and this recipe has you covered for all of them!

Ingredients

  • 1 ¼ cups Flour: I’m using all-purpose flour which has a good amount of gluten so your crust is isn’t soft or crumbly.
  • ¼ teaspoon Salt: A little bit of salt gives the pie crust a delicious flavor so it isn’t bland.
  • ½ cup Unsalted Butter: The secret to the flaky layers in the crust is in how cold the butter is, the colder the better! So I use frozen butter to make sure it stays cold. Also, I use unsalted butter so I can control the flavor.
  • ¼ cup Ice Water: The 6-8 tablespoons ice water is needed to help keep the butter solid until baking. (I spoon the water directly out of the cup of water with ice cubes directly into the food processor to make sure it is still ice cold water.) Side note: you can also use equal parts chilled milk or buttermilk for a richer flavor.

Kitchen Tools & Equipment

  • Food Processor: A food processor is the best tool for making pie crust. The chute allows me to add the ice cold water a little at a time while still mixing. It’s also quicker than an fork or pastry cutter so your butter stays super cold.
  • Sharp Knife: For this recipe, the butter should be frozen so it stays ice cold while it is mixed in. A Sharp Knife lets you cut the frozen butter easily and quickly so it doesn’t melt.

How to Make the Perfect Pie Crust

Time needed: 4 hours and 10 minutes.

These immediate following instructions are just for making the dough. See further down the page for details on how to blind-bake the crust as you see in the photos.

  1. Mix Dry Ingredients

    Add 1 ¼ cups of flour and ¼ teaspoon of salt to a food processor.

  2. Add Butter

    Add the ½ cup of frozen and diced unsalted butter pieces to the food processor and pulse.

  3. Add Water Gradually

    While pulsing, add ¼ cup of ice water, one tablespoon at a time, through the chute. Continue pulsing until the mixture forms tiny crumbles. Be careful not to over-mix. We want the crumbles, not a dough ball.

  4. Chill the Dough

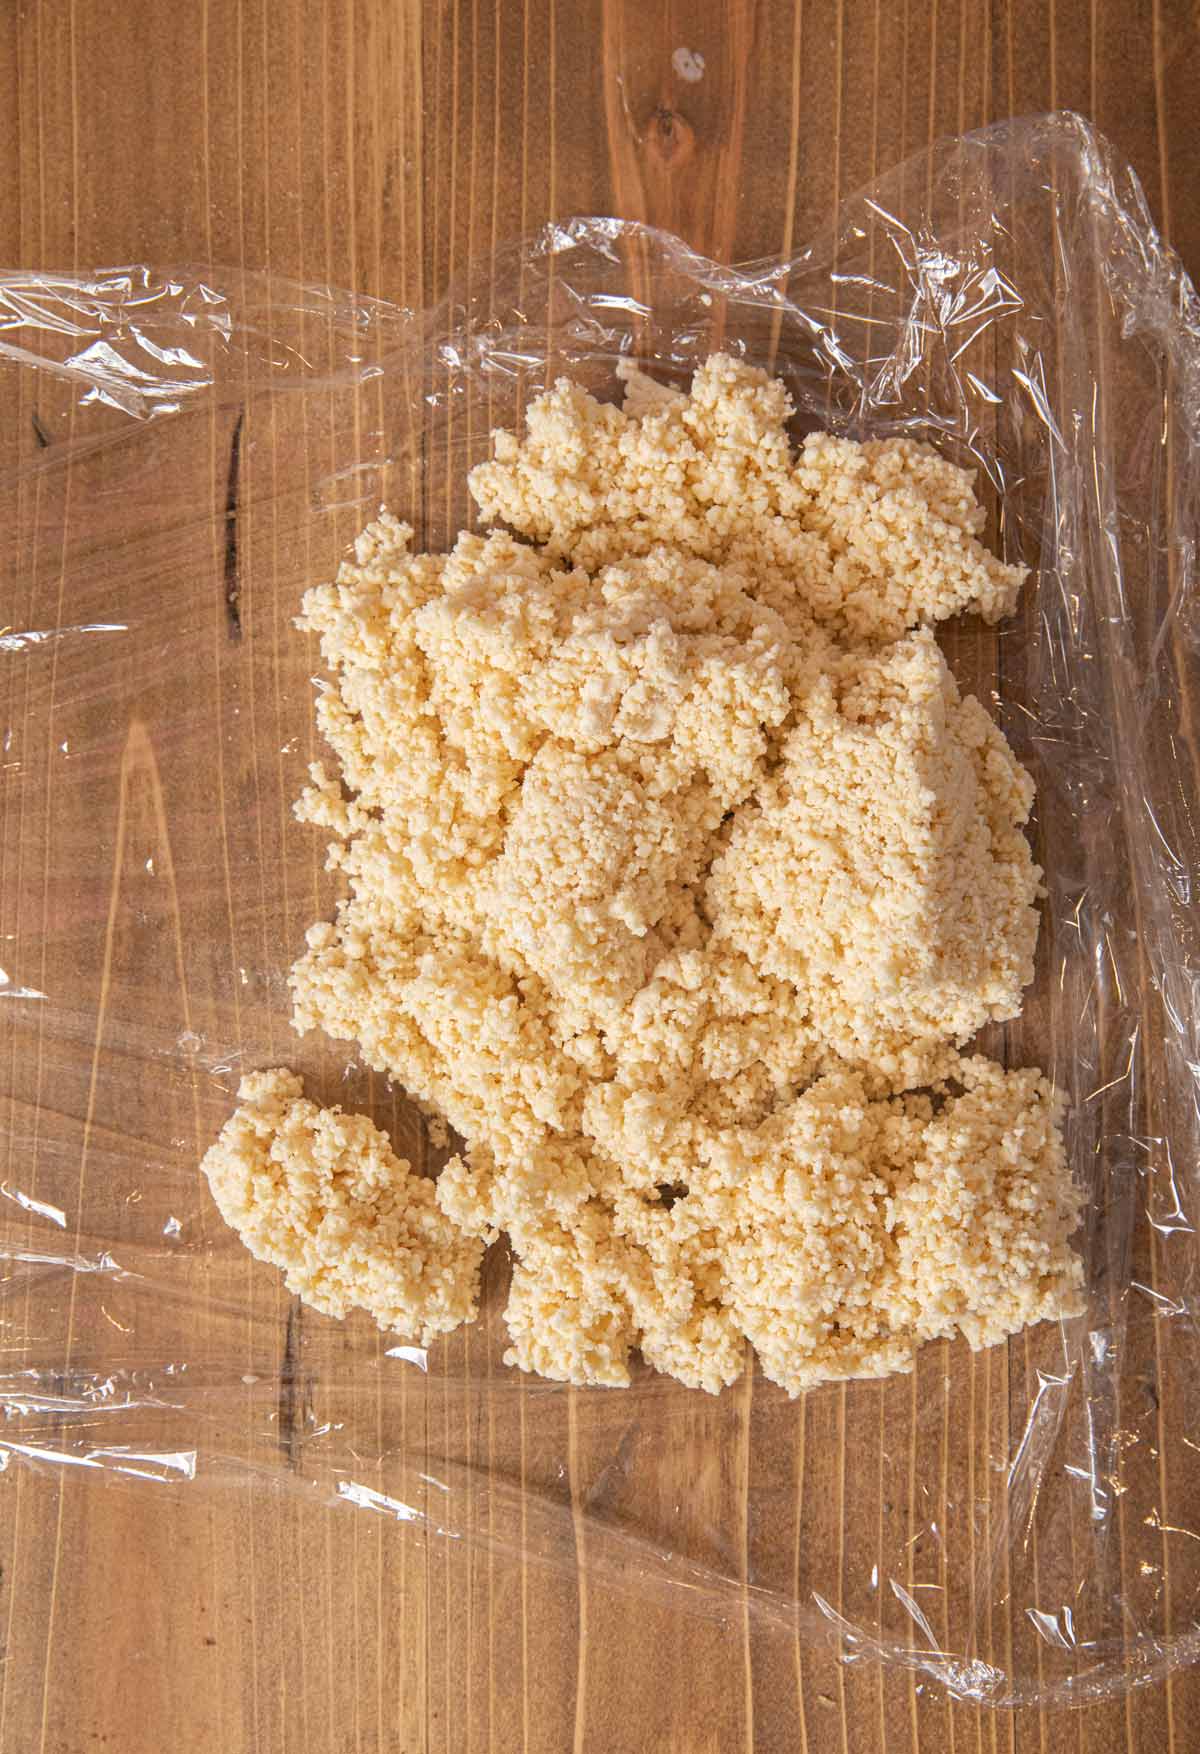
    Lay plastic wrap out on a countertop and move the dough crumbles to the plastic wrap. Press the dough quickly into a ball in the plastic wrap. Be careful not to let the dough warm up. Refrigerate dough for at least 4 hours.Perfect Pie Crust dough on saran wrap

  5. Shape Dough

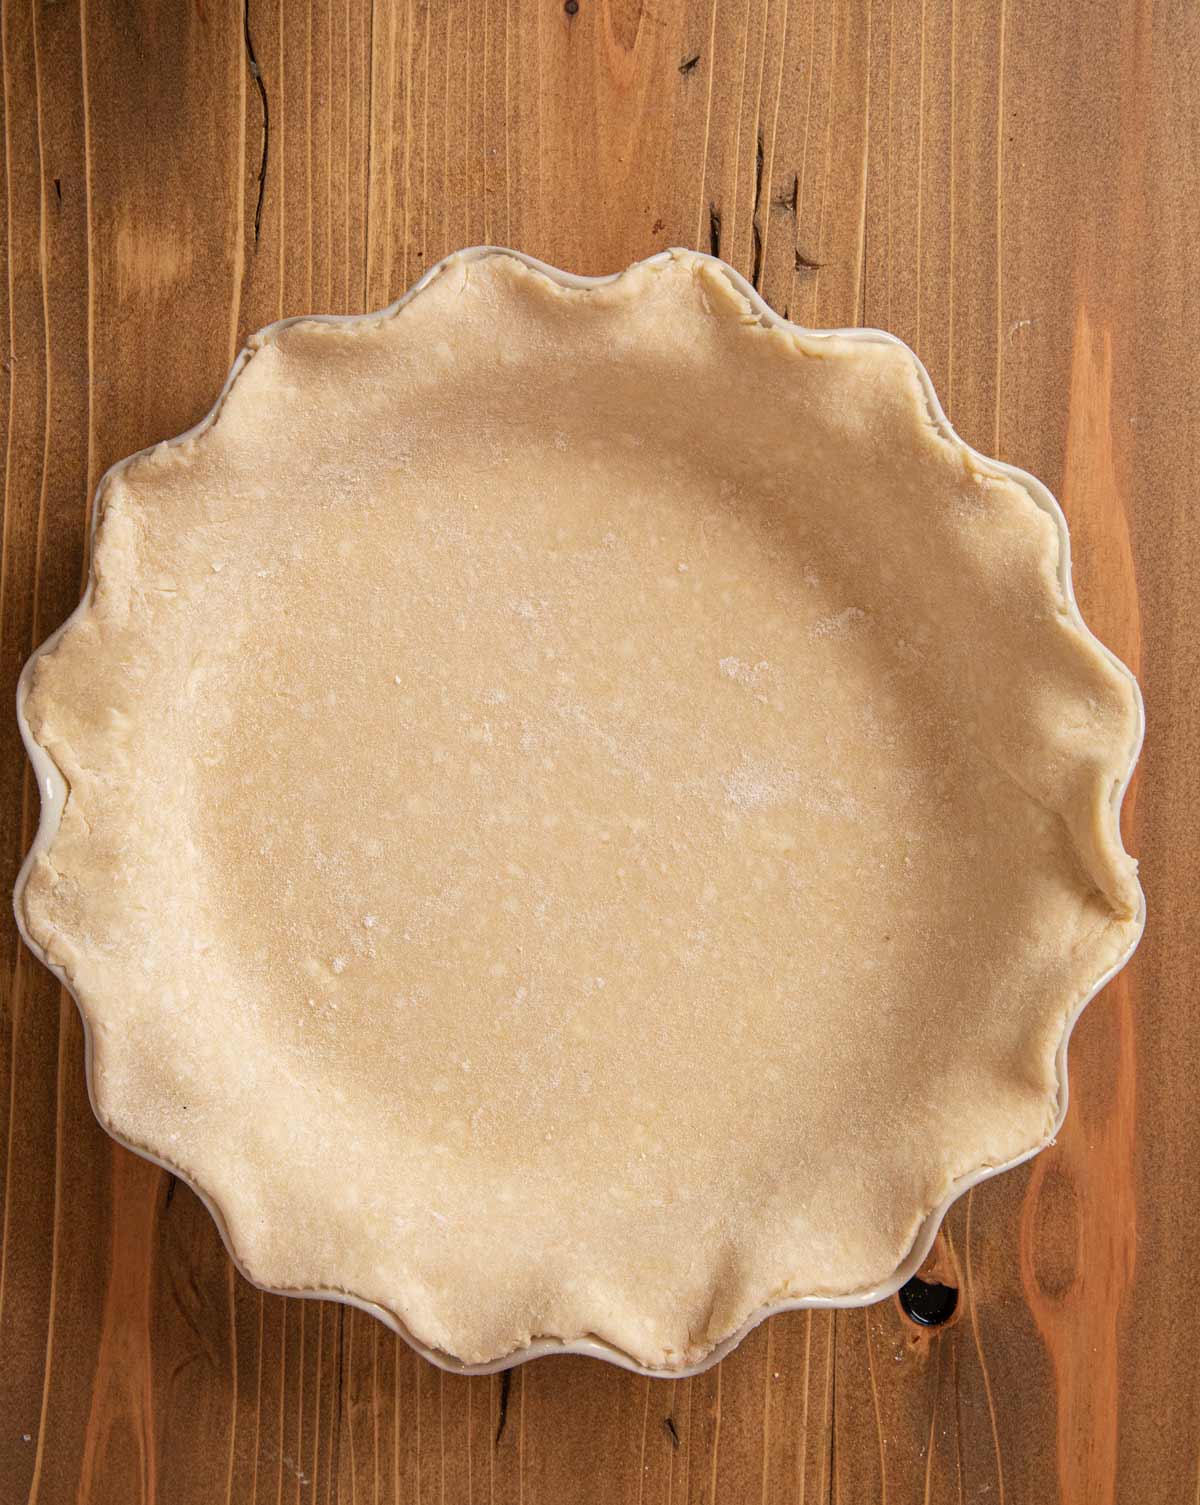
    When you’re ready to bake a pie, take the chilled dough from the fridge. Prepare a floured surface like a countertop, floured board, or baking sheet. Layout the dough with clean hands, then use a rolling pin to flatten it out into a circle. For easy transferring to a pan, carefully roll the dough around a floured rolling pin. Then unroll the dough slowly over your pie tin and press up the sides to seal.Perfect Pie Crust unbaked crust on pie plate

Recipe Card

Perfect Pie Crust

Perfect Pie Crust is a flaky pie crust recipe made with butter and no shortening. Easy shortcrust made in minutes for all your baking needs!
Yield 1 pie crust
Prep Time 10 minutes
Cook Time 0 minutes
Total Time 4 hours 10 minutes
Course Dessert
Cuisine American
Author Sabrina Snyder

Ingredients
 

  • 1 1/4 cups flour
  • 1/4 teaspoon salt
  • 1/2 cup unsalted butter , frozen and diced
  • 1/4 cup ice water

Instructions

  • Add the flour, salt, and butter to a food processor and pulse, adding the water through the chute one tablespoon at a time until the dough begins tiny crumbles (don't let it become a ball).
  • Empty it into a sheet of plastic wrap and press it quickly into a ball (you don't want the heat of your hands to melt the butter) and refrigerate for 4 hours before rolling it out to use.

Notes

  • This recipe is for one 9-inch pie crust.
  • If you would like a double crust, increase the serving size to 2 to adjust the ingredient quantities.

Nutrition

Calories: 1383kcal | Carbohydrates: 119g | Protein: 17g | Fat: 94g | Saturated Fat: 59g | Polyunsaturated Fat: 4g | Monounsaturated Fat: 24g | Trans Fat: 4g | Cholesterol: 244mg | Sodium: 600mg | Potassium: 195mg | Fiber: 4g | Sugar: 0.5g | Vitamin A: 2836IU | Calcium: 53mg | Iron: 7mg

Pin this recipe now to remember it later

Pin Recipe

Can This Be Made Ahead?

Yes, this pie crust dough can definitely be made ahead! The technique is the same whether you have the dough ball or want to store the parbaked crust. The pre-baked pie crust can be kept on the counter overnight in an airtight container to be cooked the next day. Refrigerate either the dough ball or the precooked crust for up to 3 days in an airtight container or keep the dough ball in the freezer for up to two months wrapped in plastic wrap and placed inside a freezer-safe bag. Thaw frozen dough overnight.

Nutritional Facts

Nutrition Facts
Perfect Pie Crust
Amount Per Serving
Calories 1383 Calories from Fat 846
% Daily Value*
Fat 94g145%
Saturated Fat 59g369%
Trans Fat 4g
Polyunsaturated Fat 4g
Monounsaturated Fat 24g
Cholesterol 244mg81%
Sodium 600mg26%
Potassium 195mg6%
Carbohydrates 119g40%
Fiber 4g17%
Sugar 0.5g1%
Protein 17g34%
Vitamin A 2836IU57%
Calcium 53mg5%
Iron 7mg39%
* Percent Daily Values are based on a 2000 calorie diet.

Chef’s Note: Crimping and Lattice Top

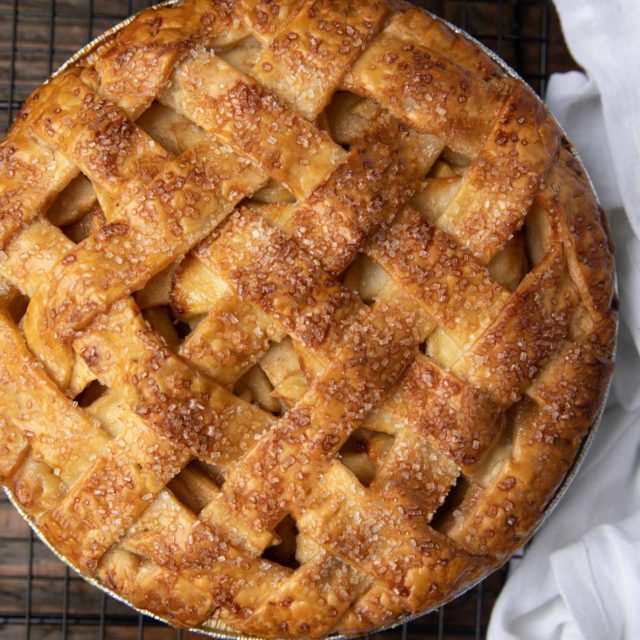
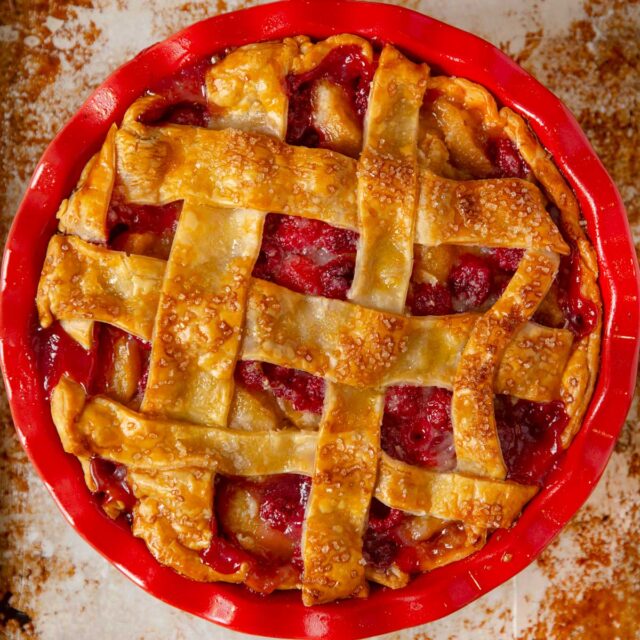
For a more beautiful presentation crimp the excess dough around the edge of the pie, or make extra dough for a lattice top. To make a lattice top make extra for the top dough, then cut it into strips once it’s rolled out. Lay the strips out in crisscrossing straight lines over the pie. During the holidays, I like to take extra dough pieces and cut them into festive leaves or shapes. I brush a little egg wash on the top crust where I want to place them then gently press the shaped dough piece on top. I finished everything with some egg wash and a dusting of sanding sugar for a gorgeous holiday dessert.

How to Store

  • Store: You want the pie dough to be kept nice and cool so the butter bakes properly. Because of this, you shouldn’t leave it out at room temperature before baking. To keep the Pie Crust in the fridge it will store well for 3-5 days. Store the dough in plastic wrap, or an airtight Ziploc bag.
  • Freeze: To make the Pie Crust well in advance, you can store it in the freezer. Keep the dough in a Ziploc bag or wrapped tightly in aluminum foil for up to 3 months.

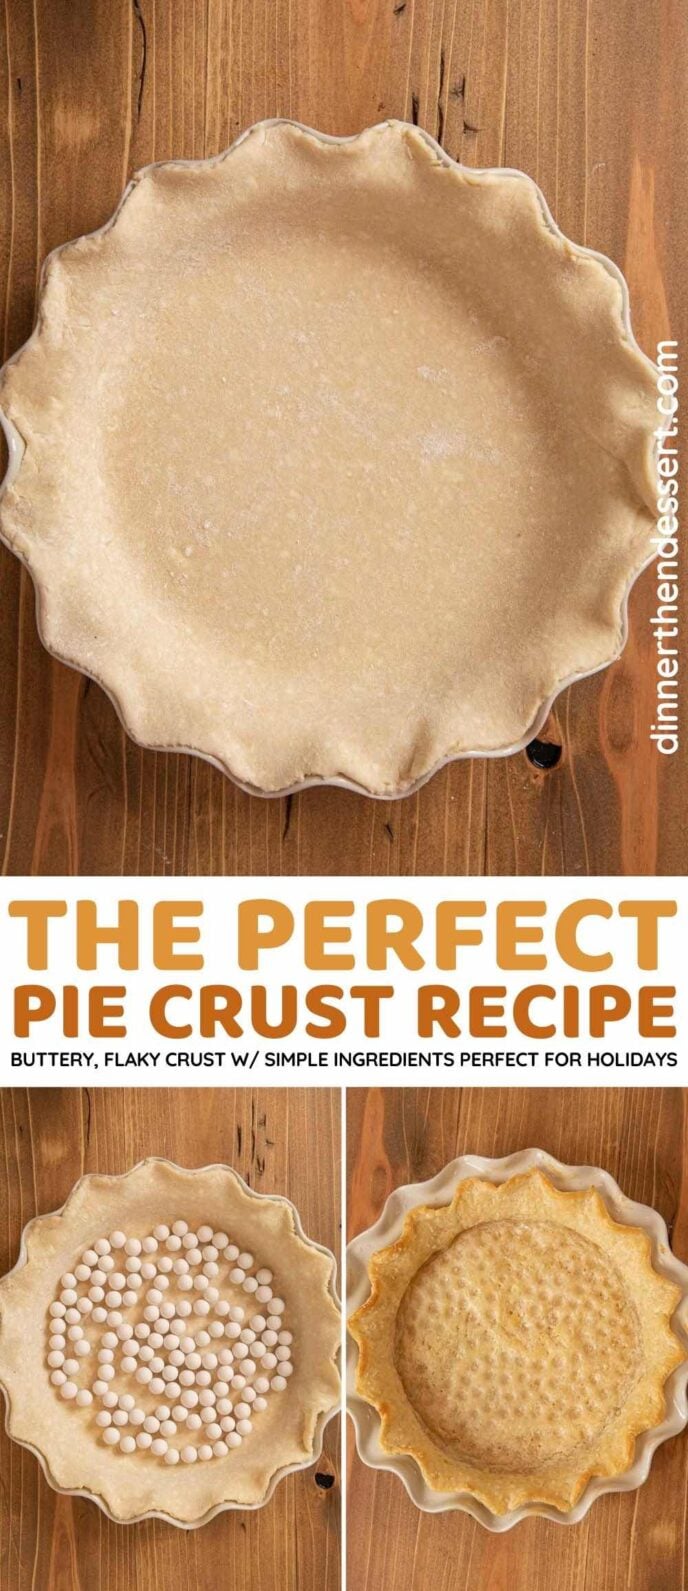
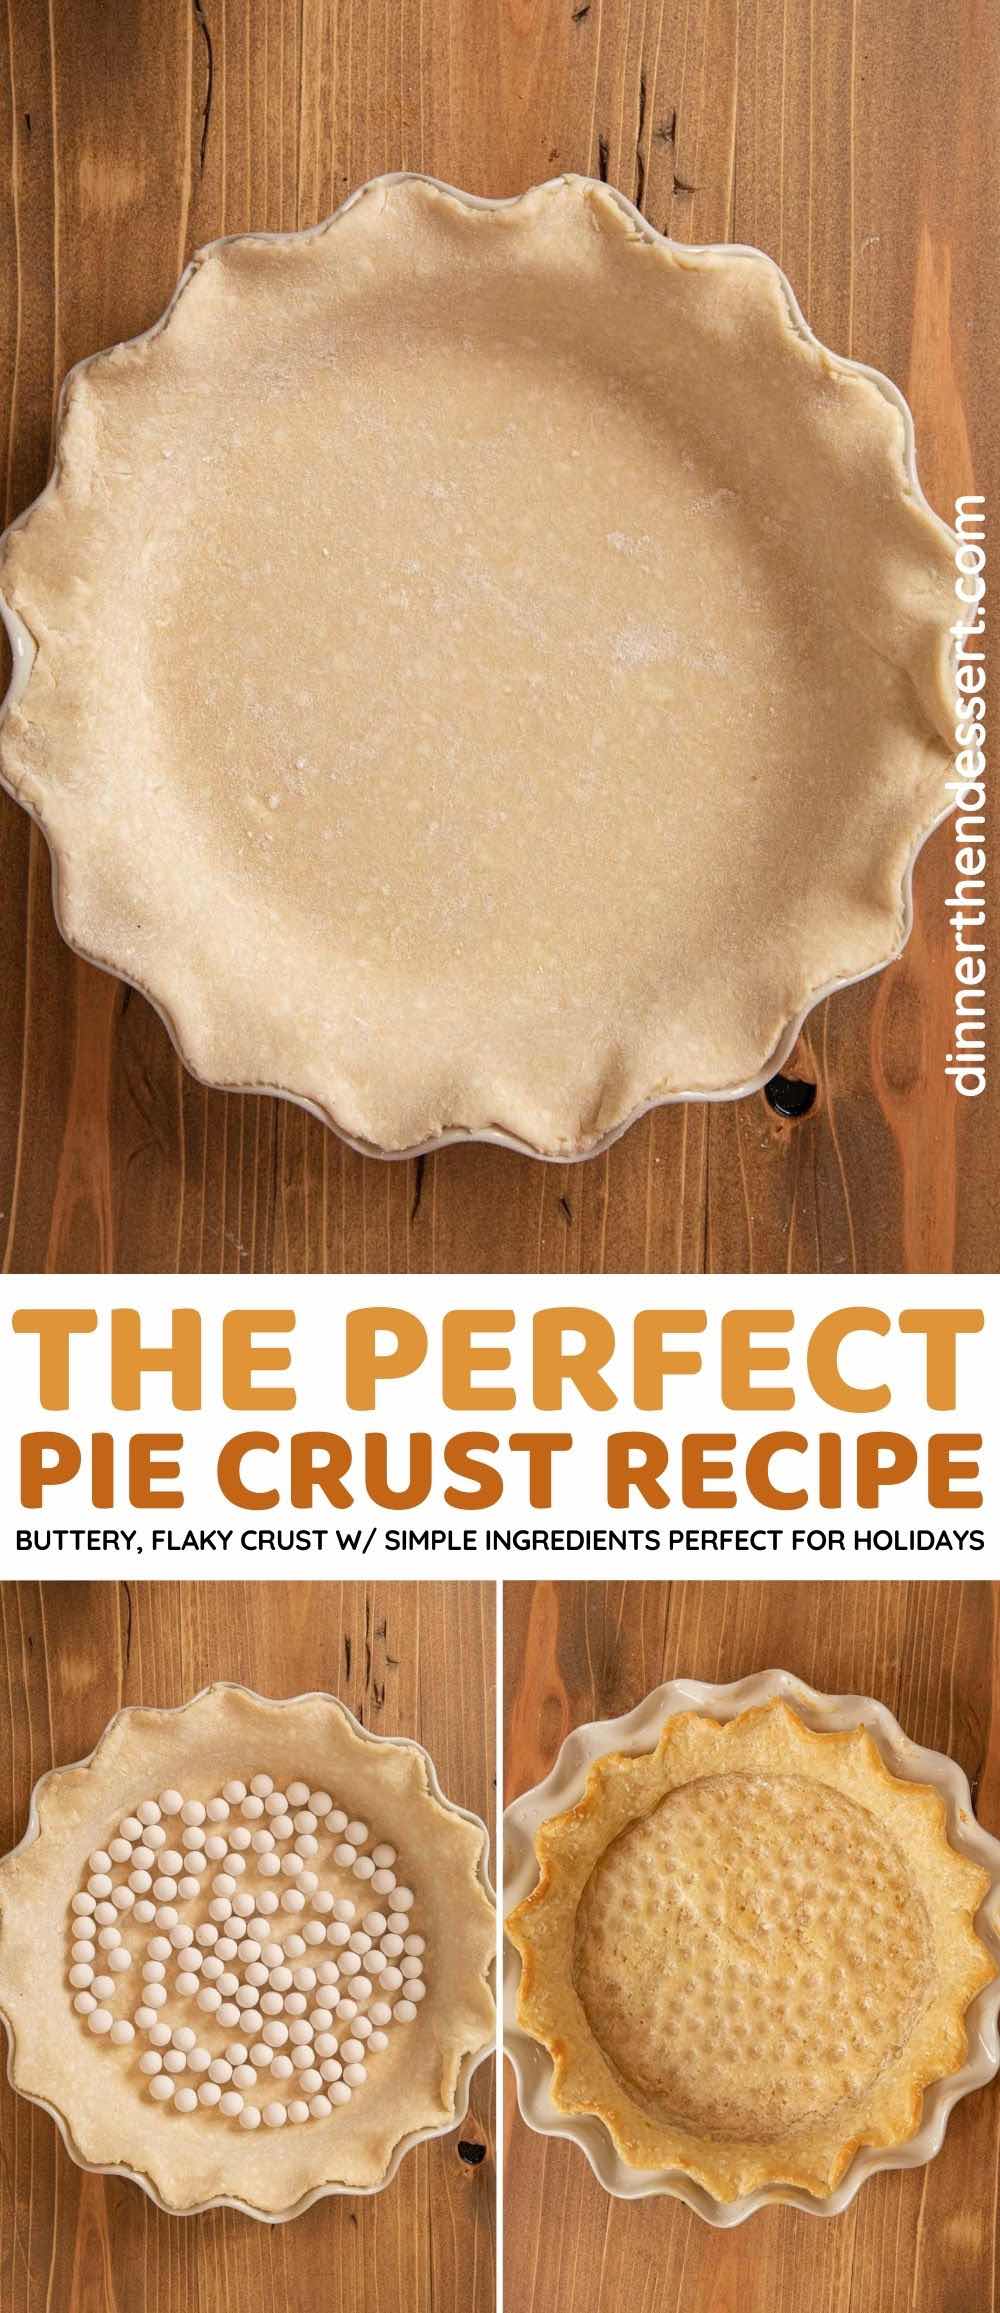
How to Blind-Bake A Pie Crust

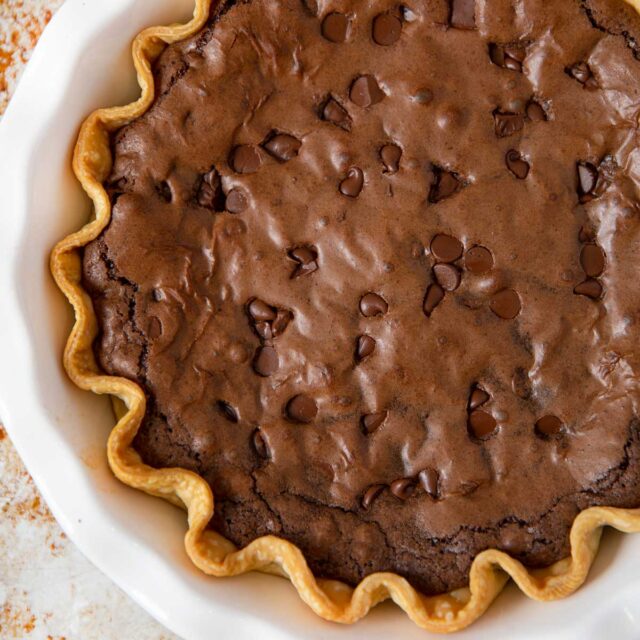
This technique, also called par-baking, is used when the pie filling might cause the dough to be soggy, like in Baked Strawberry Pie. But many cream pies, like my Chocolate Meringue Pie, do not need to be parbaked.

  1. Prepare the Crust: Roll out your pie dough on a clean work surface and fit the disc of dough into your pie dish or tart pan. Trim the edges and shape the crust as desired.
  2. Chill the Crust: Place the prepared crust into the refrigerator for about 30 minutes. This helps prevent the dough from shrinking during baking.
  3. (Optional) Line the Crust: After chilling, line the crust with parchment paper. Make sure it covers the entire surface and comes up over the edges. I did not do this step but you can if you have trouble with the crust puffing up too much.
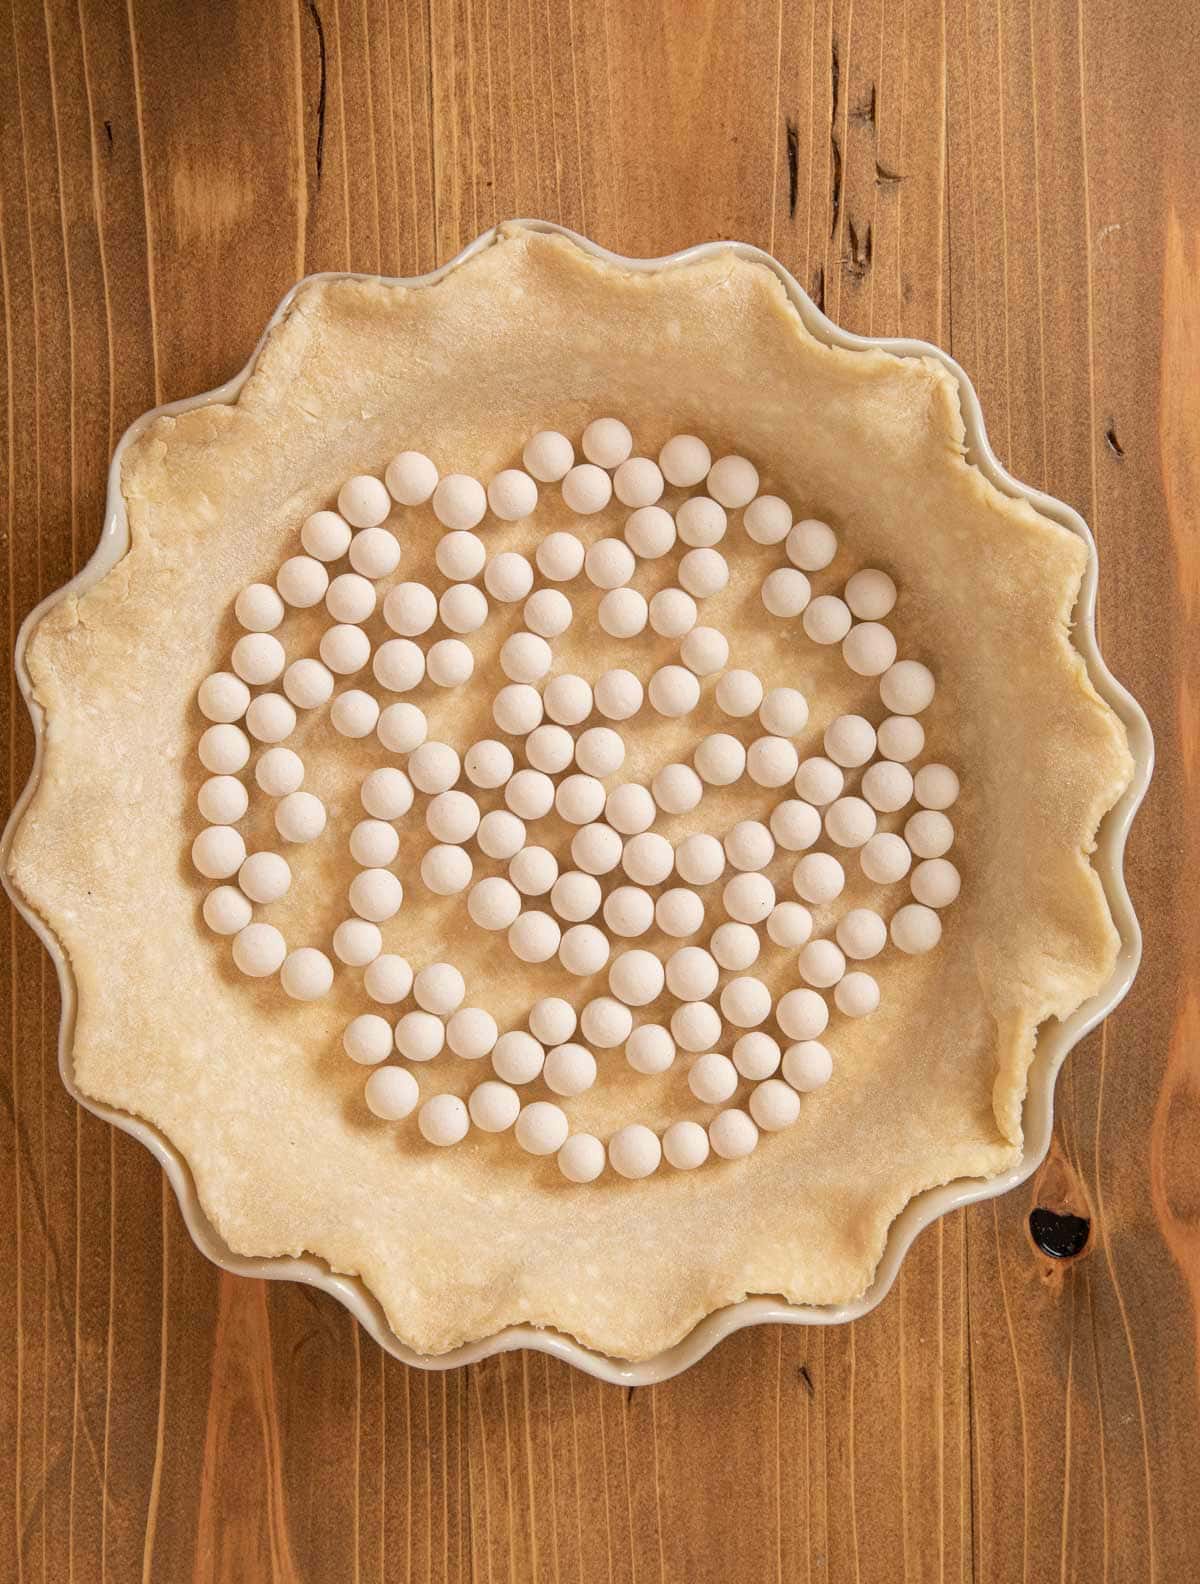
  4. Weigh Down the Crust: Fill the lined crust with pie weights, dried beans the size of peas, or uncooked rice (I’m using ceramic pie weights which don’t need the lining. Use lining if using beans or rice so they don’t cook into the crust). Using weights prevents the crust from puffing up or shrinking as it bakes.
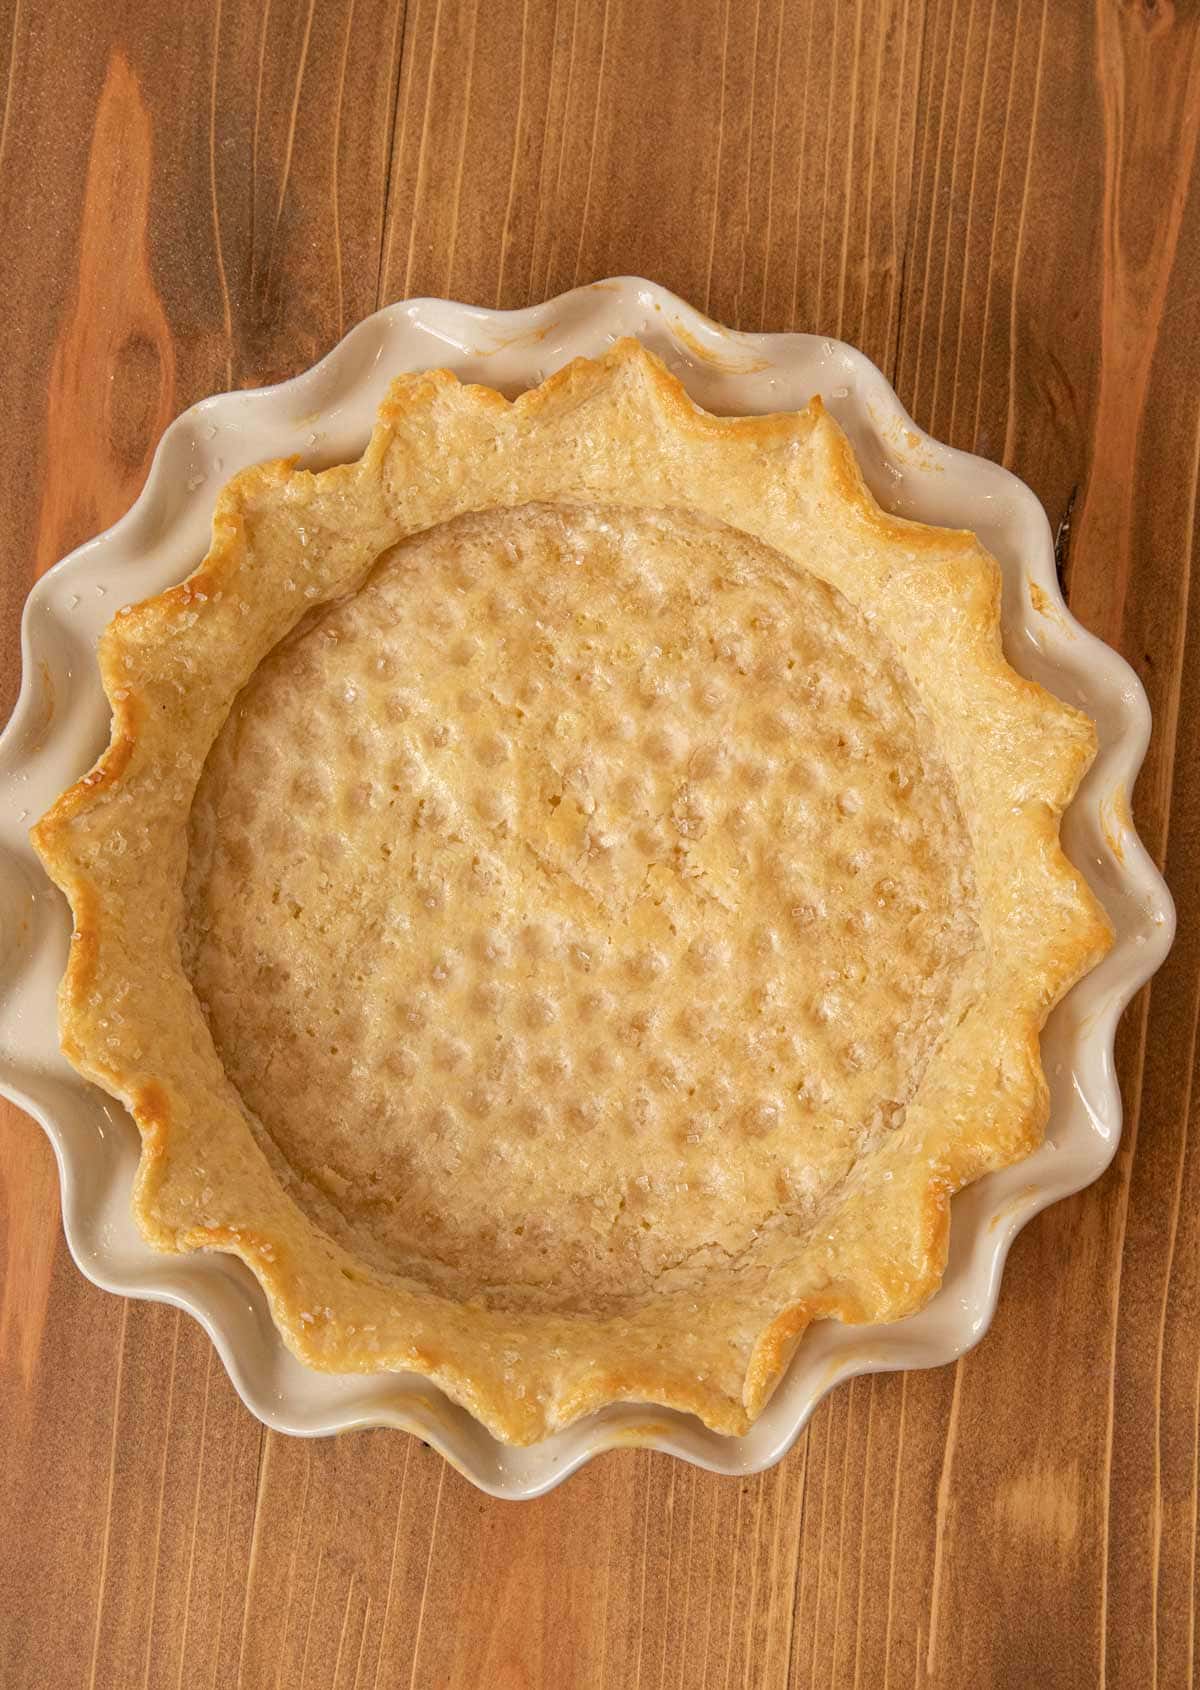
  5. Bake: Place the crust in your preheated oven at 375° and bake until the edges begin to turn golden brown which will be about 15 minutes.
  6. Remove Weights and Continue Baking: Carefully remove the parchment paper and weights. If the crust needs to be fully baked, return it to the oven and bake for an additional 10-15 minutes or until the bottom is golden and cooked through like the edges
  7. Cool: Allow the pre-baked pie crust to cool before adding your filling.

Recipe Tips and Tricks

  • Bowl: If you don’t have a food processor, you can combine the dough in a large bowl. Add the dough ingredients to a mixing bowl, and use a pastry blender or pastry cutter to combine the mixture. Then add tablespoons of ice water and continue combining. If the ingredients stick to the side, use a rubber spatula to get them back in the mixture.
  • Double Crust: If you want a double crust pie, double the ingredients for the butter pie crust. Divide the dough for the double crust in half and roll one out for the bottom crust and one for the top.
Frequent Questions

How many crusts does this recipe make?

This recipe makes one 9-inch crust. Note that a 9-inch crust is one that will fully line a standard 9-inch pie pan including up the sides, about a 12-inch circle of dough.

What are the round white things in the bottom of the pie crust?

They are Ceramic Pie Weights used to prevent empty pie shells from shrinking, bubbling, and buckling during the baking process. They weigh down the bottom of the pie dough to help reduce shrinking and keep air bubbles from forming.

Variations

  • Flour Mixture: You can change this Pie Crust depending on what kind of wonderful flour you use. Instead of all-purpose flour, you can use wheat flour or white wheat flour. To make a gluten-free pie crust or gluten-free tart crust, I would recommend using a gluten-free baking blend versus just almond flour, rice flour or other gluten free flour. A gluten free all-purpose blend includes necessary ingredients specifically for baking and will keep your crust from being dense or crumbly.
  • Flavor: For some extra flavors try sprinkling a teaspoon of kosher salt or sea salt over the dough. You can also sprinkle over one teaspoon sugar for some sweetness or a tablespoon sugar for extra sweetness. Another option is mixing in a little lemon juice with the dough. Adding in a little lemon juice will especially taste great if you’re making the Pie Crust for a fruit pie. You can also add a little vanilla extract or an easy almond flavor with almond extract.
  • Egg Wash: To give the Pie Crust a finished look use a pastry brush to add an egg wash to the crust. Whisk one egg in a bowl with a teaspoon of water to make an egg wash.

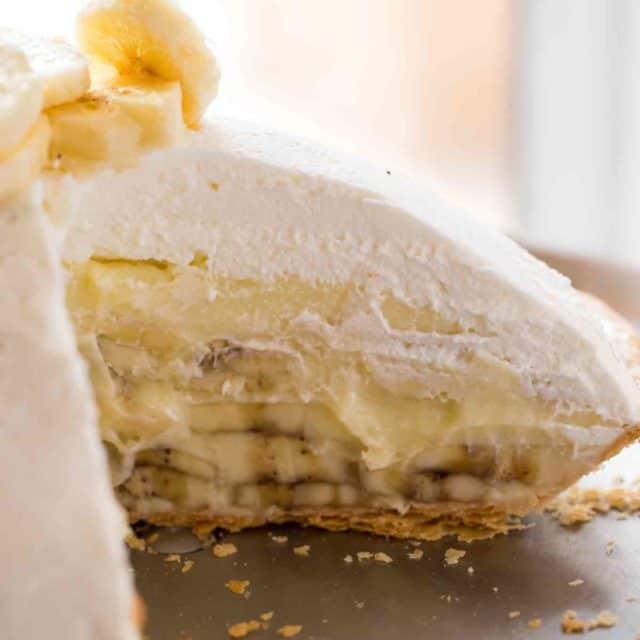
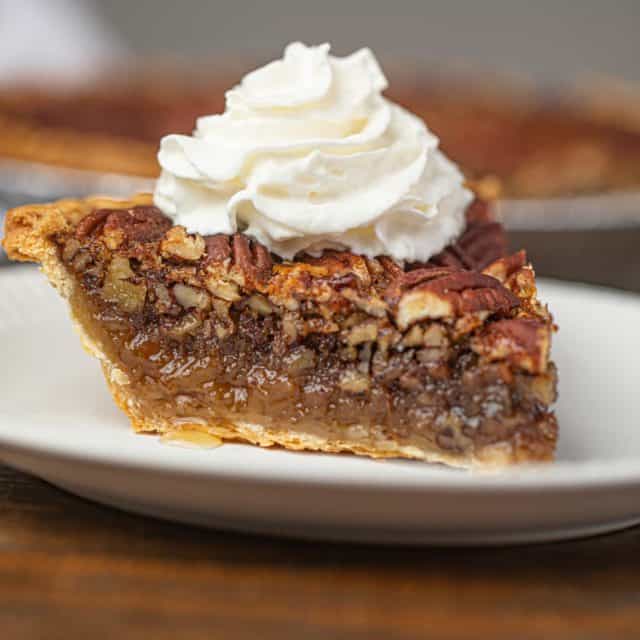
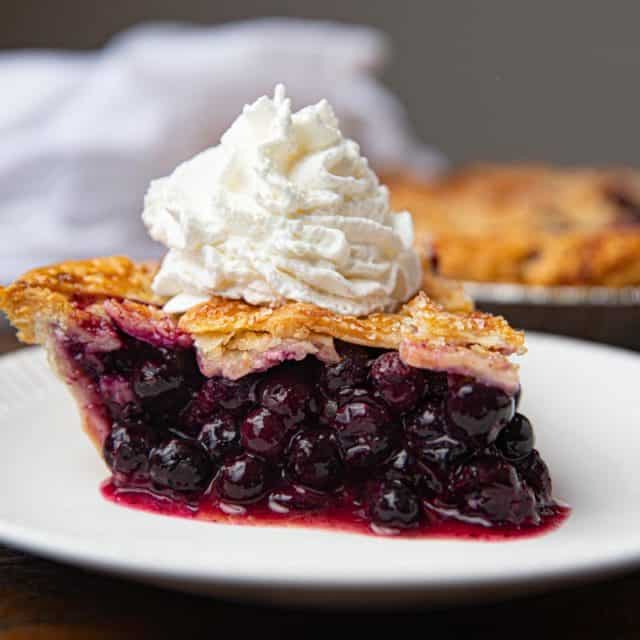
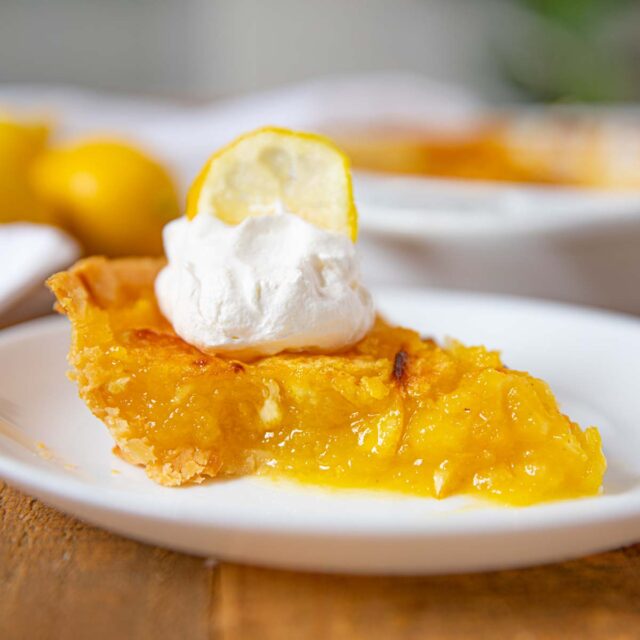
Delicious Pie Recipes

Perfect Pie Crust collage of unbaked crust in pan and baked crust in pan. Recipe name in blue banner across center.

Photos used in previous versions of this post.

Pie Crust collage
Pie Crust unbaked crust on pie plate
Pie Crust baked crust on pie plate
Pie Crust unbaked crust with pie weights on pie plate
Pie Crust dough on saran wrap

About the Author: Sabrina Snyder

Sabrina is a professionally trained Private Chef of over 10 years with ServSafe Manager certification in food safety. She creates all the recipes here on Dinner, then Dessert, fueled in no small part by her love for bacon.

Sabrina Snyder is a professionally trained personal and private chef of over 10 years who is the creator and developer of all the recipes on Dinner, then Dessert.

She is also the author of the cookbook Dinner, then Dessert – Satisfying Meals Using Only 3, 5 or 7 Ingredients, published by Harper Collins.

She started Dinner, then Dessert as a business in her office as a lunch service for her coworkers who admired her lunches before going to culinary school and becoming a full time personal chef and private chef.

As a personal chef Sabrina would cook for families one day a week and cook their entire week of dinners. All grocery shopping, cooking and cleaning was done along with instructions on reheating. As a private chef she cooked for private parties and cooked in family homes in the evenings for families on a nightly basis after working as a personal chef during the day.

Sabrina has been certified as a ServSafe Manager since 2007 and was a longstanding member of the USPCA Personal Chef Association including being on the board of the Washington DC Chapter of Chefs in the US Personal Chef Association when they won Chapter of the year.

As a member of the community of food website creators Sabrina Snyder has spoken at many conferences regarding her experiences as a food writer including the Indulge Food Conference, Everything Food Conference, Haven Food Conference and IACP Annual Food Professionals Conference.

Sabrina lives with her family in sunny California.

Dinner, then Dessert, Inc. owns the copyright on all images and text and does not allow for its original recipes and pictures to be reproduced anywhere other than at this site unless authorization is given. If you enjoyed the recipe and would like to publish it on your own site, please re-write it in your own words, and link back to my site and recipe page. Read my disclosure and copyright policy. This post may contain affiliate links.

Categories

Leave a comment & rating

Have you checked the FAQ section above to see if your question has already been answered? View previous questions.

Your email address will not be published. Required fields are marked *

Recipe Rating


This site uses Akismet to reduce spam. Learn how your comment data is processed.

Comments

    1. I don’t but you can blind bake your crust if you’d like. Will you be creating a lattice style top crust? Perhaps consider baking in a glass pie dish and using a fork to poke a few holes to allow steam to vent so you don’t have to blind bake? Let us know how it turns out!

    1. Hi Sherry,
      They are Ceramic Pie Weights used to prevent empty pie shells from shrinking, bubbling and buckling during the baking process. They weigh down the bottom of the pie dough to help reduce shrinking and keep air bubbles from forming.
      Sabrina