
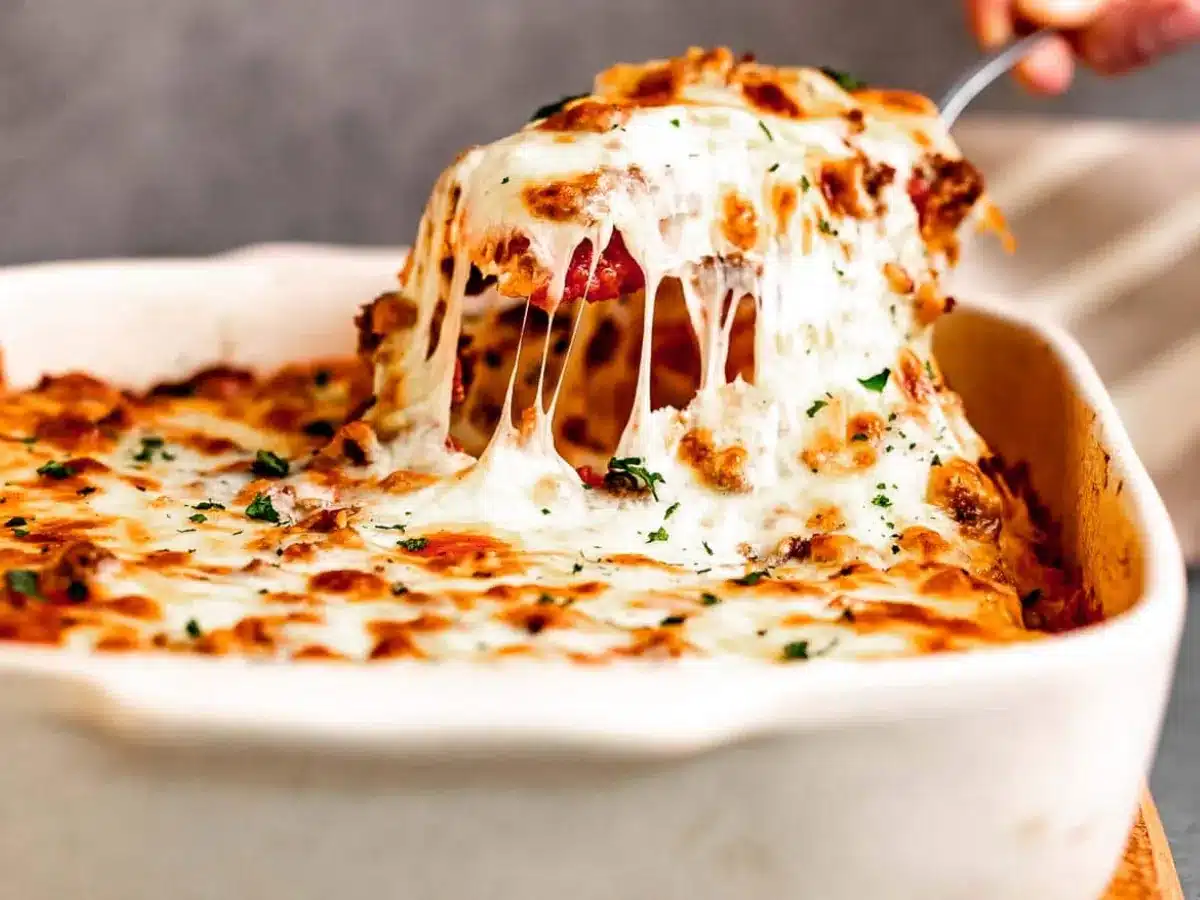
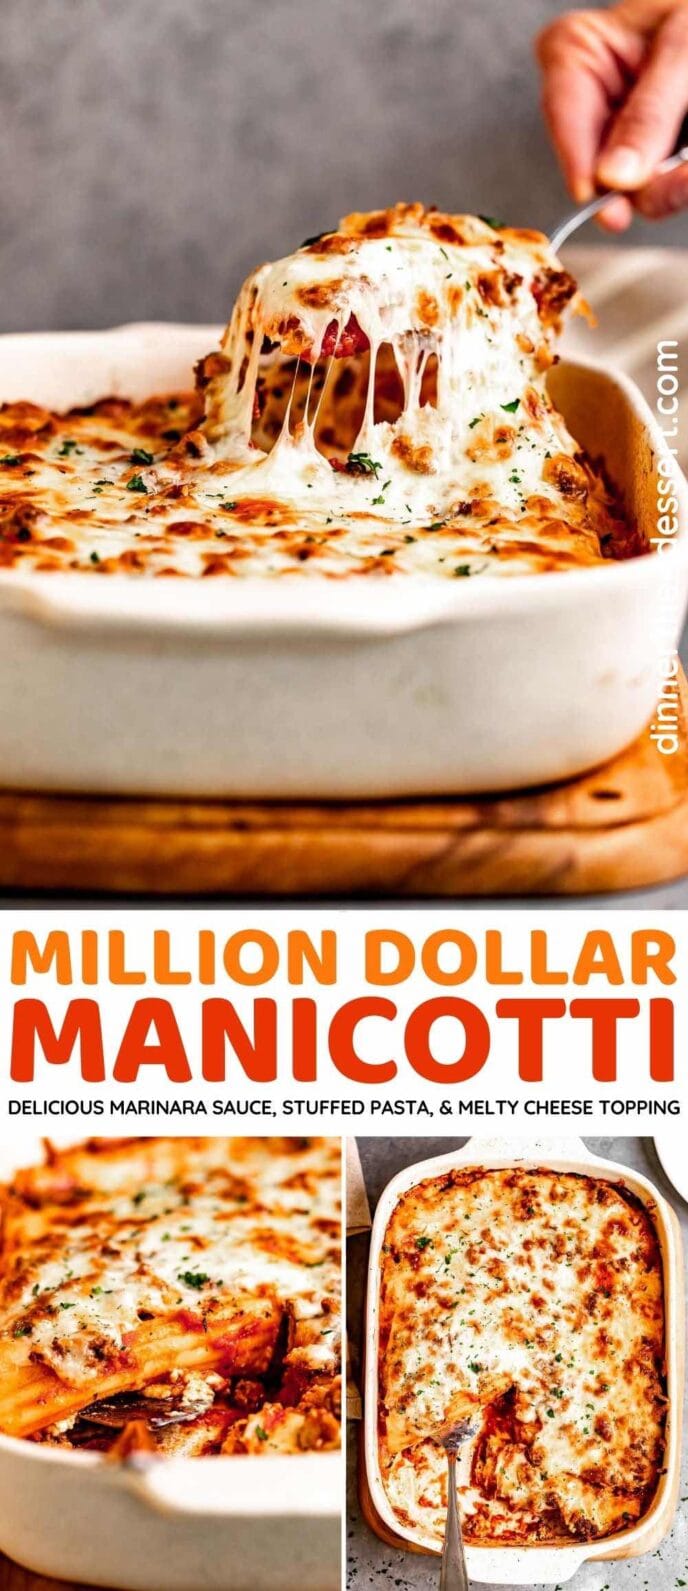
Million Dollar Manicotti is a pasta bake with all your favorite Italian flavors. Perfect for a dinner party or a large crowd. Try it tonight!
Just like my Baked Million Dollar Spaghetti and Cheesy Beef Pasta Bake, this is the perfect cheesy, Pasta Dish with a meat sauce. It’s all baked together in the oven for an amazing comforting midweek meal that can easily serve a crowd.
Why You’ll Love This Pasta Bake?
- Perfect comfort meal that has all your favorite Italian flavors.
- Easy to make and impressive enough to serve at a dinner party.
Sabrina’s Million Dollar Manicotti Recipe
This recipe has all the flavors of your favorite Italian dishes. After a few minutes of prep, this dish is ready to pop in the oven. It’s the perfect comfort meal that you can enjoy with your family any day, or impress a crowd on a more special occasion. It’s an easy, filling, crowd-pleasing dish that everyone is sure to love!
Recipe Card


Ingredients
- 2 cups ricotta cheese
- 4 ounces cream cheese , softened
- 1/2 cup Parmesan cheese , shredded
- 2 cups mozzarella cheese , shredded (divided)
- 1 large egg
- 2 cloves garlic , minced
- 2 teaspoons Italian seasoning
- 1/4 teaspoon crushed red pepper flakes
- 1/4 teaspoon coarse ground black pepper
- 8 ounces manicotti shells , uncooked
- 30 ounces marinara sauce , about 4 cups
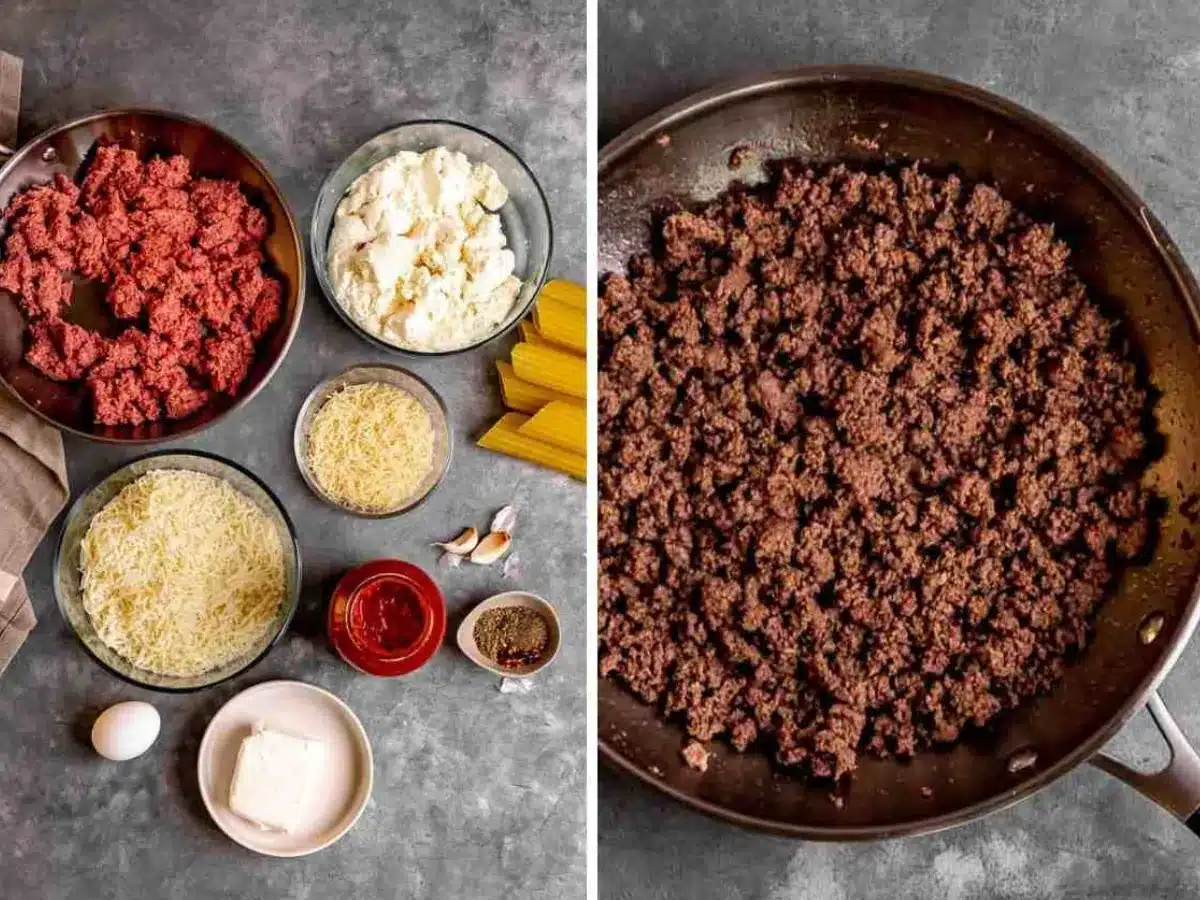
- 1 pound ground beef (85/15)
Instructions
- Preheat oven to 350 degrees.
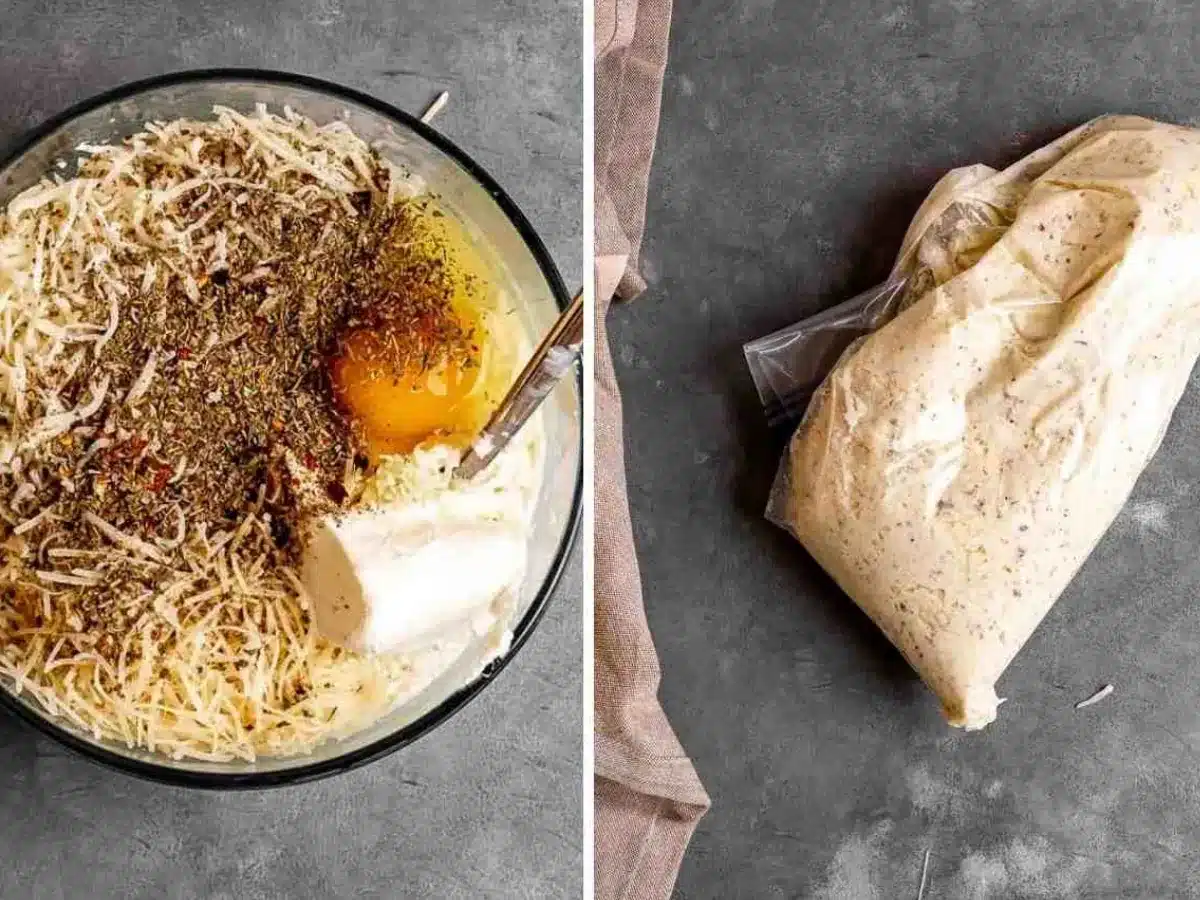
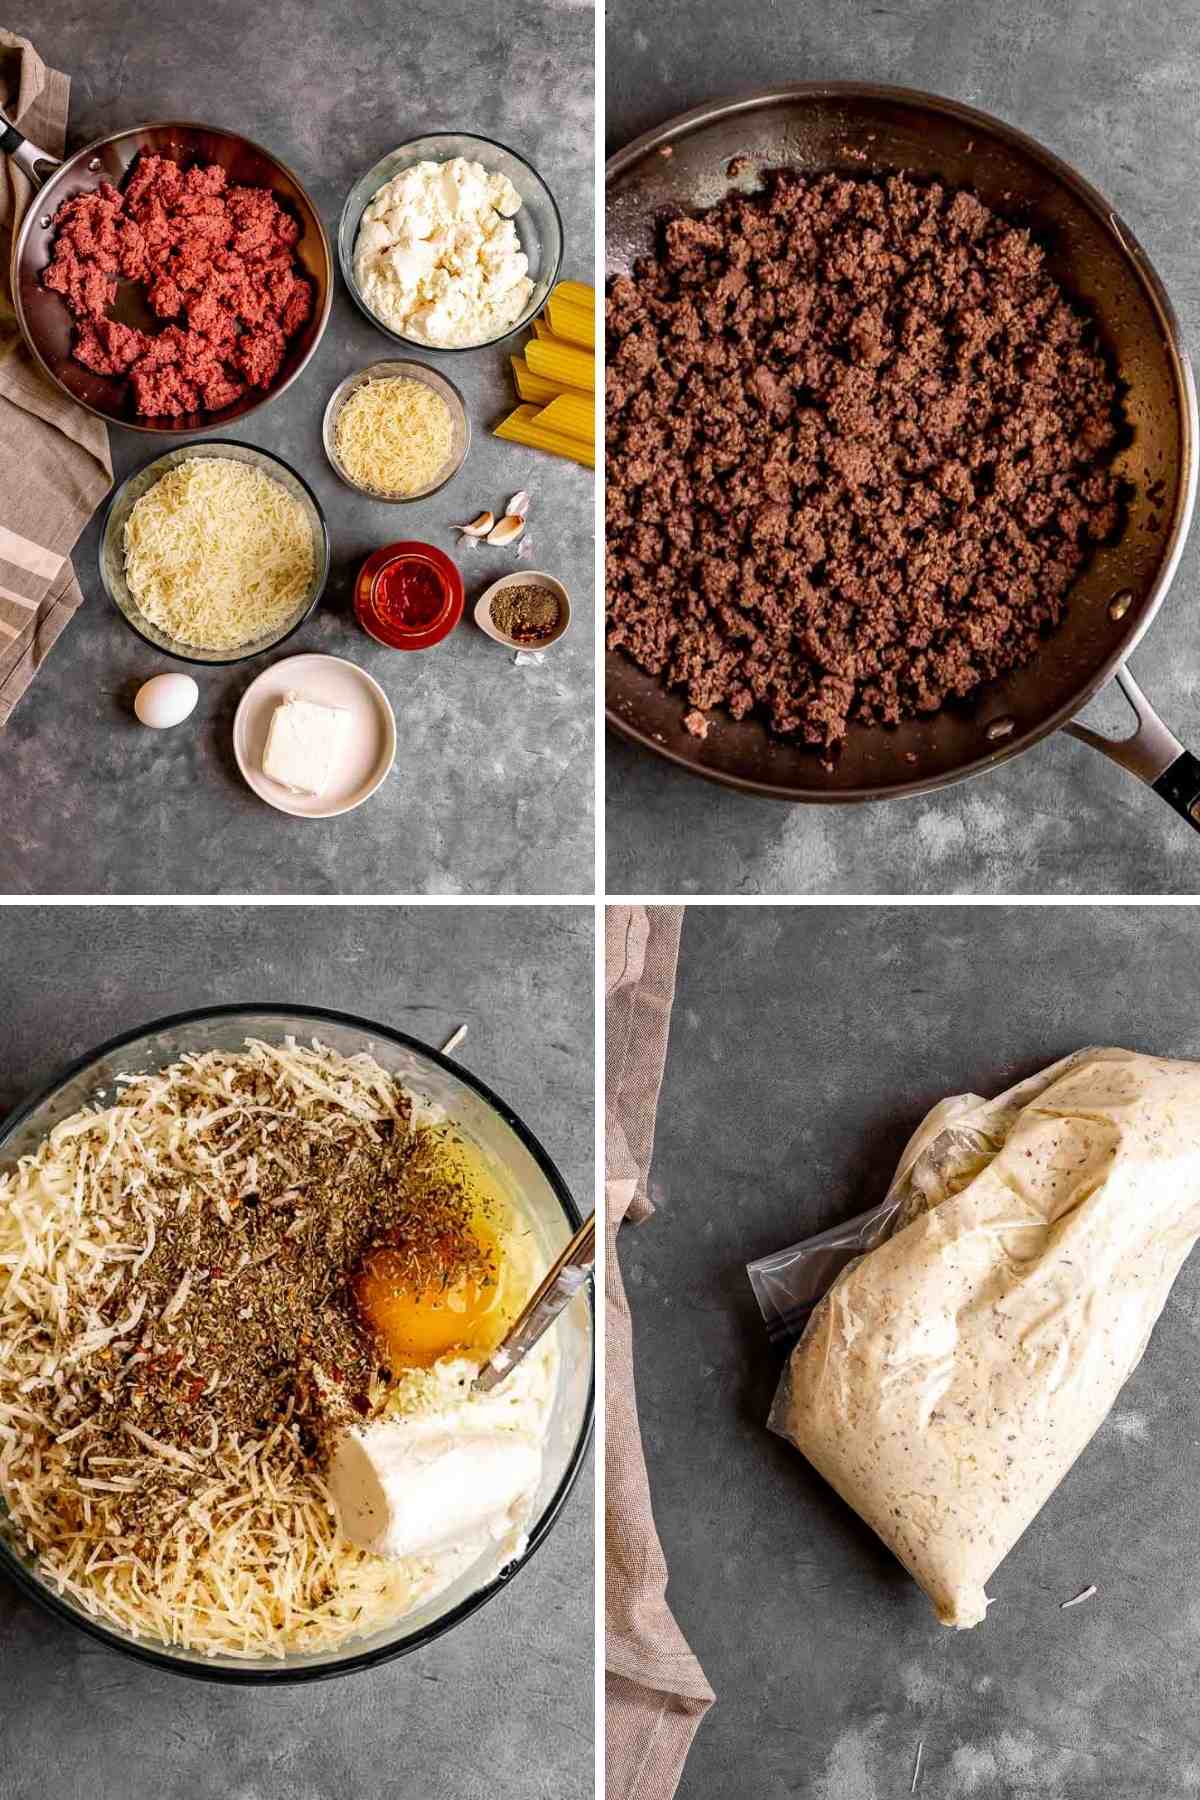
- Add ricotta cheese, cream cheese, Parmesan cheese, 1 cup mozzarella cheese, egg, garlic, Italian seasoning, red pepper flakes, and black pepper to a large bowl.
- Put filling mixture into a large ziplock back and cut a 1-inch long opening into the bottom corner.
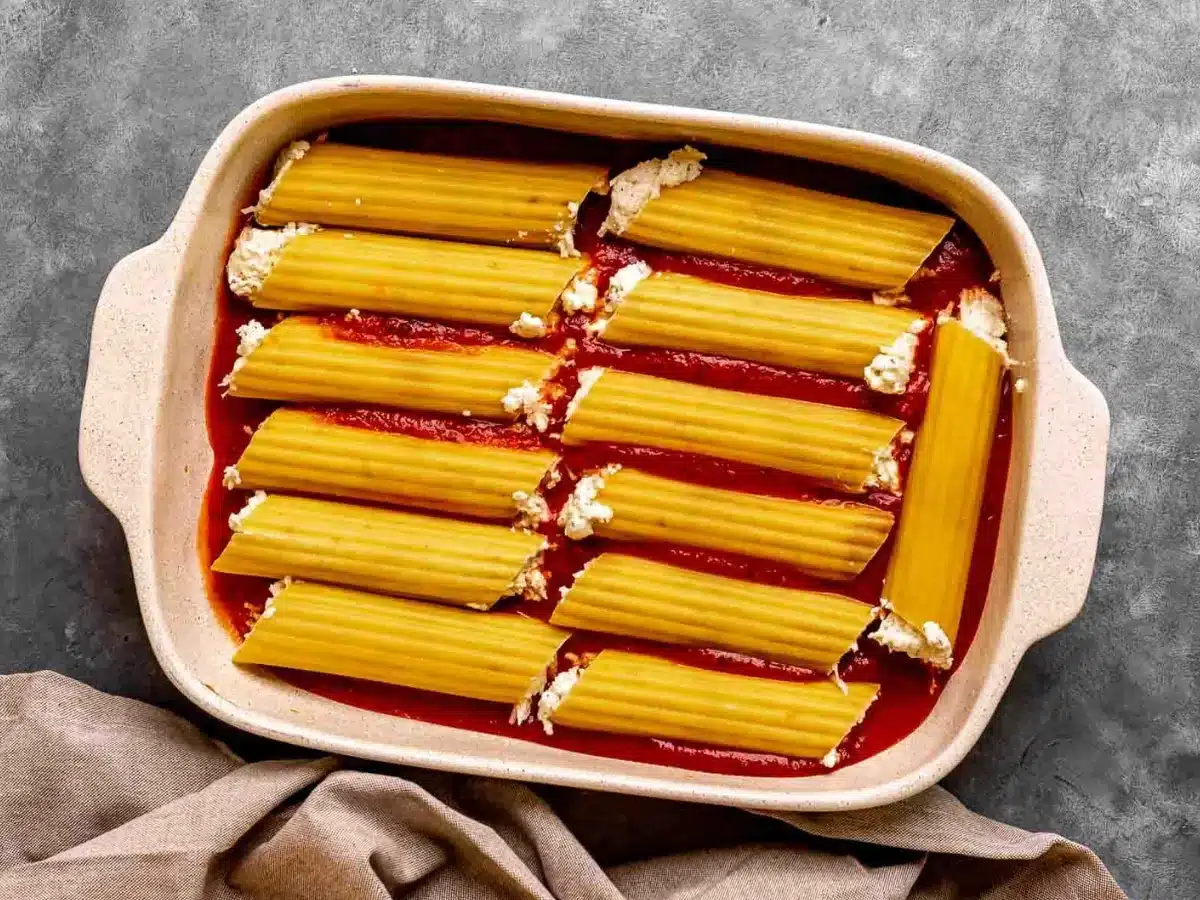
- Pipe filling into the uncooked manicotti shells.
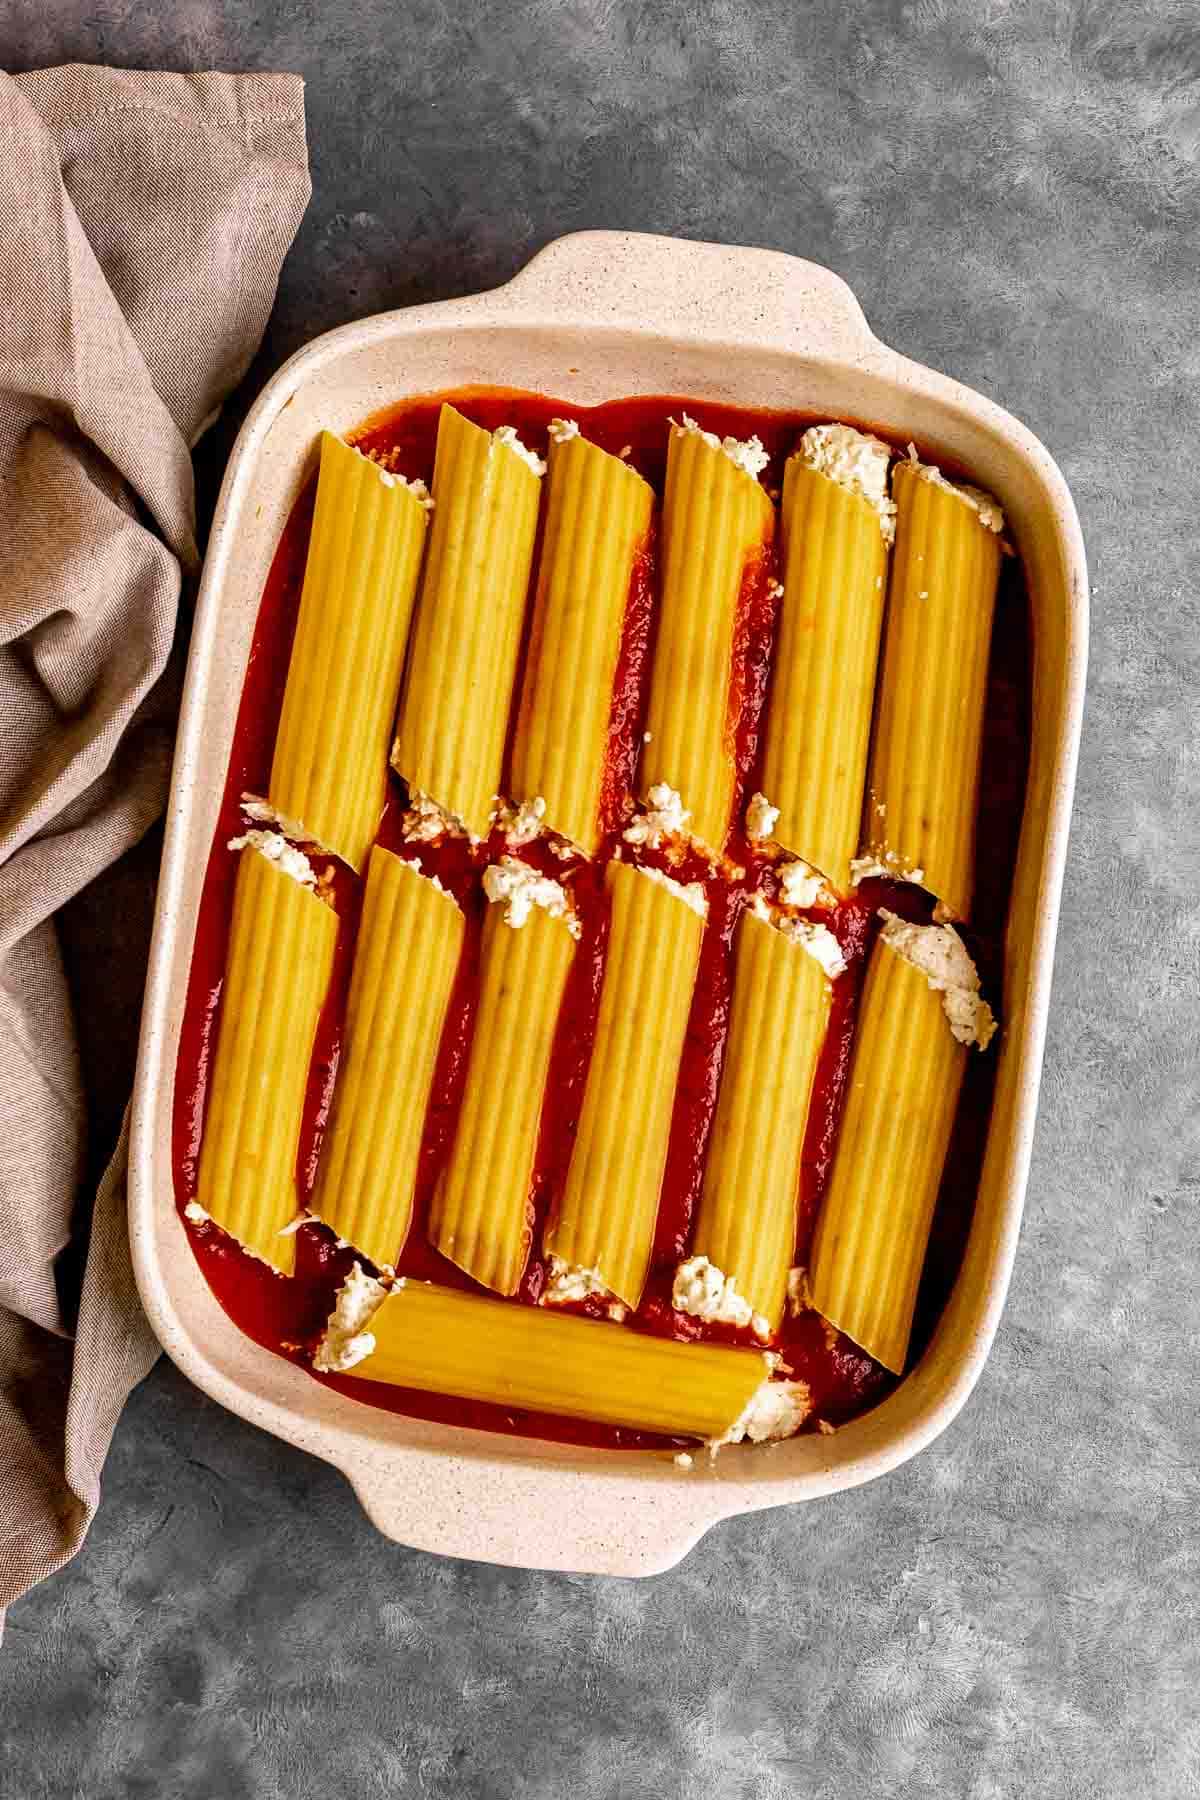
- Add 1 cup marinara to the bottom of a 9×13-inch baking dish.
- Add the stuffed shells and top with the remaining sauce.
- Add ground beef to a large skillet on medium heat. Season with salt and pepper.
- Cook until beef is just no longer pink then drain the fat.
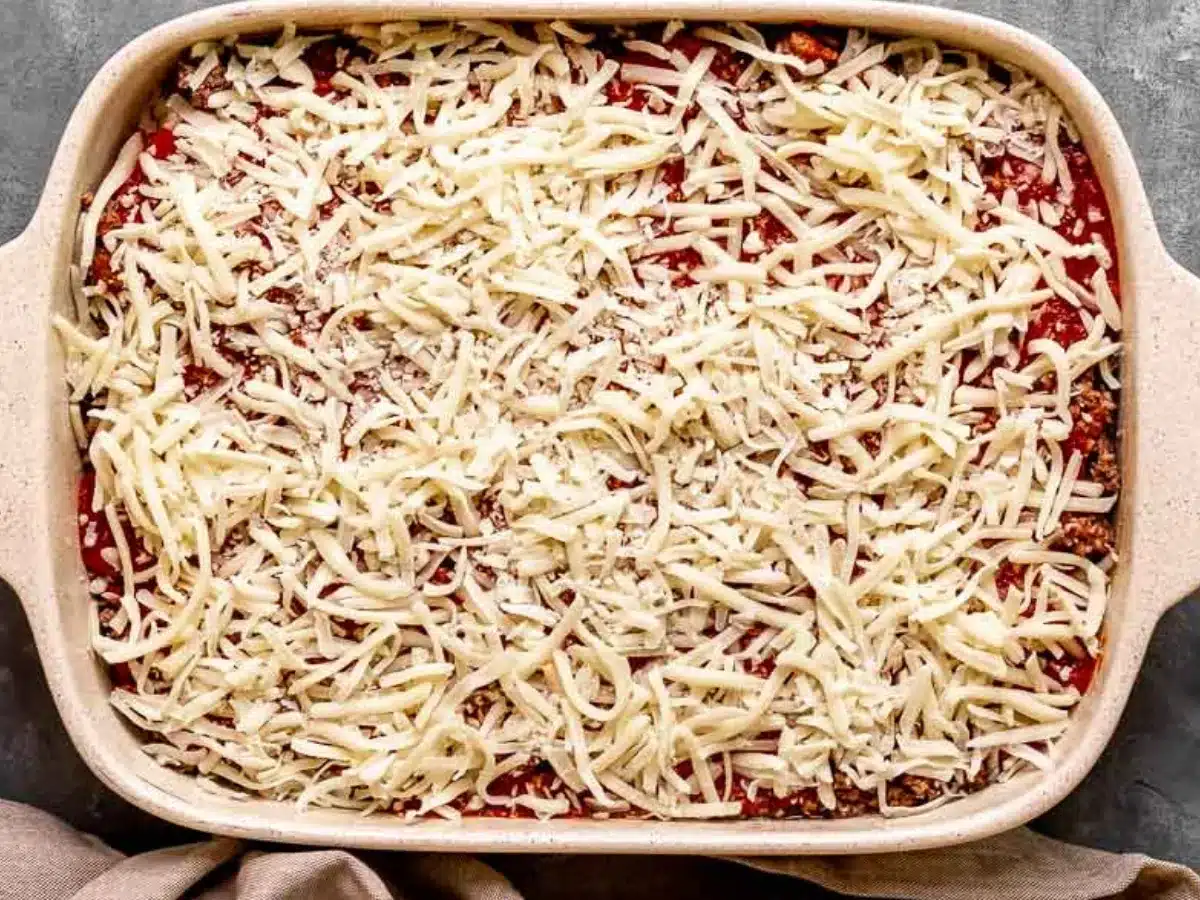
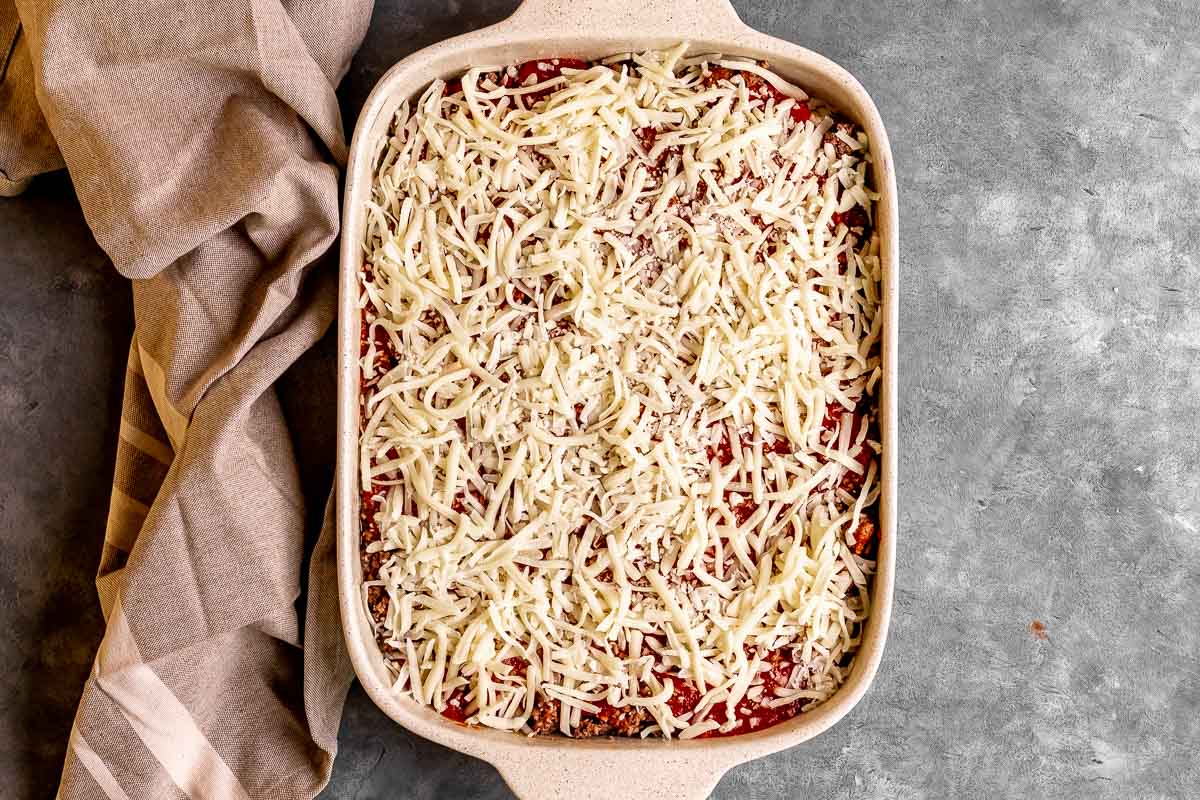
- Sprinkle the beef over the stuffed shells and top with the remaining 1 cup of mozzarella cheese.
- Cover tightly with foil and bake for 45-50 minutes until the shells are tender and the filling is bubbling and melted.
- Remove from oven, turn the oven up to broil.
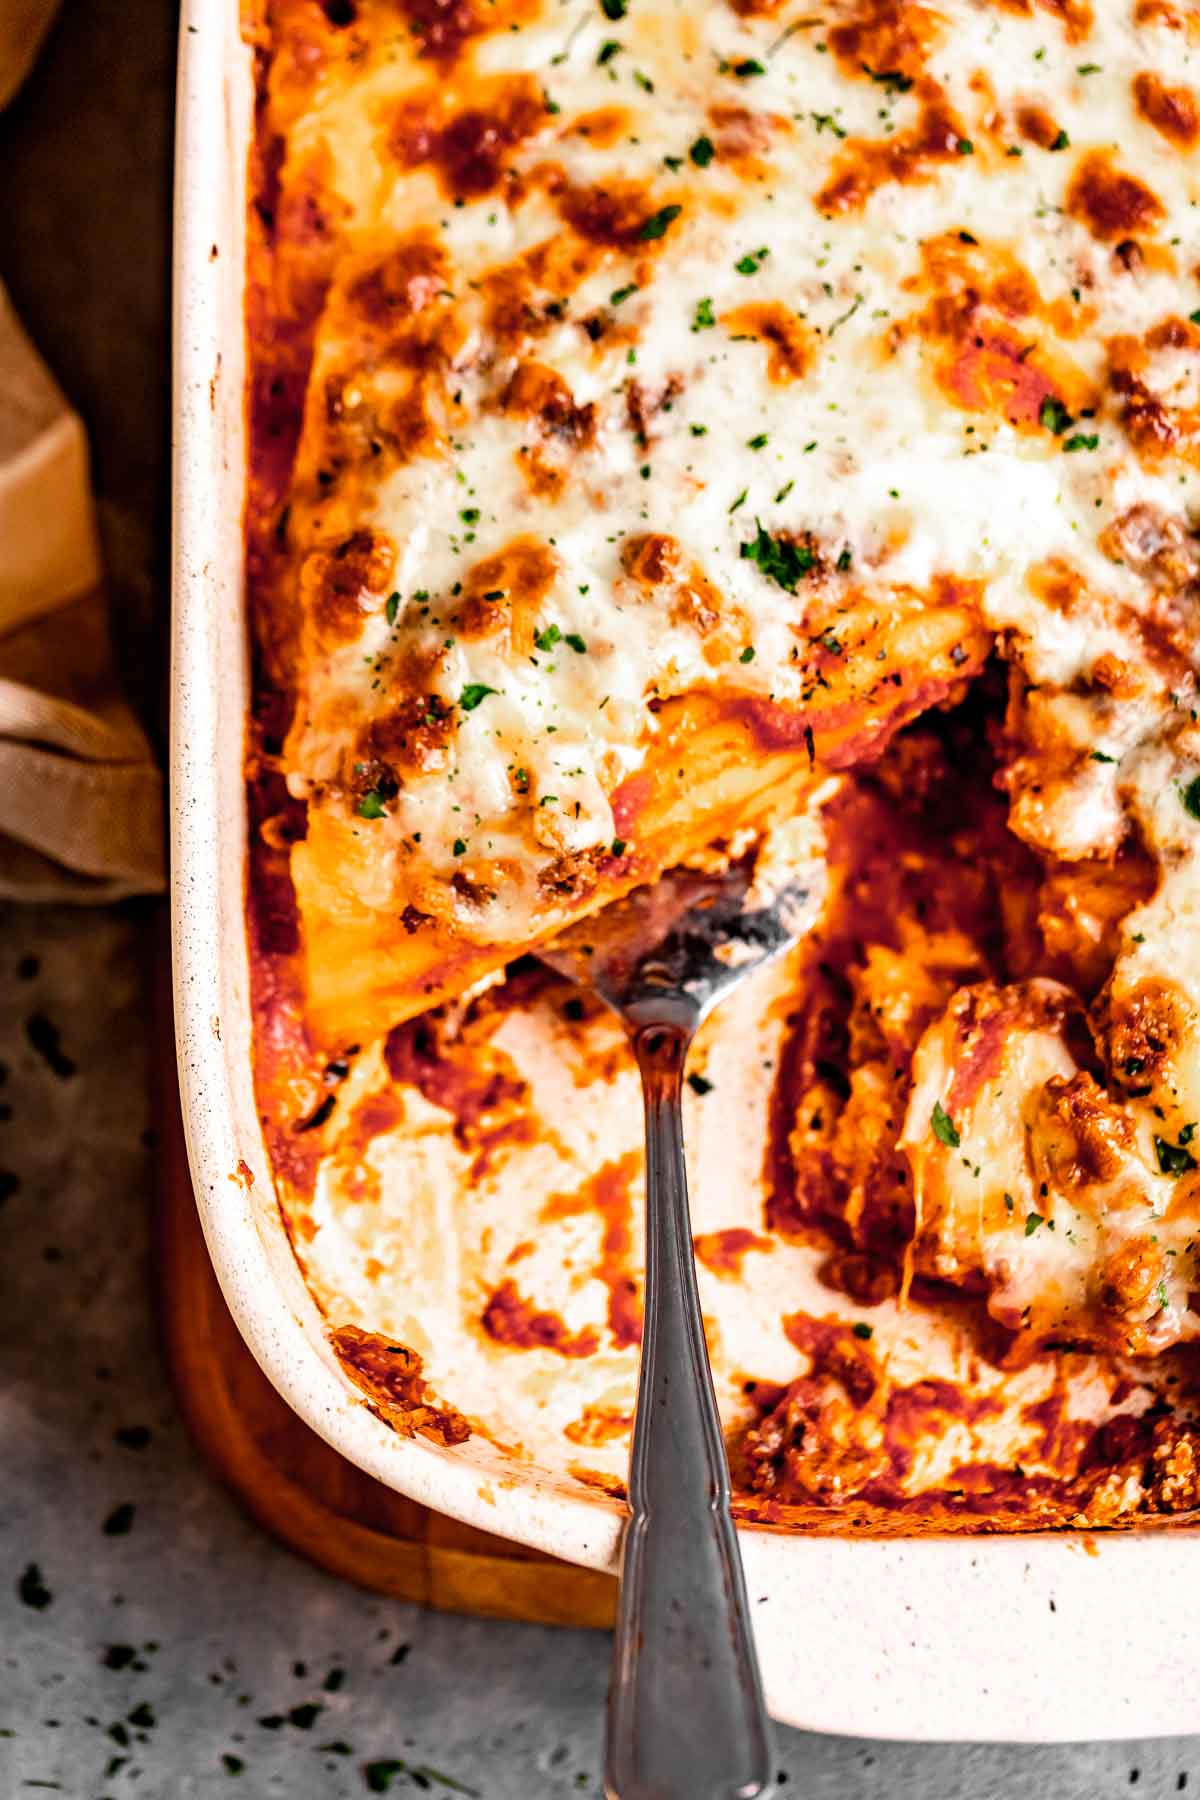
- Put the baking dish back in the oven, uncovered, and broil until cheese is melty and lightly browned.
- Let cool 5 minutes before serving, the filling will be very hot.
Nutrition

Want to save this recipe? Create a free account to easily save your favorite recipes
Sabrina’s Tips
The best way to assemble your bake, is to spread 1 cup of the marinara sauce over the bottom of the casserole dish. Lay out the stuffed manicotti in a single layer. Then sprinkle the cooked ground beef and remaining sauce over noodles. Finish it with another mozzarella cheese layer.
Table of contents
About this Recipe
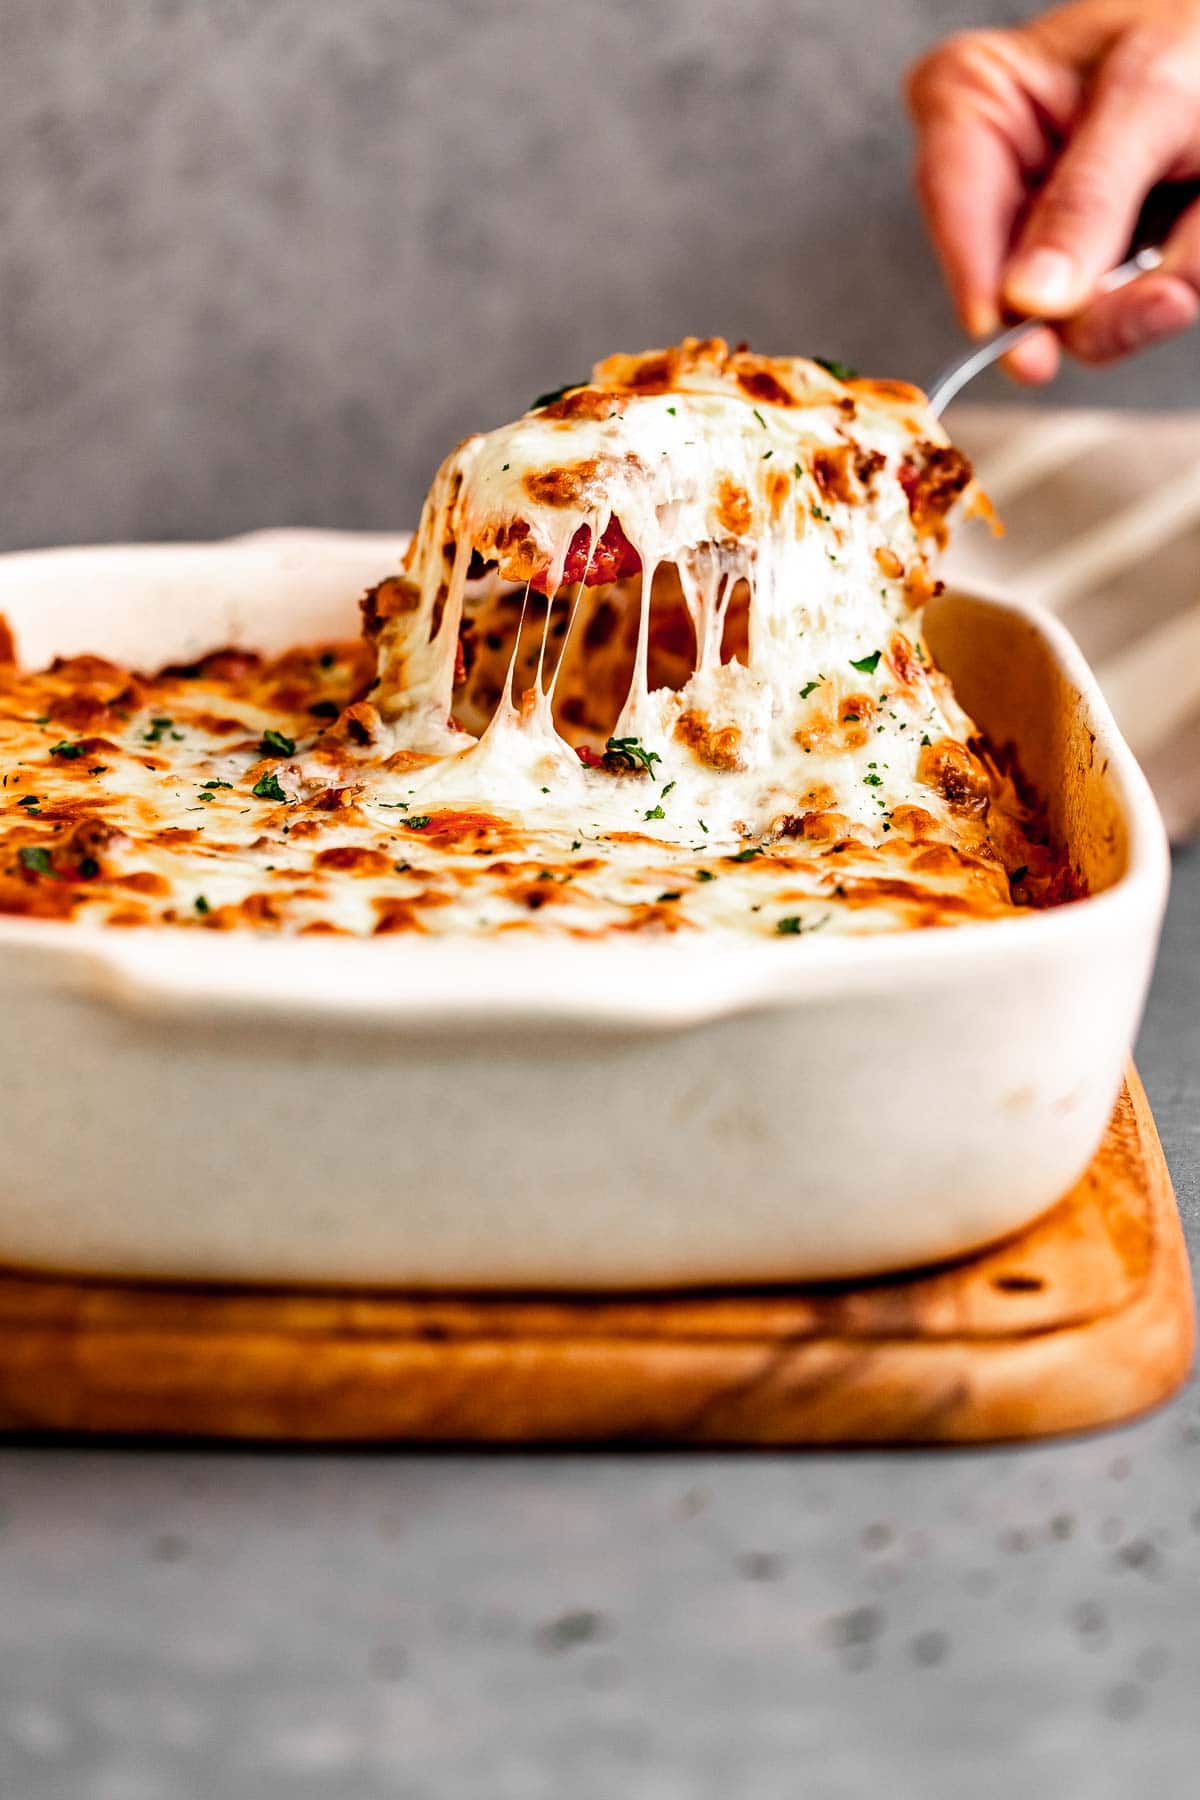
The Marinara Sauce, cheese filling, delicious beef, and mozzarella topping all cook together with the pasta shells into melty, bubbly perfection. Although the recipe takes over an hour to completely finish, most of that is oven time. After you’ve taken a couple of minutes to prepare the ricotta filling, and brown the ground beef, all you have to do is combine it all with the pasta and the marinara sauce in the baking dish. It’s impressive enough for a dinner party, but simple enough to serve for a midweek meal.
Can this be made ahead of time?
Yes, this dish can be assembled ahead of time and refrigerated for up to 24 hours before baking. Simply follow the recipe up until the baking step, then cover and refrigerate. When you’re ready to bake, add an additional 10-15 minutes of covered baking time to ensure the dish is heated through. You can even make this in a double quantity so you have one tray to serve and one to freeze. To serve, remove it from the freezer the day before you plan on serving so it can defrost in the fridge. If you don’t remember to remove it, you can expect your cook time to be about an hour and 15 minutes long at least.
Cooking Tips & Tricks
- If you’re using homemade marinara sauce, you’ll also want to make it ahead of time, but you can also use a store-bought jar of marinara sauce.
- Stir together the cream cheese mixture, then transfer it to a ziplock bag. Cut one of the bottom corners off the bag, then pipe the filling into the uncooked manicotti noodles.
- Once you have cooked the ground beef, make sure to drain off any of the excess fat before adding it to the baking dish.
Pairing Suggestions
The tomato sauce and cheesy meat combination come together with a handful of other ingredients for the most comforting pasta bake ever. It’s sure to be favorite and easy to pair with other Italian classics like Garlic Bread or a simple garden salad topped with Italian Dressing. Don’t forget about dessert! Try my Tiramisu to finish off this delicious Italian meal.
How to Store
- Serve: You can keep this pasta dish at room temperature for up to 2 hours.
- Store: Cover the dish in aluminum foil or plastic wrap to store in the fridge for 3-5 days. Use a microwave-safe dish when you are ready to reheat.
- Freeze: This is also a freezer-friendly recipe. Cover the dish tightly in plastic wrap and aluminum foil or transfer it to a freezer-safe container to store for up to 3 months. Reheat in a 375-degree oven until warmed through.
Frequent Questions
No, there is no need to boil the shells before filling. Boiling the shells will make them soft and easy to tear when trying to fill them. They will cook fully in the oven.
The ricotta cheese in this recipe can naturally hold water. You can drain your ricotta using a cheese cloth or a fine mesh strainer. You can also use an egg in your filling to act as a binder.
Variations
- Meat: There are different kinds of meat you can try in this recipe like ground turkey, ground chicken, or Italian sausage. You could also keep the beefy flavor, but use lean ground beef for a slightly lighter dish.
- Sauce: Instead of marinara sauce, you can try using a Bolognese Sauce, organic tomato basil sauce, or Alfredo for a more cheesy, creamy sauce.
- Vegetables: You can also add some veggies to the filling ingredients. It would taste great with sliced bell pepper, red onion, fresh spinach, or mushrooms.
- Cheese Filling: Try swapping out the cheeses in the recipe with other options like cottage cheese, or goat cheese to replace the ricotta. You can also try different kinds of pre-shredded cheese like provolone, Pepper Jack, cheddar cheese, or Swiss cheese.
- Seasonings: You can sprinkle some fresh herbs over the top like fresh parsley, fresh basil, oregano, or rosemary for some extra flavor.
- Chicken Baked: Swap the ground beef with shredded rotisserie chicken or cooked, diced chicken breast for a lighter, poultry-based version.
- Gluten-Free: Use gluten-free spaghetti or another gluten-free pasta variety to make this dish suitable for those with gluten sensitivities.
Related Recipes
More Italian Pasta Bakes
Photos used in previous version of this post







Uncooked noodles with no water added to help cook. Of course it didn’t cook very well. After 50 minutes of cooking I’ve added 1/2 cup of water. It is now boiling but it’ll be cooking for another 30 minutes at least to have cooked noodles. I don’t know what elevation you’re at or any other circumstances that you successfully cooked it through as your recipe said. It did not work for me still waiting for my dinner to get done…. :/
Very good. I added some spinach to the mixture and it was soooo good. I am excited to try your variation suggestions as I will add this recipe to my dinner rotation. Yum!
Thank you for letting us know you enjoyed the recipe and for the five star review Stephanie!
The recipe sounds delish but how can 8oz of manicotti feed 16 people you do t even have 16 manicotti shells?
Thank you for bringing this to our attention Adele. The recipe card has been corrected.
Hi,
Can I ask if I am to use the regular noodles out of the box because they will cook in the oven?
Sorry just not sure.
Yes, you are correct. Noodles out of the box.
Great recipe! My first attempt with manicotti & I appreciated your detailed instructions. I added spinach to the stuffing mixture. We loved it!
Am I cooking the manicotti ahead of time
Thank you for asking Debbie. No, you are not and I added the word “uncooked” to the recipe ingredients and instructions. I appreciate you helping with that! Let us know what you think of the recipe if you decide to try it!
Making it ahead to cook later. Will pasta get soggy if it sits in fridge for a day or so?
Hi Sheri,
You can with a bit of prep for up to 5 days in advance.
Prep the pasta by drizzling with a little bit of olive oil (like 1 – 2 teaspoons per lb of pasta)
Toss to coat and spread the pasta in a single layer on a sheet to cool.
Then store the pasta in an airtight container or ziplock bag for storage in the refrigerator for up to 5 days.
This is my kids favorite dinner. When you say that it can be frozen, would you freeze it after you cook it? Or before?
After you cook and so glad your kids enjoy the recipe Stephanie! Thanks for the five star review.
Can you make this with jumbo shells? Manicotti shells are nowhere to be found at any stores around me.
I made this tonight, we loved it. Thank you for sharing.
I love that I don’t have to cook the pasta separately. The fam loved it, and we will definitely be making it again!
The manicotti noodles were not soft after 55 minutes, had to extend baking time. It’s little soupy. Maybe a blanching the noodles to get the cooking started would help.
If it’s soupy & not soft after 55 minutes, you missed something.
Made this tonight and it was so good! I did half ground beef and half Italian sausage and added onions and peppers. Family went back for 2nds and 3rds!
Made this last night! So good!!!! It’s a keeper!!!
Do you cook the manicotti shells first?
No, you bake for 45-50 minutes until the shells are tender.
I don’t want to cook it until the night I eat it. I know it freezes well but how long can I keep it uncooked in the refrigerator?
Didn’t mention filling uncooked or cooked d shells before filling
This was very good. It took me a bit to get the knack of filling the noodles, but I finally got the hang of it. The cheese filling was really delicious and everyone complimented it.