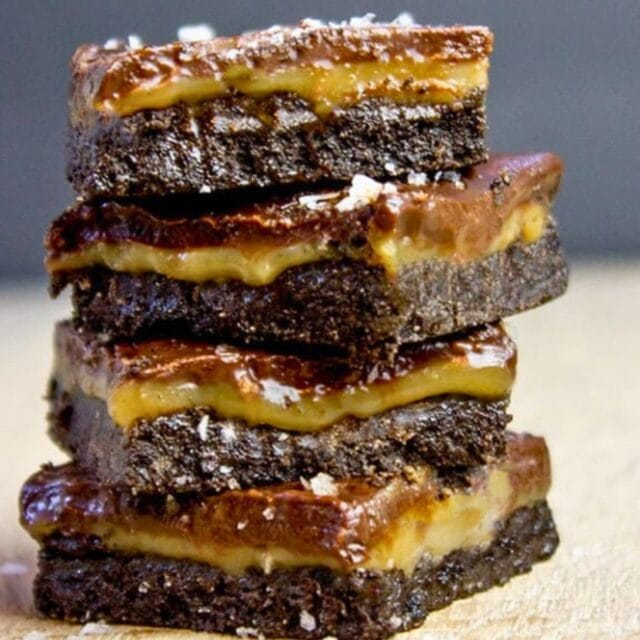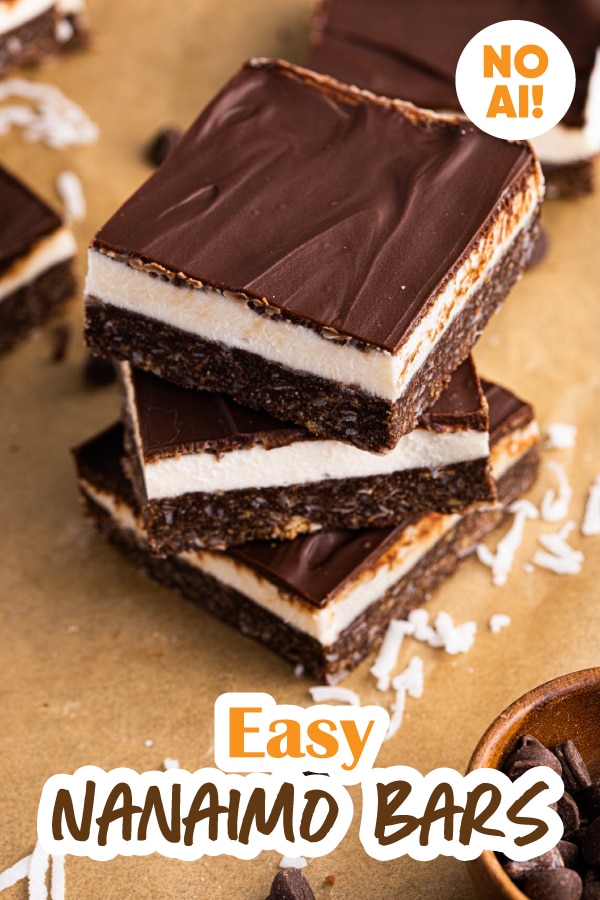

Nanaimo Bars are a no-bake dessert with three layers of crunchy, creamy, and smooth textures in every bite. A decadent Canadian favorite!
If you’re looking for an easy no-bake dessert to share, this is the perfect chocolatey treat. For more Brownie and Bar Recipes, try Salted Toffee Cookie Bars and Mexican Brownies.
Why You’ll Love Nanaimo Bars?
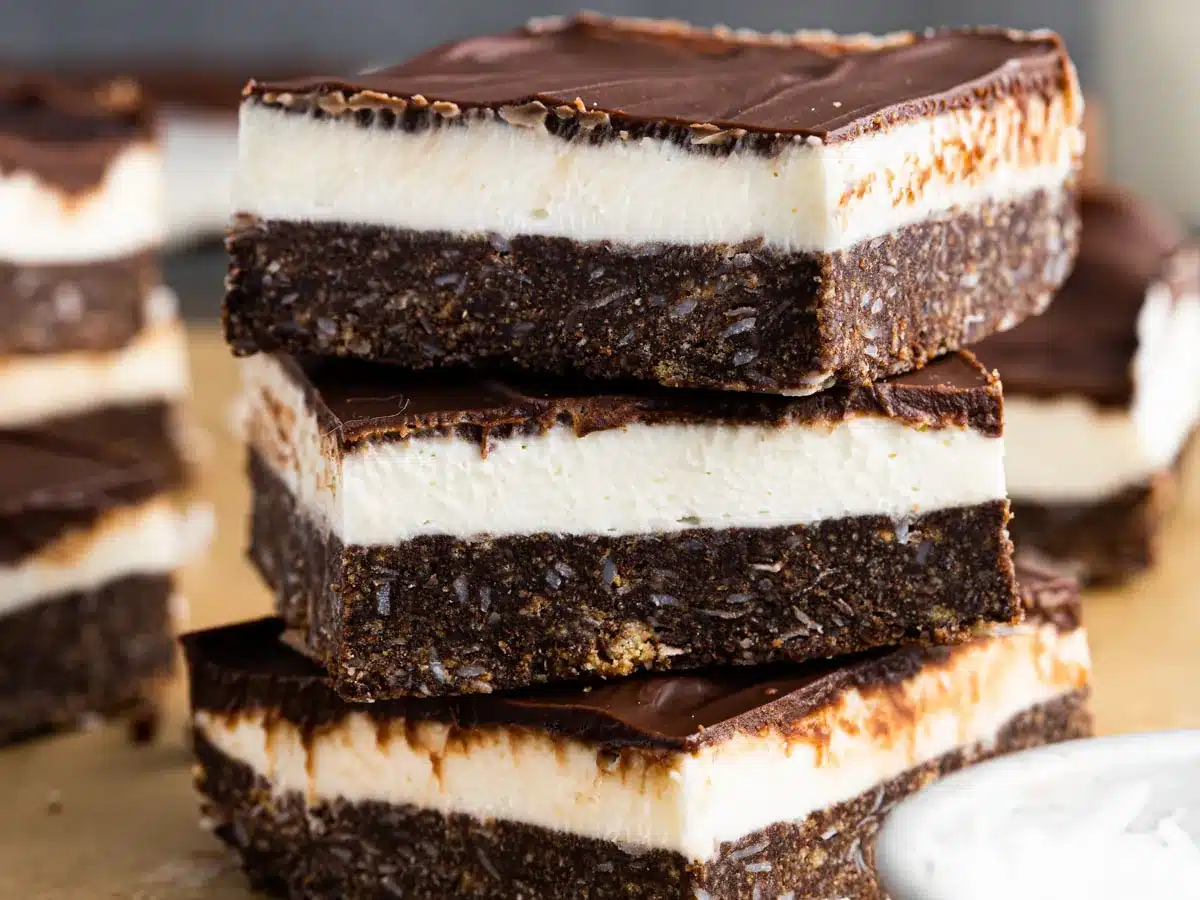
- A chocolatey base of digestive biscuits, coconut, and almond meal create an interesting and tasty match in balancing the sweet, creamy filling.
- No oven required, making these an easy make ahead dessert that sets up in the refrigerator.
Sabrina’s Nanaimo Recipe
Nanaimo Bars are a favorite Canadian dessert, combining layered squares of incredible textures and flavors. It has a crunchy crust, a rich custard filling, finished with Chocolate Ganache. This no-bake dessert is wonderfully easy to make, but keep in mind that it takes some time. Each layer needs to chill in the refrigerator in order to harden, so plan ahead when making this recipe. And to avoid cracking the chocolate when cutting, read my Chef’s Note below for my best tips.
Recipe Card


Ingredients
Chocolate Biscuit Layer:
- 1/2 cup unsalted butter , softened
- 1/4 cup sugar
- 1/3 cup unsweetened cocoa powder
- 1 large egg
- 1 3/4 cups digestive biscuit crumbs
- 1/3 cup almond meal
- 1 cup sweetened shredded coconut
Custard Cream Layer:
- 1/2 cup unsalted butter , softened
- 2 cups powdered sugar
- 2 tablespoons custard powder
- 3 tablespoons heavy cream
Chocolate Layer:
- 3/4 cup semi-sweet chocolate chips
- 2 teaspoons butter
Instructions
Chocolate Biscuit Layer:
- To a medium saucepan on medium-low heat add the butter, sugar and cocoa powder.
- Whisk well until combined.
- Remove from the heat, let cool 3-4 minutes.
- In a small bowl whisk your egg.
- Add the chocolate to the egg mixture in a very thin stream as you whisk constantly.
- Add the chocolate egg mixture back to the saucepan.
- Put back on burner on medium low and cook for 2-3 minutes.
- Whisk in the digestive biscuits, almond meal and sweetened shredded coconut.
- Press into the bottom of an 8×8 baking pan that is lined with parchment paper overhanging on all four sides.
Custard Cream Layer:
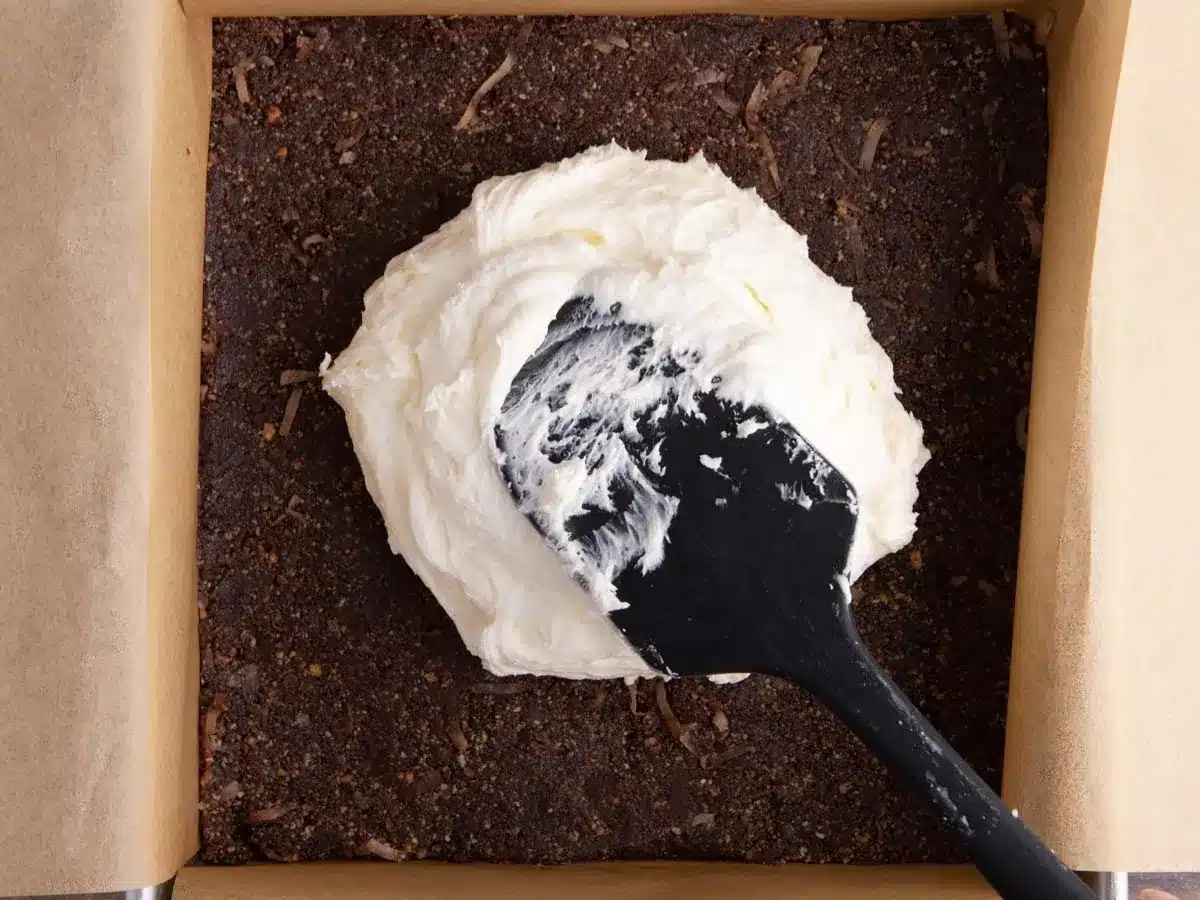
- To your stand mixer add the softened butter, powdered sugar, and custard powder on the lowest speed then raise to medium speed once combined and beat until light and fluffy, 3-4 minutes.
- Add in heavy cream, beat an additional 2 minutes.
- Spread over the chocolate cracker layer.
- Refrigerate for 2 hours.
Chocolate Layer:
- When the custard layer is done chilling add the chocolate to a microwave safe glass bowl.
- Microwave in 30 second increments until smooth and melted.
- Whisk in the butter until well combined.
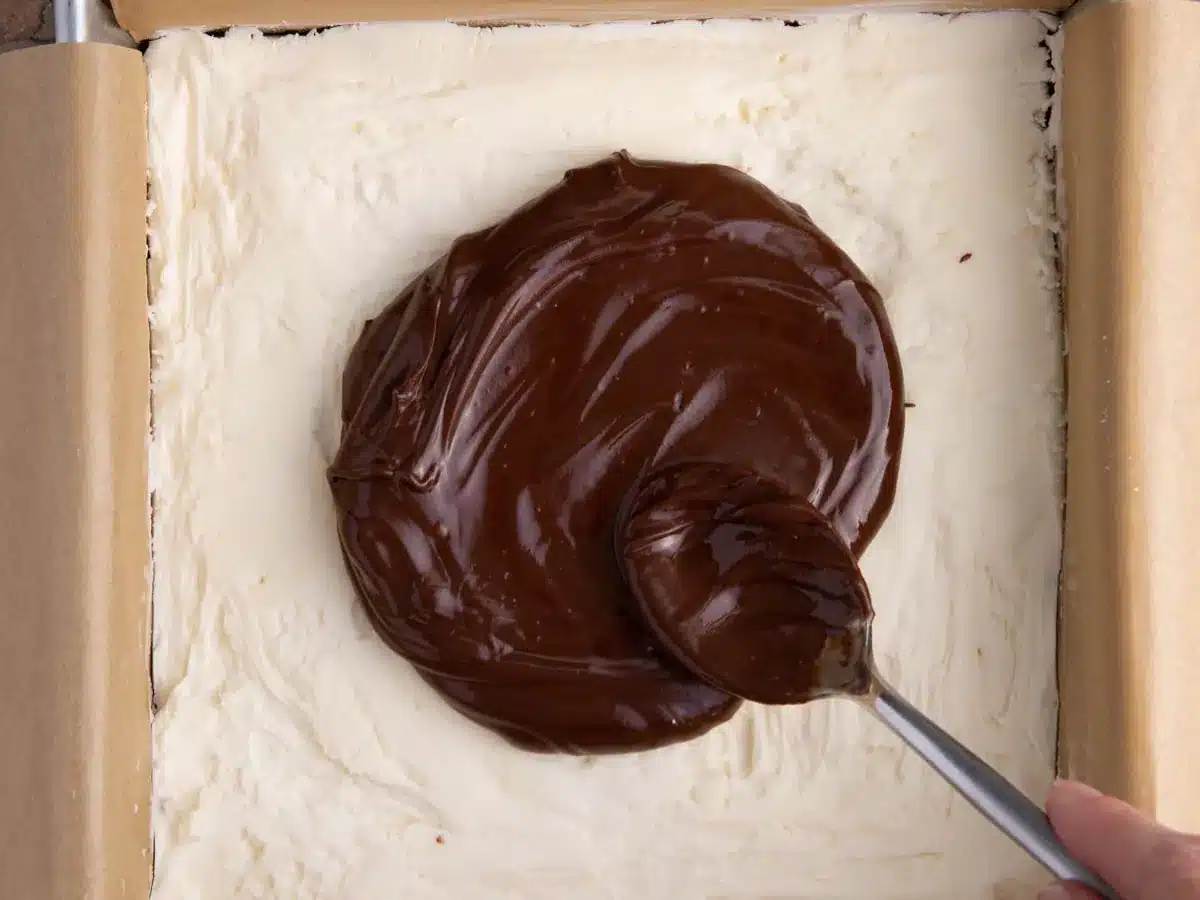
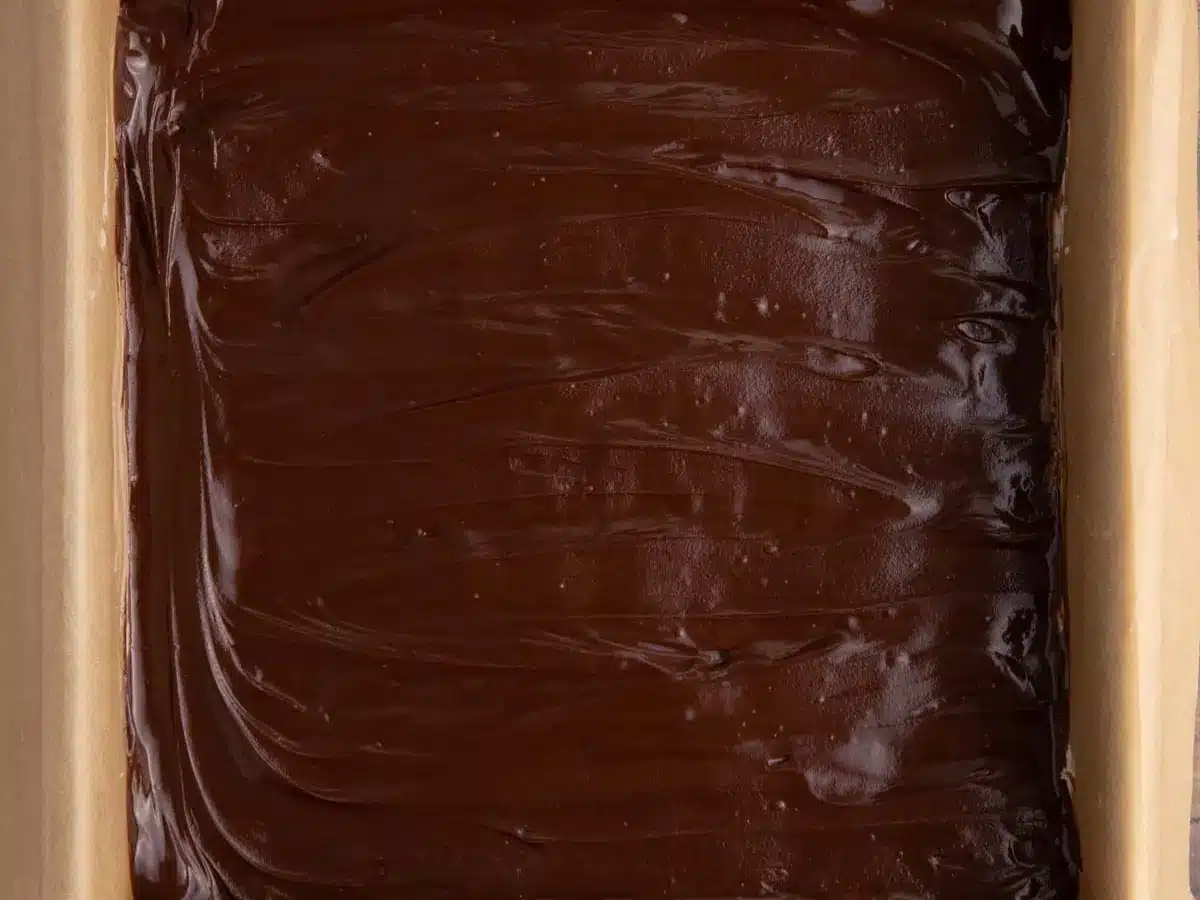
- Gently spread the chocolate over the chilled custard layer.
- Chill for an additional hour before slicing into squares.
Nutrition

Want to save this recipe? Create a free account to easily save your favorite recipes
Chef’s Note
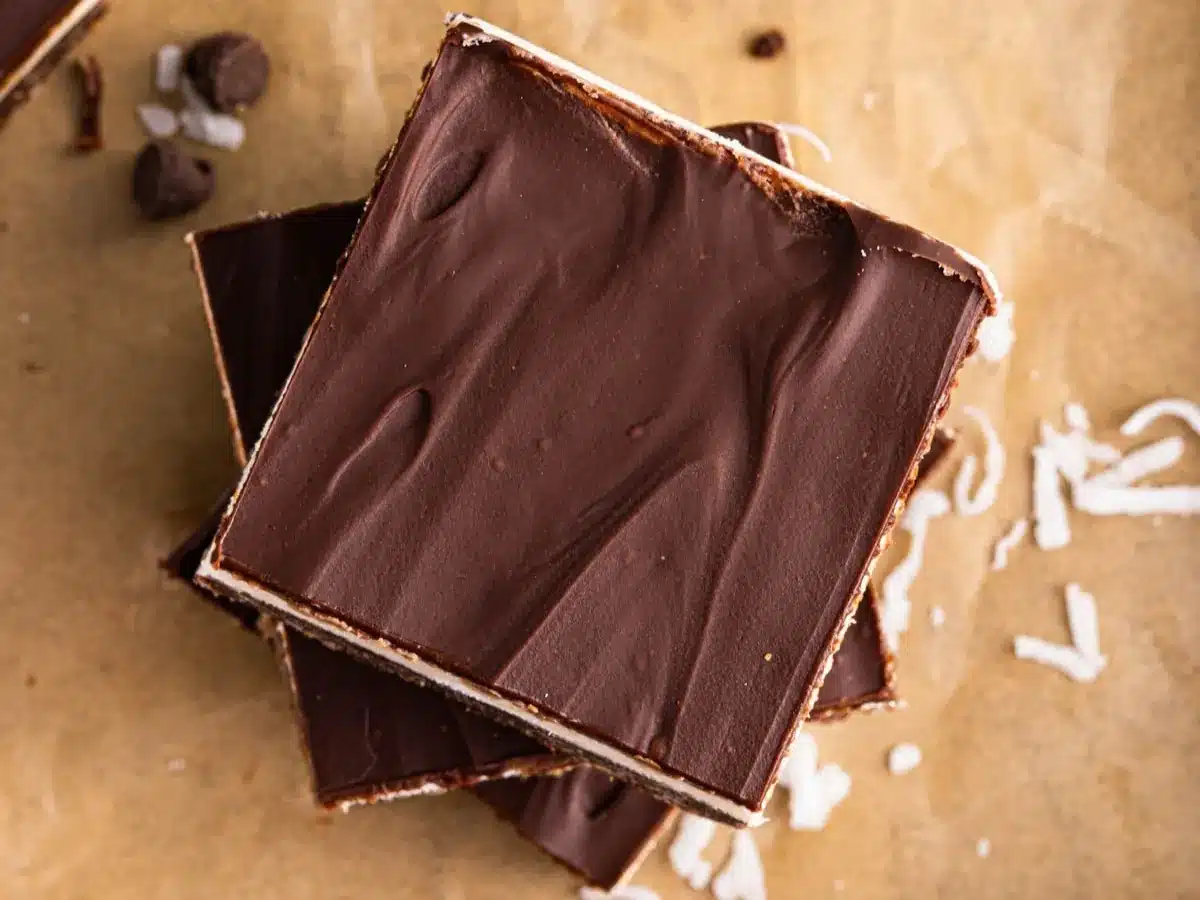
When cutting these, you run the risk of cracking the top chocolate layer, and I have two techniques that you can use. The first is to remove the 8×8 pan from the fridge when the chocolate is mostly, but not all the way hardened. Use a sharp knife to score only the chocolate layer where you plan to cut the bars. Place the pan back in the fridge to finish hardening. Once completely chilled, cut through all the way using the score marks as a guide. If you didn’t score ahead of time, dip your knife blade in boiling water before slicing the squares. The hot knife will soften the chocolate it cuts through so it won’t crack.
Table of contents
Can this be made ahead of time?
This recipe is particularly well suited for making in advance since they require hours of refrigeration to set. You can make these 1-2 days in advance, and for the cleanest presentation, I’d leave them uncut until you’re ready to serve. You can follow either tip in my Chef’s Note above on how you’d like to cut them.
How to Store
- Serve: Let the topping harden completely before serving.
- Store: To keep the fresh, cover the pan in plastic wrap, or place squares in an airtight container. If the recipe is sealed, it can stay good at room temperature for 48 hours, or in the fridge for up to 5 days.
- Freeze: To freeze, put in a freezer bag with parchment or wax paper between the layers. They can stay good frozen for up to 6 months.
Variations
- Chocolate topping: I used semisweet chocolate chips for the ganache topping, but for a sweeter layer, swap with milk chocolate chips. On the other side, if you prefer it more bittersweet, you can use dark chocolate chips.
- Add-ins: Try mixing chopped nuts, broken pretzels, toffee bits, or peanut butter chips into the creamy filling. Top the bars with sea salt, coarse sanding sugar, or shredded coconut. Add any toppings that you’d want before the chocolate topping hardens.
Related Recipes