
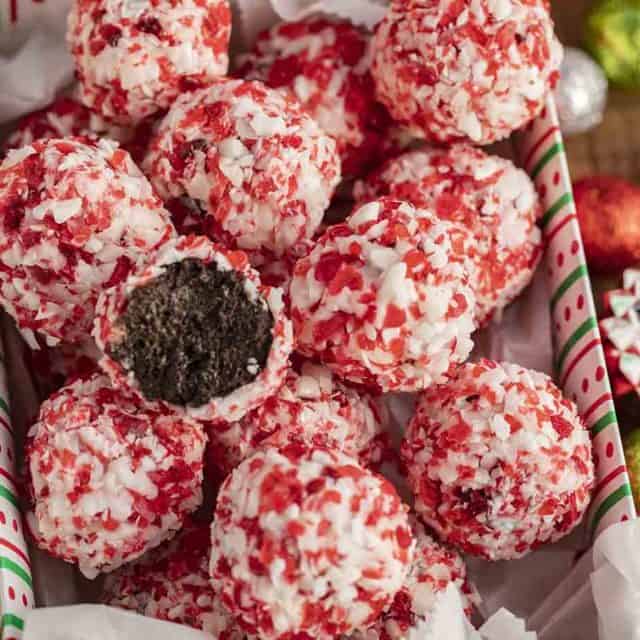
Peppermint Snowballs are the ultimate holiday treat made with just 5 ingredients and then rolled in powdered sugar and peppermint candies.
Classic Snowball Cookies, also known as Italian Wedding Cookies, are a traditional Cookie Recipe that’s perfect for the holiday season. This version adds even more holiday flavors by swapping the vanilla extract for peppermint.
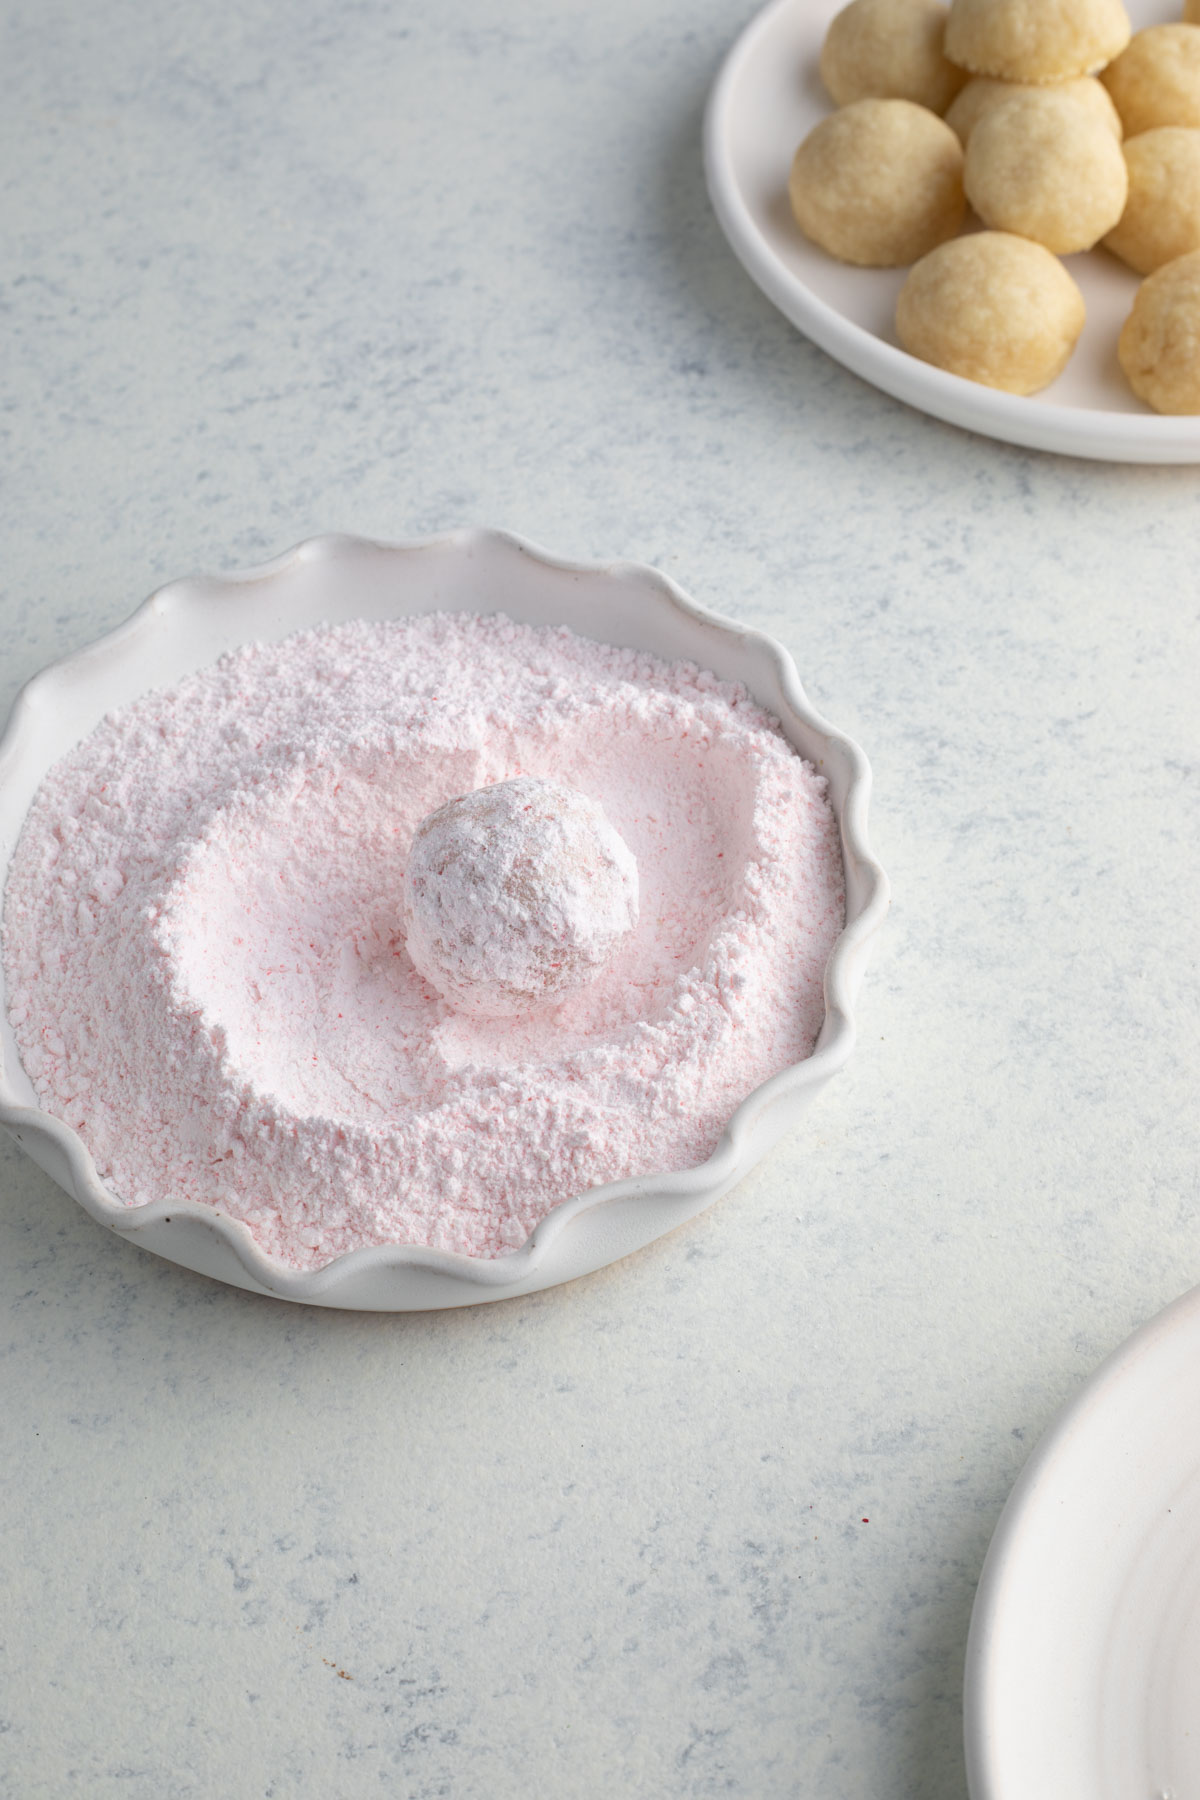
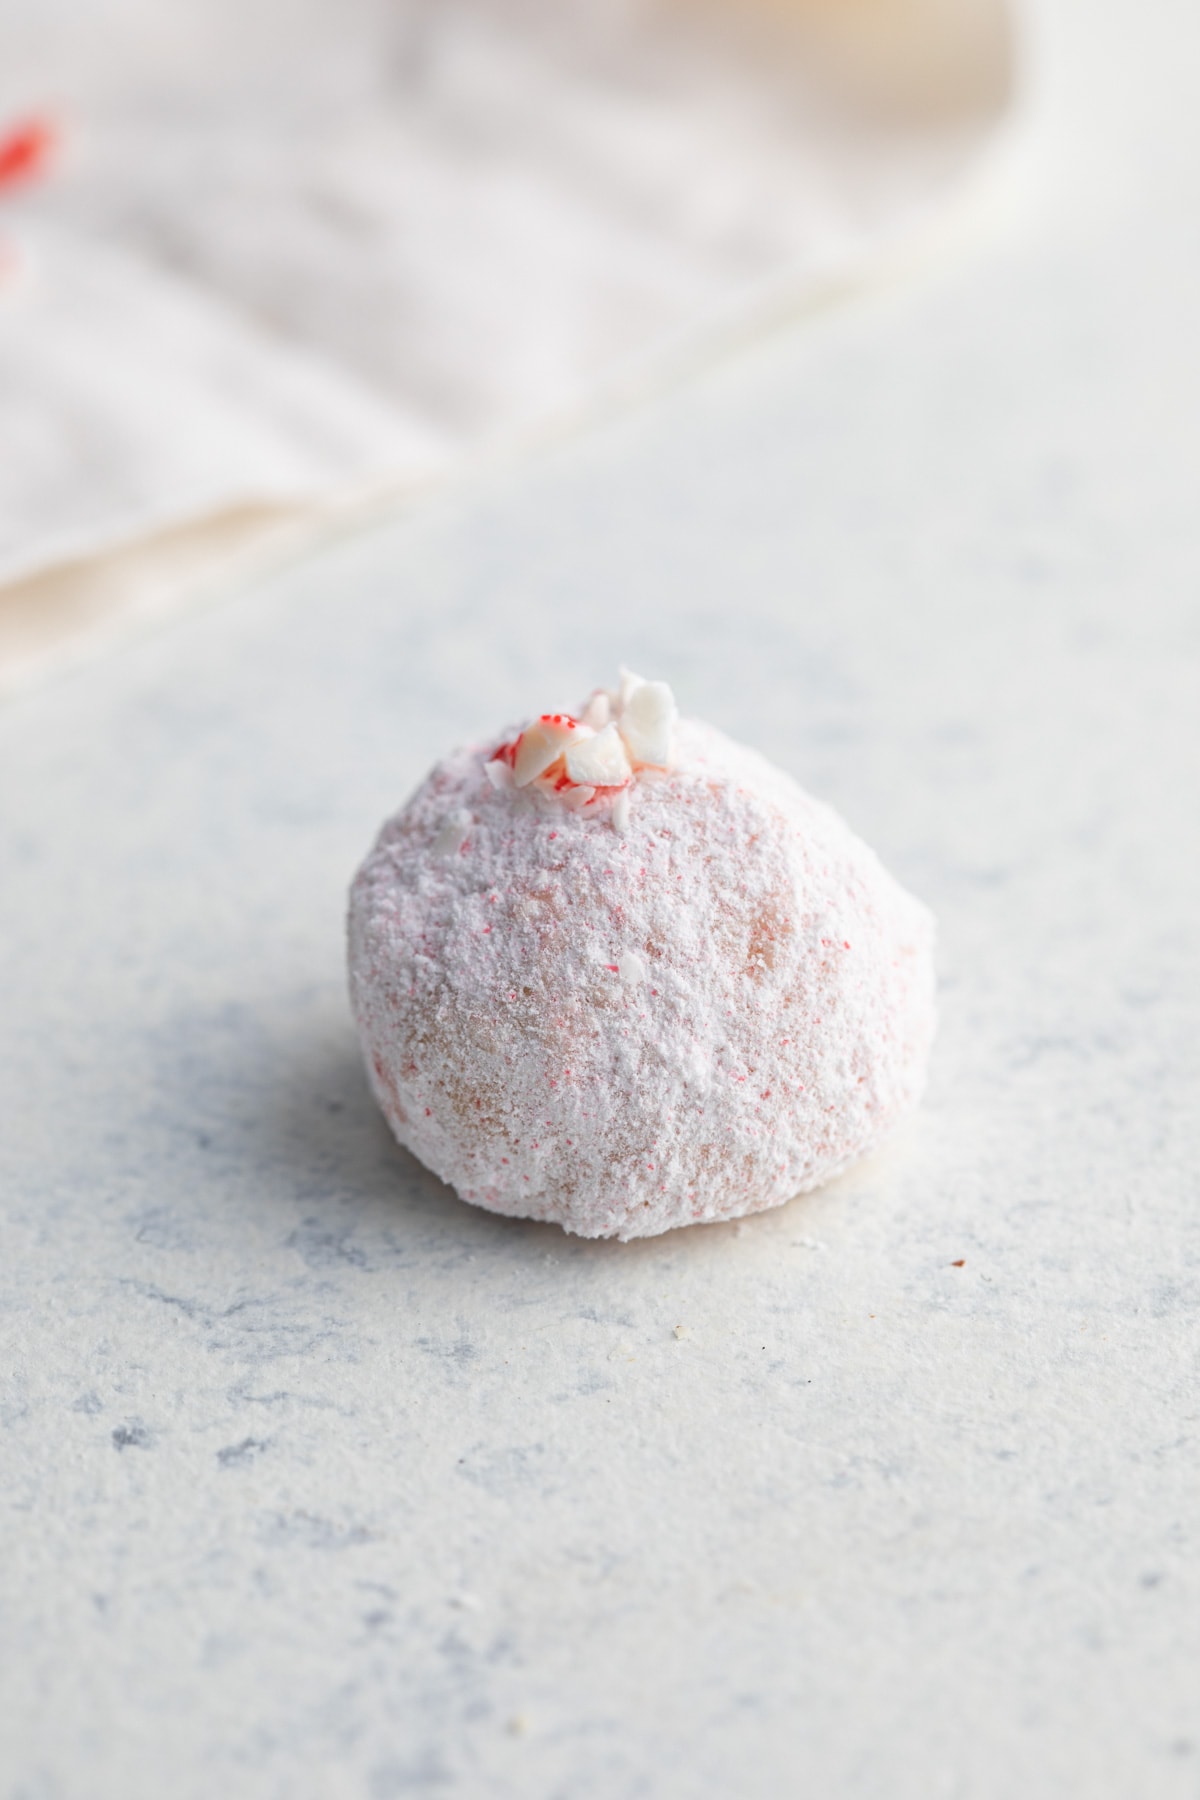
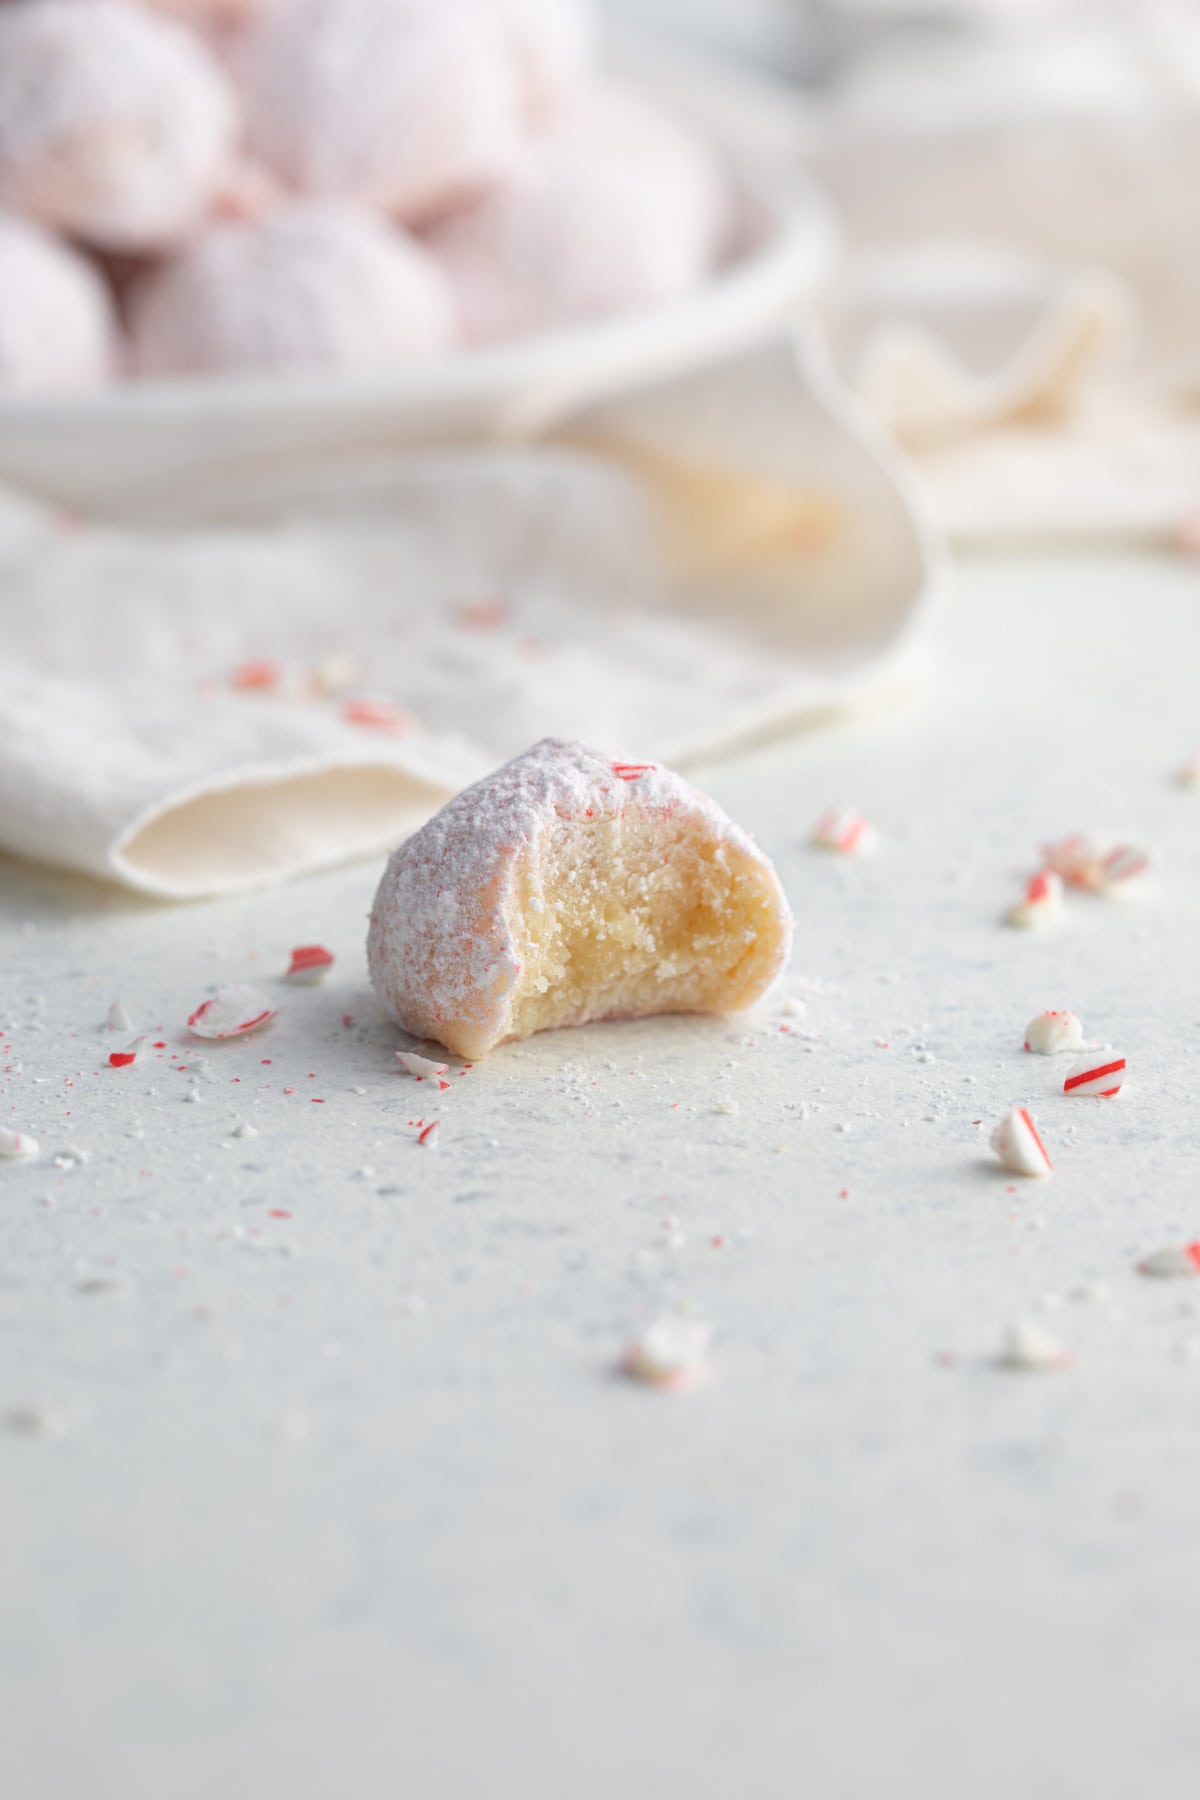
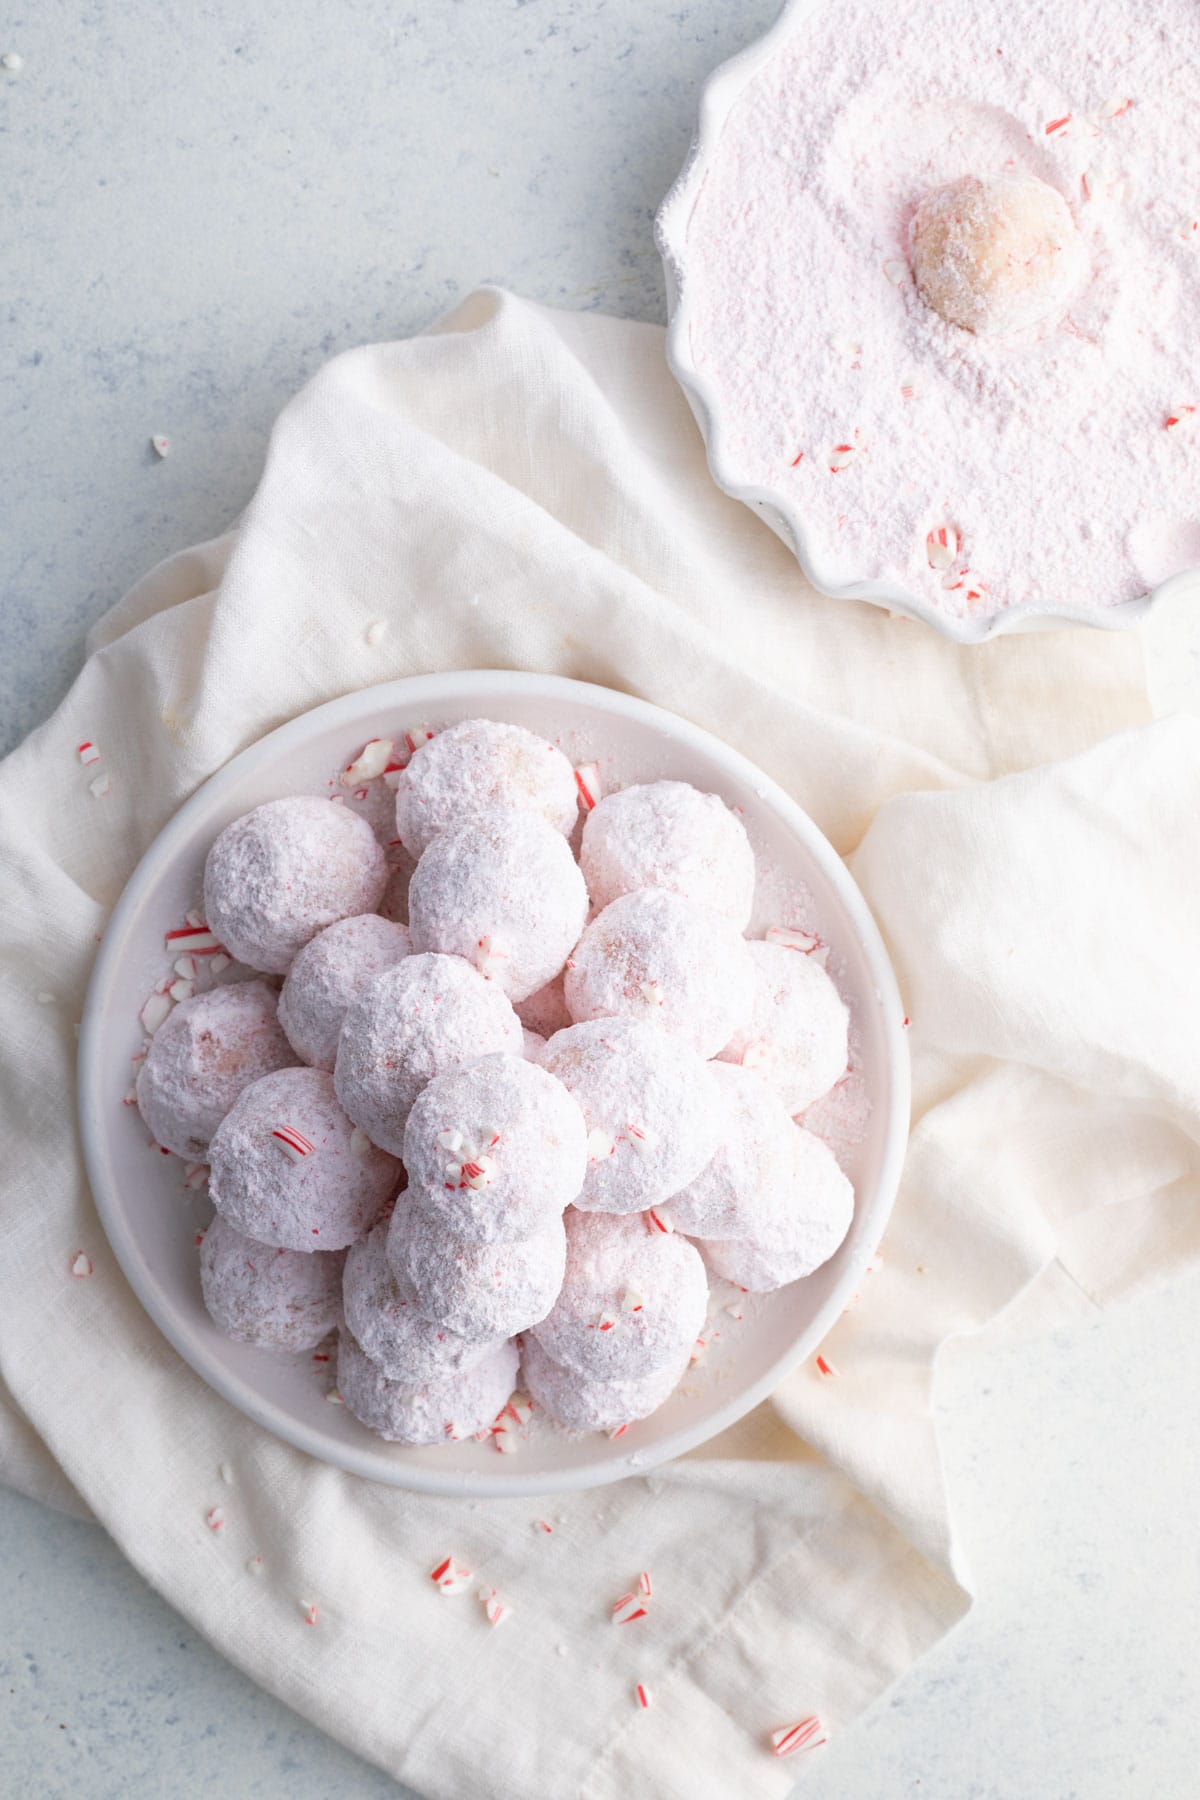
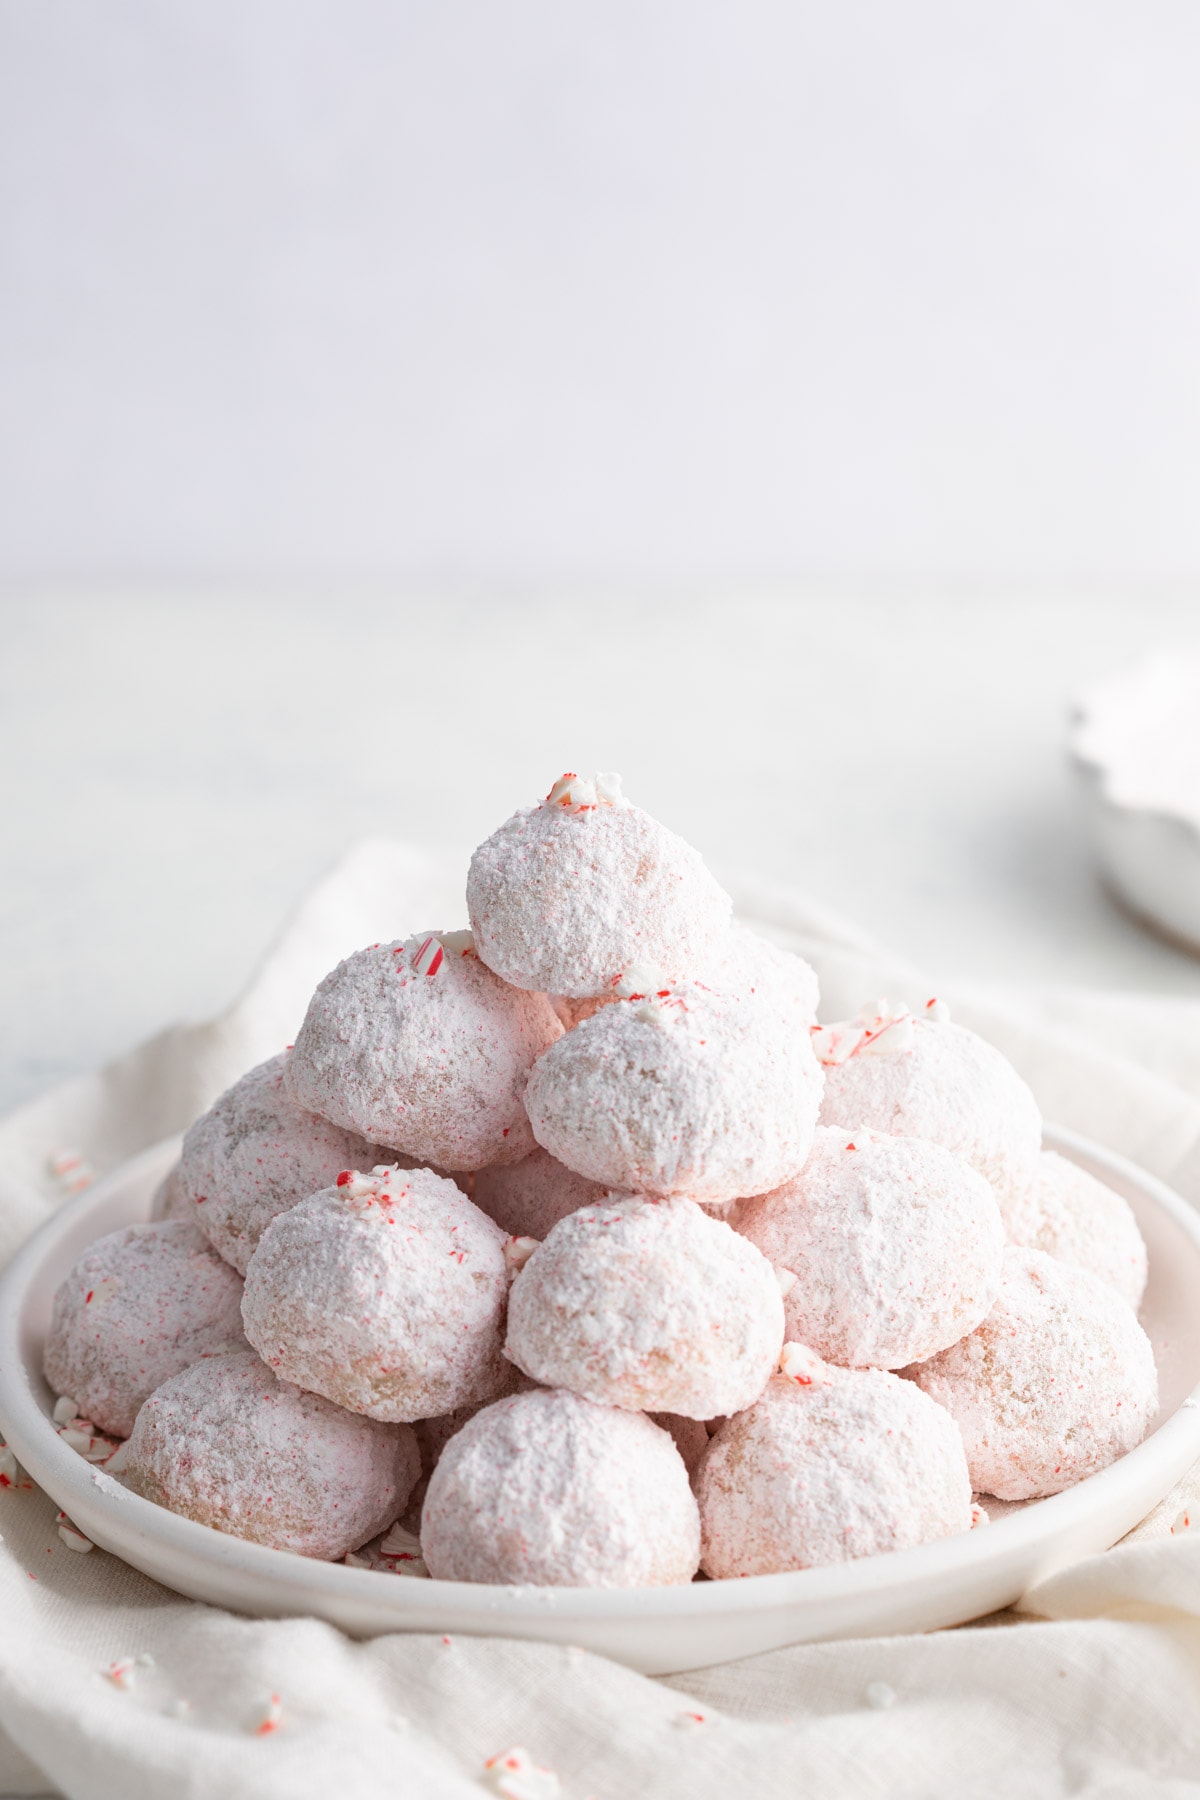
Table of Contents
Sabrina’s Peppermint Snowballs Recipe
Homemade Snowballs have been a reader favorite for holiday baking and cookie exchanges for years. They have a light buttery consistency that melts in your mouth with delicious pecan pieces distributed throughout.
Mixing peppermint extract into the simple dough is an easy way to add a boost of flavor without altering the cookie recipe too much. Then finish it off with a coating of peppermint candy and powdered sugar for the perfect Candy Cane Snowball Cookies.
Ingredients
- Butter Mix: You’ll make the base of the Snowball Cookies by creaming together softened butter and powdered sugar. The delicate ingredients give the cookies their iconic airy consistency.
- Pecans: Adding pecan pieces gives the dough a little more structure and adds to the amazing overall flavor.
- Peppermint Flavor: You only need ½ teaspoon peppermint extract. It has a powerful flavor, so that small amount is enough to make the Peppermint Snowballs taste perfect.
- Candy Cane Coating: To make the fresh coating, you can use hard peppermint candies or candy cane pieces. By pulsing the peppermint candies in your food processor, you can break them into a powder consistency, making it the perfect blend with the powdered sugar in the coating.
Kitchen Tools & Equipment
- Baking Sheets: Get out two baking sheets for this recipe, as it will be nice to bake more of them at a time so you won’t have to take as much time as you would baking them in batches.
- Parchment Paper: To ensure your cookies won’t stick to the pan, line each one with a sheet of parchment paper cut to the right size to fit.
- Stand Mixer with Paddle Attachment: Using a stand mixer will make the whole process of making your dough so much easier. The paddle attachment is a good choice for mixing your cookie dough ingredients.
- Sifter: You’ll want to sift your flour mixture together using either a sifter or a mesh strainer. This will remove any clumps in the flour, and add air to the mixture.
- Food Processor: The last big tool you’ll need to make snowballs is a food processor so you can pulse peppermint candy pieces with powdered sugar to make the peppermint coating.
- Measuring Cup and Spoons: Accurately measuring your ingredients is very important when baking. Make sure you measure carefully and level off dry ingredients for accuracy.
- Small Bowl: You want a small bowl to hold the powdered sugar mixture so that the sugar has some depth to it to roll the cookies around in the bowl.
How to Make Peppermint Snowballs
Time needed: 25 minutes
- Prep Time
Preheat your oven to 350 degrees and get out two baking sheets. Then line each cookie sheet with parchment paper.
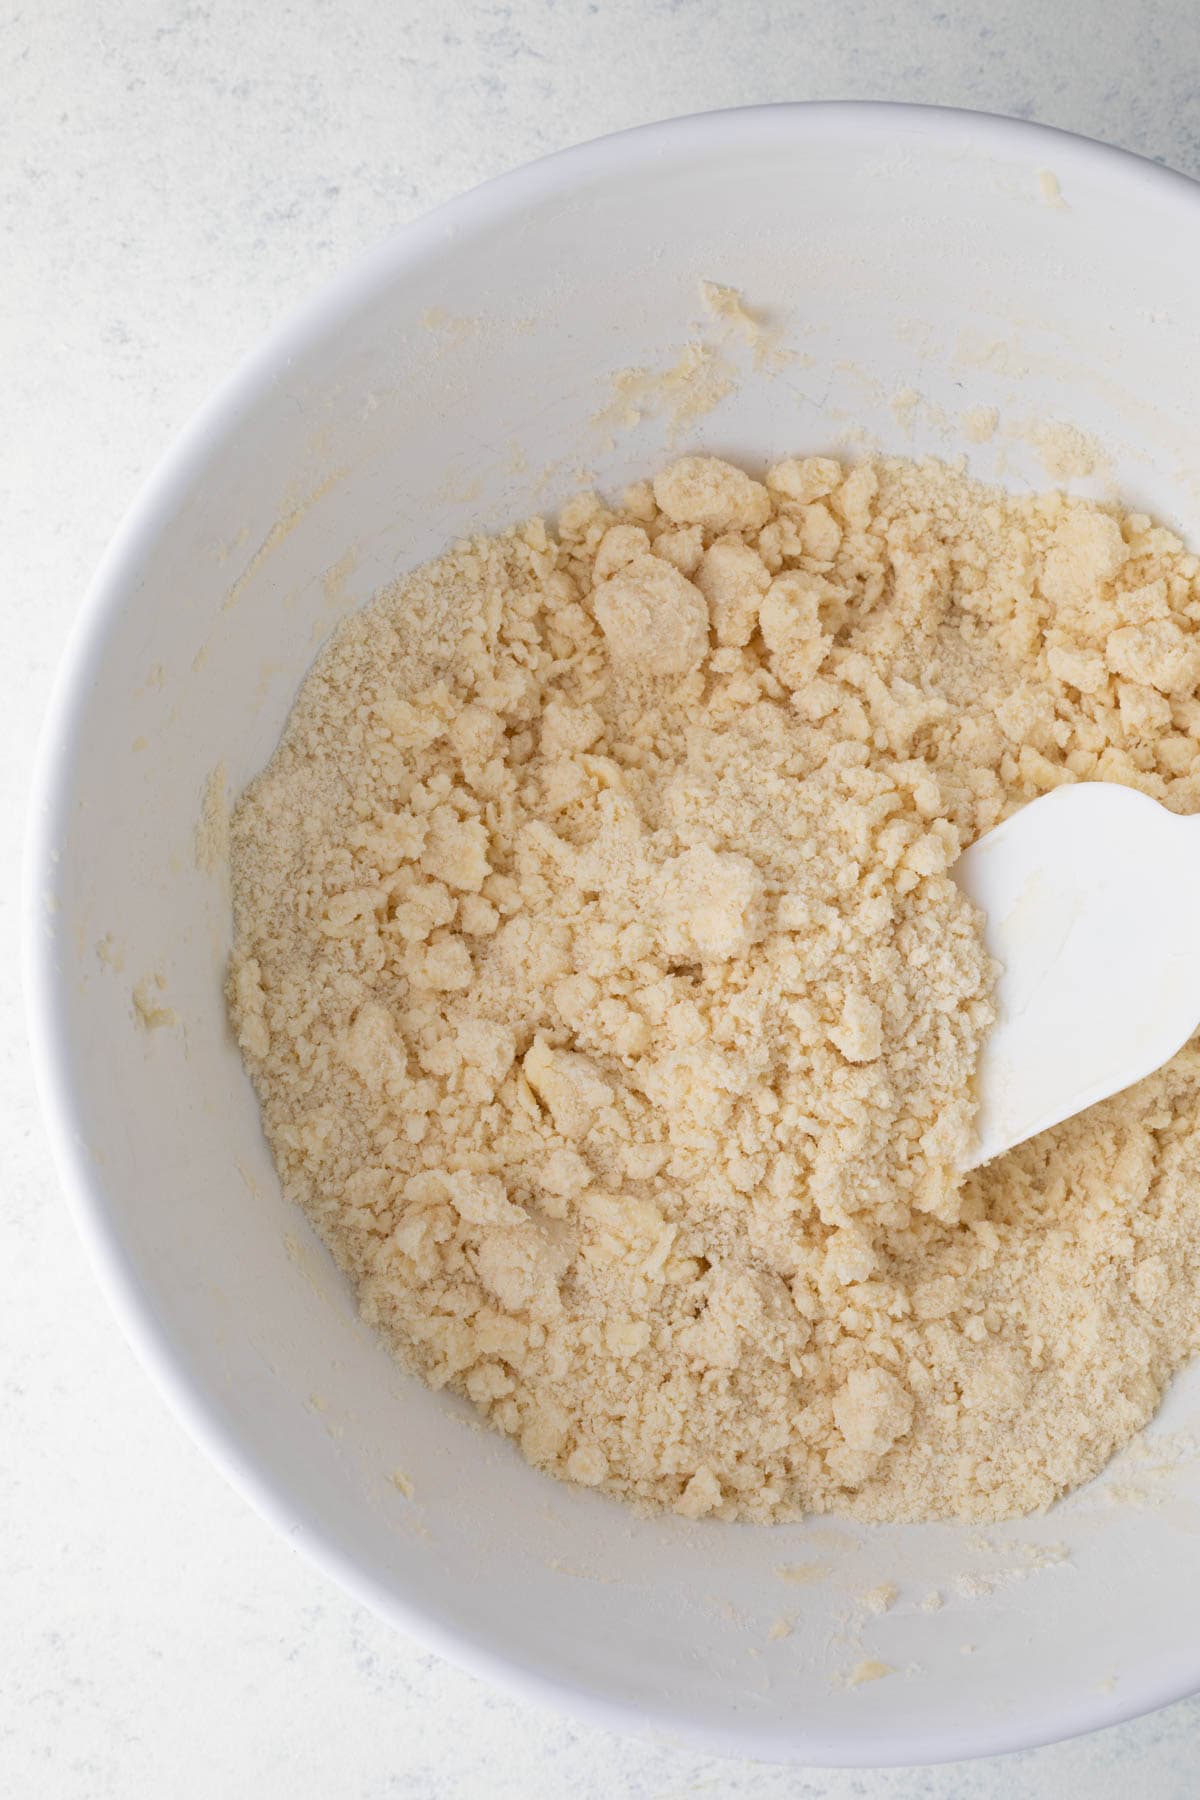
- Peppermint Cookie Dough
Add butter and powdered sugar to your stand mixer, with it set to the lowest speed. Once the powdered sugar is just combined with the butter, you can increase the mixer speed to medium-high to cream butter mixture until light and fluffy. It should take between 3 and 4 minutes to get the right consistency. Then you can add the peppermint extract and mix until smooth. Sift the all-purpose flour and salt together in a separate bowl. Then add them to the stand mixer at the lowest speed setting. Add the pecans and mix for a few seconds until they’re evenly distributed.
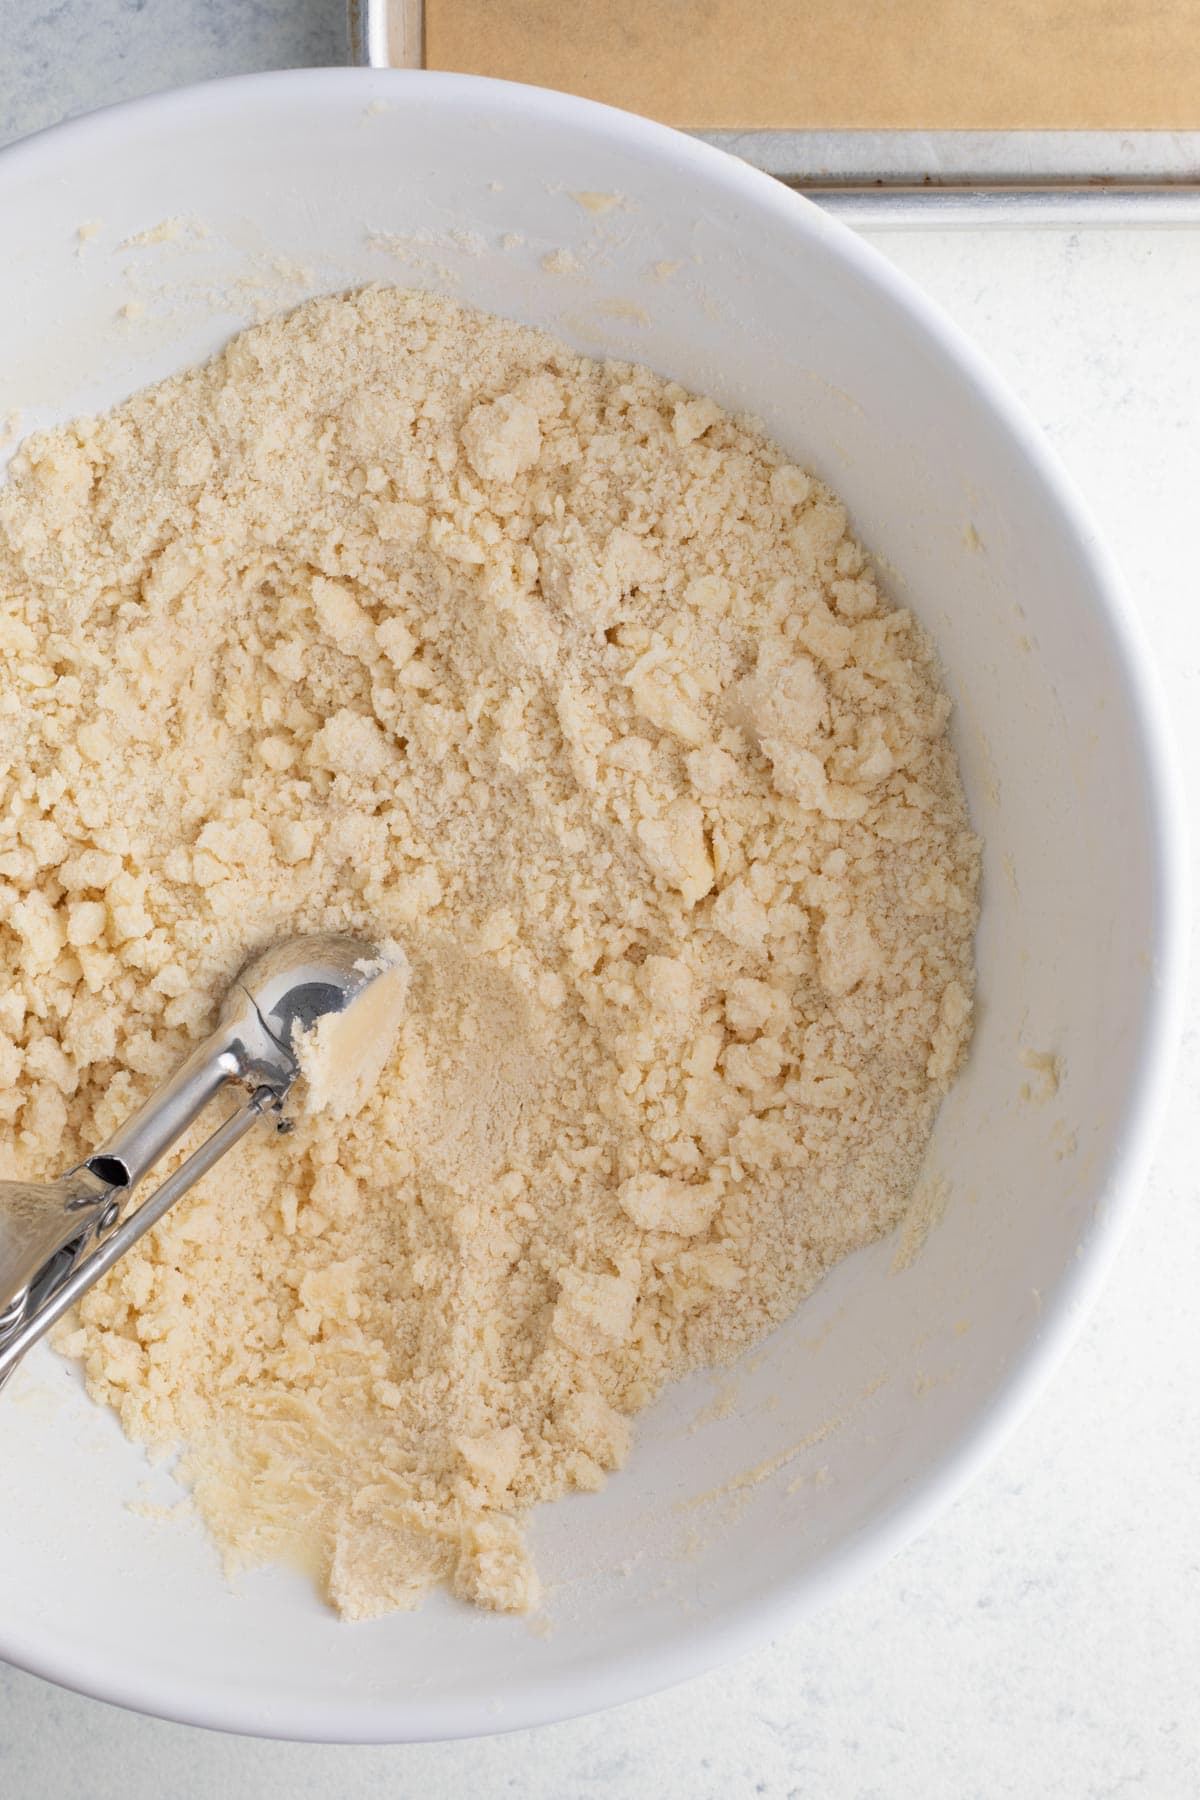
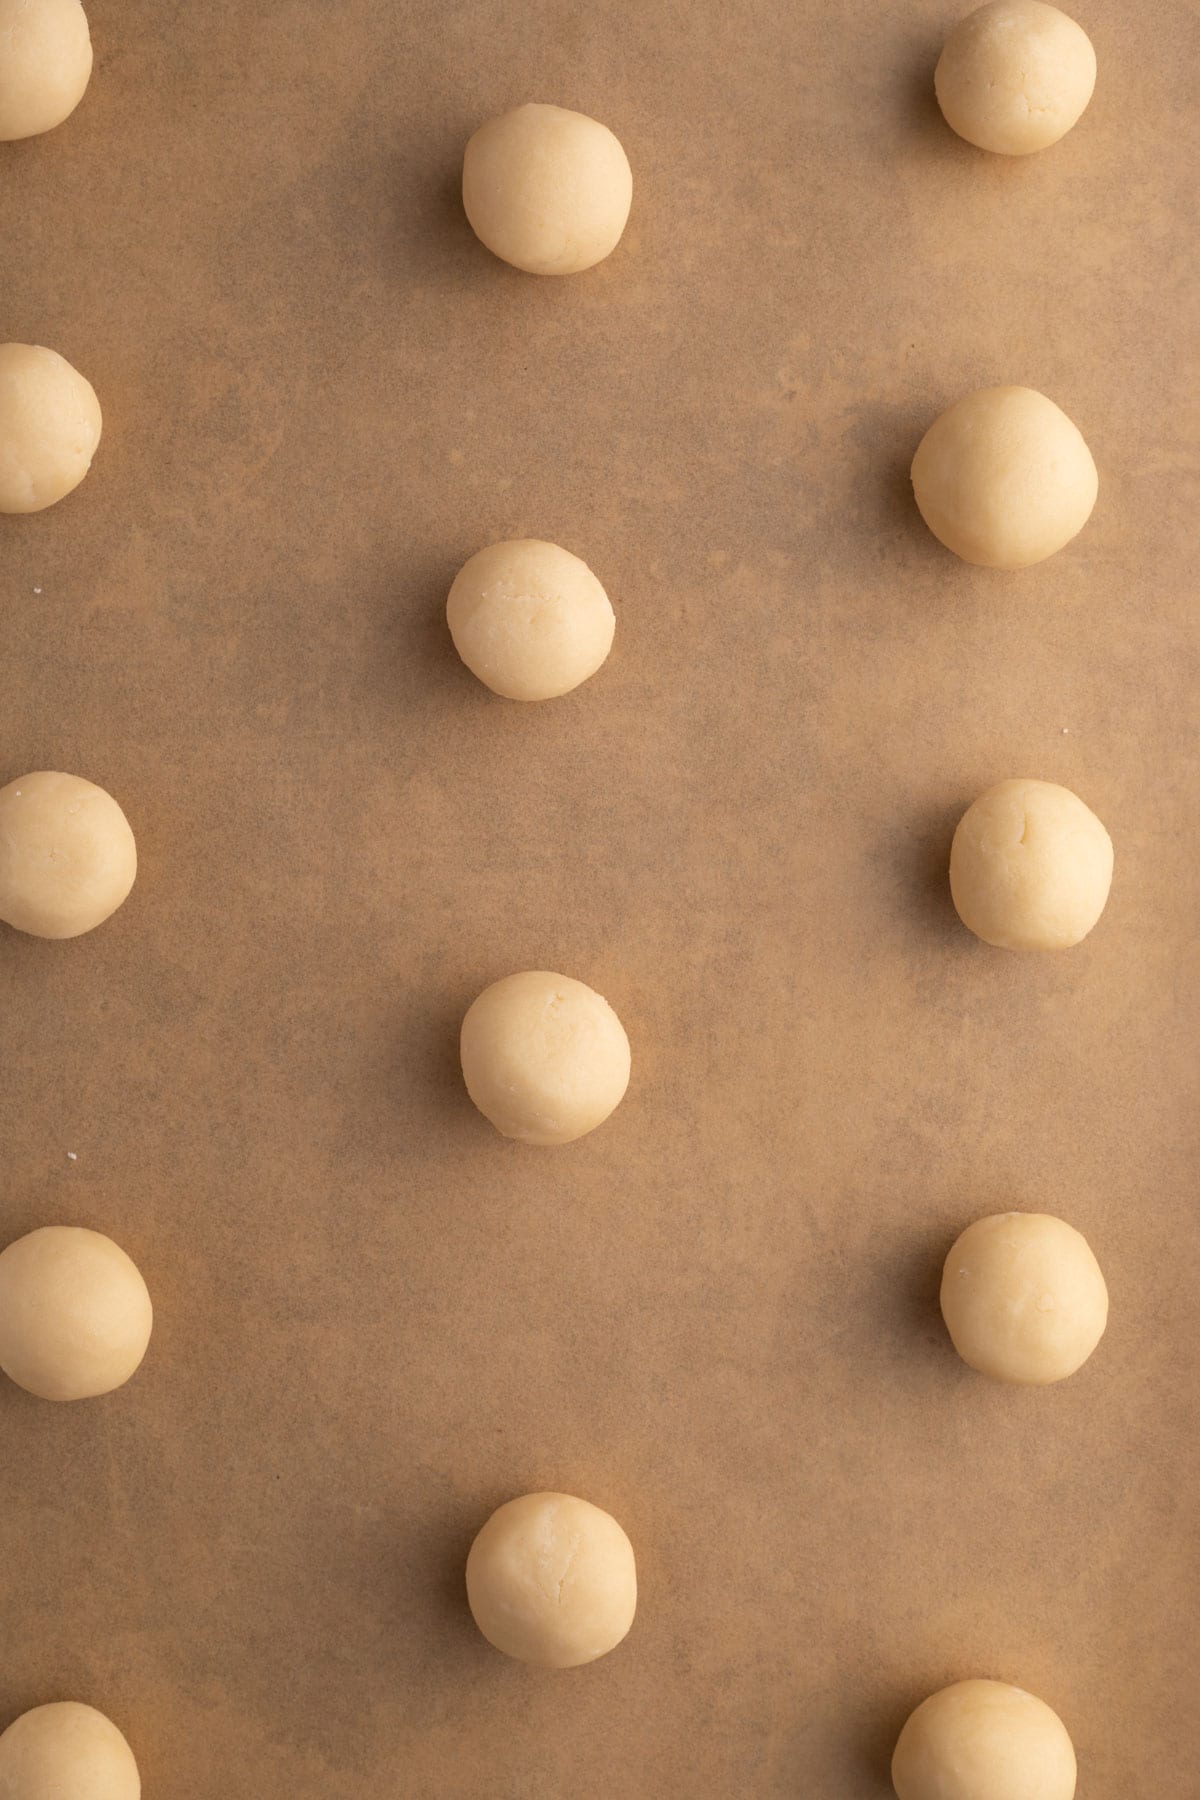
- Shape Cookie Dough
Use a spoon or tablespoon to scoop dough into balls and roll them into smooth 1-inch balls. Place the dough pieces 1 inch apart on the prepared baking sheet.
- Cook Time
Put the baking sheet in the oven for 10-12 minutes of baking time. You’ll want to take the baked cookies from the oven when the tops no longer look wet.
- Coat Cookies
During the baking time, add 1 cup powdered sugar and candy cane pieces to a food processor. Pulse until the candy cane pieces are as fine as sand. Let the warm cookies cool for 5 minutes on the baking sheet. Then roll them gently in the peppermint powder, and let them cool completely before serving the Peppermint Snowballs.
Nutritional Facts
Baking Tips & Tricks
Make sure your cookies come out just right by following these helpful tips.
- Roll Warm Cookies
- Only let the cookies cool for about 5 minutes before rolling in sugar, so they’re cool enough to handle, but still a bit warm. The warmth will help the sugar to stick on the cookies until they’re cool.
- Cool Cookies Completely
- Make sure to let Peppermint Snowball Cookies cool completely before serving. Otherwise, the candy coating will easily fall off.
What to Pair With Peppermint Snowballs
The incredible peppermint treat is perfect for serving along with Slow Cooker Hot Chocolate for the ultimate cozy and festive dessert. The slow cooker recipe will allow the hot cocoa to heat up while you’re making the cookies. Just set it before you begin preparing your cookie dough.
How to Store
- Serve: These Snowball Cookies can stay good at room temperature for up to 1 week.
- Store: Seal them in an airtight container or cover them in plastic wrap so that they stay fresh.
- Freeze: You can also put the cookies in a ziplock bag or another freezer-safe airtight container to keep them frozen. As long as they’re carefully sealed, the dessert can stay good for 6 months.
Ideas to Serve Peppermint Snowballs
You’ll love adding these festive cookies to cookie platters with other go-to holiday cookie recipes like Sugar Cookies and Gingerbread Cookies. Enjoy these refreshing peppermint cookies all winter long. Delicious Snowballs have a more airy texture, so they’re a nice way to add a little variety to your dessert spread any time of the year. Plus, the peppermint flavor is always nice to follow a big meal.
Frequent Questions
Peppermint Snowball Cookies are easy to make in advance and get some of your holiday baking done early. To freeze the peppermint treats, wait for them to chill completely. Then place them on a parchment-lined baking sheet to flash freeze them for about an hour. The partially frozen cookies won’t stick together, so you can then transfer them to an airtight freezer bag or another freezer-safe container for long-term storage.
You can use any type of candy you like to create peppermint flavor. This is a great use for extra candy canes you have sitting around. You can also use small round peppermints, or peppermint sticks. Any candy you enjoy the flavor of will add wonderful flavor to the cookie coating.
Recipe Card

Ingredients
- 1 cup unsalted butter , softened
- 1/3 cup powdered sugar
- 1/2 teaspoon peppermint extract
- 2 1/4 cups flour
- 1/4 teaspoon salt
To Finish:
- 1 cup powdered sugar
- 1 cup peppermint candies
Instructions
- Preheat oven to 350 degrees and line two baking sheets with parchment paper.
- To your stand mixer add the butter and powdered sugar on the lowest speed setting until just combined, then raise the speed to medium high until light and fluffy, about 3-4 minutes.
- Add in the peppermint extract until well combined and smooth.
- Sift the flour and salt, then on the lowest speed setting add them to the stand mixer until just combined. Add in the pecans and mix for 3-4 seconds until evenly distributed.
- Scoop and roll in 1-inch balls and place 1-inch apart on your baking sheet.
- Bake for 10-12 minutes or until the tops of the cookies no longer look wet.
- While the cookies are baking add the 1 cup powdered sugar and peppermint candies to a food processor and pulse until it makes a fine peppermint sand.
- Let cool for 5 minutes, remove from baking sheet and roll in a bowl of the peppermint powdered sugar mixture very gently.
- Let cool completely.
Nutrition
Want to save this recipe? Create a free account to easily save your favorite recipes
Variations
- Food Coloring: To make these peppermint treats even more festive, you can add gel food coloring to the cookie dough. Red is a great choice, but you could also use green or divide the dough in half and use one color for each half.
- White Chocolate Snowball Cookies: Along with the peppermint coating, you can melt white chocolate chips, then drizzle the melted chocolate over the Snowball Cookies.
- Sprinkles: You can also add other decorative ingredients to the powdered sugar and peppermint mix. Try red or green sanding sugar, holiday sprinkles, nonpareils, or edible glitter.
Related Recipes

Peppermint Fudge
Peppermint Bark Crackers
Peppermint Oreo Balls

Peppermint Bark Dip

