
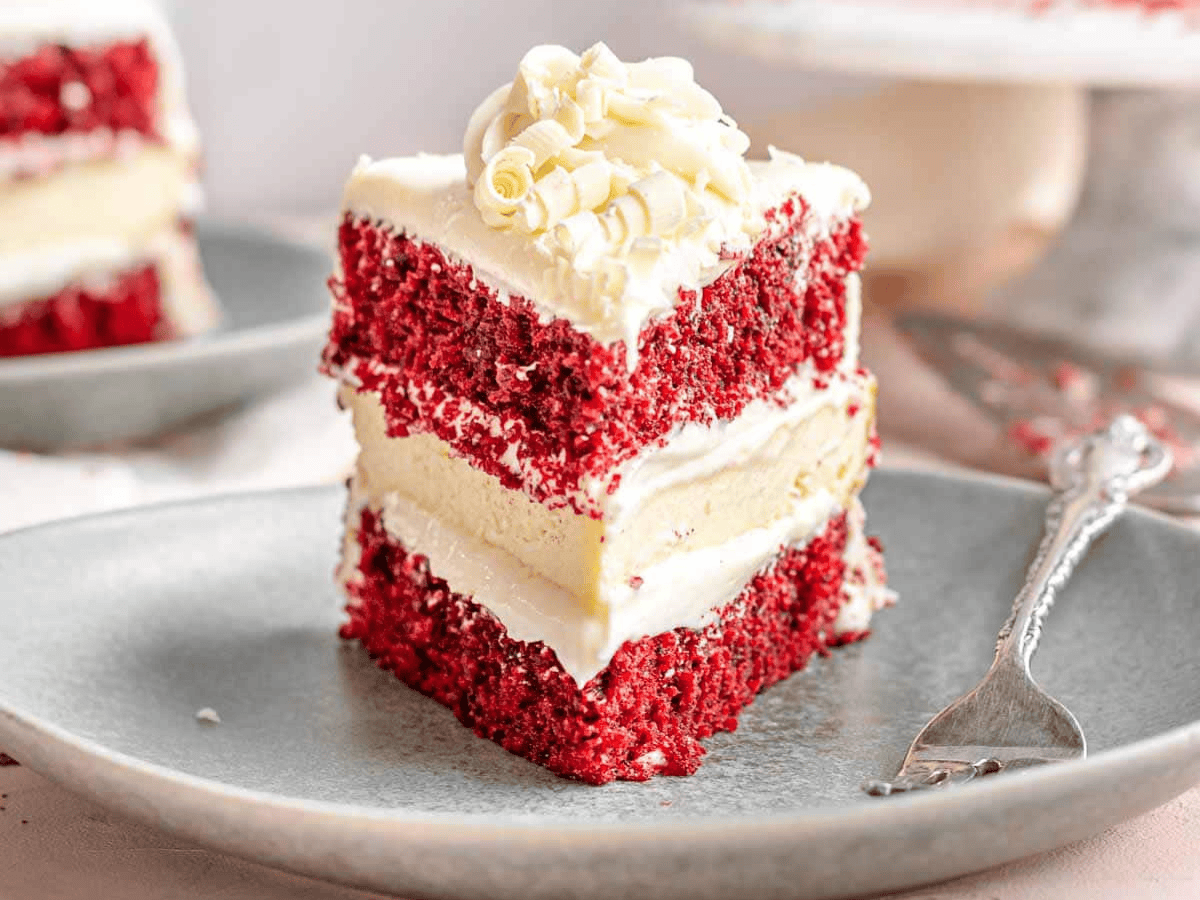
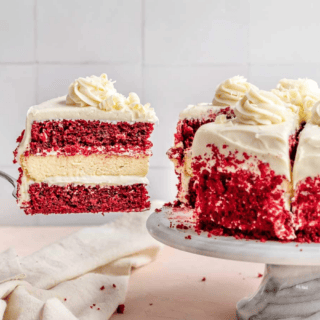
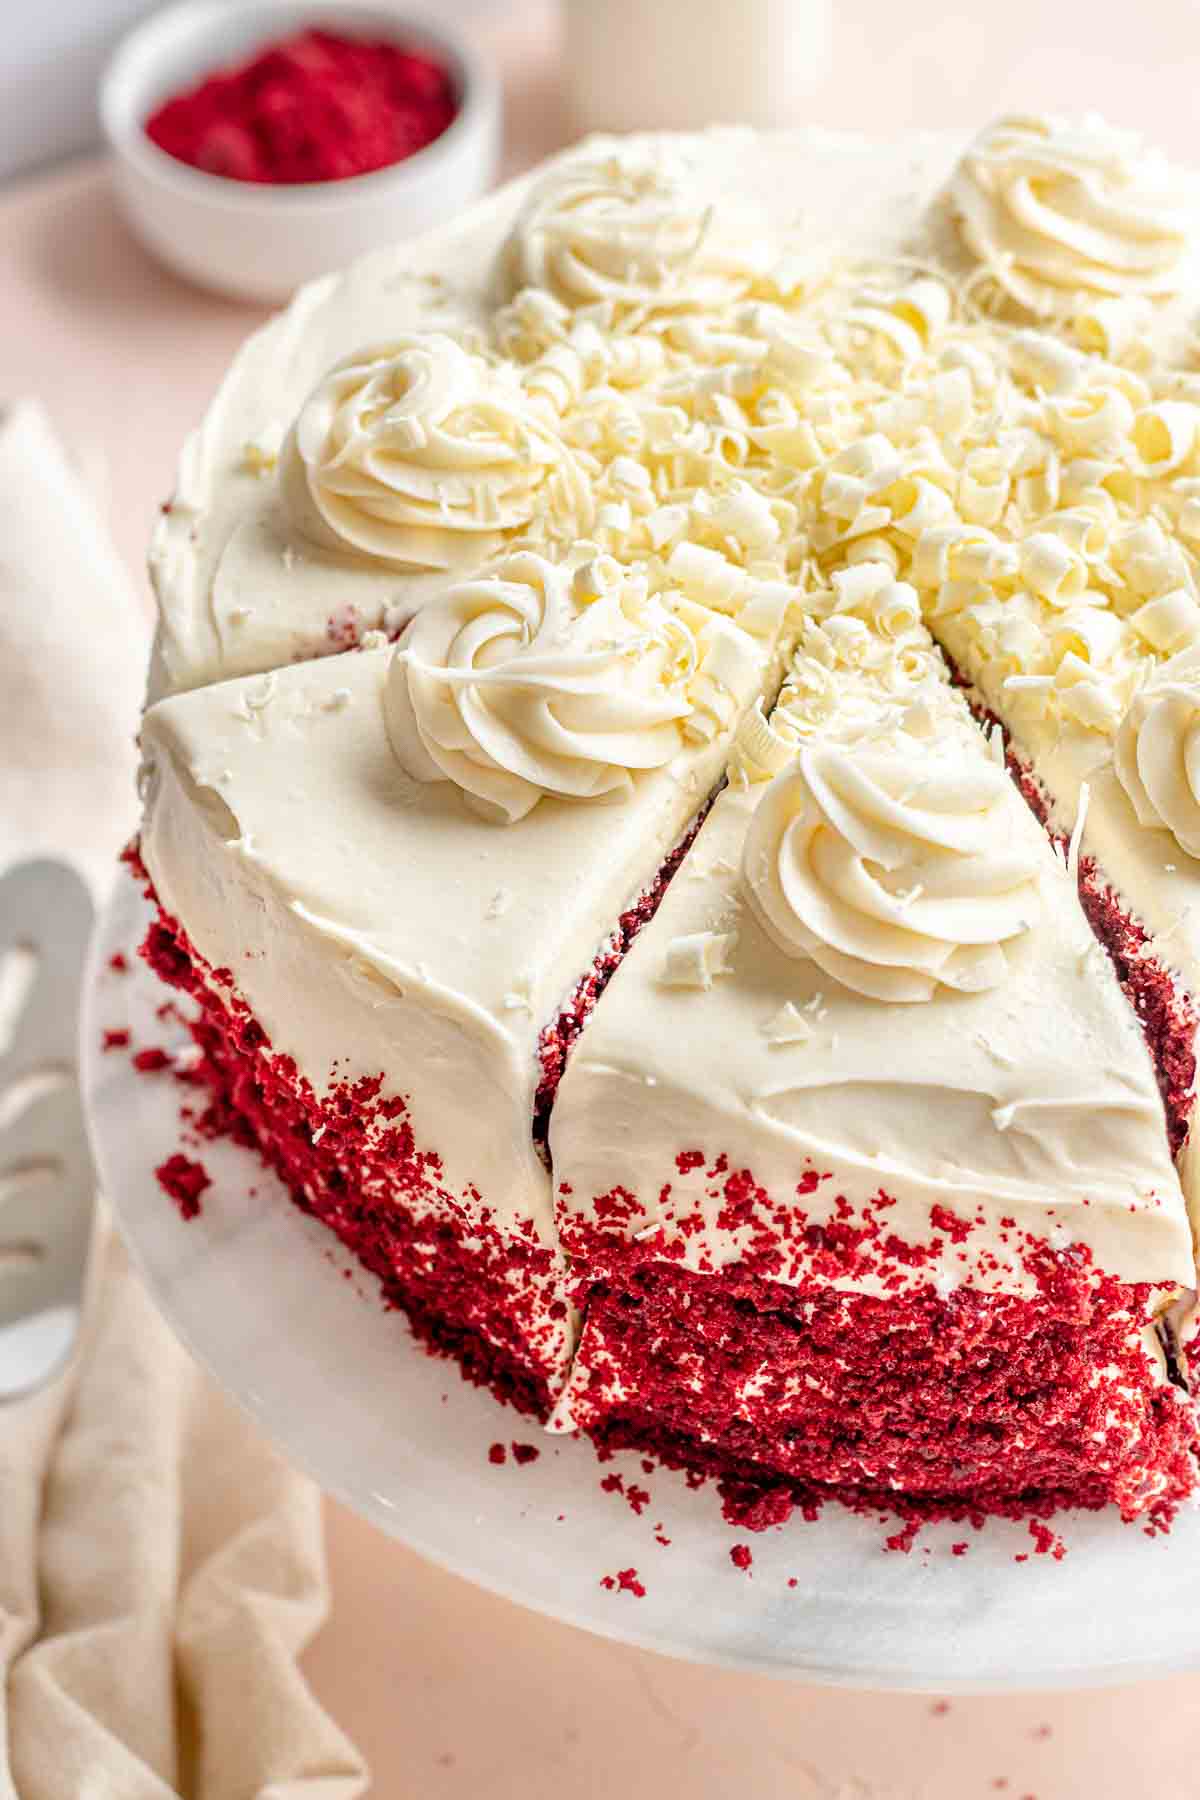
Red Velvet Cheesecake Cake is a delicious dessert made with rich and indulgent layers. Perfect for you to make at your next celebration!
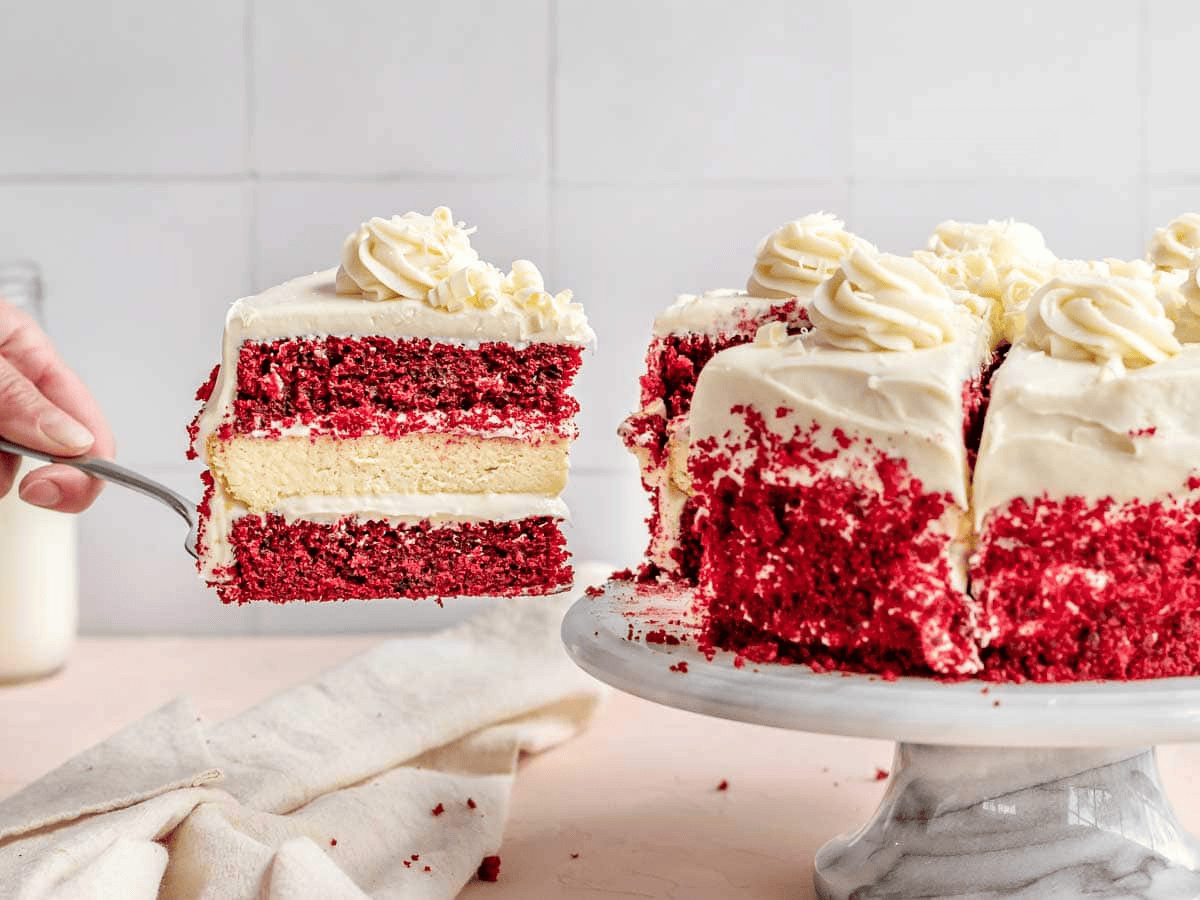
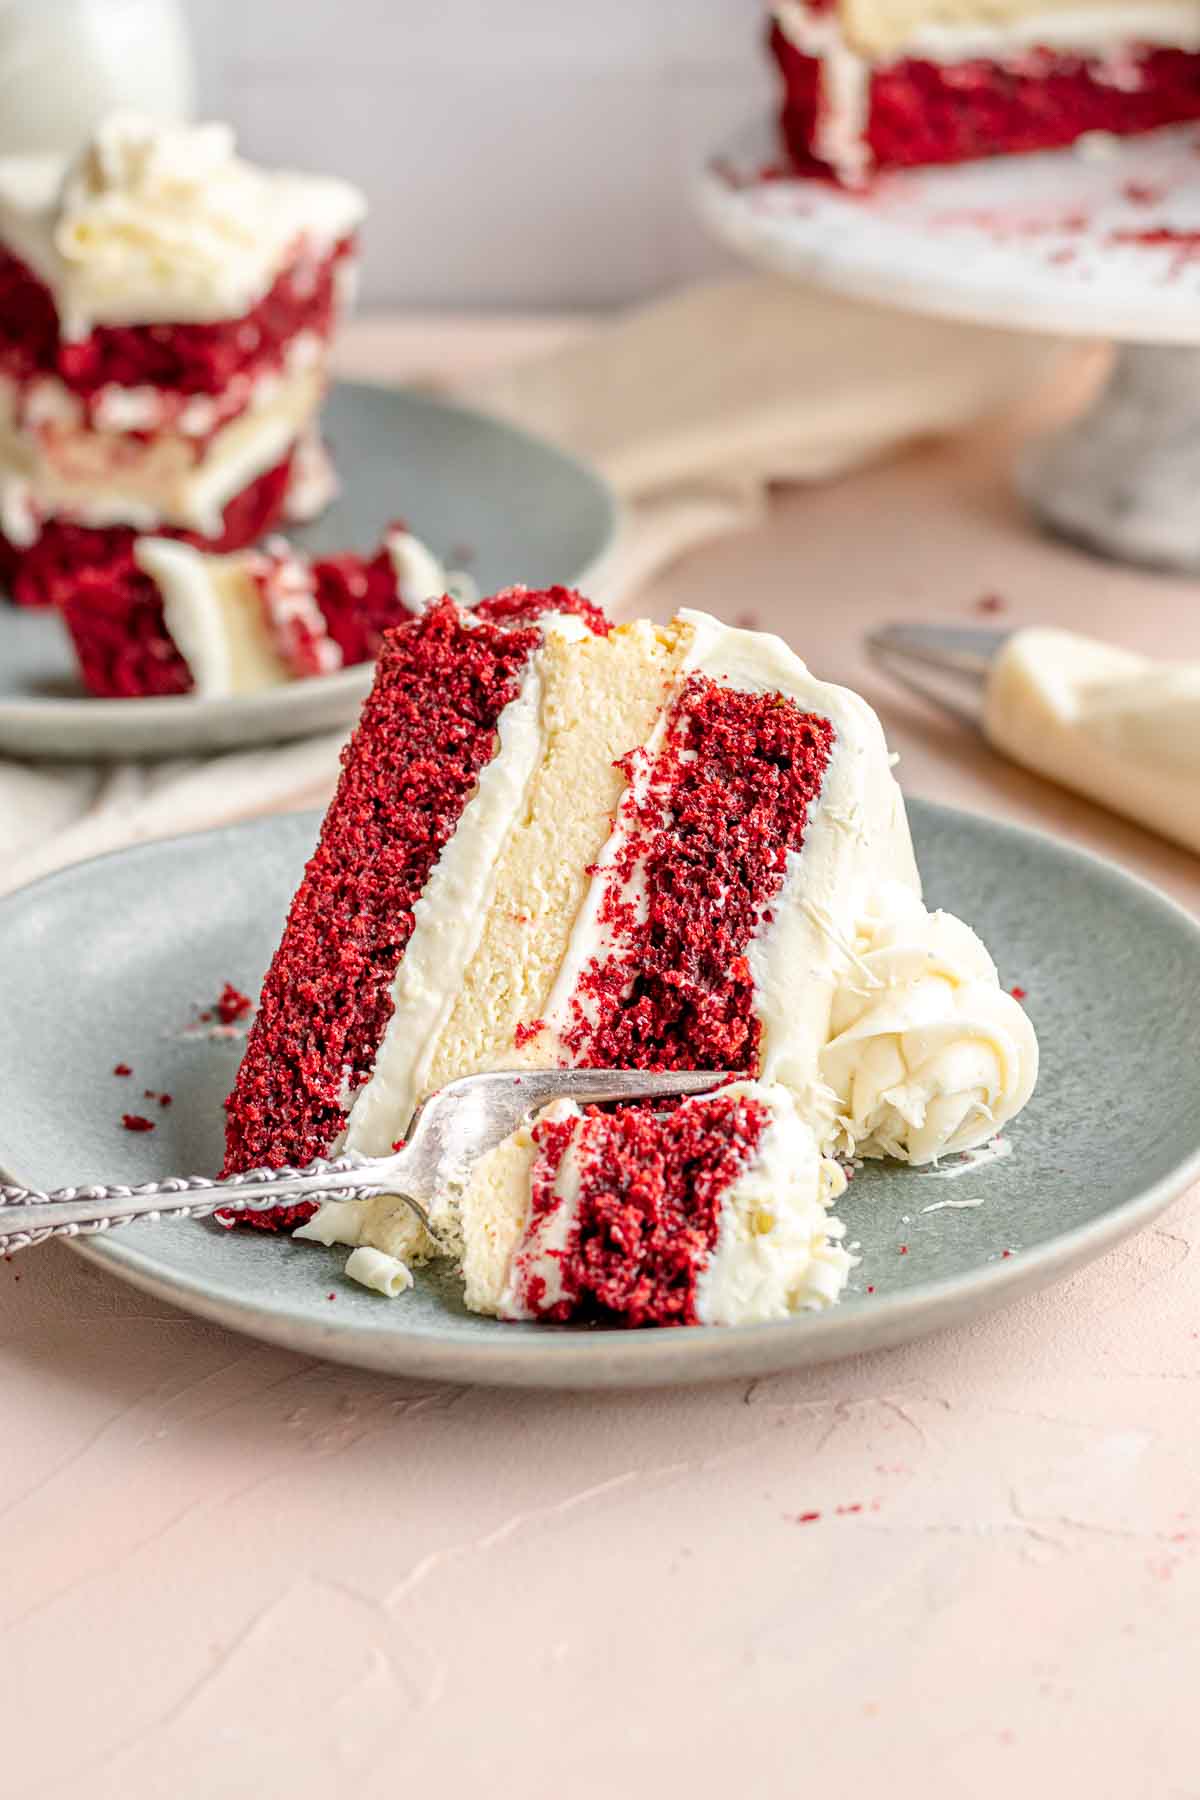
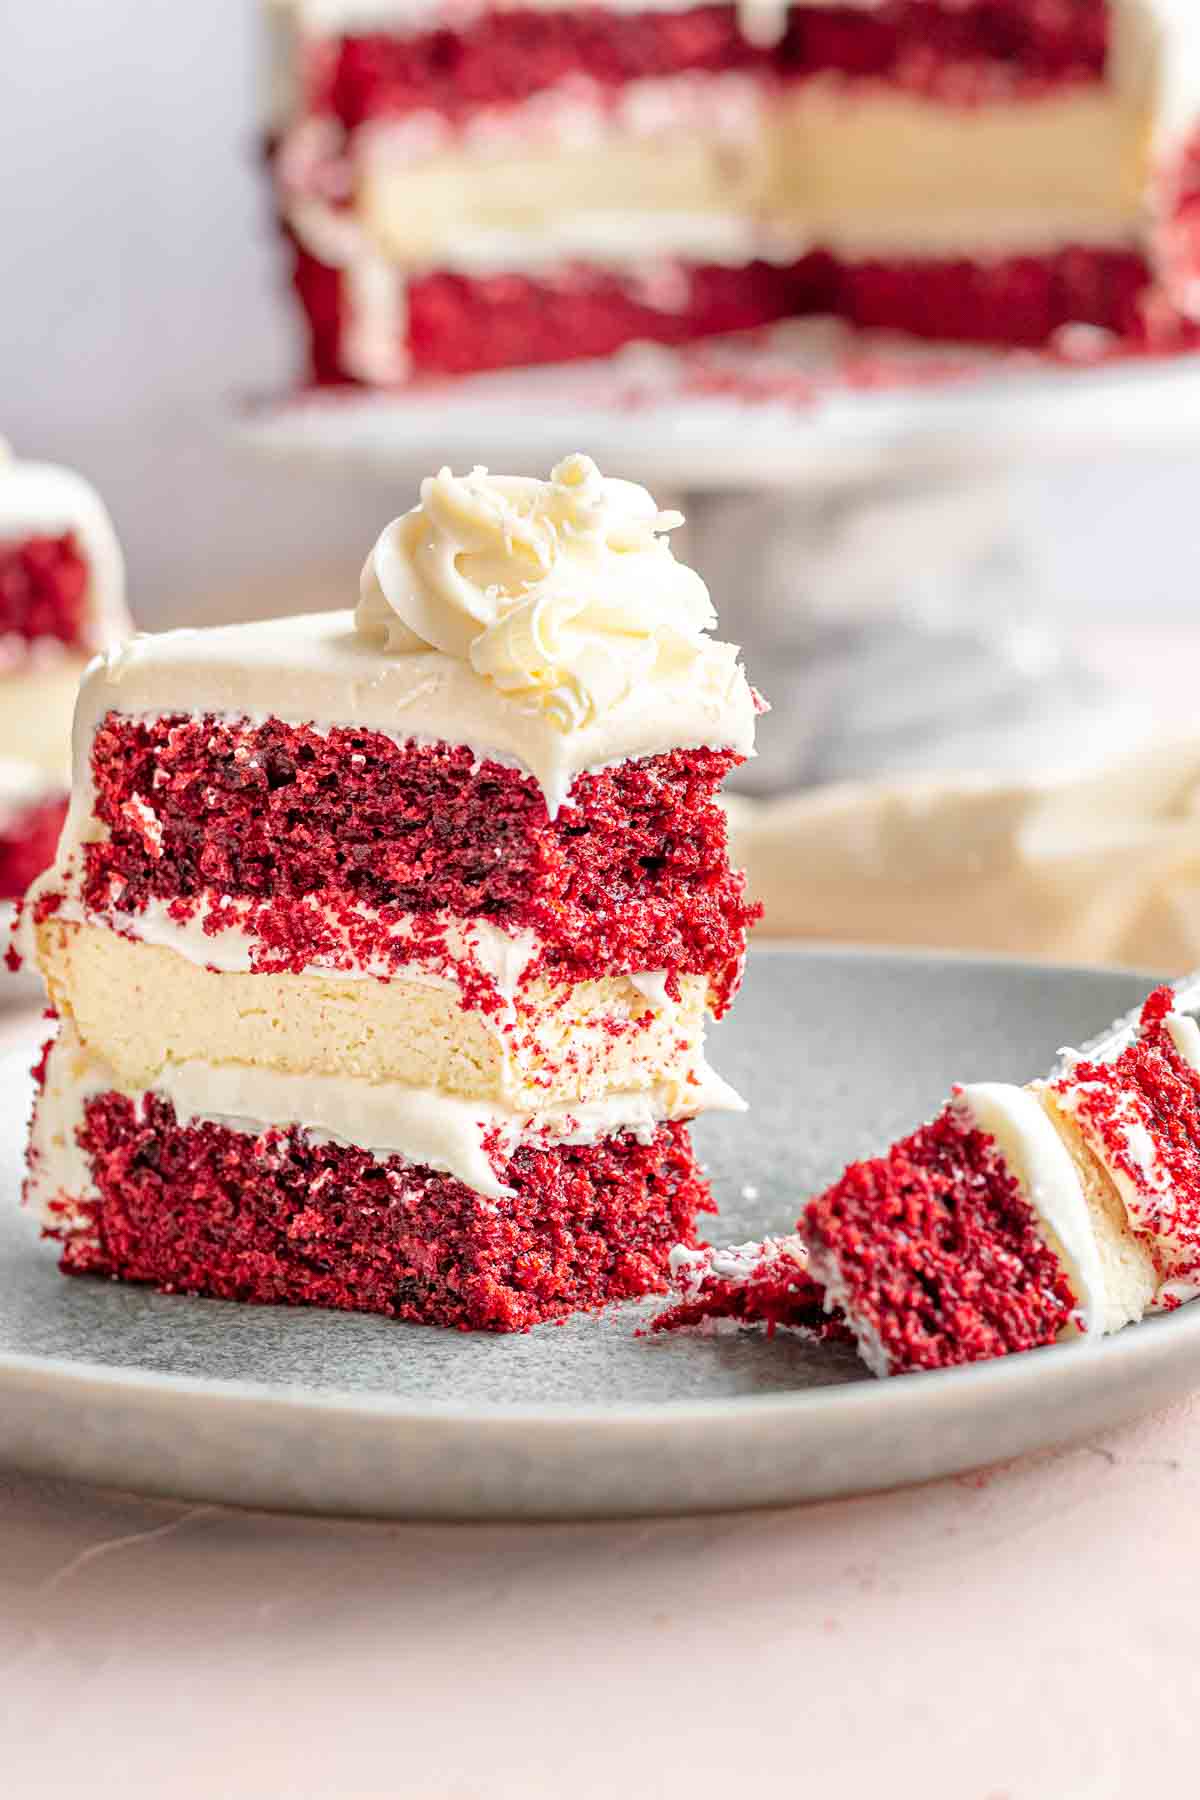
This showstopping layer Cake Recipe has double layers of moist, Classic Red Velvet Cake filled with a creamy, rich New York Cheesecake. It is a showstopping dessert for holidays and special occasions!
Sabrina’s Red Velvet Cheesecake Cake Recipe
It’s no secret that cream cheese and red velvet are the perfect flavor pairing. From cupcakes to cookies to a classic layer cake, red velvet desserts are almost always smothered in a thick, sweet cream cheese frosting. Then there’s desserts like Red Velvet Cheesecake Bundt Cake that have a creamy cheesecake swirl in the center. Well, this stunning cake takes the cream cheese filling to the next level by adding a whole cheesecake.
Recipe Card
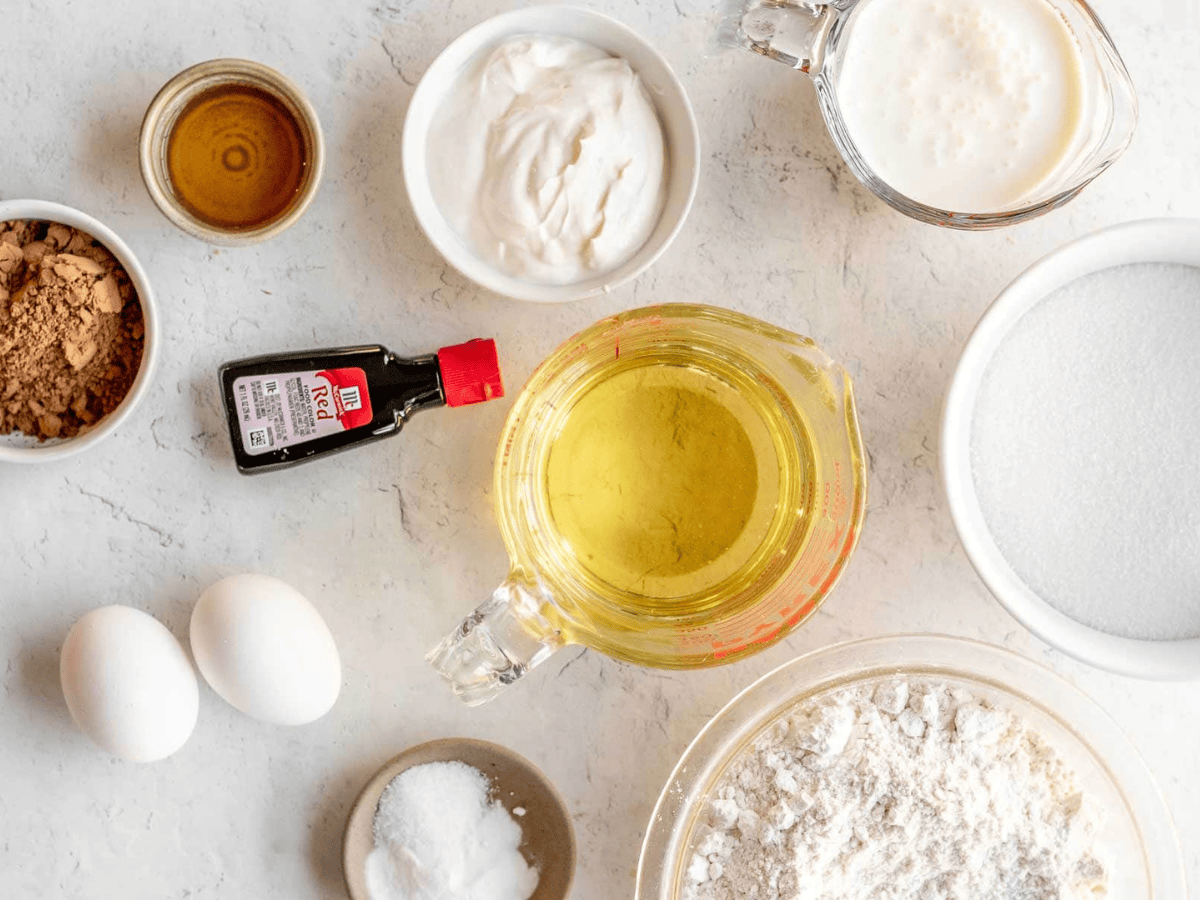
Ingredients
Cheesecake Layer:
- 16 ounces cream cheese , softened
- 3/4 cup sugar
- 2 large eggs
- 1/2 cup sour cream
- 2 teaspoons vanilla extract
- 2 tablespoons flour
Red Velvet Cake:
- 2 large eggs
- 1 1/2 cups sugar
- 1 1/2 cups vegetable oil
- 1 cup low-fat buttermilk
- 1 ounce red food coloring
- 1 tablespoon apple cider vinegar
- 1 teaspoon vanilla extract
- 3 cups flour
- 3 tablespoons unsweetened cocoa powder
- 1 1/2 teaspoons baking soda
- 1 teaspoon salt
Cream Cheese Frosting:
- 24 ounces cream cheese , softened
- 1/2 cup unsalted butter , softened
- 3 tablespoons sour cream
- 1 tablespoon vanilla extract
- 6 1/2 cups powdered sugar
To finish:
- 6 ounces white chocolate bar , shaved thinly
Instructions
Cheesecake Layer:
- Preheat oven to 350 degrees and line a 9″ springform pan with baking spray and parchment paper disc.
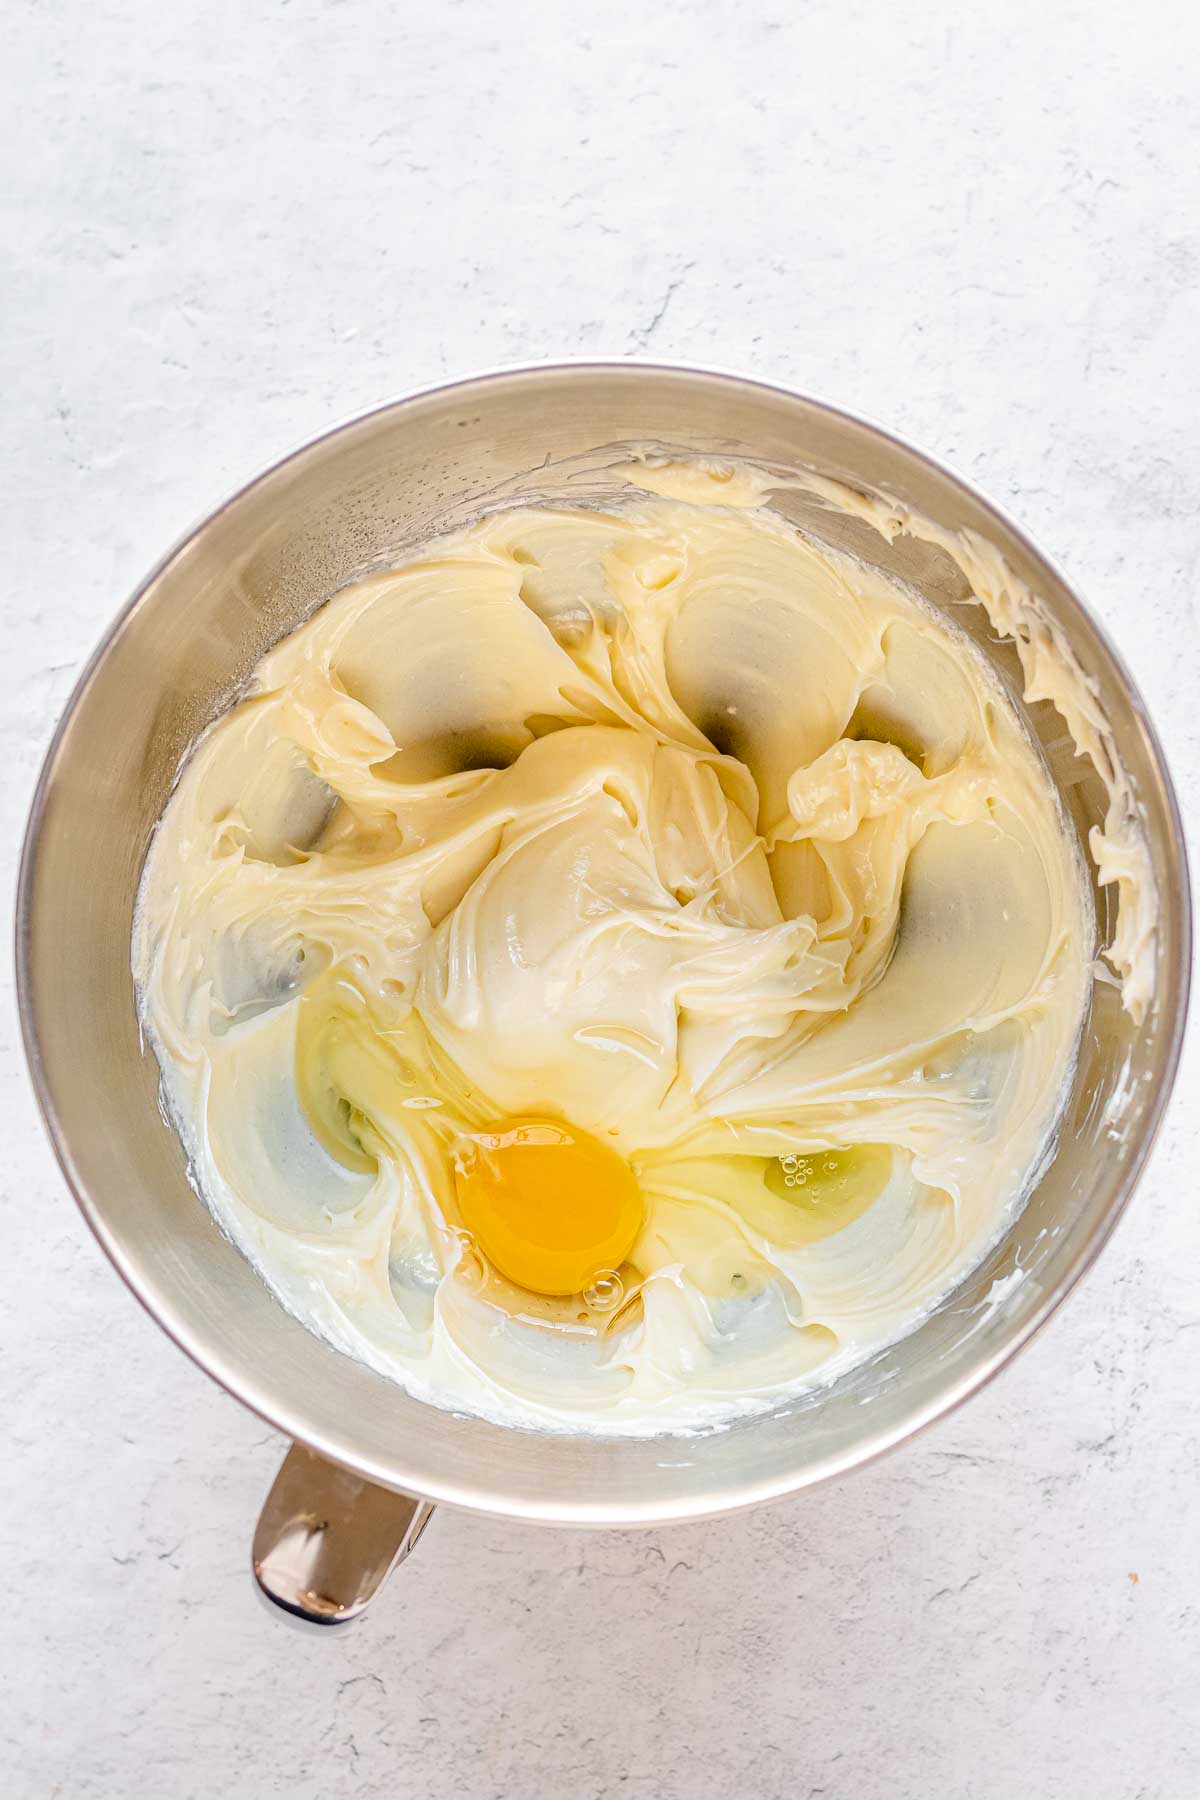
- In a stand mixer beat the cream cheese and sugar then add in the milk until combined.
- Add in the eggs one at a time until fully combined then add in the sour cream, vanilla and flour until combined.
- Pour filling into pan and spread evenly.
- Bake for 30-35 minutes.
- Turn off the oven, open the door a couple inches to let the heat out gently and let cool for 20 minutes.
- Remove from oven, refrigerate for 2 hours until well chilled.
Red Velvet Cake:
- Preheat oven to 350 degrees and spray two 9″ cake pans with baking spray and parchment paper discs.
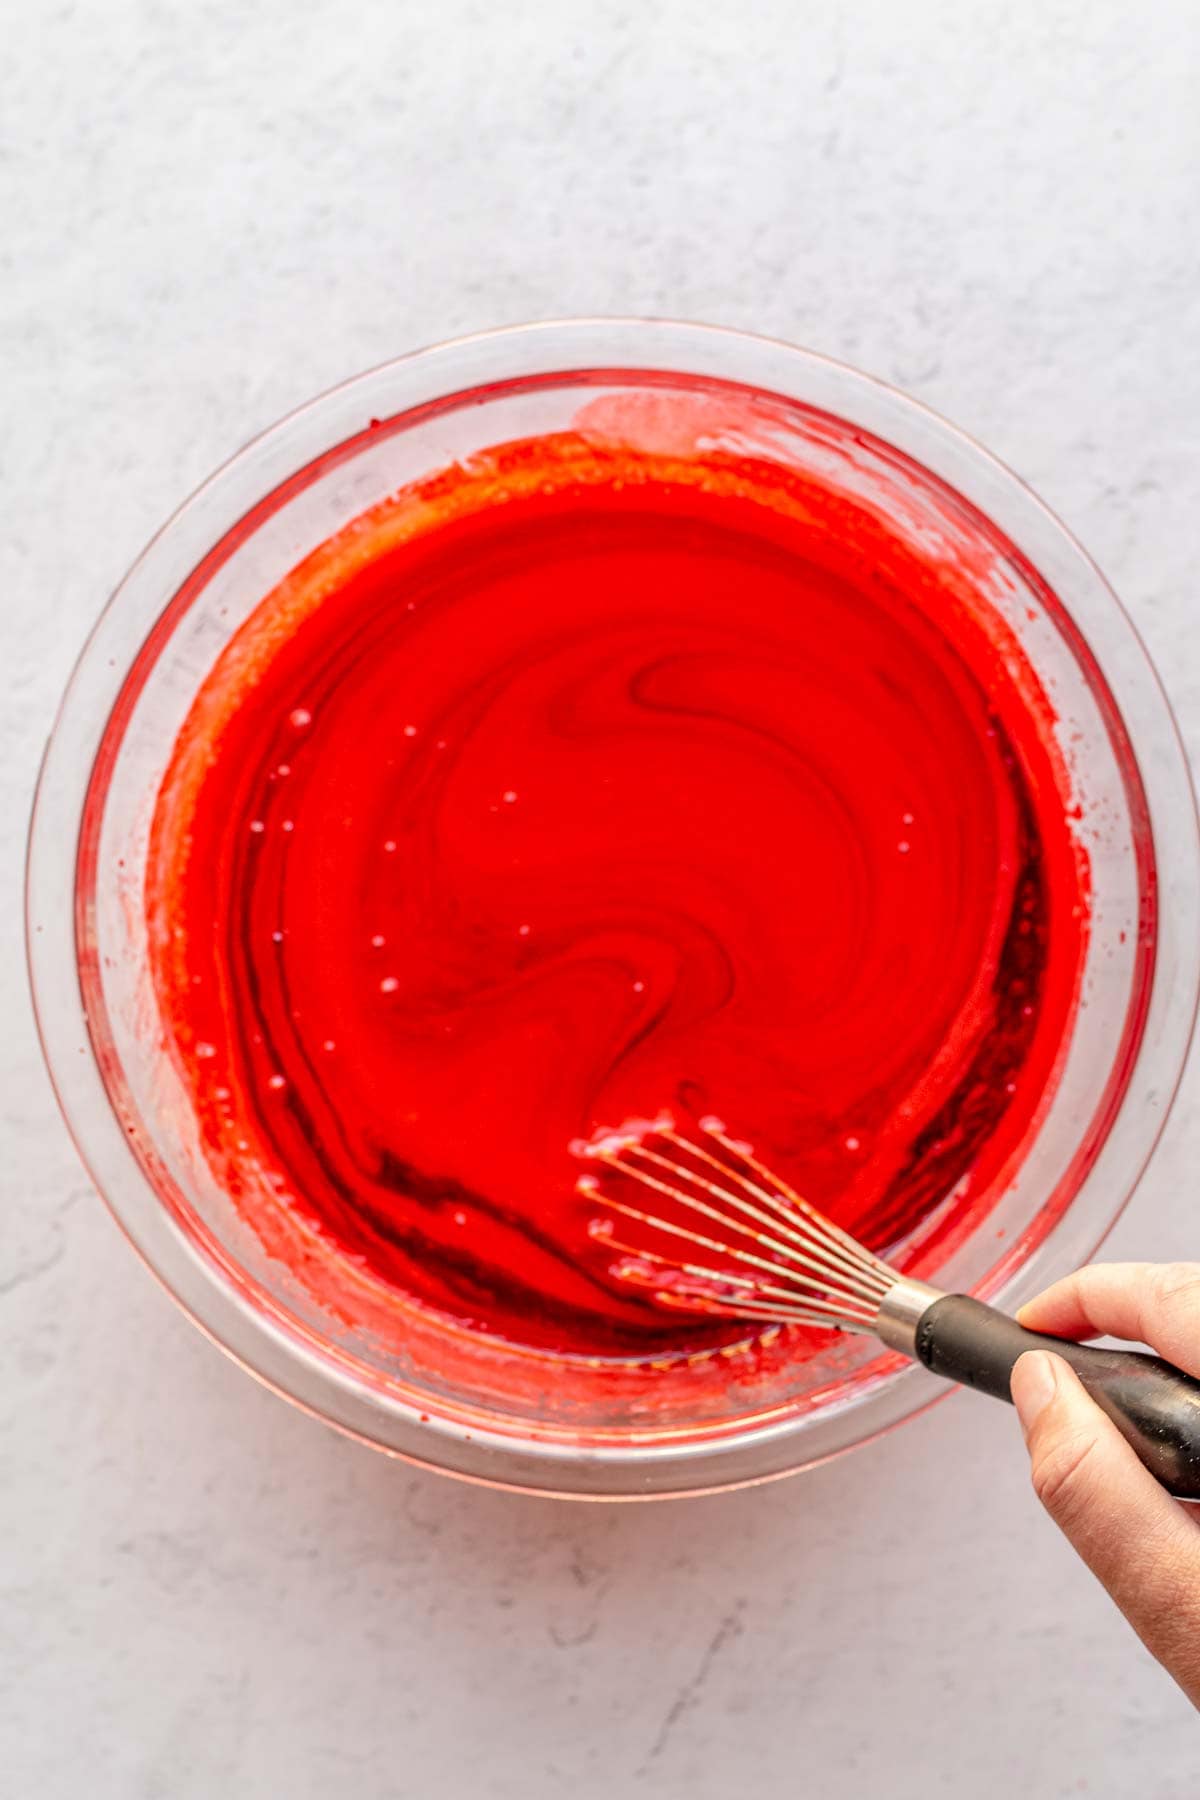
- In a large mixing bowl add eggs, sugar and vegetable oil, whisking well until combined.
- Add in buttermilk, food coloring, apple cider vinegar and vanilla extract and whisk well.
- Sift in the flour, cocoa powder, baking soda and salt and whisk until just combined.
- Spread into the cake pans evenly.
- Bake for 30-35 minutes until a toothpick comes out clean.
- Let cool for 15 minutes before removing from pans.
- Let cakes cool completely.
Cream Cheese Frosting:
- Add the cream cheese, butter, sour cream and vanilla to a stand mixer and beat until light and fluffy.
- Add in the powdered sugar one cup at a time until smooth and incorporated.
To Finish:
- To your cake stand add a spoonful of cream cheese frosting.
- Level the red velvet cakes with a large serrated knife and reserve the cake pieces.
- Brush off excess crumbs.
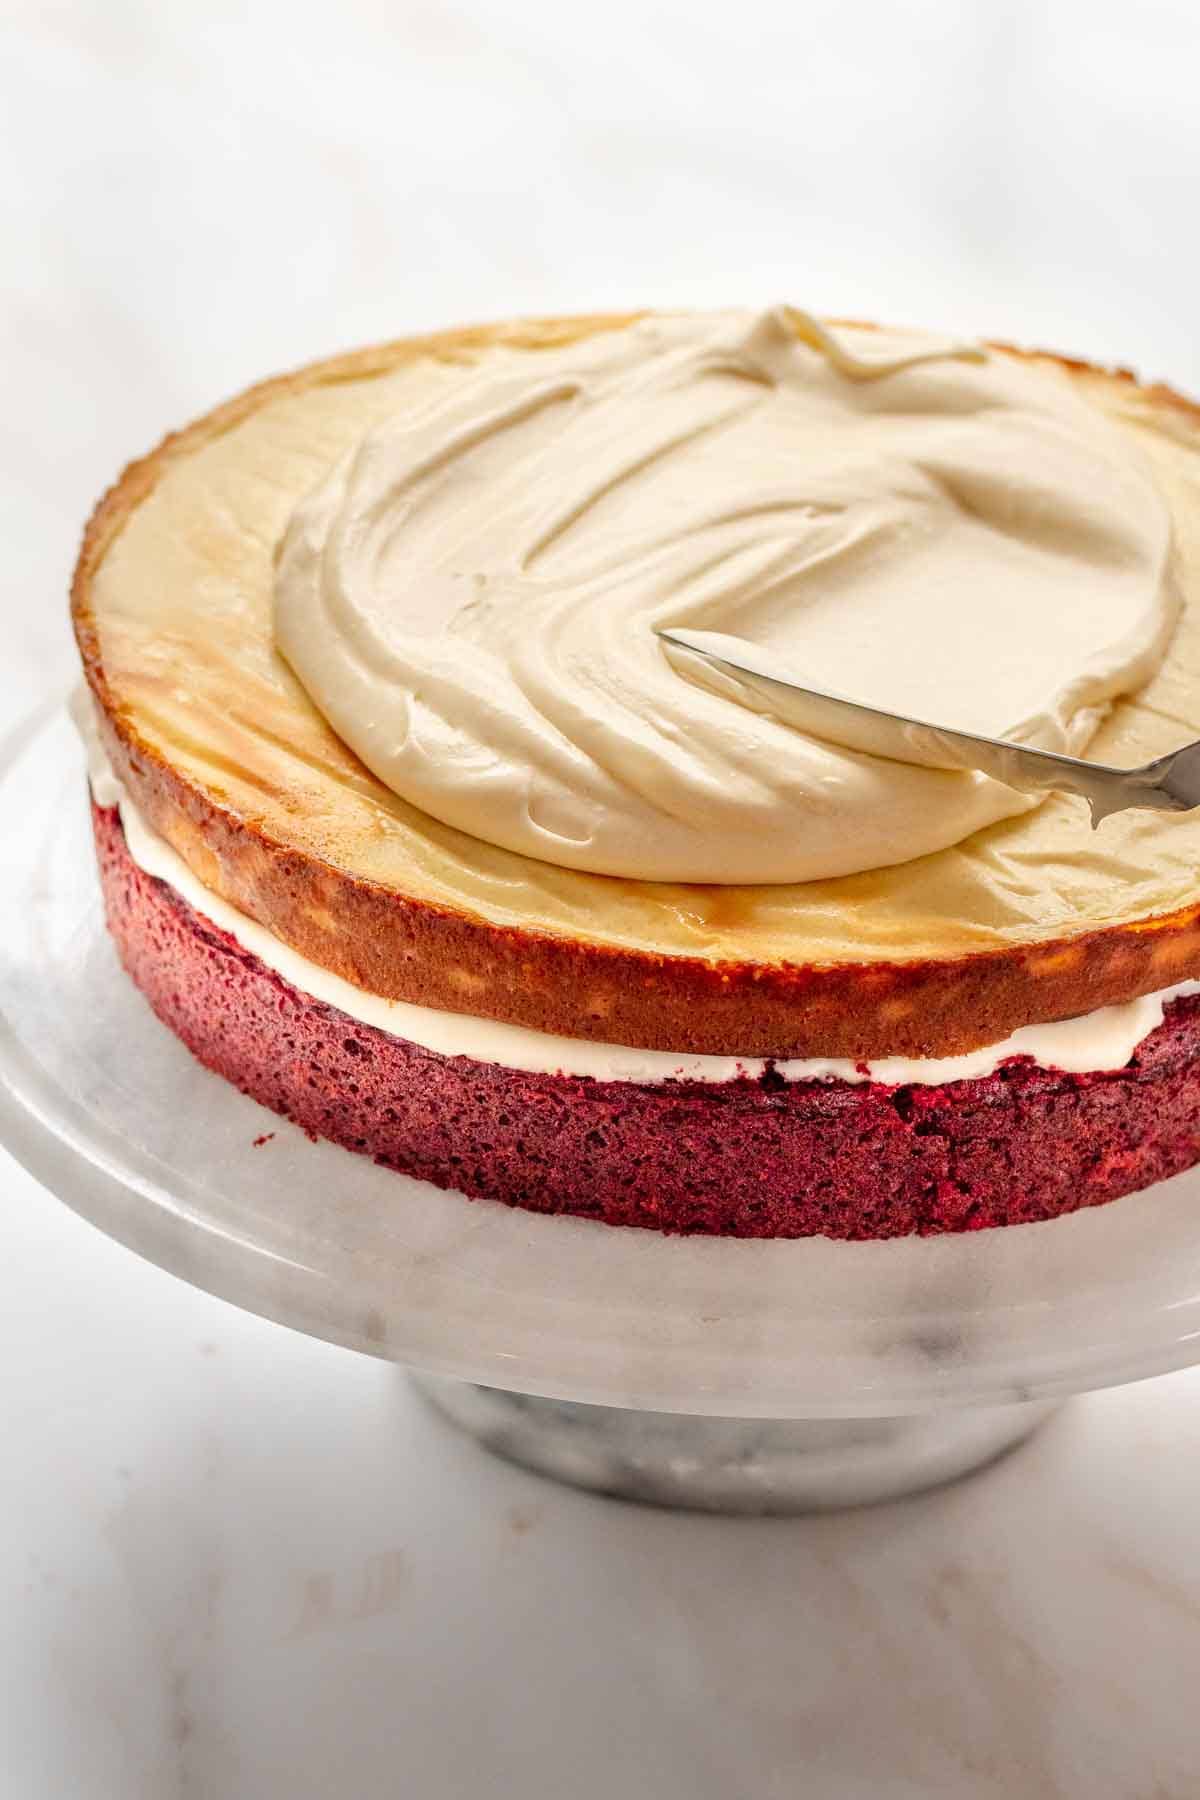
- Add the first layer of the red velvet cake to the cake stand.
- Top with 1 cup of cream cheese frosting, spread evenly.
- Top with cheesecake layer, careful when removing the parchment paper under the cheesecake.
- Top with 1 cup of cream cheese frosting, spread evenly.
- Top with second layer of red velvet cake.
- Top with 1 cup of cream cheese frosting, spread evenly.
- Add 1 cup of cream cheese frosting, coating the outside of the cake.
- Refrigerate for 30 minutes to allow to harden.
- Frost the cake with half the remaining cream cheese frosting.
- Use the remaining cake you cut off to level and crumble well.
- Press up against the side of the cake coming up halfway on the sides of the cake.
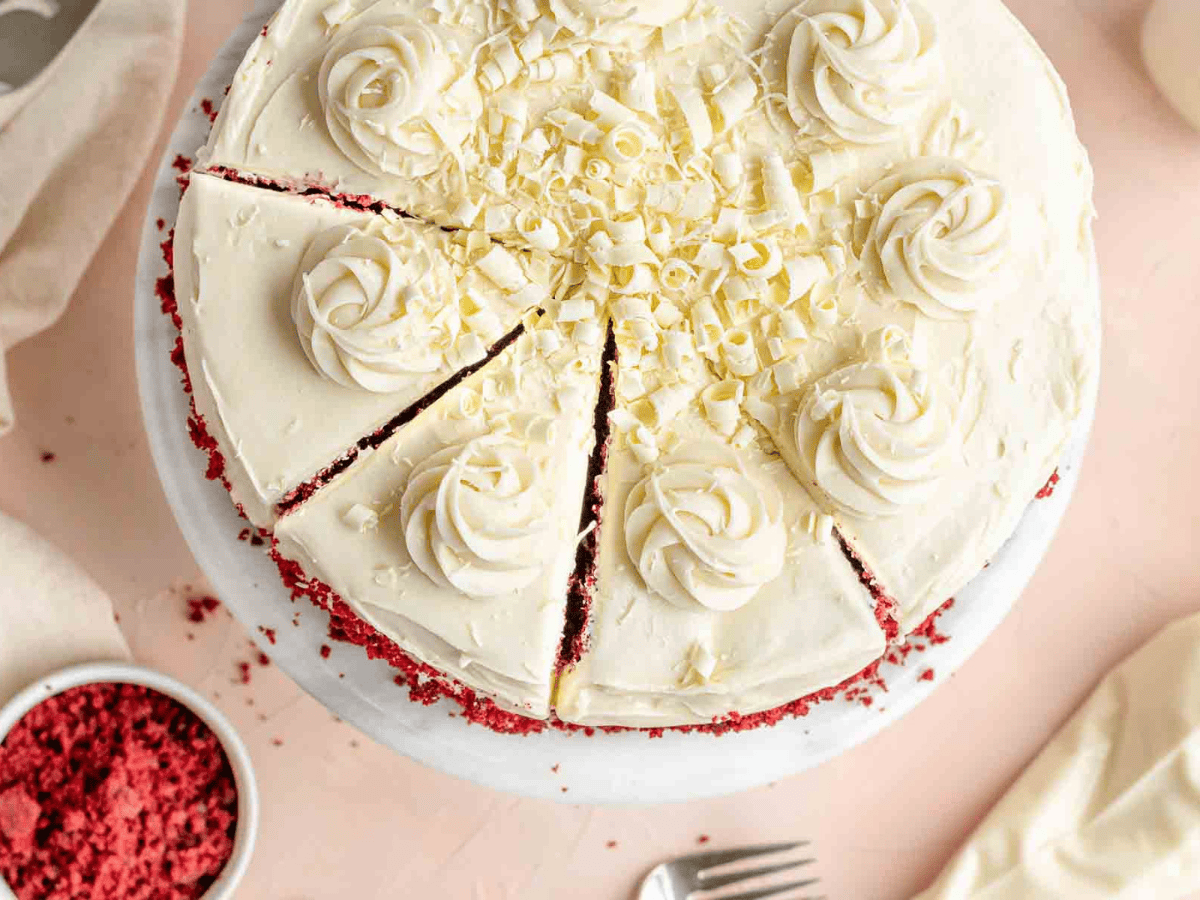
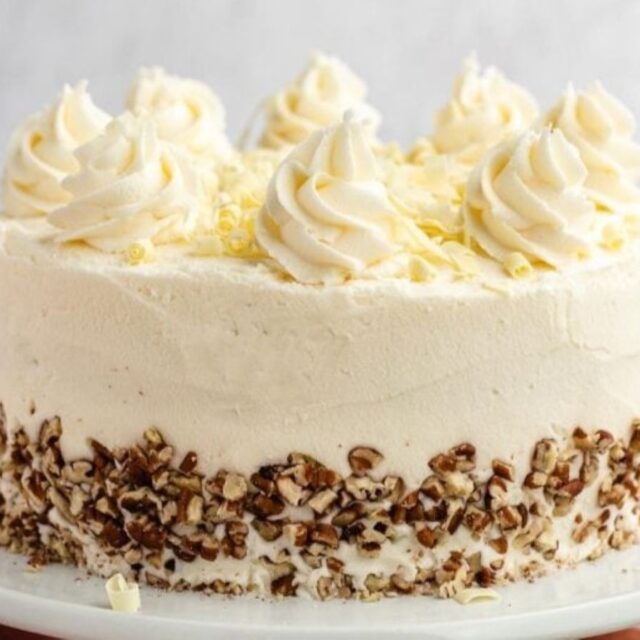
- Pipe swirly mounds onto the top of the cake.
- Top with shaved white chocolate.
Nutrition
Want to save this recipe? Create a free account to easily save your favorite recipes
Table of contents
About this Recipe
This double-layer cake is pure decadence all the way down, from the rich, sweet cream cheese frosting, to the velvety texture of the chocolaty cake, to the creamy vanilla cheesecake, to even more of the moist, vibrant cake. It’s definitely the kind of cake you save for special occasions or for a holiday dessert. Plan about 5-6 hours from start to finish to give yourself plenty of cooling time and decorating time for a presentation that looks as wonderful as the cake tastes. The moment you cut into the frosted double layers of red velvet to reveal a thick baked cheesecake center, you’ll know it was worth all the extra effort. Your guests will swear you picked it up from that one cheesecake restaurant!
Ingredients
- Cheesecake: The rich, New York-style cheesecake made with sour cream for extra tangy flavor. The eggs and flour are key to giving the cheesecake structure, plus the eggs make it super rich. Make sure your cream cheese is nice and soft, so it whips up and creates lots of air for a light texture.
- Red Velvet Cake: The secret to a moist, melt-in-your-mouth cake is buttermilk and apple cider vinegar. These acidic ingredients tenderize the crumbs while creating that velvety, airy texture. The little bit of cocoa powder gives this cake a subtle chocolate flavor without overpowering that amazing, rich tang from the buttermilk.
- Cream Cheese Frosting: A classic Cream Cheese Frosting gets a little extra zip with sour cream. It adds a delicious, tangy flavor to go with all the layers of cake. Plus, it makes the cream cheese, unsalted butter, powdered sugar, and vanilla mixture extra smooth and creamy.
Kitchen Tools & Equipment
- Cake Pans: For the regular cake layers, you’ll need two 9-inch round cake pans.
- Springform Pan: For the cheesecake layer, you’ll need a 9-inch round springform pan.
Can this be made ahead of time?
Absolutely, you can make parts of this cake in advance, especially if you don’t have at least 5 hours to set aside. The red velvet layers can be baked and stored in the fridge for up to 3 days and in the freezer for up to 4 months. Simply wrap tightly in two layers of plastic wrap after they are out of the pan and cooled completely. The cheesecake batter can be made the day before it is baked, and baked cheesecake can also be stored in the fridge or freezer the same way. Cheesecake will keep up to 3 months in the freezer and 2-3 days in the fridge. Finally, the frosting can be frozen for up to 6 months or refrigerated for 5 days.
How to Store
- Store: Can be at room temperature for up to 2 hours before chilling. Keep the cake covered in the refrigerator for up to 3 days. Wrap the whole cake loosely with foil so you don’t squish the frosting, or store slices in an airtight container.
- Freeze: Wrap cake slices in plastic wrap and store in a freezer-safe container for up to 3 months. Let thaw in the fridge overnight before serving.
Frequent Questions
In modern times, red velvet cakes are made red using food-safe coloring, either liquid or gel food coloring. Traditionally, though, the cakes would turn red as they baked because the acid in the buttermilk reacted with the old-fashioned cocoa powder. Some bakers add beet juice as a natural dye, although it’s not quite as vibrant as food coloring.
While Red Velvet Cake technically has a chocolaty flavor, it’s more than just a chocolate cake! It only has a little bit of cocoa powder, whereas regular chocolate cakes contain lots of cocoa and oftentimes additional chocolate. Also, the buttermilk and sour cream give it a tangy flavor and velvety texture that isn’t in classic chocolate cake.
No, while it would be amazing to be able to bake all the layers of cake at the same time, you cannot bake this cake all at once. Even though they bake at the same temperature, you will mess up the cooking process for the cheesecake by opening the oven door.
Variations
White Chocolate: Another flavor that goes with red velvet is white chocolate! Add ½ cup white chocolate chips to the cake batter for some delicious bursts of creamy vanilla flavor. Top the frosted cake with a melted white chocolate drizzle or a thick layer of White Chocolate Ganache that drips down the side.
Chocolate Chips: You could also add regular chocolate chips to either the cake batter or the cheesecake batter. Mini chocolate chips tend to work best in cheesecake, where regular-sized chocolate chips are better in cake batter.
Related Recipes
More Stunning Layer Cake Recipes
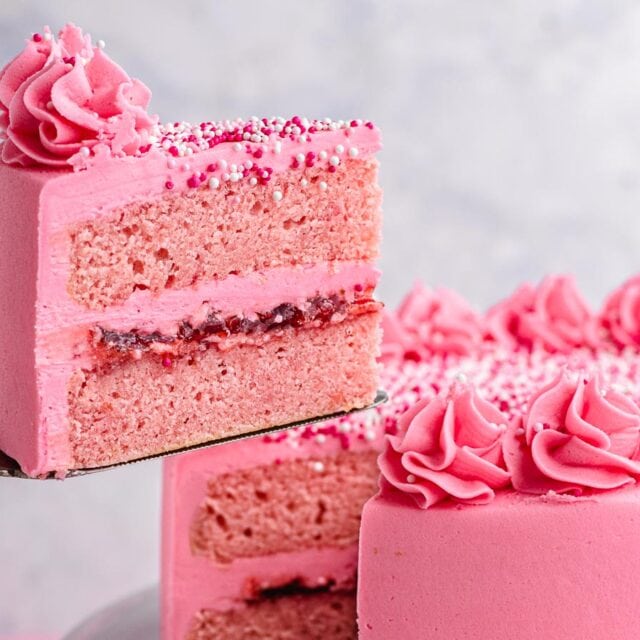
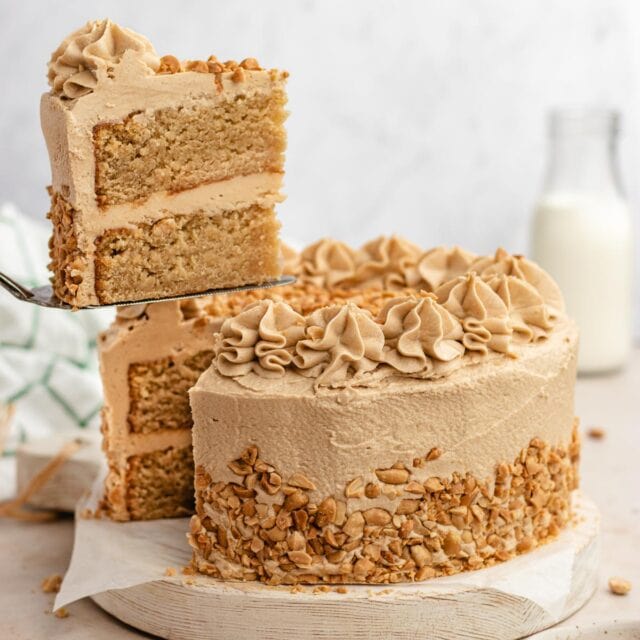
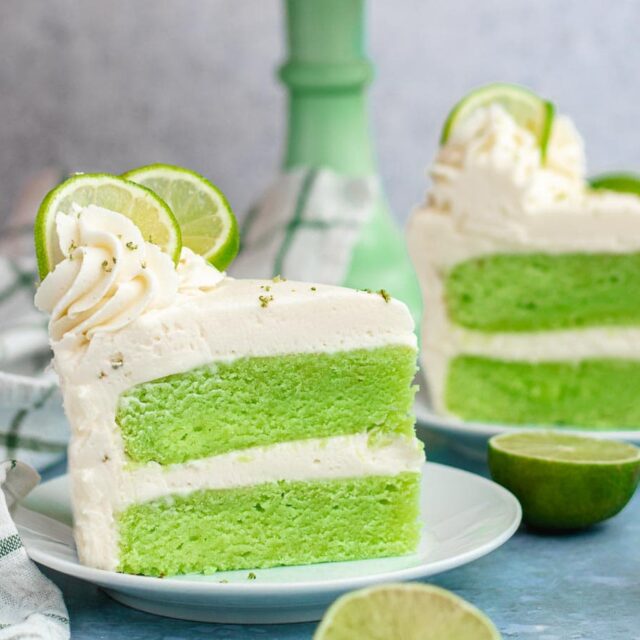

These photos were in a previous version of this post:

I suggest including the recipe of Panjgau a traditional hindu sweet made from gau-mutra, gau-gobara, milk, butter and honey. If you need any more info on this sweet please hit me up. Also, sice it is an ancient sweet not much information is available on the net.