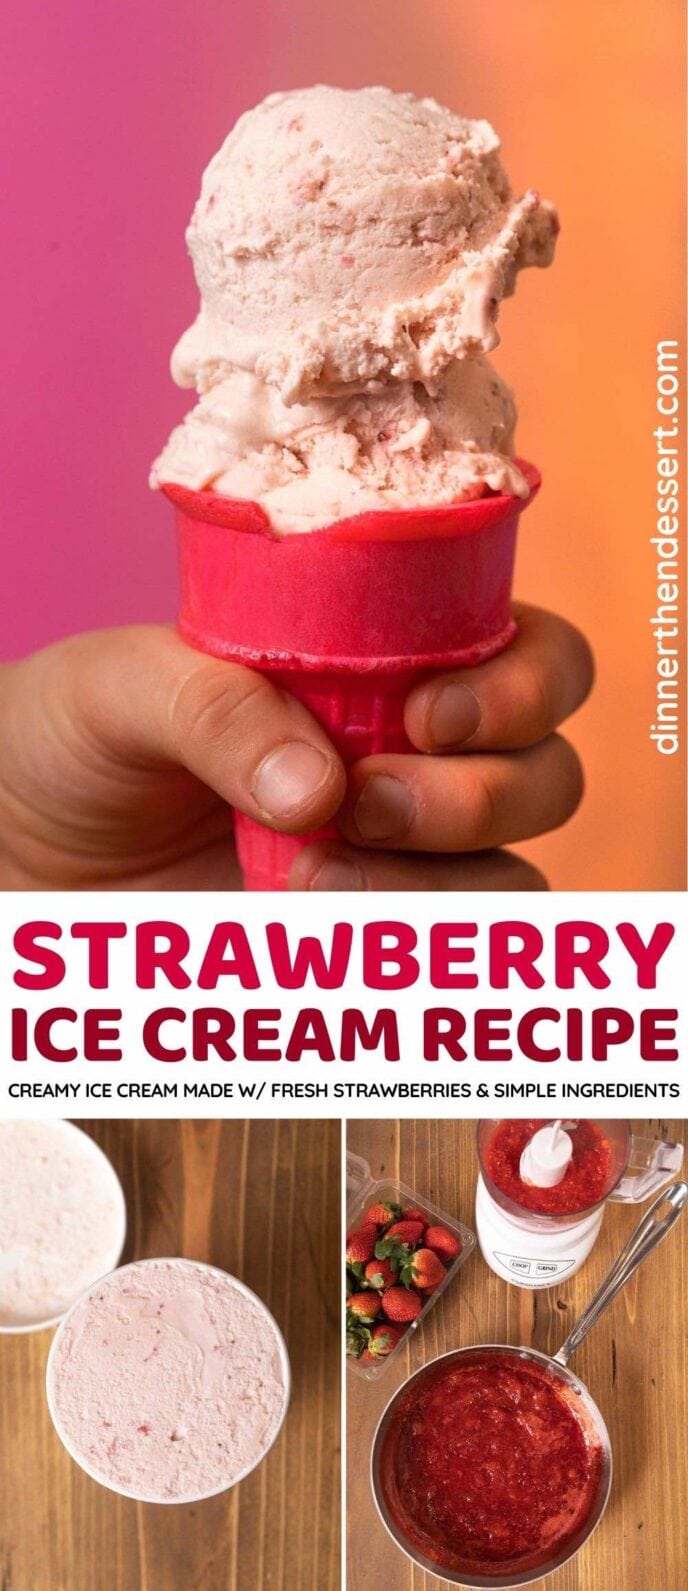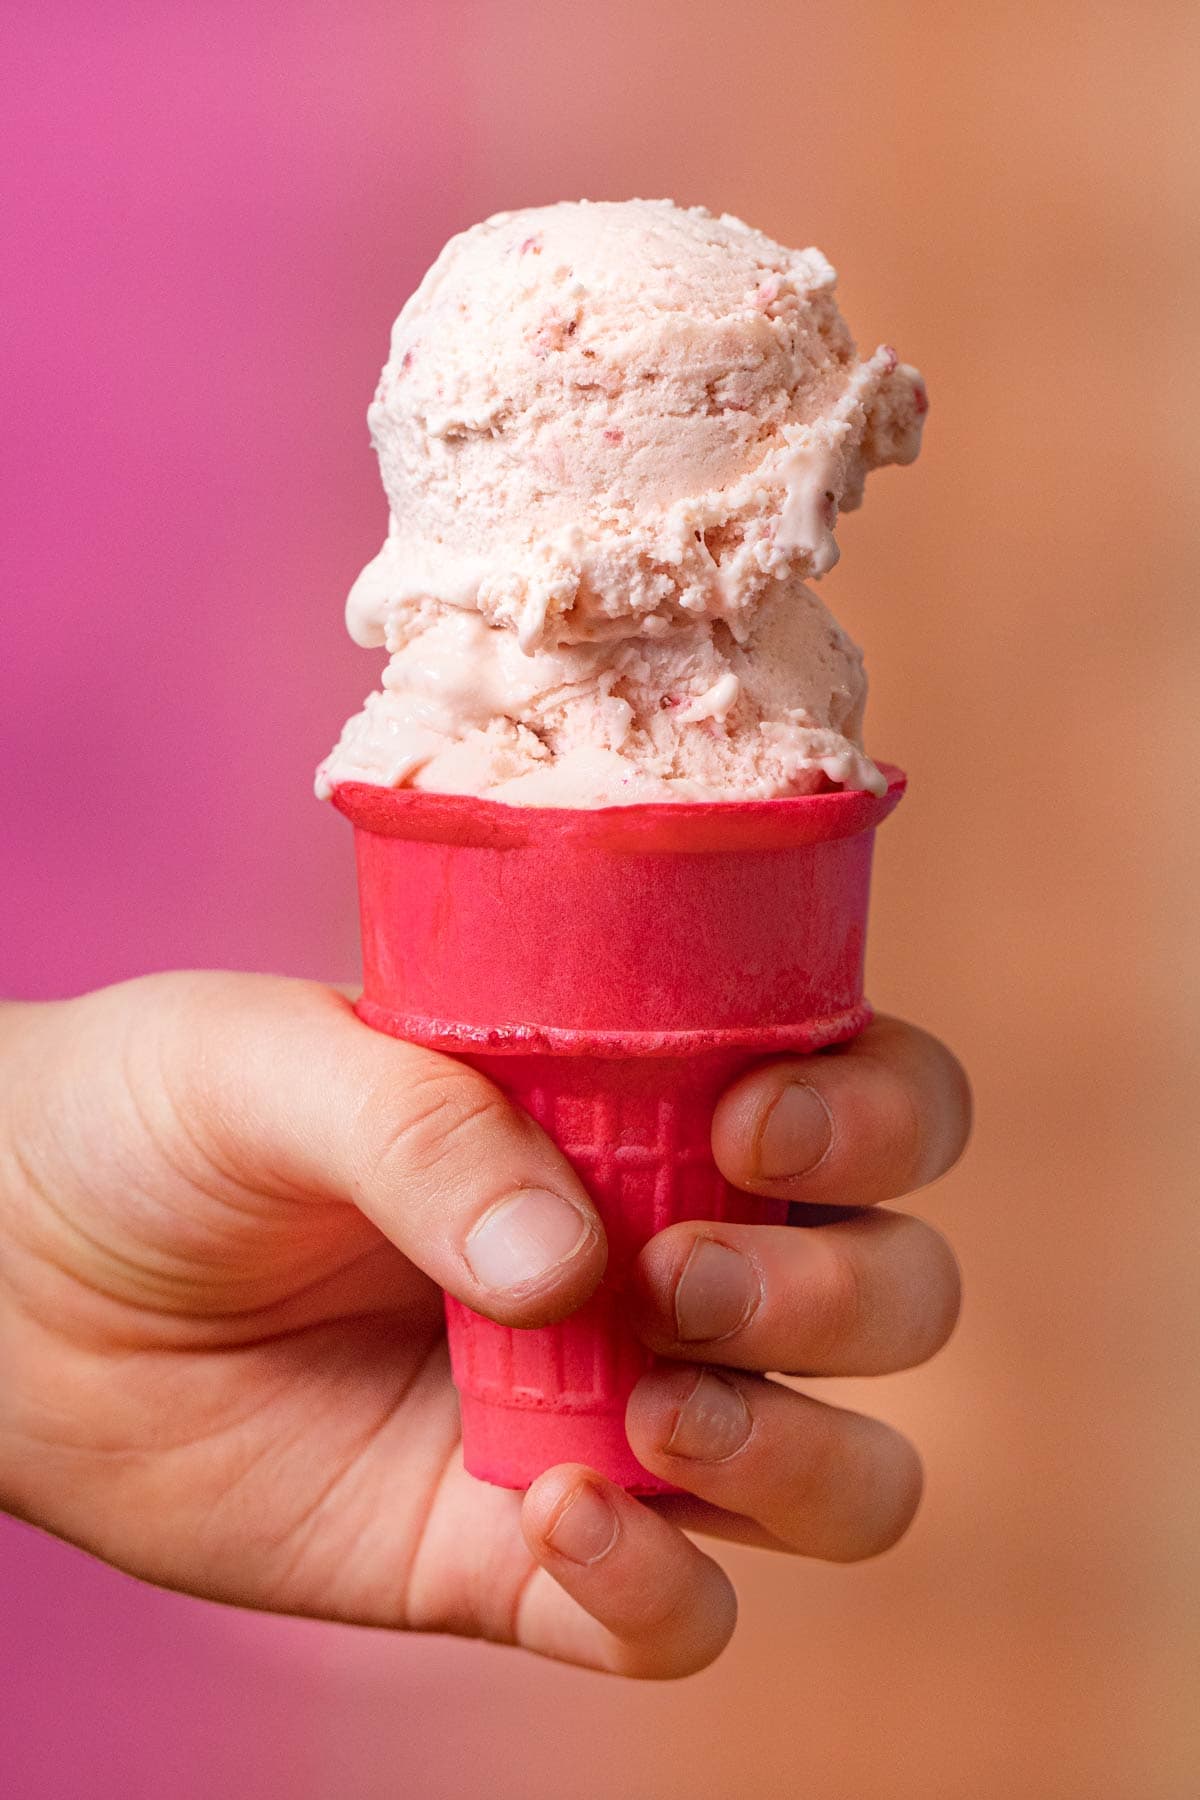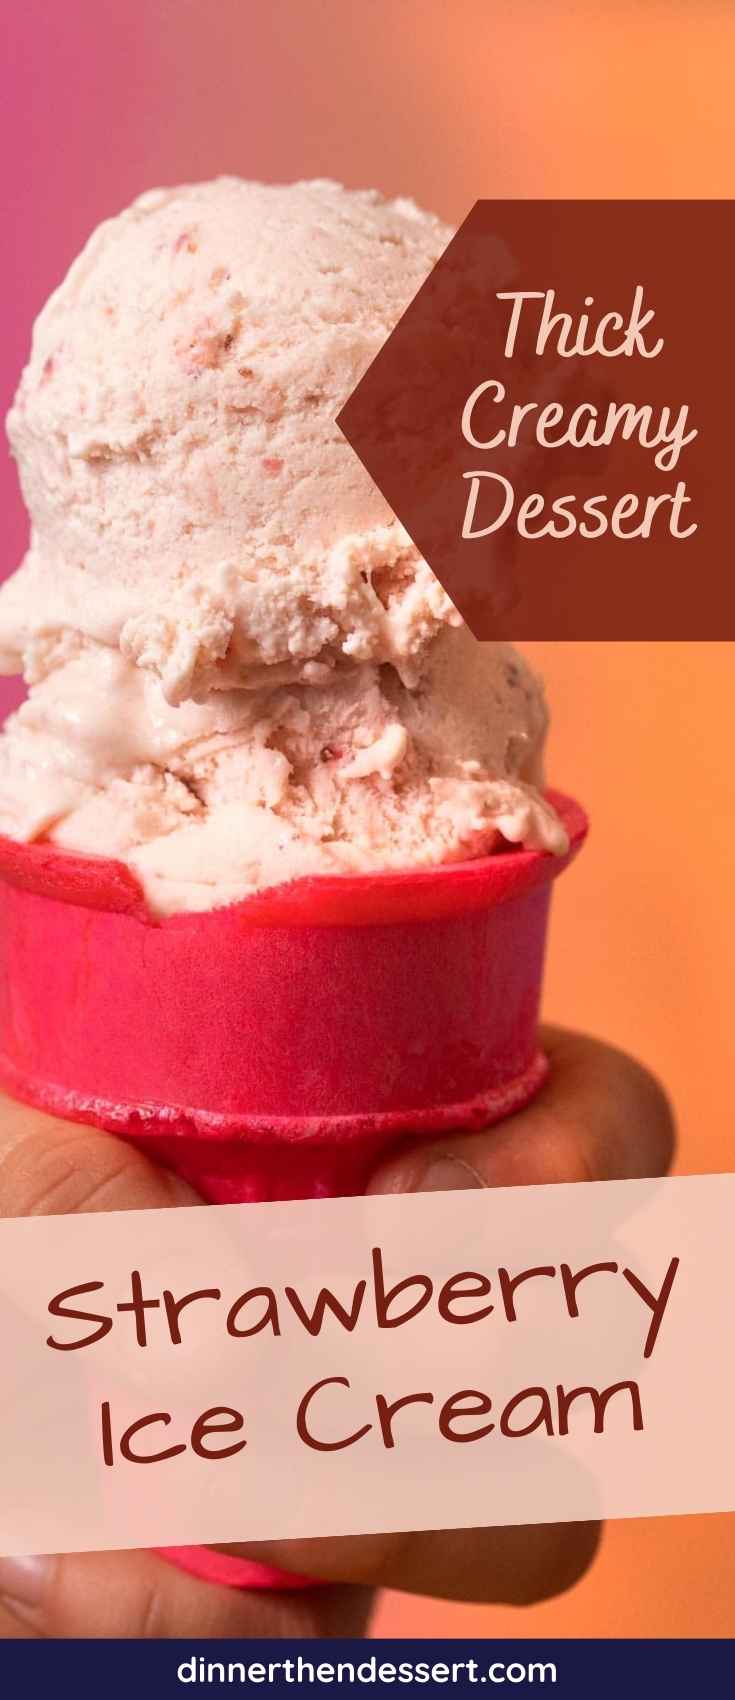

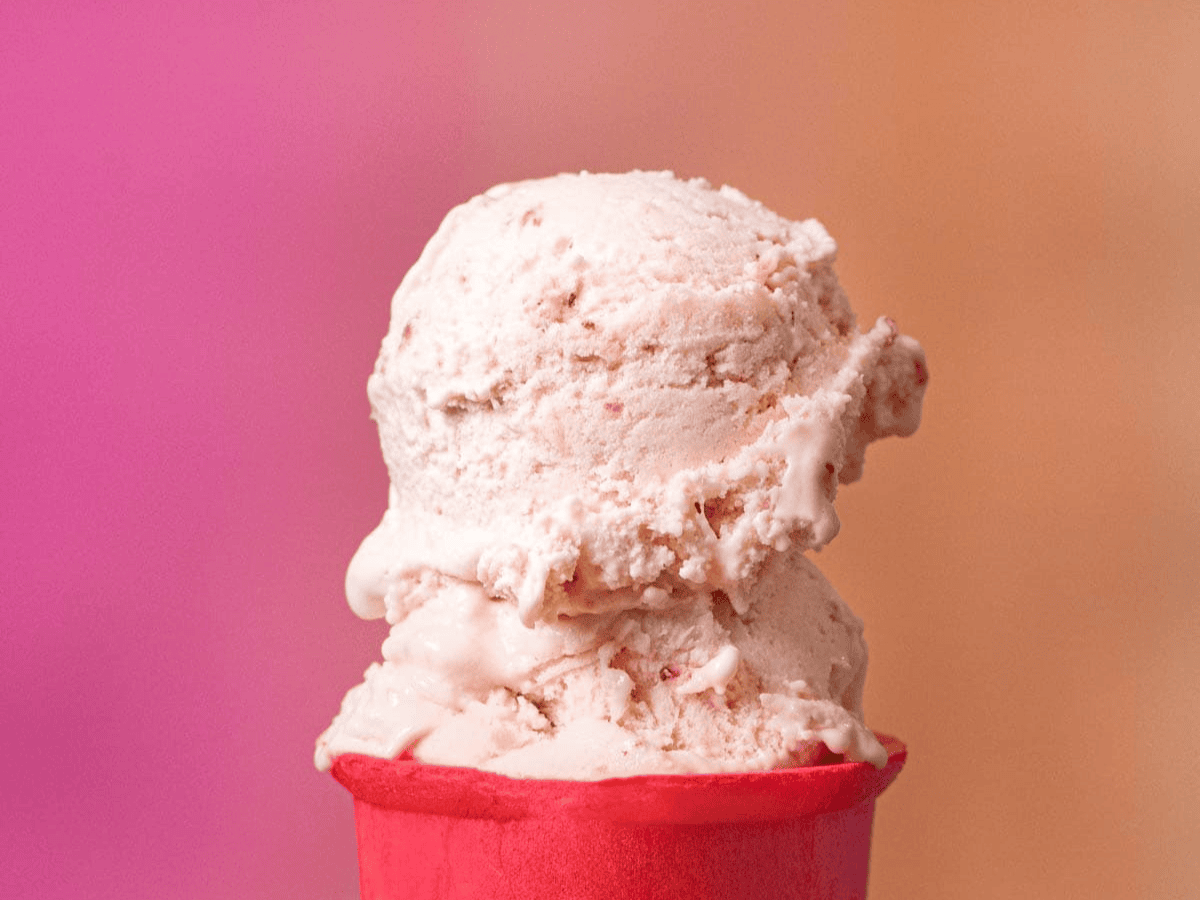
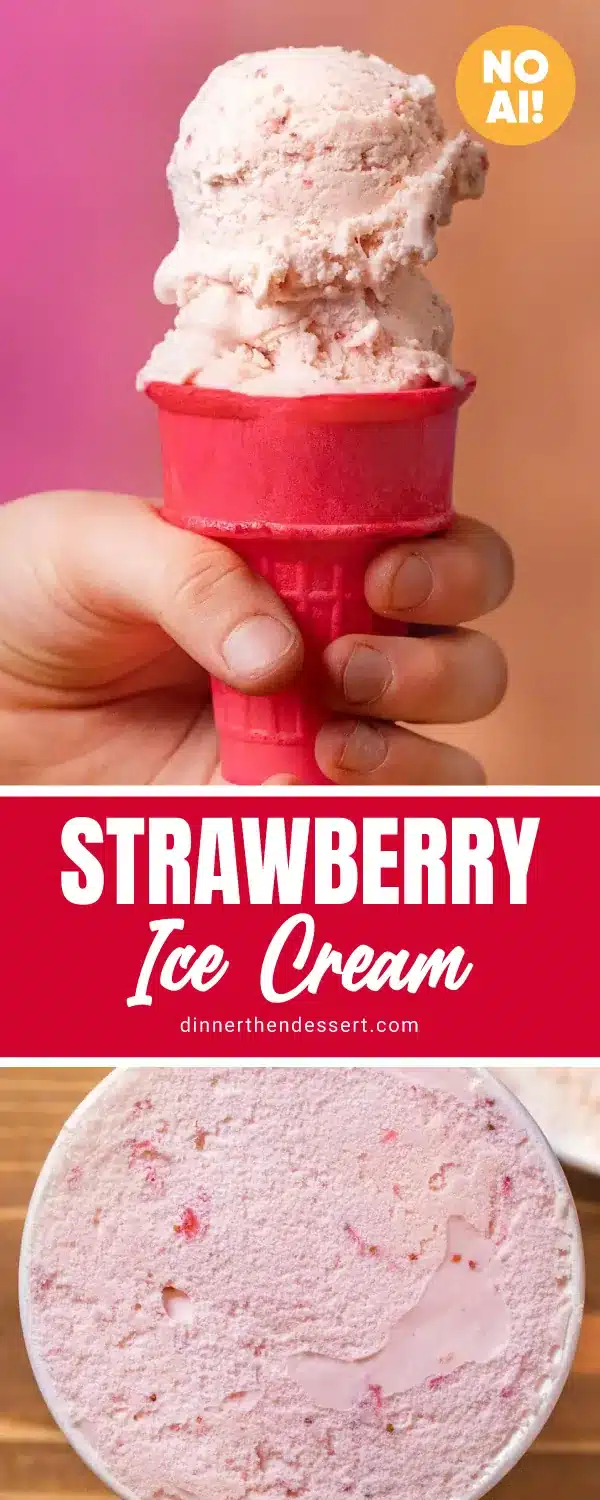
This Strawberry Ice Cream is creamy, fresh, and the best part is it’s made at home. It looks as good as it tastes. It will be a favorite!
You can never go wrong with homemade Ice Cream for dessert! Making ice cream at home is easier than you think! Try my Chocolate or Vanilla, so fresh and delicious!
Sabrina’s Strawberry Ice Cream Recipe
Homemade Strawberry Ice Cream is the perfect blend of rich creaminess and fresh fruitiness. Making it at home ensures that it remains free from artificial additives commonly found in store variants. Crafting this delightful treat isn’t just about following steps; it’s about understanding the simple ingredients. These components come together to create an ice cream that’s incredibly rich and flavorful and can be easily found in your local grocery store. Making homemade Strawberry Ice Cream means you get to adjust the flavors to make it exactly like you want it! Enjoy the journey of making this delightful summer treat, and even more so, savoring each scoop.
Recipe Card


Ingredients
- 4 large egg yolks , lightly beaten
- 1 cup sugar , divided
- 2 cups heavy cream
- 2 cups whole milk
- 1 tablespoon vanilla extract
- 1/4 teaspoon salt
- 1 pound strawberries , tops trimmed off
- 1 tablespoon lemon juice
Instructions
- In a medium bowl whisk eggs well with ¼ cup sugar
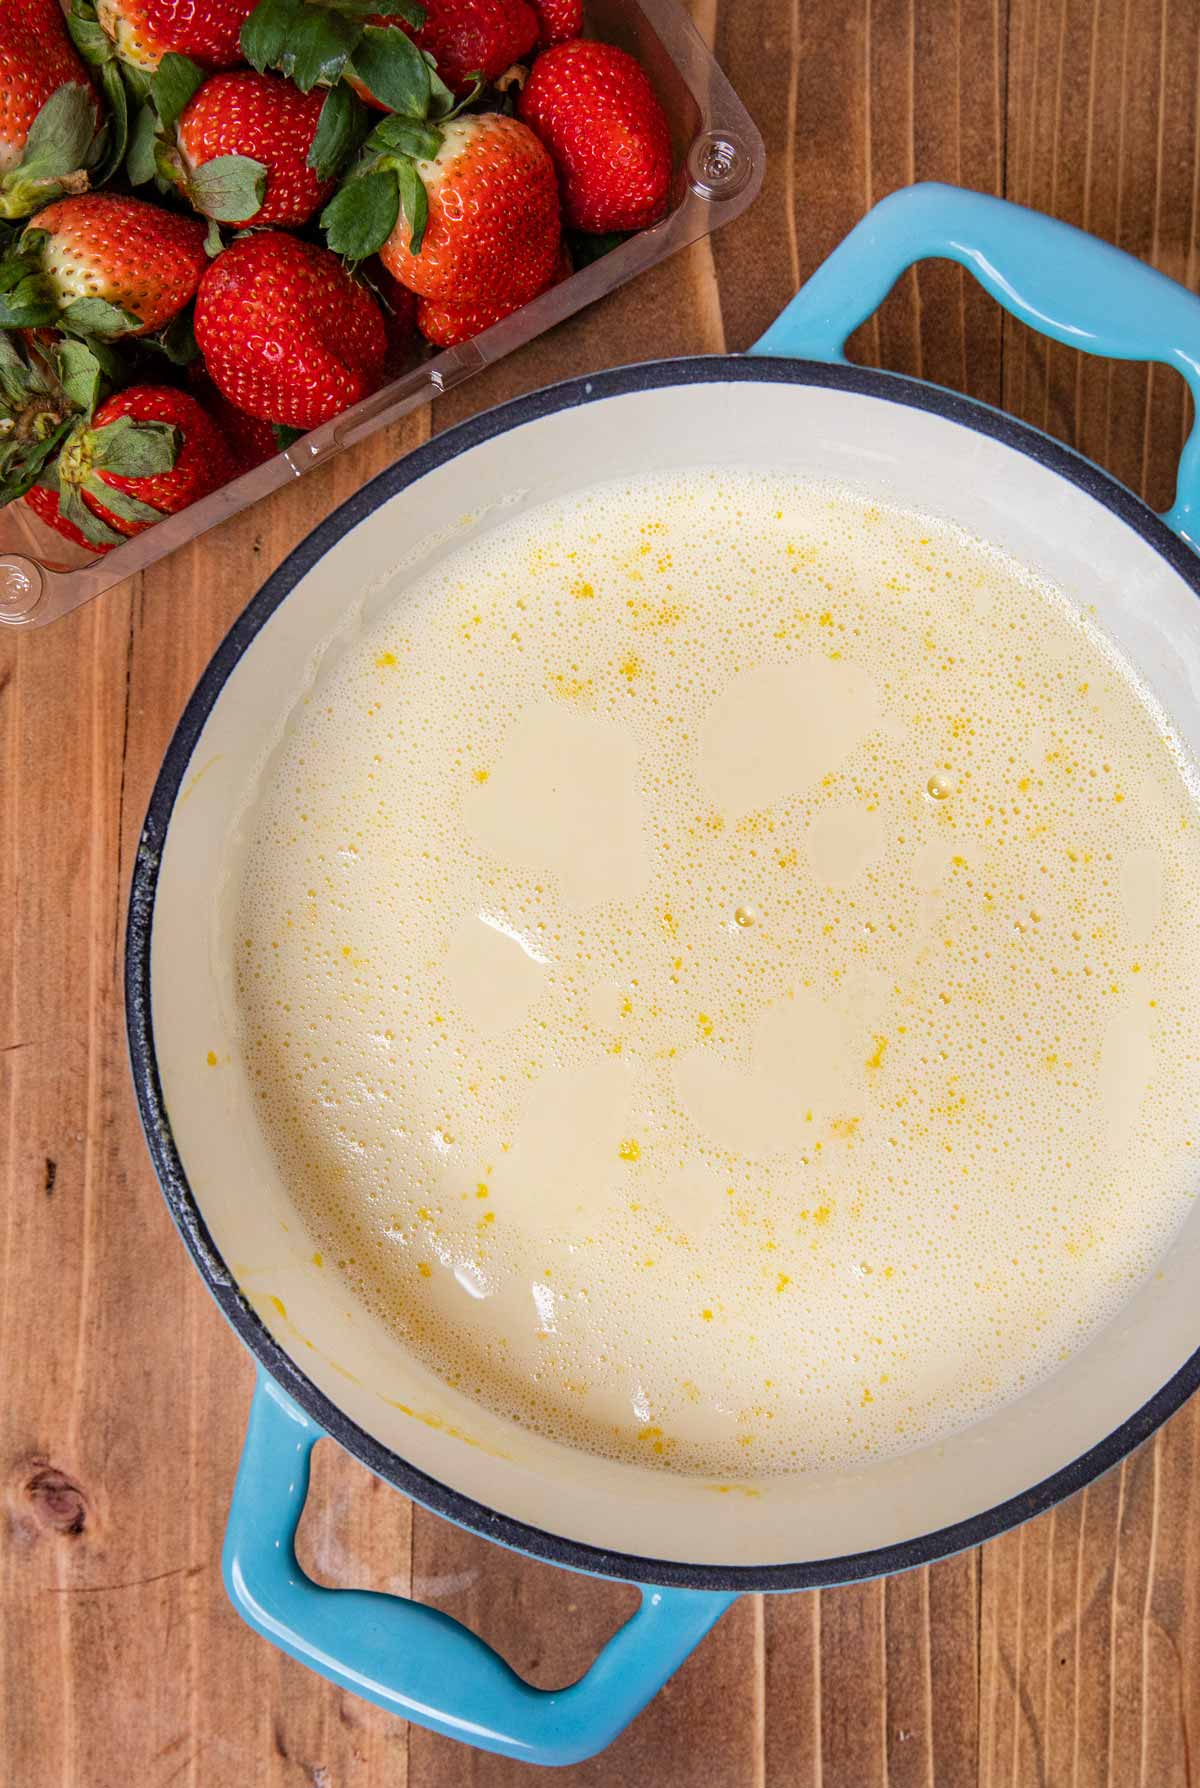
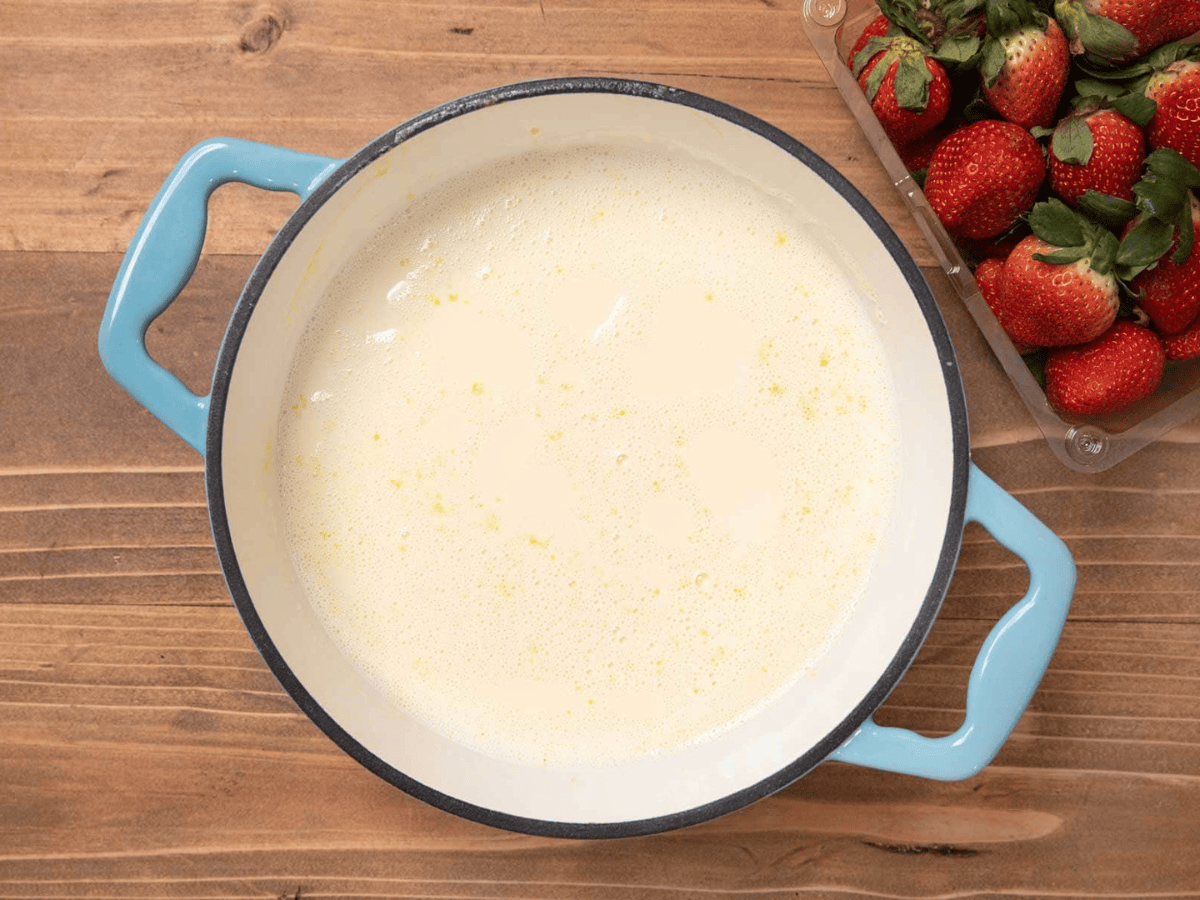
- In a medium saucepan add the ½ cup sugar, heavy cream, whole milk, vanilla extract and salt on medium heat.
- Whisk nonstop and bring to a simmer, then reduce heat to low.
- Add ½ cup vanilla mixture in a very slow thin stream to the egg yolks while whisking quickly (do not stop whisking).
- Pour the egg custard mixture into the pot slowly while whisking constantly.
- Cook until mixture is thickened, about 8-10 minutes (do not let boil or milk will taste scalded).
- Turn off heat and pour into a metal bowl or other heat proof bowl.
- Let cool completely, then refrigerate (covered) for 2 hours.
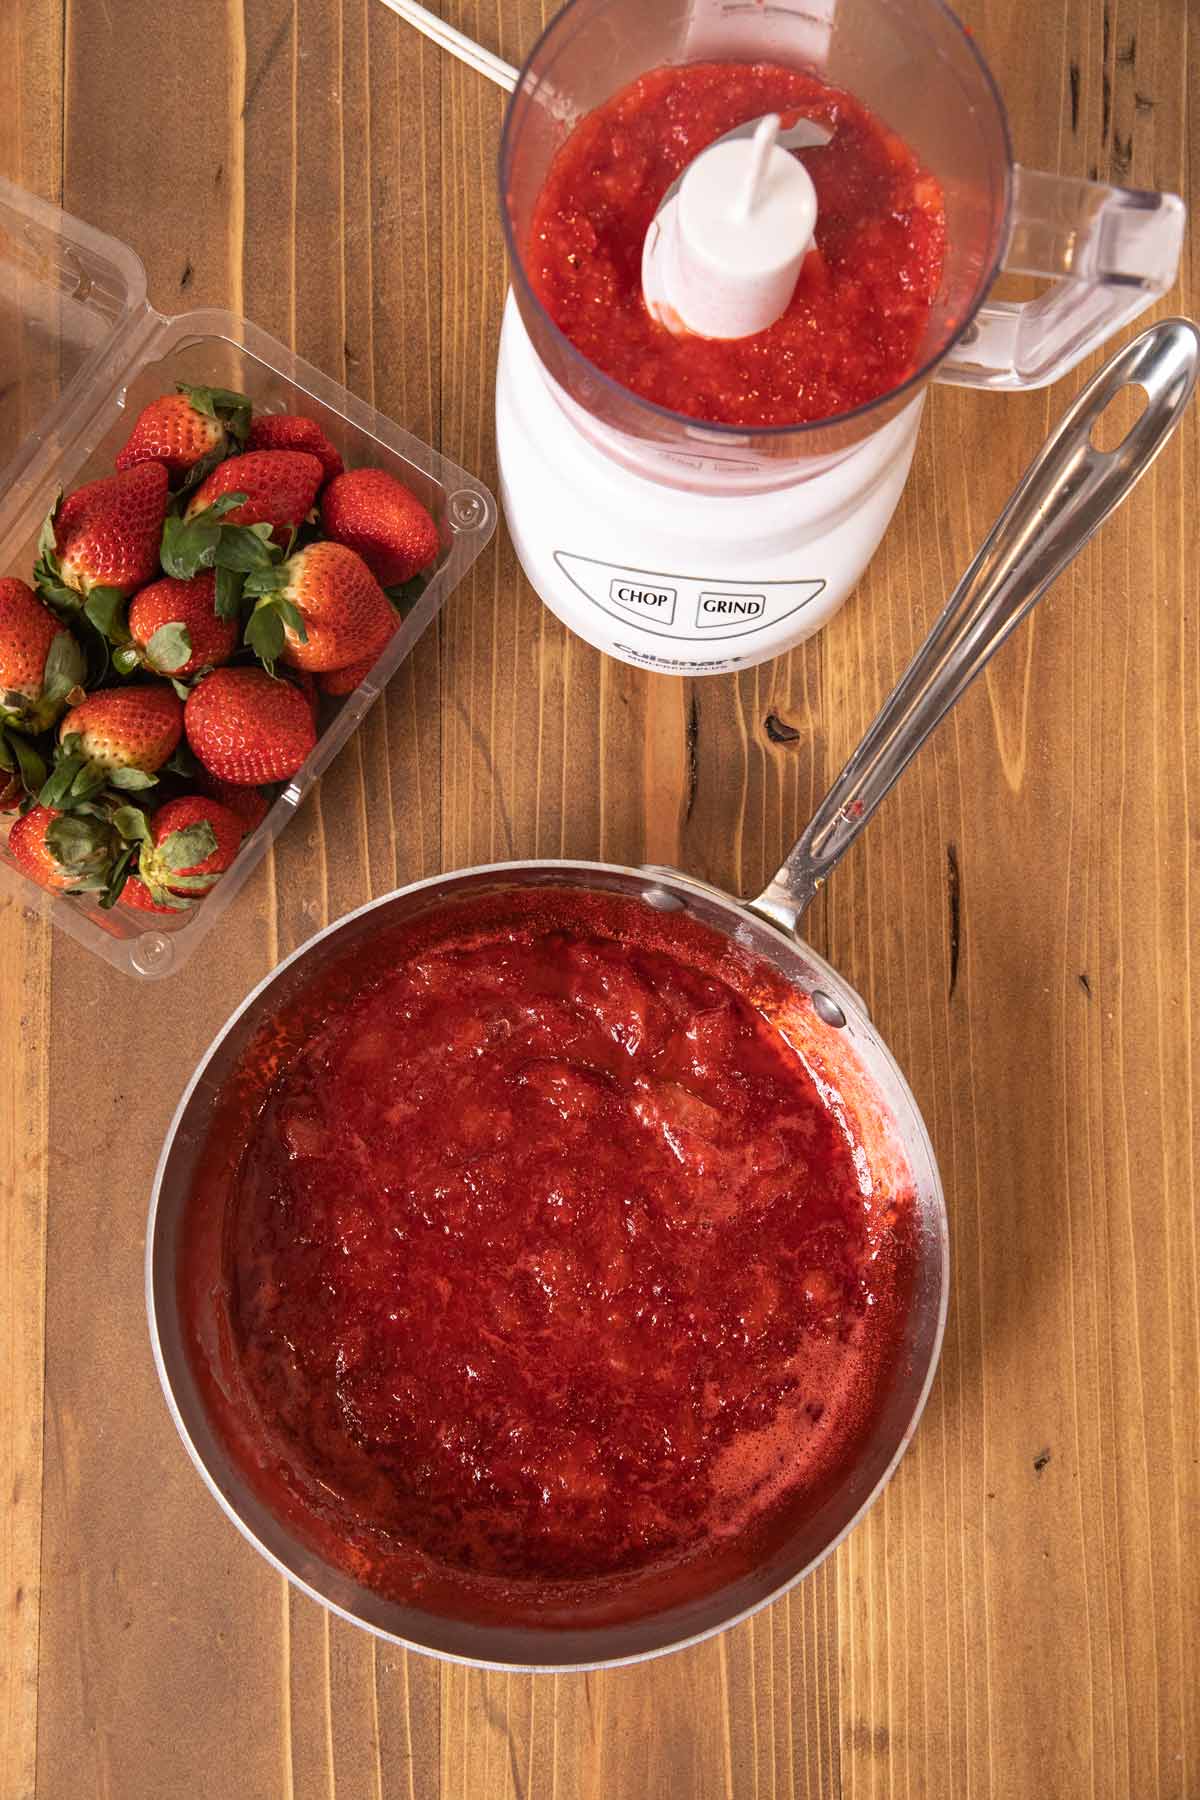
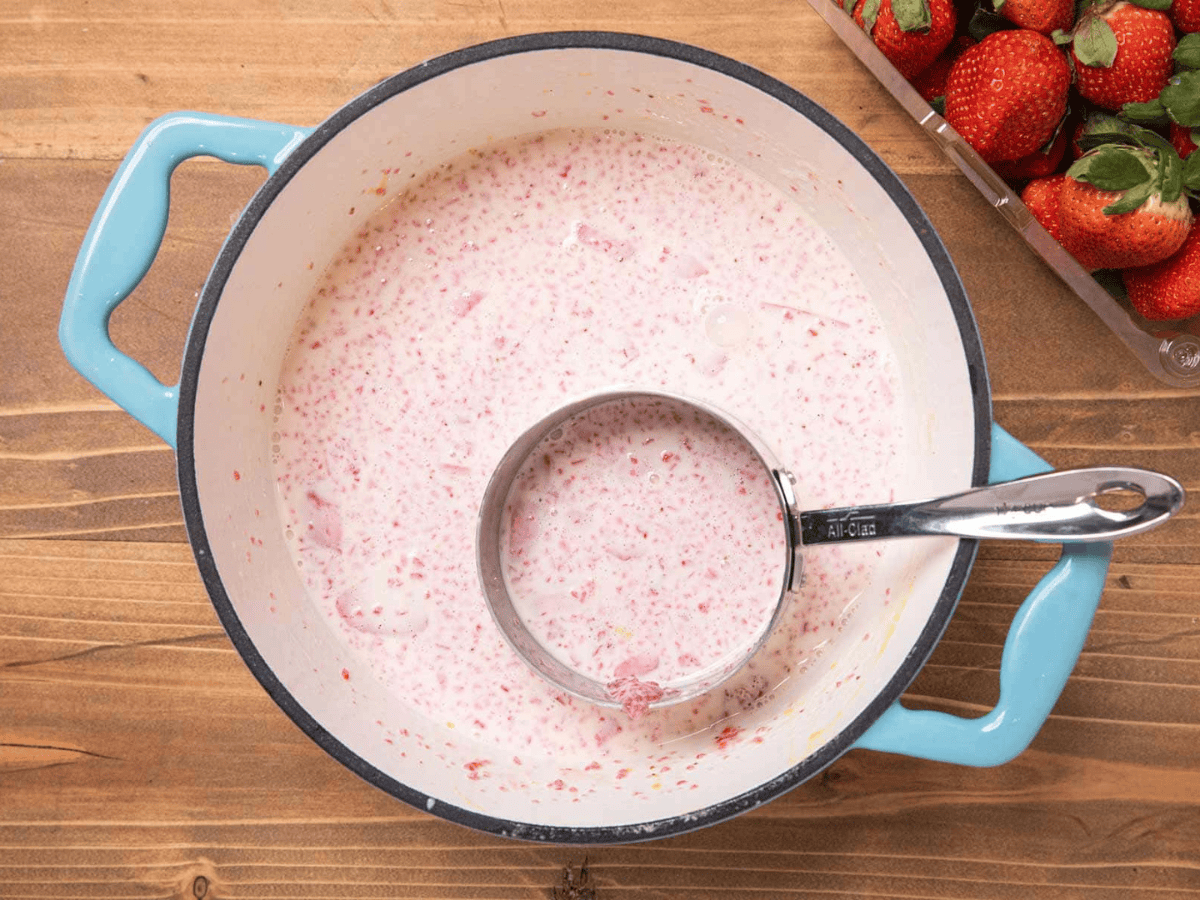
- Add ½ the strawberries, ¼ cup sugar and 1 tablespoon lemon juice to a saucepan.
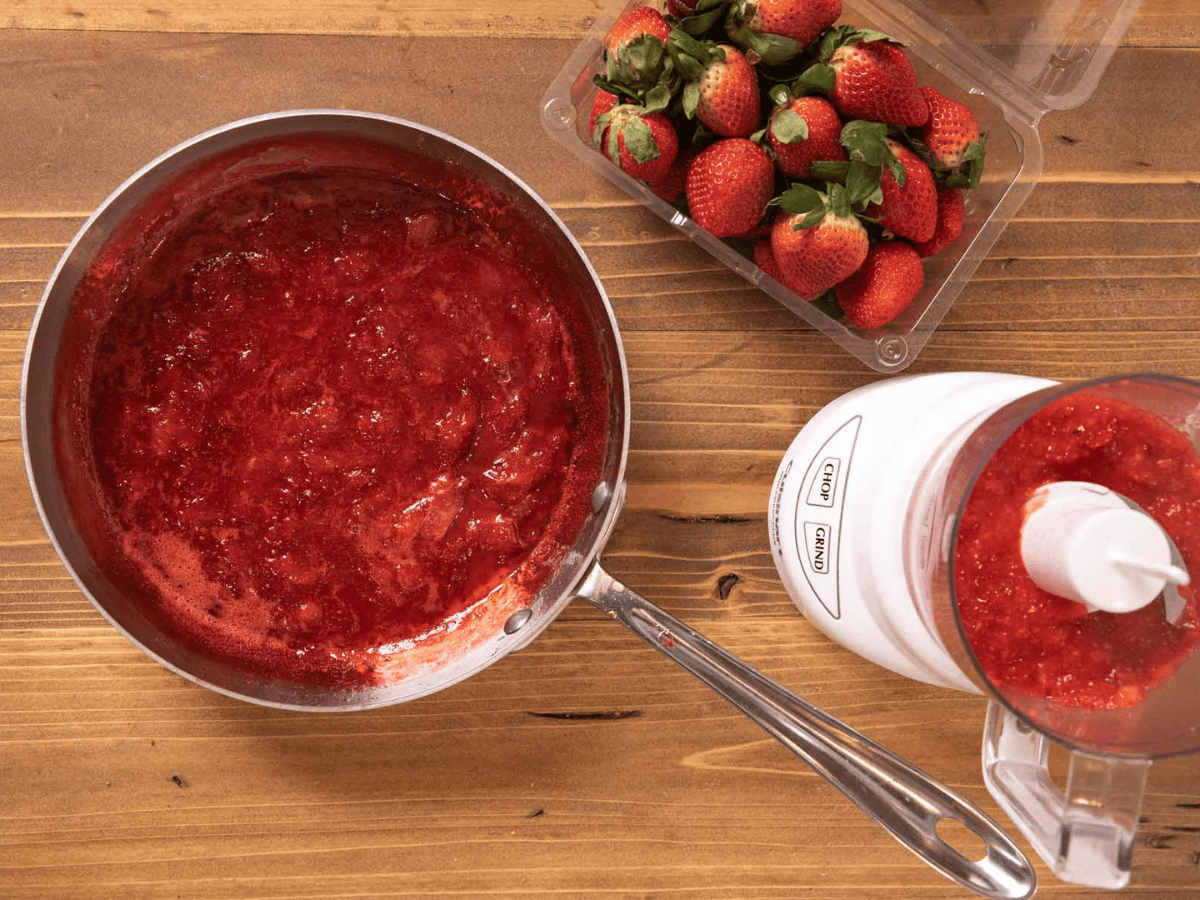
- Mash and cook (stirring often) on medium heat until thickened and strawberries are broken down, about 8-10 minutes.
- Add cooked strawberries and rest of the fresh strawberries to a food processor and pulse until mostly smooth.
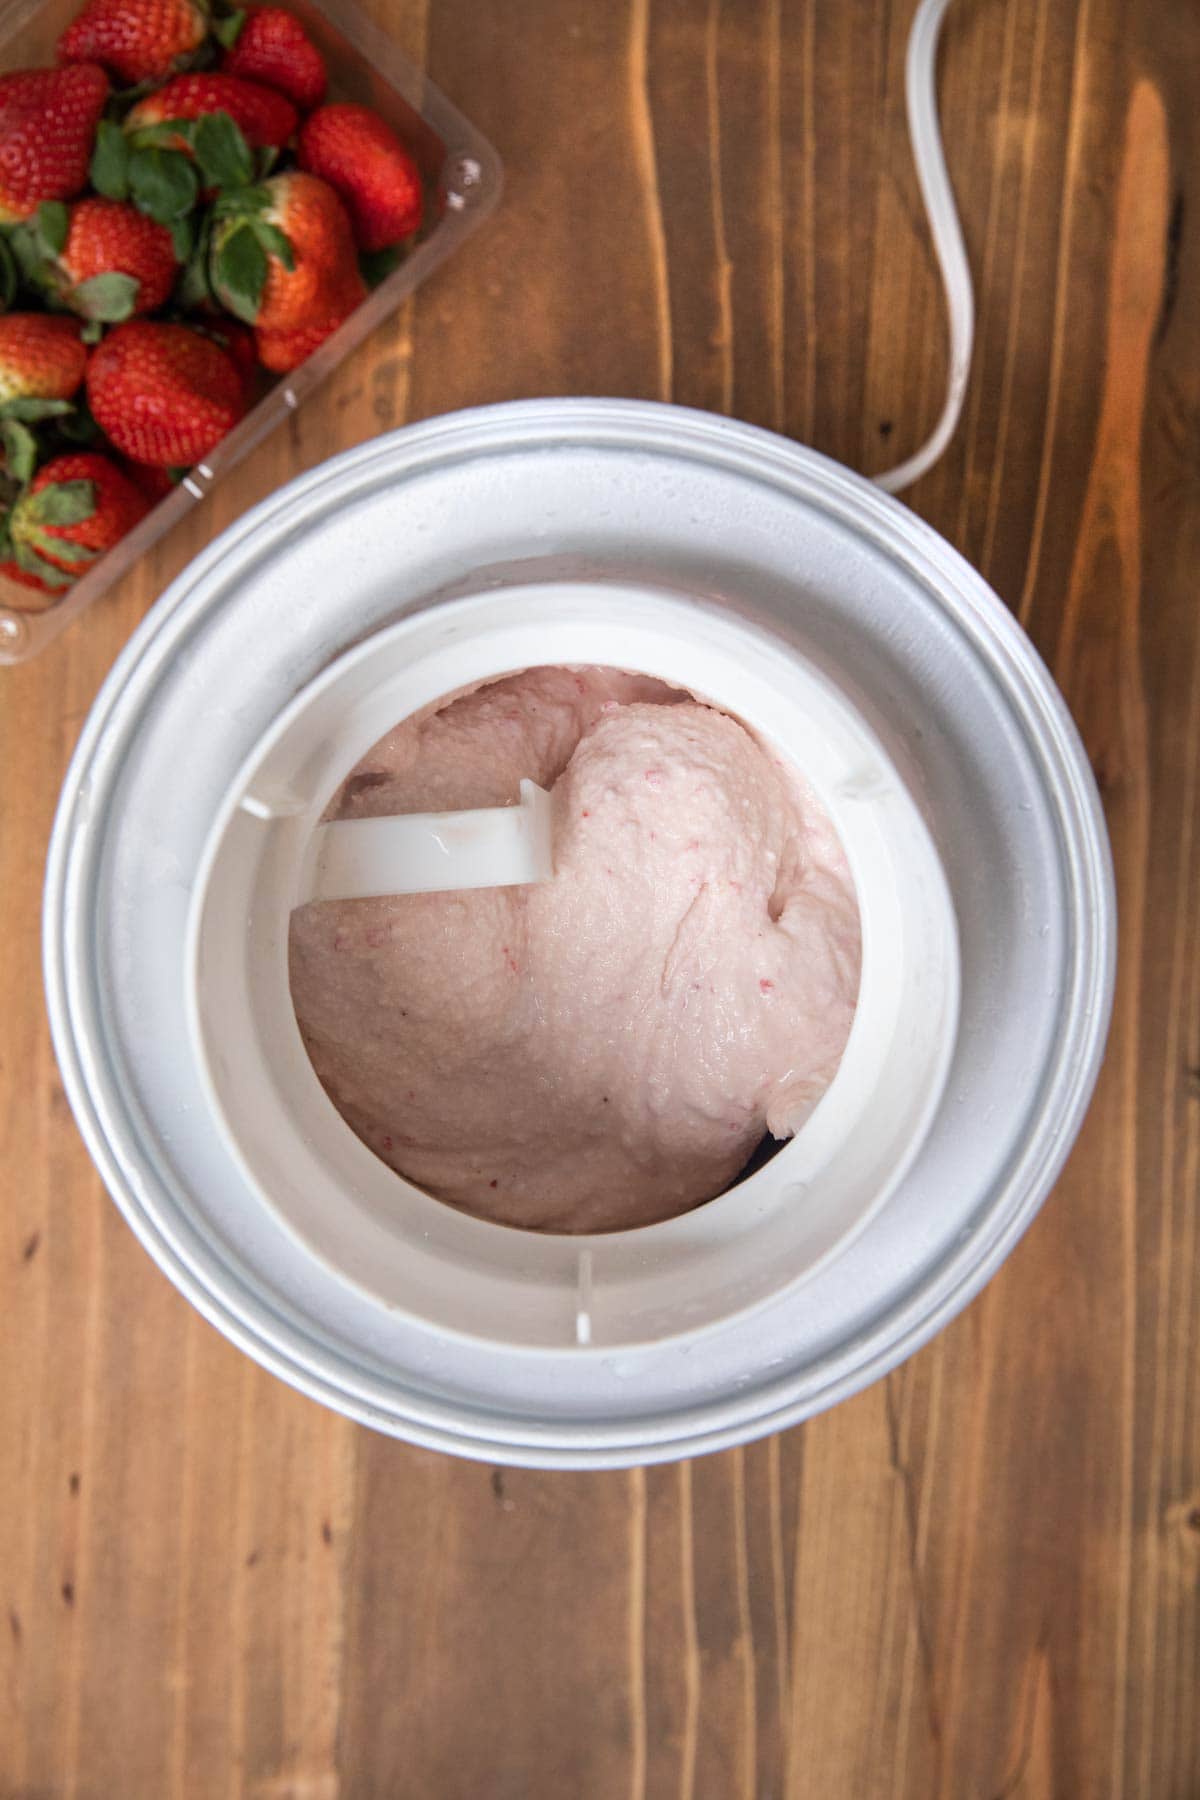
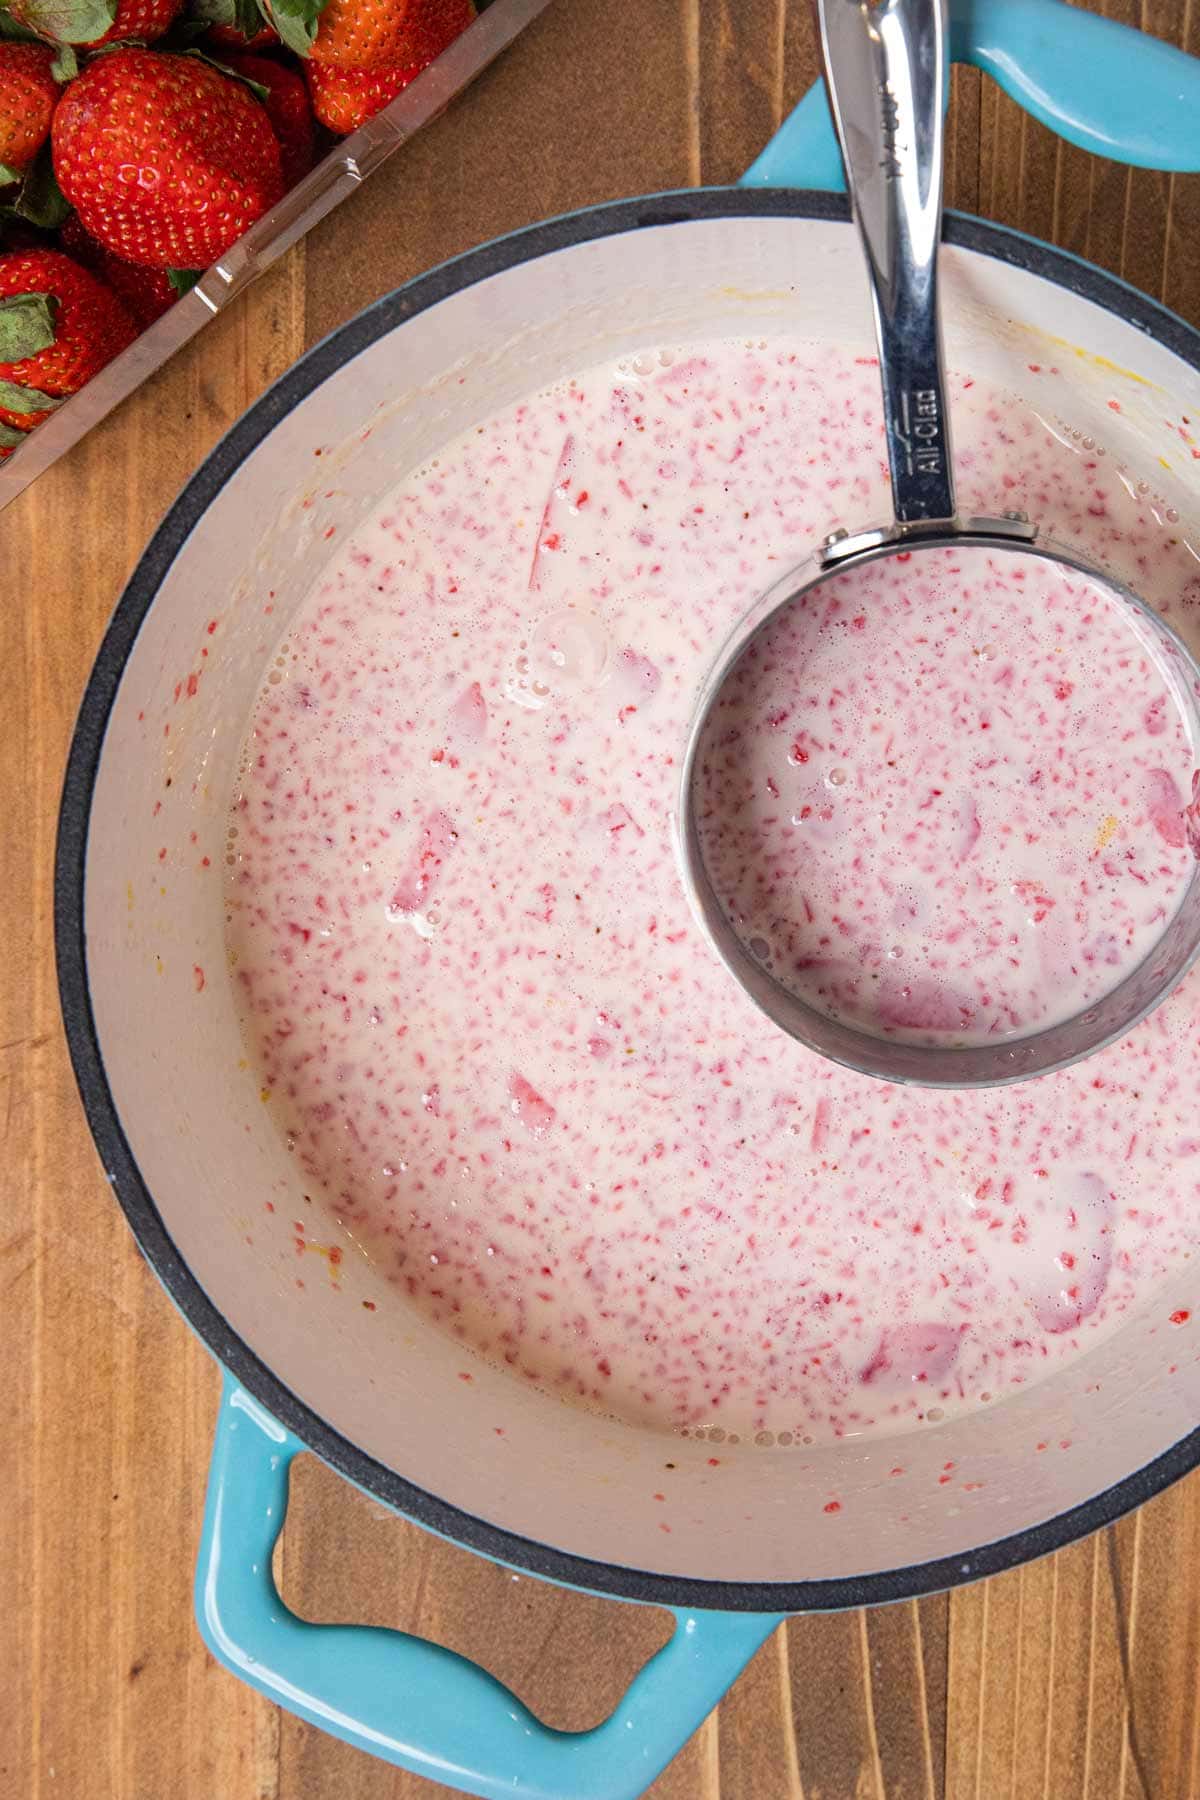
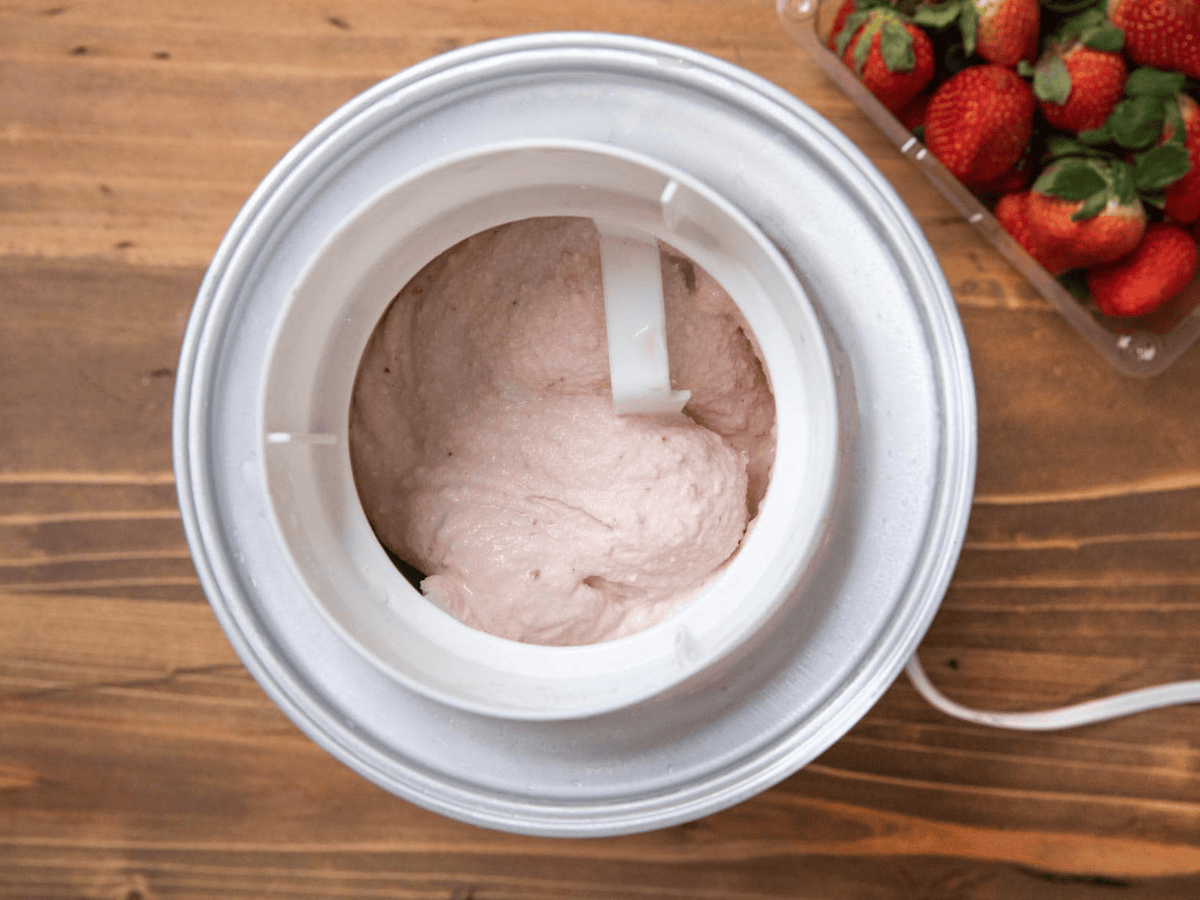
- Remove custard from refrigerator, stir in strawberries and add to ice cream machine (per machine instructions).
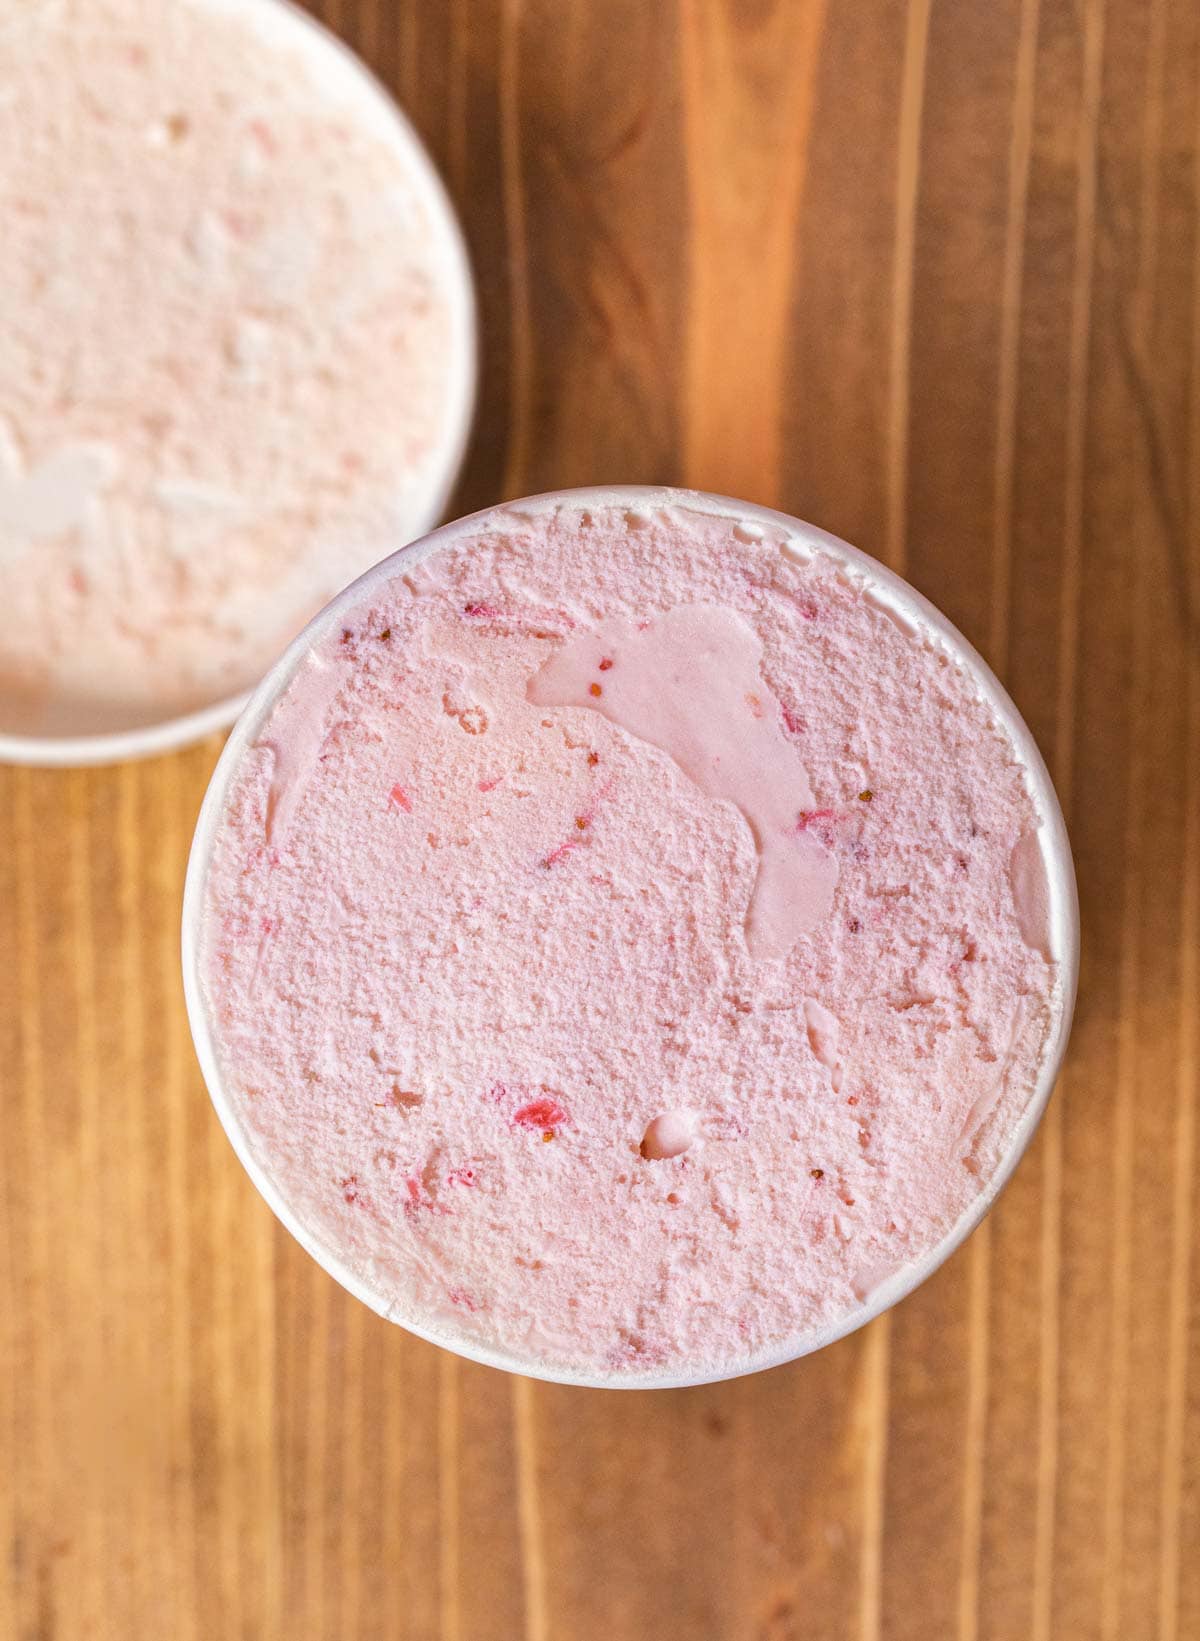
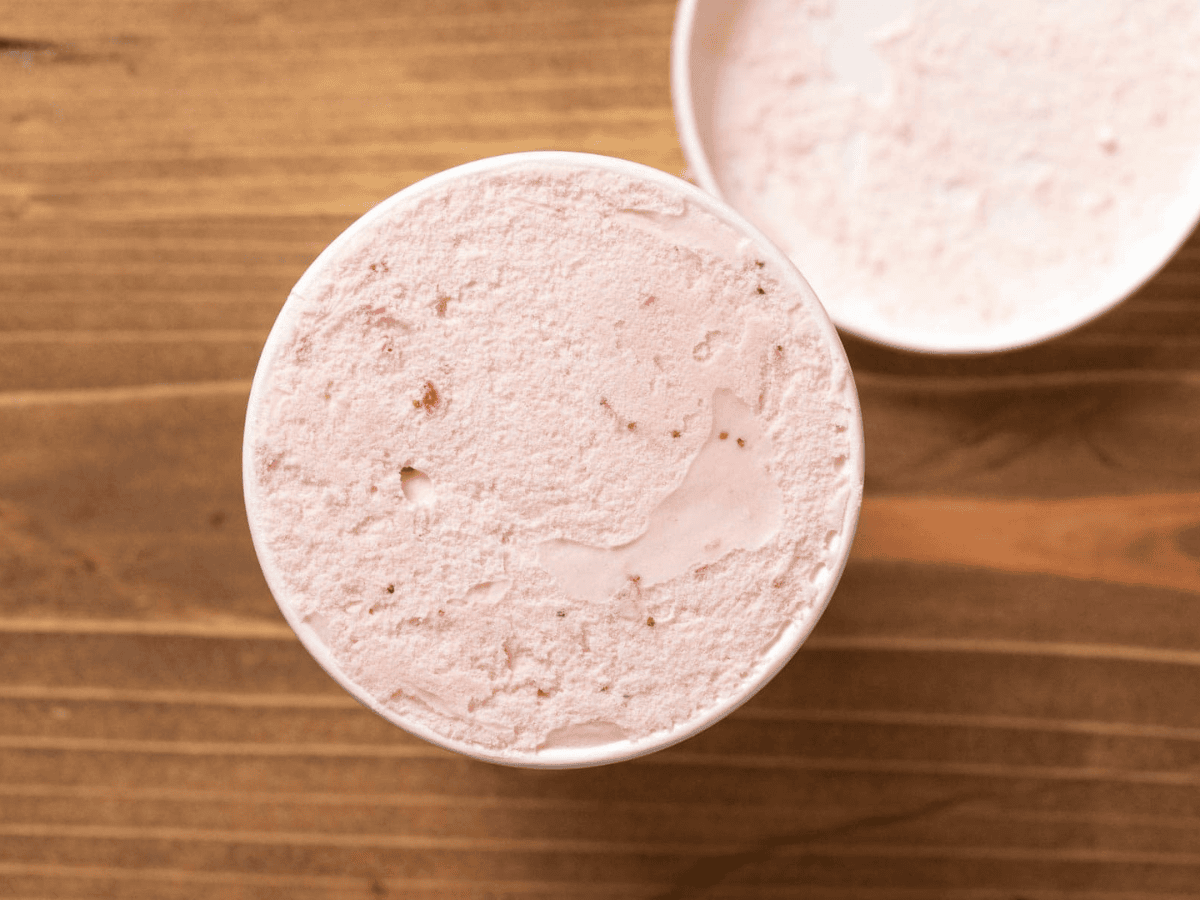
- Freeze for at least 3 hours to harden before serving.
Nutrition

Want to save this recipe? Create a free account to easily save your favorite recipes
Note from Sabrina
Whether you have an ice cream machine or not, you can easily make this amazing homemade Strawberry Ice Cream. If not, check below the Variations section for two ways to make this ice cream without an ice maker. The shaken rock salt ice cream method is a great activity for kids during the summer!
Table of contents
About this Recipe
This Strawberry Ice Cream recipe starts with a custard ice cream base so it is extra rich and creamy. The whole pound of ripe strawberries gives an intense and fresh strawberry flavor. The extra steps of preparing the custard and making homemade strawberry puree gives you a decadent ice cream that would rival a gourmet ice cream shop! Hint hint…. make this for an elevated Ice Cream Sundae you’ll never forget! Add chunks of fresh or frozen strawberries in the end for the most intense strawberry flavor. You can also try different flavor combinations like chocolate and strawberry or add mix-ins like nuts or candy.
Ingredients
- Egg Yolks: They lend a velvety texture, ensuring the creaminess that’s signature to premium ice creams. If health concerns arise, there are yolk-free variations available, but they might slightly alter the texture.
- Heavy Cream & Whole Milk: These ingredients form the base, offering a smooth strawberry ice cream recipe. While low-fat versions are available, they might sacrifice the richness. You want to use heavy cream or whipping cream and whole milk because of the high-fat content. The higher the fat content, the creamier and more decadent this ice cream will be.
- Strawberries: The star ingredient. Their natural sweetness and tang create a balanced flavor profile. Always opt for ripe, juicy ones for the best taste.
- Vanilla Extract: It adds depth, enhancing the strawberry notes and bringing out a fuller flavor profile. Always choose a pure extract over artificial flavorings. For a more intense vanilla flavor, soak whole vanilla beans in the heavy cream overnight. Use 1 teaspoon vanilla paste instead of vanilla extract.
- Sugar: Essential for sweetness and also in ensuring a soft texture. Adjust granulated sugar to taste, and if desired, alternative sweeteners can be considered.
Recipe Tips & Tricks
- If you have an ice cream machine, be sure to read your ice cream maker instructions before you begin making ice cream. Some ice cream machines require you to freeze the bowl beforehand and you don’t want to skip this step.
- For best results, freeze the bowl at least a day ahead so that your ice cream freezes quickly.
How to Store
- Serve: Freeze your Strawberry Ice Cream for at least 3 hours, until firm, before serving. Cover the ice cream container with plastic wrap and wipe down as much moisture on the lid and container to reduce ice crystals. The best containers are shallow and flat, like a metal loaf pan or glass baking dish.
- Freeze: Freeze ice cream for up to 2 months in an airtight container that is secured tightly to keep out moisture. Plastic wrap between the lid and ice cream will prevent ice crystals. Store ice cream in the back of the freezer so the temperature stays consistent.
Alternative Cooking Techniques
No Churn Method
- Freeze a large metal bowl or glass mixing bowl overnight (at least 12 hours).
- Prepare the Strawberry Ice Cream mixture as usual.
- Pour strawberry mixture into frozen bowl and freeze in back of the freezer for 30 minutes.
- After 30 minutes, beat with electric mixer on medium high speed for 2-3 minutes then place back in freezer.
- Repeat mixing and freezing every 30 minutes until mixture is too stiff to mix. Freeze for 4 hours and serve.
Shaken Method
- You need a container large enough to easily hold a gallon size plastic bag with plenty of room for ice and salt that has tightly sealed lid.
- Fill the container half way with ice cubes and ¼ cup rock salt.
- Prepare the Strawberry Ice Cream base and pour into a gallon sized plastic bag. Remove any air before sealing tightly.
- Nestle bag with ice cream mixture into the ice and salt mixture and seal lid.
- Shake or roll the container for at least 10 minutes, until the ice cream forms.
- Remove bag from container and transfer ice cream to frozen bowl with a lid or other freezer safe airtight container and freeze.
Frequent Questions
Absolutely! However, using fresh strawberries gives a brighter flavor. If opting for frozen, ensure they’re thoroughly thawed before use. Making homemade Strawberry Ice Cream means you get to adjust the flavors to make it exactly like you want it! Add chunks of fresh or frozen strawberries in the end for the most intense strawberry flavor.
You can freeze the mixture in a container and stir every 30 minutes until set. However, an ice cream machine provides the best texture.
Yes, you can just be sure to read your ice cream maker instructions before you begin making ice cream. Some ice cream machines require you to freeze the bowl beforehand and you don’t want to skip this step. For best results, freeze the bowl at least a day ahead so that your ice cream freezes quickly.
It is not recommended to use artificial red food coloring as many people have a bad allergy to it. Find an alternative red like a quarter cup of beet or pomegranate juice, or hibiscus tea. And you probably won’t even need any as the strawberry mixture is naturally red and creates a beautiful pink color.
Variations
- Berries: You can make this recipe with any fresh or frozen berries that you like. Replace 1 cup of strawberries with other berries for a Mixed Berry Ice Cream. Depending on the season, try a Blueberry Ice Cream or Blackberry Ice Cream too.
- Chocolate Covered Strawberry: Fold in chocolate chunks and frozen strawberry pieces halfway through the mixing process in the ice cream machine. Wait 10 minutes and while the machine is mixing slowly drizzle in Chocolate Ganache.
- Strawberry Cheesecake Ice Cream: Use a leftover batch of Cheesecake Bars or buy a small cheesecake from the grocery store. Cut cheesecake into ¼ inch pieces and add ½ cup cheesecake pieces to ice cream once it begins to freeze.
- Other Mix-Ins: Other delicious add-ins for strawberry Ice Cream are shortbread cookie pieces, salted pretzel twists, white chocolate chips, or fresh fruit pieces. Consider chocolate chips or even crushed nuts for added texture and flavor.
- Adult-Style: If you are adding boozy mix-ins (rum or cognac would be delicious with strawberries), add 2 tablespoons max. Liquor can prevent the ice cream from freezing if you add too much.
Related Recipes
More Ice Cream Flavors
Photos Used In Previous Posts: