
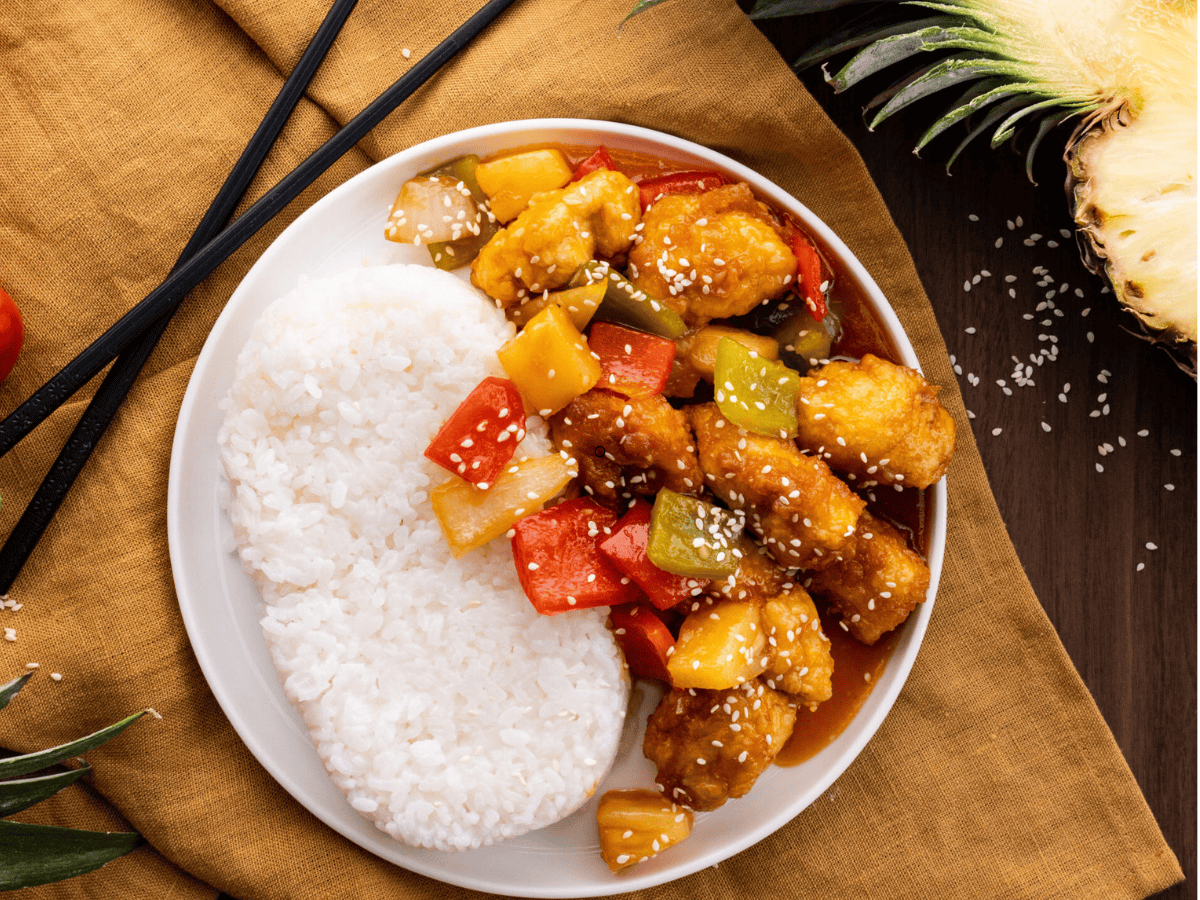
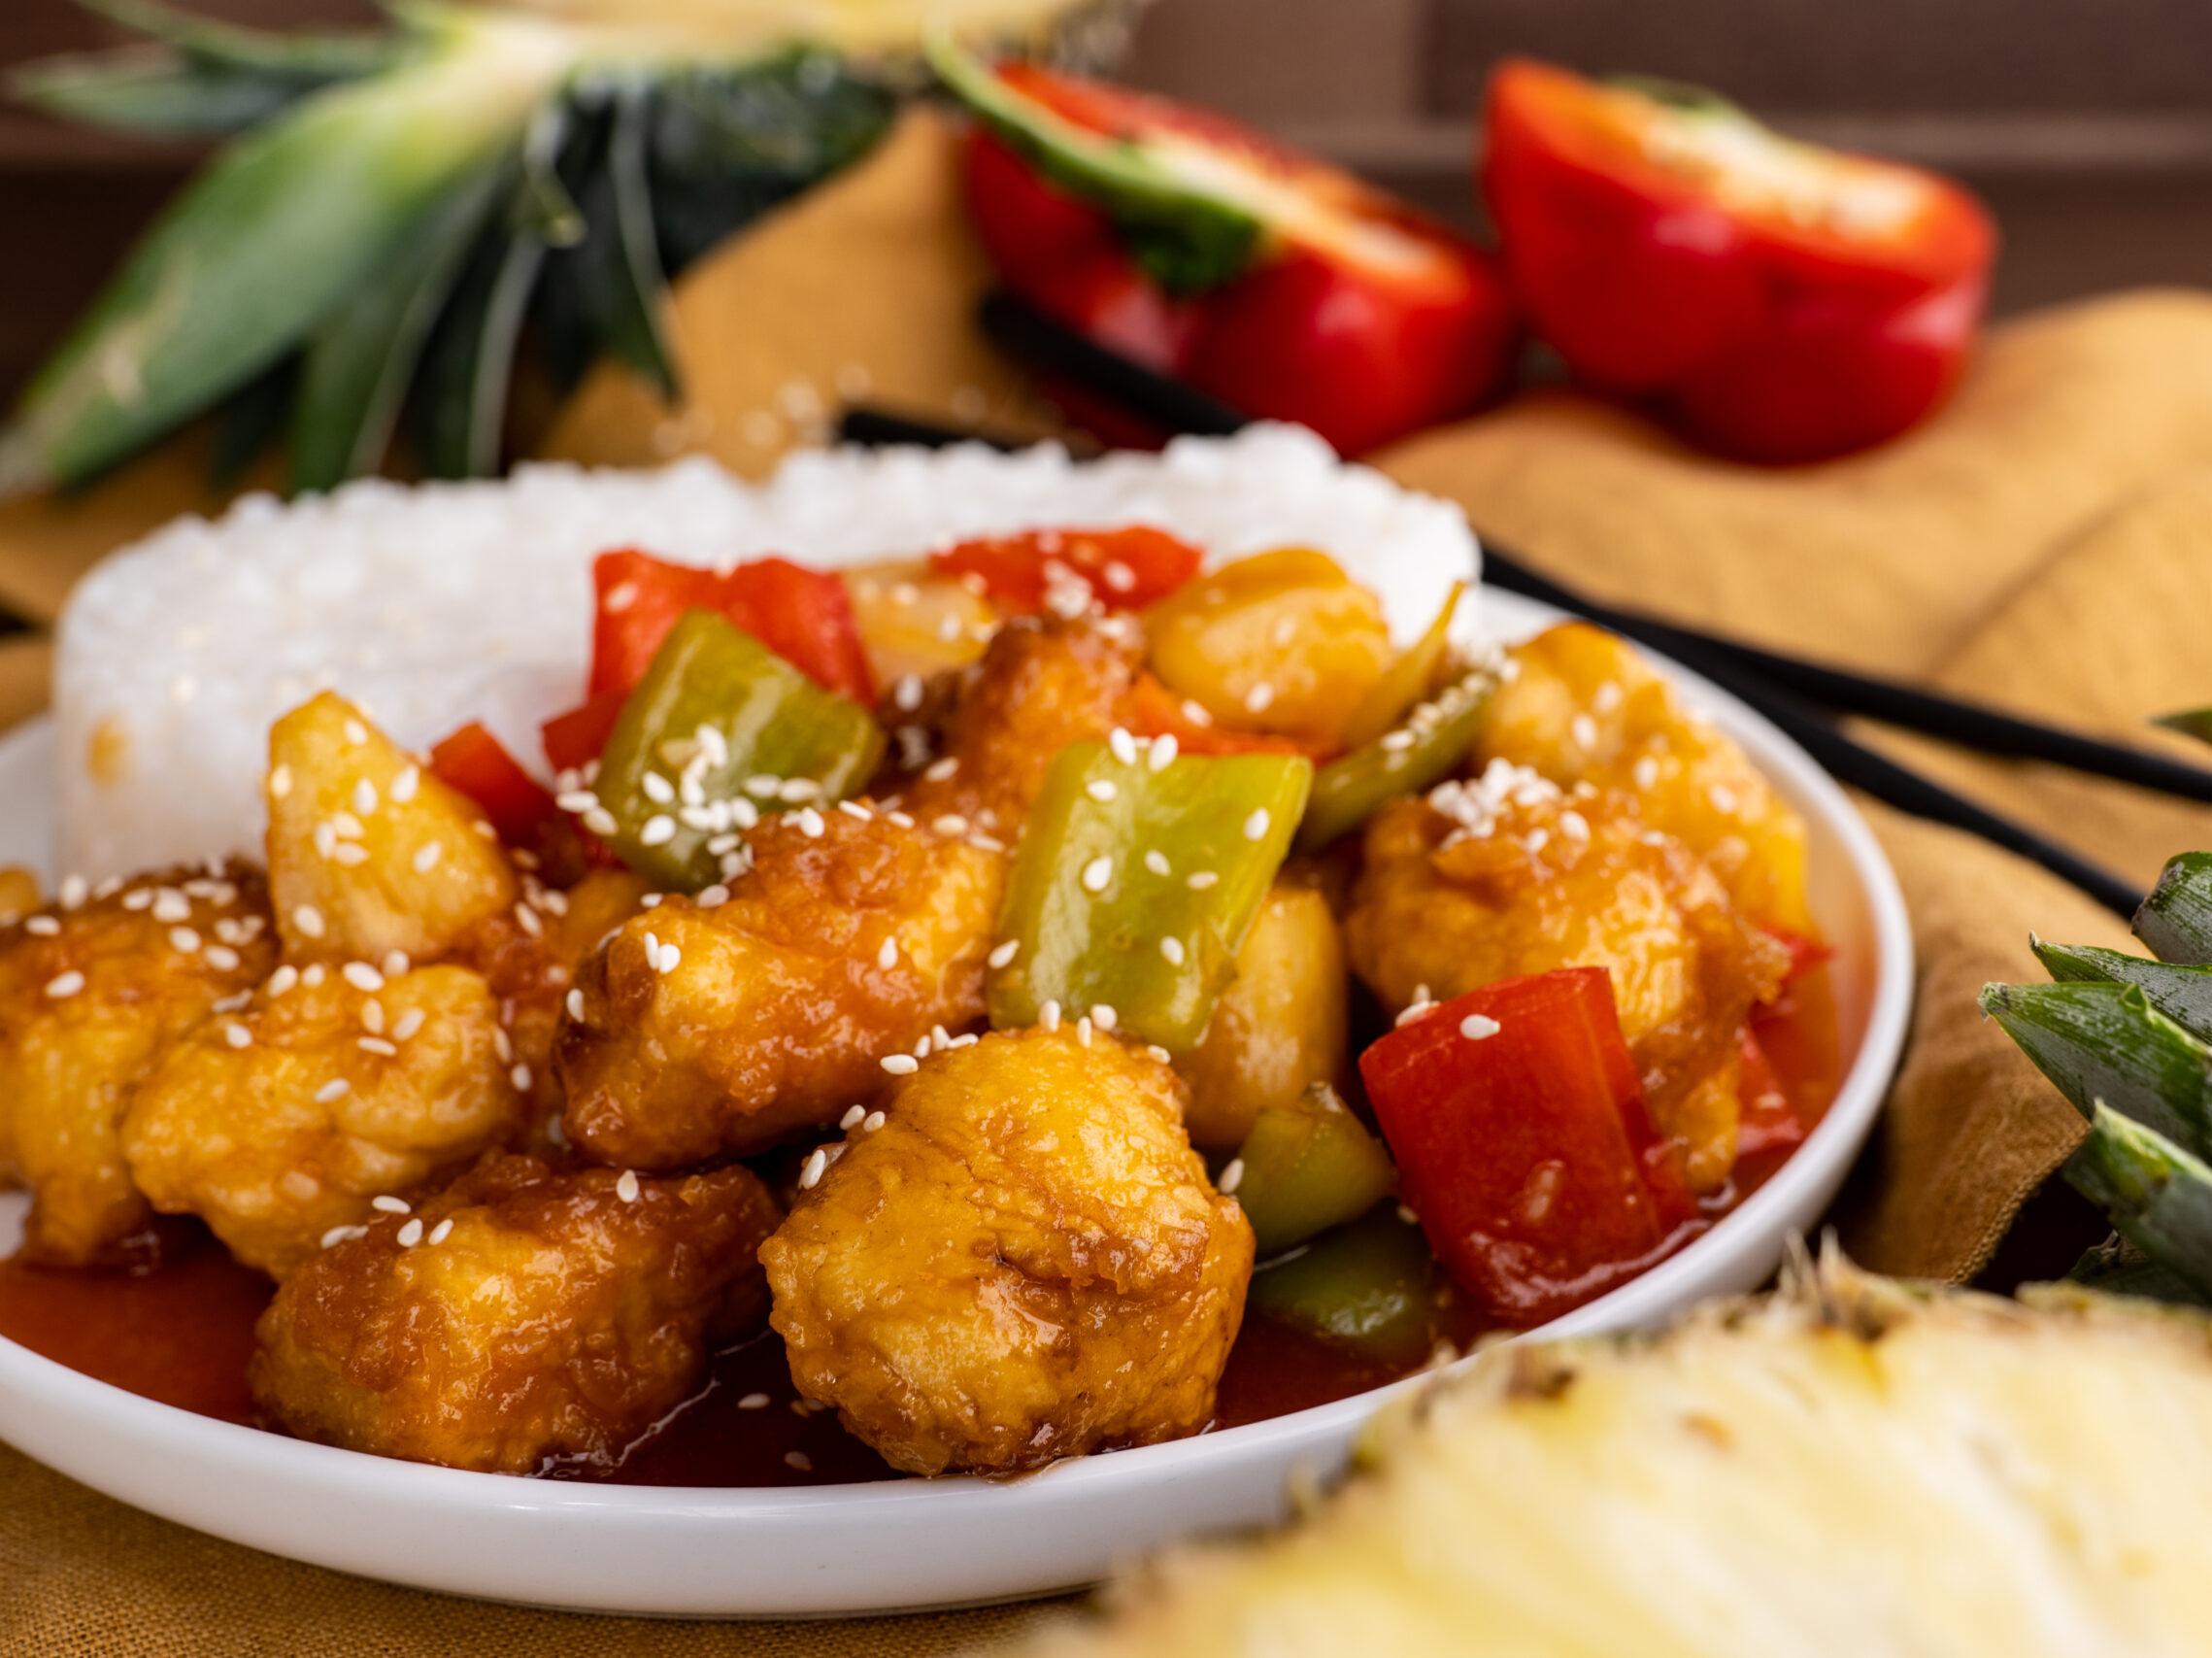
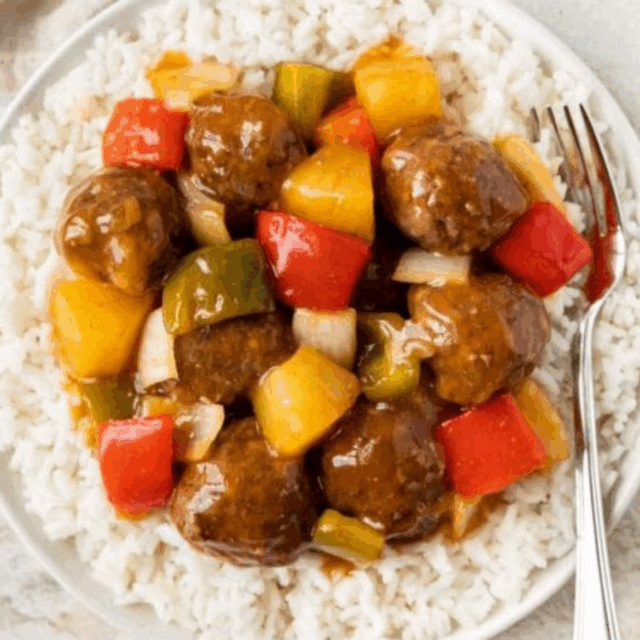
Sweet and Sour Chicken with crispy chicken, pineapple, and bell peppers tastes just like takeout without the food coloring. Try this today!
Sweet and Sour Pork and Sweet and Sour Chicken are classic Chinese takeout options many of us are too afraid to make at home. Cooking with woks can be intimidating, but my recipe will prove it is much easier to make than you would think!

Sabrina’s Sweet and Sour Chicken Recipe

Ingredients
- 1 1/2 pounds chicken breasts , (about 4 pieces) cut into 1-inch chunks
- 1/2 cup cornstarch
- 2 eggs , beaten
- 1/4 cup flour
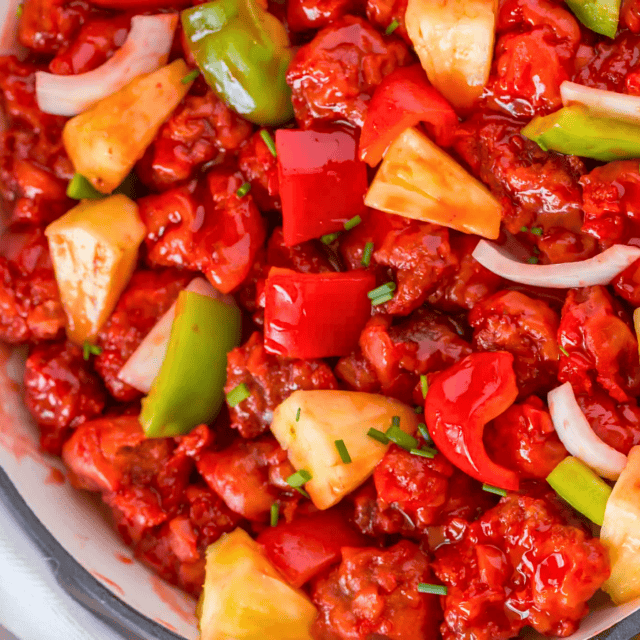
- 1 cup pineapple chunks , cut into 1-inch chunks
- 1 red bell pepper , cut into 1-inch chunks
- 1 green bell pepper , cut into 1-inch chunks
- 1/2 yellow onion , cut into 1-inch chunks
- vegetable oil , for frying
Sweet and Sour Sauce
- 1/2 cup sugar
- 1/4 cup brown sugar
- 1/2 cup apple cider vinegar
- 1/3 cup ketchup
- 4 teaspoons reduced sodium soy sauce
- 2 cloves garlic , minced
Instructions
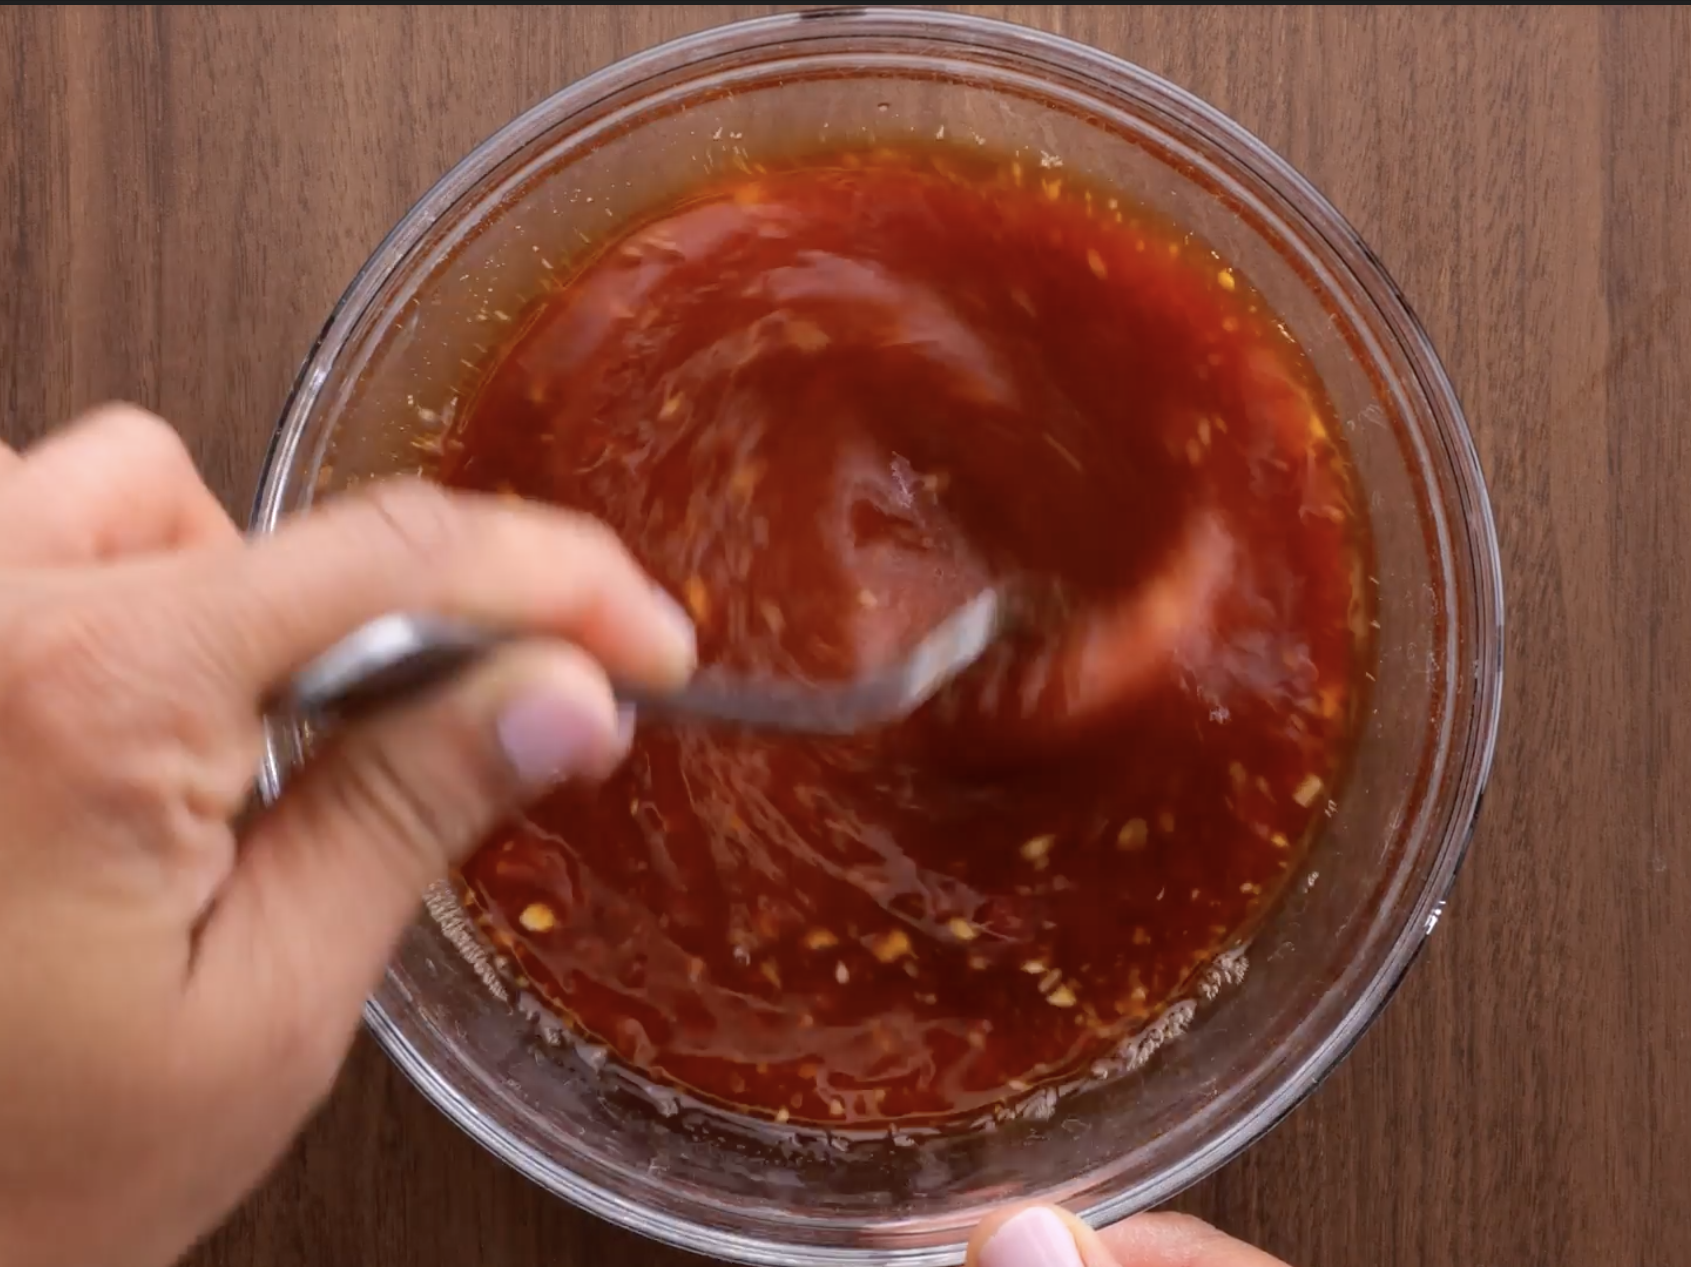
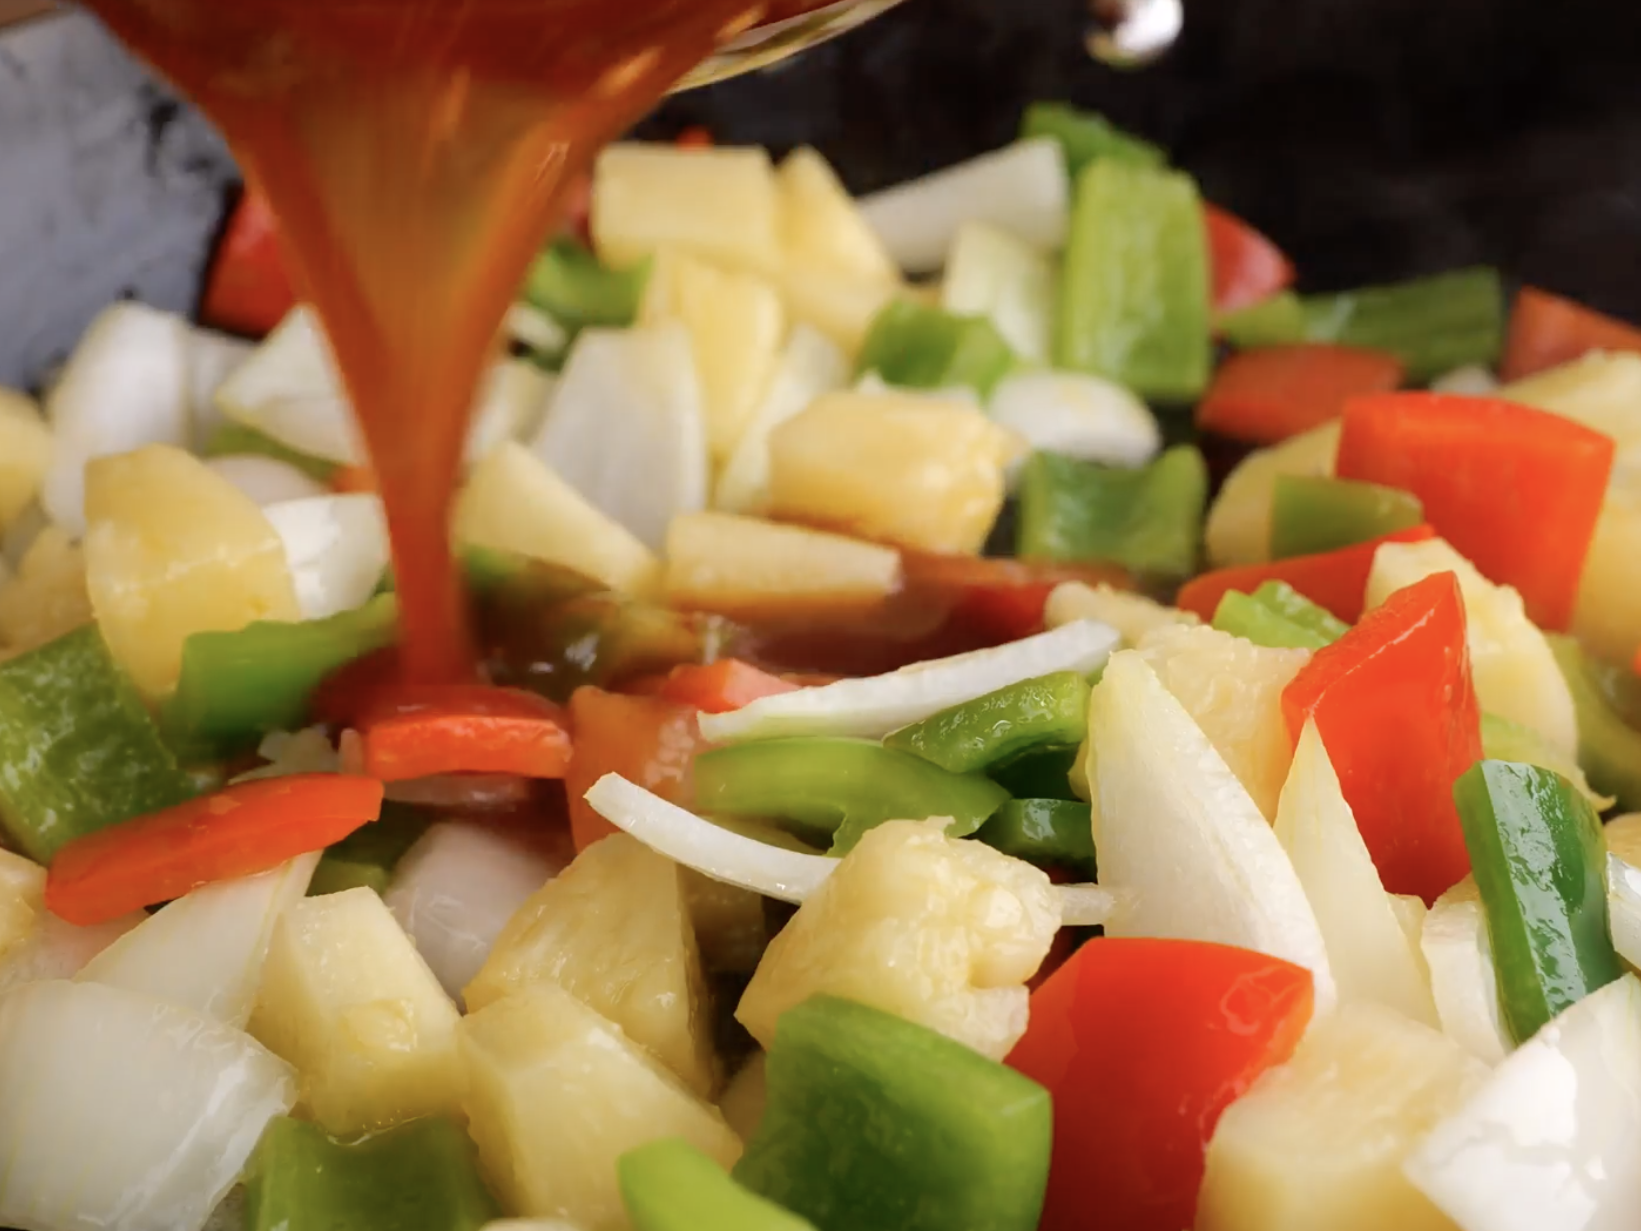
- To make the sauce, whisk together the sugar, brown sugar, apple cider vinegar, ketchup, soy sauce, and garlic into a small bowl.
- Pour enough vegetable oil into a Dutch oven or frying pan so that comes up from the bottom about an inch and a half. Preheat on medium-high heat.
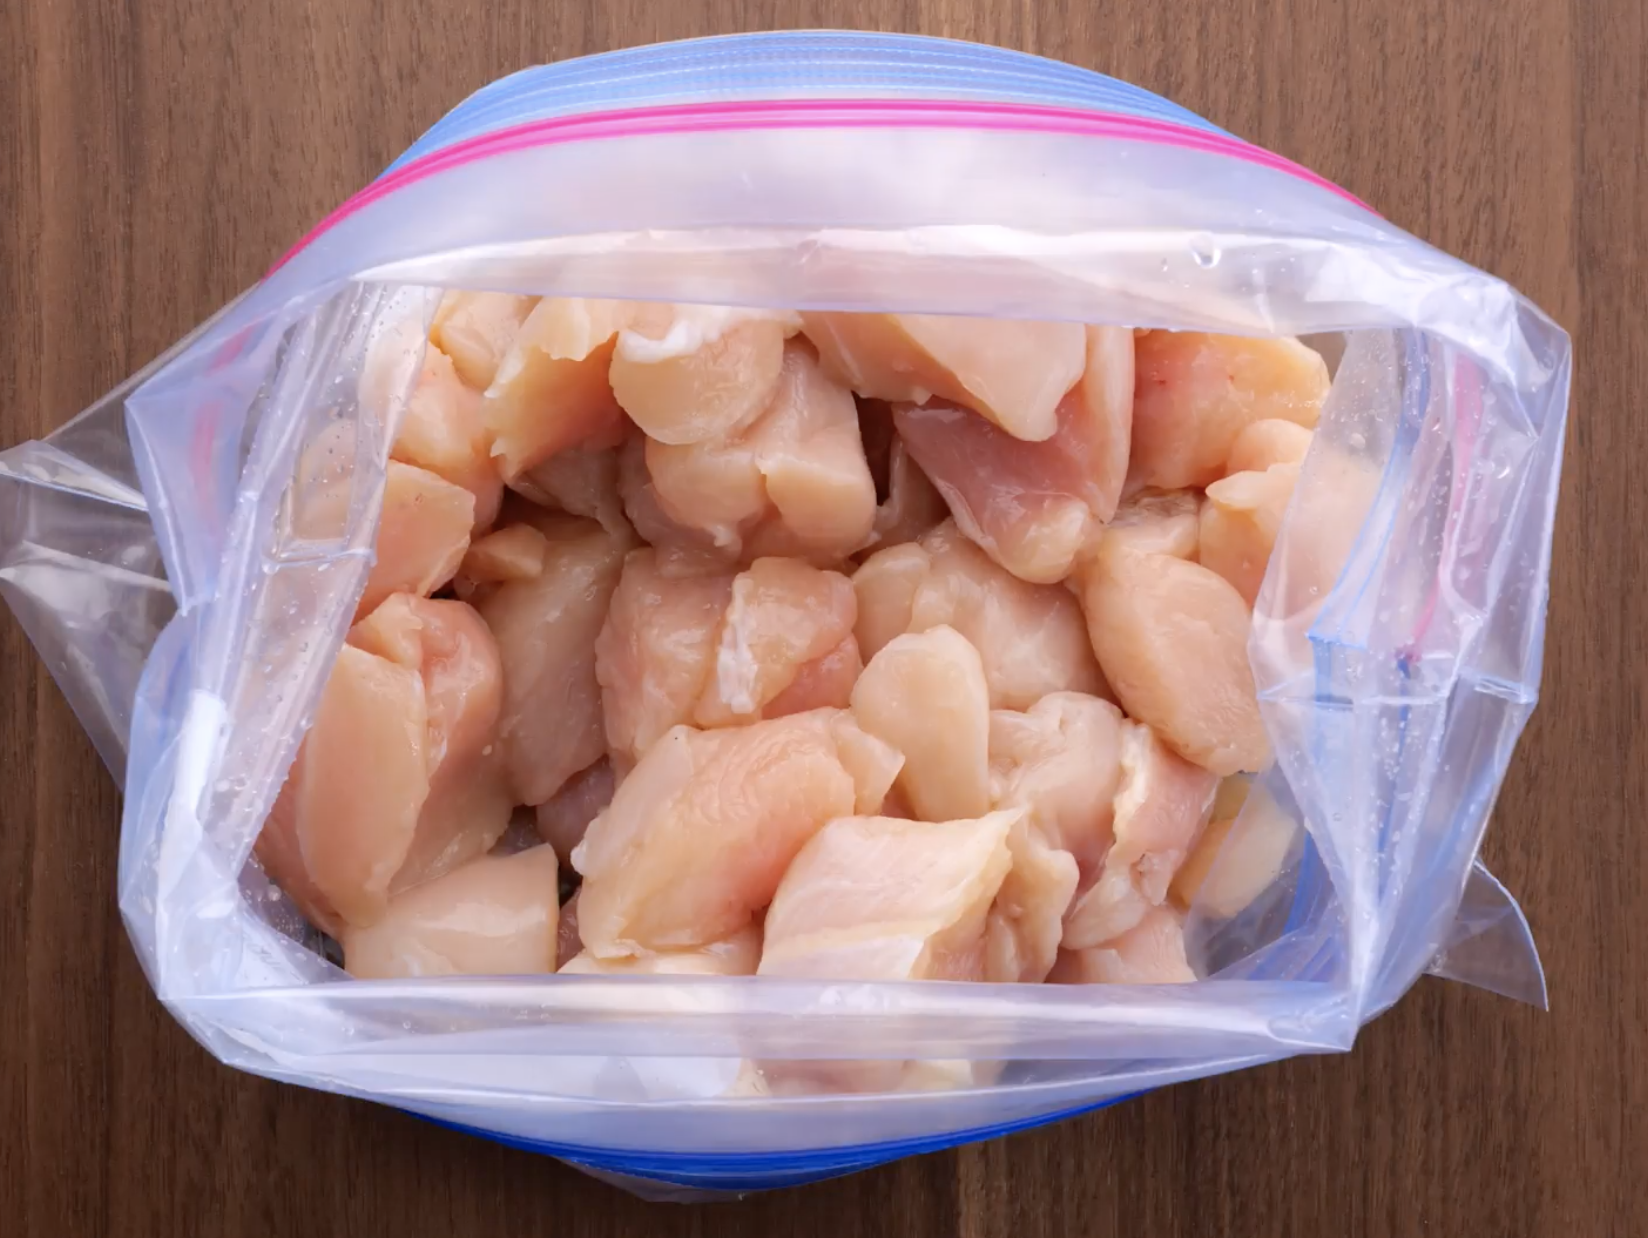
- Add the cornstarch to a large ziplock bag then add chicken pieces and shake until well coated.
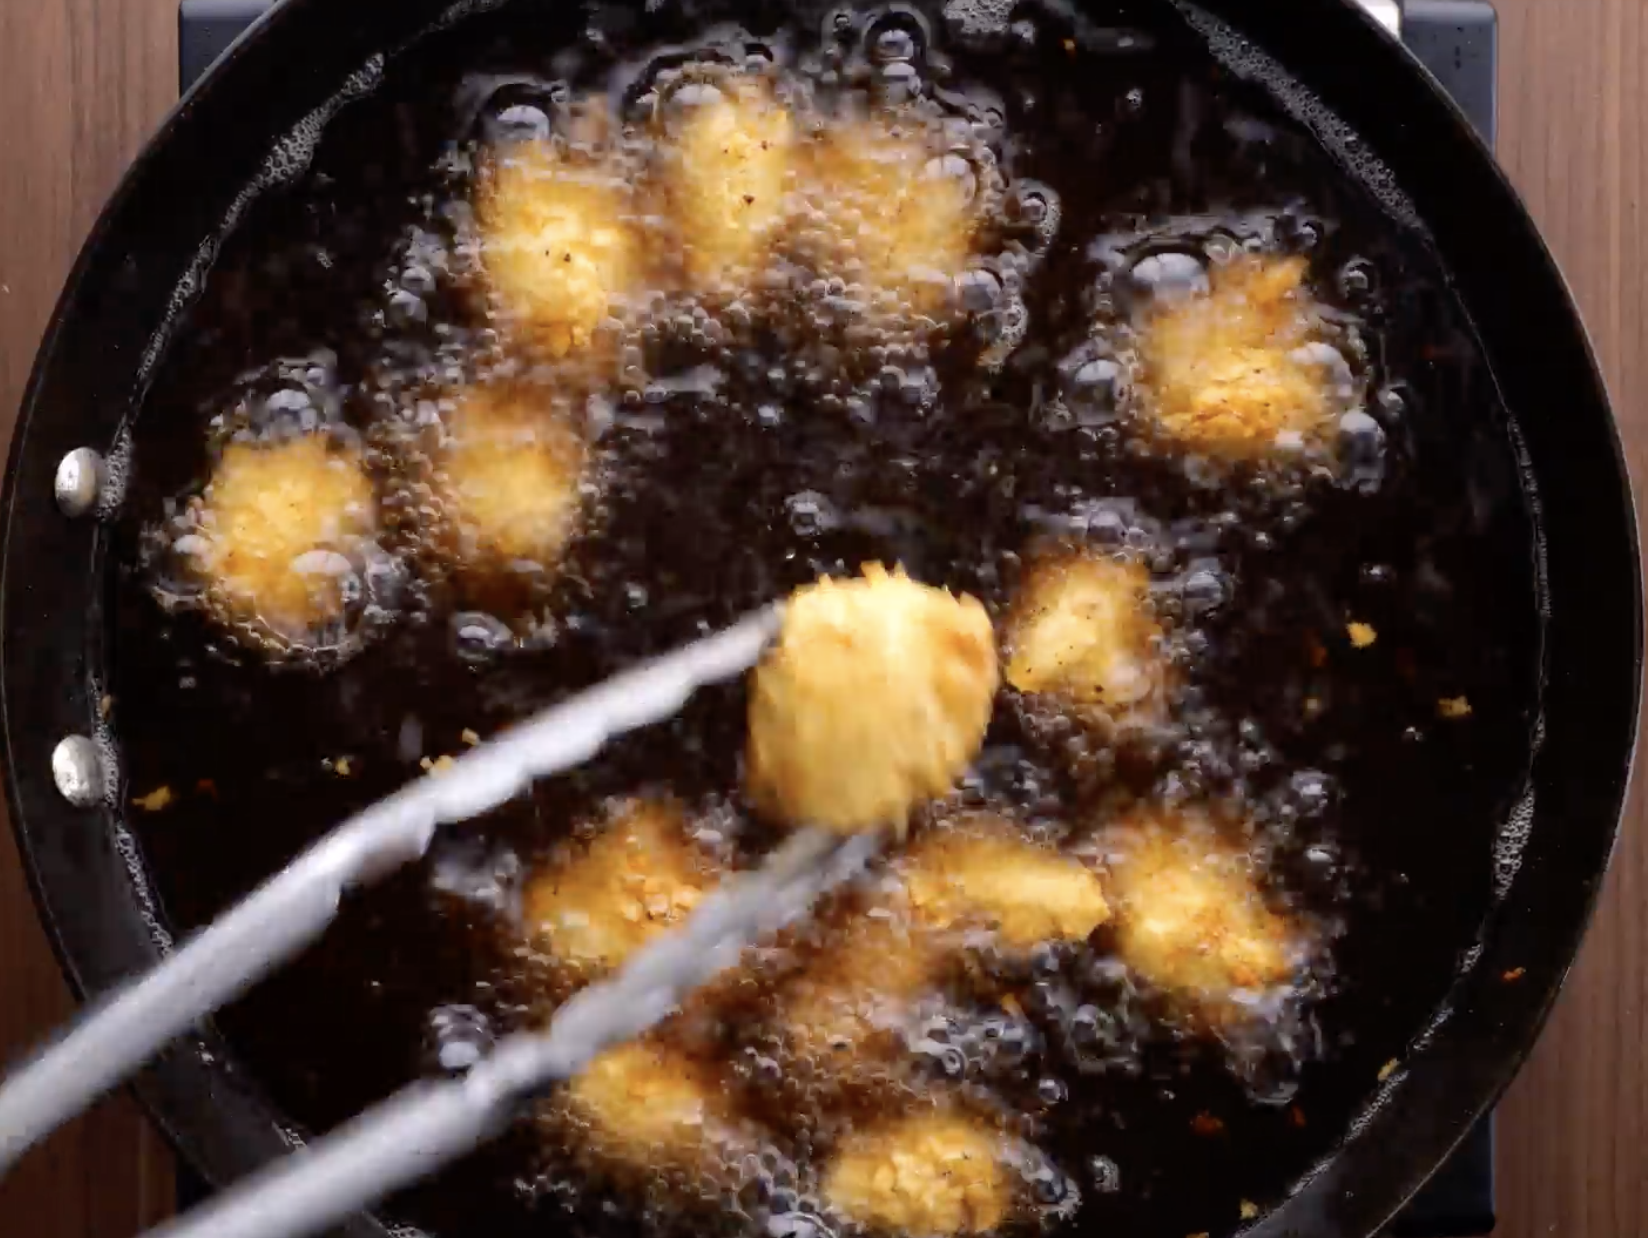
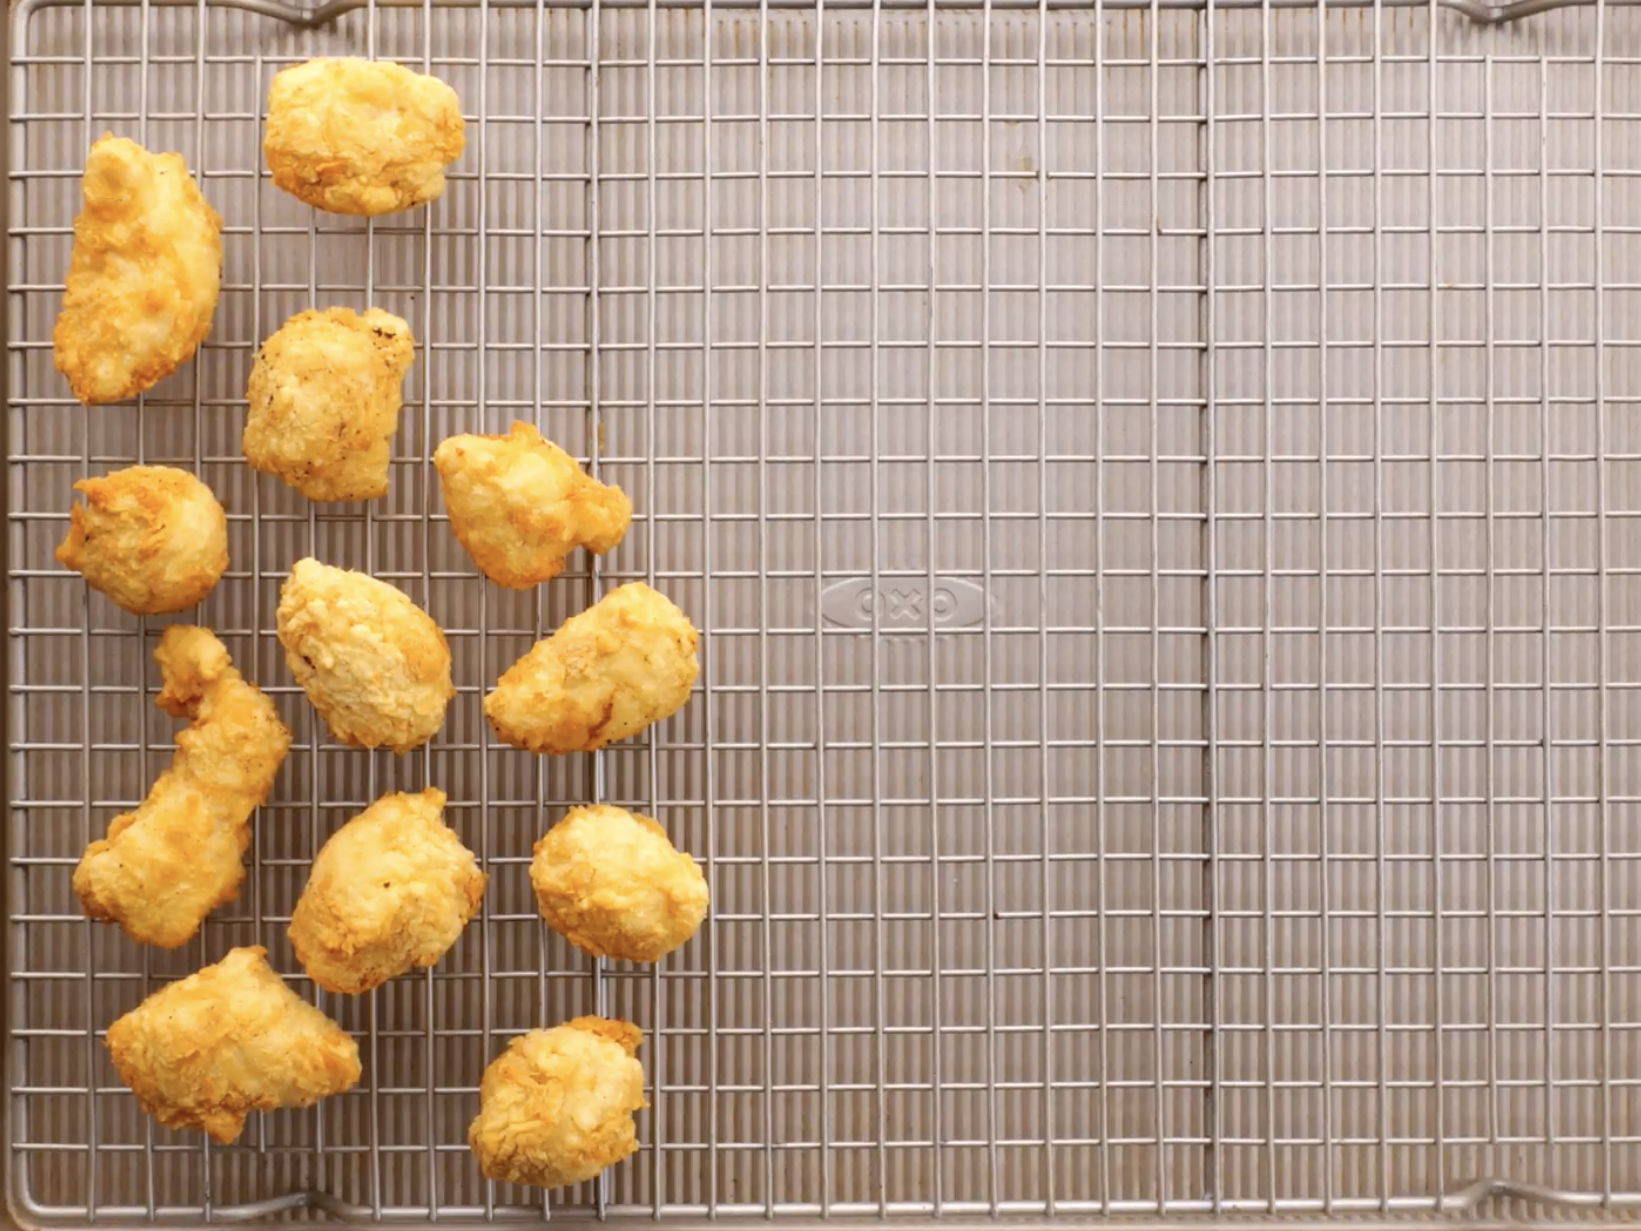
- Dip the chicken pieces into the egg, then into the flour before adding to the hot oil. Add in batches so as not to have more than a single layer of it in the oil at a time.
- Cook the chicken for 2-3 minutes, until cooked through and crispy.
- Remove to a cookie sheet (no paper towels!) and continue cooking the remaining batches of chicken.
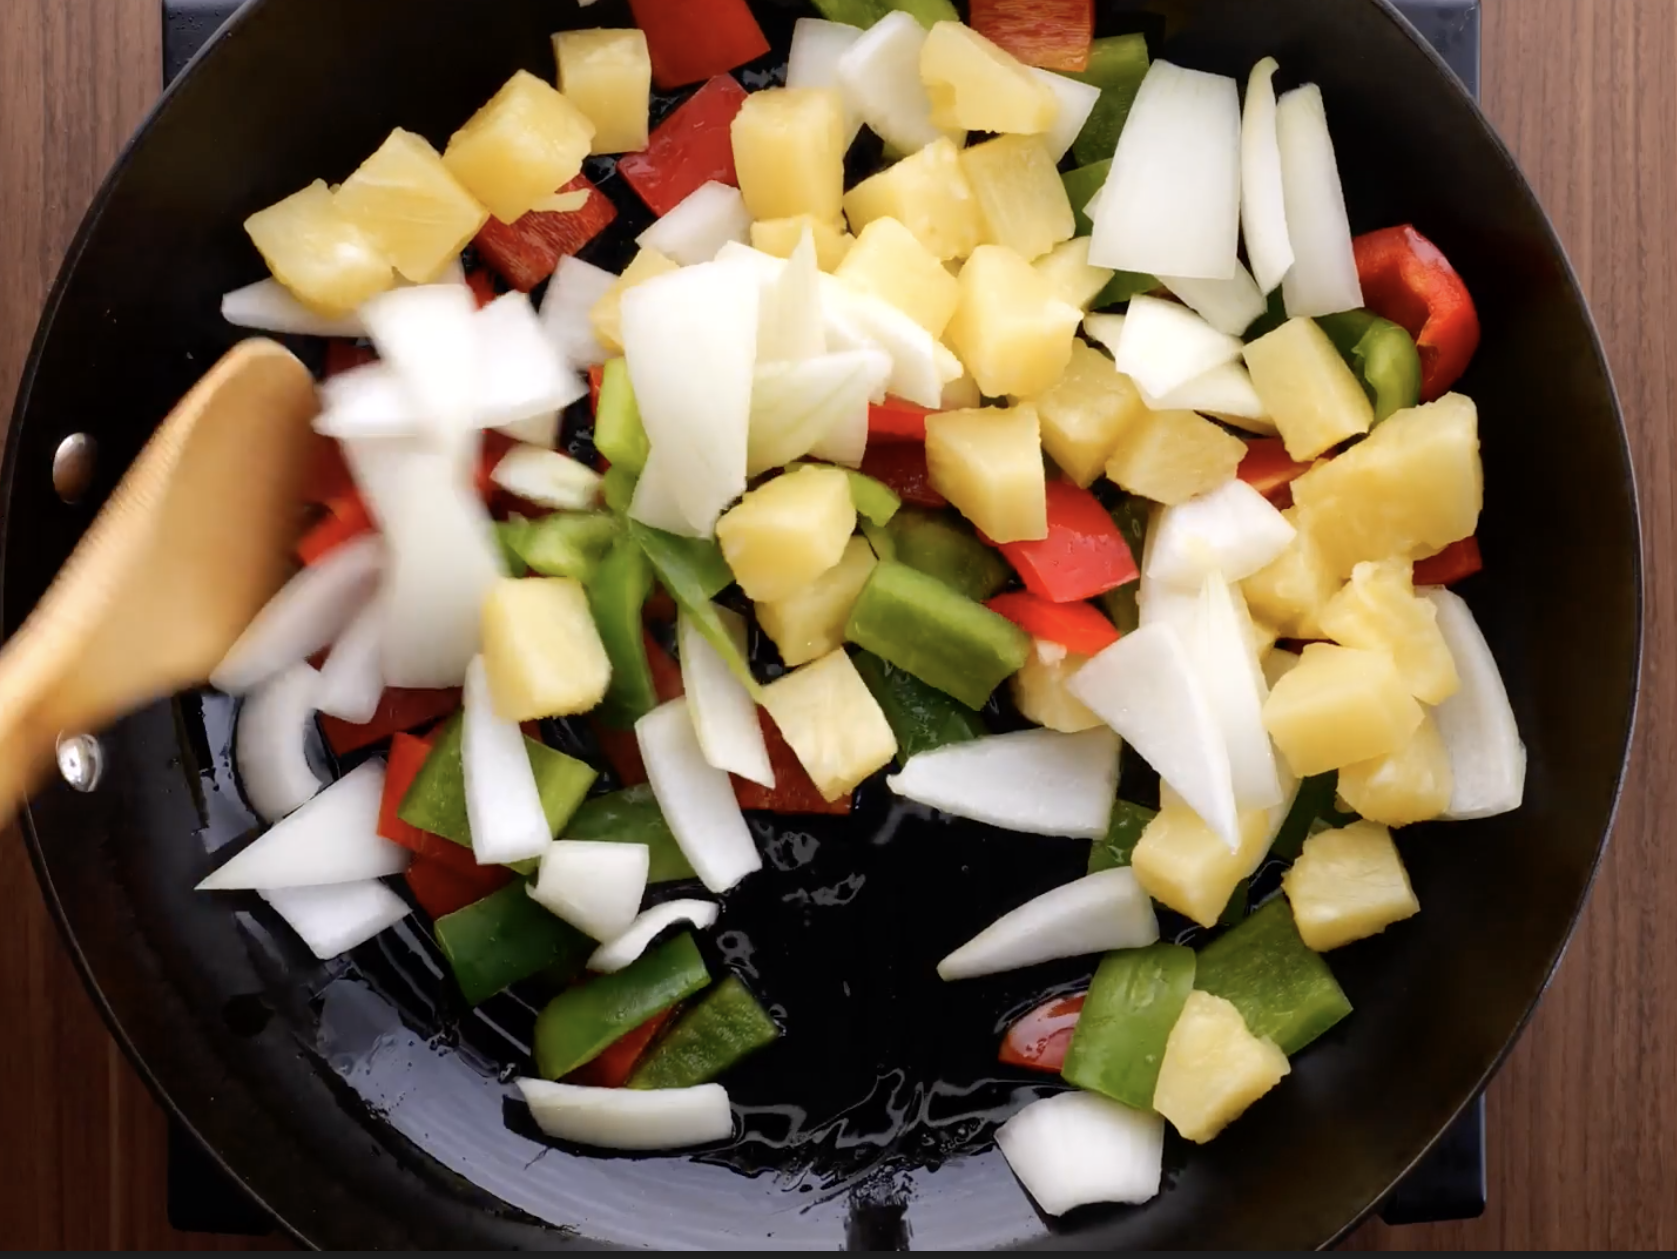
- When done cooking remove all but a tablespoon of the oil, then add peppers, onion, and pineapple. Cook for 1-2 minutes, until crisp-tender.
- Add the chicken pieces and sauce, and stir until the sauce is thickened and bubbling.
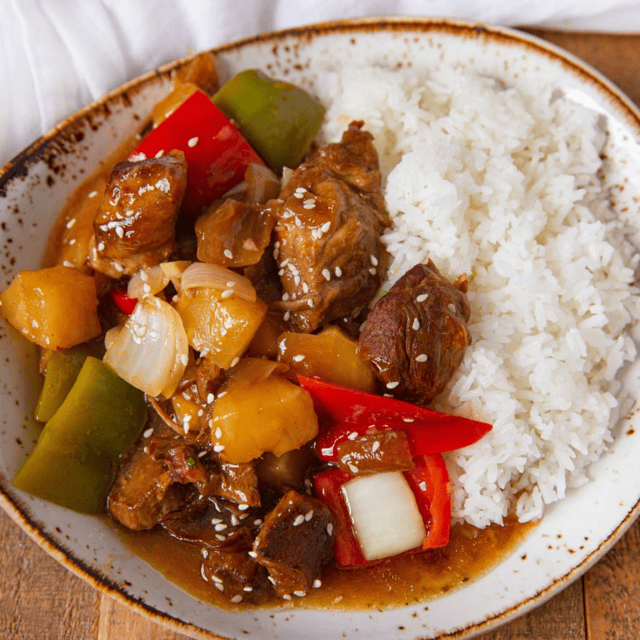
- Serve immediately, with optional garnishes of sesame seeds or green onions.
Nutrition
Want to save this recipe? Create a free account to easily save your favorite recipes
Table of Contents
About This Recipe
When I first started this blog, of all the Chinese Recipes that people asked for, the absolute top requested was sweet and sour chicken. I totally get it, it isn’t even just the recipe, but THAT SAUCE. When I was a teenager and I made this sauce for the first time I also actually started learning how to use chopsticks. So for a solid month (I kid you not, my mom was not thrilled with this), I used chopsticks for every meal and had a tiny little bowl of sauce to dip everything into it.
Chef’s Note
A word of advice: I don’t put the fried chicken on a paper towel to drain. While it may work to soak up the excess oil, it also causes it to steam and the batter on the chicken gets soft voiding our goal of crispy chicken pieces. You can use a paper towel to wipe off any oil from the cooking sheet after you’ve added them back to the wok.
Ingredients
- 1 ½ Pounds Chicken Breasts: Cut into 1-inch chunks. You can use chicken thighs too.
- ½ Cup Cornstarch: This is used to create a base for the egg wash and flour to attach to.
- 2 Eggs and ¼ Cup Flour: These are the coating for the chicken.
- 1 Cup Pineapple Chunks: This is the secret ingredient that makes this recipe! Fresh or a can of drained pineapples both work.
- Vegetable Oil: This is used for frying. You can use a neutral oil like canola or sunflower oil.
- Vegetables: Red and green bell peppers, both cut into 1-inch chunks, add vibrant color and a mix of sweet and slightly bitter flavors. These can be substituted with other peppers or zucchini for a different texture. The onion, also cut into 1-inch chunks, provides aromatic flavor and slight sharpness; red onion or shallots are good alternatives.
- Sweet and Sour Sauce: White and brown sugar bring the sweet base with a hint of molasses; either dark or light brown sugar or coconut sugar can also be used. Apple Cider Vinegar is absolutely critical for bringing the sour flavor. Rice vinegar is a suitable substitute. Ketchup adds the base tomato flavor and natural red color. You can also use equal parts tomato paste. Soy Sauce can be substituted with tamari or coconut aminos which are also gluten-free. Garlic can be substituted with 2 teaspoons of garlic powder if fresh garlic is unavailable.
Kitchen Tools and Equipment
- Wok: Great for high heat, and quick cooking. A wok is a great addition to your kitchen if you love cooking Chinese food or stir fries in general.
- Large Frying Pan: I use a Cuisinart for most of my non-cast iron cooking unless I am going with a stainless steel option, then I choose my All-Clad.
- Frying Spider Strainer: A frying spider strainer is the quickest and easiest way to scoop out items that are fried without wasting too much time or getting too much oil out of the pan. You won’t have pieces burning like you would with a smaller strainer, plus it is SO inexpensive. I use it for almost all of my small fried items.
Can this be made ahead of time?
This dish is best served fresh. If it isn’t served immediately the coating will soften and become soggy. You can easily store a batch in the fridge for up to 3 days before reheating and serving. Just keep in mind the breading won’t be crispy. The sauce can be kept in the fridge separately from any cooked chicken for up to a week.
How to Store
- Storing: Place the leftovers in separate airtight containers in the refrigerator. The chicken will stay fresh for up to 3 days, while the sauce and vegetables can last up to 4 days.
- Reheating: For the best results, reheat the chicken in an air fryer or oven to restore its crispiness. Warm the sauce and vegetables in the microwave or on the stovetop, then combine just before serving.
- Freezing: Freeze the chicken and sauce separately in freezer-safe containers for up to 2 months. Thaw in the refrigerator overnight before reheating and serving.
Alternative Cooking Techniques
Preheat the air fryer to 400 degrees. Coat chicken pieces as usual with cornstarch, egg, and flour. Arrange in a single layer in the air fryer basket, spray lightly with oil, and cook for 10-12 minutes, shaking halfway through. Air fry the vegetables and pineapple after the chicken. Make the sauce on the stovetop, toss the chicken and veggies into the heated sweet and sour sauce, and serve immediately.
Frequent Questions
For this recipe you want to keep the breading super crispy and light, which cornstarch will help you achieve. I have experimented with coating the chicken in both in a tempura batter and a straight cornstarch coating. I prefer cornstarch for ease of use, but either way, you don’t want something doughy that will absorb your sauce like a sponge.
You can reduce the sugar in half for less sweetness. For less tanginess, cut the vinegar from ½ to ¼ cup of vinegar.
Variations
- Vegan Sweet and Sour Tofu: Replace chicken with firm tofu, patting with with a paper towel it to remove excess moisture before frying. Use soy sauce or tamari for the sauce.
- Garlicky: If you’d really like to add some extra flavor to the flour, season with salt and black pepper and add 2 tablespoons of minced garlic or 1 tablespoon of powdered garlic to the chicken while frying. Add an extra tablespoon to the sauce when mixing.
Related Posts
More Sweet and Sour Recipes
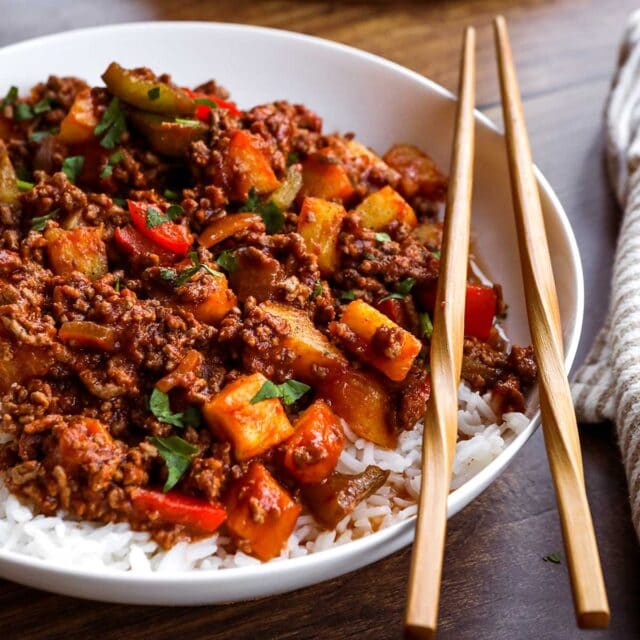

Photos used in previous versions of this post.


I’ve tried other sweet and sour recipes but this was far superior. The chicken was tender. the vegetables were crisp. The family loved it!
I tried this recipe for dinner and it was a huge hit. Our daughter must eat gluten free so I used a low sodium tamari sauce instead of the soy sauce and a gluten free flour blend instead of the regular flour. Otherwise, I followed the recipe exactly. She was so happy to eat sweet and sour chicken again! Even our picky granddaughter ate this with no complaints.
I am not much of a chef but after tasting this my family couldn’t believe I really made it from scratch! Really tasty and very well explained. Much appreciated! Thanks
I made this for me and my boyfriend at his house for us. His little sister who hates vegetables was eyeing it from the start running and grabbing us stuff cause she wanted to try and sneaking bits of cooked chicken. When she tried it all together she went back for seconds vegetables and all. It was such an amazing sight their momma came out asking what happened to her daughter and had to try some for her self which brought the rest of the family. So yes I’d definitely recommend this recipe to anyone especially to those who aren’t a fan of vegetables.
Thanks so much! Kiddos eating vegetables is always a win, lol :). Really appreciate the 5 star review, Kaslynn!
This was my first time making Chinese food and it was a win with my family but holy it did not take me 15 minutes to prep.. it took me a little over an hour then i finally cooked the food. It was the chopping of the chicken (4 breasts) into cubes then coating with cornstarch then the whole egg then flour. i did all the pieces first then when i was done the dredging then i fried them all. it was a lot of work but delicious.
This recipe turned out so good! Very easy to follow and delicious results.
This is soo GOOD. Like Restaurant or better. And easy. Will make again and again.
My 3 teens love ordering out for this dish. I just looked up our local Door Dash: $18.99/order, times three!! Then rice, and a tip, etc. So I thought I’d try this recipe. Success!!!! Followed the recipe exactly, then added some chicken thighs to the breast meat. Won’t use thighs the next time, but the breast meat ones were excellent.
The chicken was tender and perfect. Everything was good, texture wise, but the flavor was a little bland. Not sure why. Must be some herb or spice that could’ve brightened it up. Lots of sugar.
Appreciate your feed back! This recipe is for those who enjoy a more “middle of the road” approach to Sweet and Sour Chicken. It sounds like you’re the family that might enjoy our General Tso’s Spicy Chicken (https://dinnerthendessert.com/general-tsos-chicken/)!! Hope you try it and let us know what you think!
Great recipe. Made it exactly as written and it was way better than take-out.
I love hearing this feedback! Thanks Chris.
Just made this and it is excellent. Thank You
I’m making it tonight. 2nd t It reminded me of Chinese restaurants in Massachusetts years ago. Best sweet and sour chicken I’ve had since leaving. And now I can make it myself.
Really delicious and not complicated to prepare. Once prep is done it cooks up fast.
Thank you Linda! And thank you for the 5 star rating!
This looks really Good Sabrina
Hope you try it and let us know what you think!
Follow the reciepe as written. Worked out great the very first time. I did add more peppers the second time around, thats just me.
Loved the feedback and thanks for the 5 star rating.
Can you do the chicken a head of time, then add sauce later
We always eat this fresh off the stove because we all love it so much and it doesn’t take that long so I’m going to say perhaps you can, but I believe the recipe will taste different. If you decide to try this, let us know how it turned out!
This is a very good sweet and sour recipe that can rival your favourite Chinese takeaway joint. I make a few small changes including coating the chicken in just egg then cornflour before frying; adding in some pineapple juice from the can; and thickening the sauce at the end with a couple of teaspoons of cornflour in water.
Thank you Deena! Enjoyed reading how you changed up the recipe. Thank you for the 5 star rating.
Thank you very much for this recipe! It’s sweet and sour chicken the way I’ve always known it. One time, we didn’t have apple cider vinegar, so I used balsamic and that worked a treat too.
You’re welcome! Love the feedback on subbing out balsamic for apple cider vinegar! You have great instincts in the kitchen :). And thanks so much for the five star rating.
This was amazing! There are lots of Asian style recipes I’ve tried, and many turn out well, but it’s never as good as takeout. This recipe tasted better than takeout. I’m so glad I found it, because I’ll be making it again.
I tried this recipe, and it worked so well!!! Thank you!!!
You’re welcome and thank you Patience for the 5 star rating!
This definitely took me more than 25 minutes to make (as a solo non-expert), but it was delicious and so worth it! My boyfriend and I both loved it. We’ll cook it together next time.
Good for you Katelyn! Glad you tried our Sweet and Sour Chicken and that you both enjoyed the recipe. I really appreciate the 5 star rating. Thank you!
The family loved it. I did 4 breasts so I doubled the sauce to put over the rice. I used half apple cider vinegar and half rice wine vinegar. Next time I’ll probably put a little less sugar in it as we like it less sweet. This was easy so it’s now in the rotation.
Thanks so much for letting us know what worked for your family! Great ideas!
A real treat for every once in a while (lots of sugar and oil). Tasted like a quality restaurant meal minus the yucky MSG taste. Frying the chicken like that was worth it. Thank you, I loved it!
There go our Friday nights out 😉 This meal definitely eliminates the need to go out on Fridays just for [Chinese] food: this was 5 star delicious. It turned out perfectly. The only substitute I used was Avocado oil, worked just fine. This is also a wonderful basis to start experimenting with. Thank you!
Thanks! I really appreciate the 5 stars MuMu!
I de this last night. There are only 2 of us we had it again tonight! This is my favorite sweet and sour chi hen ever
Made this for my family and it was a hit. One of the best meals I have made. I did not add pineapple and it was still delicious. Brought it to work the next day and my coworkers were convinced it was from a Chinese restaurant because it looked and tasted so good. Make this!
Thanks Mary! And thank you for the 5 stars!
Made this like 5 times and never lets us down! So freaking good! And for my picky kids I leave a couple chicken pieces whole and fry first they love wit lil salt and pepper and dip in ketchup and ranch!
I love it when the family enjoys our recipes. Great for you and great for us! Thanks for the 5 stars Lesley!
Simply delicious and easy to make!
Great recipe- easy to make and delicious! We used rabbit loin cut into 1″ pieces instead of chicken. They turned out crispy and juicy- I just kept a close eye on them as they fried to ensure they weren’t overdone. Added some sliced carrots too. This is definitely going into our meal rotation!
hello i just want to ask how many ppl can eat this?
This recipe is for 4 people. Our Recipe card has a feature at the top of the card where you can change the “YIELD” slide bar to the number of people you wish to serve. Hope that is helpful and Enjoy!
I just used this recipe today for our dinner tonight! Husband liked it. Taste way better than from what we ordered the other day at the Chinese restaurant we went to LOL. Although I only added 1/3 cup of sugar instead of 1/2 since I don’t like it too sweet and you already had another brown sugar in your recipe so that was enough sweetness for me. Overall, I like this recipe and will be added to my recipe book so I can make it again!
Great flavor and suprisingly simple recipe. I used gluten free all purpose flour due to alergy, so the consistancy was not as crispy as regular wheat flour probably is but it was still delicious. Next time I make it, which will be soon, I will cut the chicken chunks larger so they can fry longer to see if that helps the gluten free glour get crispier. I will also add seasoning of salt and garlic powder in the flour before dredging, and double the fresh garlic in the sauce so the flavor can break through the vinegar more. Using fresh pineapple is a must to get that caramelization that you can’t get from jucier canned pineapples. My husband is a very picky eater and won’t finish anything he doesn’t like, but he cleaned his plate and requested the leftovers for lunch the next day. Definitely a keeper!
For the first time (for me) a recipe has exceeded ALL of the restaurants version of this dish. I use rice vinegar instead of apple cider and dark tamari soy sauce instead of low sodium soy sauce and its better than any restaurant ive eaten the dish at. Big compliments to the author.
Thanks Ryan! And thank you for the 5 stars!
Beyond the best sweet and sour chicken ever! This is a keeper!
Thanks Denise! And thank you for the 5 stars!
The recipe was simple. Love all the vegetables and chicken. I think frying with flour is a bad choice, I think a wet batter would have worked better. The oil from frying got to dirty for the chicken. The other thing we noticed was that the sauce was too vinegary from the ketchup and the vinegar. The taste from the vinegar was too obvious.
Thank you for your feedback.
Use mochiko rice, flour, mixed with whipped egg whites. It’s a great wet batter and the only one I will use when I make Chinese food don’t forget to season it.
Best sweet and sour chicken I’ve ever had. Thank you
I can’t begin to tell you how much my fussy husband loved this recipe. We have been looking for something like this for years. Its better than restaurant food . When I make it I double and triple it. LOVE IT!!
I like to do freezer meals, can I freeze this to cook later
Yes you can! Make sure your container is air tight and freeze up to 3 months.
This was delicious and super easy to make. It’s a keeper.
Looks delicious making the sweet and sour chicken tonight
I can’t begin to tell you how much my fussy husband loved this recipe. We have been looking for something like this for years. Its better than restaurant food . When I make it I double and triple it. LOVE IT!!
I make the sweet n sour chicken for my family. They love it. It’s easy to make.
Fast , and easy clean up.
I love this recipe.
I can’t begin to tell you how much my fussy husband loved this recipe. We have been looking for something like this for years. Its better than restaurant food . When I make it I double and triple it. LOVE IT!!
It was amazing. Exactly what I crav3d for.
Wow! Made this for dinner tonight. So easy and so tasty. Will definitely be checking your other recipes.
Hello.. looks good.. no salt n pepper on chicken pieces?
Not in this recipe!
Enjoy
Excellent and easy to make.
Never cooked sweet and sour from scratch before, easy to make and went down at five stars out of five?
Amazing. Dish. Hooked on your recipes.
Excellent and easy to make.
I can’t begin to tell you how much my fussy husband loved this recipe. We have been looking for something like this for years. Its better than restaurant food . When I make it I double and triple it. LOVE IT!!
LOL! So glad your “fussy husband” enjoyed the recipe!
Can this be made ahead of time and reheated
I have not tried that; however, you can shake your chicken pieces in the cornstarch and place on a cookie sheet lined with parchment paper. Place in the freezer for 2 hours. Then remove and place in air tight baggies or a container up to 2 months. That will save you a bit of time at least. This recipe is best when created fresh! Enjoy!
how many servings?? how many grams in each serving
Serving sizes become an issue because people will have ingredients of different sizes. Packaged products are weighed and measured at the time of creation which makes their measurements accurate. The only way to accurately know the measurements of meals is to weigh and divide.
Absolutely perfect!!!! Super easy directions and we loved it
Very good. Instruction was easy to follow. Love it.
Good but I personally found the apple cider vinegar is just too much! Even my kids did not like the smell of it!
Delicious and easy highly recommend