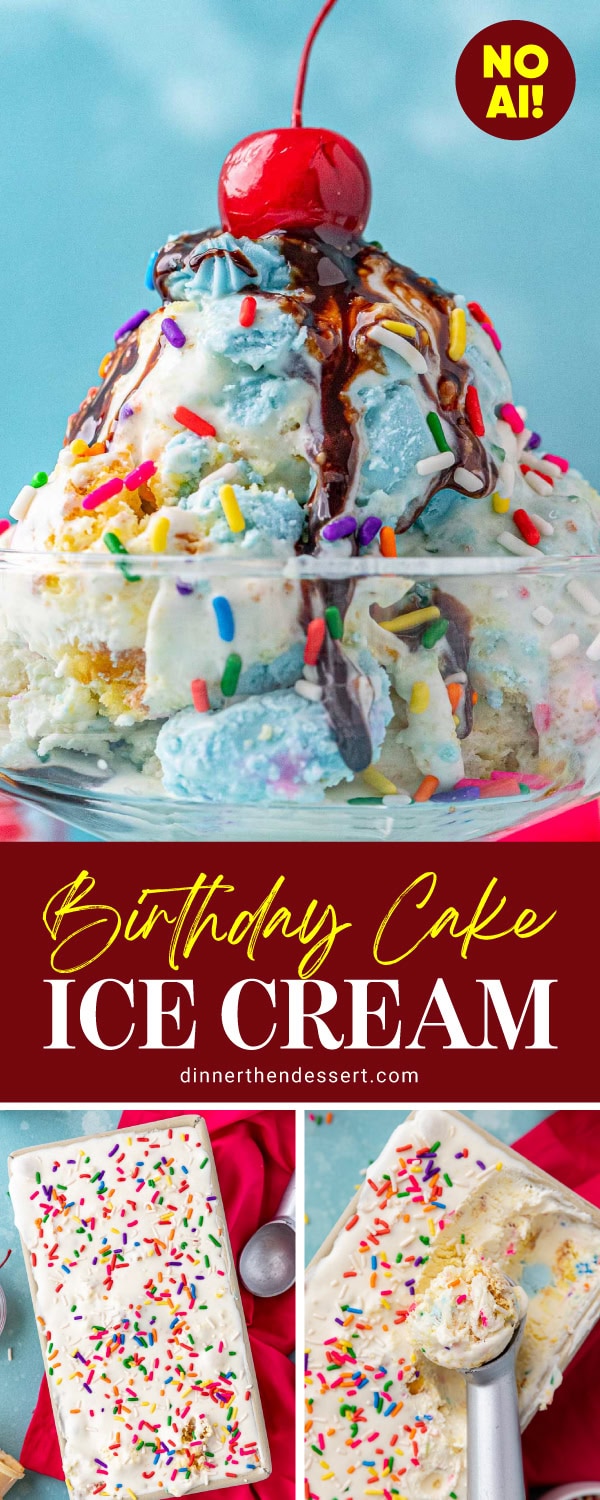

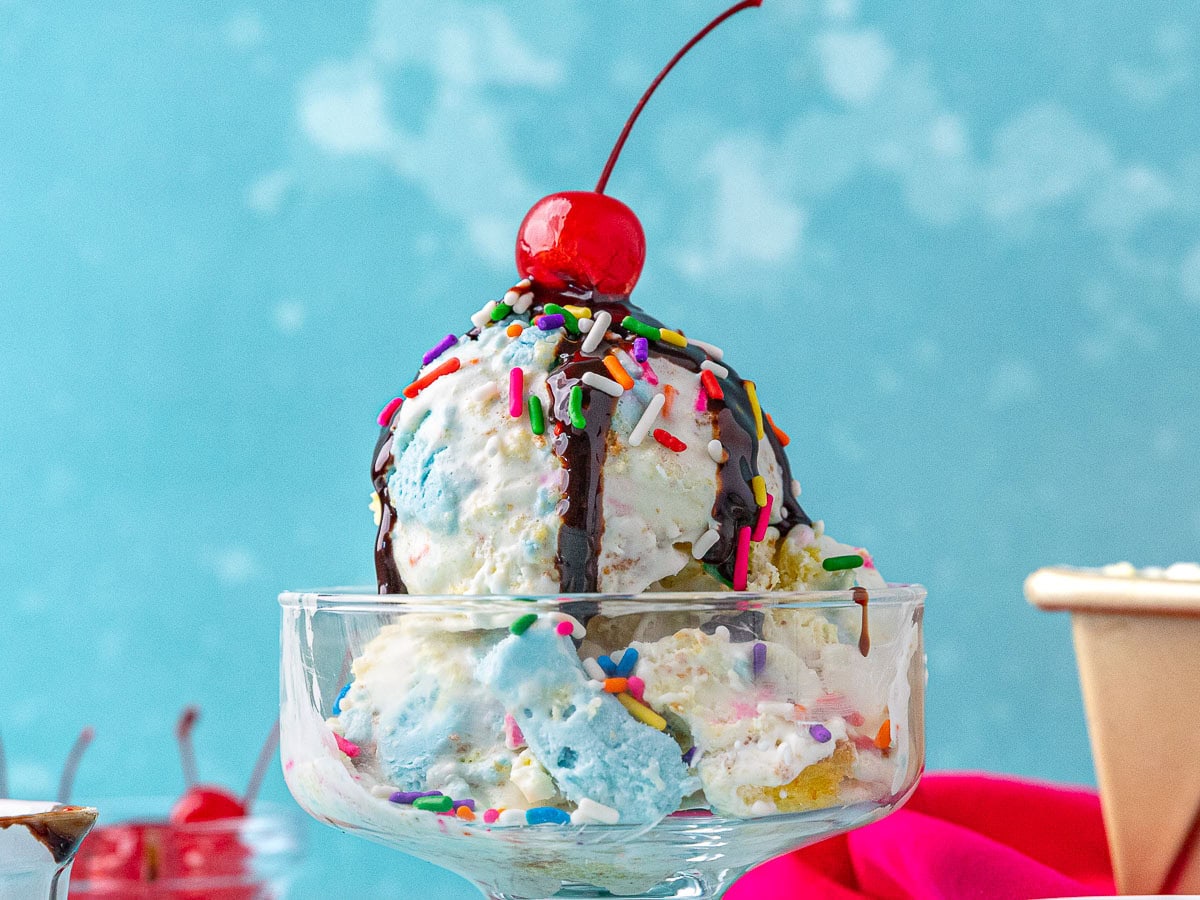
Birthday Cake Ice Cream is a no-churn ice cream recipe that is the perfect frozen treat for birthdays, parties, or any day of celebration.
You don’t need an ice cream machine to enjoy Homemade Ice Cream recipes. With half the regular ice cream ingredients and a hand mixer, your favorite flavors like Vanilla and Chocolate are easily at your fingertips.
Sabrina’s Birthday Cake Ice Cream Recipe
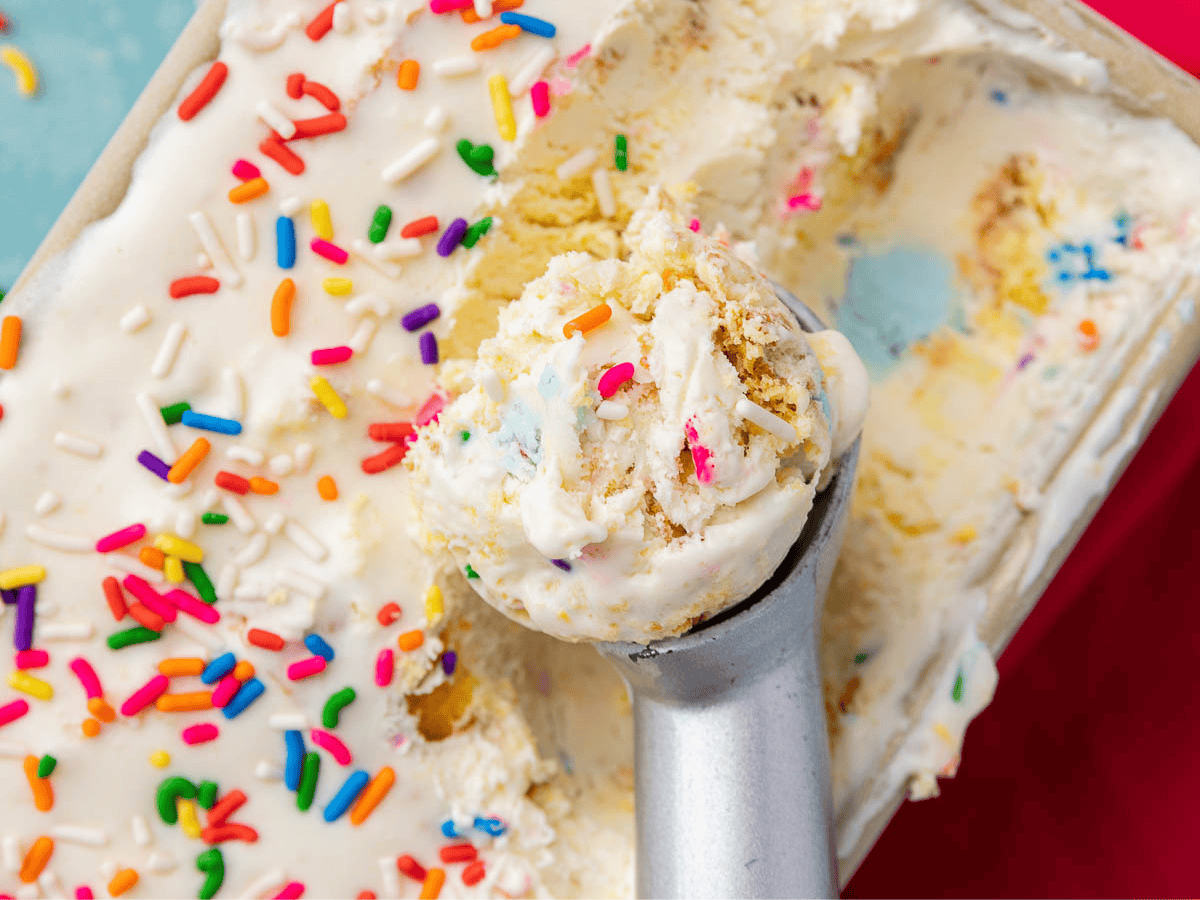
Birthday Cake Ice Cream is a bright, delicious treat to celebrate a special occasion, or to satisfy any sweet craving. It’s a fun and easy no-churn recipe made with an electric mixer. It can be the centerpiece of your Ice Cream Sundae, or Banana Split. Furthermore, you can easily change up the colors, cake flavors, or mix-ins to make endless yummy combinations. I’ve listed some of those tasty variations below. Plus, save time by using store-bought frosting or leftover frosting from a homemade cake.
Recipe Card



Ingredients
Vanilla Ice Cream:
- 2 cups heavy cream
- 14 ounces sweetened condensed milk
- 1 tablespoon vanilla extract
Grocery Store Frosting:
- 1/2 cup unsalted butter , softened
- 1/4 cup vegetable shortening
- 2 tablespoons water
- 3 cups powdered sugar
- 6-8 drops blue food coloring
To Finish:
- 1/2 cup rainbow sprinkles
- 2 cups yellow cake , chopped
Instructions
Vanilla Ice Cream:
- Add the heavy cream to your stand mixer and whip to stiff peaks, 2-3 minutes.
- In a large bowl stir together condensed milk and vanilla with a spatula.
- Add in half the whipped cream and fold together gently until well mixed.
- Add in the rest of the whipped cream and fold together gently.
- Pour into covered container and freeze for while you prepare frosting.
Grocery Store Frosting:
- To your stand mixer add the butter and shortening on medium speed for 2 minutes.
- Add water on the lowest speed setting until combined.
- Add in ½ cup of powdered sugar at a time until all the powdered sugar is combined.
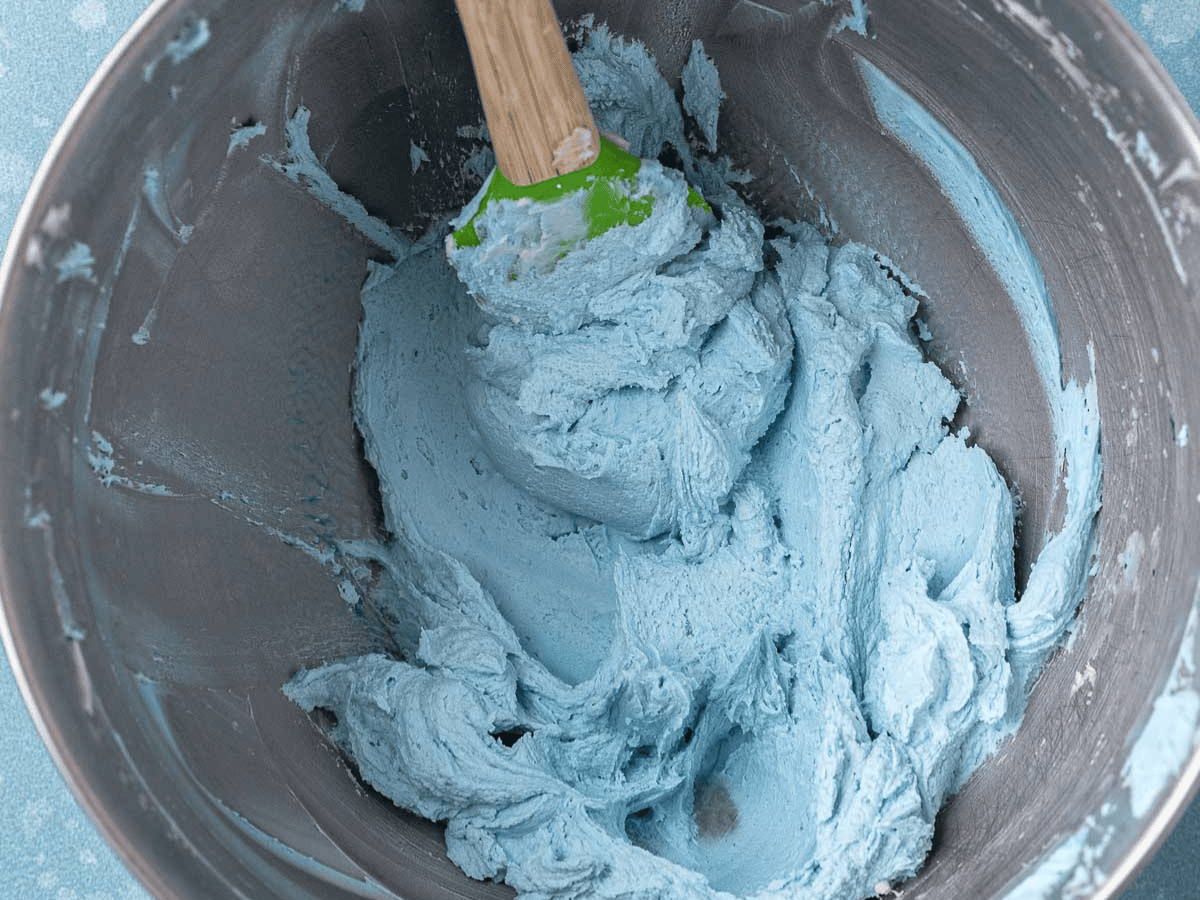
- Add in blue food coloring until well mixed in.
- Raise speed to high and beat for a full 12 minutes (do not stop early).
To Finish:
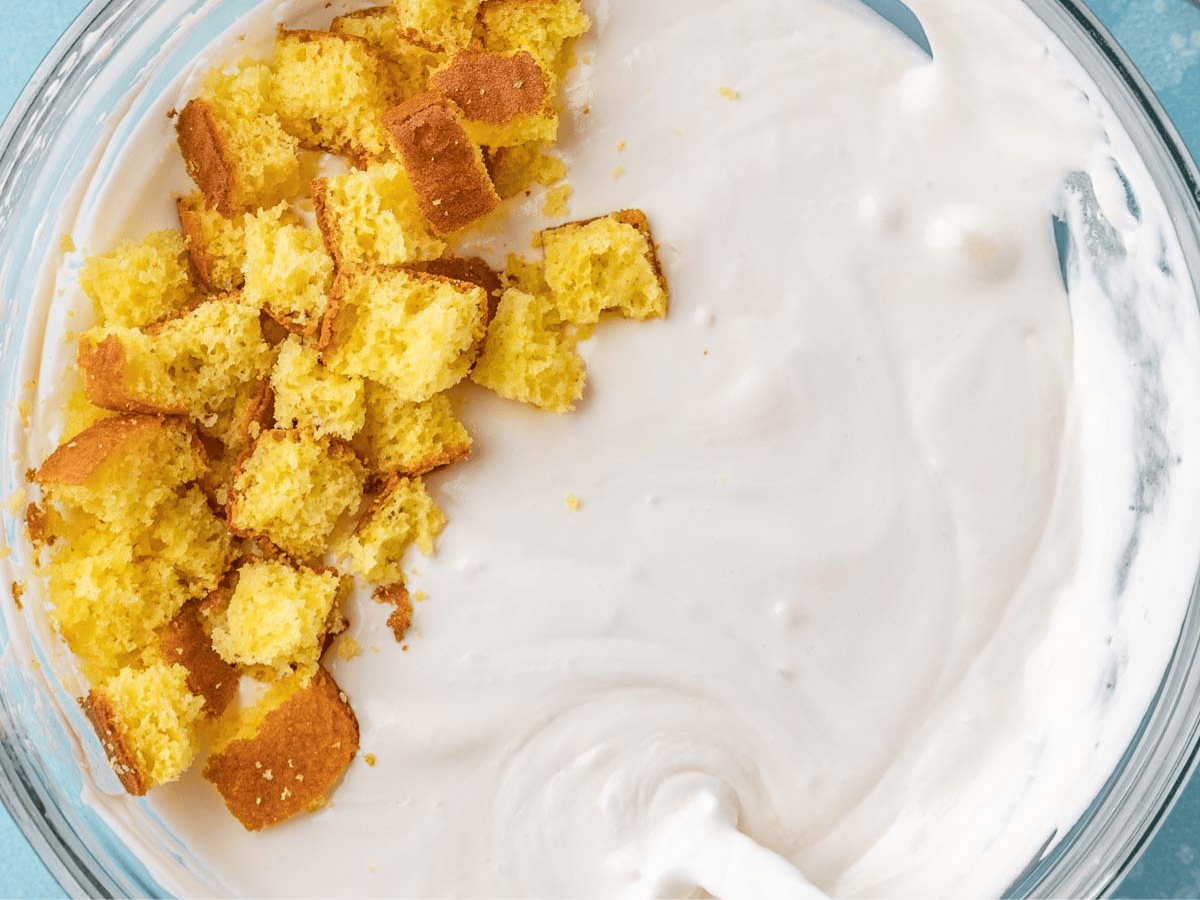
- Add the cake to the vanilla ice cream.
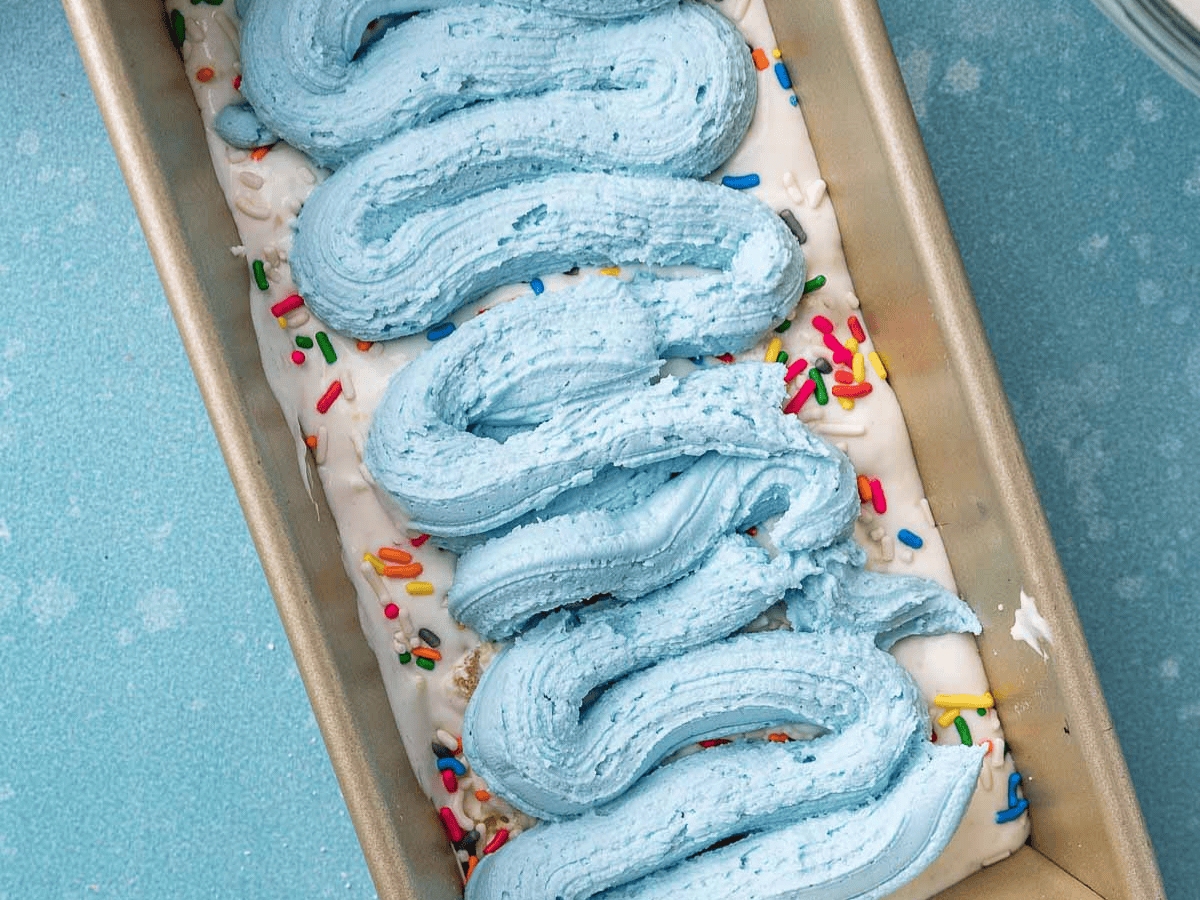
- Spoon ¼ the mixture into your loaf pan, top with some of the rainbow sprinkles and pipe on a swirl of frosting.
- Repeat two more times.
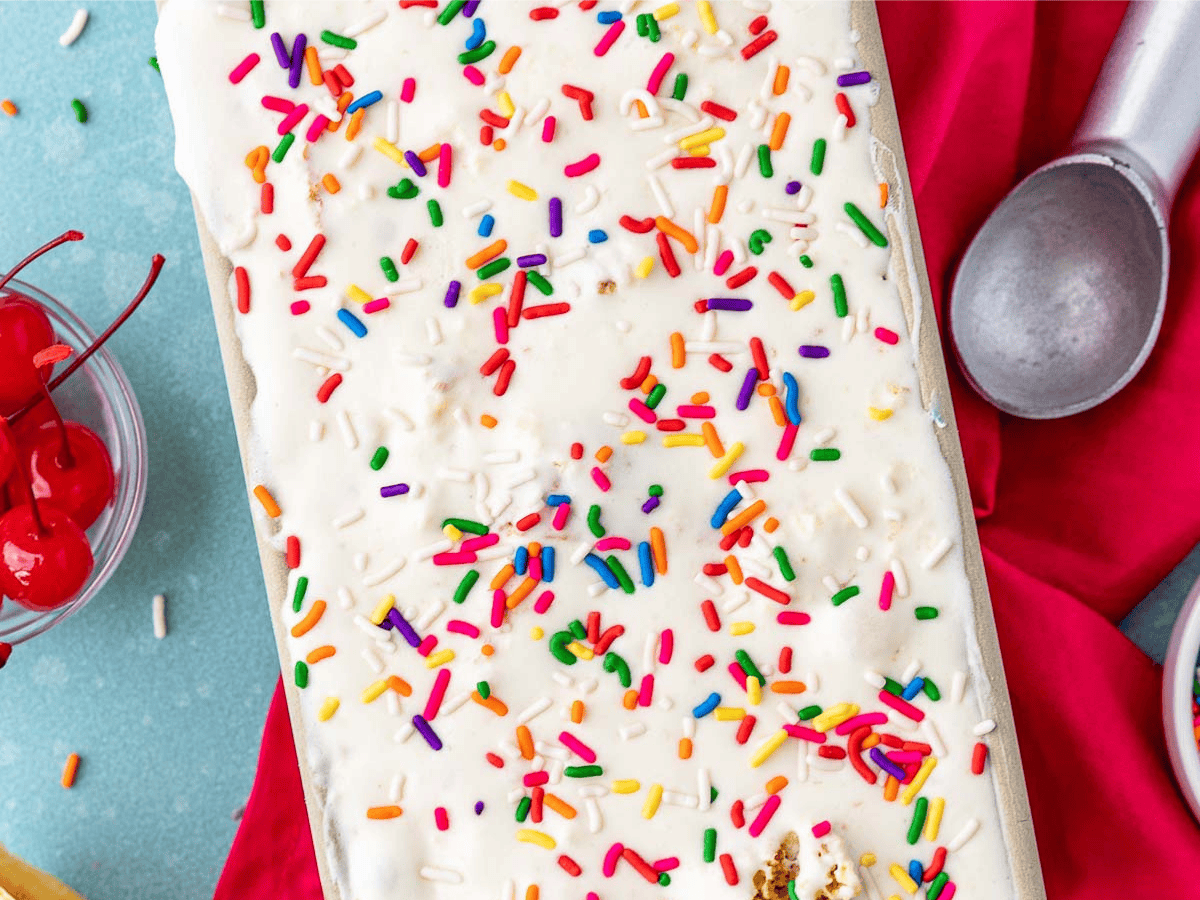
- Top with remaining ice cream and sprinkles.
- Freeze for 4 hours before serving.
Nutrition

Want to save this recipe? Create a free account to easily save your favorite recipes
Chef’s Note
This no-churn ice cream recipe hasn’t been tested in an ice cream machine, however it should work with some slight adjustments. Instead of beating the heavy whipping cream, just combine it with the condensed milk and vanilla using a spatula. Then chill for a couple of hours before adding to your ice cream machine. When it gets to a soft serve consistency, add your mix-ins and freeze until hardened.
Table of contents
Can this be made ahead of time?
Yes, this can be made up to 3 weeks in advance. Make sure to store properly by placing plastic wrap on the surface of the ice cream before storing in an airtight container.
How to Store
- Serve: Allow to freeze for at least 4 hours to fully harden. Let it sit for a few minutes to serve but return to the freezer as soon as possible as it will melt quicker than regular ice cream.
- Store: To prevent ice crystals from forming, press a layer of plastic wrap onto the surface of the ice cream before placing the lid on the container. It will last about 2-3 weeks if it is stored properly. The less you take it in and out of the freezer, the longer it will last too.
Variations
- Chocolate: Add 3 tablespoons of cocoa powder to the heavy cream mixture to make a rich chocolate base and use Chocolate Cake instead of yellow cake.
- Strawberry: Along with the frosting, swirl in Strawberry Jam (or raspberry jam) to make this taste like a cake with fruit filling. Make your frosting is pink instead of blue to match the bright berry goodness.
- Cookies and Cream: Replace half the cake pieces with chopped chocolate sandwich cookies and use chocolate sprinkles.
- Dairy Free: Substitute full-fat coconut milk for sweetened condensed milk, and coconut cream for the heavy whipping cream. You will want to add more sugar or other preferred sweetener since the condensed milk is what makes this sweet.
Related Recipes
Homemade Ice Cream Recipe