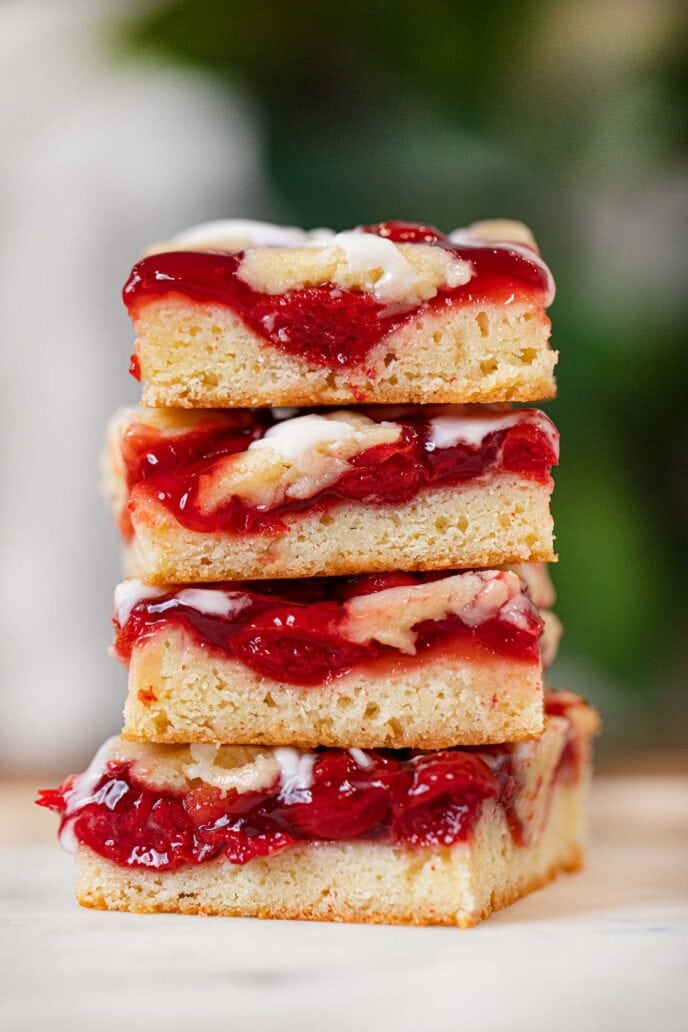
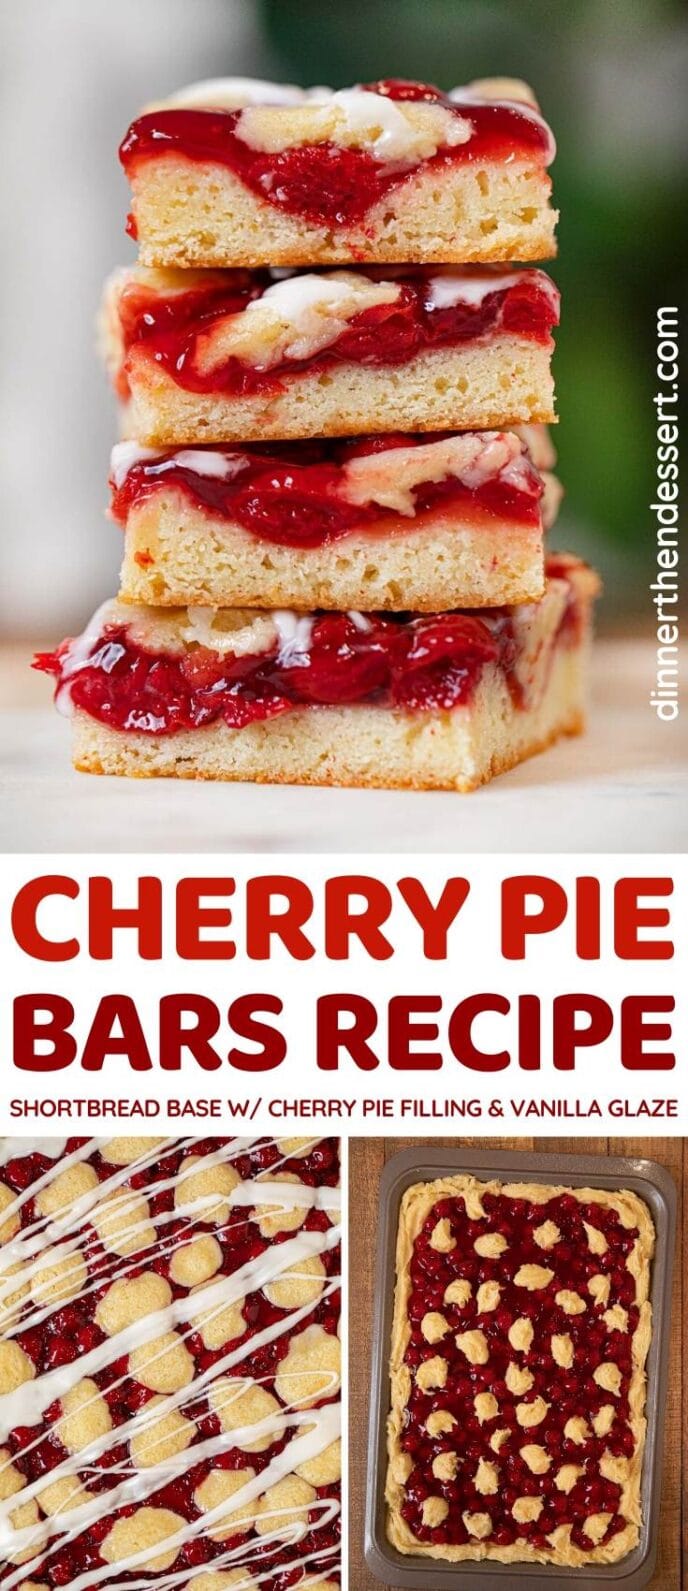
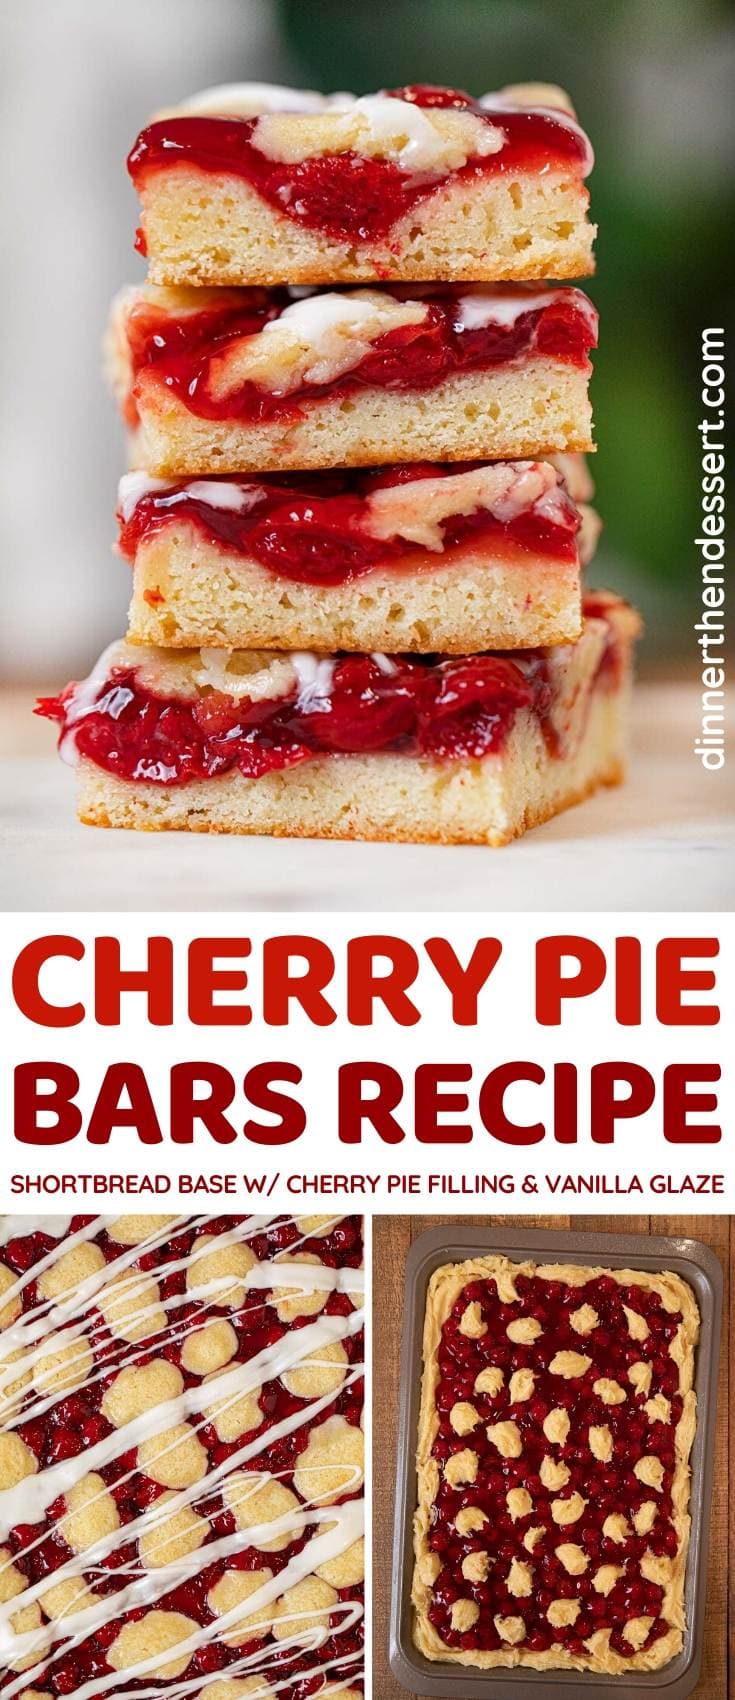
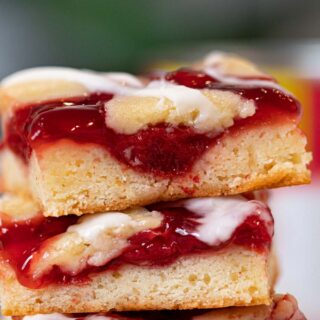
Easy Cherry Bars are a tasty summer treat! Shortbread double crust with cherry pie filling baked in a sheet pan and topped with sweet vanilla almond glaze.
Summertime is the perfect time fill your kitchen and pantry with Fruit Desserts like Strawberry Crumb Bars and these tasty, easy pie bars. Great for snacking on the go!
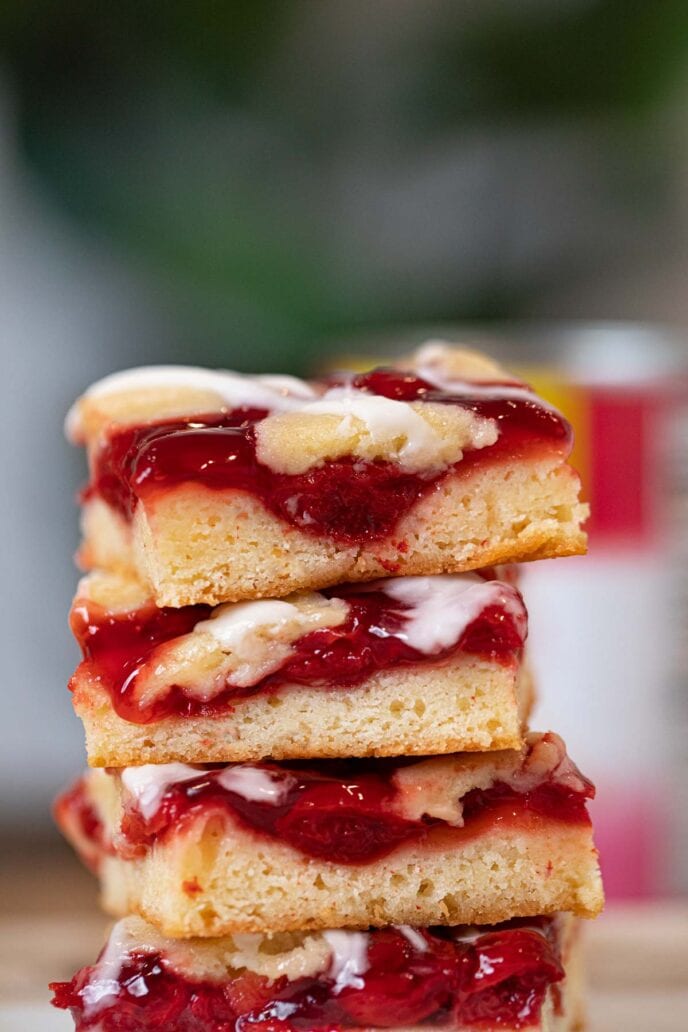
CHERRY BARS
This recipe for Cherry Bars is so easy thanks to the canned cherry pie filling. While we all love fresh fruit desserts, sometimes you can’t beat the convenience of canned fruit filling. It’s budget friendly and you can use it to make your favorite pies and pasty desserts, like these Cherry Bars, whenever you are craving them.
These easy Cherry Bars have a melt-in-your-mouth double shortbread crust that is made with just a handful of pantry ingredients. The key to bringing out the natural cherry flavor in the pie filling is to use both vanilla and almond extract. When distilled down to extract form, almonds have a slight cherry scent so it really makes a difference in these bars!
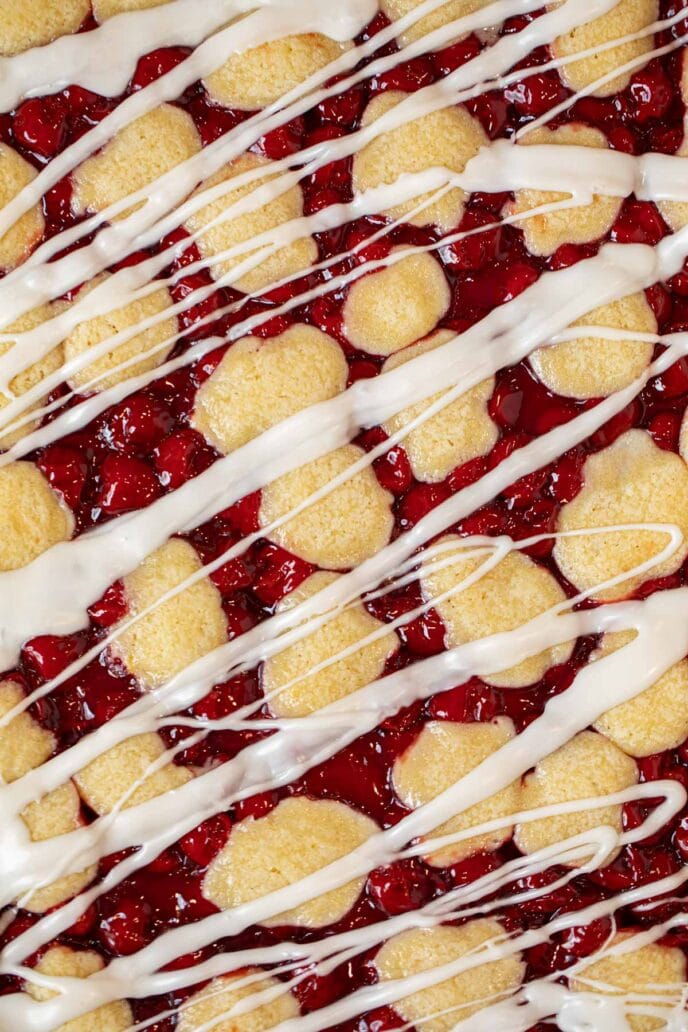
The sweet, powdered sugar glaze on Cherry Bars has almond extract too for even more flavor. To make sure the glaze is the right consistency, and won’t disappear in to the bars, add a tablespoon of milk at a time until you can easily drizzle it. Drizzle a little glaze on the corner of one bar and let sit for a couple minutes. If it stays put, your glaze is good to go!
Just like cherry pie, these bars taste really yummy with Vanilla Ice Cream or Whipped Cream. Serve some of the fresh bars right from the oven with a scoop of ice cream. With this crowd-sized recipe, you’ll have plenty of bars left over to cool and glaze after you enjoy your pie bar sundae.
Cherry Bars are great for making ahead parties, potlucks, or future snacking! This Cherry Bar recipe makes about 48 bars, or 60 mini bars, so if you aren’t feeding a crowd, freeze half of the bars for a quick snack or dessert for up to 6 months. Simply pull a couple bars from the freezer and leave at room temperature until they are defrosted and soft.
MORE SUMMER FRUIT DESSERTS
Create a free account to Save Recipes
VARIATIONS ON CHERRY BARS
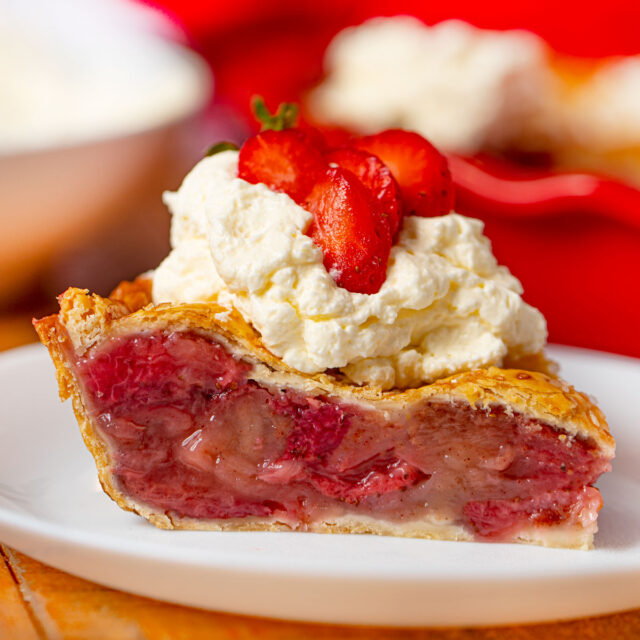
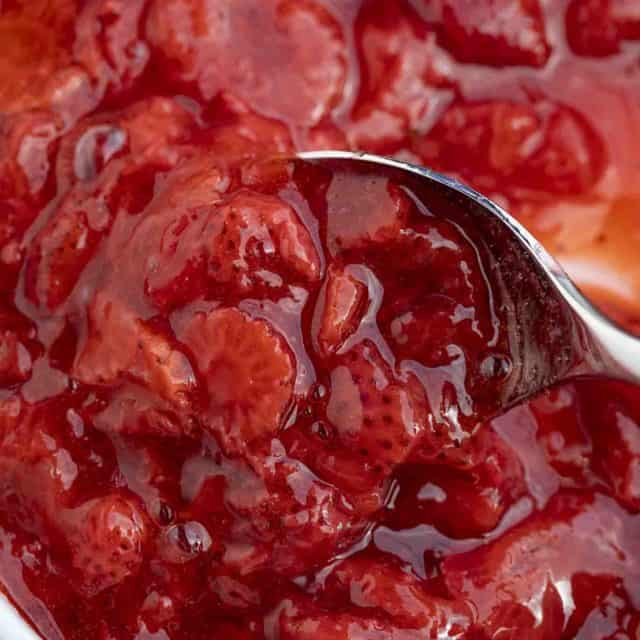
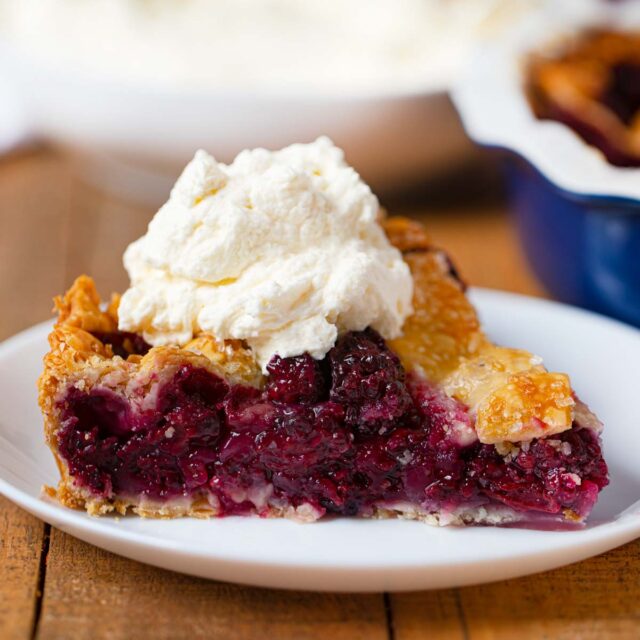
- Pie Filling: You can use any pie filling you like for these bars. In the fall, try Apple Pie Filling or pumpkin pie filling. For more summer berry fillings, use blueberry pie filling, blackberry pie filling, or strawberry pie filling.
- Black Forest: You can sprinkle ½ – 1 cup mini chocolate chips over the cherry pie filling before topping with the dough for Black Forest Cherry Bars.
- Fresh Cherries: To use fresh cherries, stir 2 cups diced, pitted cherries, 1 tablespoon cornstarch, and 1 tablespoon lemon juice in a medium bowl. Let sit for a few minutes for juices to seep out and thicken with cornstarch before spreading over dough.
- Almonds: For more almond flavor, sprinkle chopped or slice almonds over the top layer of dough. You can use other nuts like pecans and walnuts too.
- Crumble: Instead of the cookie dough topping, make a streusel crumble with brown sugar, butter, and flour. Sprinkle crumb topping evenly over pie filling.
- Mini Pie Cups: Bake Cherry Bars in a muffin tin for a little pie cup. Prepare dough as usual and divide (in batches) into a 12 cup greased or lined muffin tin. This should make about 36-40 mini pie cups. Top with cherry filling and dough, and bake for 22-25 minutes.
MORE EASY SUMMER DESSERTS
HOW TO STORE CHERRY BARS
- Serve: These Cherry Bars can be at room temperature in an airtight container for up to 4 days. Line container with paper towels to absorb moisture.
- Store: Refrigerate Cherry Bars in an airtight container for up to 1 week. For best taste and softness, bring to room temperature before serving.
- Freeze: Cool bars completely and freeze cut Cherry Bars in a single layer in baking sheet for 1 hour. Transfer to a sealed container or freezer safe bag and freeze for up to 6 months.


Ingredients
Cherry Bars:
- 1 cup salted butter , softened
- 2 cups sugar
- 1 teaspoon salt
- 4 large eggs , room temperature
- 1 teaspoon vanilla extract
- 1/4 teaspoon almond extract
- 3 cups flour
- 2 cans cherry pie filling , 21 ounces each
Glaze:
- 1 cup confectioners' sugar
- 1/2 teaspoon vanilla extract
- 1/2 teaspoon almond extract
- 2-3 tablespoons whole milk
Instructions
- Preheat oven to 350 degrees. Spray a 15x10 sheet pan with baking spray.
- In a stand mixer, cream butter, sugar, and salt on medium speed until light and fluffy.
- Add eggs, one at a time, then add extracts.
- Gradually fold in flour to butter mixture until combined and dough forms.
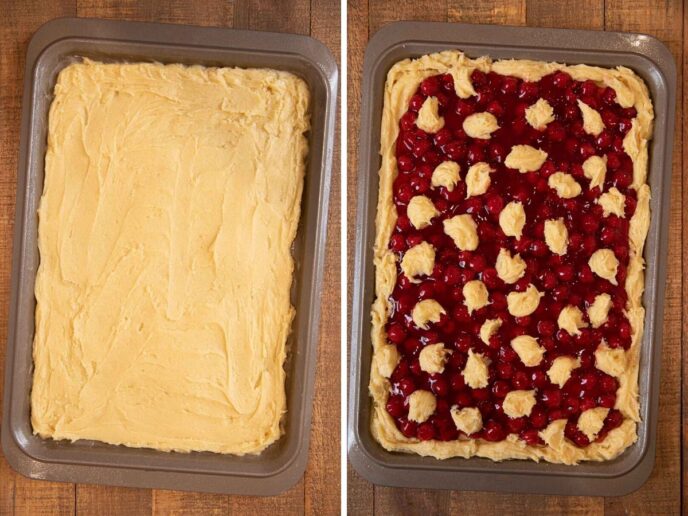
- Press 3 cups dough into prepared pan.
- Spread with cherry pie filling covering all the dough evenly.
- Drop remaining dough by teaspoonfuls over filling.
- Bake 35-40 minutes, or until golden brown.
- Cool completely in pan before glazing.
Glaze:
- In a small bowl, mix confectioners' sugar, extracts and enough milk to reach desired consistency.
- Drizzle over top of cooled bars.
Nutrition

If you use salted butter, should you reduce the salt? It should say in the recipe if you are using unsalted butter
I use salted butter and took that into consideration when creating the recipe. Thank you Debbie for asking and I udpated the recipe card to be more clear. Let us know how your cherry bars turn out!
Can these cherry bars be frozen
Yes! Cool bars completely and freeze cut Cherry Bars in a single layer in baking sheet for 1 hour. Transfer to a sealed container or freezer safe bag and freeze for up to 6 months.
can you use melted no salt butter
Yes, I use unsalted.
what pumpkin pie filling do you suggest for making these bars, pumpkin pie filling is usually very liquid and it makes me wonder how the baking time and texture would change also. would you add cinnamon or pumpkin pie spice to the dough mixture to make pumpkin bars?
This recipe was easy to prepare and tasted absolutely delicious. I baked the bars for 45 minutes to get them lightly browned. My husband and some friends who ate lunch with us loved this dessert.
This recipe is easy but tasty.
Blueberry pie filling is just as good.
Is it all purpose flour or self-rising flour?
This recipe uses all purpose flour. I hope you enjoy them.
Yummy! These homemade cherry bars look incredible! 🙂
Thanks, Matt. I hope you enjoy them.
These look so yummy and scrumptious! Can’t wait to make these! My husband loves anything cherry. He’ll be all over them. So excited!!
Thanks for the 5 stars, Beth.
These are so good! Cherries aren’t my favorite, but these are so good!
I’m so glad you decided to give it a try.
This is such an amazing dessert! My kids can’t stop eating these!
They’re pretty dangerously delicious!
Instead of using almond extract in the base, what are your thoughts on replacing one cup of flour with almond flour?
You won’t get the same flavor profile with that substitution.