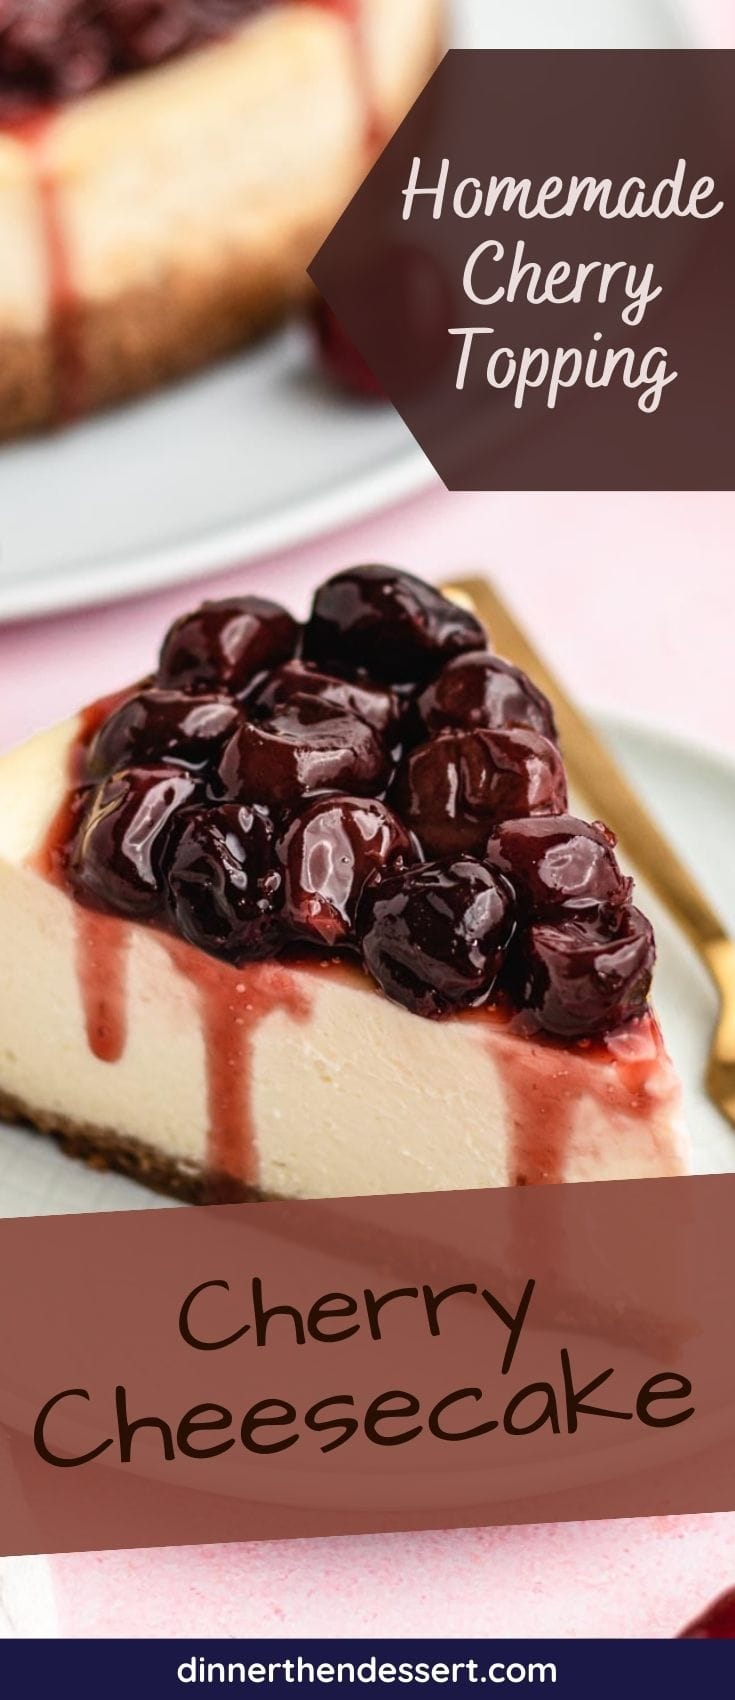
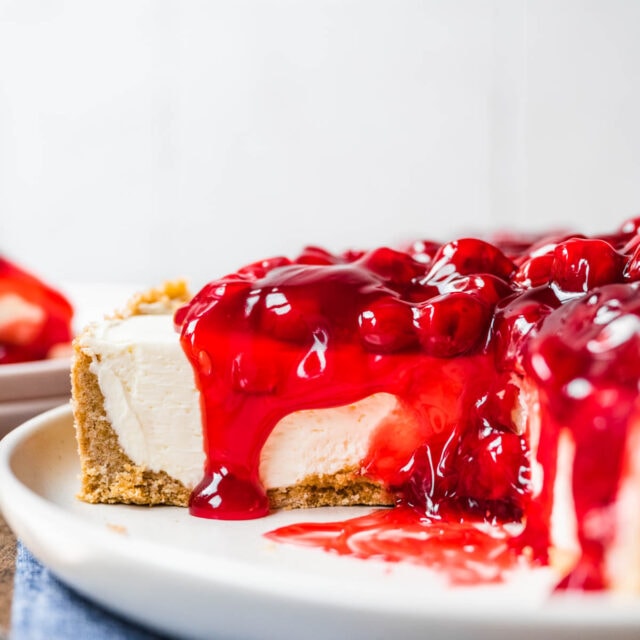
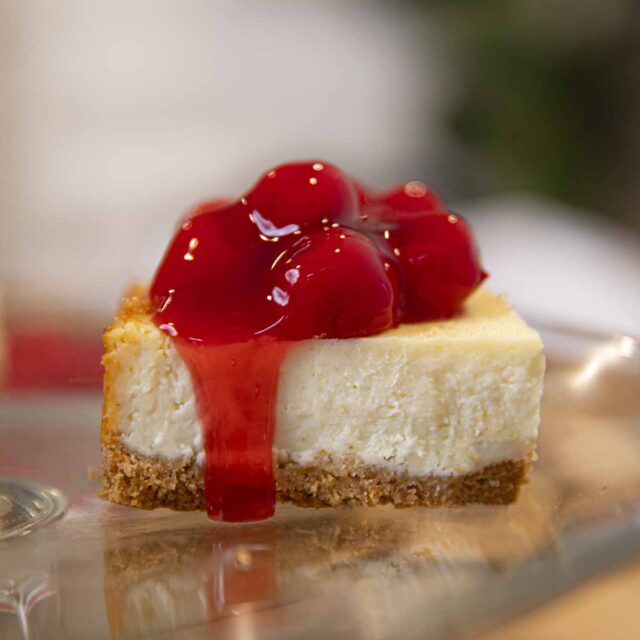
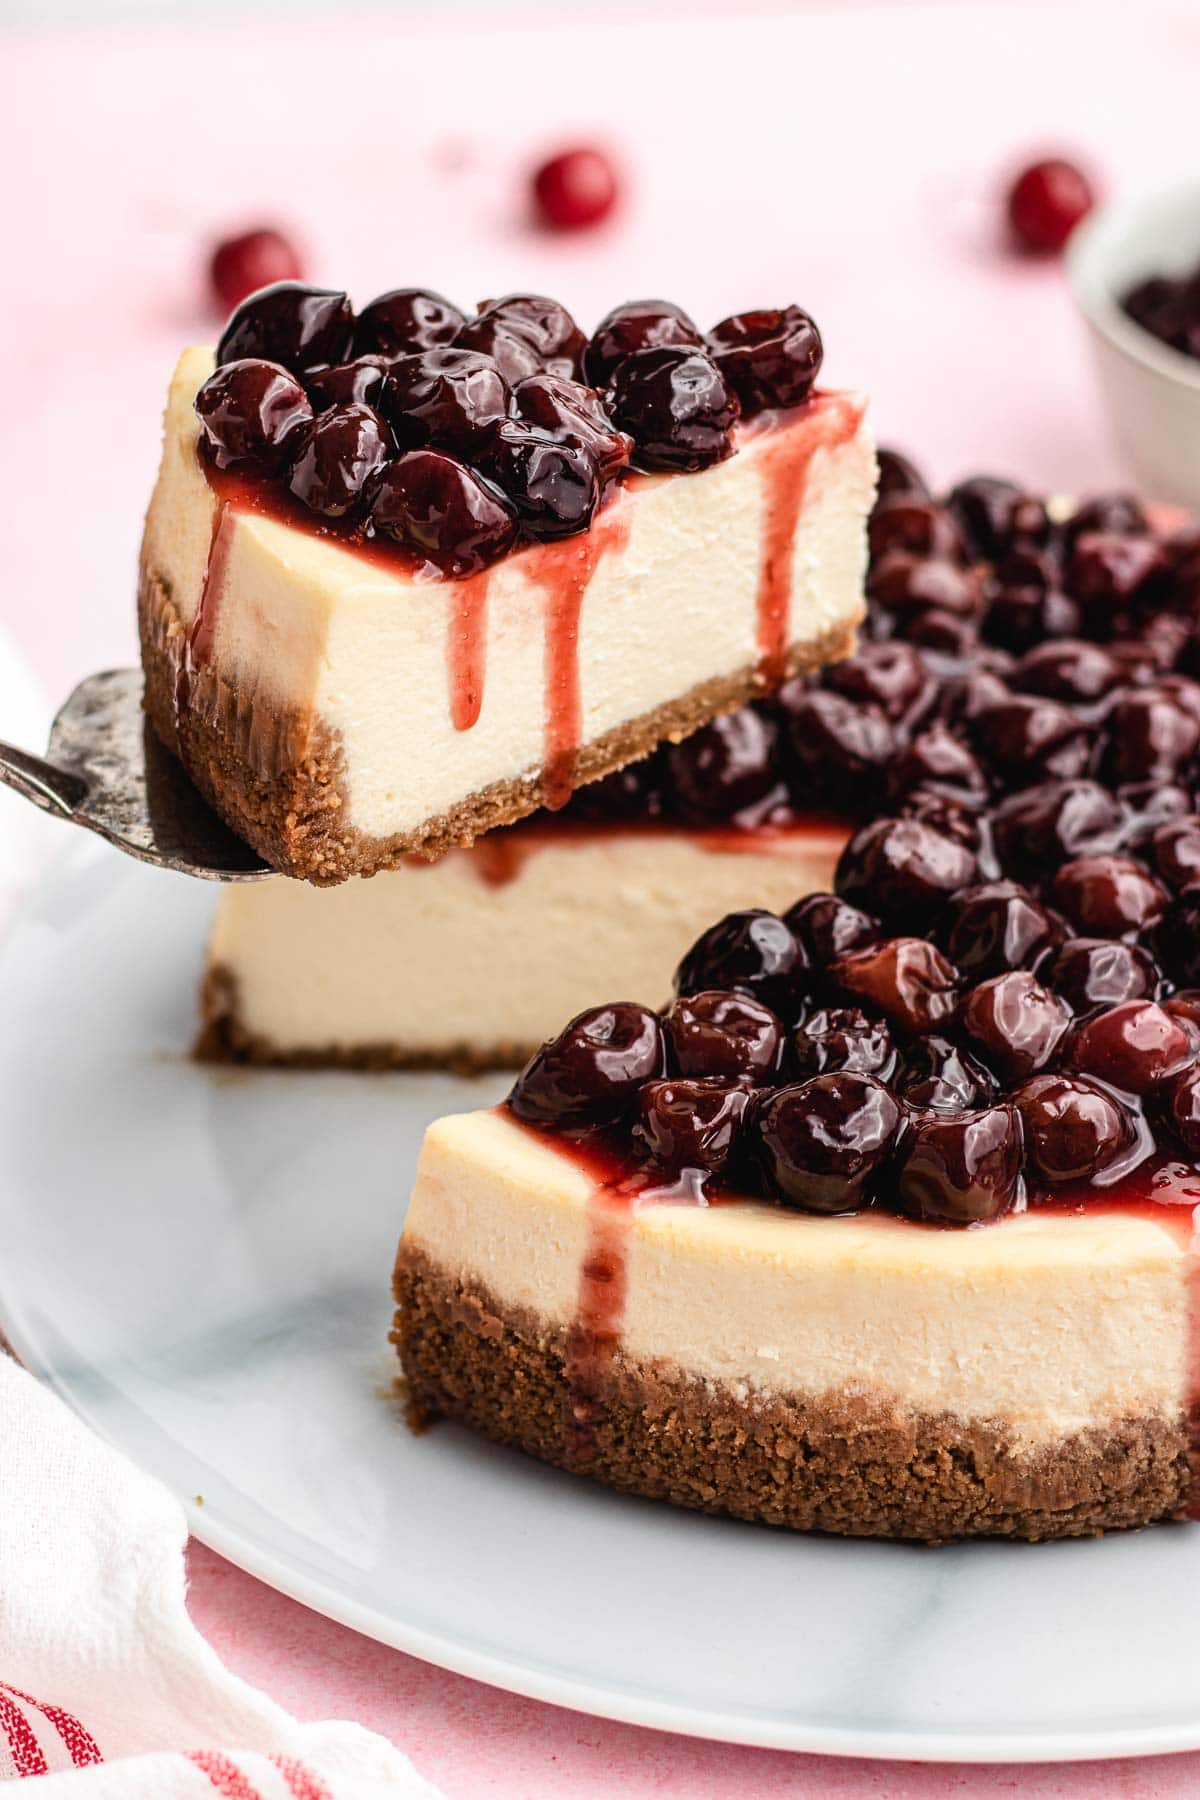
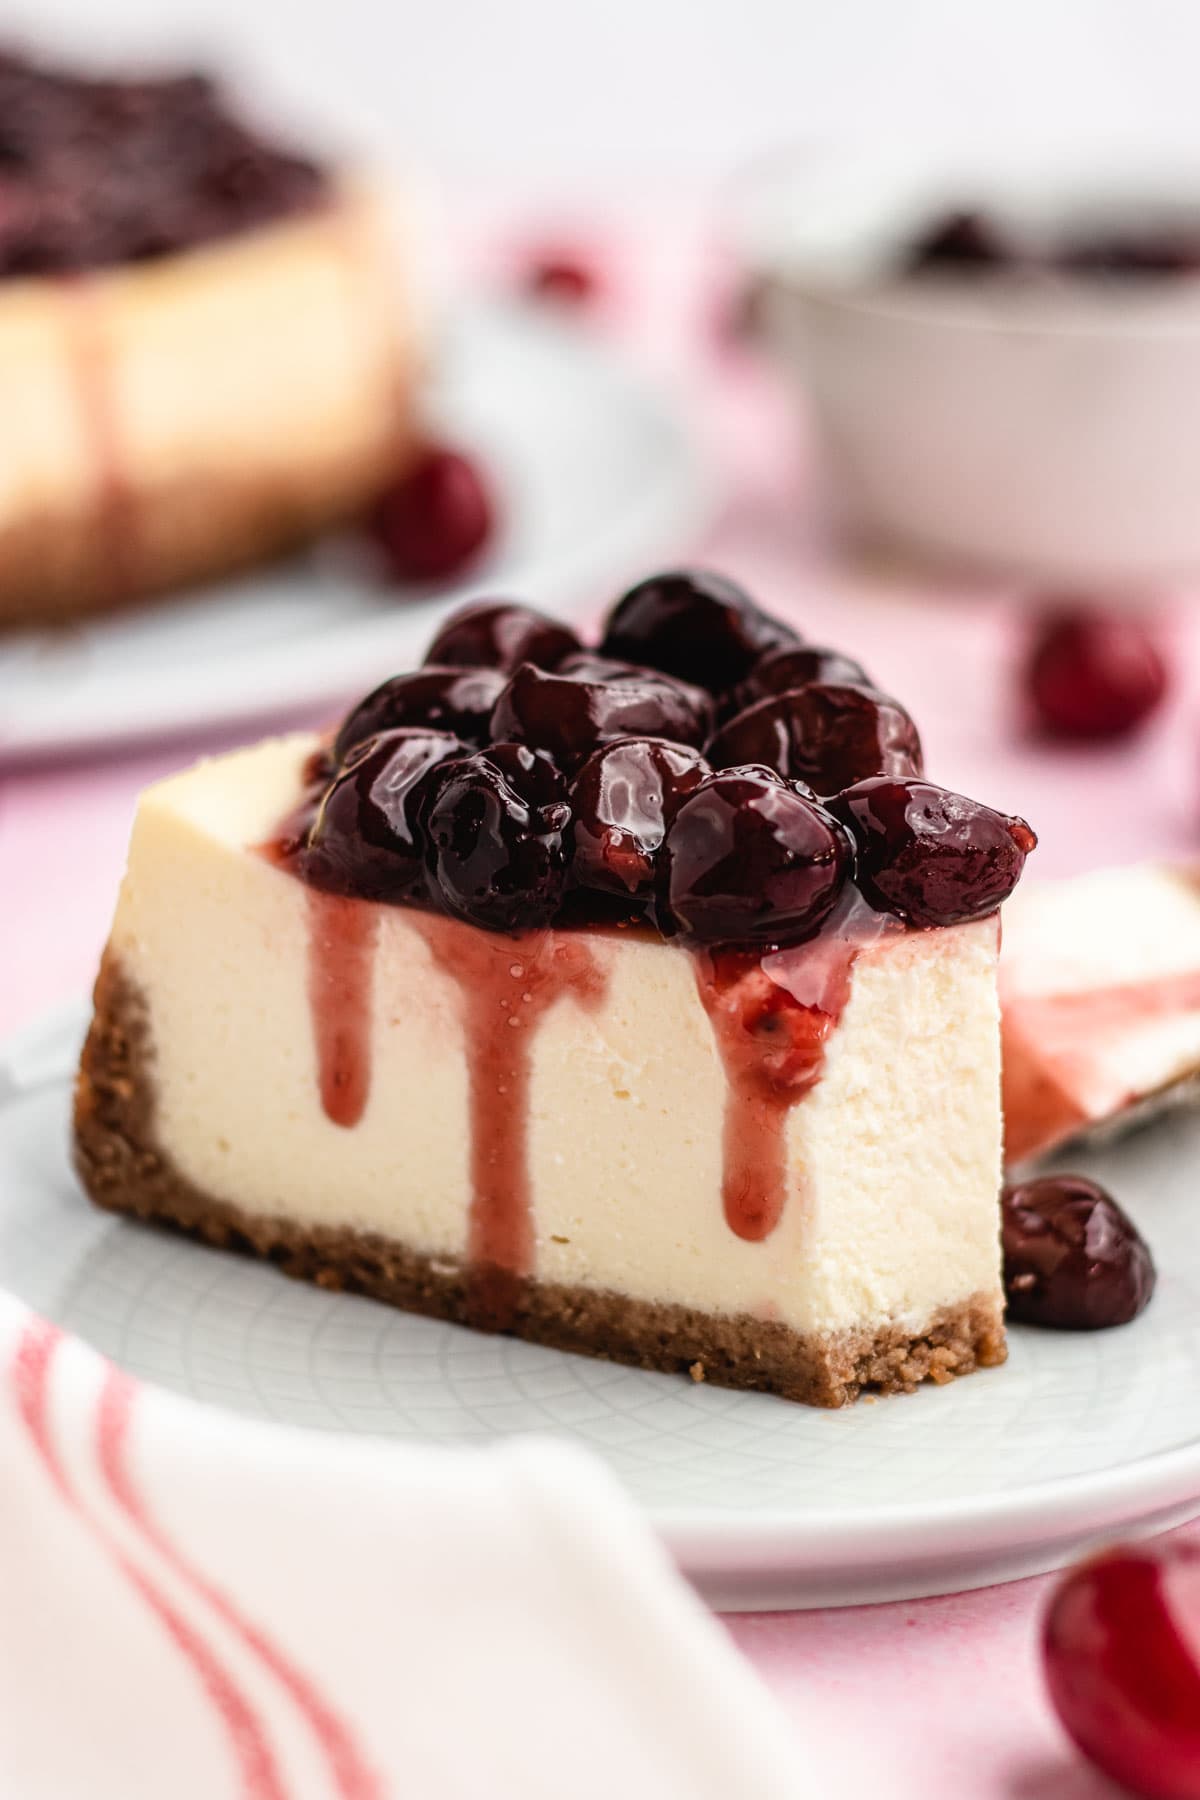
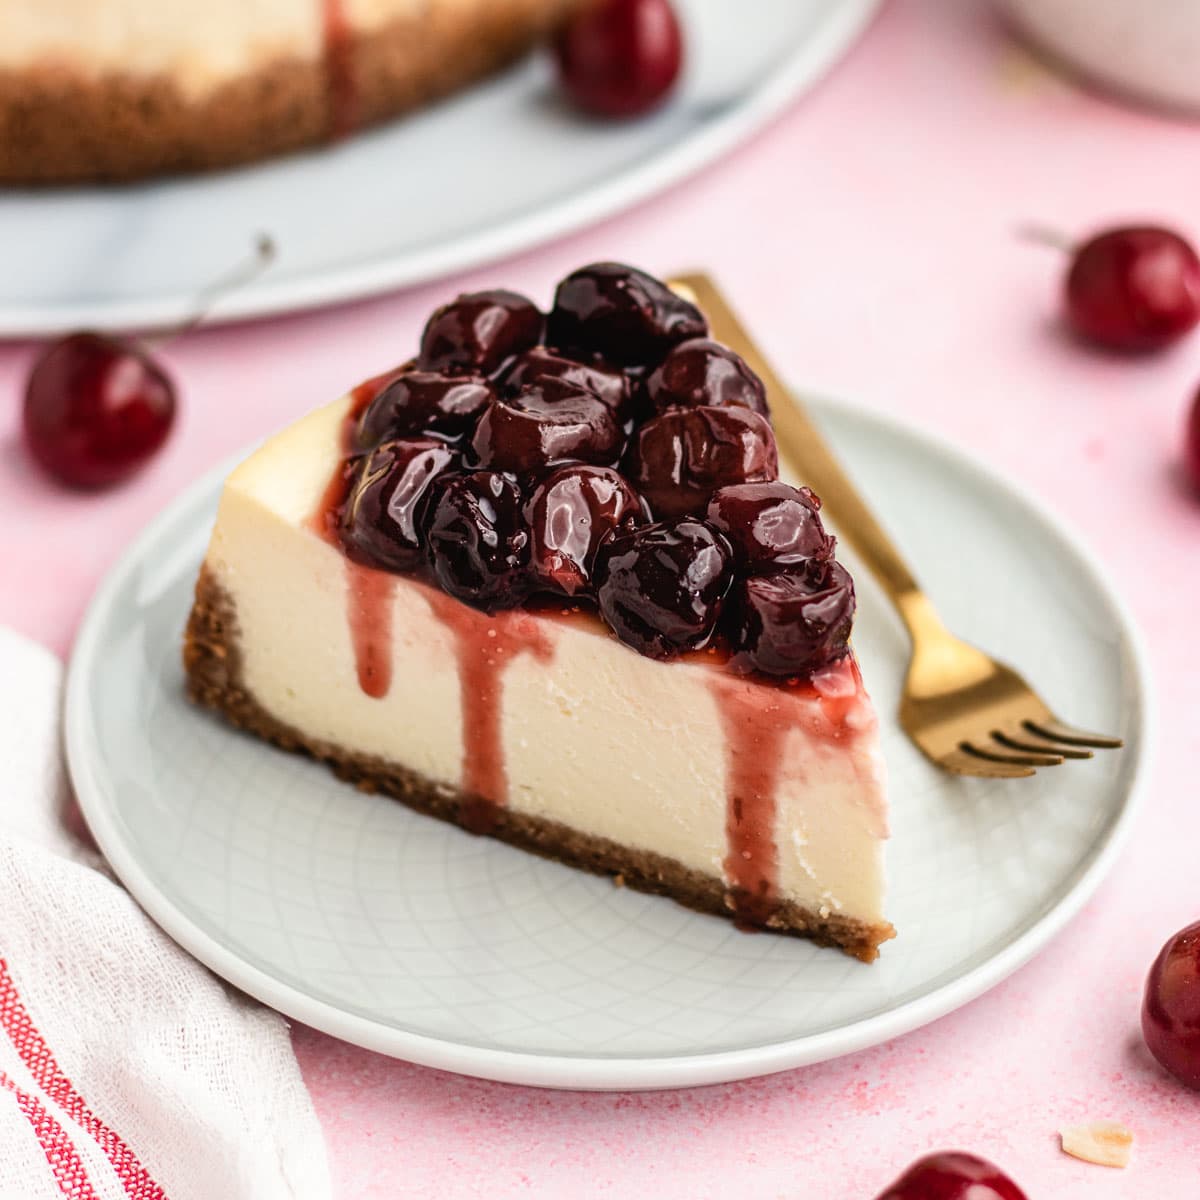
Cherry Cheesecake (No Pie Filling!) is the perfect dessert with a graham cracker crust, creamy almond cheesecake, and homemade cherry topping.
This tasty cheesecake is the perfect Dessert for any occasion. For more simple cheesecake recipe options, try our New York Cheesecake and Chocolate Chip Cheesecake.
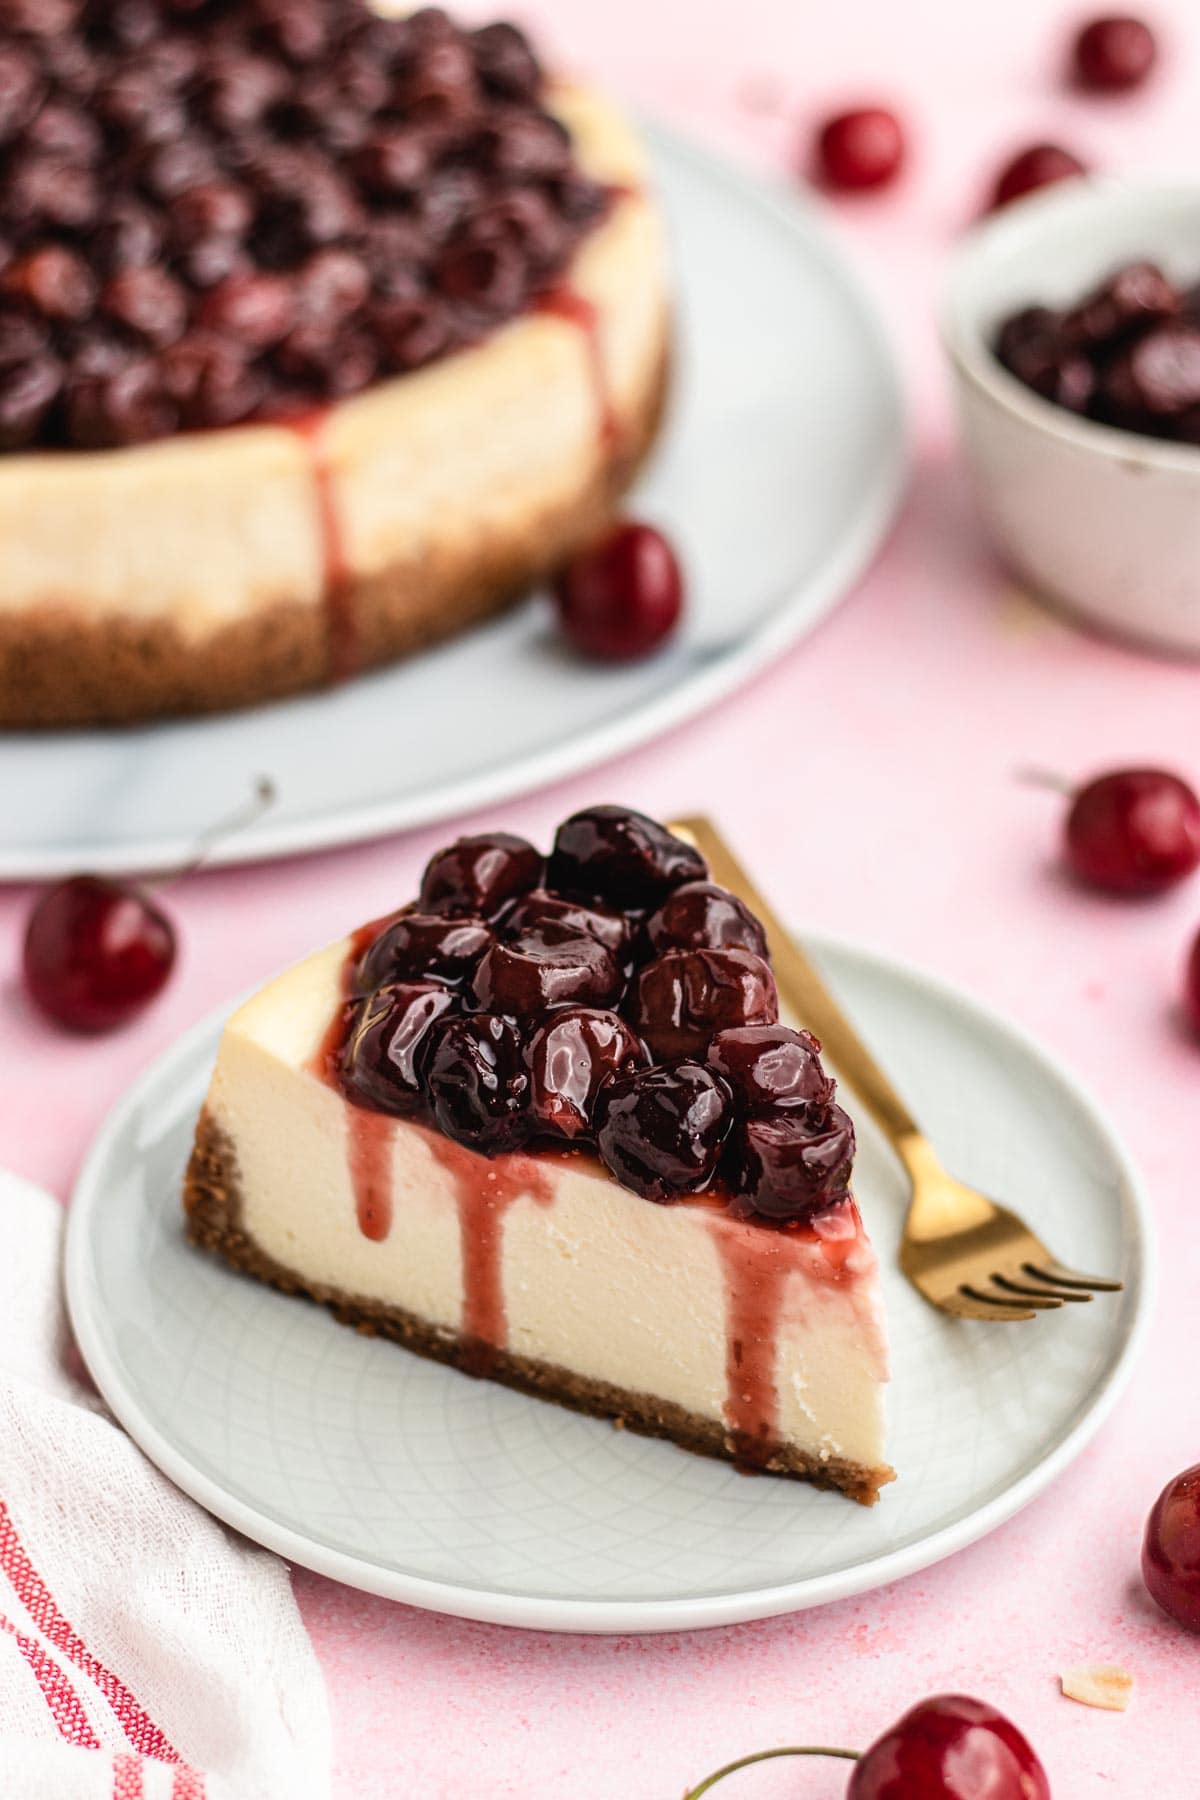
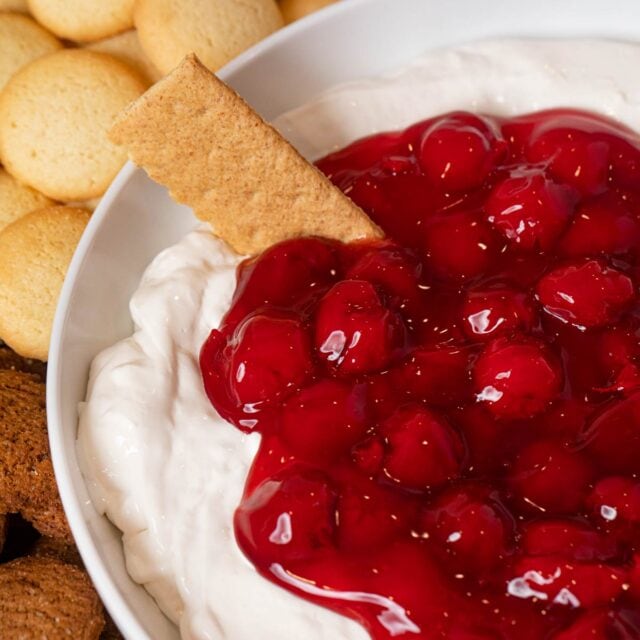
Many recipes for Cherry Cheesecake use canned cherry pie filling. But, this sweet Cherry Cheesecake is different. Instead of using a premade topping, this recipe takes you through making a homemade cherry topping. Itâs easy to make the berry mixture on your stovetop in just a few minutes, and it gives the decadent dessert recipe a much more fresh and incredible flavor.
Along with the homemade cherry pie filling, this is the perfect recipe for an authentic cheesecake taste. The base cake recipe is a creamy, classic cheesecake, with the simple addition of almond extract for a little extra flavor. Itâs velvety, rich, sweet, and slightly tangy. In other words, this Cherry Cheesecake is a dream come true for any cheesecake lover.
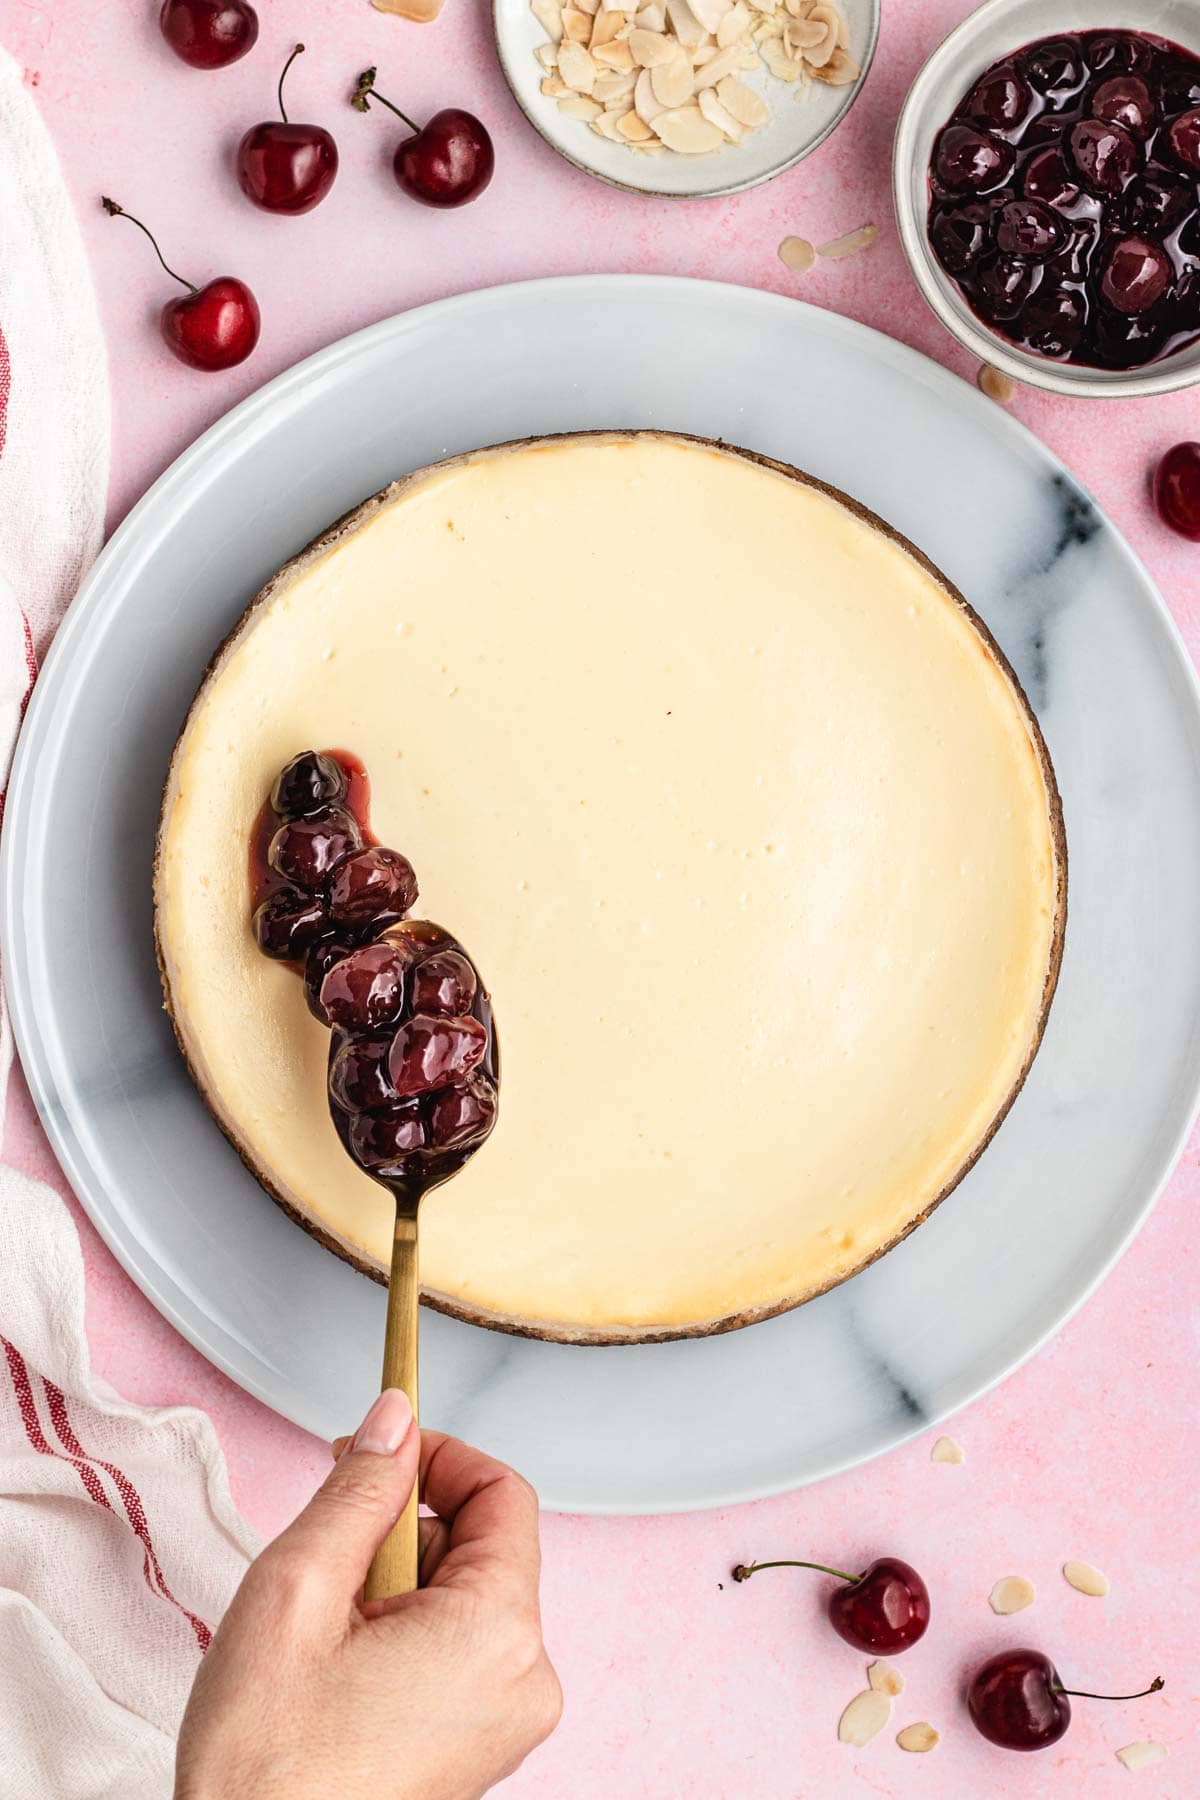
When you go to serve this cherry covered cheesecake, you can add Cool Whip, Whipped Cream, or any of your other favorite cheesecake toppings. You could also arrange almonds over the top of the cake as a crunchy topping and decoration to go with the light almond flavor in the cheesecake.
How to Make Cherry Cheesecake
- Prep Time: To start, preheat the oven temperature to 350 degrees. Then wrap a 9-inch springform pan in a large piece of foil, and fill a large pan with water for the water bath. The foil will protect it from the water bath.
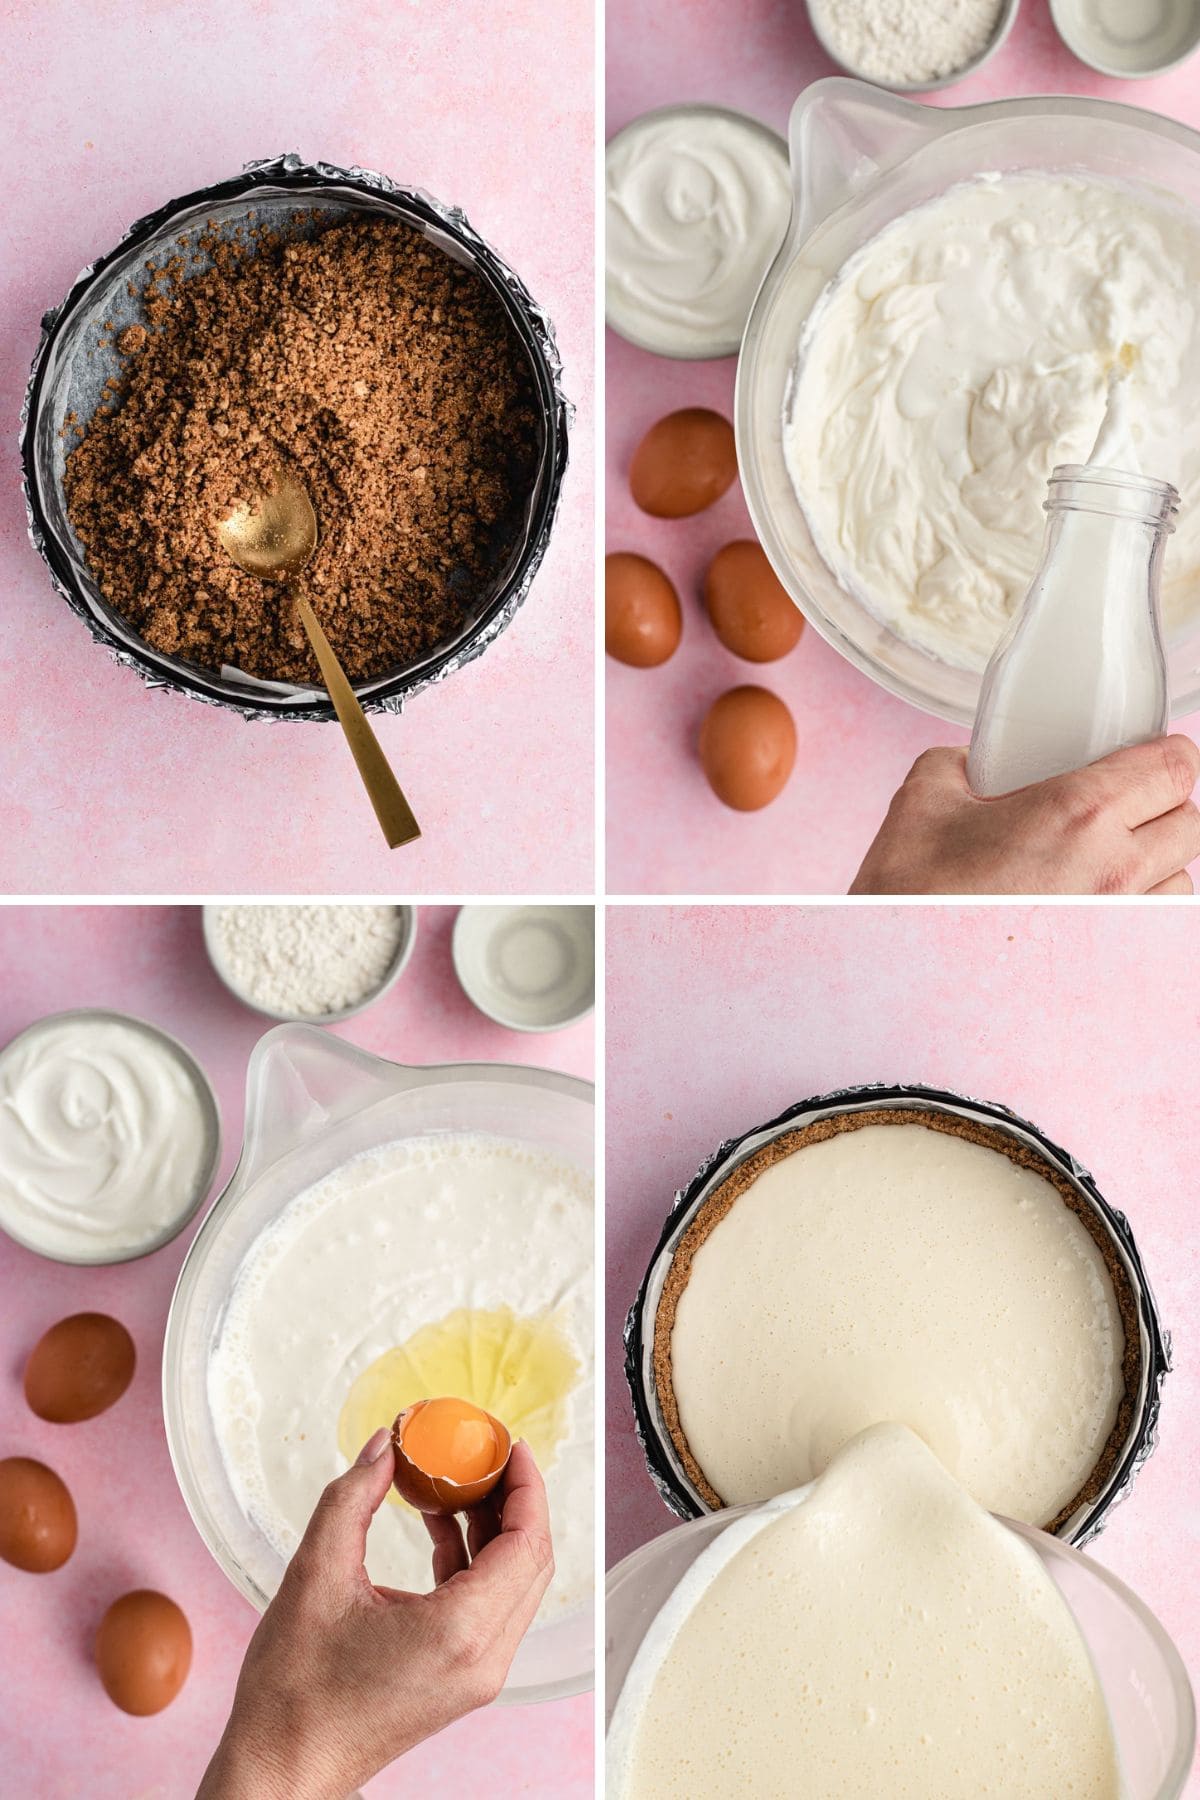
- Graham Cracker Crust: To start, break the graham cracker sheets into coarse crumbs. You can do this in a food processor or put the graham crackers in a ziplock bag and break them on the countertop. Once you have the crumbs, add ? cup granulated sugar and 6 tablespoons melted butter to a large bowl with the crumbs. Mix them together until blended. Then add the mixture to the bottom of the spring form pan and 1 inch up the sides.
- Almond Cheesecake: Add the room temperature cream cheese and granulated sugar to your stand mixer. Turn the electric mixer to medium-high speed to beat the cream cheese mixture until smooth and airy. Add the milk and continue mixing until combined. Add the eggs to the cream cheese mixture one at a time, and donât add the next until the first one is fully combined. Then add the sour cream, almond extract, and flour. Mix until the batter is combined. Then pour the smooth cheesecake mixture into the prepared springform pan. Make sure the cream filling is spread evenly over the crust. You can use an offset spatula to smooth the surface if necessary.
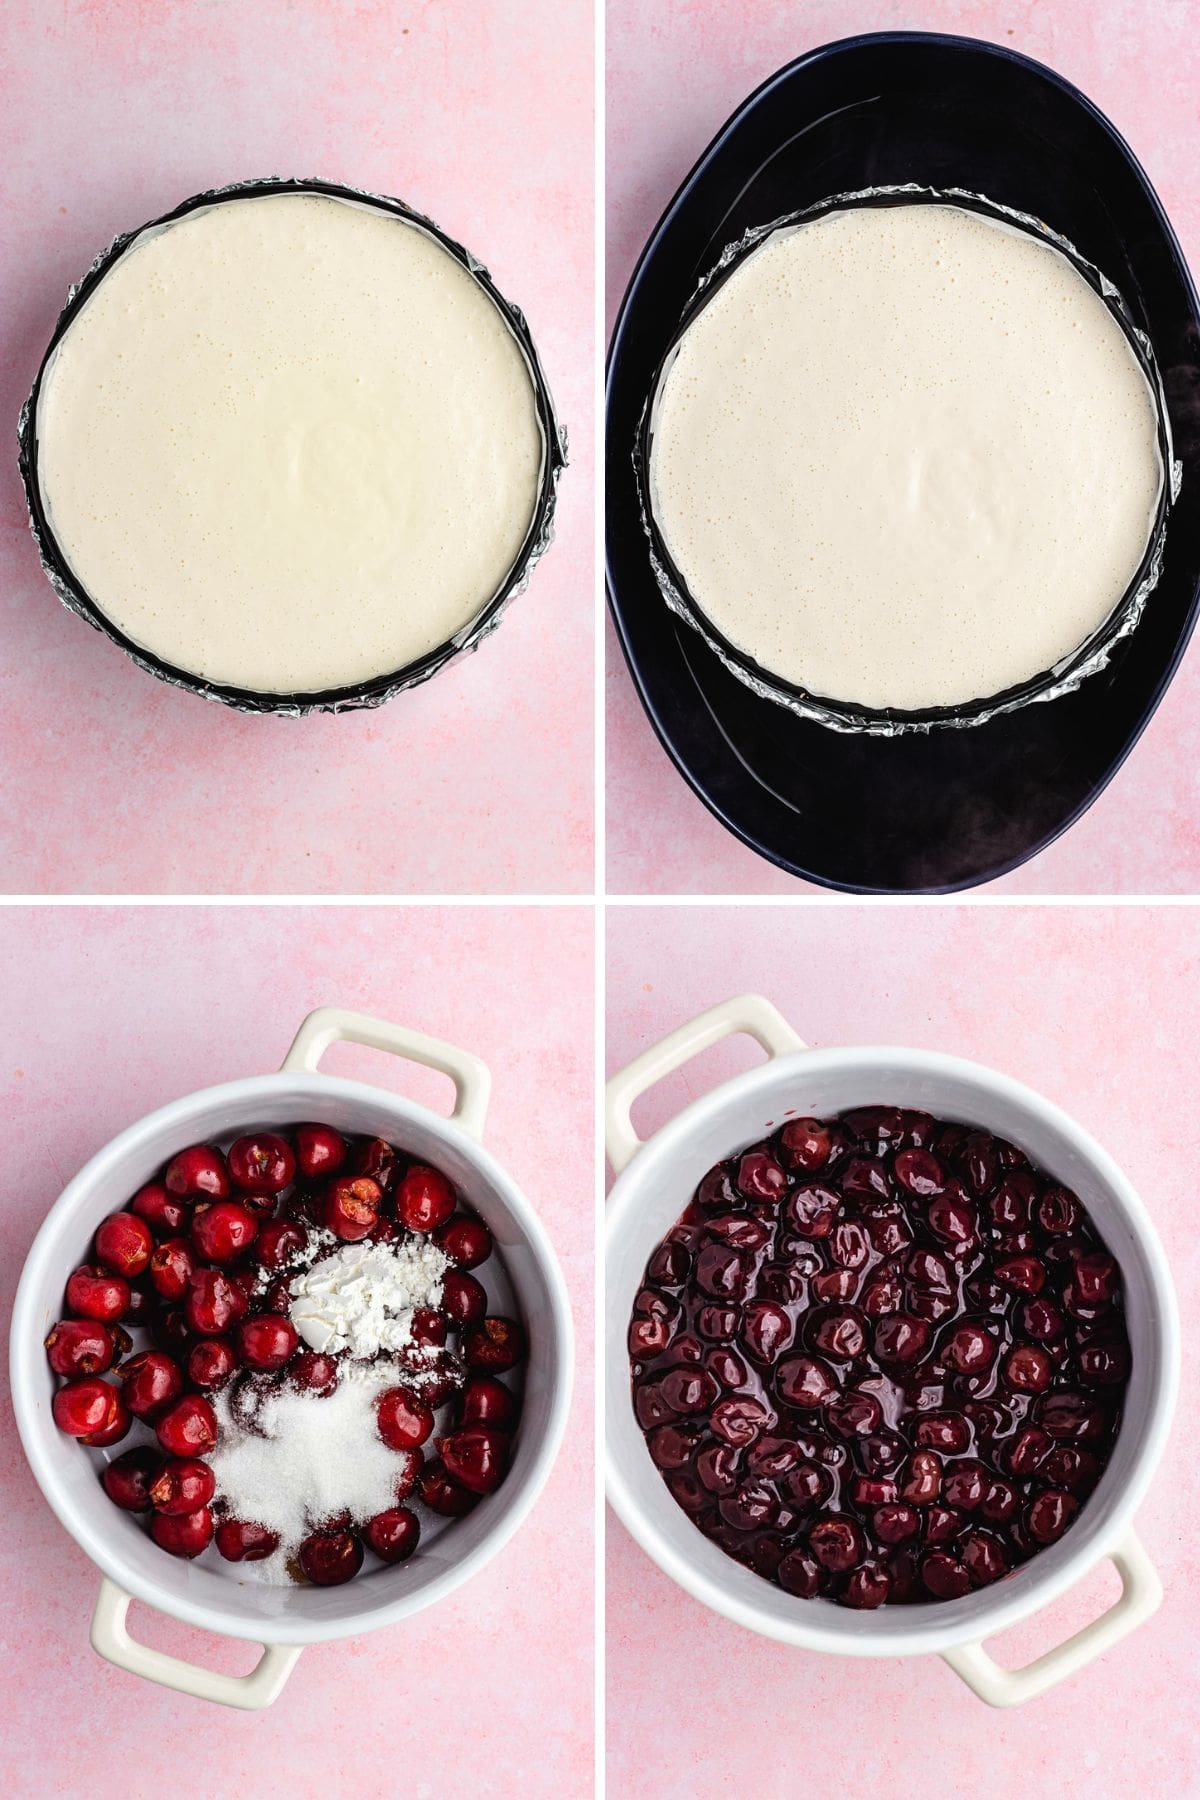
- Cooking Time: Place the pan in the water bath, then place it on the middle rack in the preheated oven. After an hour of baking time, turn off the oven and open the door a couple of inches. Leave the cheesecake in the oven while some of the heat escapes for an hour.
- Chilling Time: After the cooking time, remove the cheesecake from the oven. Carefully take the pan out of the water bath and discard the foil. Refrigerate the almond cheesecake overnight so the cheesecake filling can set.
- Cherry Topping: On the day youâre serving your cheesecake, you can make your cherry topping. Place a medium pot on the stove over medium heat. Add the cherries, white sugar, water, and cornstarch. Stir the ingredients together and cook for 5-7 minutes until theyâre thickened. Continue frequently stirring as you cook. Add the almond extract. Let the cherry topping cool. When youâre ready to serve, pour the cherry filling over the cheesecake center, so it spreads out to the edge. Slice the Cherry Cheesecake and enjoy!
More Cherry Cheesecake Recipes
FAQs for Cherry Cheesecake
There are a few reasons to use a water bath. By making your Cherry Cheesecake recipe in a water bath, you ensure that the pan heats evenly so the eggs don’t curdle. The even temperature helps prevent cracks by allowing it to cool slowly.
Your cheesecake can crack if you try to cool it too fast. As the cheesecake cools, the creamy cheesecake center contracts, but if the sides are stuck to the pan, this causes cracks. To avoid this, open the oven slightly after an hour of baking. The cheesecake will continue baking until itâs done. But, the heat will also slowly leave the oven allowing the cheesecake to cool down, but not cool so fast that it cracks.
Create a free account to Save Recipes
Key Ingredients
- Crust: To make the classic cheesecake crust, all you need are graham crackers, granulated sugar, and melted butter. The ingredients are easy to combine into a firm but buttery base for the cheesecake.
- Cream Cheese: Make sure to use softened cream cheese so that it can easily blend with the batter ingredients. You also want to use full fat cream cheese, after all cheesecakes are meant to be indulgent!
- Sour Cream: A big helping of sour cream is added to the cheesecake filling to make the creamiest cheesecake ever. It also gives a delicious tangy flavor to go with the tartness of the cherries.
- Eggs: Whole eggs make it extra indulgent and rich, plus they help the batter firm up into that smooth thick custard filling that makes cheesecake so good. Using a water bath will help keep the eggs from curdling.
- Almond Extract: Using almond extract in the cheesecake batter and cherry topping gives the sweet and tangy recipe slightly earthy and comforting nutty flavors. Almond and cherry taste very similar it’s the perfect compliment.
- Cherries: The cherry topping recipe is made with a pound of frozen, pitted cherries Theyâll cook down slightly in the saucepan, and the cherry juice forms into a syrup so you get big chunks of cherries and sweet glaze.
- Cornstarch: Adding cornstarch to the cherry topping helps thicken the syrup into the perfect consistency. You want it thick enough to stay on the cheesecake but also easy to pour and spread over the top.
Can Cherry Cheesecake be made ahead of time?
You can prepare the cherry topping and the cheesecake batter ahead of time and wait to bake the cheesecake part. The cherry topping will keep for about 2-3 days in the fridge and the batter can be made the day beforehand. You can also bake the cheesecake layer and freeze it for up to 3 months.
Variations
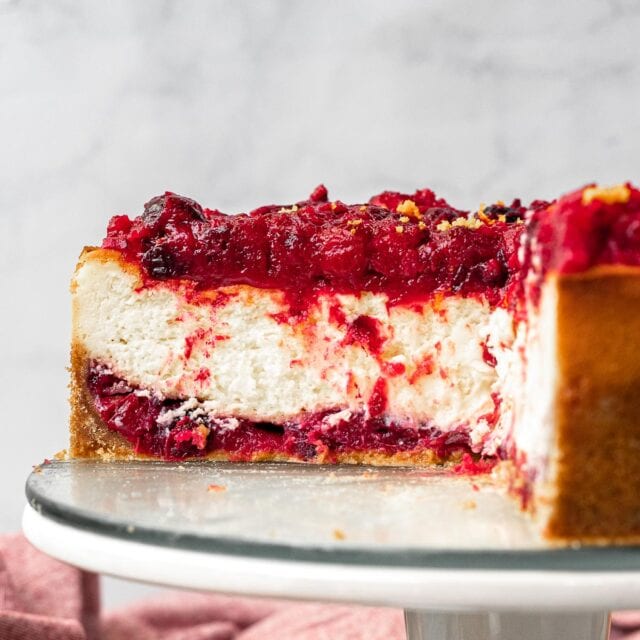
- Berry Cheesecake: You can make this cheesecake recipe with different kinds of berry sauce. Follow the same basic directions, but use hulled and sliced strawberries, fresh blueberries, raspberries, or blackberries to make the topping. I especially like a mixed berry option.
- Flavor Additions: The almond extract tastes amazing in this recipe. But, you could try other flavor mix-ins like vanilla extract or a little bit of fresh lemon juice.
- Cherry Chocolate Cheesecake: Dark chocolate tastes amazing with this sweet berry topping. To add chocolate to your cherry cheesecake, you can melt dark chocolate chips in 30-second increments in the microwave. Once the chocolate is melted and smooth, you can drizzle it over the cherry topping and let it harden over the Cherry Cheesecake.
- White Chocolate: White chocolate and cherry would taste really yummy together too. Fold in a ½ cup white chocolate chips to the batter. Pour melted white chocolate over the baked cheesecake before adding the cherry topping.
- Cookie Crust: Instead of a graham cracker crust, try this with vanilla wafers or with vanilla sandwich cookies. If you use sandwich cookies with creme filling, you don’t need to use the sugar or you can reduce it so your crust isn’t too sweet.
More Fruit Topped Cheesecakes
How to Store
- Serve: Make sure you donât serve your cheesecake until it has enough time to chill and set. It’s also best kept chilled and should not be out for more than 2 hours.
- Serve: If you have leftovers, you can keep Baked Cherry Cheesecake Covered in your fridge for 3-4 days.
- Freeze: If you carefully wrap the cheesecake or store slices in an airtight container, you can also freeze it. Frozen cheesecake keeps best for about a month. It can stay good for up to 2 months, but the texture will alter slightly.


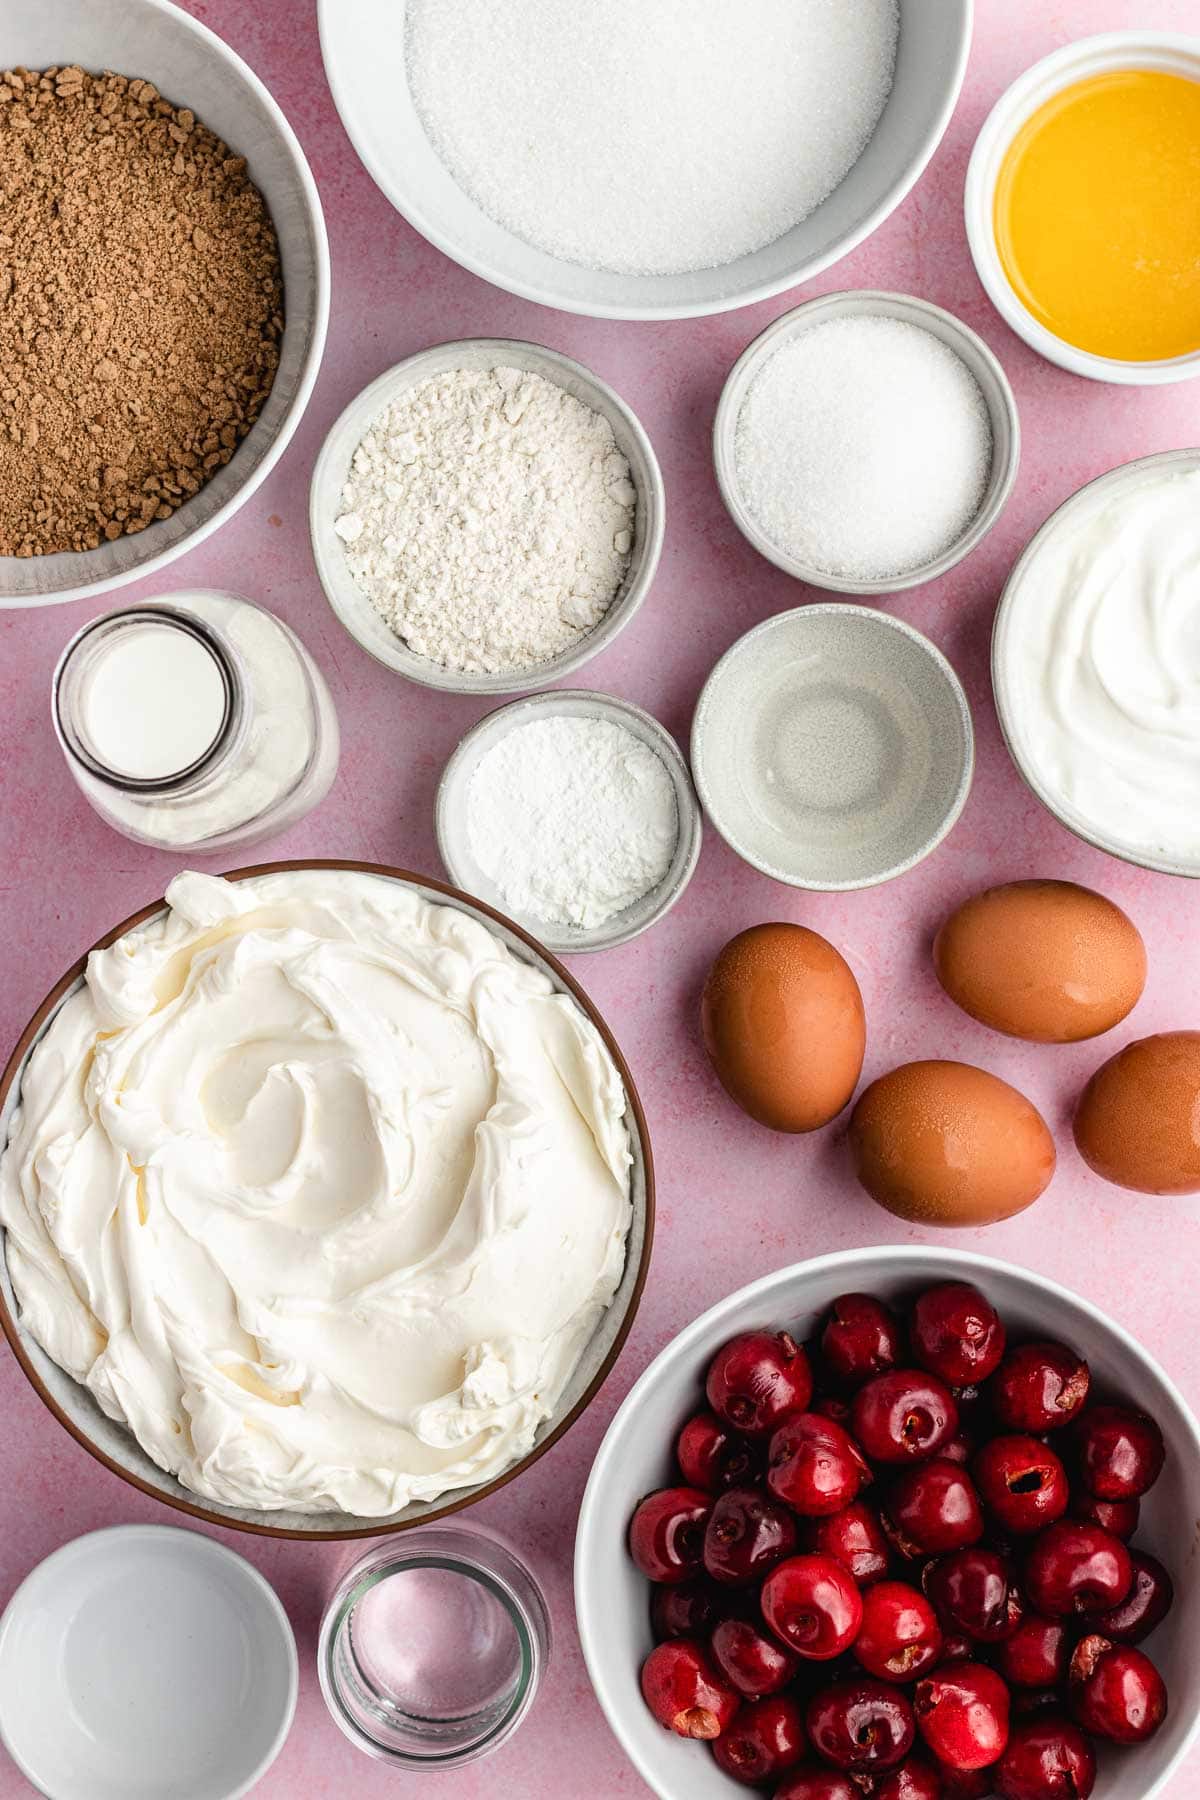
Ingredients
Graham Cracker Crust:
- 1 1/2 cups graham cracker crumbs , 12 full crackers
- 1/3 cup sugar
- 6 tablespoons unsalted butter , melted
Almond Cheesecake:
- 32 ounces cream cheese , softened
- 1 1/2 cups sugar
- 3/4 cup whole milk
- 4 large eggs
- 1 cup sour cream
- 2 teaspoons almond extract
- 1/4 cup flour
Cherry Topping:
- 1 pound frozen cherries , pitted
- 1/4 cup sugar
- 1/3 cup water
- 1 tablespoon cornstarch
- 1 teaspoon almond extract
Instructions
Graham Cracker Crust:
- Preheat oven to 350 degrees and wrap a 9 inch springform pan in a large piece of foil to protect from the water bath and a large pan of water you can set the springform pan in to bake.
- Mix the graham cracker crumbs, ⅓ cup sugar and 6 tablespoons melted butter and press into the bottom of the springform pan and 1 inch up the sides.
Almond Cheesecake:
- In a stand mixer beat the cream cheese and sugar then add in the milk until combined.
- Add in the eggs one at a time until fully combined then add in the sour cream, vanilla and flour until combined before pouring into the springform pan.
- Pour filling into pan over the crust and spread evenly.
- Place the pan in the water bath and bake for 1 hour.
- Turn off the oven, open the door a couple inches to let the heat out gently and let cool for 1 hour.
- Remove from oven, discard the foil and refrigerate overnight before serving.
Cherry Topping:
- Place a medium pot on the stove on medium heat.
- Add the cherries, sugar, water and cornstarch to the pot and stir.
- Cook for 5-7 minutes or until thickened, stirring frequently.
- Stir in the almond extract.
- Let cool.
- Pour over the cheesecake when you’re ready to serve.
Nutrition
