
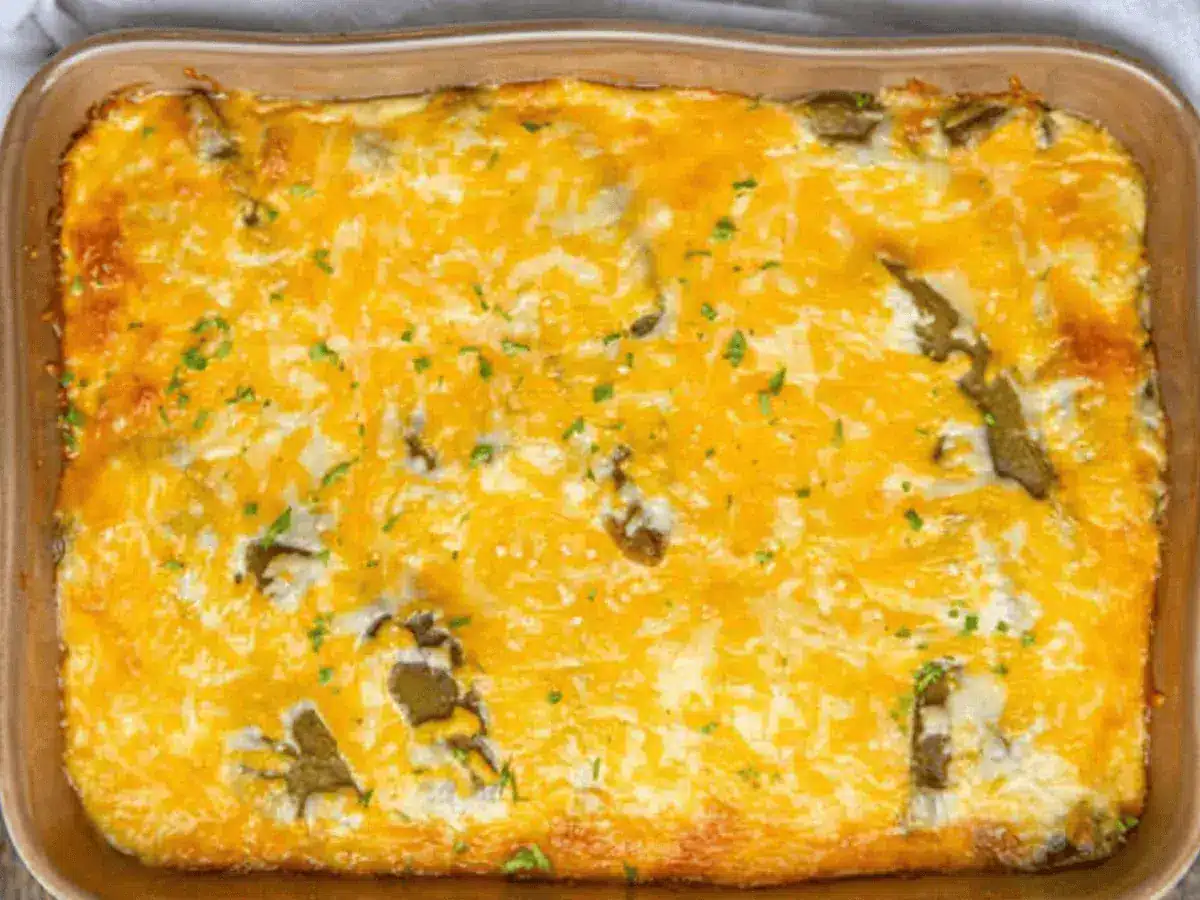
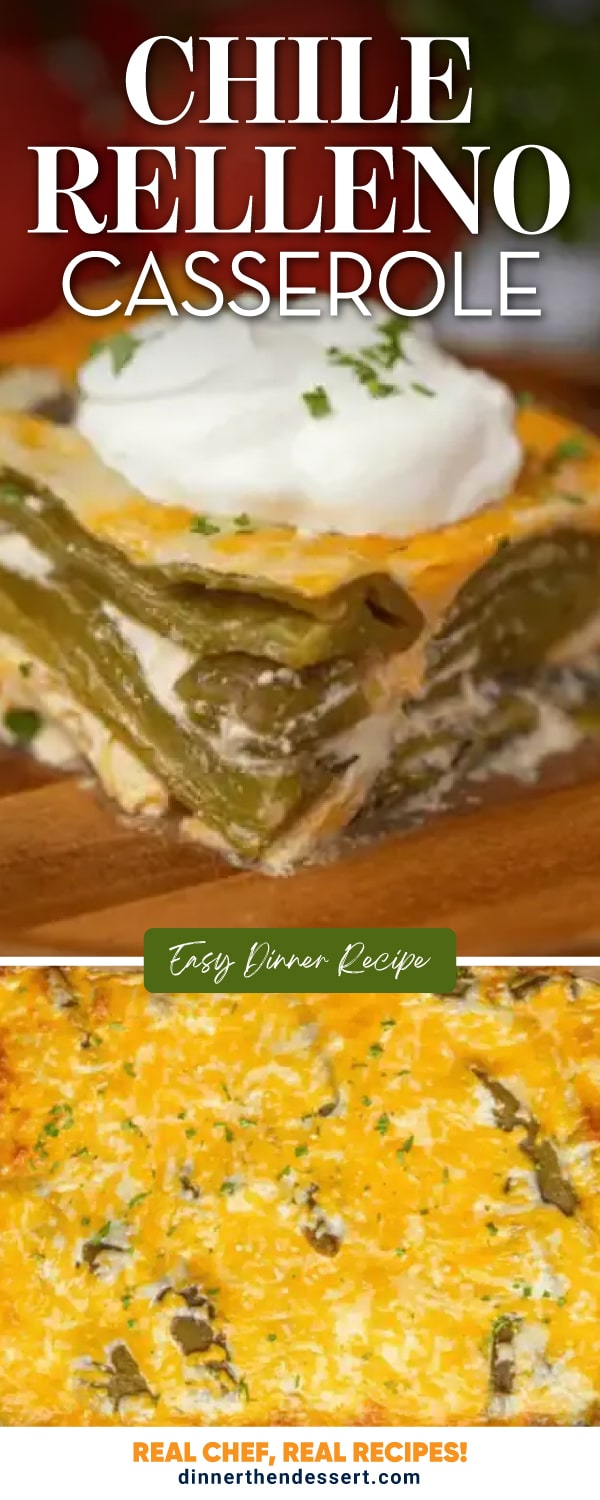
Cheesy Chile Relleno Casserole is a vegetarian dish that’s a hearty and kid-friendly meal, baked and ready in under an hour. Try it tonight!
This recipe takes all the best parts of Chile Rellenos and turns it into an easy hearty Mexican Casserole. For more easy recipes your family will love, try Taco Casserole and Tater Tot Casserole.
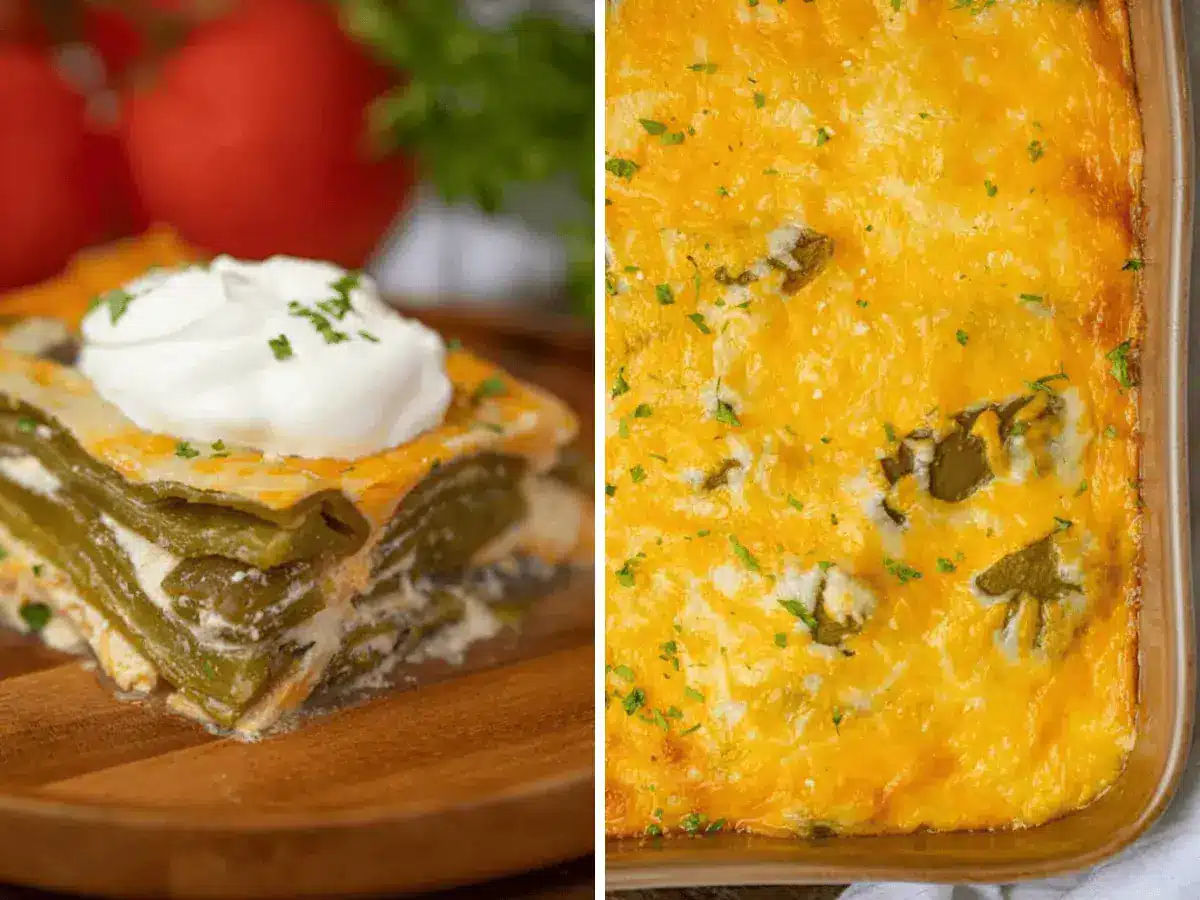
Why You’ll Love This Casserole?
- It’s perfect for when you’re craving Mexican food without a lot of work!
- It’s low carb and healthier then Classic Chile Relleno.
Sabrina’s Chile Relleno Casserole Recipe
Chile relleno is a delicious dish popular in many Mexican restaurants, but have you ever tried it in a casserole? This recipe is a tasty baked version of the classic mildly spicy, vegetarian-friendly dish. Plus, since you aren’t deep frying the peppers in a thick batter, it’s low carb and healthier. I promise that you won’t be disappointed with this delicious casserole!
Recipe Card



Ingredients
- 21 ounces whole green chiles , canned, drained
- 8 ounces Jack cheese , cut into 1-inch cubes
- 8 large eggs
- 3/4 cup whole milk
- 1 cup flour
- 1 teaspoon baking powder
- 2 cups cheddar cheese , shredded
Instructions
- Preheat oven to 350 degrees. Spray a 9×13-inch baking pan with vegetable oil spray.
- Place 2 cubes of jack cheese into each chili and line them up in the pan.
- Whisk together the eggs, milk, flour, and baking powder and pour it over the chilis.
- Put the cheddar cheese over the egg mixture and bake for 30-35 minutes or until golden brown.
Nutrition

Want to save this recipe? Create a free account to easily save your favorite recipes
Sabrina’s Tips
If you are using a glass casserole dish, you should check them for cracks before you use them (even tiny ones.) Cracked glass doesn’t distribute the heat from your oven evenly around the dish. This means that in the best scenario, your casserole won’t cook evenly and in the worst scenario, your glass dish could shatter. Save yourself from potential burns and give your dish a good once-over before using it.
Table of contents
About this Recipe
Chile Relleno Casserole is a hearty, easy family-friendly dish with whole green chilis, cheddar and jack cheeses baked together in just 45 minutes. I promise that you won’t be disappointed. Chili Rellenos come in a variety of styles, and for this recipe I chose a cheese stuffed version with green chiles because of how rich and savory it is.
Can this be made ahead of time?
This is a great recipe to make ahead of time. You can easily double the recipe and serve one casserole on the day you cook it, and save the other for later. Prep the casserole and bake it for the 20 minutes. Then cover the casserole and store it in the freezer. This casserole is completely freezer-friendly before you add the toppings. It will keep well in the freezer for 3 months. When you’re ready to serve your frozen dinner, let it first defrost in the fridge overnight. Once it’s thawed, cook it for 10 minutes or until warmed-through.
Pairing Suggestions
Complete your Mexican style dinner with sides that compliment your casserole. Pair it with Spanish Rice and some Refried Beans. You can’t forget about some delicious tortilla chips and Restaurant Style Salsa to enjoy between bites. Finish your meal with some Mexican Caramel Flan for dessert!
How to Store
- Serve: Don’t leave your casserole at room temperature for longer than two hours.
- Store: Kept any leftovers in an airtight container, it will stay good in the fridge for up to 3 days.
- Freeze: Make sure to store in a freezer safe container. It can be kept in the freezer for up to 3 months.
Ideas to Serve
Toppings
- Salsa: Add some extra veggies and some heat with crunchy fresh Corn Salsa or regular tomato salsa.
- Enchilada Sauce: Chile rellenos are often topped with a red Enchilada Sauce, so try it on this casserole too!
- Sour Cream: Cool and tangy sour cream goes great with the slightly spicy chiles and rich cheese. You could also use Greek yogurt or Mexican crema.
- Guacamole: Freshly made Guacamole is the best topping for any Mexican dish.
- Garnish: Chop up some fresh cilantro and sprinkle it over the top as a garnish. A squeeze of fresh lime and fresh cojita cheese goes great too.
Variations
- Cheese: Try Pepper Jack, Monterey Jack, white cheddar cheese, or a Mexican shredded cheese blend. For more authentic Rellenos, use Queso Fresco or Queso Oaxaca.
- Anaheim Chile: This chile is a little smaller than some other varieties, but it is still easy to pack with cheese.
- Poblano Peppers: These peppers are traditionally used to make chile rellenos since they are large and bake really well. Poblanos are also a good source of vitamin A and are tasty.
- New Mexico/ Hatch chiles: If you want something a little spicier than green chiles, New Mexico chiles pack more heat and are still big enough to fit a lot of stuffing inside. However, they aren’t spicy enough to make you regret eating them.
- Ground Meat: If you want to make this recipe more filling, you can add taco meat along with the cheese. Feel free to use ground beef, ground chicken, ground turkey, or ground pork. Brown the meat with diced onions and Taco Seasoning, and drain the grease before adding to the filling.
Related Recipes
More Easy Mexican Dishes
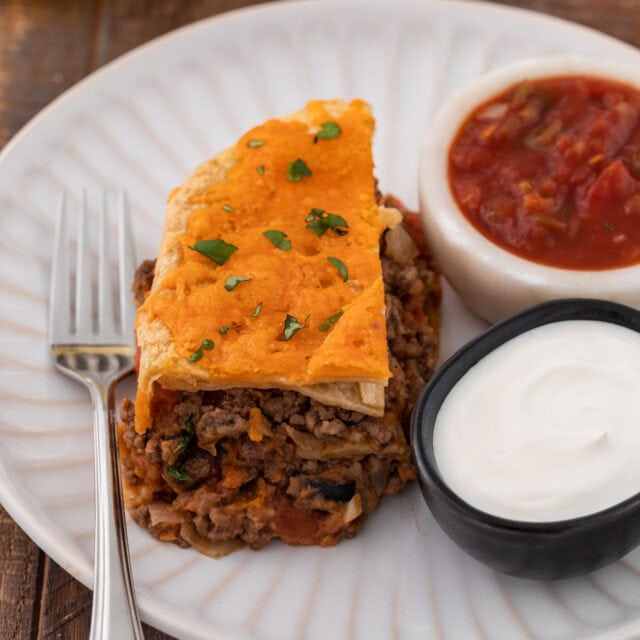
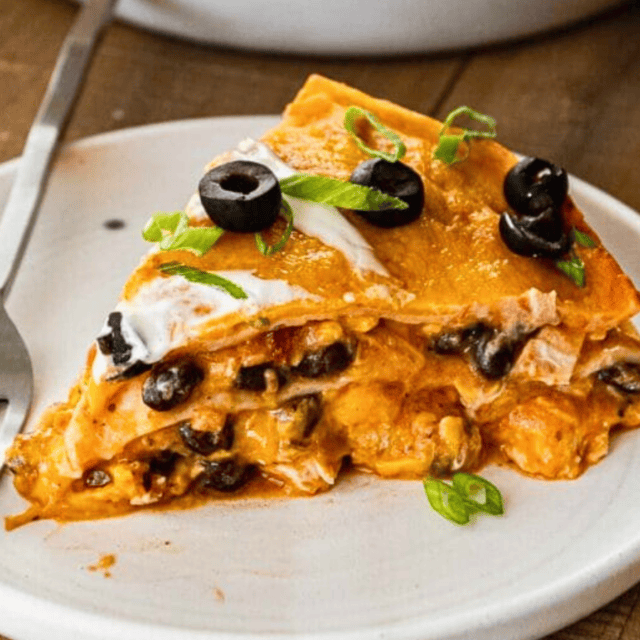
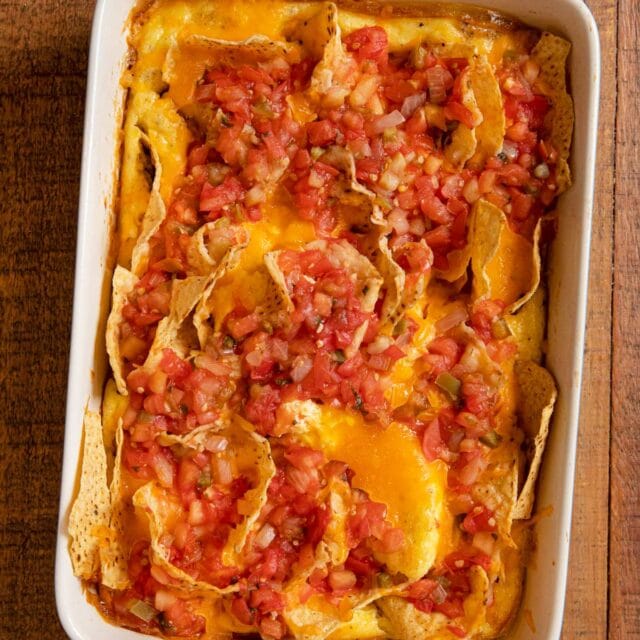
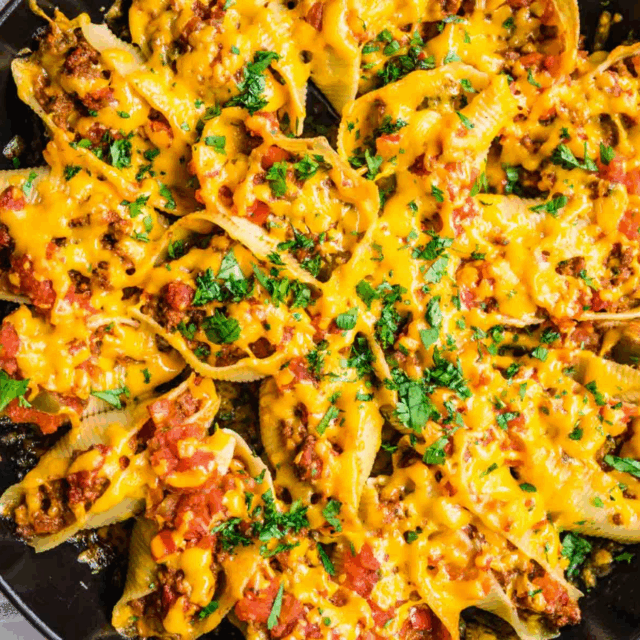
Photos used in previous versions of the post:
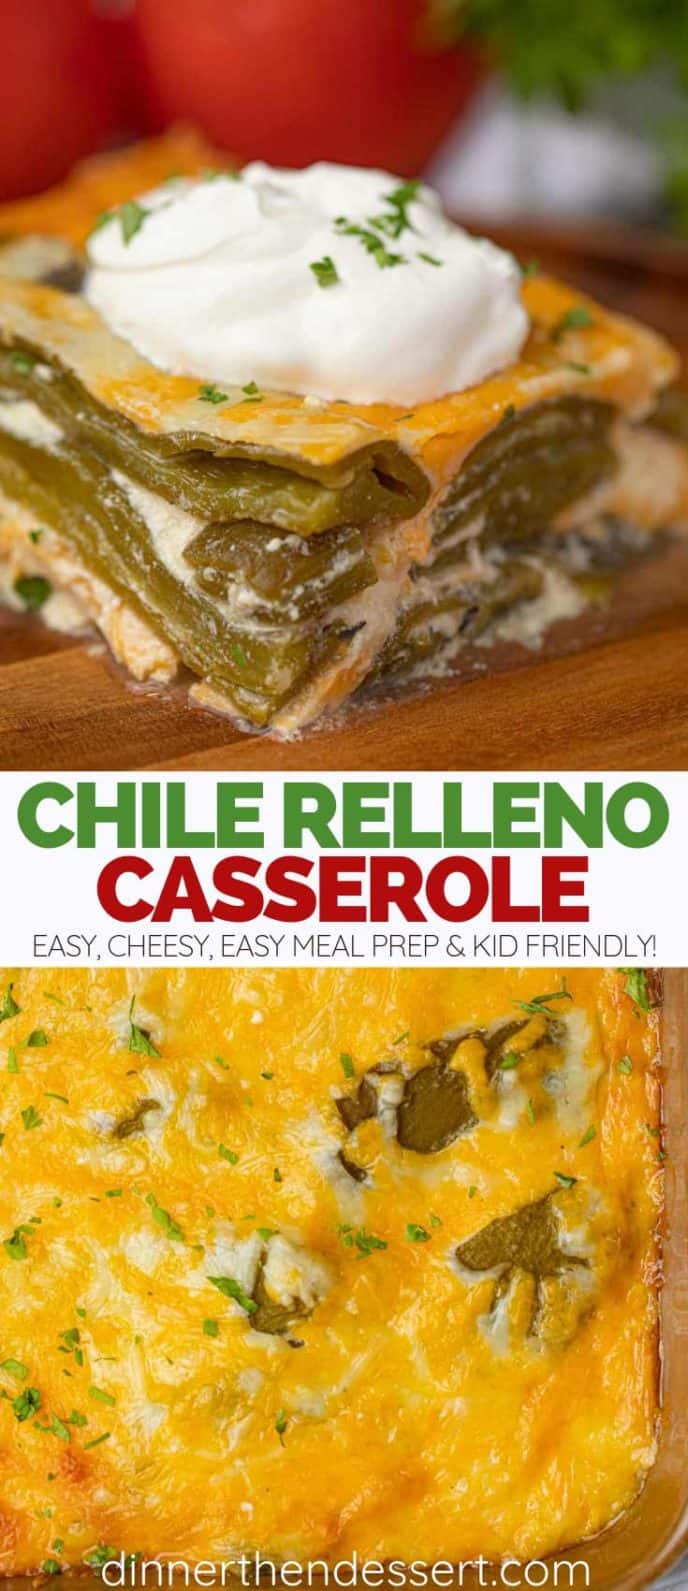
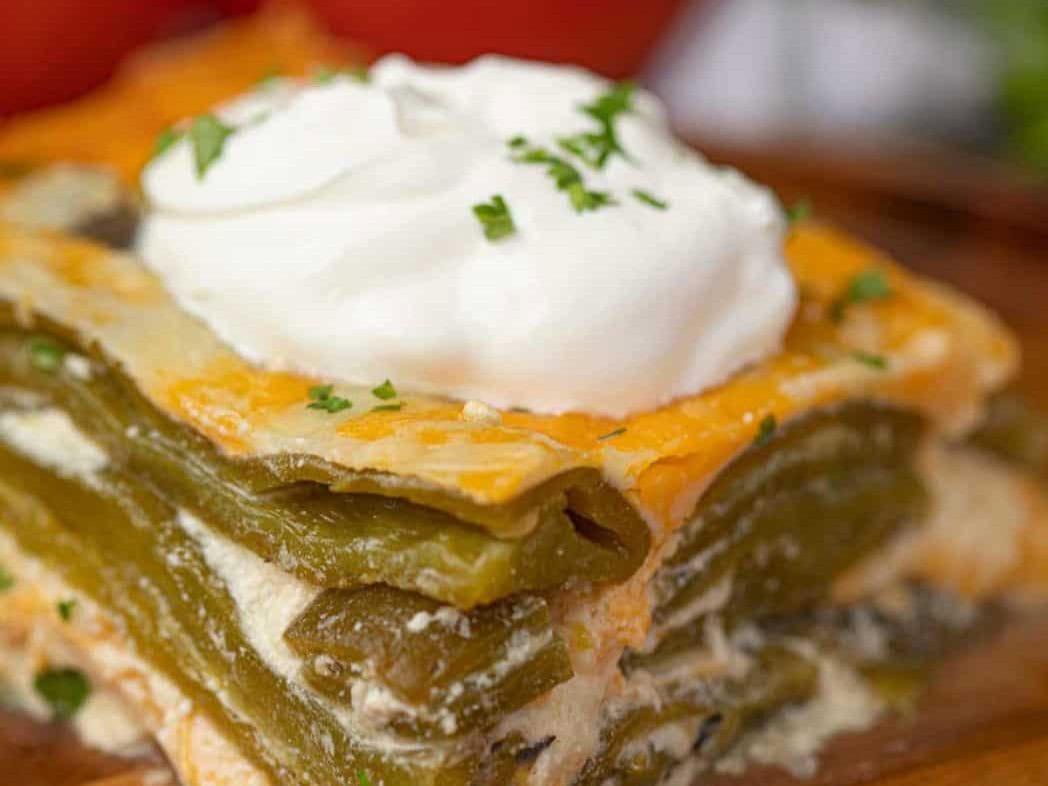







Hi I’m just wondering how many layers of chiles did you make as in your picture? Did you layer with the flour mixture in-between the chiles?
This is exactly what I like, more chiles than batter. ?
Thank you Leslie
Hi Leslie,
I don’t layer the chiles. I place 2 cubes of jack cheese into each chili and line them up in the pan.
Then I whisk together the eggs, milk, flour and baking powder and pour it over the chilis.
The final step is to put the cheddar cheese over the egg mixture and bake for 30-35 minutes or until golden brown.
Let us know how your casserole turns out!
I love chile rellenos. I couldn’t find whole green chiles so I used the canned “whole” chiles and instead of stuffing them with cheese, I layered them. The dish came out wonderful. They tasted great. This is my go to recipe for rellenos.
Excellent, easy to make, tastes great
I just took this put of the oven. Looks wonderful! However, I goofed and used 1 3/4 cups of milk. Hope its ok and not too ‘soupy’. Thank you for the recipe, it sounded great. Next time I will read recipe more carefully!
I goof all the time! Totally get it. How did it turn out?
Hatch chilis come in a 27 oz can. I have fresh Hatch so how many should I use?
Great question! Did a bit of research and found that because Hatch chilis vary in size, on average one chile equals one ounce, so you usually have about 8 chiles in a cup. Hope that helps. Let us know how it turned out.
I grilled 6 poblano chilies; however, not sure how many chilies are used in the casserole. Couldn’t find any cans of whole chilies anywhere. Am making this tonight, from your picture it looks like you use a lot of chilies. Please let me know approx. number of chilies for next time. Thank you!
Is used poblanos in this recipe because I couldn’t find whole green chilis in my store. This recipe turned out so well! Absolutely delicious!
I’m so glad you enjoyed it.
Can deconstruct this recipe with chopped green chiles and grated cheese. Also, a layer of cooked chorizo is a nice addition.
Sounds delicious!
Family loved it. I made with fresh poblano peppers, blanched and peeled. We loved the flavor, but the Monterrey jack was rubbery (maybe my cooking technique?) I’d prefer a softer cheese. Also, if I’m not mistaken, I noted the statement that this recipe is gluten free. I’m not an expert by any means, but my gluten free friends do not use flour. But we enjoyed it very much. Satisfied that “craving,” and much easier than frying. Thanks! We will eat again, and serve to company.
You’re absolutely right. I just updated to read correctly. Thanks for catching that. I’m so glad you all loved it.
I have a quick question about the chili relleno casserole recipe. In the body of the article baking soda is used but in the actual recipe it says baking powder. Which is correct? Really want to make this soon…sounds wonderful
Thanks for catching that. I originally tested it using baking soda and it didn’t work that’s why I ended up using baking powder. I’ve updated the post to read correctly. I hope you enjoy it!
Oh yum, what a delicious twist on a classic!
I’m so glad you enjoyed it!
One of our favorite repeat recipes to make for dinner!
I’m so glad it’s in rotation! That’s a true honor.
This casserole is AMAZING!! Soo flavorful and everyone absolutely loved it! Thanks for sharing!
You’re welcome, Chelsea!
Thank you so much for the tips! My family can’t wait for me to try it again!
I’m glad you found them useful!
What a fantastic recipe. So tasty.
So glad you enjoyed it!
Hi Sabrina
I haven’t made one of your recipes that is less than 5 stars! Thank you:)
CHILE RELLENO CASSEROLE….how would you suggest incorporating meat (say…ground beef or chorizo)? Adding it directly to the casserole??
Thanks so much!
Thank you so much! If you want to add meat, make sure to cook it completely and then add it in between steps 2 and 3 to the casserole. Enjoy!
Why use flour instead of cornmeal like it’s usually fried in? Does cornmeal not work out?
I’ve not tested this recipe using cornmeal. If you decide to try, I’d love to know how it turns out. Thanks!
Just received your recipe for CHILE RELLENO CASSEROLE, it sounds and looks delicious. I really want to make it but I was unsure if I could cut it down to 6 servings. I look forward to your answer. Thank you.
Yes, you can adjust the serving size by using the slider tool that pops up as you hover over it in the recipe card. Enjoy!