
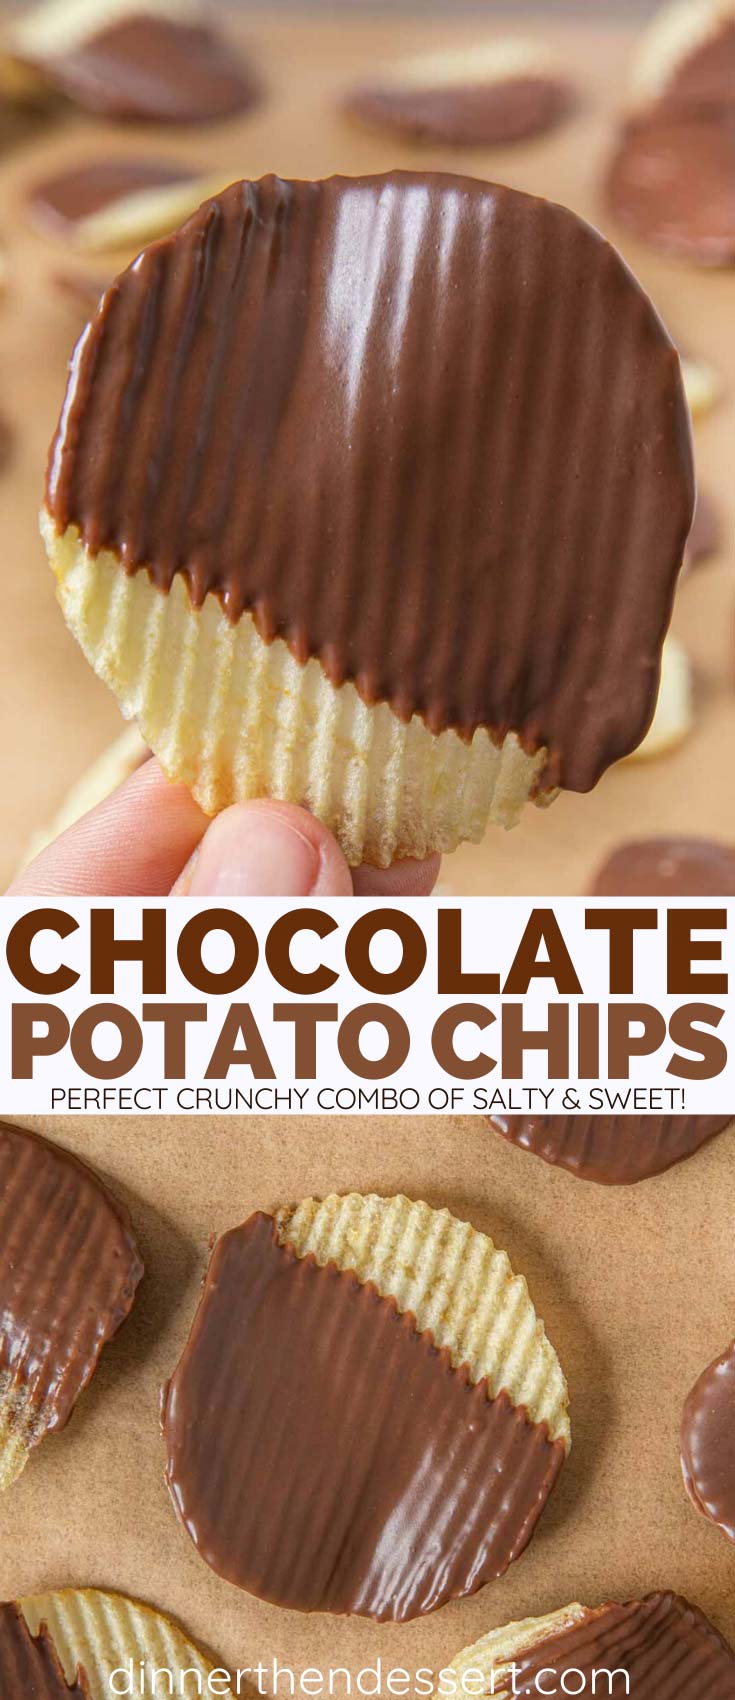
Chocolate Covered Potato Chips are a quick 10-minute treat made with just 2 ingredients! A perfect snack that’s salty, sweet, and crunchy!
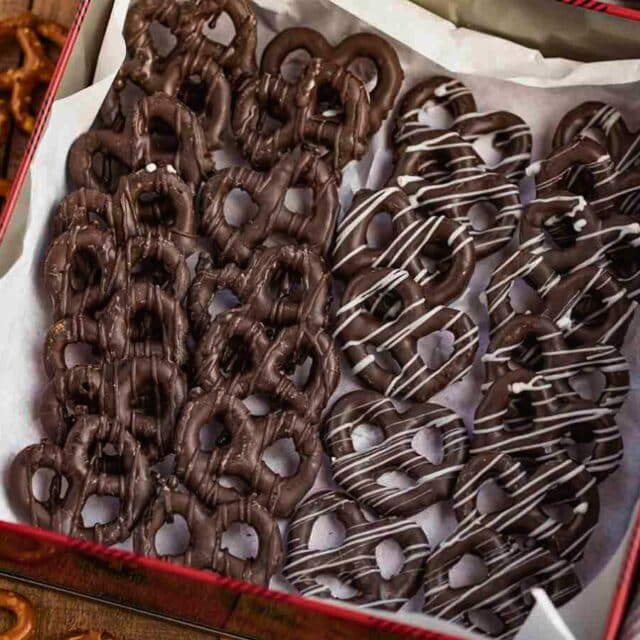
Whether it’s Chocolate Covered Pretzels, Potato Chip Clusters, or these treats, dipping salty Snack food in chocolate is always an amazing idea. It checks pretty much every box: salty, sweet, chocolaty, perfectly crisp, and one of the easiest Desserts you’ll ever make.
Sabrina’s Chocolate Covered Potato Chips Recipe
If sweet and salty is your favorite flavor combo, these delicious Chocolate-Covered Potato Chips are the perfect snack for you! The salty flavor of the Ruffles potato chip is full of sweet chocolate for a simple yet amazing treat. They are the best sweet, salty party snack for any occasion because they are easy to make, but they look like you ordered them from a chocolate shop! You can make a bunch at a time, too. Chill them for a cool, chocolaty, salty snack all summer long or add them to gift baskets for a gourmet treat.
Recipe Card

Ingredients
- 12 ounces semisweet chocolate chips
- 5 cups ridged potato chips (I used Ruffles)
Instructions
- Microwave chocolate in 30 second increments and stir between each time until fully melted.
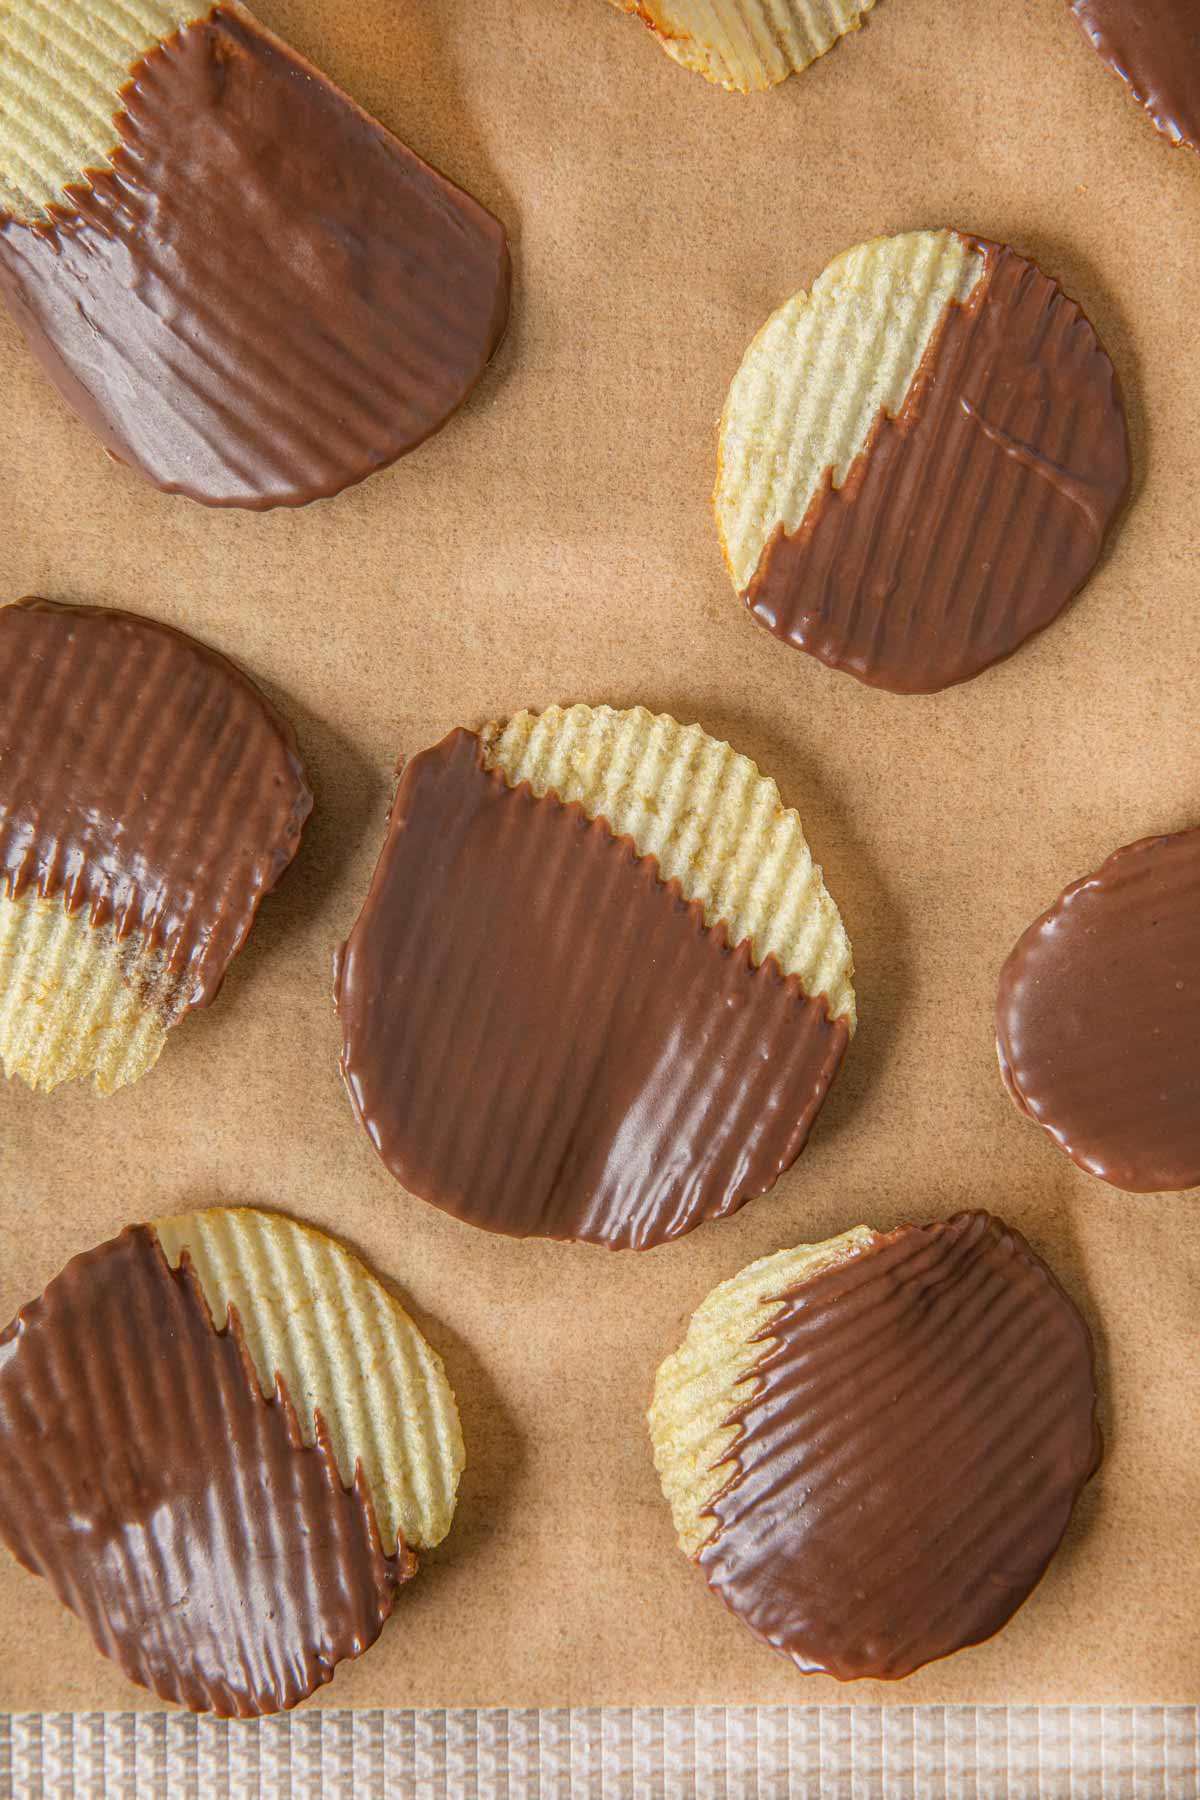
- Dip each chip almost all the way in, then tap gently to remove excess chocolate.
- Allow to cool and dry on a baking sheet lined with parchment paper.
Nutrition
Want to save this recipe? Create a free account to easily save your favorite recipes
Table of Contents
About this Recipe
When we say these are easy, we mean easy! The ingredient list for this simple indulgent treat is just two items: chocolate chips and potato chips. You don’t even need to bust out a double boiler; the microwave works just fine, and you can dip the chips in the same bowl you melt the chocolate in. Spread out some parchment on a cookie sheet, or just over your counter if there’s room, and you have a fancy chip drying station. It really couldn’t be much easier!
Chef’s Note: Choosing Chips and Chocolate
Not only are these sweet and salty treats a quick and easy recipe, but they are also super versatile. Ruffled potato chips are the most popular choice because the ridges fill up with a little more sweet chocolate, but you can also use kettle chips, baked chips, or even different flavors of chips. When it comes to the chocolate coating, you can use any flavor of chocolate you like, do a combination of white and regular chocolate, add festive sprinkles, or other tasty sweet toppings. The possibilities are almost endless!
Serving Ideas: Gifting and Leftovers
These treats make delicious, crunchy, chocolate treats to add to your holiday gift baskets and party table. For gift baskets, coat the whole chip so they stay fresher longer. If you have some broken chip pieces, why not add them to your favorite Sweet and Salty Trail Mix for an upgraded lunch box or after-school snack?
Can this be Made Ahead of Time?
Absolutely! Chocolate Covered Potato Chips can be prepared in advance to save time and effort. They will last at room temperature for about 5 days, but if you are serving them to guests, they are freshest in the first 2 days. Keep them fresh longer by refrigerating them for about 1-2 weeks. They can also be frozen, but unless you coat the whole chip, it’s best to enjoy them still frozen or the chip will be soggy after thawing.
How to Store
- Serve: You can easily store your Chocolate Covered Chips for up to 5 days at room temperature. Keep them in an airtight container with wax or parchment paper between layers to prevent melting and sticking.
- Store: Partially coated Chocolate Covered Chips will stay good in the fridge for about 1 week in an airtight container, and fully coated chips will last about 2 weeks. Let them cool and set completely before storing so they don’t stick together.
- Freeze: Freezing is not a good idea unless you plan to consume them frozen, and you fully coat the chip. The thawing process will cause any exposed chip to become soggy. If you do want to freeze them, they will last about 1 month.
Frequently Asked Questions
The specific person or company credited with inventing chocolate-covered potato chips is unclear, although a few lay claim to their creation. However, the combo of chocolate and potato chips is believed to have originated in the United States, where there is a lot of love for sweet and salty flavor combinations.
To keep chocolate-covered potato chips fresh, store them in an airtight container at room temperature, away from direct sunlight and moisture. Proper storage will help maintain their crunch and prevent the chocolate from becoming soft or sticky.
Chocolate chips are great for coating treats that you make at home because they melt easily and set pretty quickly. The only downside is that the chocolate doesn’t get the same smooth, glossy finish as tempered chocolate. But they taste just the same with or without the shiny coating.
Absolutely! You can experiment with different types of potato chips for this recipe to add variety and explore different flavor combinations. Whether you prefer ridged, kettle-cooked, or even flavored potato chips, feel free to use your favorite variety to create your unique twist on chocolate-covered potato chips.
To prevent chocolate from seizing or becoming grainy, it’s important to handle it carefully. Avoid introducing moisture to the chocolate, as even a small amount can cause it to seize. Use dry utensils, make sure the bowl and any equipment are completely dry, and melt the chocolate in short bursts in the microwave so it doesn’t get too hot, or use a double boiler, stirring continuously until smooth.
Variations
- Chocolate: Switch up the chocolate flavor with dark chocolate, milk chocolate, or white chocolate. You can do a white chocolate drizzle for a little contrast, or do black-and-white chips by doing half white and half dark chocolate.
- Toppings: Before the chocolate sets, add some tasty toppings such as crushed nuts or Toffee Bits, rainbow sprinkles, or chunky sea salt. Use different colored sprinkles during the holidays for an extra festive touch.
- Caramel: Add a layer of caramel to the chips for an extra special treat. Dip the chips in Caramel Fondue (it sets better than caramel sauce), then chill in the fridge until the caramel coating is hard. Dip the chocolate until the caramel is covered and let the chocolate set.
- Peppermint: During the wintertime, make some fun, festive Chocolate Peppermint Potato Chips. Add some peppermint flavoring to the melted chocolate, and then sprinkle crushed candy canes on the chips before the chocolate sets.
- Spices: You can add some baking spices to the chocolate to add some more amazing flavor. Make Mexican-Chocolate inspired treats with chili powder, cayenne, and cinnamon. During the fall, add a little Pumpkin Pie Spice. For a topping, add a dusting of cinnamon powder or dip them in a cinnamon-sugar mixture.
Related Recipes
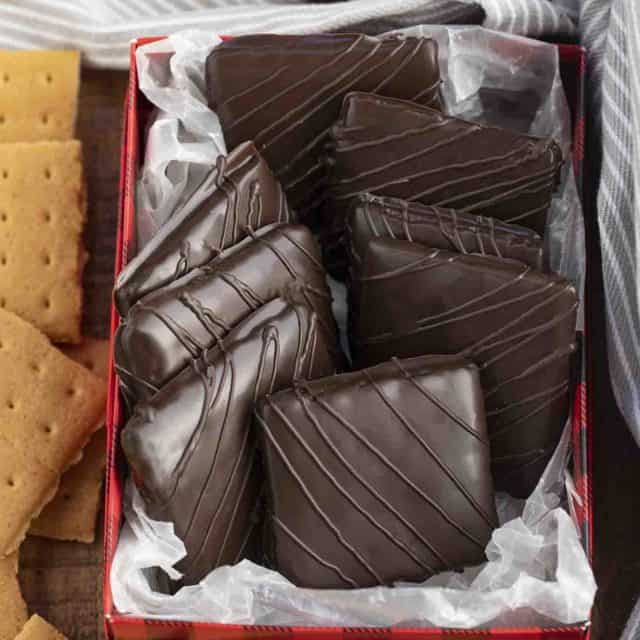
More Chocolate Covered Treats

These photos were in a previous version of this post


Yum…my favorite foods…chocolate and potato chips! I was excited to find a recipe how to make them myself. Great for Christmas to add to cookie platter. When done I decided to refrigerate them for awhile to harden the chocolate before storing them. As always, I know Sabrina’s recipes are the best.
Sweet and salty are my favorite! Amazing recipe! Thanks for sharing!
It’s such a great combination!
As soon as I saw this I knew I must try it! Very tasty and delicious!
So glad you decided to give it a try!
The ultimate comfort food for snacking! These will be great for our annual holiday party this weekend!
Total snack comfort food!