
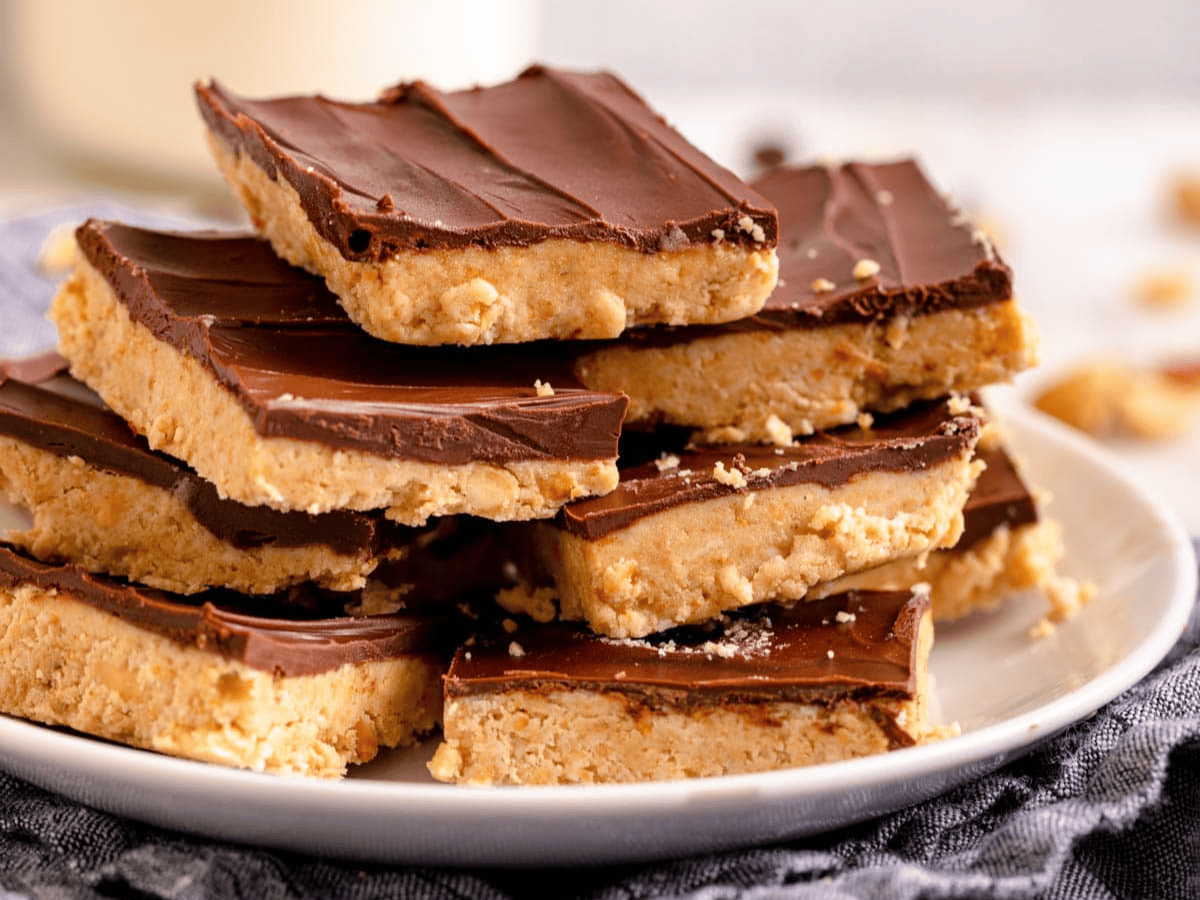
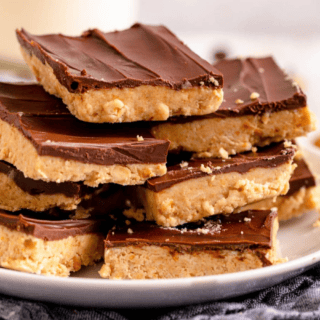
Chocolate Peanut Butter Bars come together in minutes, blending a crunchy, sweet base with a silky, decadent top. Perfectly irresistible!
This is the perfect Bar Recipe that you can prep in just a few minutes, then bring to a bake sale, potluck, or serve after dinner. For easier bar desserts, try our Carmel Nut Crumb Bars and Turtle Bars next.
Sabrina’s Chocolate Peanut Butter Bars Recipe
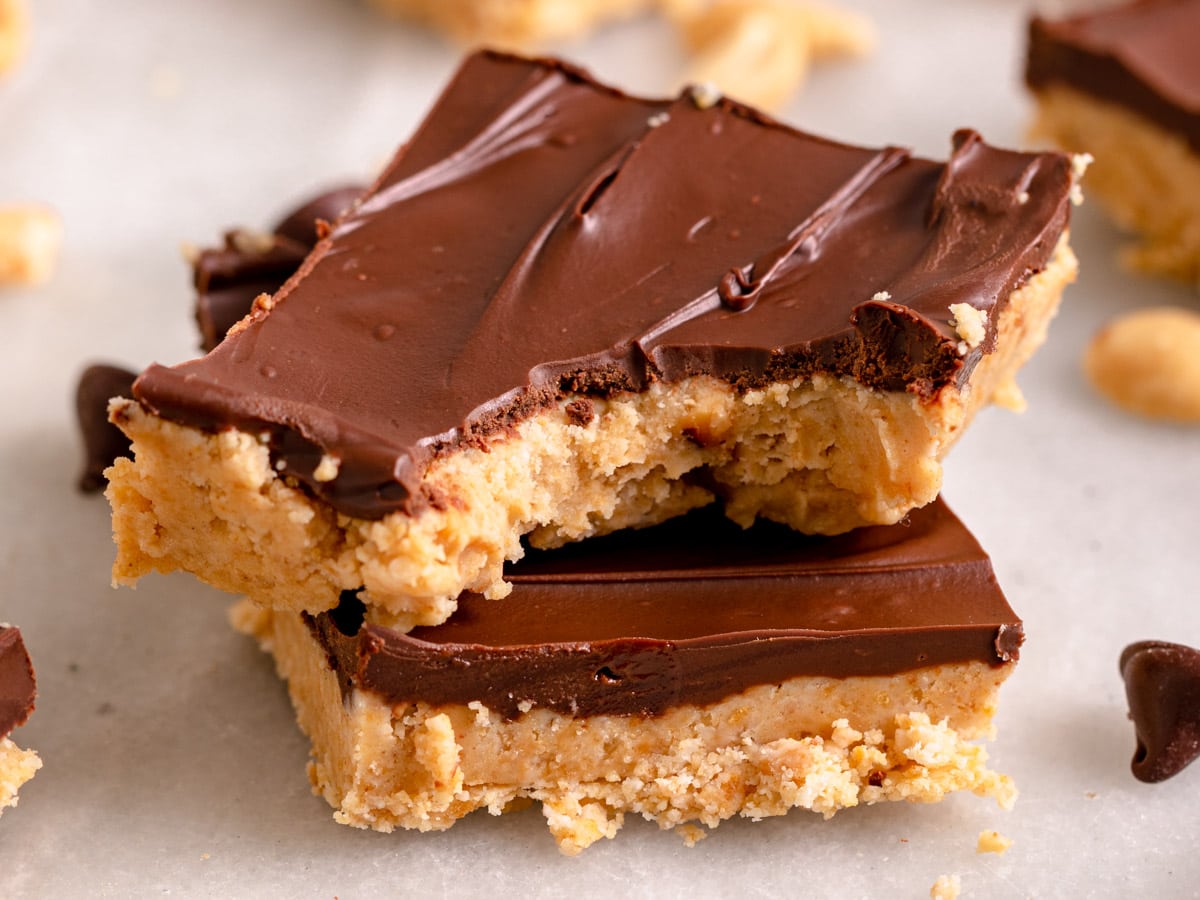
These crunchy, dessert-worthy squares deliver the perfect mix of texture and richness, making them a go-to indulgence for anyone who adores that dreamy, nutty, and chocolatey combo. They are the perfect recipe for the next time you want a quick and easy treat. You only need a handful of ingredients that are probably already in your pantry, like peanut butter, graham crackers, powdered sugar, and chocolate chips.
Recipe Card
Ingredients
- 3/4 cup graham cracker crumbs
- 1/2 cup unsalted butter , melted
- 2 cups powdered sugar
- 1/2 cup chunky peanut butter
- 1 cup semisweet chocolate chips
Instructions
- In a large mixing bowl add the graham cracker crumbs and butter, stirring well.
- Add in the sugar and peanut butter and stir well.
- In a small microwave safe bowl add the chocolate chips.
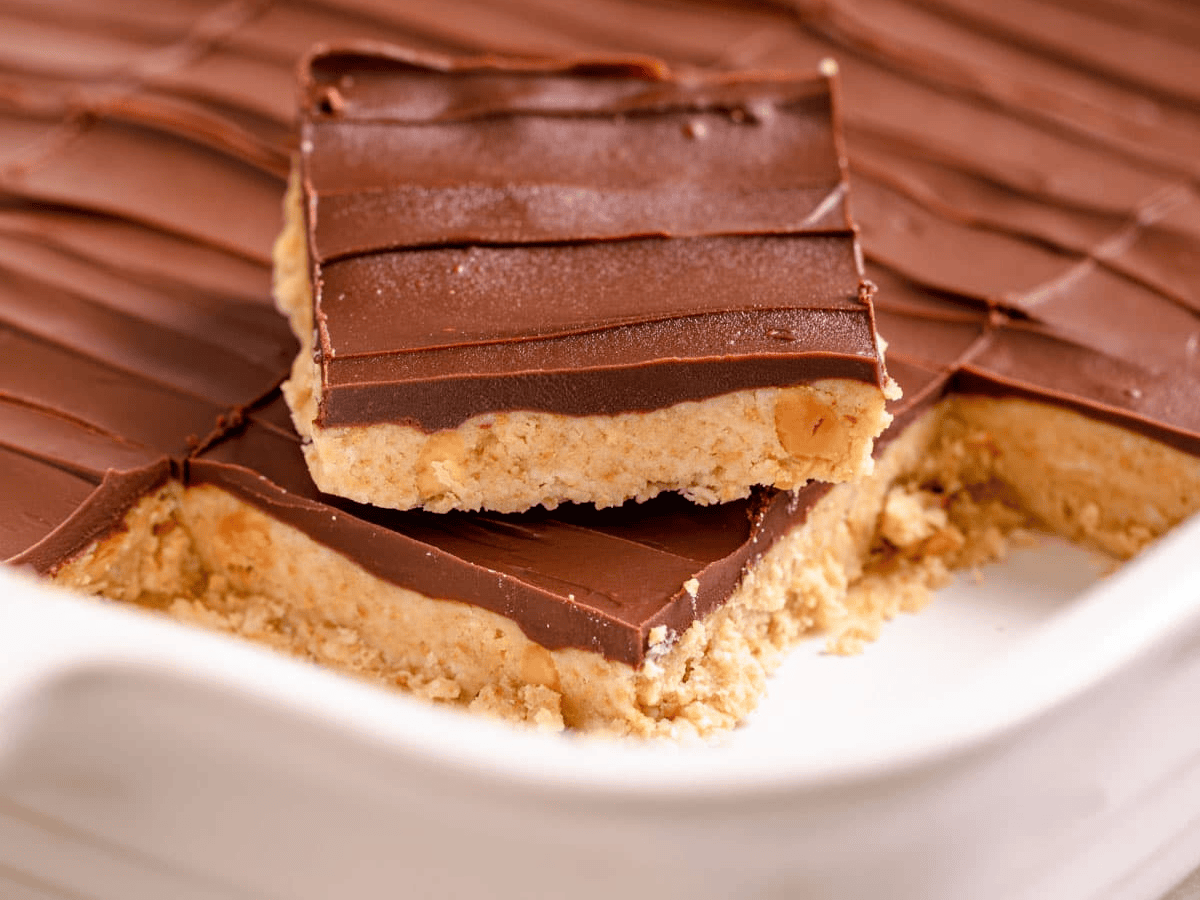
- In a greased 8×8 baking pan add the mixture and spread evenly.
- Melt in 30 second increments until melted and smooth.
- Spread over the peanut butter bars.
- Chill completely until the chocolate has firmed.
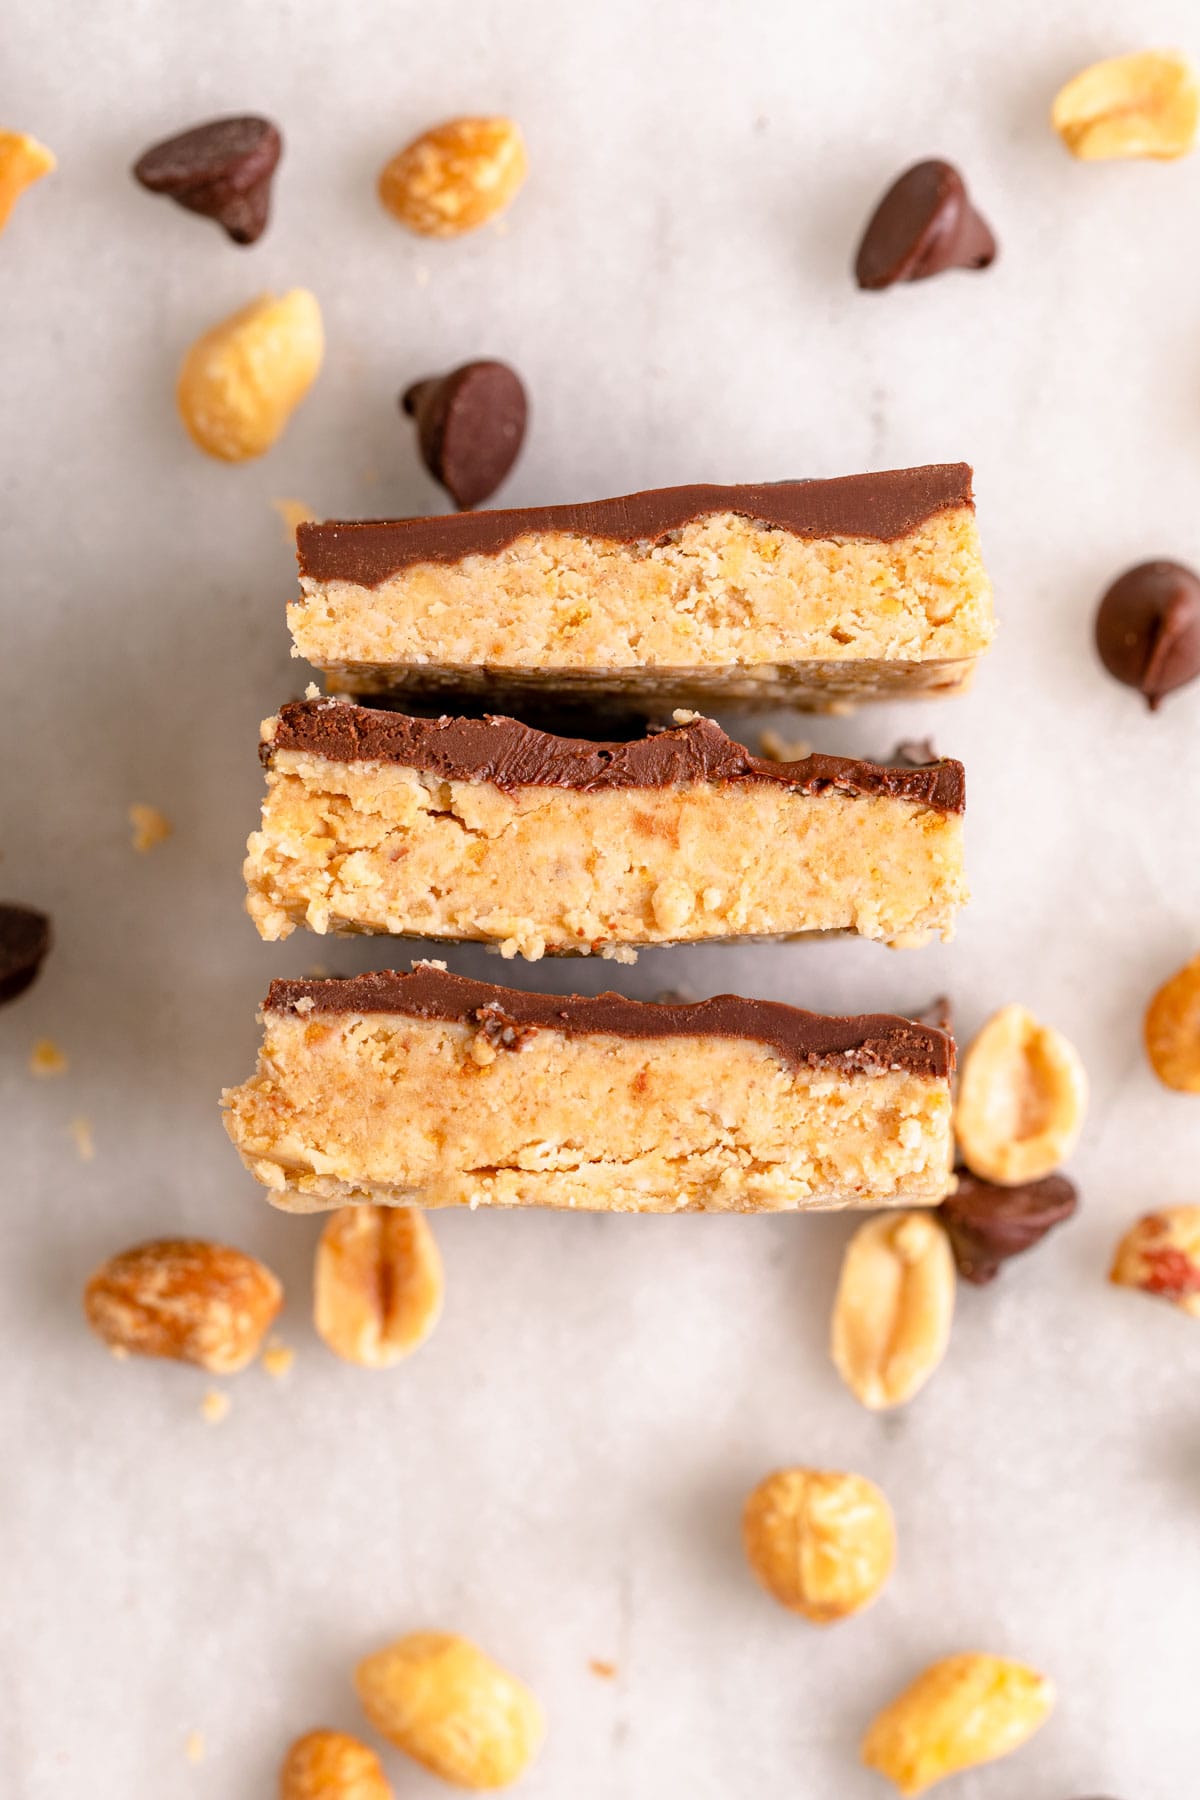
- Cut into 16 pieces.
Nutrition
Want to save this recipe? Create a free account to easily save your favorite recipes
Table of contents
About this Recipe
It only takes about 10 minutes to prep this 5-ingredient dessert recipe with a layer of crunchy peanut butter topped with rich chocolate. Once you’ve prepped the layers, all you have to do is pop the Peanut Butter Chocolate Bars in the fridge. Then enjoy the no-bake squares as soon as they’ve hardened!
Chef’s Note: Having the Kids Help
This recipe is perfect for getting the kids involved because you won’t need to turn on the oven. They can help with measuring, scooping, and stirring. Just make sure to supervise them when pulling the hot butter and chocolate out of the microwave. You can even let them decorate the chocolate layer with their favorite sprinkles or candy pieces before refrigerating.
Ingredients
- Graham crackers: Using graham cracker crumbs is an easy way to make a sweet and crispy base without having to make your own dough or crumb recipe.
- Peanut butter: Then, peanut butter is mixed in with the crumb mixture to make the rich, peanut buttery base. Use your favorite brand of chunky peanut butter to make the easy combo. Natural peanut butter will not work as well as the traditional kind in this recipe.
- Sugar: Give the cracker and peanut butter crust an extra kick of sweetness from 2 cups of powdered sugar. Sugar also helps to thicken and solidify the mixture.
- Chocolate: Then finish the peanut bars with a layer of chocolate. All you need to make the layer is melted chocolate chips. Then just spread it over the top and let them harden before serving.
How to Store
- Serve: Make sure you let the Bars cool completely before you slice them into squares and serve them.
- Store: To store any leftovers, you can cover them in aluminum foil or put them in an airtight container. Then put them in the fridge for up to 1 week.
- Freeze: To easily freeze the bars, put them in an airtight container with parchment paper separating the layers of bars so they don’t freeze together. Then keep them fresh in the freezer for up to 6 months.
Frequent Questions
It’s best to use a regular type of chunky peanut butter for these bars. Natural peanut butter will not have the best consistency for dessert recipes.
Absolutely! Swap the chunky peanut butter for your favorite spread, such as almond butter, cashew butter, or create a mix. Stir in chopped nuts if you can only find the smooth variety.
Simply substitute the graham crackers for any gluten-free version of your favorite cookie or cracker. You can even use a savory gluten-free cracker for a sweet & salty combo.
Only microwave your chocolate chips in 30-second increments, stirring between. Once the chips are almost all melted, keep stirring until smooth. If you overcook the chocolate, the moisture will cause it to seize up, and it cannot be salvaged.
Variations
- Chocolate chips: Instead of using semi-sweet chocolate chips, you can change up the recipe slightly with milk chocolate or dark chocolate chips. Or, add a little more peanut butter flavor by sprinkling peanut butter chips on top of the chocolate layer.
- Nuts: For some extra crunch, sprinkle chopped nuts over the top of the bars. Of course, you can use chopped peanuts to stick with the same flavors, but almonds, cashews, and pecans would also taste great.
- Oreo crust: For a more chocolatey flavor, you can break apart Oreo cookies into crumbs. Then mix them with the crust ingredients instead of the graham crackers for a chocolate, peanut butter base.
- Biscoff crust: These cookies have a spiced caramel flavor that would be delicious with the peanut butter and chocolate in this recipe. Use them in place of the graham crackers for a delicious twist.
- Fruit: Add a swirl of strawberry, raspberry, or grape jelly to these bars for a fun peanut butter and jelly version. Place teaspoon-sized dots of preserves onto the cookie crust layer and use a knife to swirl them around before adding the chocolate layer.
Related Recipes
More Delicious Bars

These photos were in a previous version of this post


Made these 2X in 1 week. First for friends and another batch for my family since we had to share the first batch. Ha! Thanks for an easy summer dessert recipe!