
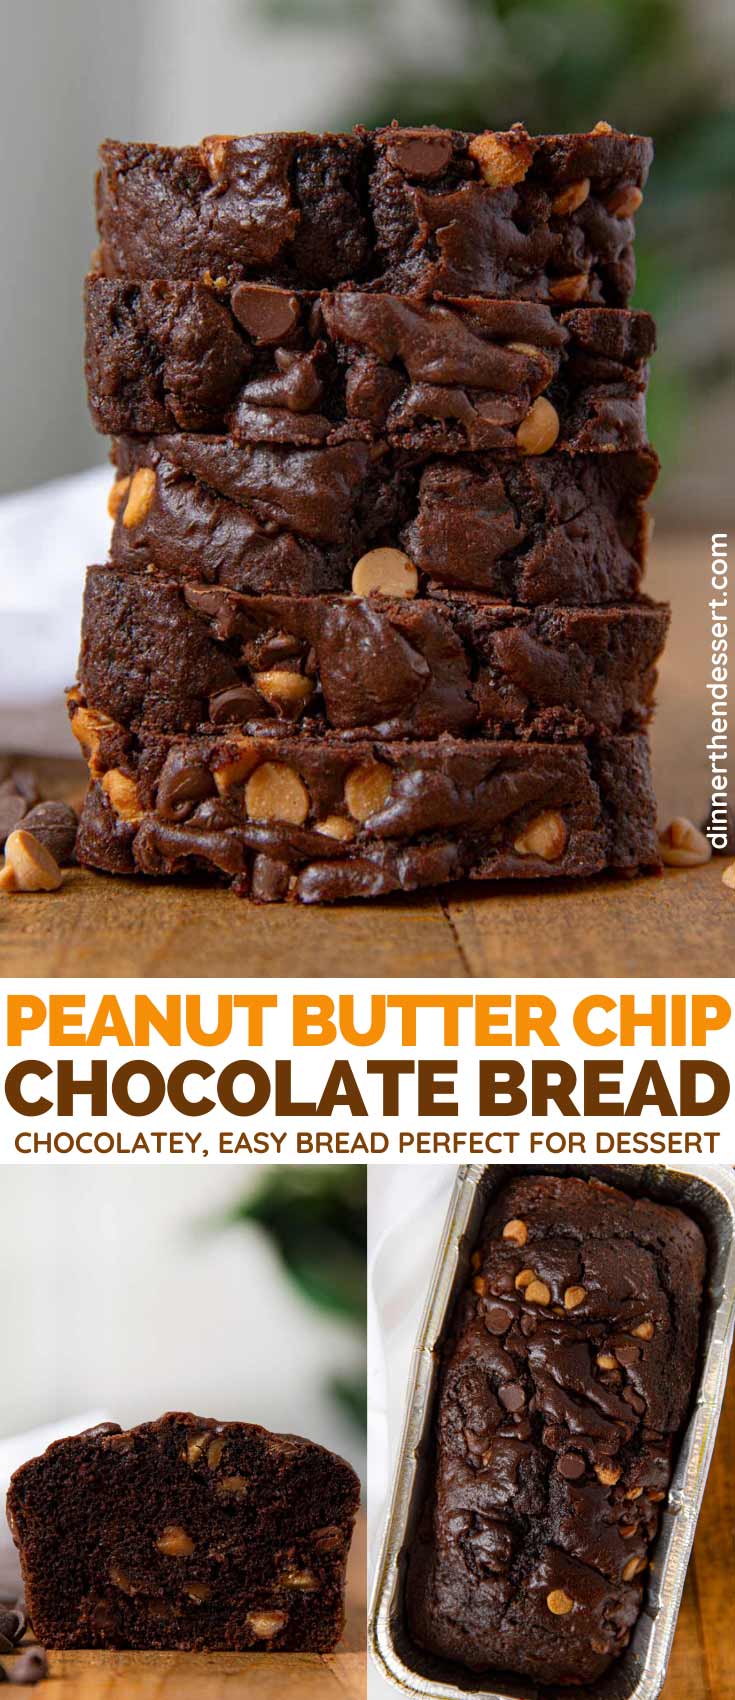
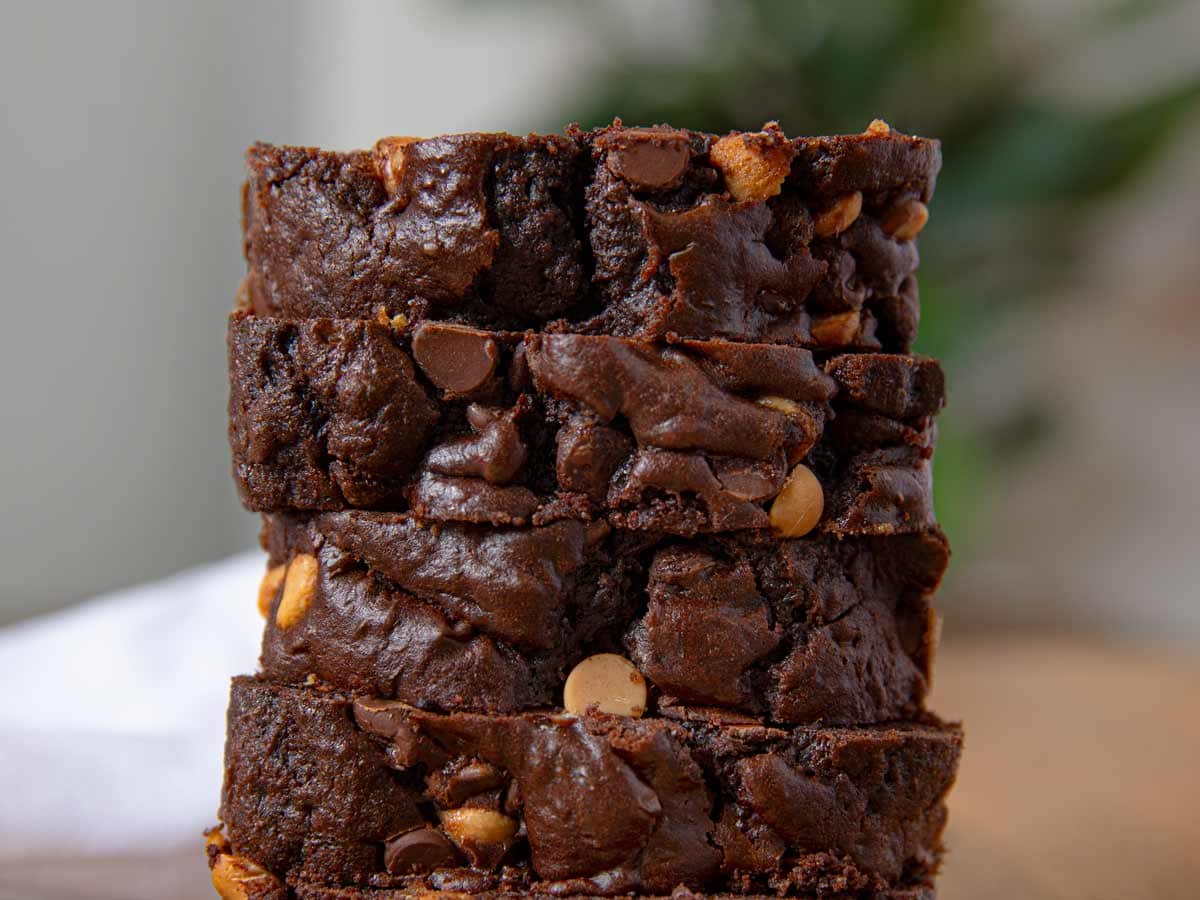
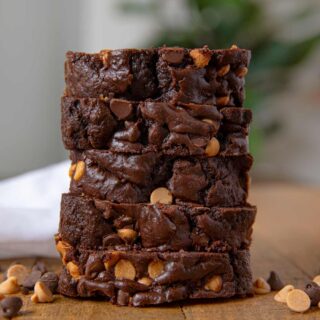
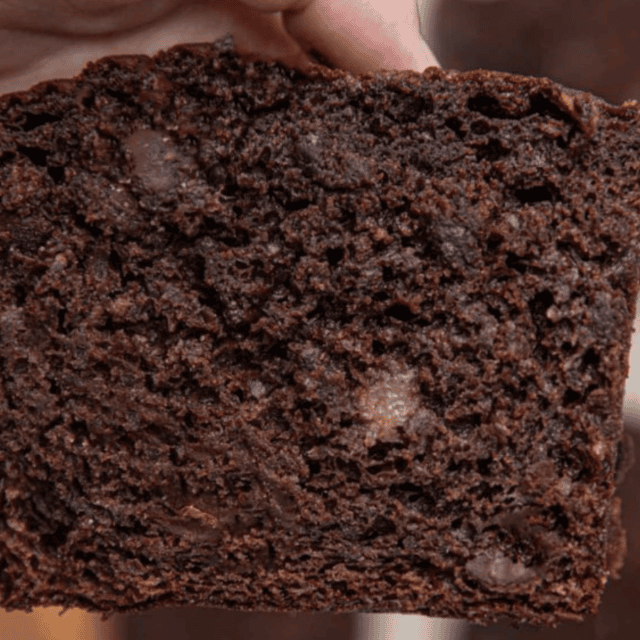
Chocolate Peanut Butter Chip Bread is a rich chocolatey bread with a burst of peanut butter that you’ll love for either breakfast or dessert.
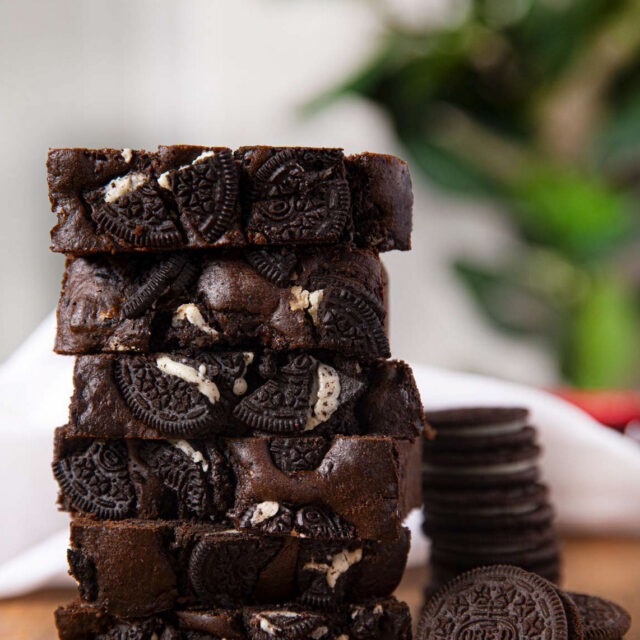
You can’t go wrong with delicious, sweet loaf cakes like our Chocolate Banana Bread, Oreo Chocolate Bread, and now this Chocolate Peanut Butter Chip Bread! Perfect for dessert or breakfast, these are a few of our many tasty Baked Goods Recipes that are a treat morning or night.
Sabrina’s Chocolate Peanut Butter Chip Bread
There are a lot of iconic duos in the food world, from Bacon and Eggs to Cinnamon and Sugar, but nothing goes together quite as great as Chocolate and Peanut Butter. The creamy nuttiness of the peanuts with the sweet richness of the chocolate? Perfection.
Recipe Card
Ingredients
- 2 cups flour
- 2 teaspoons baking powder
- 1/4 teaspoon salt
- 18 tablespoons unsalted butter , softened and divided
- 8 tablespoons unsweetened cocoa powder
- 1 1/3 cups sugar
- 2 large eggs
- 1 teaspoon vanilla extract
- 1/2 cup whole milk
- 1 cup semisweet chocolate chips
- 1 cup peanut butter chips
Instructions
- Preheat oven to 350 degrees.
- Grease a 9×5-inch loaf pan and line it with parchment paper; grease the parchment paper as well.
- Melt 6 tablespoons of butter in the microwave, using 30 second increments until fully melted. Mix the cocoa powder into the melted butter until well combined.
- Mix the flour, baking powder, and salt in a separate bowl.
- Using a mixer, combine the remaining 12 tablespoons of softened butter with the sugar. Add the eggs and vanilla and mix well.
- Gradually mix in the flour mixture to the batter.
- Mix the milk into the batter.
- Mix butter-cocoa mixture into the batter until fully combined.
- Gently stir in chocolate chips and peanut butter chips until well distributed.
- Pour the batter into the loaf pan.
- Cover the loaf pan with aluminum foil and bake for 30 minutes.
- Uncover and bake for an additional 30 minutes.
- Let cool before removing from loaf pan.
Nutrition
Want to save this recipe? Create a free account to easily save your favorite recipes
Table of Contents
About this Recipe
This bread is a chocolate lover’s dream, it’s so rich and cocoa-y. I stirred in some melt-in-your-mouth peanut butter chips and more chocolate to make each bite indulgent. It’s almost like eating a brownie for breakfast! Since this bread is so sweet, I reserve serving it for breakfast until special occasions like Easter or a holiday brunch. It also makes a decadent dessert, especially topped with some Vanilla Ice Cream! Serve it cake-style by baking in a loaf or bundt pan and topping with my easy Peanut Butter Frosting.
Can this be made ahead of time?
Chocolate Peanut Butter Chip Bread is great to make ahead of time. You can store it in the freezer for up to 3 months wrapped tightly in plastic wrap and sealed in a container or bag. Make sure you cool your bread completely before you freeze. To serve, thaw in the refrigerator overnight and warm in the oven at 250 degrees.
Recipe Tips and Tricks
- Peanut Butter Cups: If you really want to bring out the candy bar flavor of this bread, chop up some mini Reeses cups, or buy a bag of the cups made for baking, and add them to the batter or swap them for the peanut butter chips.
- Peanuts: Give your Chocolate Peanut Butter Bread extra crunch by stirring in ¼ cup of roughly chopped peanuts. Reserve some peanuts to sprinkle on the top of the loaf.
- Peanut Butter: Swirl in some melted peanut butter (melting makes it easier to swirl) into your batter after you pour it into the loaf pan. You can also use Nutella or your favorite nut butter.
- Peanut Butter Powder: Make this a Peanut Butter Chocolate Chip Bread by swapping the cocoa powder with peanut butter powder. Use half the amount of peanut butter powder since it packs a lot of flavor in a little amount!
- Add-Ins: The sky’s the limit with delicious add-ins on this Chocolate Bread – try stirring in butterscotch chips, cocoa nibs, toffee pieces, or even chopped up Marshmallows.
- Check for Doneness: Insert a toothpick or a butterknife in the center of your loaf. When you pull it out, it should be clean of batter. Keep in mind that melted chocolate chips or peanut butter chips could also be on the knife (especially if you loaded it up with extra chips).
How the Store
- Serve: This bread is good for up to a week, covered, at room temperature or in a cool, dry place.
- Store: Keep your bread in the fridge to extend the freshness for up to 2 weeks.
- Freeze: You can freeze this Chocolate Peanut Butter bread wrapped in a sealed container or bag for 3 months. Allow to cool before freezing.
Related Recipes
More Delicious Chocolate Bread Recipes


Can this be made into muffins?
Can this recipe be made in a Bundt pan?
I had the same problem that several others have noted. I used an aluminum 9×5 pan and baked at 350° for 1 hour in a convection oven. It was runny and totally uncooked. I continued baking, checking every 3-5 minutes, and it was done at 1 hour 30 minutes. I am an experienced cook and have been baking for 60 years. I followed directions exactly. It looks OK and smells delicious, but haven’t tasted it yet. I don’t understand the discrepancy in baking times.
Do you have a blog? I’d love more sweet bread recipes
Can I bake this in mini pans?
Sure 🙂
I made it, using the size pan that you said, and even after an hour it was still raw in the middle. :/ Going to try splitting it up into smaller pans.
Hmm, I’m not sure why it would be raw after an hour. Have you tested the accuracy of your oven temperature lately?
Baked for over an hour and raw too. I think this cook time should specify an aluminum loaf pan, in which case an hour might be appropriate.
Super 🙂
Pozdrawiam z Polski.
This is such a delicious treat! Totally irresistible!
Happy to hear you enjoyed it. Thanks for the 5 stars.
This was fantastic! So easy to make and it turned out perfectly moist and delicious.
Yay! Thanks for coming back to let me know.
this bread is the bomb!
Why do you cover with foil for the first 30 minutes?
It helps to allow the cake to cook more evenly. If you don’t cover it, the outside might get done quicker than the inside.
I don’t cook with foil or aluminum. Can I just cover it with a cookie sheet or another pan? The recipe sounds too good to pass over!
Sure 🙂
Taste like a Reese’s bread! WE LOVED IT! Definitely making it again soon!
You can’t beat chocolate and peanut butter! So glad you loved it, Suzy.
Perfect, delicious bread. Love it with a scoop of ice cream OR a cup of coffee…or both.
Both is definitely a good idea!
I am all for any excuse for chocolate and peanut butter. This bread is tender and so good with those peanut butter chips in there!
So glad you enjoyed the recipe, Erin. Thanks for the 5 stars.