
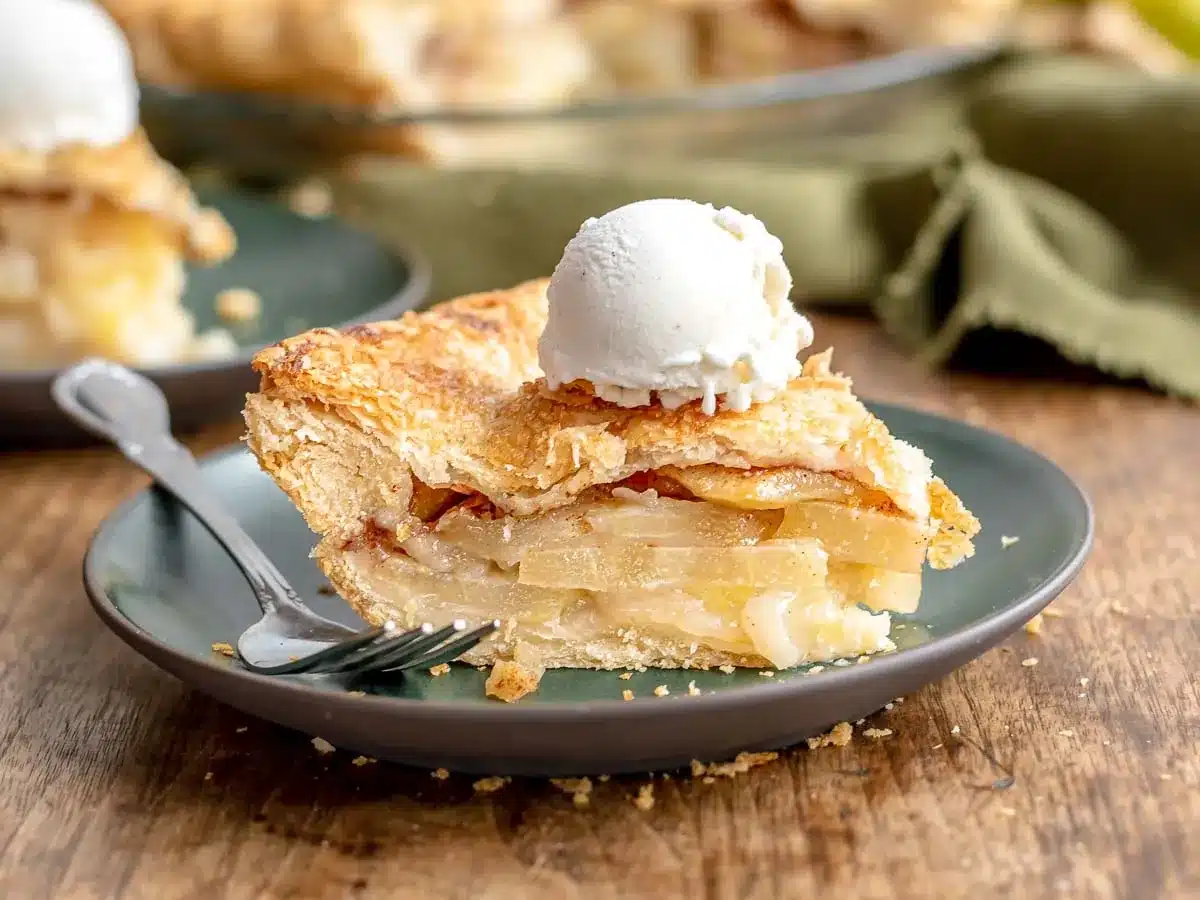
Pear Pie is a classic dessert with a flaky, buttery crust and a sweet, tender filling. Easy for beginner bakers and perfect for cozy baking.
From Classic Apple Pie to Dutch Apple Pie, apples tend to be the go-to fruit filling during the fall. But soft, sweet pears are a fall fruit that will steal the show when baked into a delicious, warm Pie Recipe.
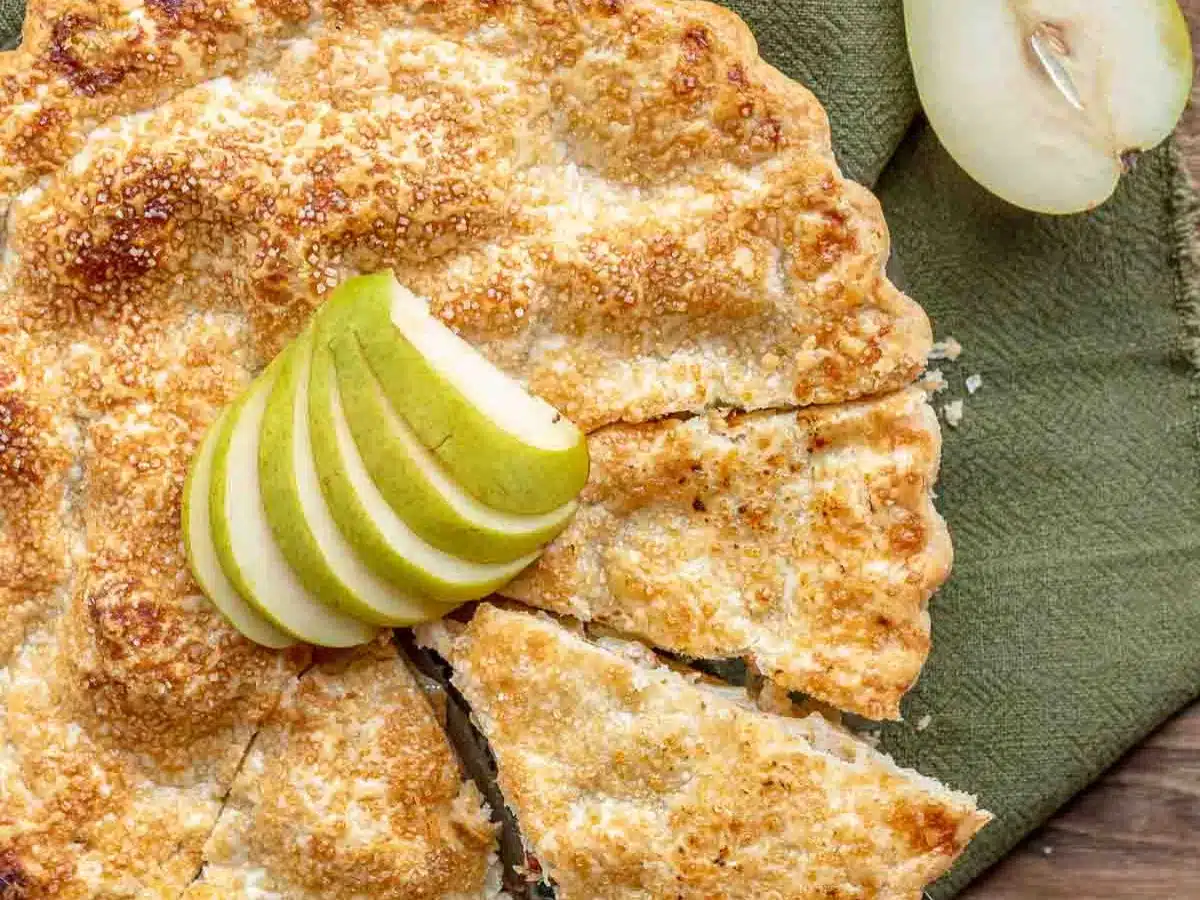
Why You’ll Love This Pear Pie?
- Perfect for holidays and special gatherings, served warm with a dollop of whipped cream.
- This uses simple baking ingredients, and is a delicious alternative to traditional apple pie.
Sabrina’s Pear Pie Recipe
Don’t overlook this fall fruit when it comes to making dessert. With their subtle flavor and natural sweetness, this Pear Pie makes the perfect warm fall treat. Especially served with Vanilla Ice Cream, a dollop of Whipped Cream, or a drizzle of Salted Caramel Sauce. One bite will make you a believer in how delicious this fall fruit gets when it’s baked. Furthermore, I have tips and answers below to your questions for getting the best results from baking this wonderful dessert.
Recipe Card



Ingredients
Pie Crust:
- 2 1/2 cups flour
- 1/2 teaspoon salt
- 1 cup unsalted butter , frozen and diced
- 1/2 cup ice water
Pear Filling:
- 6 pears , peeled, pitted and sliced
- 1 tablespoon lemon juice
- 1/3 cup flour
- 1/2 cup sugar
- 1 teaspoon ground cinnamon
- 2 tablespoons butter , diced into small pieces
To Finish:
- 1 tablespoon heavy cream
- 2 tablespoons coarse sanding sugar
Instructions
Pie Crust:
- Add the flour, salt, and butter to a food processor and pulse, adding the water (I spoon the water directly out of the cup of ice water directly into the food processor to make sure it is still ice cold) through the chute one tablespoon at a time until tiny crumbles form (don't let it become a ball).
- Press together quickly, then cut into 2 pieces.
- Add to two sheets of plastic wrap and press them quickly into a ball (you don't want the heat of your hands to melt the butter) and refrigerate for an hour before rolling it out to use.
Pear Filling:
- Preheat oven to 425 degrees.
- Roll out the first disk of dough 1/4″ thick into a 9″ to 10″ circle.
- Roll into the pie plate and press gently into the plate to remove any air bubbles.
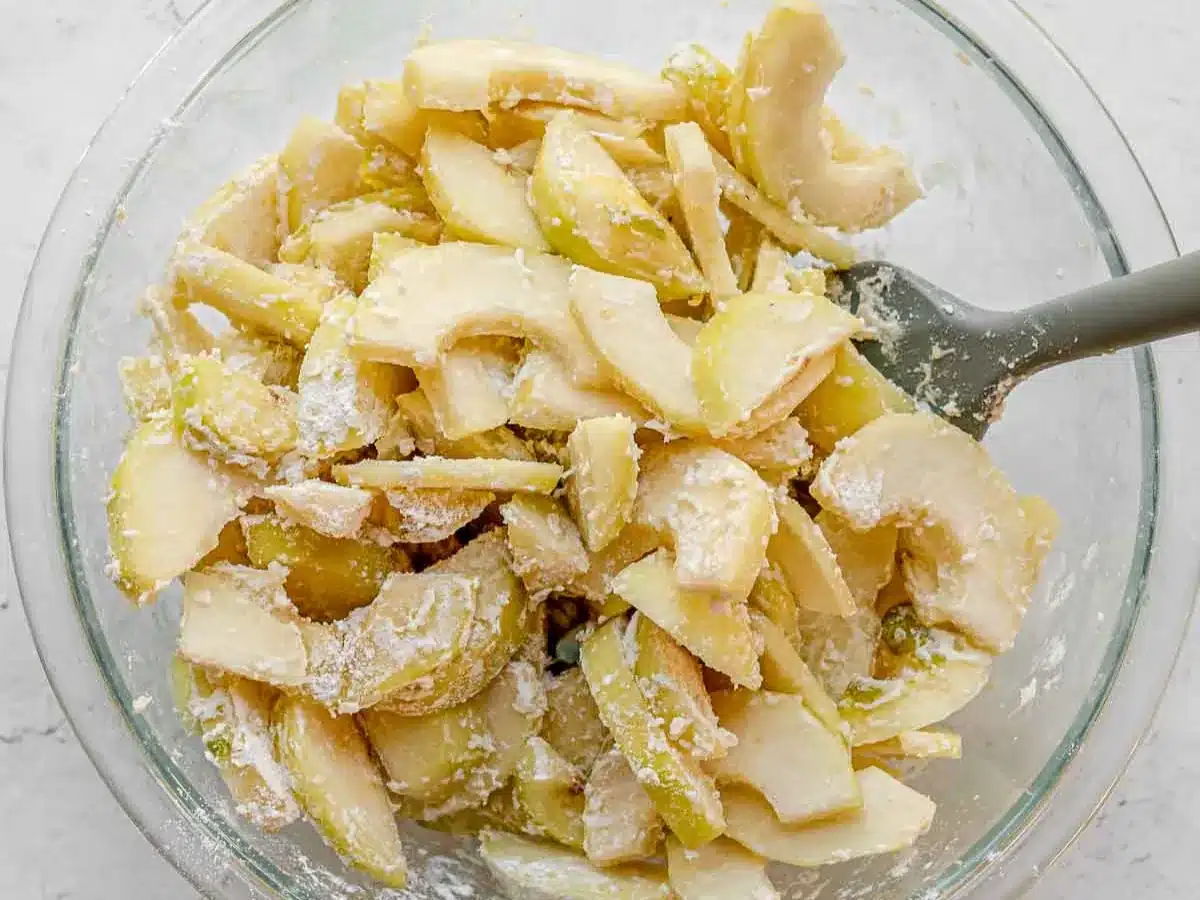
- In a large bowl toss the pears with lemon juice.
- Sprinkle the flour over the pears, and toss to coat.
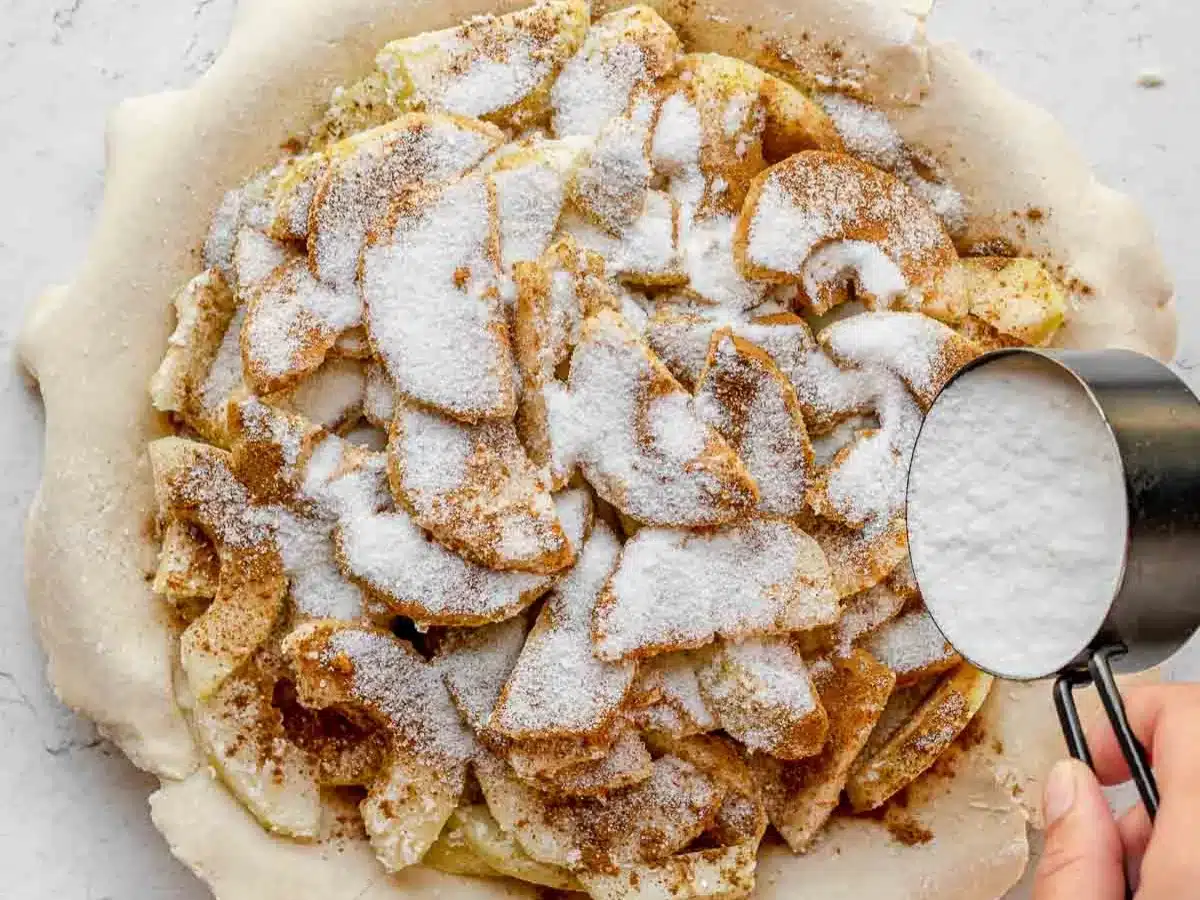
- Add the pears to the pie plate.
- Sprinkle the cinnamon and sugar over the pears then top with butter.
To Finish:
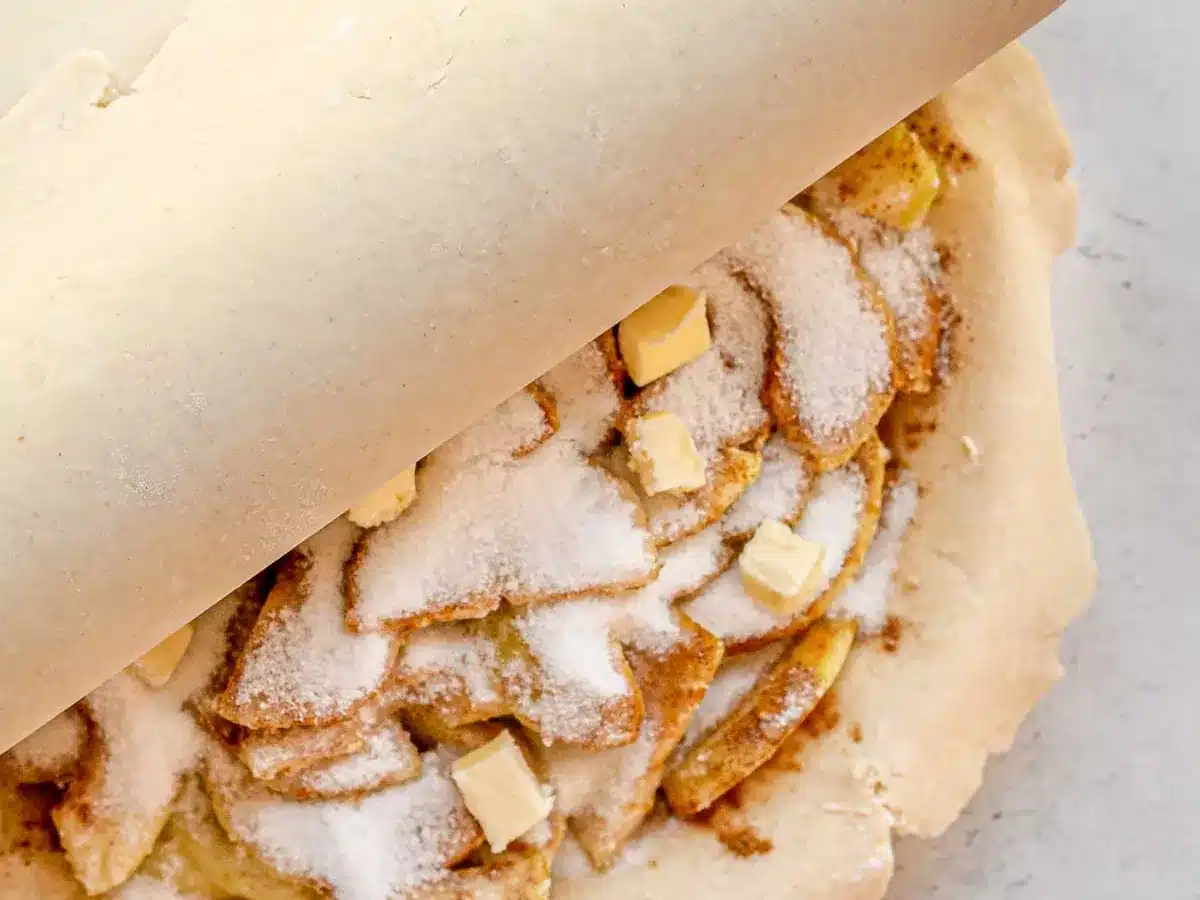
- Roll out the second piece of pie crust over the first piece.
- Trim the edges, press them together and create a seal.
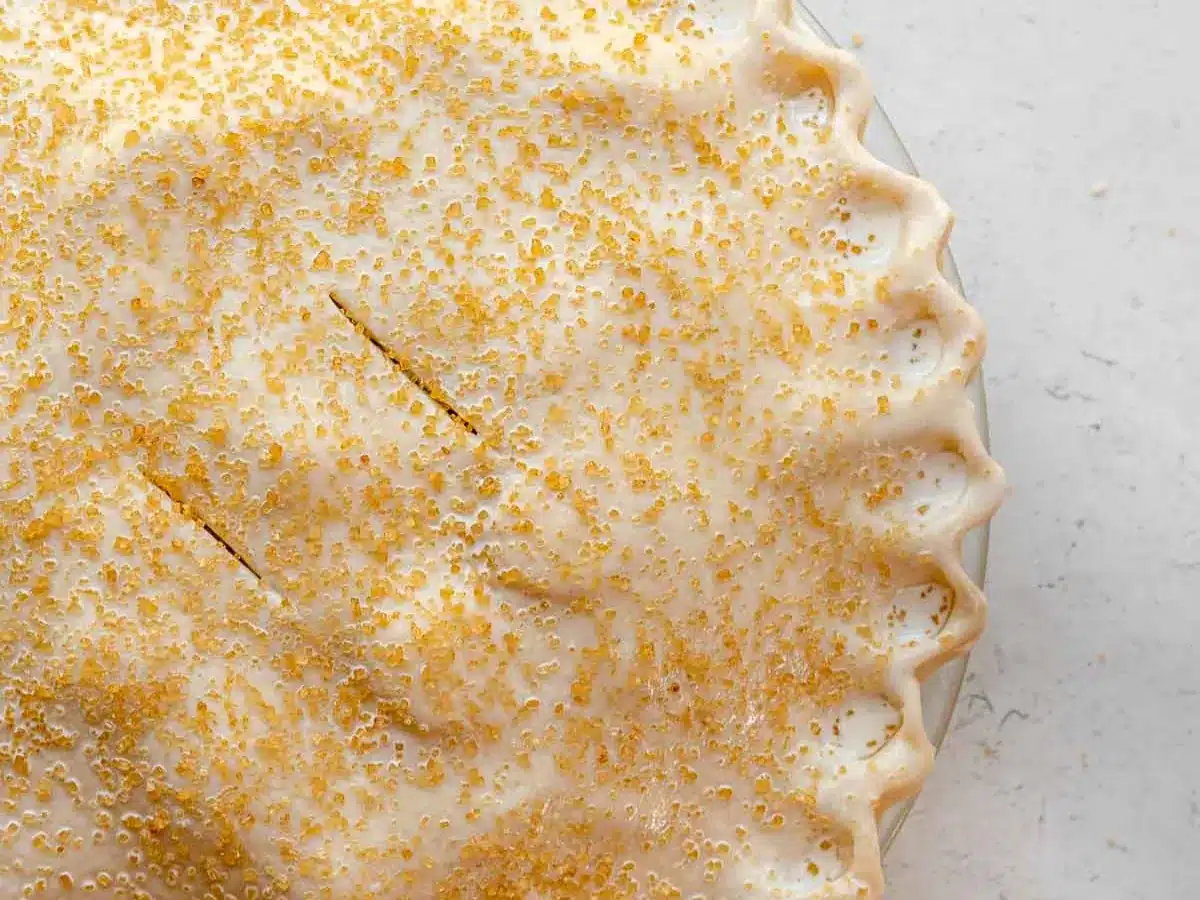
- Cut two slits into the top of the pie crust.
- Brush with heavy cream and sprinkle with coarse sanding sugar.
- Bake for 15 minutes.
- Lower the heat to 350 degrees.
- Bake until crust is golden brown and filling is bubbling, about 45-50 minutes.
- Note: If the crust browns too much, tent gently with foil.
Nutrition

Want to save this recipe? Create a free account to easily save your favorite recipes
Chef’s Note
Choose pears that are ripe but still slightly firm with minimal to no bruising. If they’re too soft, they will release too much moisture and will become mushy as the pie bakes. Firmer pears will soften nicely and hold their shape. Bartlett, Bosc, or Anjou are good choices.
Table of contents
Can this be made ahead of time?
Since the pie needs to cool for at least an hour before serving, you can always prepare it ahead and serve it the next day. Or prepare the dough ahead of time and refrigerate it for up to 5 days, or freeze for 3 months. If freezing, store the wrapped dough in a freezer bag and thaw overnight in the fridge before using.
How to Store
- Serve: Let cool before serving so that the filling thickens and won’t run out. It’s still tasty if it’s runny, it just looks better if you let it cool for a bit.
- Store: Leave at room temperature for up to 1 day, but for overall freshness store in the refrigerator. Wrap the plate with plastic wrap and refrigerate for up to 5 days.
- Freeze: Once completely cooled, wrap the whole pie with plastic wrap, then foil, and store in the freezer for up to 3 months. You can also wrap individual slices for grab and go pie. Thaw overnight in the fridge or warm from frozen in the oven until heated through. Preheat oven to 350 degrees, cover pie loosely with foil and bake 15-20 minutes if thawed, 40-60 if frozen. Remove the foil in the last 5-10 minutes to crisp up the crust.
Frequent Questions
Yes, you want to peel the pears because the skin does not bake well at all. Pear skin tends to turn hard and get bitter, so both the texture and taste will be off.
1. Use a vegetable peeler or paring knife to peel pear from top to bottom, leaving the stem attached.
2. Cut pear in half from stem to base (top to bottom), with one side having the stem.
3. Use a knife to cut a small triangle to remove the hard base on the bottom of each pear half.
4. Grasp the stem, use a blunt side of a knife to stabilize, and pull down to remove the tough seam in the middle.
5. Use a melon-baller or sharp spoon to remove the center core with the seeds on each pear half.
6. Make ⅛ to ¼ inch thick slices, just be sure to make the pieces as even as possible so they cook evenly.
Fresh pears need to be used in this recipe because canned pear filling has its own sugar and seasonings added. Canned pears are already softened and will be too mushy after they bake.
If you have issues with your crust edges browning too fast while the pie bakes, you should make a foil collar. Wrap about an inch of aluminum foil around the pie dough before you begin baking and remove the foil in the last 10-15 minutes of baking.
Related Recipes