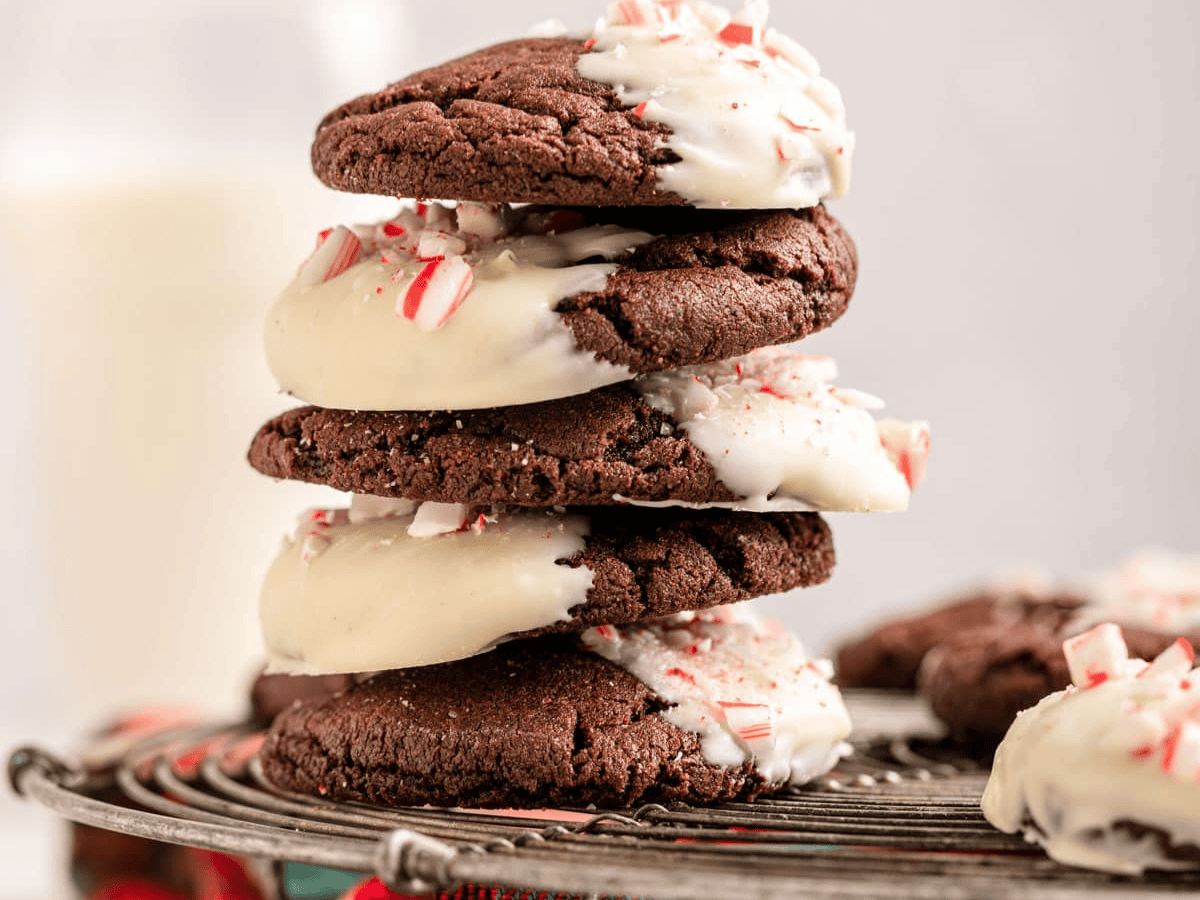
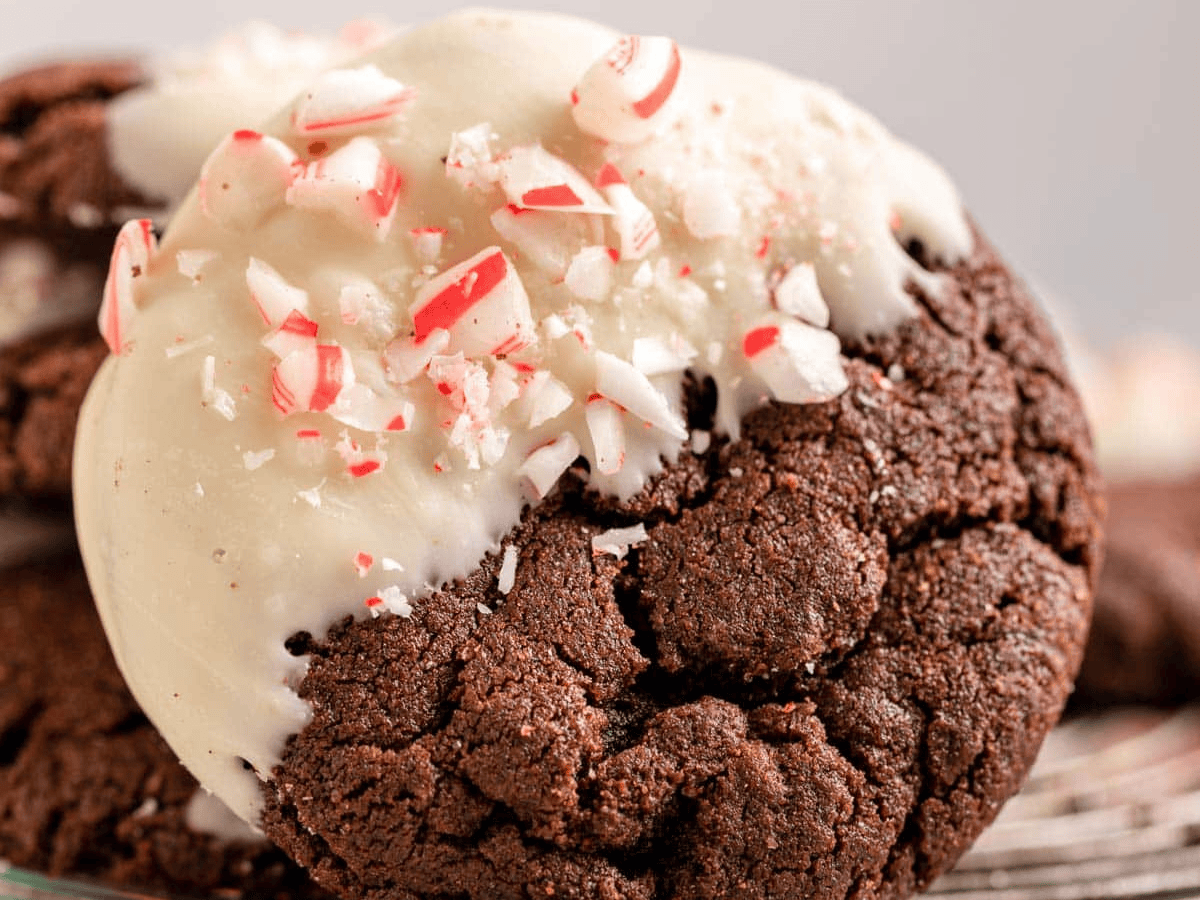
Peppermint Bark Cookies are soft, chocolatey treats dipped and finished with a sweet, minty crunch, making them a holiday must-bake!
Peppermint Bark is an easy holiday treat that is addictive and perfect for holiday gifting. This Cookie Recipe adds the festive white chocolate and peppermint bark to the top of Chocolate Cookies. What could be better for the holidays?!
Sabrina’s Peppermint Bark Cookies Recipe
Chocolate and candy cane cookies are perfect for bringing to a cookie swap or holiday parties. The white chocolate and peppermint topping make them look and taste very festive. Everyone is sure to love the seasonal combo of chocolate and peppermint flavors.
Recipe Card

Ingredients
- 1 cup unsalted butter , softened
- 1 1/2 cups sugar
- 1 large egg
- 1/2 teaspoon vanilla extract
- 1/2 teaspoon mint extract
- 1 teaspoon instant espresso powder
- 2 cups flour
- 3/4 cup unsweetened cocoa powder
- 1 teaspoon baking soda
- 1/2 teaspoon baking powder
- 1/4 teaspoon salt
- 12 ounces white chocolate chips
- 1/2 cup peppermint candies , crushed
Instructions
- Preheat oven to 375 degrees and line a baking sheet with parchment paper.
- In a stand mixer cream together butter and sugar until light and fluffy, about 2 minutes.
- Add in the egg, vanilla extract, and espresso powder until smooth.
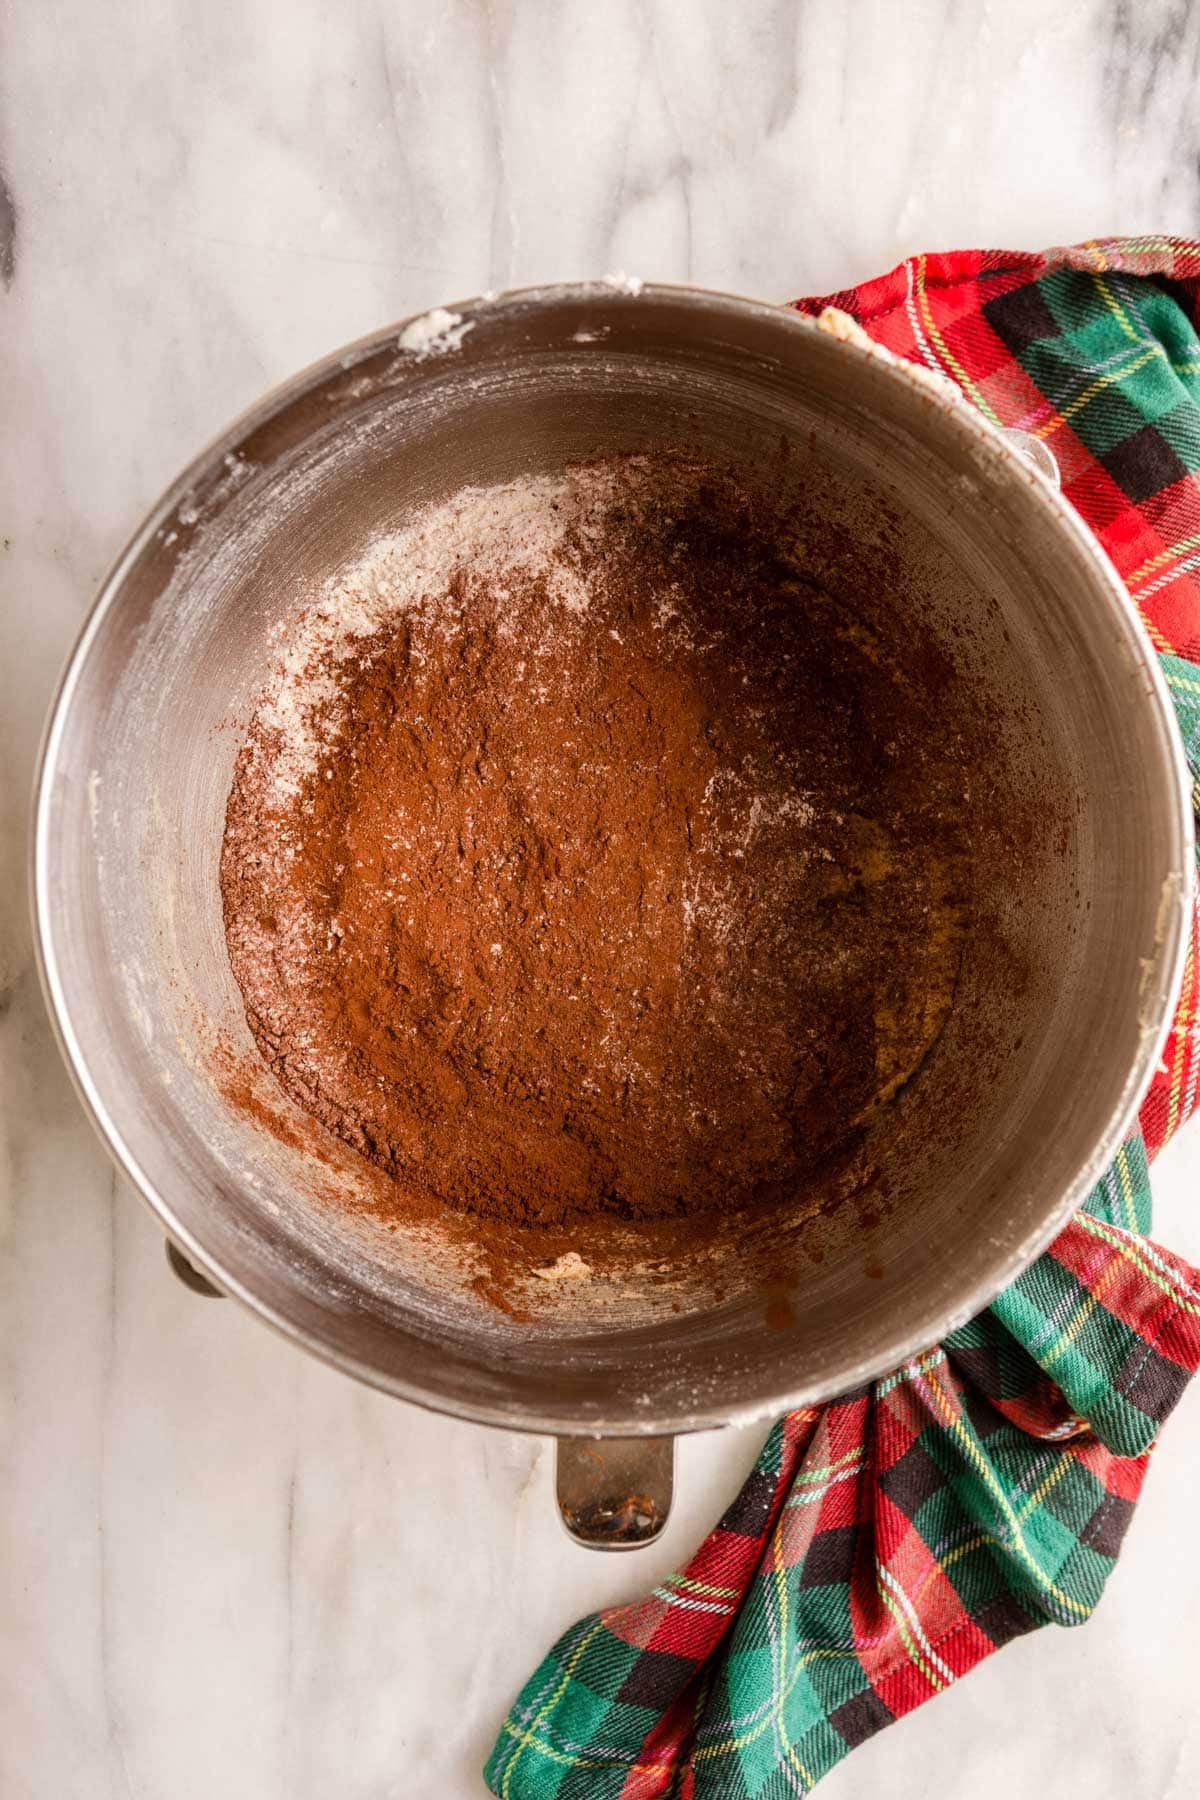
- Sift together flour, cocoa powder, baking soda, baking powder, and salt.
- Add the flour mixture to the butter mixture on the lowest speed setting until just combined.
- Add a heaping tablespoon of rolled cookie dough per cookie to the sheet, 2 inches apart.
- Bake for 8 minutes for soft cookies or 10 minutes for crunchy cookies.
- Let cool 5 minutes before removing from the baking sheet.
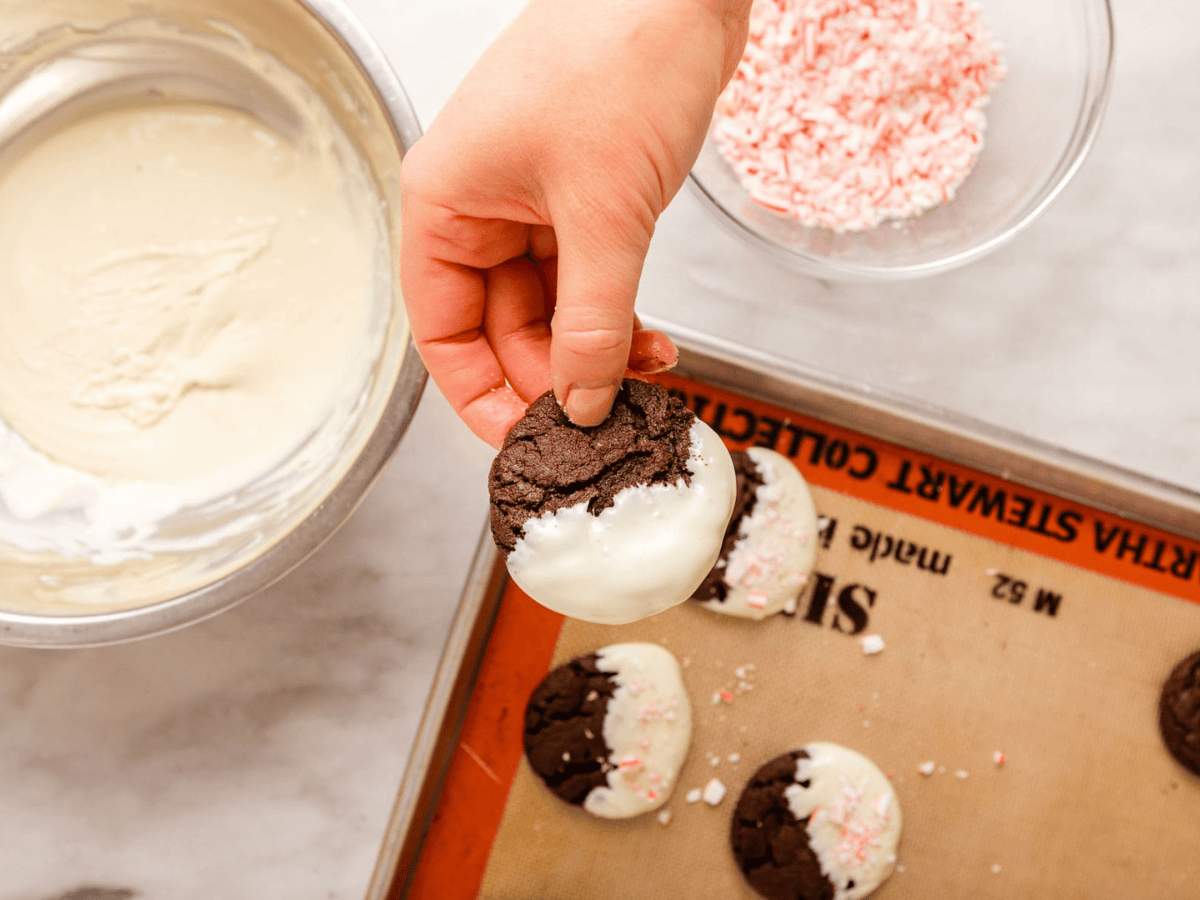
- Melt the white chocolate chips in a double boiler gently stirring until completely melted.
- Dip half the cookies in the melted chocolate, gently scrape excess off the bottom.
- Place on wax paper or back onto the cooled parchment paper.
- Sprinkle immediately with peppermint candies.
Nutrition
Want to save this recipe? Create a free account to easily save your favorite recipes
Table of contents
About this Recipe
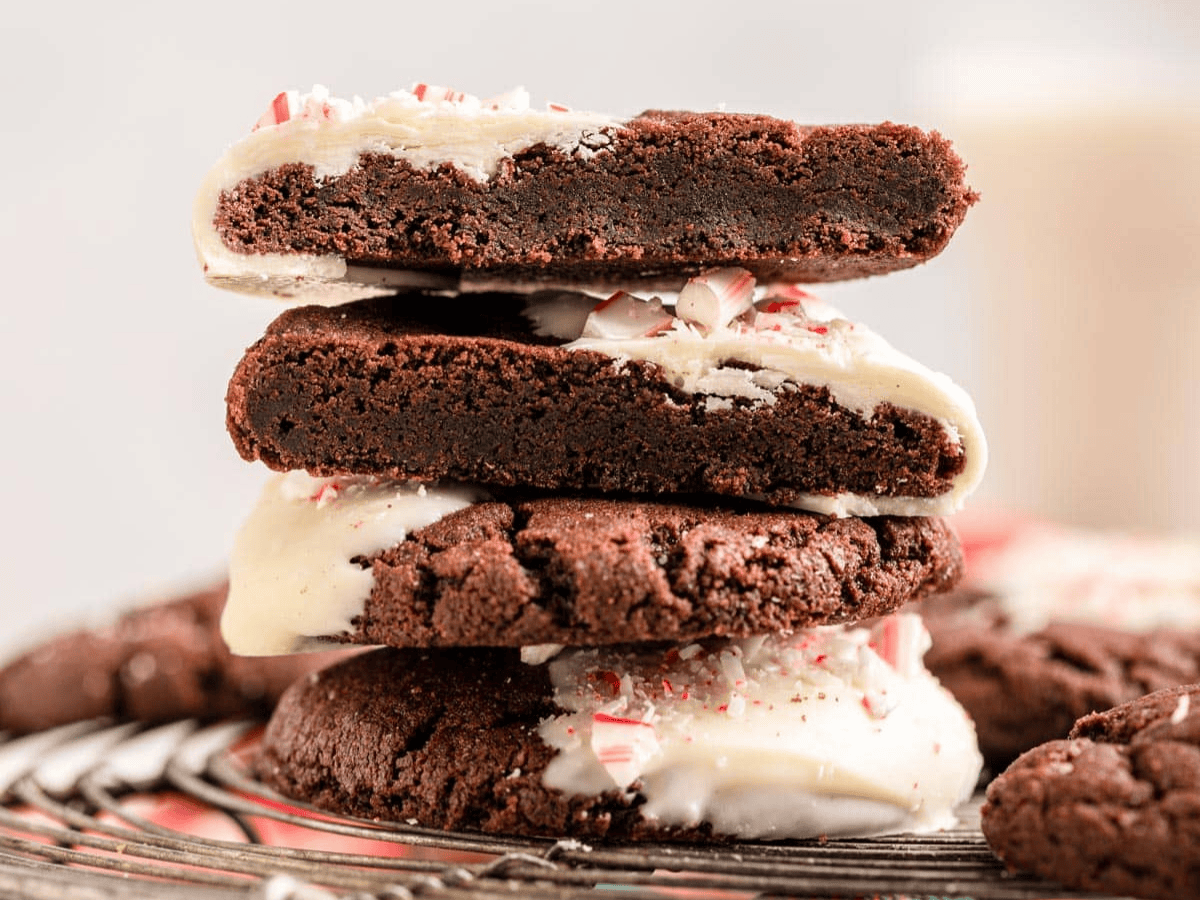
The chocolate cookie base is quite simple and quick to make. You prep the dough in just a few minutes, then bake for about 10 minutes and let them cool a bit. After that, all you have to do is add the melted chocolate and candy cane topping, then let them dry, and they’re done. These cookies taste so amazing, you definitely want to make extra if you plan on gifting them.
Ingredients
- Butter: Make sure you give the unsalted butter a little bit of time to soften before starting the recipe. Otherwise, it won’t properly cream with the sugar.
- Cocoa Powder: To give the cookie base the delicious, deep chocolate taste, you’ll use ¾ cup cocoa powder. For a dark chocolate cookie, use Dutch process cocoa powder.
- Espresso Powder: Adding a little espresso powder to chocolate baked goods is an easy trick to give you the most incredible chocolate flavor. The slightly bitter coffee flavor enhances the chocolate’s natural sweetness and rich taste.
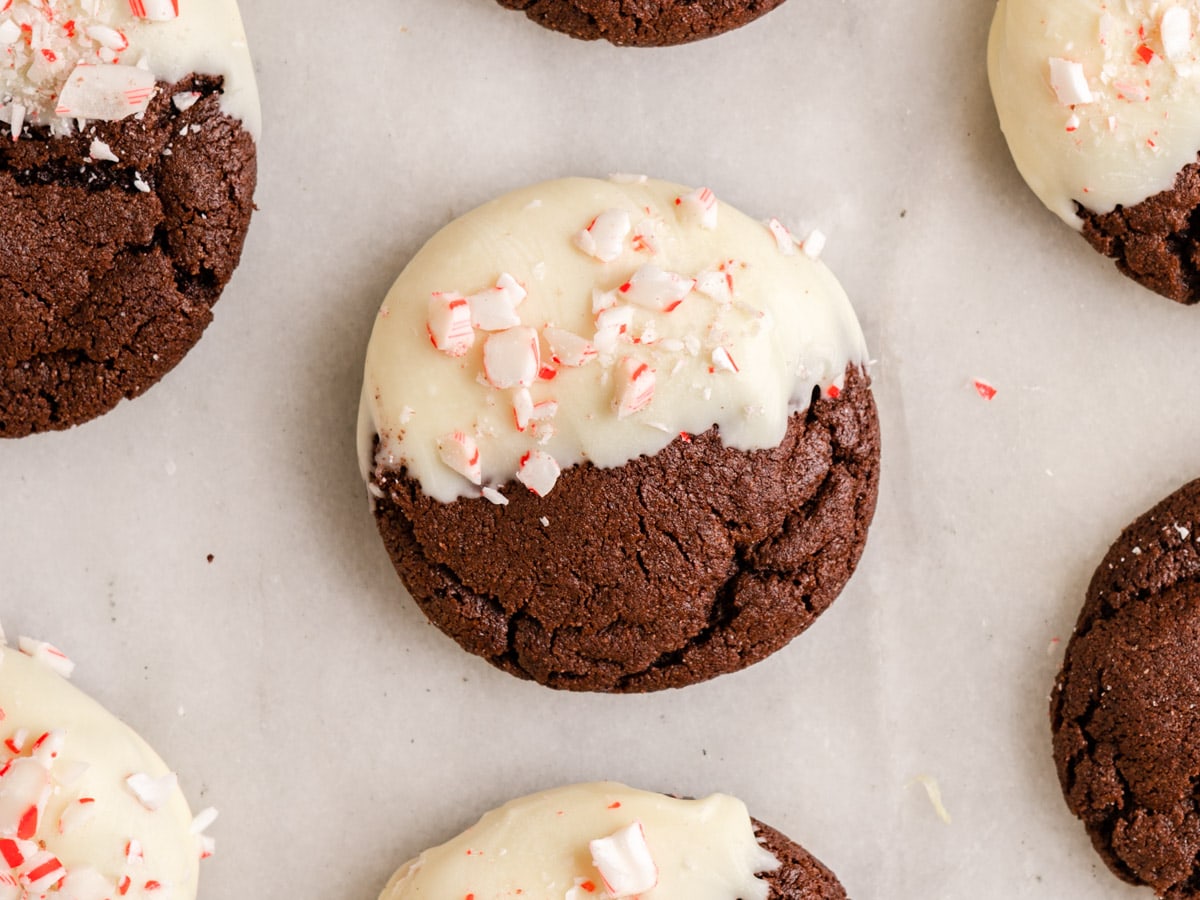
- Peppermint Bark: To make the candy cane bark coating, all you need is melted white chocolate chips and peppermint candies. Crush the peppermint so you can sprinkle it over the melted chocolate to finish the cookies.
Kitchen Tools & Equipment
- Baking Sheets: You’ll need a half sheet cookie tray to bake these cookies, large enough to spread out the cookie dough balls so they aren’t touching. If you want, you can use two sheets.
- Parchment Paper: Using parchment paper on your baking sheets not only keeps your cookies from sticking to the pan but also helps them bake more evenly. The baking paper creates a barrier so the heat distributes better.
- Cookie Scoop: The cookie scoop makes your cookies all the same size, so they all bake the same. It also lets you shape the cookies without handling them too much, so they don’t spread flat when they bake.
Can this be made ahead of time?
- Yes! You can definitely make the dough ahead of time. Simply mix the dough as usual, then wrap the dough ball up with plastic wrap and store it in an airtight plastic bag. It will stay good in the fridge for 3 days or in the freezer for 3 months.
- If the dough is frozen, thaw it overnight in the fridge, then scoop the chilled dough as usual.
- You can also scoop the dough into balls first, then freeze them on a baking sheet, then store them in a freezer bag. When you are ready to make the cookies, bake the dough balls from frozen.
Baking Tips & Tricks
- Make these Cookies Crispy or Soft: You can make the cookies more chewy or crispy for this recipe, depending on how long you bake them. However, if you want an easy trick to make sure your cookie recipe turns out chewier, you can set aside a little time to let the dough chill in the fridge. The chill time cools down the butter, so it takes longer to melt and for the cookies to spread and flatten in the oven.
- Use a Cookie Scoop: The key to keeping your cookies from spreading and getting uniform, perfect cookies is to use a cookie scoop. When you shape cookies by hand, the warmth of your hands can melt the butter, which will make your cookies spread.
Serving Ideas
- Cookie Platter: If you’re making this cookie recipe for a get-together or holiday party, then you can add it to a cookie tray with other favorite treats. Gingerbread Cookies, Brown Sugar Cookies, and Dark Chocolate Crinkle Cookies are always crowd-pleasing options.
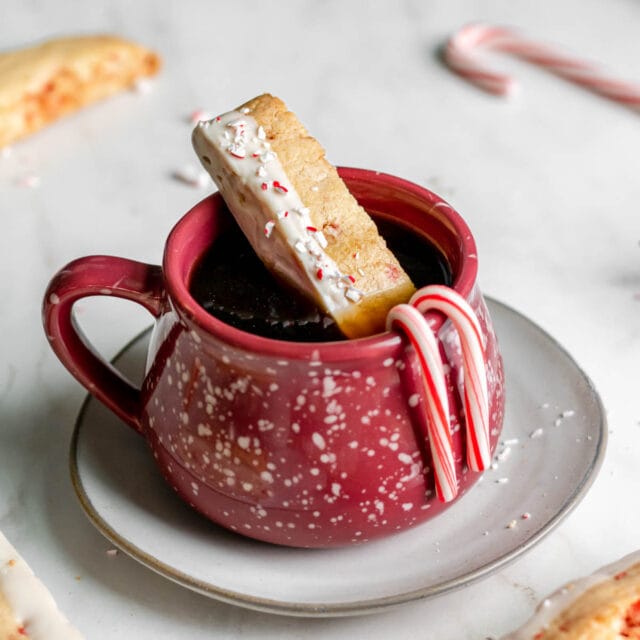
- Drinks: This delicious Christmas treat is even better served with a mug of Peppermint Hot Chocolate. You can dip the chocolaty cookies into the creamy drink for the ultimate Christmas Eve indulgence.
How to Store
- Store: Make sure you give the white chocolate enough time to harden before storing the cookies. To keep the cookies fresh, put them in an airtight container. They’ll stay fresh at room temperature for 3-4 days. You can also store them in the fridge for up to 2 weeks.
- Freeze: You can also freeze this cookie recipe for up to 6 months. Freeze them first in a single layer on a baking sheet, then transfer to a container. Enjoy them straight from the fridge or thaw first before serving.
Frequent Questions
Peppermint Bark is a delicious, easy candy recipe that involves melted chocolate that is spread thin and topped with a layer of melted white chocolate. The whole thing is topped with crushed candy cane pieces, and the chocolate sets until it’s hardened. When it is set, you break the chocolate apart into big chunks and serve.
Cookies will spread and flatten if the butter gets too warm in the dough before you bake them. You want the butter to melt slowly while the cookies bake so they don’t spread out.
Variations
Dark Chocolate Candy Cane Cookies: If you want the cookies to have a richer, dark chocolate flavor, you can replace the regular cocoa powder with dark chocolate cocoa powder. You can also add dark chocolate chips or chunks of chocolate to the cookie dough for an extra dose of chocolaty flavor.
Chocolate Coating: If you prefer, you could also replace the white chocolate bark coating with milk chocolate or dark chocolate.
Toppings: You can add other toppings to the melted bark besides candy canes. Try seasonal sprinkles, red cinnamon candies, or colorful chunks of gumdrops for more festive additions.
Related Recipes
More Festive Cookie Recipes
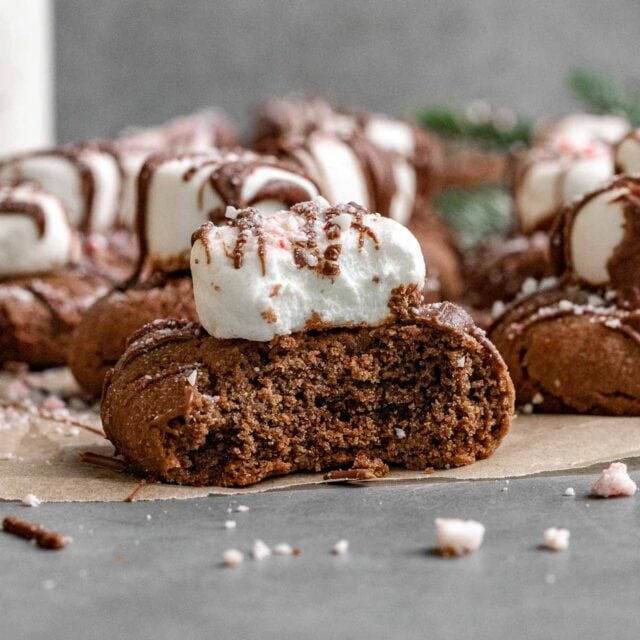

photos used in previous posts