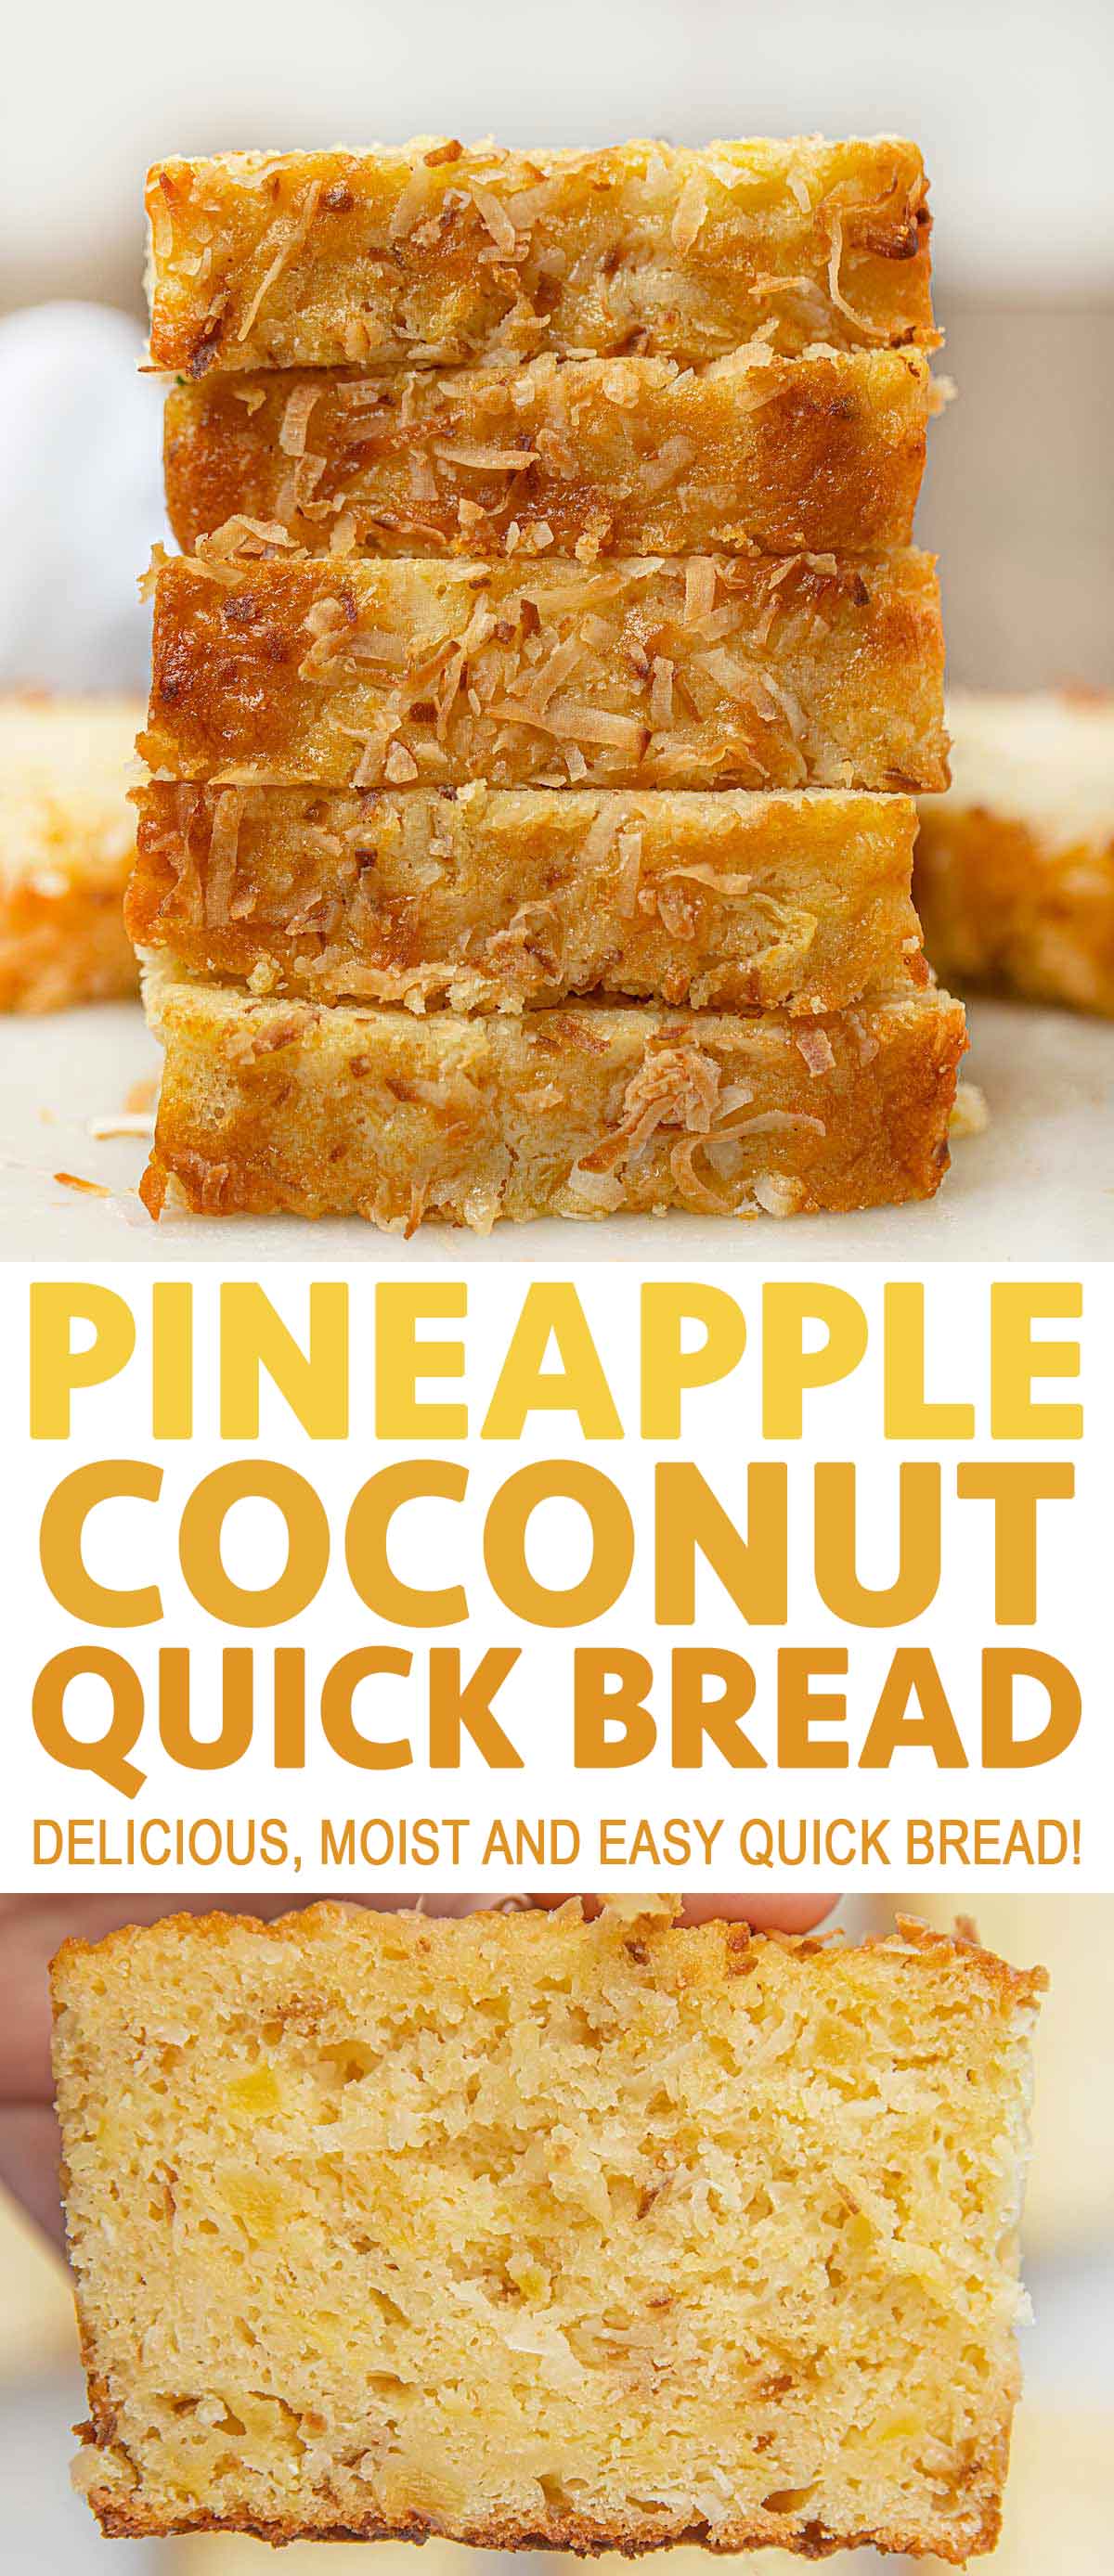
Pineapple Coconut Bread is an easy quick bread that’s rich and moist with the flavors of the tropics that’s perfect for dessert or breakfast!
If you’ve tried my recipes for Easy Banana Bread, Zucchini Bread, and Vanilla Pound Cake, then you know they are a delicious and easy treat that everyone loves.
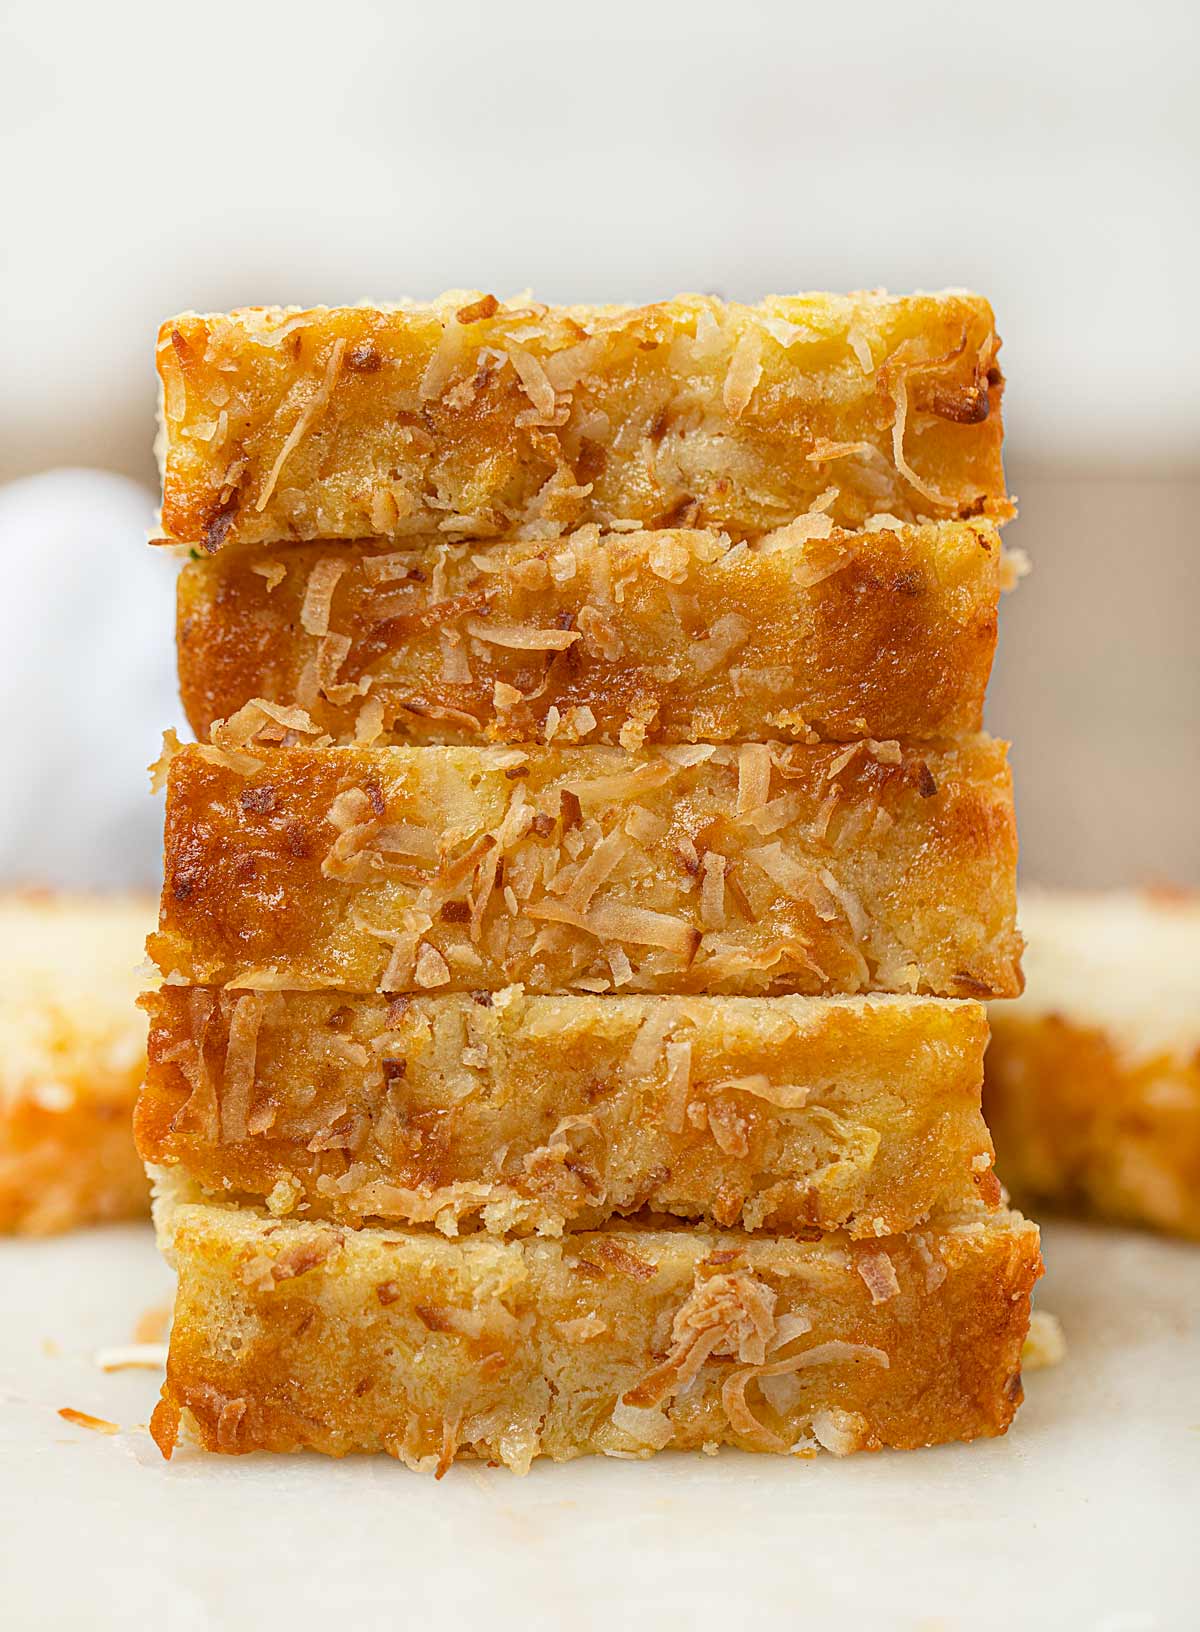 PINEAPPLE COCONUT BREAD
If you want brunch, breakfast or even dessert, Pineapple Coconut Bread is perfect. It’s naturally sweet from the coconut and pineapple, so you while you don’t need to add anything to it as a delicious breakfast in the morning with your coffee it can be the ultimate dessert with a drizzle of caramel sauce and some ice cream.
This bread is one of the breads we enjoyed while we were on our trip in Maui this summer. While driving on the Road to Hana we stopped at the restaurant stop about halfway through the drive where they have a little strip mall full of options and got this bread along with a delicious Banana Mac Bread. This bread was hands down my favorite! Light and moist while still somehow being rich (this is of course thanks to the butter and sour cream in the recipe). I think the lightness comes from the fruity, floral flavors of the coconut and the pineapple. Either way, on the way back we bought three more mini loaves of these breads.
This bread recipe is easy to follow, with a short prep time that makes the longer cook time absolutely worth it. Pineapple Coconut Bread is perfect for when you’re craving a Hawaiian inspired flavor, especially when you’re pairing it with a Slow Cooker Hawaiian Pineapple Chicken.
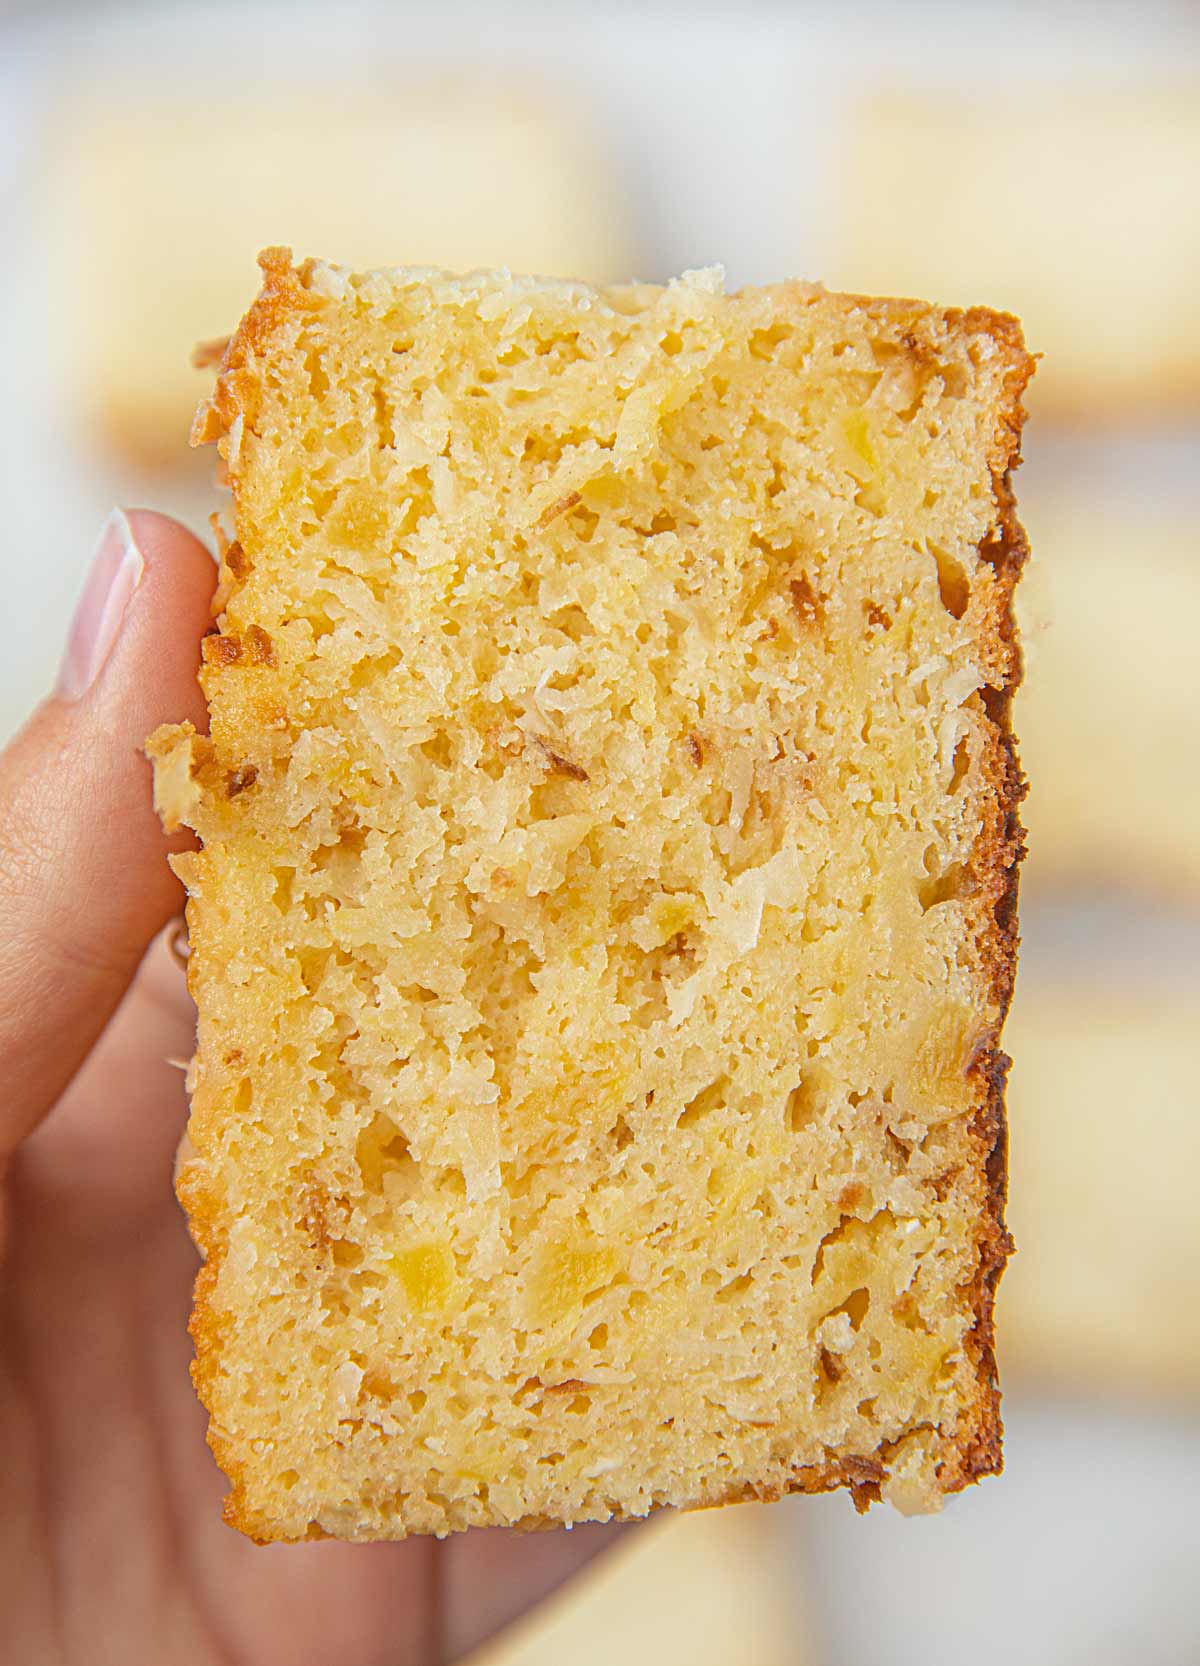
When making breads like Pineapple Coconut Bread or Hawaiian Nut Banana Bread, make sure you drain the pineapple well, you don’t want any extra pineapple juice. The extra juice can make the bread mushy. The juice that remains will keep the bread moist and delicious but won’t make it fall apart.
HOW TO MAKE PINEAPPLE COCONUT BREAD
- Preheat oven to 325 degrees.
- Spread coconut on baking sheet.
- Toast coconut, tossing occasionally, 6 to 10 minutes; set aside.
- Butter and flour a 9×5 loaf pan.
- In a medium bowl, whisk together flour, baking soda, and salt; set aside.
- Beat butter and sugar until light and fluffy.
- Add eggs, one at a time, beating well after each addition.
- Alternately add flour mixture in three parts and sour cream in two, beginning and ending with flour mixture.
- Mix until combined.
- Fold in pineapple and 1 cup coconut into batter.
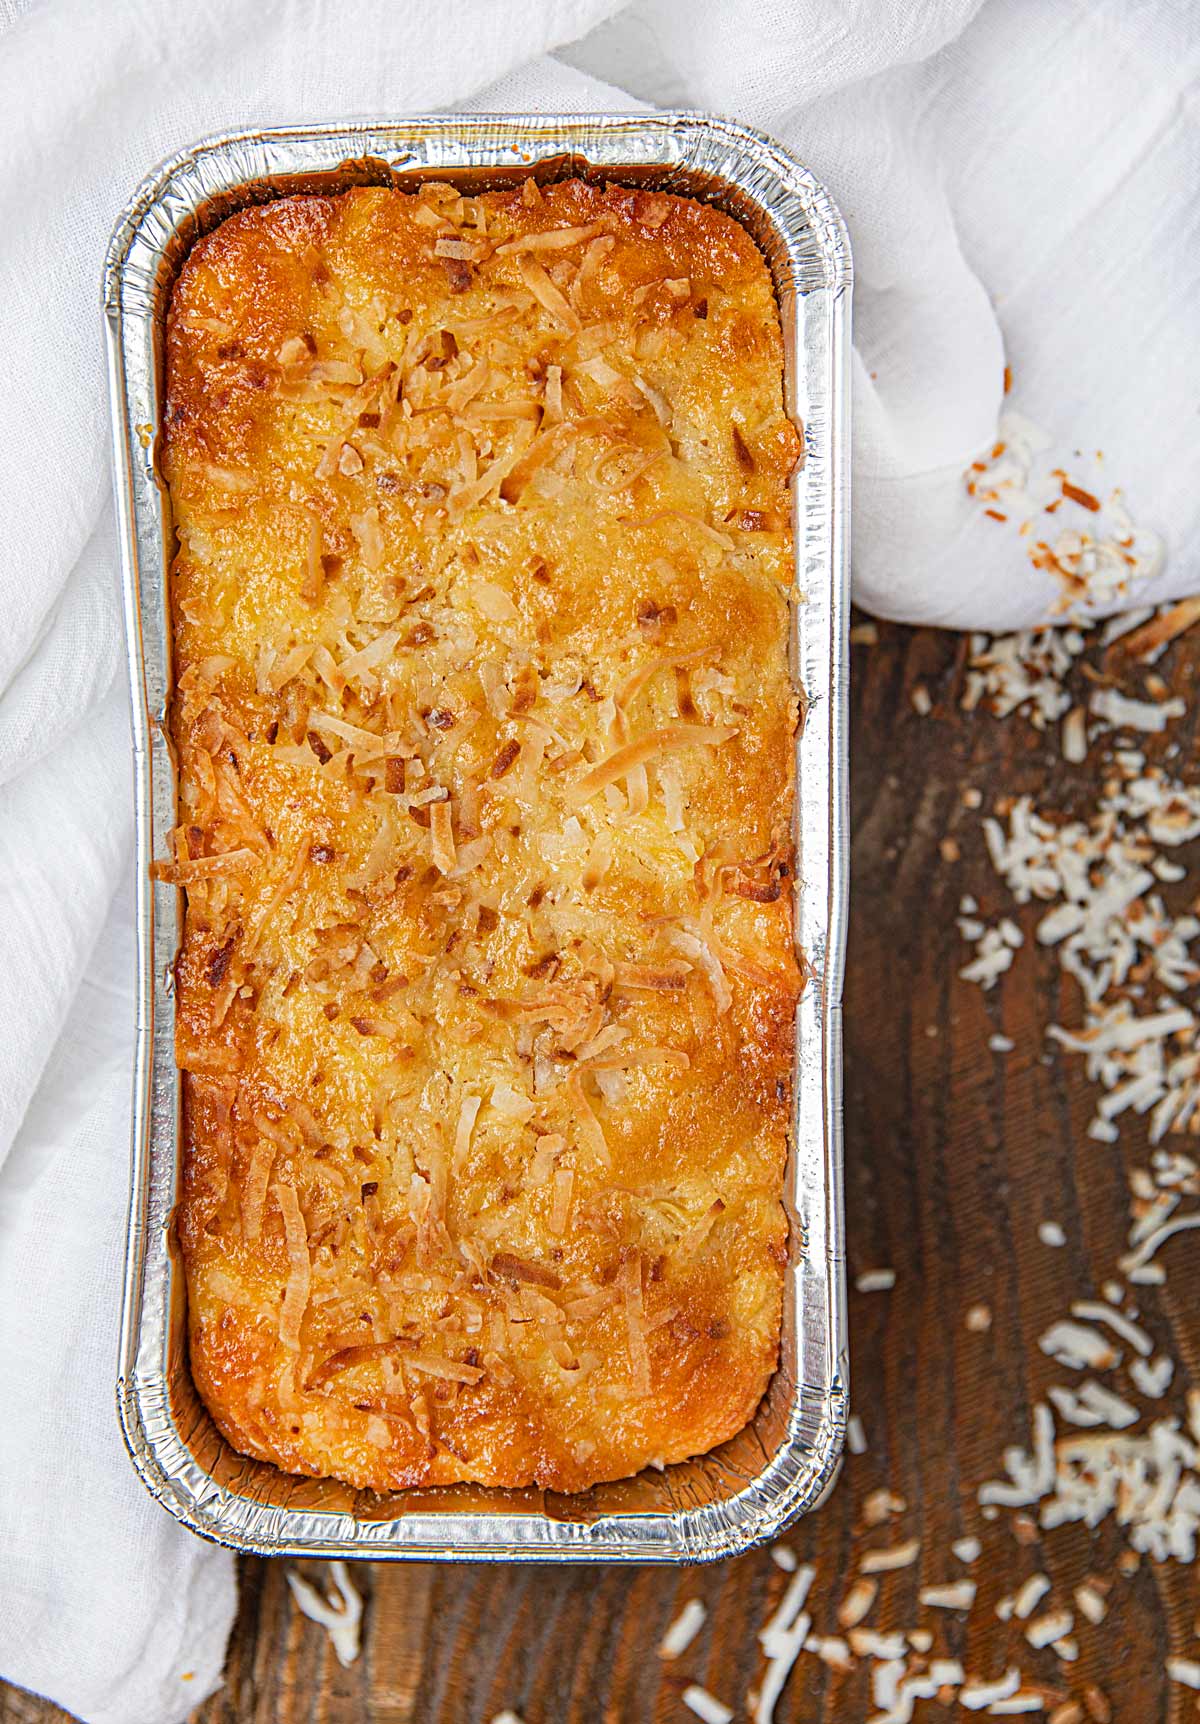
- Pour into prepared pan, and smooth top; sprinkle with remaining coconut.
- Bake 65 to 70 minutes (cover pan with foil halfway through).
- Let cool on a wire rack.
Create a free account to Save Recipes

VARIATIONS ON PINEAPPLE COCONUT BREAD
- Muffins: Use this same recipe but divide the batter into a muffin pan. You’ll end up with adorable, shareable muffins that you can top with a small bits of pineapple (fresh, dried or even freeze dried).
- Nuts: Crush up some peanuts, pecans or macadamia nuts and sprinkle them over the top of your loaf of Pineapple Coconut Bread. The nuts add a great crunchy texture to the bread and taste delicious.
- Fruit: Add blueberries, strawberries, cut fresh pineapple chunks or any other fresh fruit you’d like onto the top of your slice of Pineapple Coconut Bread for a tart, juicy treat. Make sure that you don’t put the fruit on too soon before you’re ready to eat the bread or the juice will make the bread soggy.
For a fruity and tropical twist on classic quick bread, you can’t go wrong with Pineapple Coconut Bread.
WHAT TO SERVE WITH PINEAPPLE COCONUT BREAD
Serve this Pineapple Coconut Bread with Easy Whipped Cream (or Homemade Cool Whip!) and Vanilla Ice Cream. Even more awesome, top it with Salted Caramel Sauce for the ultimate in indulgence!
MORE EASY PINEAPPLE RECIPES:
- Pineapple Upside-Down Cake – skip the box mix, this home made version is awesome!
- Cherry Pineapple Dump Cake – the easiest cake ever.
- Easy Pineapple Dessert Topping – Psst this is perfect for those homemade Banana Splits.
- Brown Sugar Grilled Pineapple – A healthy take on dessert and also an awesome topping for this quick bread!
HOW LONG IS PINEAPPLE COCONUT BREAD GOOD?
- Serve: Pineapple Coconut Bread is good at room temperature for about 2 days before it gets really stale. You should keep it covered if you plan to leave it out to keep it from turning into a solid rock.
- Store: In the fridge your bread will stay good for about a week. You can eat it straight out of the fridge for a chilled, delicious treat.
- Freeze: Pineapple Coconut Bread will stay good in the freezer for about 2 months. For the best results, you should eat it before the 2 month mark so that it doesn’t lose its flavor.


Ingredients
- 2 cups sweetened shredded coconut
- 1/2 cup butter
- 1 1/2 cups flour
- 1/2 teaspoon baking soda
- 1/2 teaspoon salt
- 1 cup sugar
- 3 large eggs
- 1 cup sour cream
- 20 ounces crushed pineapple , drained well
Instructions
- Preheat oven to 325 degrees and spray a loaf pan with baking spray.
- Spread coconut on a baking sheet and bake for 6 to 10 minutes shaking the tray occasionally.
- In your stand mixer add the butter and sugar and cream on high speed until light and fluffy for 1-2 minutes.
- Add the flour, baking soda, and salt into a bowl and whisk together until well mixed.
- Add eggs, one at a time until fully combined then add in the flour mixture and the sour cream alternating in batches (⅓ of the amount each time).
- Gently add in the pineapple and 1 cup of the coconut flakes with a spatula.
- Add the batter to the loaf pan then sprinkle the top with the remaining coconut.
- Bake for 65 to 70 minutes or until the cake is cooked through (test with a toothpick).

I made the bread exactly as the recipe called for but my bread rose but it is kinda flat in top. Did I make a mistake?
No you didn’t make a mistake! This bread recipe will not have a curved top. If you check out the photos in the article, you’ll see that the top is pretty flat which is typical for fruit/dessert breads. How did it taste?
I have a jar of pineapple purée (consistency of apple sauce really). Do you think I could use that in place of the crushed pineapple? Would I need to omit some other liquid from somewhere?
I’m not sure. This recipe calls for a 20 oz. can which is about 2 1/2 cups of crushed pineapple. I’m wondering if you used 2 cups of puree it might work for you? If you decide to experiment with the the puree substitute, let us know how it turns out.
Thank you, Sabrina, for this super easy and very tasty recipe. I loved the fact that this recipe has minimal ingredients that work together for a great taste. I added a cup of chopped pecans (because I wanted to use them up)and baked for 70 minutes. I am enjoying this bread on a very cold day in Ohio.
I made this recipe and it took approximately 1 1/2 hours to cook. I reduced the sugar to 3/4 c and used unsweetened coconut. It was delicious.
Beautiful recipe thank you. My family just loved it and now I have requests to make more
Thank you so much!
Is this supposed to be baked at 325 also? taking much longer than 75 minutes
Yes it is. I’m sorry it took longer than expected. Ovens are finicky for sure. I test my ovens temperature reading from time to time to ensure that I’m getting what the dial says!
Very dense, moist, and Delicious!! Mine was more like a pound cake than a bread. I followed directions exactly as written. I used a toaster oven so covered the coconut topping with foil and had to bake an additional 20 minutes. I also live in high altitude (6800 ft.) which could have messed with the baking time.
You are right, a toaster oven and high altitude do make a difference and certainly is a different baking scenario than our test kitchen! Thank you for the 5 stars Michele!
I love this recipe It it was very good
Just made it still warm from the oven. Can’t wait to taste it. I used two medium pan’s and got two loafs.
I think it’s difficult to make a quick bread from a recipe that does not include the pan size. Especially from a professionally trained chef.
This is what I wrote in the blog under the heading “How to Make Pineapple Coconut Bread”.
Butter and flour a 9×5 loaf pan. I will be sure to be more clear with pan sizes. Thank you for saying something!
Substituted dried pineapple with jar of maraschino cherries, amazing
Good idea!
I’ve made this cake several times and it gets rave reviews and “more please” from my family. Thanks for sharing this recipe
I baked this for my Rosary group and they loved it.
I used fine unsweetened shredded coconut, pineapple in its on juice and a sugar substitute. It goes perfect with coffee.
Next time I will try using pineapple tit bits, as I would like to taste the pineapple more.
The bread may be good (don’t know yet!), but your recipe is inadequate. First you don’t mention the size of the loaf pan (mine ran over and I had to clean the oven). Secondly, you list “1 c. sour cream” in your list of ingredients, yet you say blend butter, sugar, and cream (#3 instructions), then in #5 instructions, you say add eggs, flour mixture and sour cream….an expensive fail.
Cream in #3 is an instruction.
Karen I appreciate your comments and review however, I have a question for you, why do you have to be so sparky? Also when is your cookbook coming out?
You made me laugh. Our Cookbook is out and doing well on a number of sites. So grateful. Here is a link to our DTD Cookbook if you’re interested! https://dinnerthendessert.com/dinner-then-dessert-cookbook/
I also do no see cream in the ingredients and I am worried mine is now going to turn out not so good. Your ingredients list needs to be updated. Cream is not listed.
I just reviewed the Recipe Card and it does have 1 cup sour cream in the ingredients and then instructions on when to add?