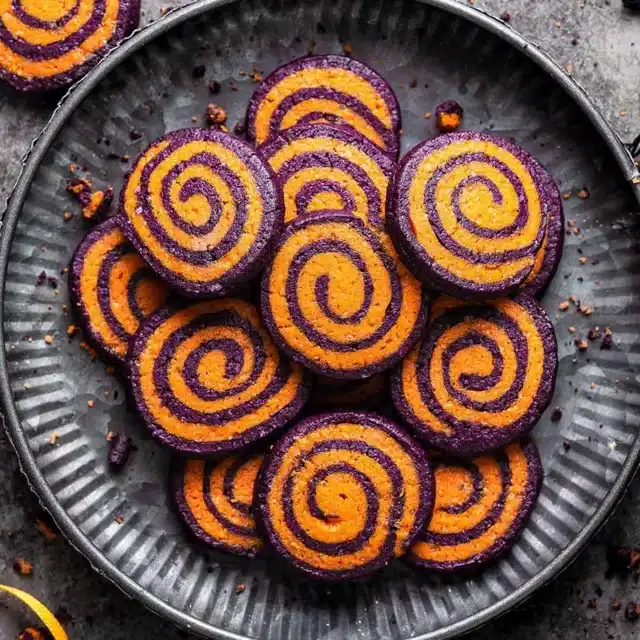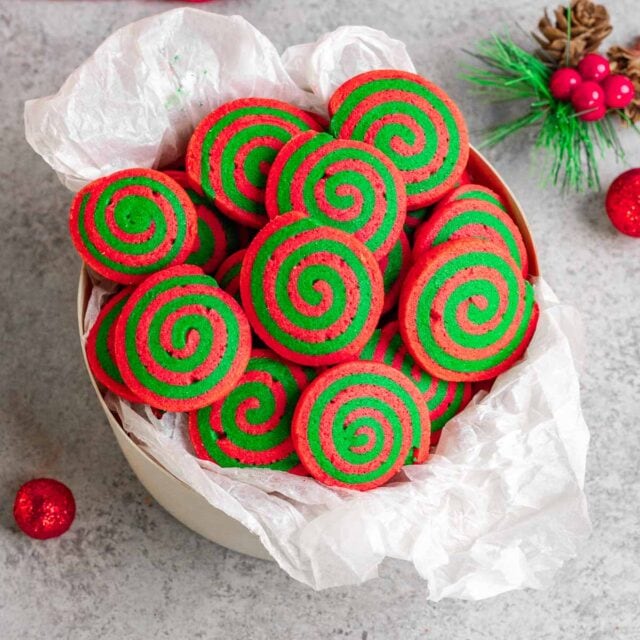

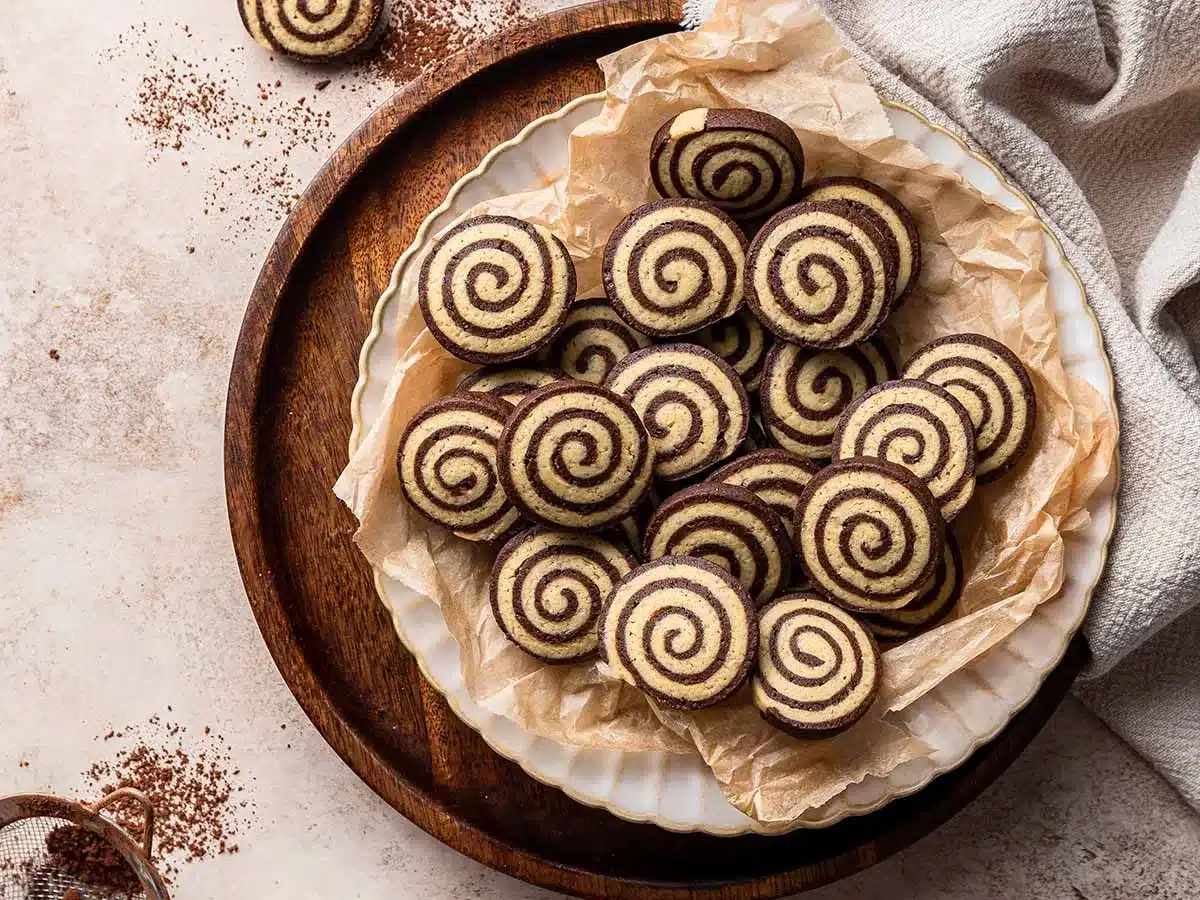
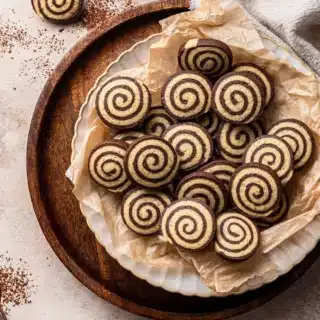
Pinwheel Cookies are a classic treat with beautiful swirled layers, a delicate crunch, and a buttery flavor perfect for any occasion.
This simple recipe is perfect for a bake sale, party, or cookie tray. For more favorite Cookies, try my Hershey Kiss Cookies and Easy Snickerdoodles.
Why You’ll Love These Pinwheel Cookies?
- Buttery vanilla and rich chocolate greets you in every bite in a delicious swirl.
- Made with simple baking ingredients, these cookies have a delicate crunch, and can be prepared ahead of time for easy slicing and baking.
Sabrina’s Pinwheel Cookie Recipe
These Pinwheel Cookies look like they’re difficult to make, but they’re not. They get their distinctive pinwheel pattern by rolling two different colors of dough together. It’s the same way you’d roll up a Lemon Cake Roll or Chocolate Cake Roll. The buttery cookies melt in your mouth, and each bite gives you the perfect balance of flavors. And for getting the perfect results when making these, read below for my Tips and Tricks.
Recipe Card


Ingredients
- 2/3 cup unsalted butter , softened
- 1/2 cup brown sugar , packed
- 1/4 cup sugar
- 1 large egg
- 1 teaspoon vanilla extract
- 2 1/4 cups flour
- 1/2 teaspoon salt
- 1/2 teaspoon baking powder
- 1/8 teaspoon baking soda
- 3 tablespoons unsweetened cocoa powder
Instructions
- Add the butter, brown sugar, and white sugar to a stand mixer on medium-high speed and cream until light and fluffy, about 2-3 minutes.
- Add in the egg and vanilla extract until well combined.
- In a large bowl sift together the flour, salt, baking powder and baking soda.
- Add the flour mixture to your stand mixer on low speed in small batches until just combined.
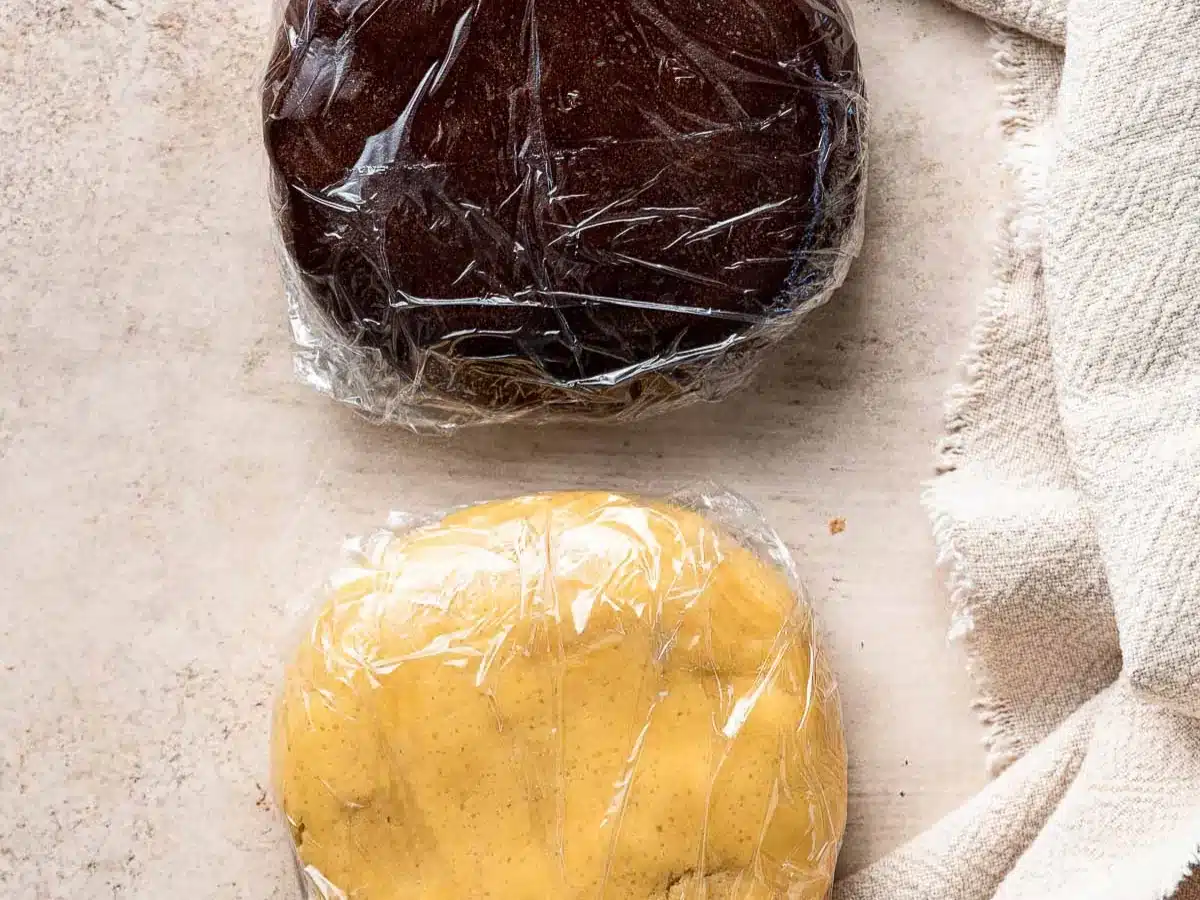
- Remove half the dough from the stand mixer and wrap in plastic wrap.
- Add in unsweetened cocoa powder and beat until well combined.
- Add chocolate dough to a second piece of plastic wrap and wrap tightly.
- Refrigerate doughs for 20 minutes.
- Cut each piece of dough into two pieces.
- Roll the four balls of dough into 10×6″ rectangles.
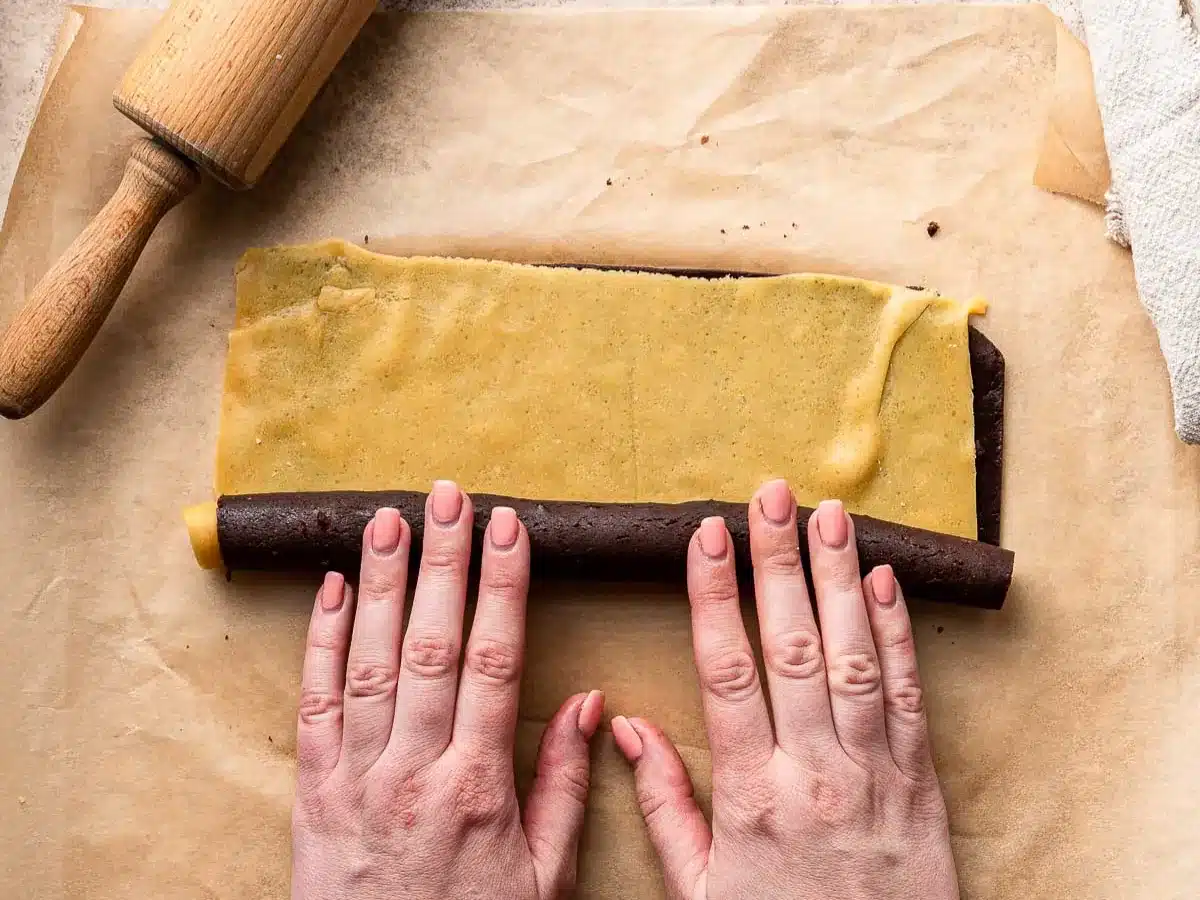
- Layer the vanilla dough rectangles on top of the chocolate dough rectangles
- Roll the dough into two logs (roll so the cookie log is long and skinny, rolling up from the widest side), wrap tightly with saran wrap and refrigerate for 1-2 hours.
- Preheat the oven to 375 degrees.
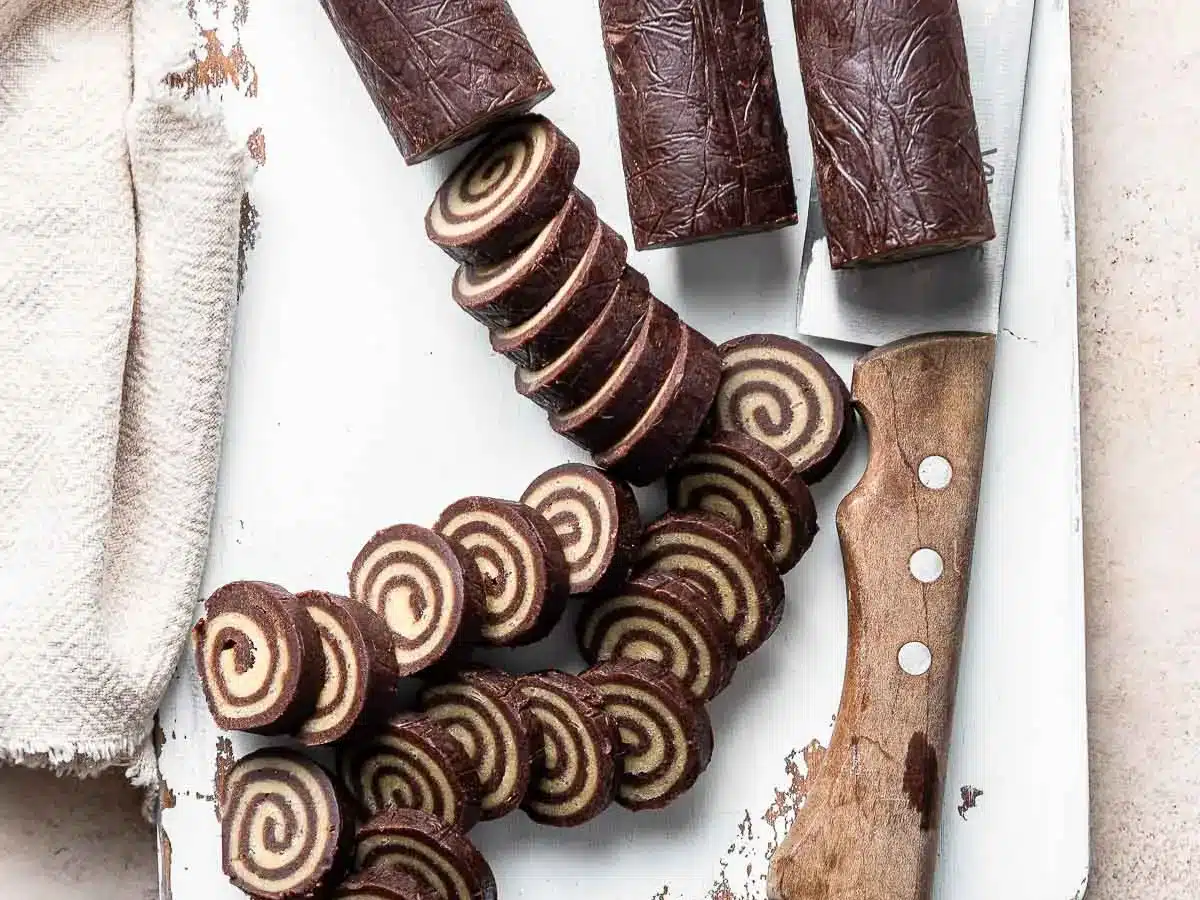
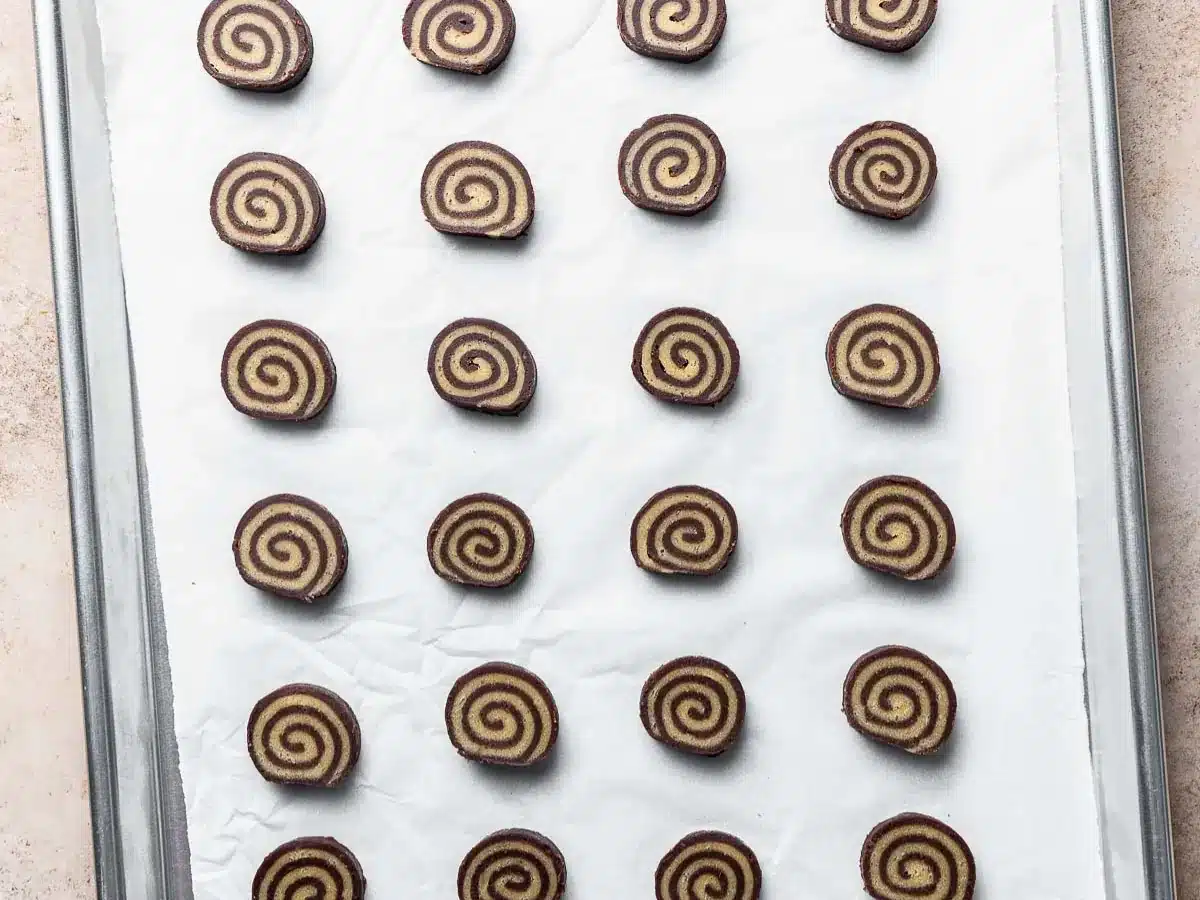
- Slice the cookies 1/4″ thick and place on a parchment paper lined baking sheet.
- Bake for 8-10 minutes, but do not let them brown.
Nutrition

Want to save this recipe? Create a free account to easily save your favorite recipes
Chef’s Note
The dough needs to be firm enough to cut cleanly without squishing the two different layers together, so don’t skip chilling the dough for the instructed 1-2 hours. A sharp knife will help you get those beautiful, defined swirls in each cookie.
Table of contents
Can this be made ahead of time?
Since the dough already requires chilling before slicing and baking, you can prepare this recipe several days in advance, or freeze it for longer storage. Prepare as directed, rolling the dough into logs. Wrap each log tightly in plastic wrap and refrigerate for 3 days, or freeze up to 3 months. If baking in advance, let cool completely before storing in an airtight container at room temperature for up to 4-5 days for the best texture.
How to Store
- Serve: Cool for at least 5 minutes on the baking sheet before you serve them.
- Store: To keep fresh, put them in an airtight container and store at room temperature for 5-7 days.
- Freeze: Freeze for up to 3 months. For best results, put in a ziplock bag with a piece of wax paper or parchment between the cookie layers.
Tips and Tricks
For the best results with these cookies, follow these simple tips.
- Roll the dough evenly: First, try your best to make both of the rectangles the same size and thickness before layering. This helps create an even spiral and prevents one flavor from overpowering the other. Finally, roll the layers together snugly to avoid gaps in the center of your cookies.
- Keep the dough cold while working: If the dough becomes too soft or sticky while rolling and shaping the logs, pop it back into the refrigerator for 10-15 minutes. Chilled dough is easier to handle, and helps the cookies maintain their round shape during baking.
Related Recipes