
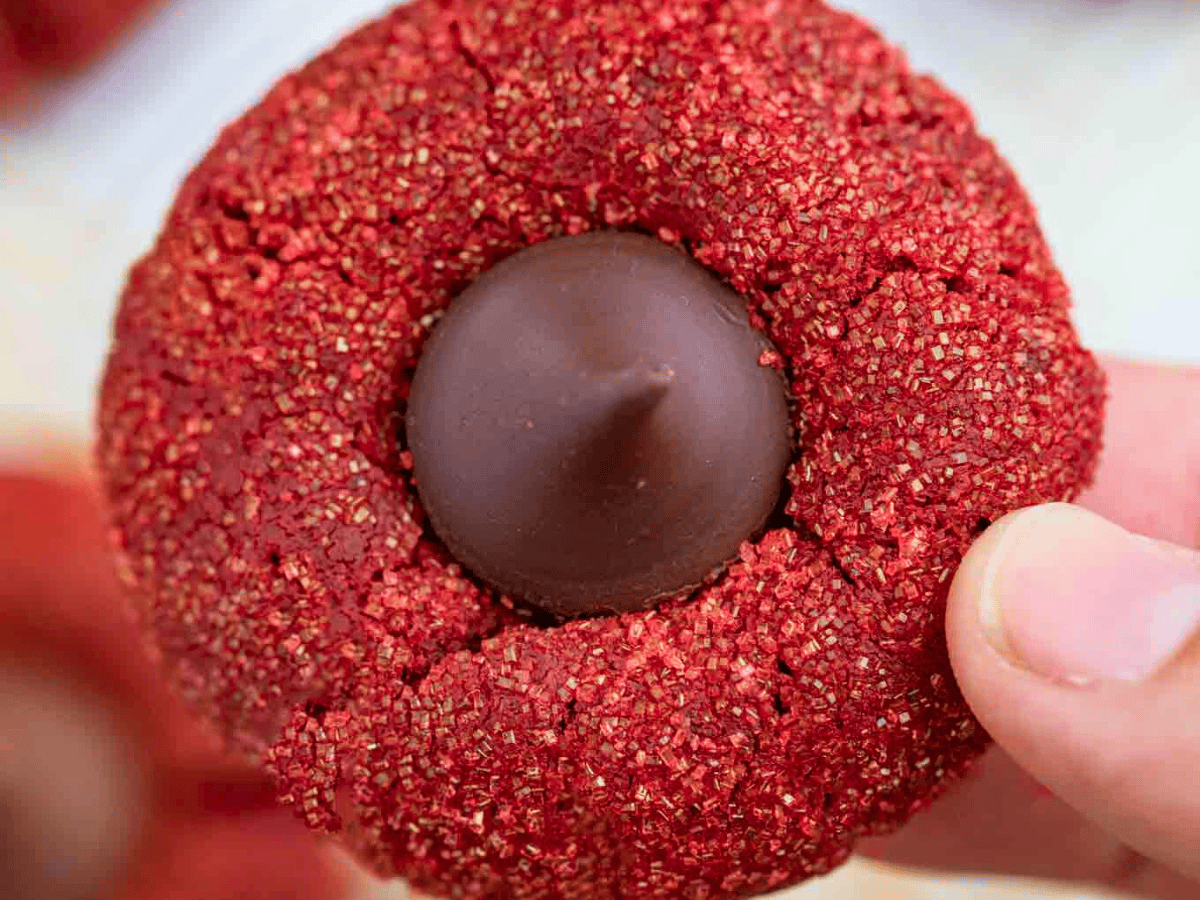
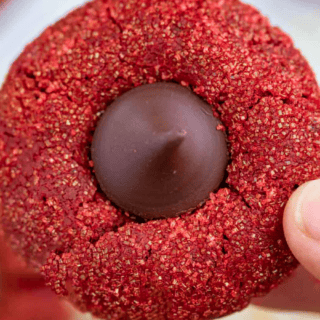
Red Velvet Kiss Cookies bring all the cozy goodness in a fun little bite, finished with a sweet center. The perfect holiday treat! Try today!
These Red Velvet Kiss Cookies are easy and impressive cookies you’ll enjoy baking, like our yummy Molasses Cookies, flavorful Peanut Butter Blossom Cookies, and Classic Hershey’s Kiss Cookies. Make all three for the perfect, easy Holiday Baking platter!
Sabrina’s Red Velvet Kiss Cookies Recipe
Many recipes for red velvet cookies come from red velvet cake mix, but these cookies are from scratch. You can make them in just a few minutes, so don’t let the lack of cake mix in this recipe intimidate you. It’s really easy to put this together.
Recipe Card
Ingredients
- 14 tablespoons unsalted butter , softened, (⅞ cup of butter)
- 1 cup brown sugar
- 1/2 cup sugar
- 2 cups flour
- 1 cup cocoa powder
- 3/4 teaspoon baking soda
- 1/4 teaspoon baking powder
- 1/4 teaspoon salt
- 2 large eggs
- 1 teaspoon vanilla extract
- 1 tablespoon red liquid food coloring
- 3/4 cup sanding sugar , gold, red, or clear
- 36 Hershey’s Kiss chocolates , unwrapped
Instructions
- Preheat the oven to 350 degrees. Add to the stand mixer the butter, brown sugar and sugar. Set on medium speed for 1-2 minutes until light and fluffy.
- While the butter is creaming sift the flour, cocoa powder, baking soda, baking powder, and salt in a separate bowl.
- Add the eggs, vanilla extract, and red food coloring to your stand mixer for 15 seconds then add in the flour mixture.
- Scoop the cookies with a 1 tablespoon sized cookie scoop and roll in sanding sugar then refrigerate for 20 minutes.
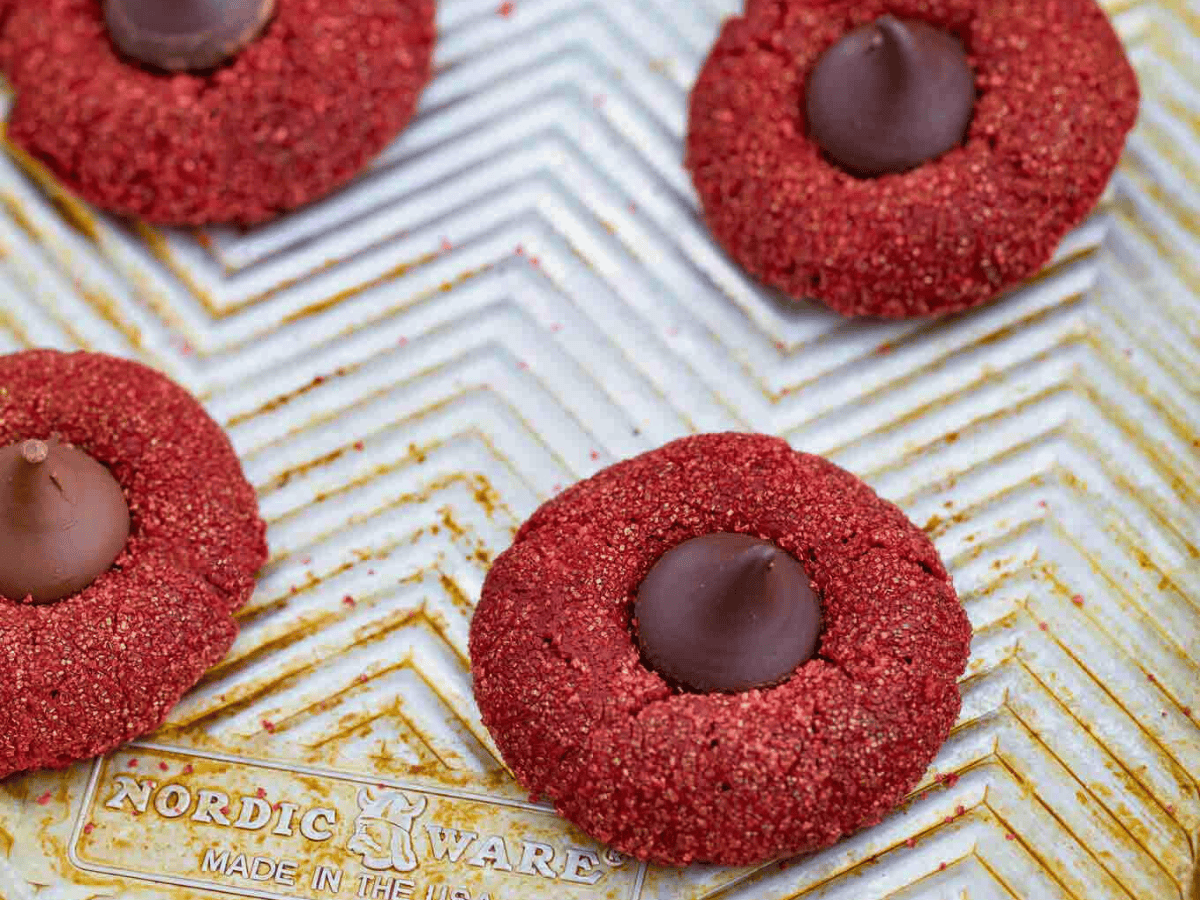
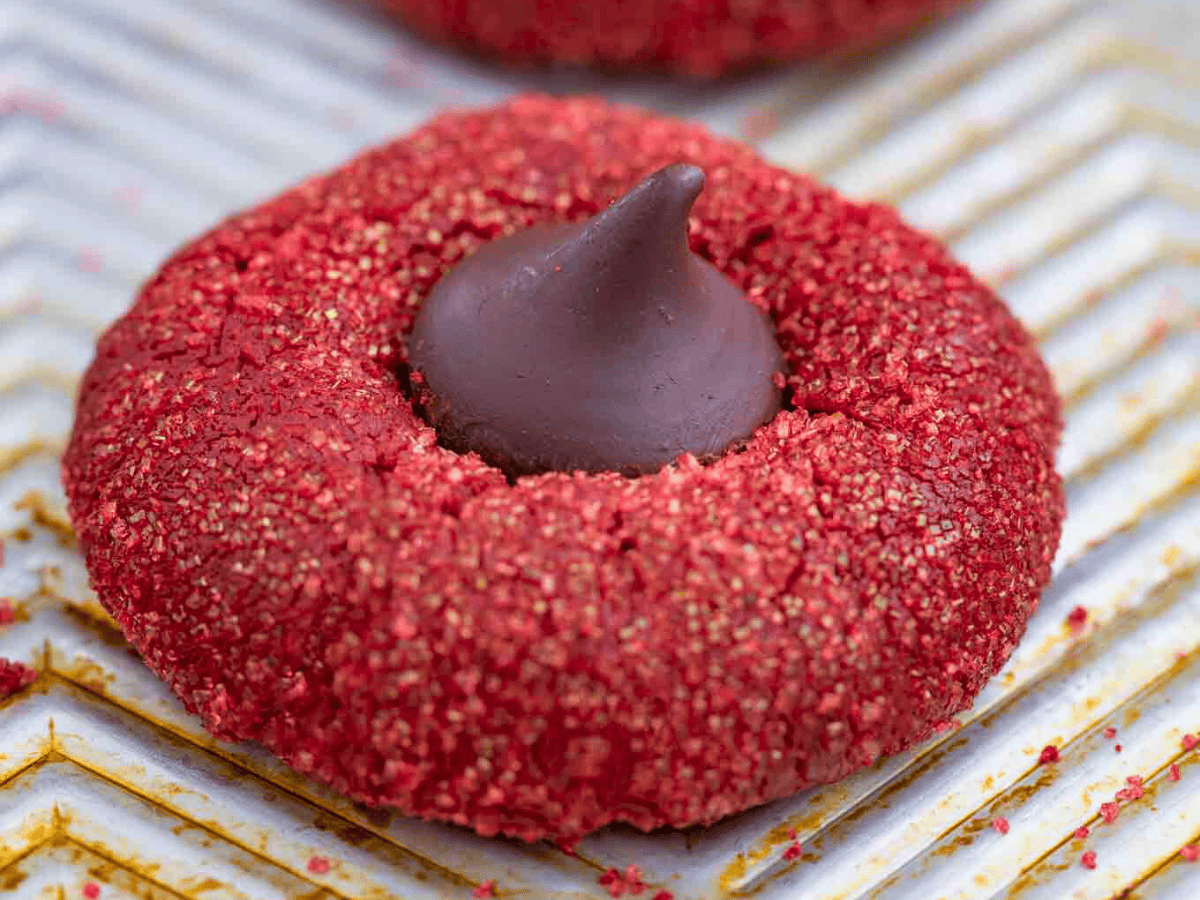
- Bake on a cookie sheet for 11-13 minutes then as soon as they come out of the oven press a Hershey’s Kiss chocolate into the middle of the cookie and allow them to cool on a wire rack.
Video
Nutrition
Want to save this recipe? Create a free account to easily save your favorite recipes
Table of contents
About this Recipe
Red Velvet Kiss Cookies are incredibly fun! But while the flavor may seem confusing since it’s a light cocoa flavor with a buttery finish, everyone will love eating these festive cookies. Of course, the red color comes from food coloring. If you want to skip the sanding sugar next time, you can also roll the cookies in powdered sugar before baking to make them into crinkle cookies and skip the chocolate candy altogether. You can also use Hershey’s Hugs, which are white chocolate and milk chocolate striped kisses.
Ingredients
- Kisses: We use regular Hershey’s Milk Chocolate Kisses in this recipe.
- Sugar: This recipe utilizes both brown and white sugars. You can use granulated sugar as well for the coating.
- Red Color: The red dye has to be liquid-based, not gel food coloring. If using one of the beet, pomegranate, or hibiscus-based options, double the amount used to ensure the red color comes through.
- Vanilla: Use real vanilla extract for the best taste.
- Cocoa: Unsweetened cocoa powder is a staple that should be found in every pantry.
How to Store
- Serve: Since these cookies contain large chocolates, make sure they are kept in a cool spot in single layers. Or the chocolate kisses will get marks on them and melt.
- Store: When storing, be sure to store in airtight containers; they will stay fresh for up to one week at room temperature.
- Freeze: Freeze your cookies up to 2-3 months with parchment paper between layers, in an airtight container to prevent freezer burn.
Frequent Questions
Here are a few good tips for keeping homemade cookies chewy: Use a combo of brown sugar and white sugar in your cookie recipe, as we do in this one make the best cookies. Underbake by 1-2 minutes if you find your cookies are coming out more crisp than you’d like. If you mix the flour too much in the recipe, the cookies can be too dry. Refrigerate your cookie dough to keep the cookies thicker if you find they are baking too thin. And finally, use a good-quality baking sheet/cookie sheet. If your cookies crack when baking, your dough was too dry. This means you added too much flour, likely from scooping rather than spooning flour into your measure.
Baked Red Velvet goods require a lot of red food coloring to overcome the natural colors in the recipe. The cocoa powder is brown, and if not compensated for, will keep the cookies brown in color, even with a bit of food coloring. We recommend using a full tablespoon of liquid food coloring for the best results. Keep in mind it has to be liquid, not a gel-based coloring.
When your butter gets too warm, your cookies will flatten too quickly in the oven. You need the butter to be softened to cream it well, and the time it spends in the refrigerator gives it some time to firm back up to bake into a thicker cookie. Make sure to allow time for these cookies to cool in the refrigerator properly before baking.
When measuring flour for baking, do not put your measuring cup directly into your flour container. This is not an accurate way to measure flour, as the scooping packs in more flour than you need. Instead, use a clean spoon to spoon flour into your measuring cup, then level it off. Do not use any utensils in measuring ingredients before using them with your flour; this can cause cross-contamination in your flour container.
Variations
- Kisses: Use white chocolate Kisses, ones with almonds, or the mint-flavored ones for a fun take on the perfect treat!
- Cocoa Powder: There are some brands that offer a white cocoa-flavored powder, which you can substitute for the brown cocoa powder. This will be especially helpful if using a natural red food coloring agent.
- White on White: Use white cocoa powder and white Kisses for a fun and bright variation.
- Caramel Delight: Use caramel-filled Kisses on top of the cookie for a delectably sweet addition to the classic version.
- Red Coloring: If you want a healthier and/or kosher version of food coloring, you can use the concentrated juice from beets and pomegranates, or the saturated tea of hibiscus as well. They’ll need to be concentrated versions, and you’ll need to double the red coloring used if using one of these directly. Some premade organic-style red food colorings are great for coloring eggs, but that may not produce the energetic red color needed in these cookies, so be sure to use a heavy hand if utilizing them.
Related Recipes
More Yummy Valentine Cookie Recipes


Photo used in a previous version of this post.


Good, not great
What do you do with the half a tsp. of salt ?
It gets sifted in with the dry ingredients. Thanks for catching that, the recipe card has been updated!
can we refrigerate the dough overnight?
Your recipe ingredients calls for salt, but you didn’t list salt in your instructions.
I didn’t catch until they were in the oven. It definitely needs salt.
Like many of the others, my cookies we’re not red at all. They tasted good right out of the oven but the leftovers got pretty hard by the next day.
Nice recipe not involving peanut butter! That being said, the amount of cocoa in recipe cancelled out the “red”. This ended up being more of a brownie blossom than red velvet. For my own tastes, I’d cut the cocoa down to at least 1/2 cup or less to allow for the red to be more visible. Either way yummy cookie.
Thanks for the feedback, Deb. I’m glad you enjoyed them.
My dad said it was the best cookie he has ever tried since he’s the red velvet king in our house hold. I can’t wait to try them when we have our family Xmas!!
I take that as a huge compliment, thanks!
They are delicious, but the end result was not a red cookie, the cocoa powder kept the batter chocolate brown.
I’m so glad you enjoyed them. Did you use the liquid red food coloring and sanding sugar?
My cookies came out brown not red and did
Not taste like red velvet . I used gel food coloring… could that have caused them to be all brown and not red? I’m so disappointed.
The liquid food coloring is more concentrated so it will give you more color. Sorry they didn’t live up to the red velvet taste for you.
Unfortunately, while the cookies tasted great, they didn’t come out red at all for me. I didn’t have liquid food coloring, but gel so maybe that’s why.
You really need the liquid food coloring for this recipe. Also, using red sanding sugar will give it an even more color pop. Hope this helps for next time.
So pretty and such a fun idea! These are perfect for summer picnics!
They are a perfect treat for sure!
Hi Sabrina,
I made these cookies today. I have a question, how come my cookies were not as red as shown here? They look more chocolate looking than a bright red!
You can always add a bit more food coloring to get the desired redness you’re looking for.
They are so adorable and delicious! Perfect treats!
Thanks, Toni!
I could eat these every day!
They’re pretty irresistible!
mmmm… these red velvet cookies sound incredible!! I bet they taste amaaaazing!!!
Yep, they sure do!
Pretty and delicious! A killer combo.