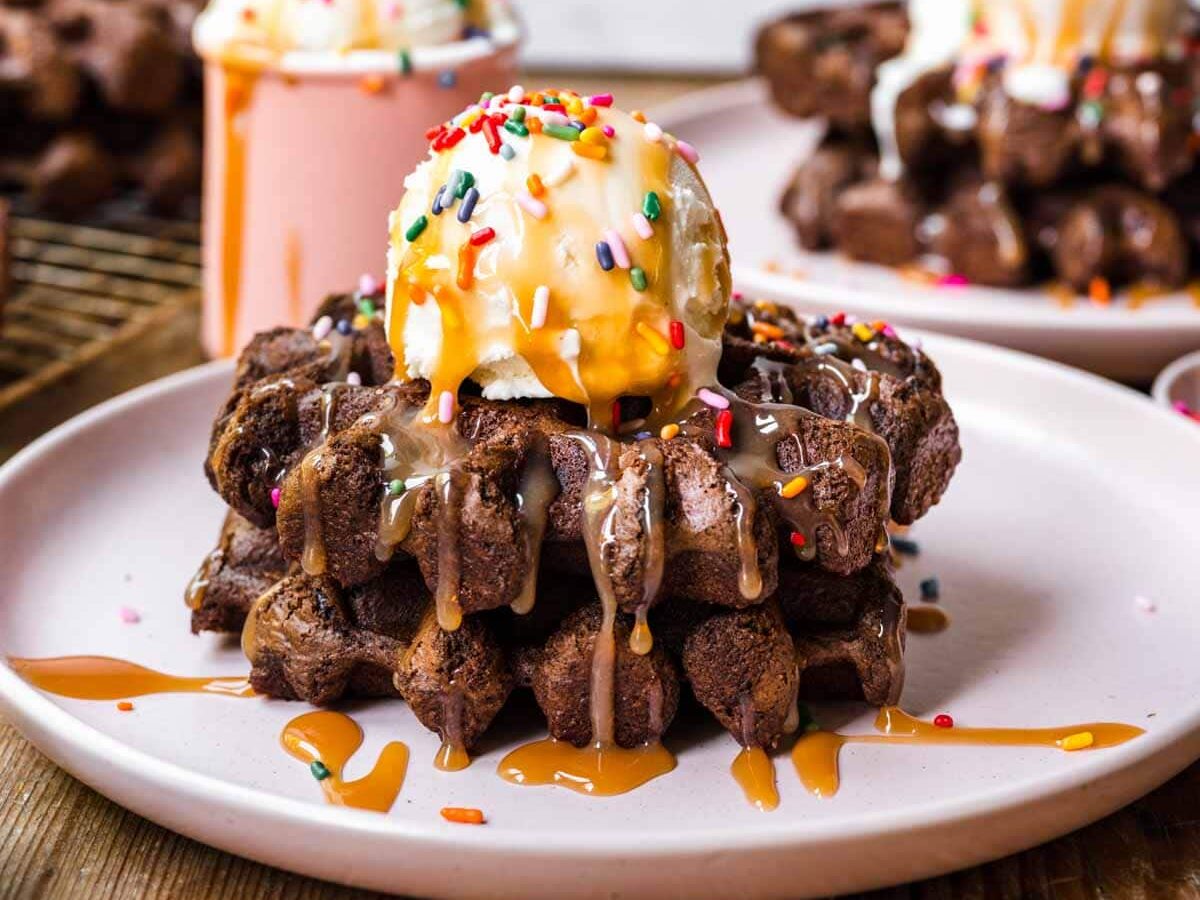
Waffle Iron Brownies are made with classic, chocolatey, gooey brownie batter, perfect to top off with vanilla ice cream! Try them today!
This Brownie Waffles recipe is an unexpected take on classic Fudgy Brownies. Instead of baking them as usual in a pan, the batter is baked quickly in a waffle iron. It makes a fun twist on a classic Dessert or a decadent Breakfast for a special occasion.
Sabrina’s Waffle Iron Brownies Recipe
Waffle Iron Brownies is one of those recipes that straddle the space between a breakfast and a dessert. We first made this treat for a fun family dessert. However, since then we’ve had it requested for one of our kid’s birthday breakfasts, and it made such a fun brunch dish. No matter when you serve them, these waffle brownies are sure to bring a smile to everyone’s face!
Recipe Card

Ingredients
- 1/2 cup water
- 2/3 cup unsalted butter
- 3/4 cup unsweetened cocoa powder
- 2 cups sugar
- 2 large eggs
- 1 teaspoon vanilla extract
- 1 1/2 cups flour
- 1/2 teaspoon baking soda
- 1/4 teaspoon salt
- 1 cup mini semisweet chocolate chips
Instructions
- Spray waffle iron with vegetable oil spray.
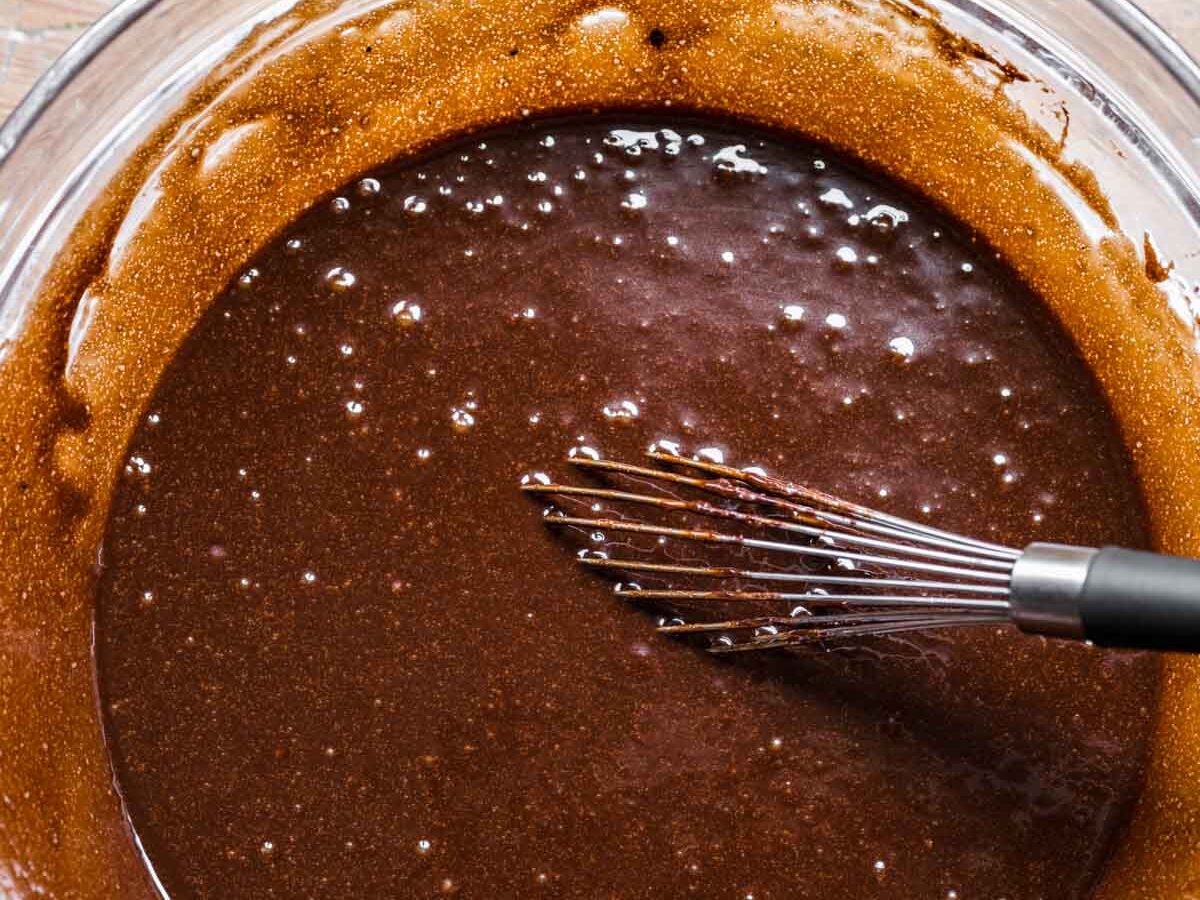
- To a saucepan, bring water to a boil.
- Turn off the heat, add in the butter and cocoa powder.
- Whisk until completely blended.
- Pour mixture into large mixing bowl.
- Whisk in the sugar, eggs, and vanilla extract until creamy.
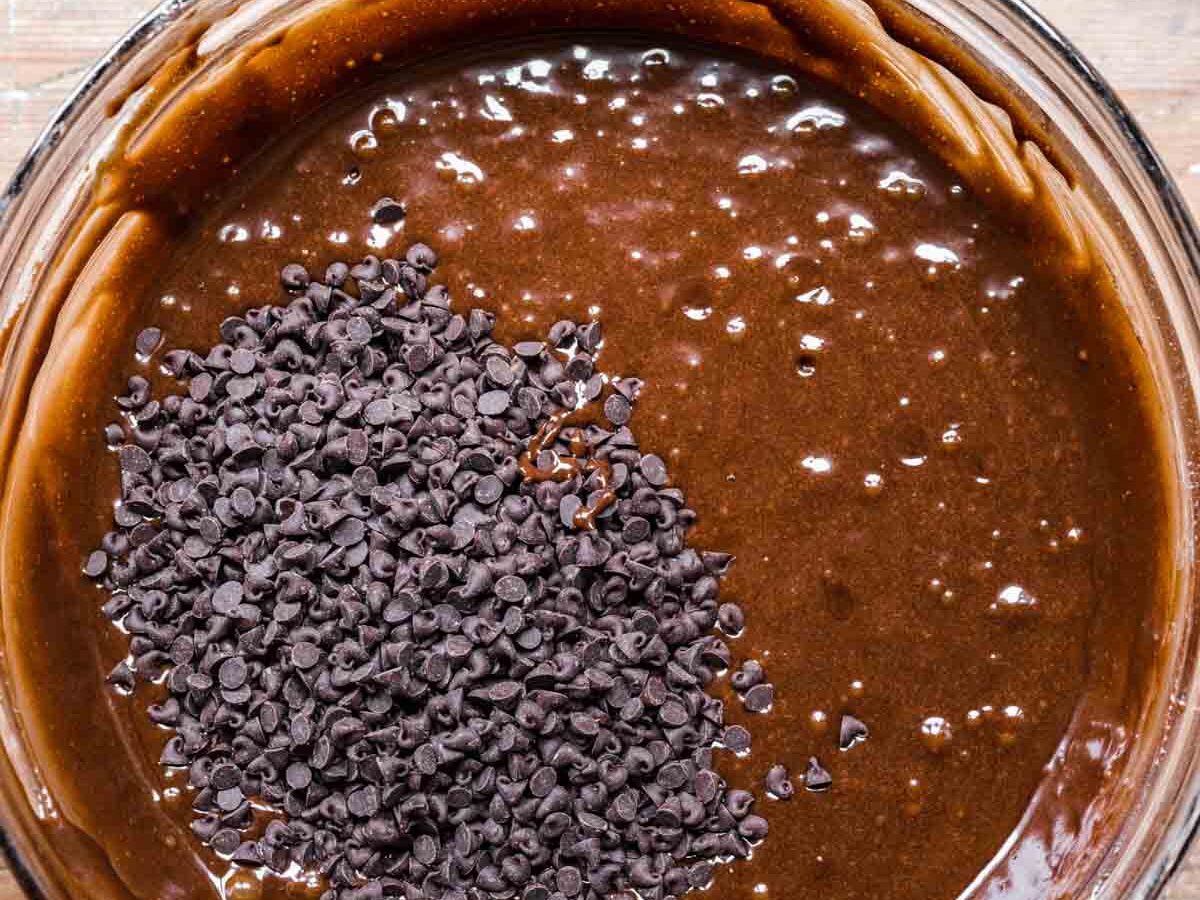
- Add flour, baking soda, and salt until just combined.
- Stir in mini chocolate chips.
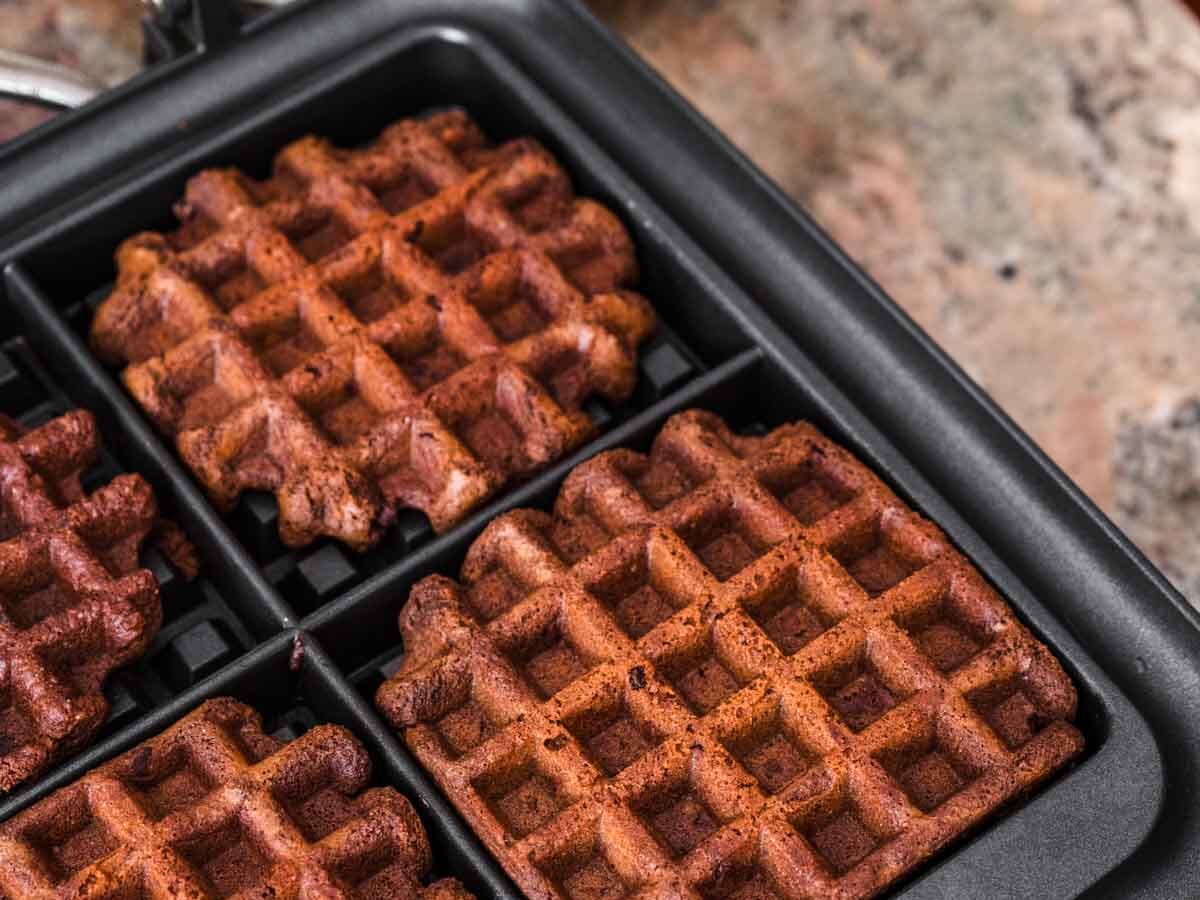
- Scoop ¼ cup of batter into waffle iron and cook on medium-low for 3 minutes.
Nutrition
Want to save this recipe? Create a free account to easily save your favorite recipes
Table of Contents
About this Recipe
If you’re a fan of gooey, fudgy brownies, then you’re going to love this waffle iron hack. You just combine the brownie ingredients as usual but then cook the batter in the waffle iron. The waffle maker cooks the brownies in just a few minutes, so you’ll be out of the kitchen and enjoying warm waffle brownies in no time.
Chef’s Note
Now, you’re probably wondering what Waffle Iron Brownies actually taste like. Well, they have the same rich chocolate flavor that everyone loves from brownies. The inside of them is soft and gooey with melted chocolate chips, but the waffle iron gives the outside a nice crisp texture that’s absolutely amazing.
What to Pair With
There are so many amazing toppings that you can try adding to this dessert. One indulgent option is adding a scoop of ice cream to make Waffle Brownies à la mode. For a classic combination of chocolate and vanilla, you can use Vanilla Ice Cream. The recipe would also taste great with mint ice cream, Strawberry Ice Cream, or coffee ice cream.
For more toppings that you can either add to the ice cream, or just over plain Waffle Iron Brownies try a sprinkling of powdered sugar, or drizzle melted chocolate. Caramel Sauce, Strawberry Sauce, or fresh berries would also taste amazing.
How to Store
- Serve: After cooking on the waffle iron, you don’t want to leave Waffle Brownies at room temperature for more than 2 hours.
- Store: Once they’ve cooled to room temperature you can transfer the recipe to a ziplock bag to store in the fridge for 2-3 days.
- Freeze: Waffle Iron Brownies can also be kept frozen for up to 3 months. Let them thaw in the fridge overnight and then reheat them in the oven before serving.
Variations
- Chocolate Chips: You can use different kinds of chocolate chips in the recipe instead of semi-sweet. Try using milk chocolate, dark chocolate, or white chocolate depending on your preference.
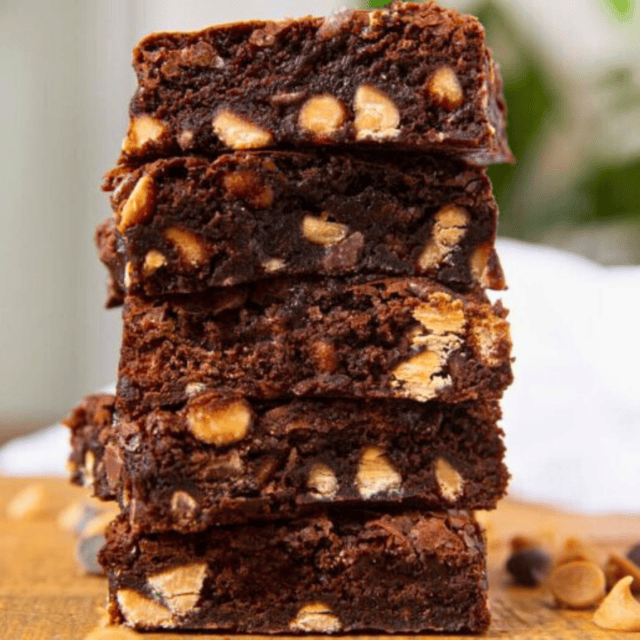
- Mix-ins: There are also lots of other mix-ins you can try in Waffle Brownies. Try using peanut butter chips or toffee chips to experiment with the flavor. To add some crunch, mix in chopped pecans, almonds, or walnuts. For more fun mix-ins, try M&Ms, mini marshmallows, or pretzel pieces.
- Holiday Waffle Iron Brownies: To make this recipe perfect for Christmas, add 1 teaspoon peppermint extract and fold peppermint pieces into the batter.
Related Recipes
More Brownie Recipes