
Peppermint Patties are sweet and minty peppermint discs coated in chocolate, and incredibly EASY to make with only 4 ingredients!
We love making chocolate-covered Candy Recipes because they’re great for the holidays and you can give them as gifts. For more try out Chocolate Covered Oreos, Chocolate Covered Pretzels, and Slow Cooker Chocolate Peanut Candy!

PEPPERMINT PATTIES
Peppermint Patties are the PERFECT candy treat to make and give out as gifts for the holidays, or when you’re just craving peppermint and chocolate candy at home. These are a homemade version of York Peppermint Patties, but with even better flavor. Plus you can make a big batch at once!
This is a great kid-friendly activity because they’ll have fun cutting out the circles and dipping the candy into the melted chocolate. They’re made with just four ingredients: condensed milk, powdered sugar, chocolate, and peppermint extract. There’s nothing too complicated, just regular holiday baking ingredients.
The total time for this recipe is a few hours, but most of that is rest time to let the candies set. Still, you’ll want to start early in the day in order to enjoy them that night. After making these candies, you’ll never want to go back to store-bought!
If you’re putting Peppermint Patties out for a party, serve them on a tray with sprigs of fresh mint for decoration. You could also use Peppermint Patties as a topping for your favorite dessert recipes. Try serving them over a scoop of Ice Cream or over the top of your go-to Chocolate Cake Recipe. The minty flavor is fresh and cool so it makes a great, flavorful addition to plenty of recipes.

Create a free account to Save Recipes

MORE HOMEMADE CANDIES

Oreo Balls (Oreo Truffles)

Slow Cooker Chocolate Candy
Private: Gingerbread Toffee
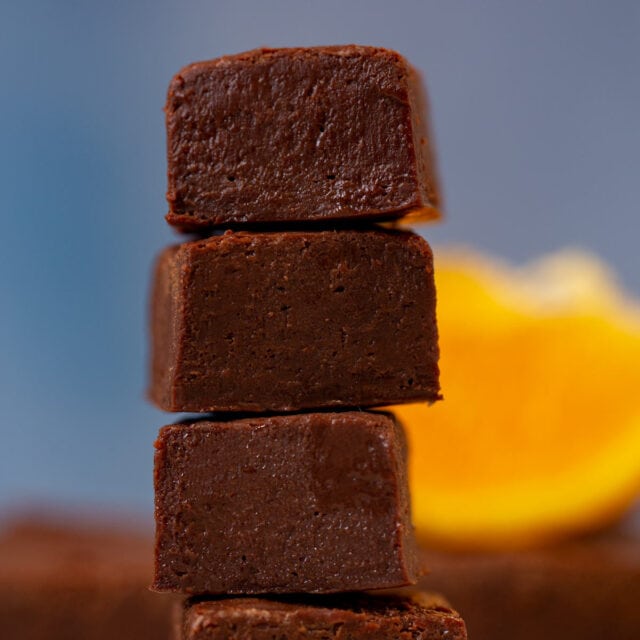
Dark Chocolate Orange Fudge
KEY INGREDIENTS IN PEPPERMINT PATTIES
- Powdered sugar: One of the best things about this recipe is that you can make it with just 4 ingredients. The first of these ingredients is powdered sugar. It sweetens the peppermint filling so that the strong mint flavor doesn’t overpower the sweetness of the candy.
- Sweetened condensed milk: The condensed milk also helps to sweeten the cool peppermint flavor. Along with that, it adds needed liquid to form the blend of peppermint and sugar into a dough.
- Peppermint extract: Of course, the key ingredient in mint candies is the mint. Peppermint extract has a strong flavor, so you only need 1 ½ teaspoons.
- Semisweet melting disks: The melted chocolate coats the mint filling for amazing, cool chocolate candy. Try not to substitute chocolate chips for semi-sweet melting disks in this recipe. The chocolate chips won’t turn out as smooth as the disks would, and you might end up with lumpy peppermint patties.
TIPS FOR MAKING PEPPERMINT PATTIES
- Peppermint filling: Add ¾ cup sweetened condensed milk, 3 ½ cups powdered sugar, and 1 ½ teaspoons peppermint extract to your stand mixer. Mix at medium speed until it’s all combined. You can taste the dough to make sure it has enough mint for you. If you prefer an extra minty flavor, just add a tiny bit more of the flavored extract.
- Shape: Roll the Peppermint Patty dough over a parchment-lined baking sheet or countertop. Continue rolling until it’s an even ¼ inch thick. Let the dough dry for 2 hours. Cut into 1 inch rounds using a cookie cutter, and let them dry for another hour. If you’re short on time, cut out and freeze the dough for the peppermint patties for 20 minutes instead of letting it dry, then dip them in chocolate while still cold.
- Note: The amount of homemade peppermint candy you get depends on how big you cut the peppermint dough, you can make them slightly bigger according to your preference.
- Melt chocolate coating: Put the melting chocolate in a microwave-safe mixing bowl. Place chocolate in microwave for 30 seconds. Stir and microwave again until fully melted. If your chocolate isn’t melting smoothly, add a few drops of coconut oil until it is a consistency that’s smooth enough for dipping.
- Coat filling: Use a fork to dip each disk of dough in the melted chocolate, and tap any excess chocolate off on the side. Place the patties on a wax paper-lined baking sheet. Continue to dip patties until they’re all coated, and let them sit until completely dry.

Create a free account to Save Recipes
FREQUENTLY ASKED QUESTIONS
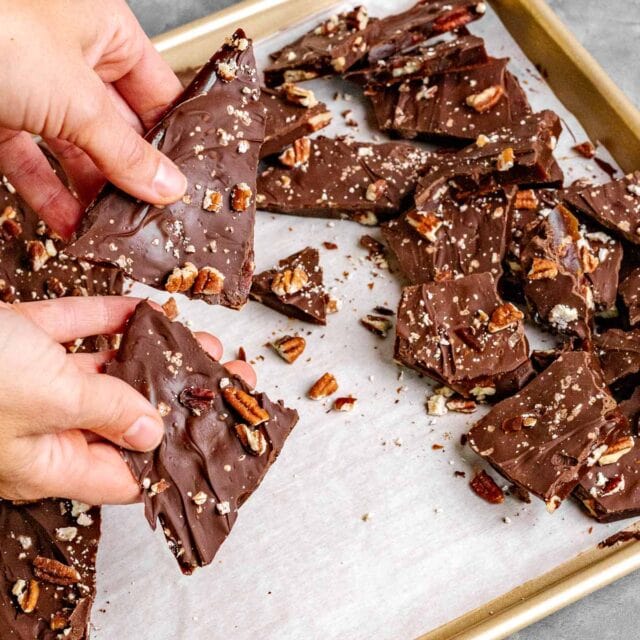
You can decorate your peppermint patties with festive holiday sprinkles, chocolate jimmies, large grain sugar, flaky salt, or chopped nuts. Add the topping before the chocolate is completely dried so it will stick. Then let the mint candies harden completely before serving.
To add extra sweet peppermint flavor to the Homemade Peppermint Patties, add a candy cane coating. Crush candy canes into small pieces, and place them in a bowl. Dip each peppermint patty into the candy pieces while the chocolate is still somewhat soft so that the candy cane crunch coating can stick.
You can use your extract of choice in the filling to try out a variety of flavors. Try using almond extract, vanilla, lemon extract, or orange extract.
If you want a slightly more bitter chocolate taste, you can use a dark chocolate exterior instead of semisweet chocolate.
To make the perfect Peppermint Patties for Valentine’s Day, roll out the peppermint dough and use mini heart-shaped cookie cutters to cut into hearts. Dip them in the chocolate coating as usual and top with red sprinkles.
MORE PEPPERMINT CANDIES
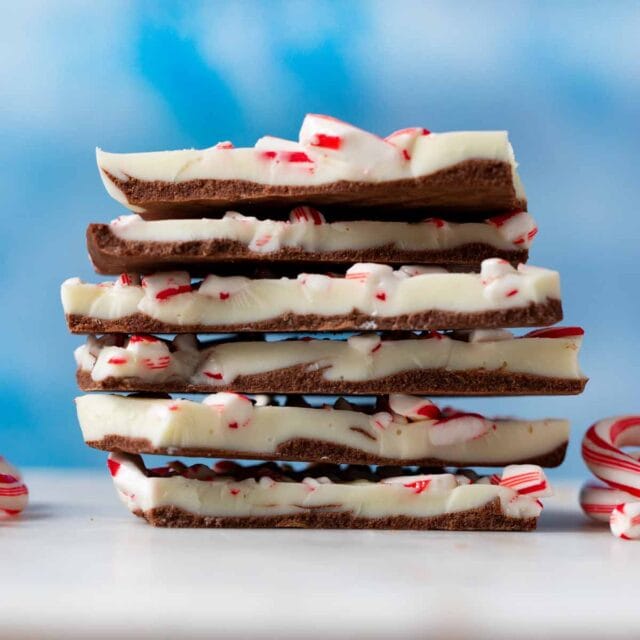
Peppermint Bark

Peppermint Bark Crackers

Peppermint Oreo Balls
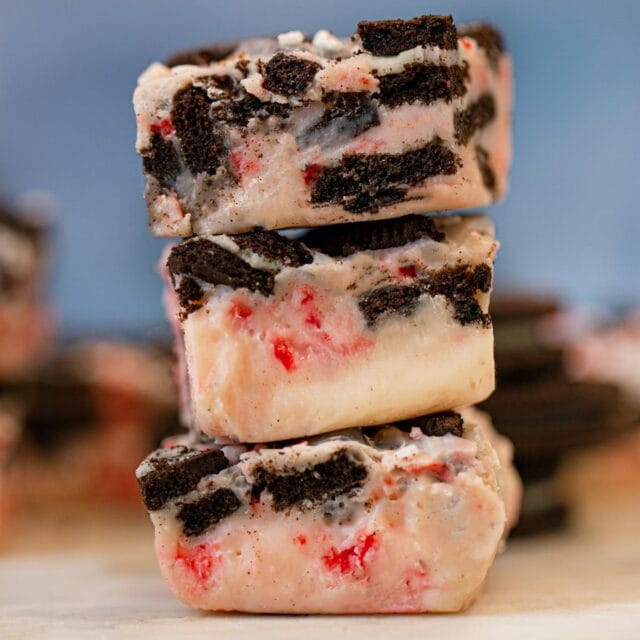
Peppermint Oreo Fudge
HOW TO STORE PEPPERMINT PATTIES:
- Serve: Homemade peppermint patties can be stored at room temperature for about 2 weeks in an airtight container. Store the candy in layers with parchment paper or wax paper to avoid them sticking together. Keep in mind that if your house is too warm, the chocolate could melt.
- Store: To avoid any melting, layer the holiday treats in an airtight container to store in the fridge for up to 3 weeks.
- Freeze: Freeze patties for 2-3 months. Enjoy them frozen or remove peppermint patties from freezer an hour or two before serving.


Ingredients
- 3/4 cup sweetened condensed milk
- 1 1/2 teaspoons peppermint extract
- 3 1/2 cups powdered sugar
- 3 cups semisweet chocolate melting disks
Instructions
- Add the sweetened condensed milk, peppermint extract and powdered sugar to stand mixer and mix on medium speed until a dough forms.
- Roll into a ¼ inch thick sheet on a piece of parchment paper and let dry for 2 hours before cutting with a 1 inch round cookie cutter and letting dry an additional hour.
- Melt the chocolate disks in 30 second increments until totally melted then dip the patties in the chocolate with a fork tapping the excess amount off and let cool on wax paper until completely dry.
Notes
Nutrition
Want to save this recipe? Create a free account to easily save your favorite recipes


Have you ever frozen just the filling? I’m trying to batch prepare some of the treats for my holiday baking. I see you say you can freeze the finished discs, which maybe I should just do and buckle down to make the whole candy, but I was curious if you’ve ever frozen just the filling to roll out, cut, and coat later? Can’t wait to try them!
I haven’t. If you decide to please let me know how they turn out and hope you enjoy them :). Happy Holidays!